> ## Documentation Index
> Fetch the complete documentation index at: https://support.dripos.com/llms.txt
> Use this file to discover all available pages before exploring further.
# Create Receipt Templates
> Add and customize printer templates
Learn how to create additional receipt and make ticket templates to fit your shop workflow.
## Create Templates
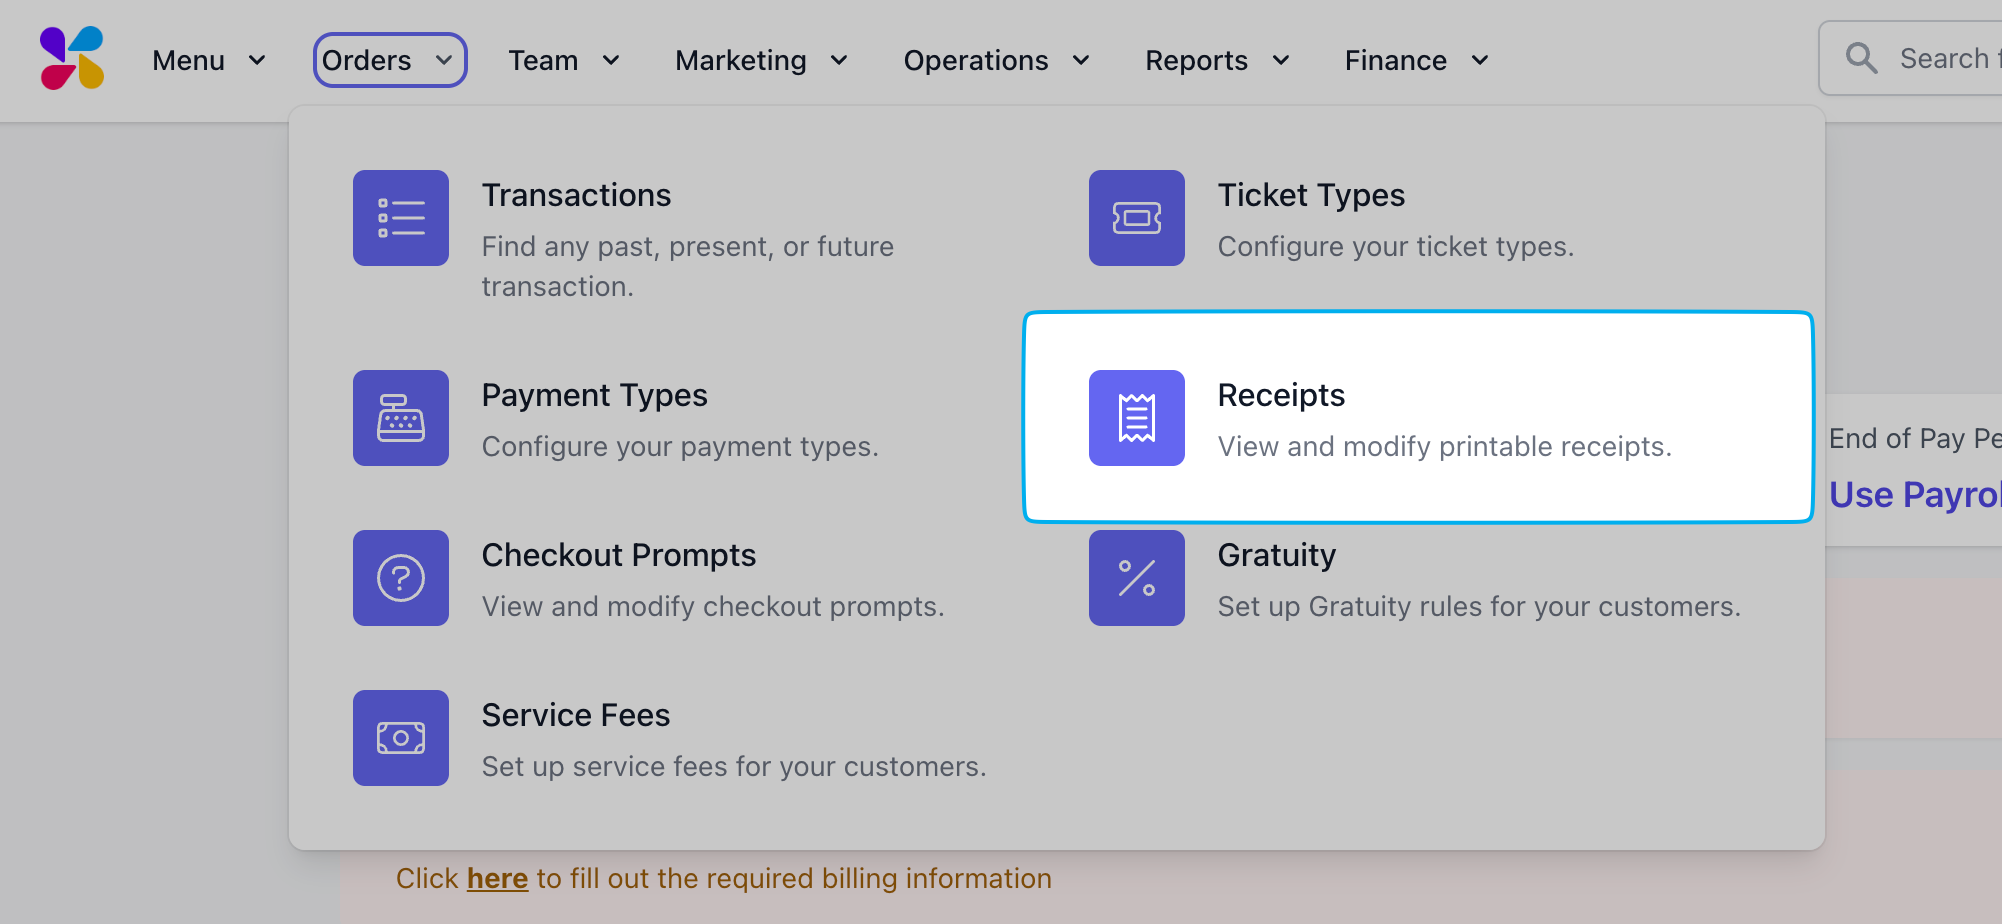
On the dashboard, navigate to **Orders** > **Receipts**
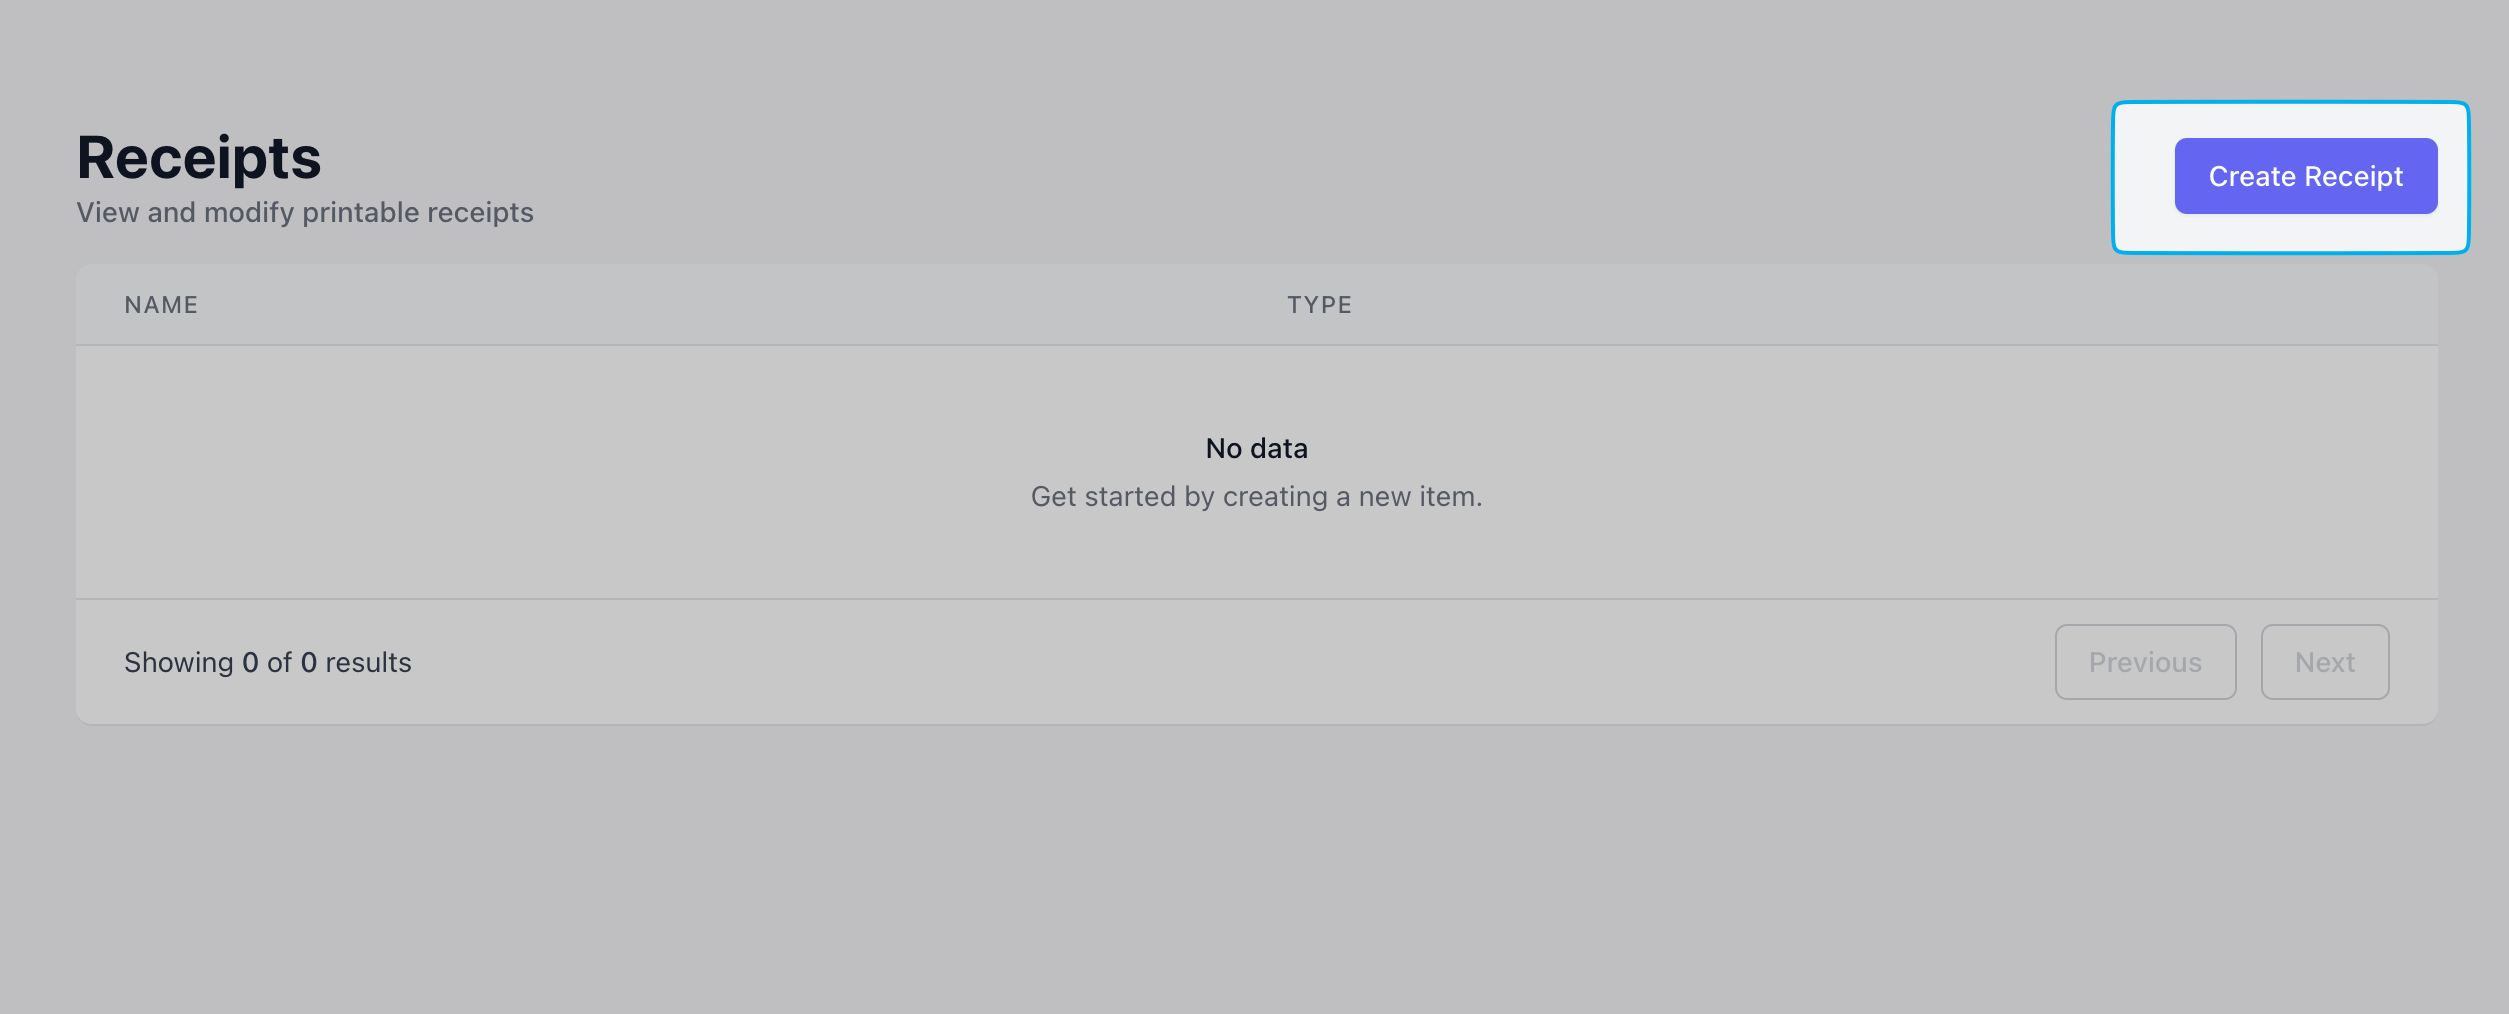
 Click **Create Receipt**
 Select from existing customer receipt and make ticket templates. You can use the template as is or customized them to fit your shop workflow.
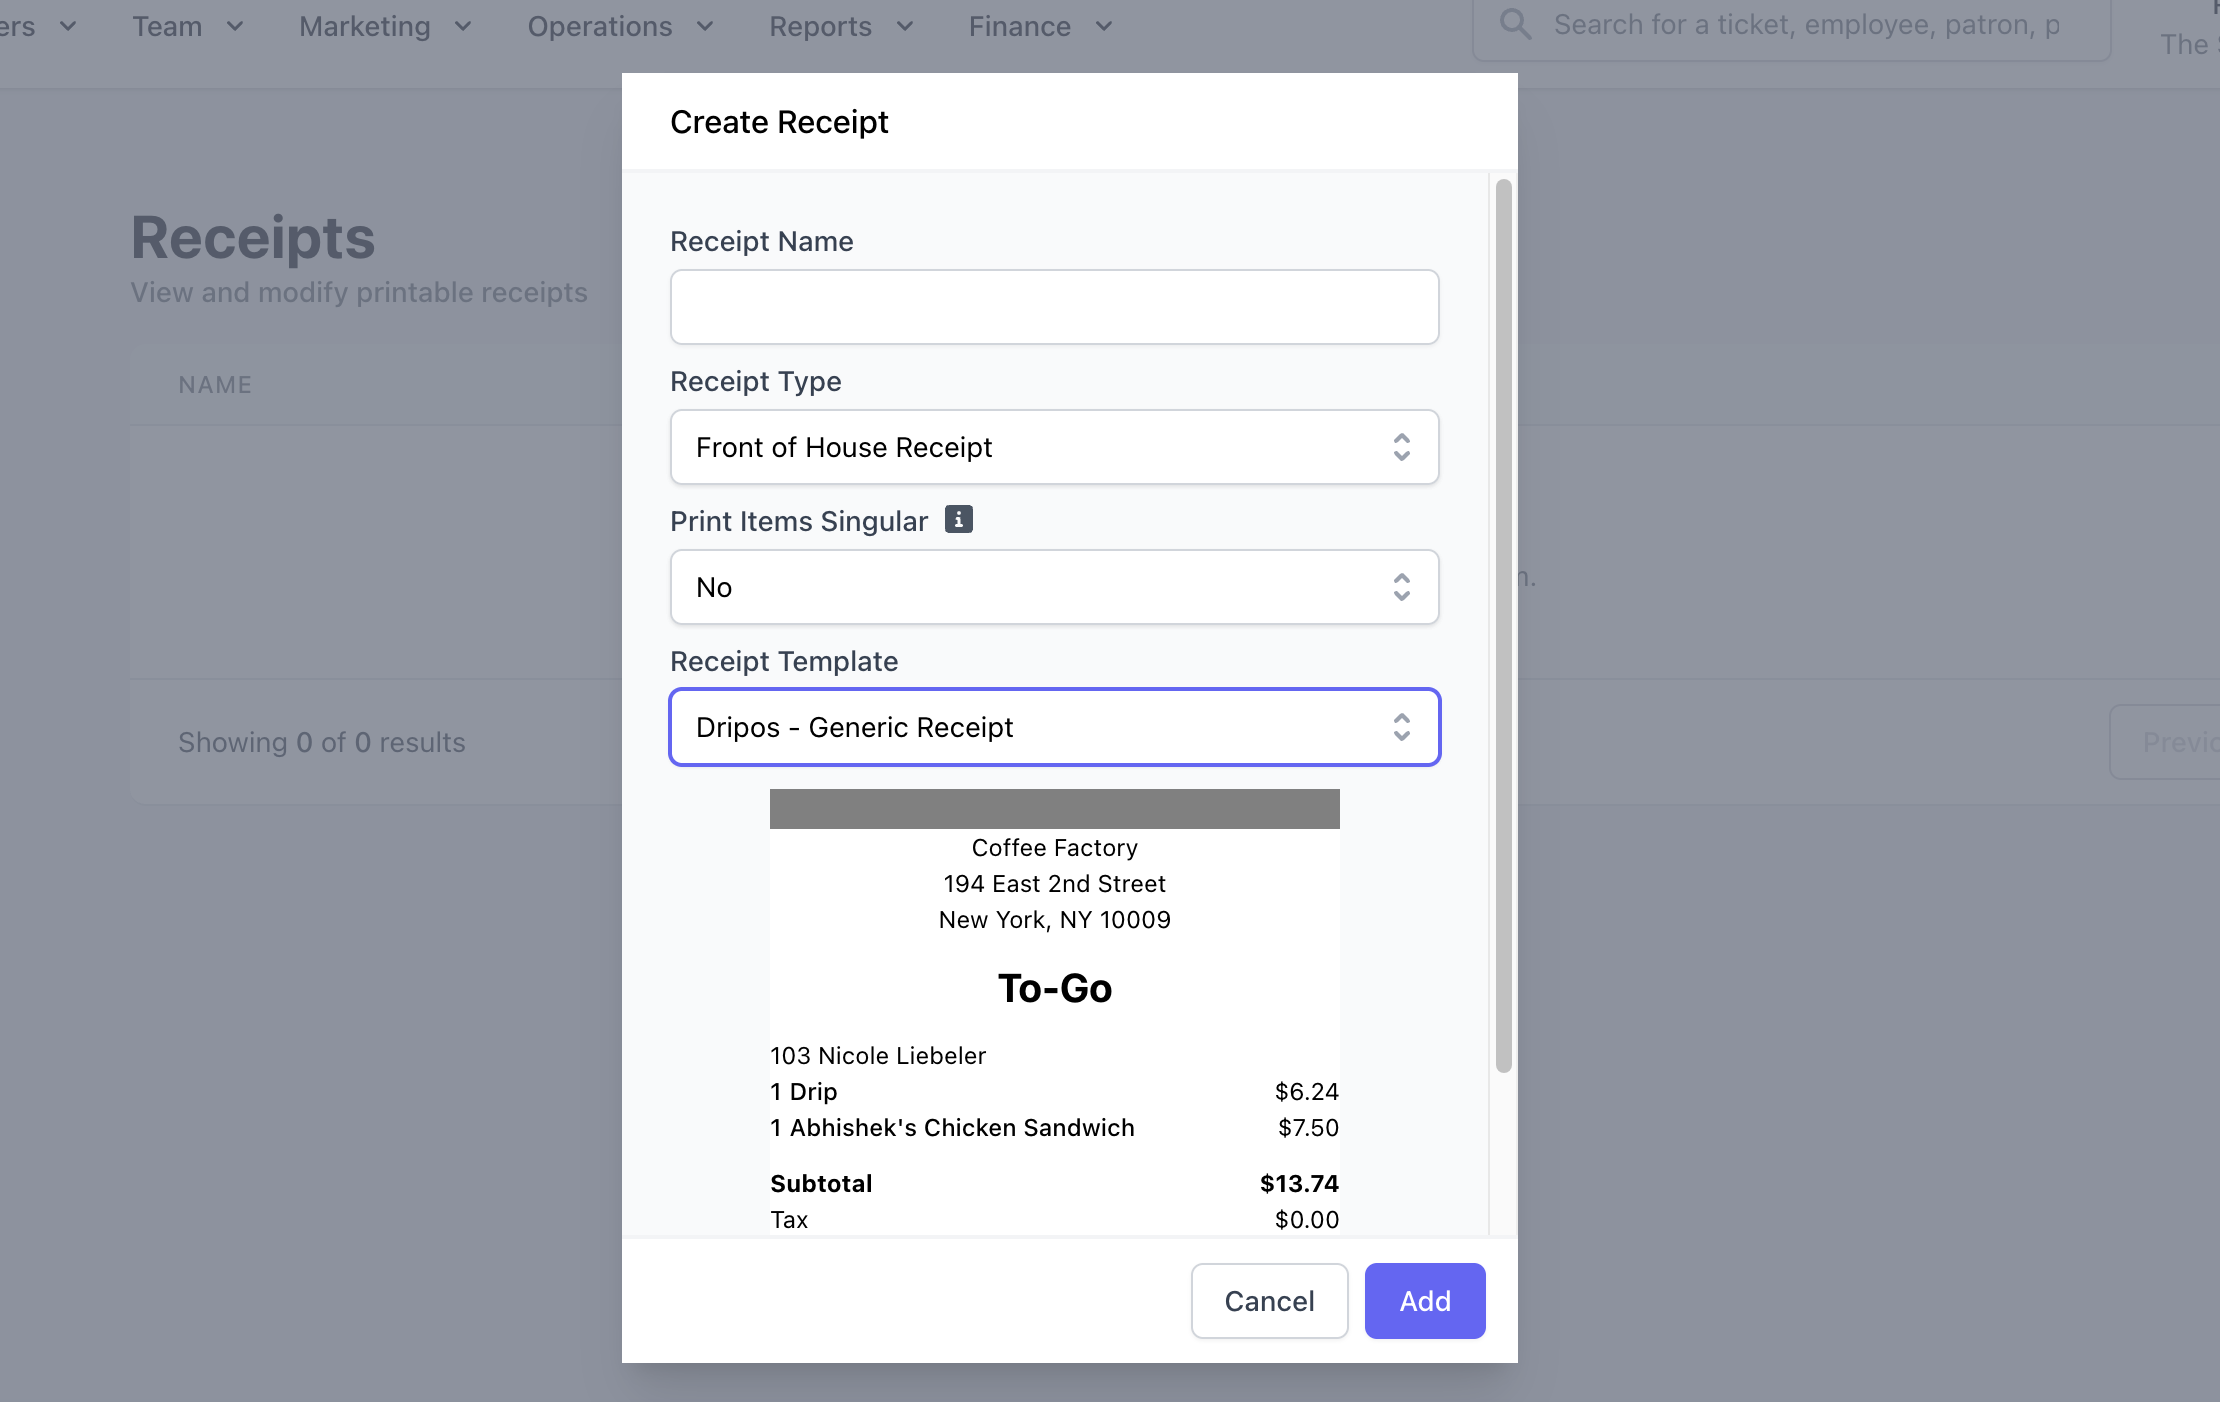 **Receipt Name**
* Name your receipt template (i.e., Back Kitchen Make Ticket, Customer Receipt)
**Receipt Type**
* **Make Ticket:** For employee use
* **Front of House Receipt:** For customers
**Print Items Singular**
* If set to **Yes**, each product on the order will print on a separate ticket
* Recommended to use with the **Dripos - Item Specific** receipt template
**Receipt Template**
* Select an existing template that best fits your shop workflow. These templates can be customized once added!
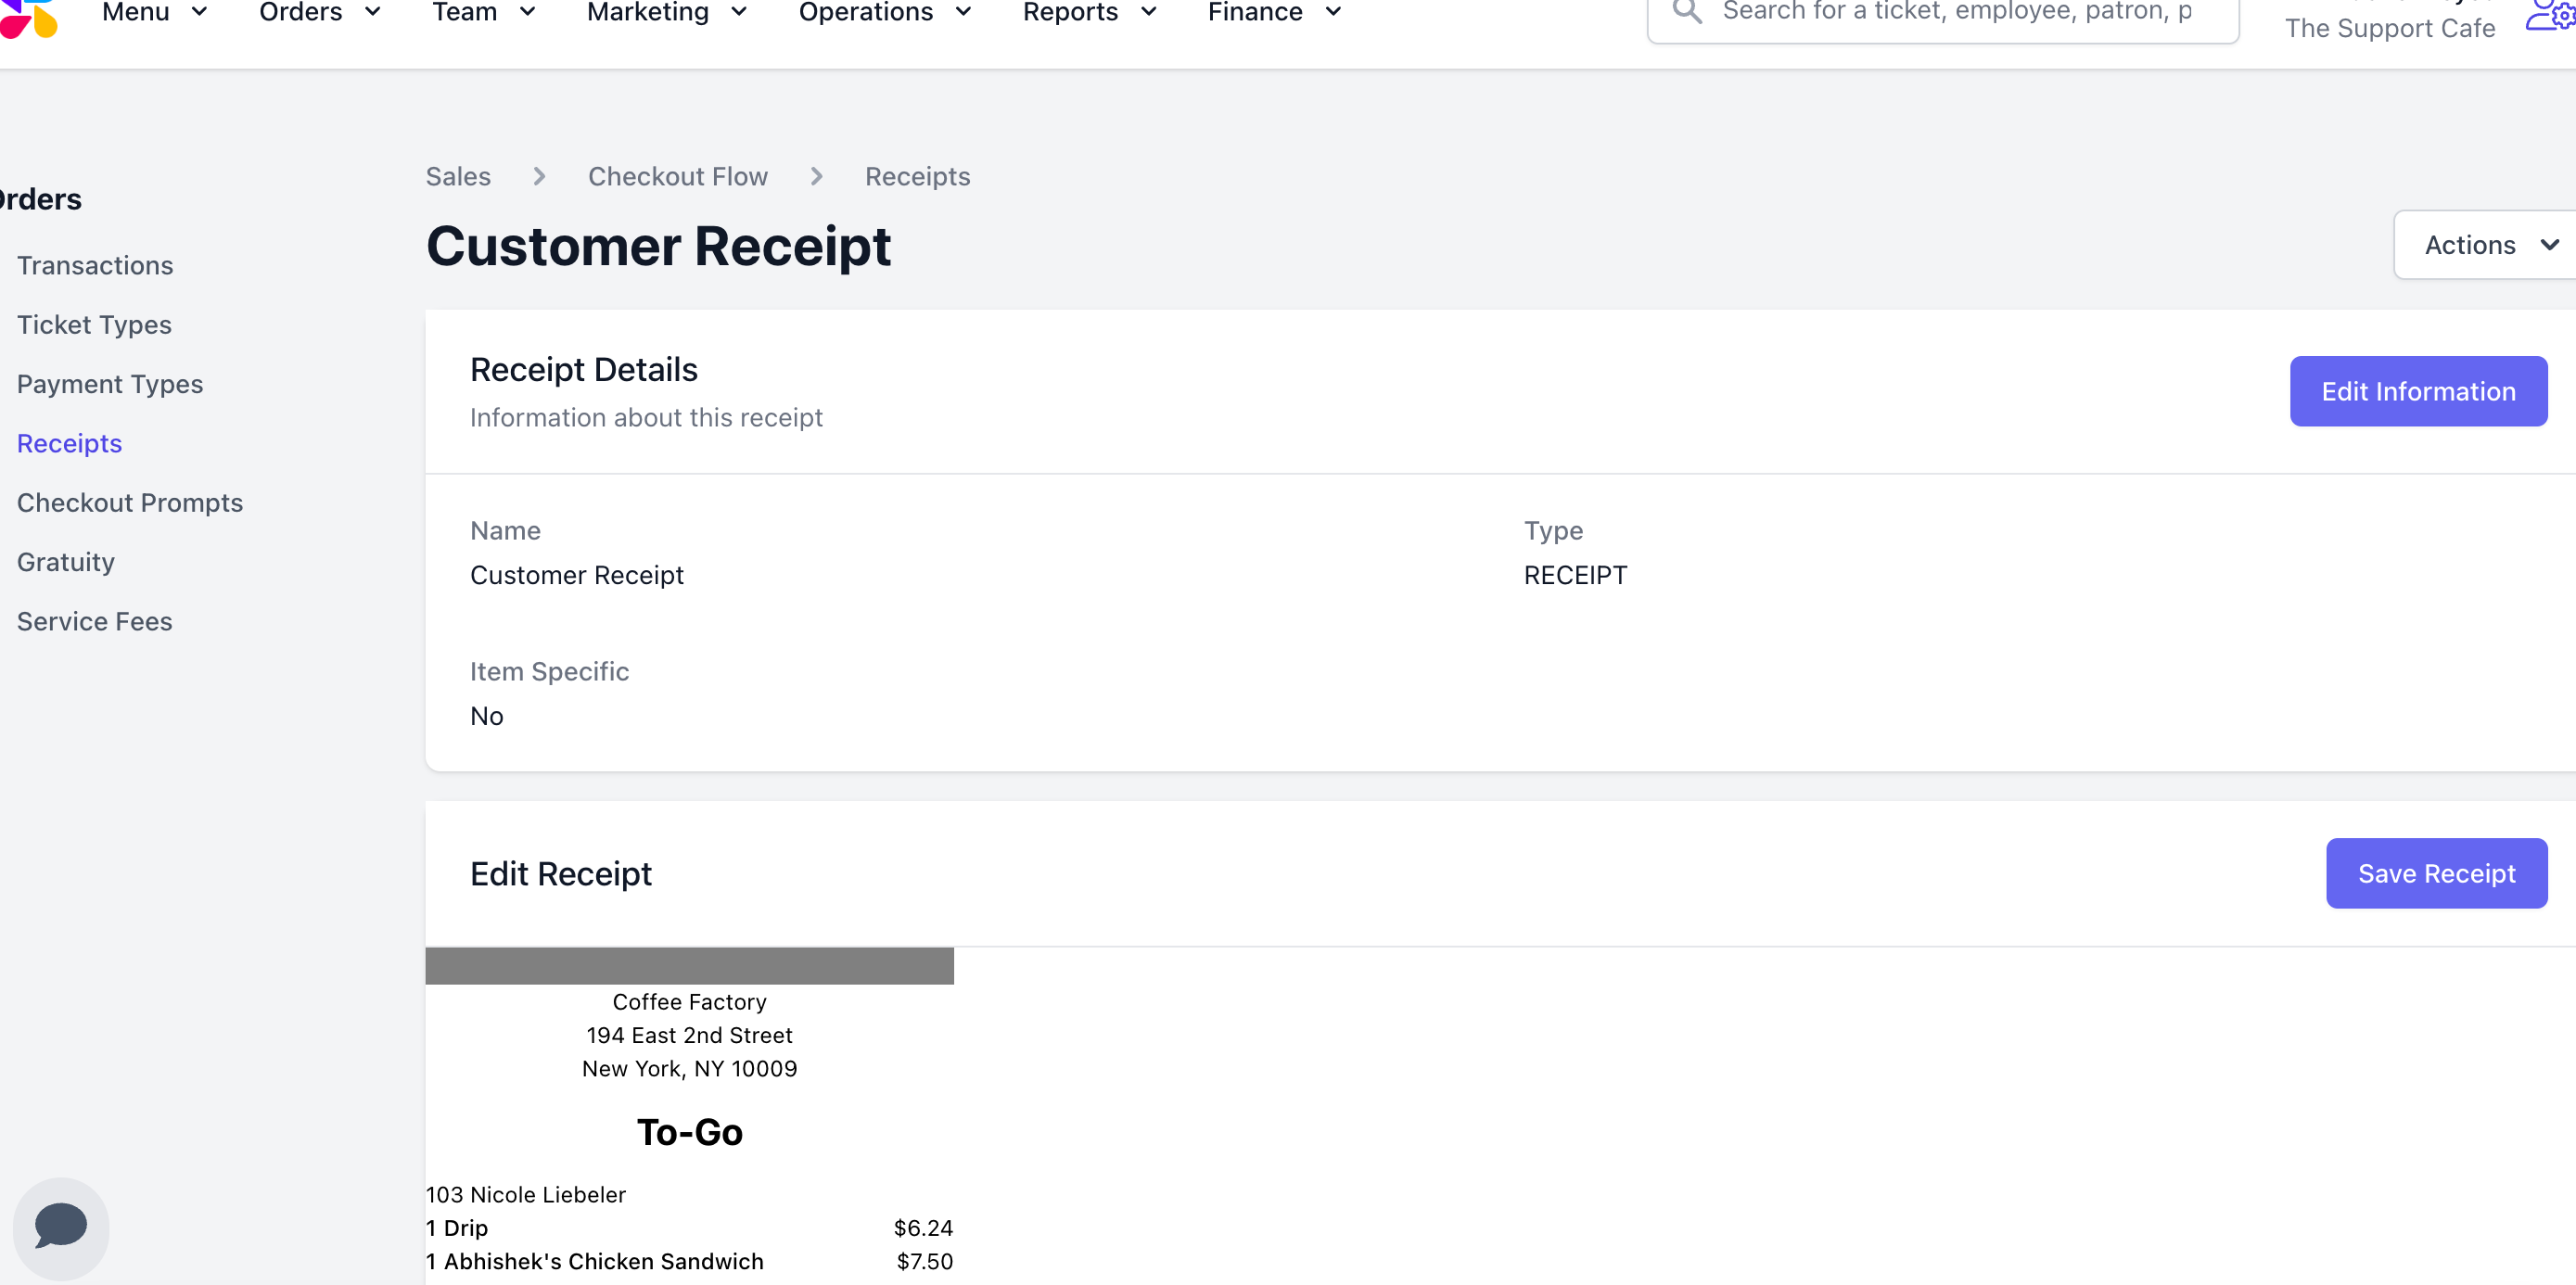
Click **Add** to view the new template. Use the **Edit Information** button to update the template settings if needed.
Your store information will automatically print on the receipt template.
**Receipt Name**
* Name your receipt template (i.e., Back Kitchen Make Ticket, Customer Receipt)
**Receipt Type**
* **Make Ticket:** For employee use
* **Front of House Receipt:** For customers
**Print Items Singular**
* If set to **Yes**, each product on the order will print on a separate ticket
* Recommended to use with the **Dripos - Item Specific** receipt template
**Receipt Template**
* Select an existing template that best fits your shop workflow. These templates can be customized once added!
Click **Add** to view the new template. Use the **Edit Information** button to update the template settings if needed.
Your store information will automatically print on the receipt template.
 ***
## Customize Templates
Customize Dripos receipt templates to include a store logo, increase font sizes, and more.
➡️ Once receipt and make ticket templates have been added, create printer rules on the Point of Sale!
***
## Customize Templates
Customize Dripos receipt templates to include a store logo, increase font sizes, and more.
➡️ Once receipt and make ticket templates have been added, create printer rules on the Point of Sale!