> ## Documentation Index
> Fetch the complete documentation index at: https://support.dripos.com/llms.txt
> Use this file to discover all available pages before exploring further.
# Printer Troubleshooting
## Epson Printer Troubleshooting Guides
Turn off the printer
Remove the bottom protective cover of the printer and locate the **Reset button**
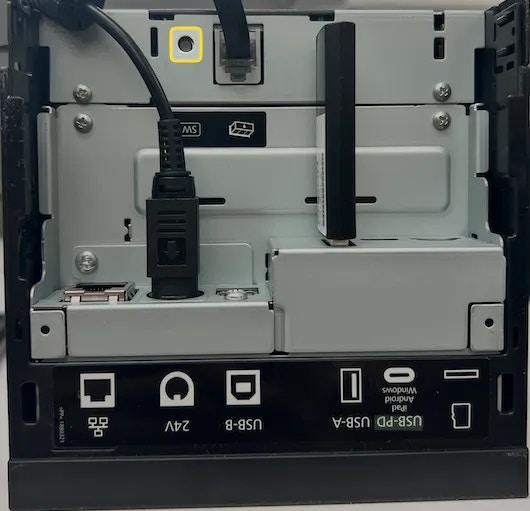 Use a small tipped object such as a pen or toothpick to press the Reset button. Hold down the Reset Button for 5 seconds, and then simuanteously turn on the printer **without** releasing the Reset button.
The printer will print a "Initialization Complete" message when turned on.
Release the Reset button. The printer will be restored to its Factory Default Settings and an IP address slip will print out.
Delete the current printer setup and follow [these steps](/hardware/print/basics/print-setup) to repair the printer
Use a small tipped object such as a pen or toothpick to press the Reset button. Hold down the Reset Button for 5 seconds, and then simuanteously turn on the printer **without** releasing the Reset button.
The printer will print a "Initialization Complete" message when turned on.
Release the Reset button. The printer will be restored to its Factory Default Settings and an IP address slip will print out.
Delete the current printer setup and follow [these steps](/hardware/print/basics/print-setup) to repair the printer
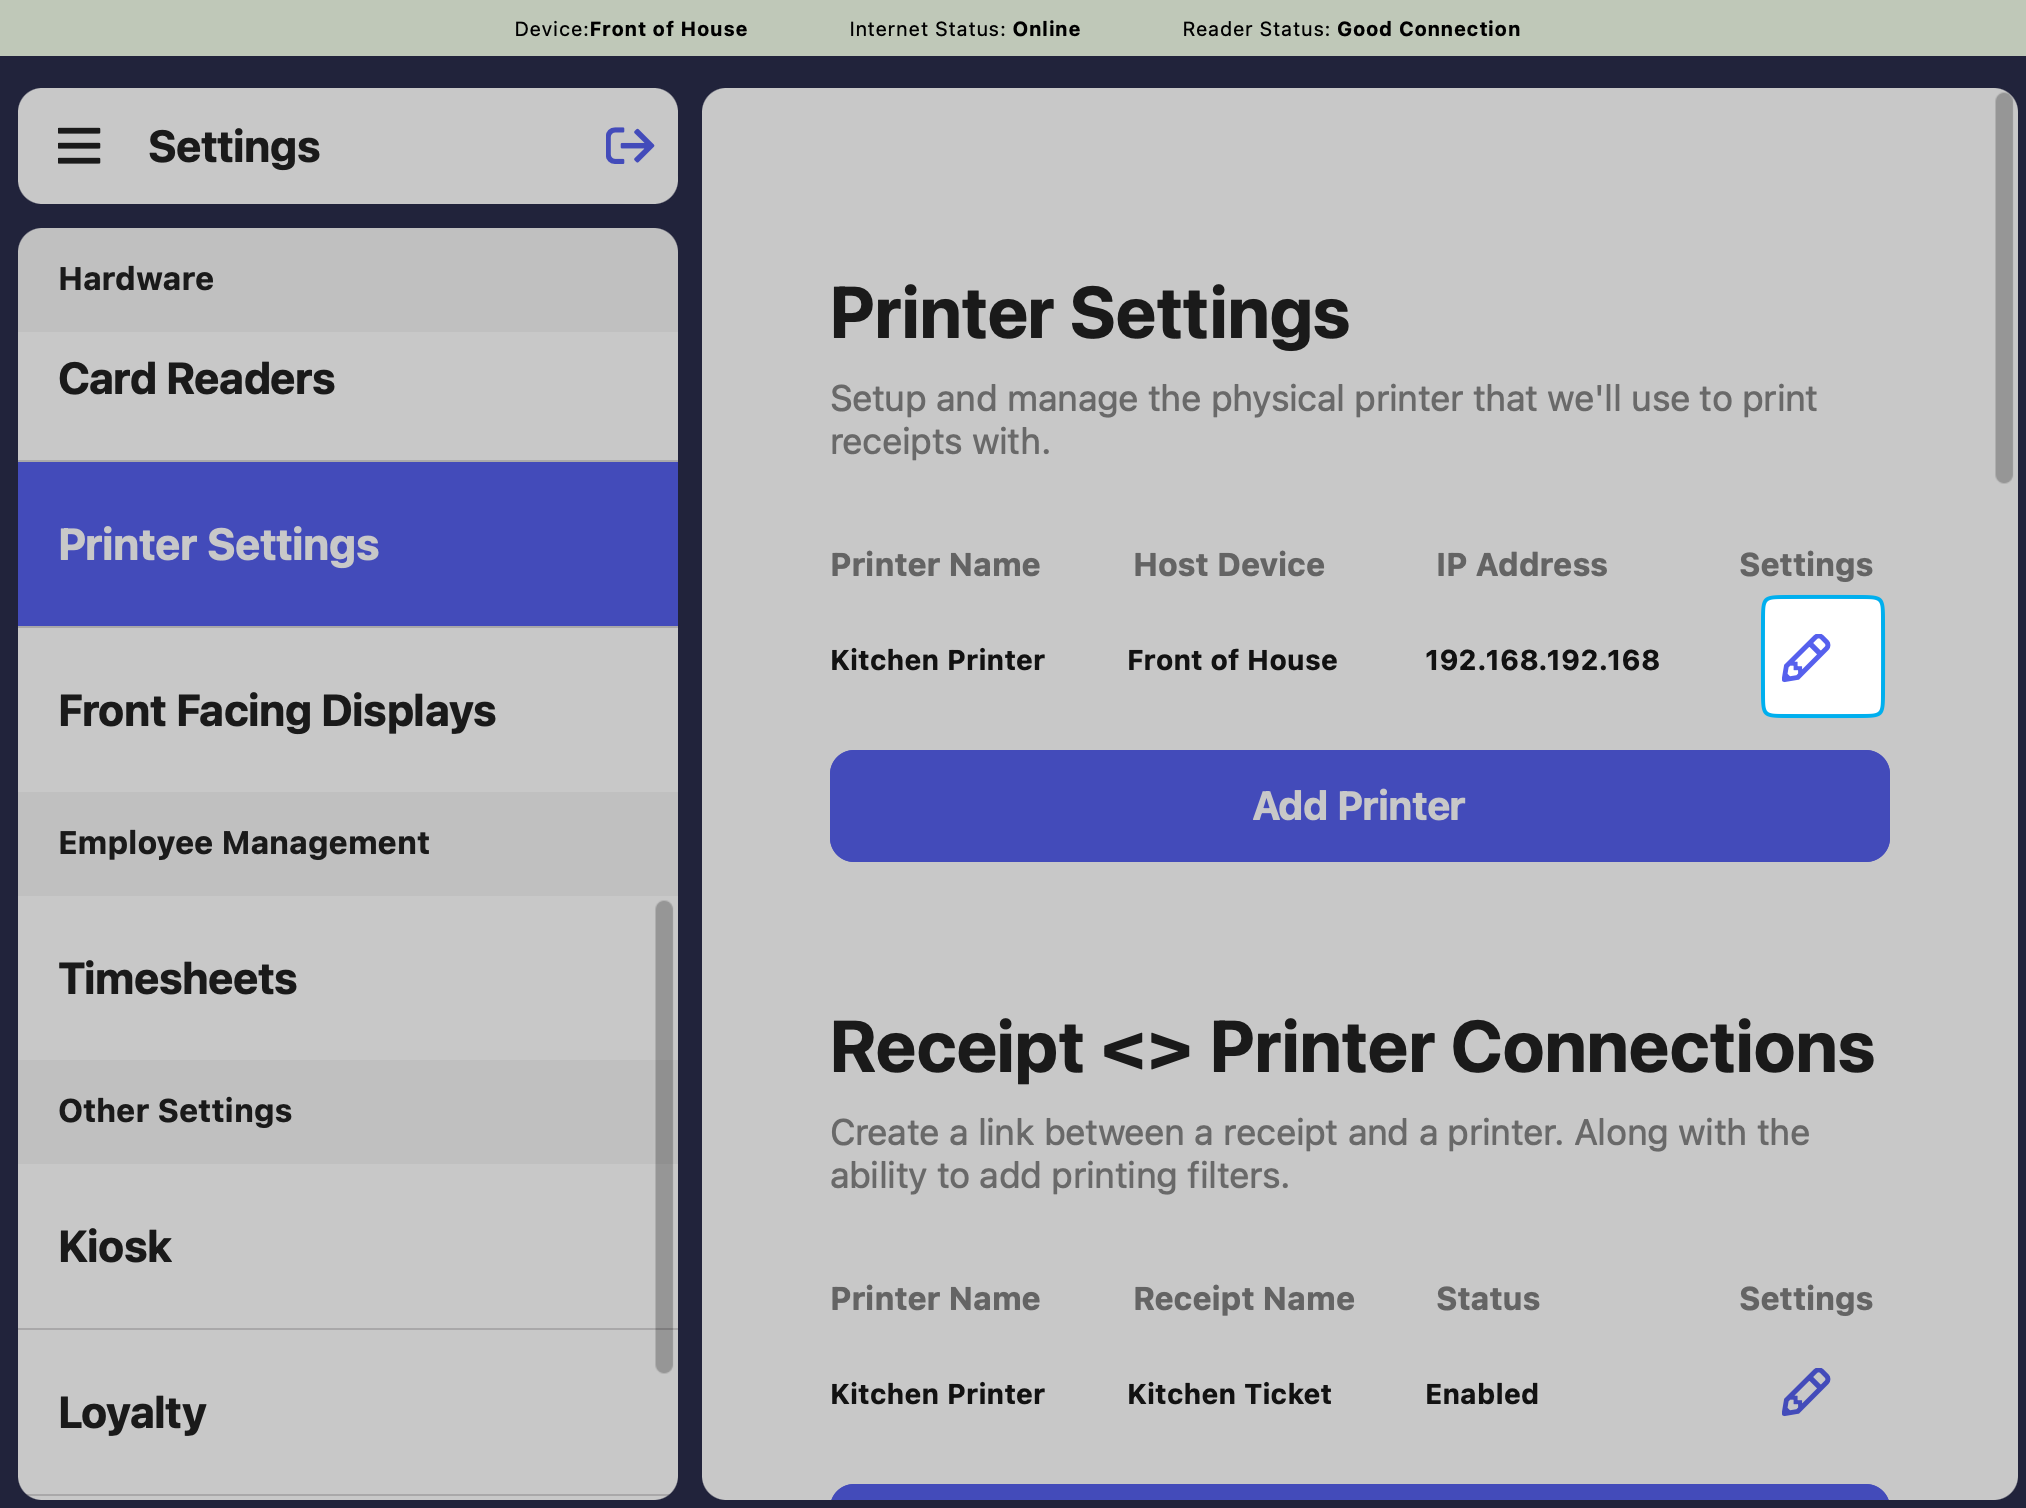
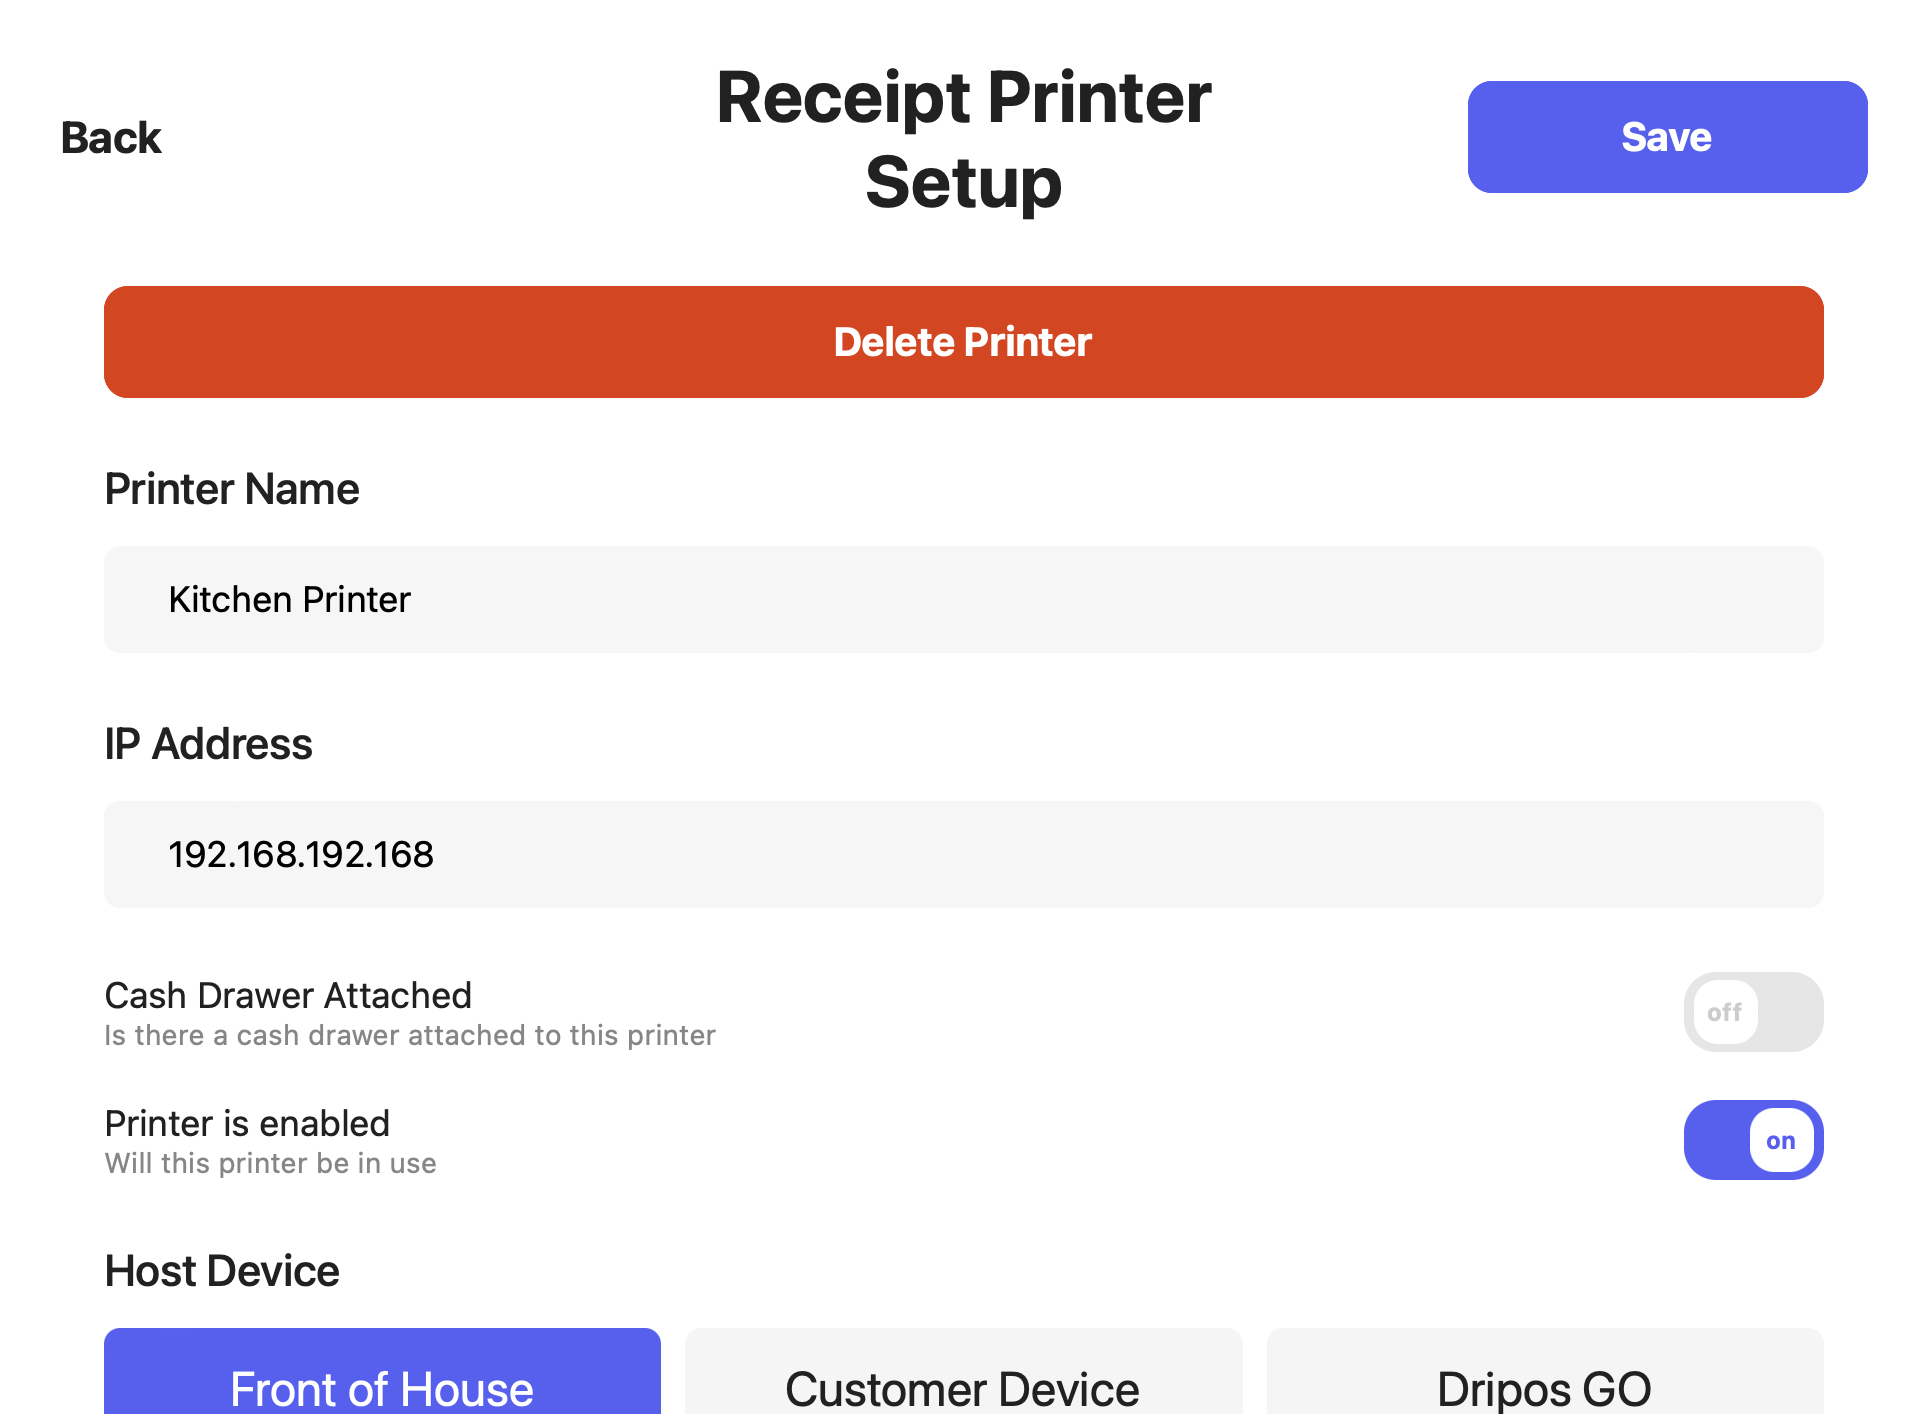 If your printer has randomly stopped printing, most likely the IP address has jumped. Easily update the IP address in your Dripos system.
Turn off the printer and then turn the printer back on. One the lights stabilize, an IP address slip will print out.
On the **Point of Sale** > **Settings** > **Printers** > check if the IP address in the Dripos system matches exactly the one that just printed out.
If it does **not** match, press **Edit** and update the IP address > press **Save**.
If your printer has randomly stopped printing, most likely the IP address has jumped. Easily update the IP address in your Dripos system.
Turn off the printer and then turn the printer back on. One the lights stabilize, an IP address slip will print out.
On the **Point of Sale** > **Settings** > **Printers** > check if the IP address in the Dripos system matches exactly the one that just printed out.
If it does **not** match, press **Edit** and update the IP address > press **Save**.
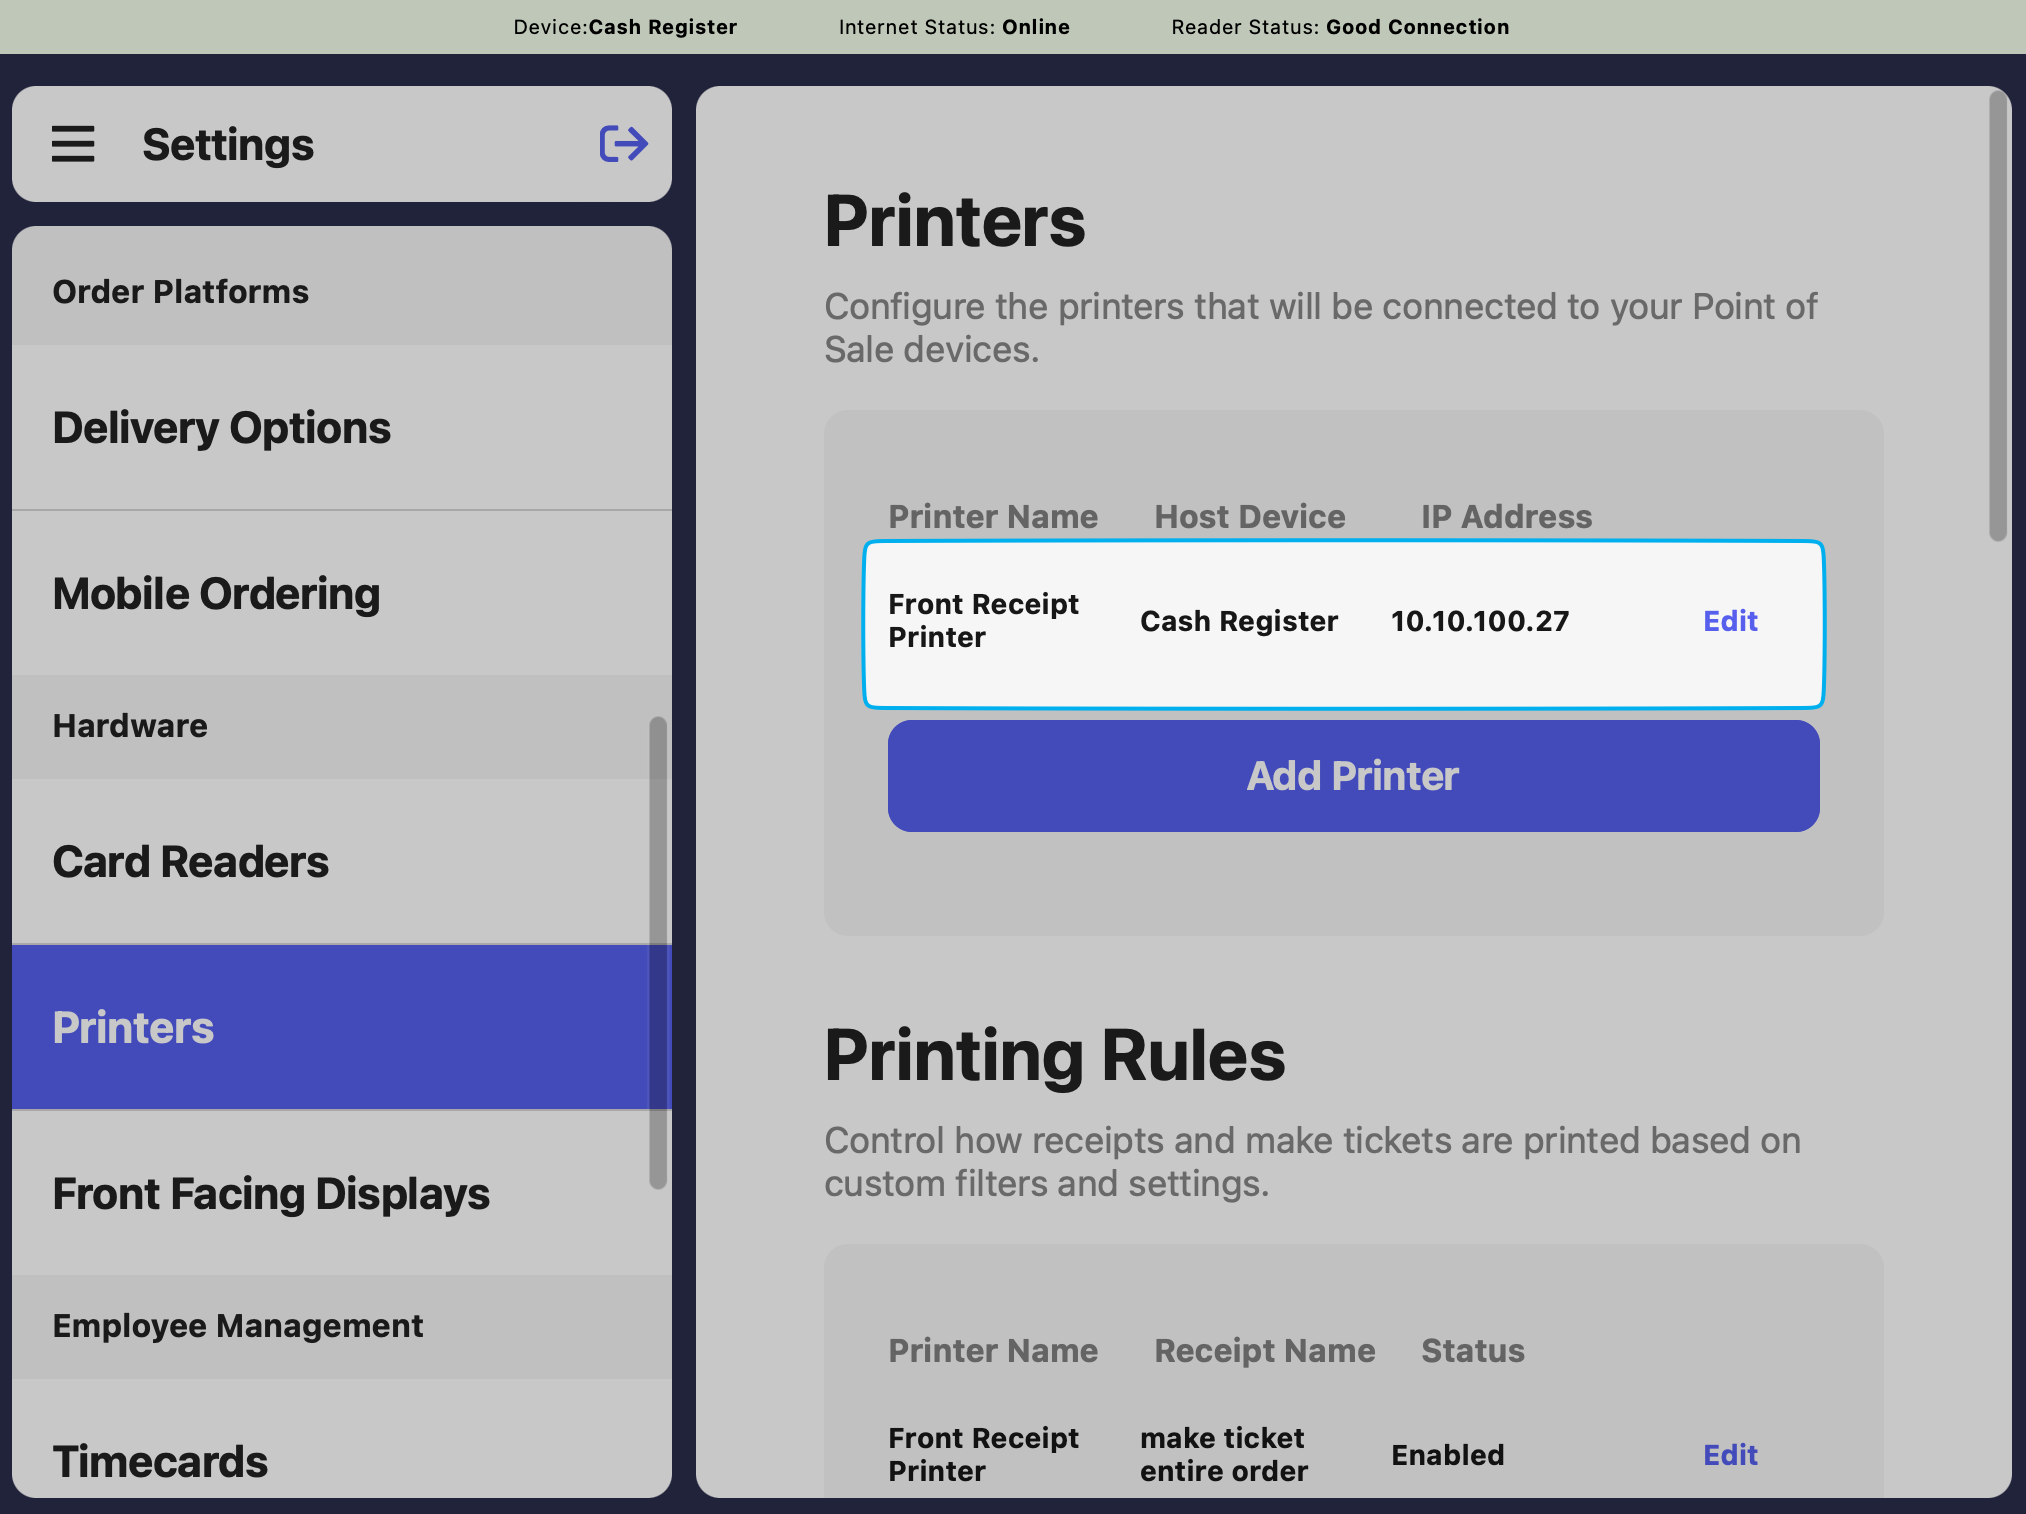 Print a ticket. The printer will now work as usual!
## Legacy WiFi Printer
The following is requirement to set up a Wi-Fi dongle with an Epson printer:
* [Apple App Store](https://apps.apple.com/us/app/epson-tm-utility/id726122574)
* [Google Play Store](https://play.google.com/store/apps/details?id=com.epson.tmutility\&hl=en)
With the Epson Wi-fi USB Dongle plugged into the USB-A Port of the printer, turn on the printer using the power button to automatically initiate the Wi-fi SimpleAP setup. Two prompts should print:
Print a ticket. The printer will now work as usual!
## Legacy WiFi Printer
The following is requirement to set up a Wi-Fi dongle with an Epson printer:
* [Apple App Store](https://apps.apple.com/us/app/epson-tm-utility/id726122574)
* [Google Play Store](https://play.google.com/store/apps/details?id=com.epson.tmutility\&hl=en)
With the Epson Wi-fi USB Dongle plugged into the USB-A Port of the printer, turn on the printer using the power button to automatically initiate the Wi-fi SimpleAP setup. Two prompts should print:
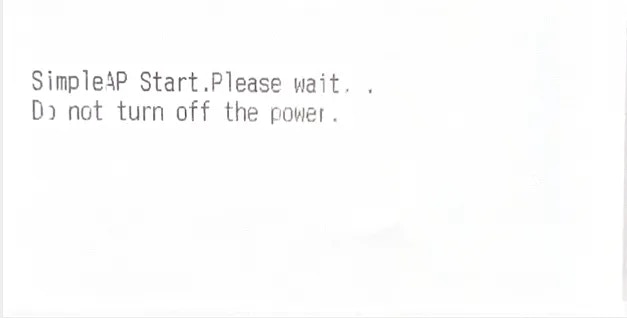
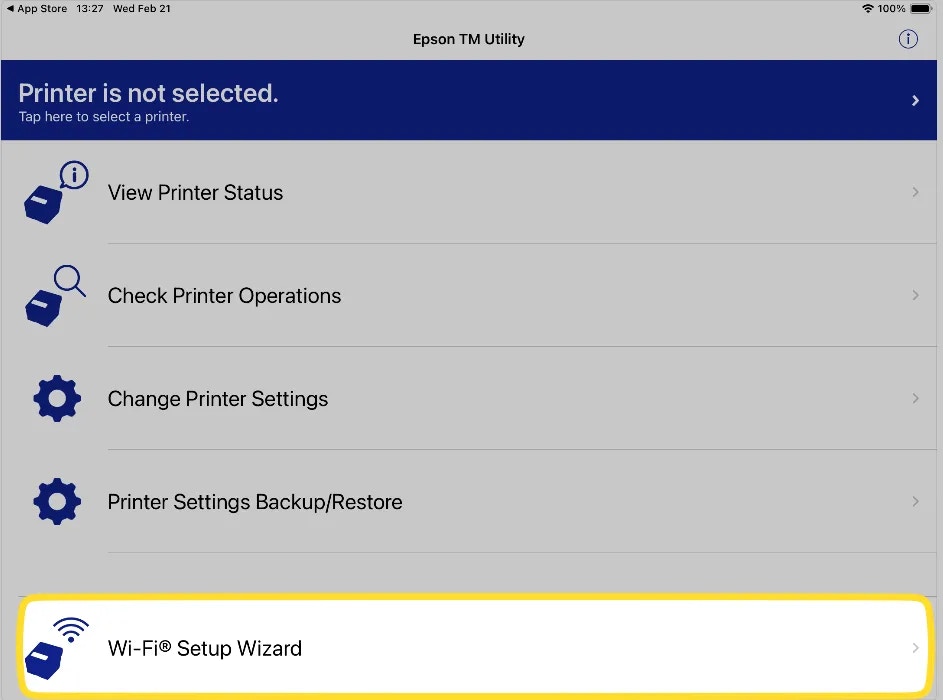
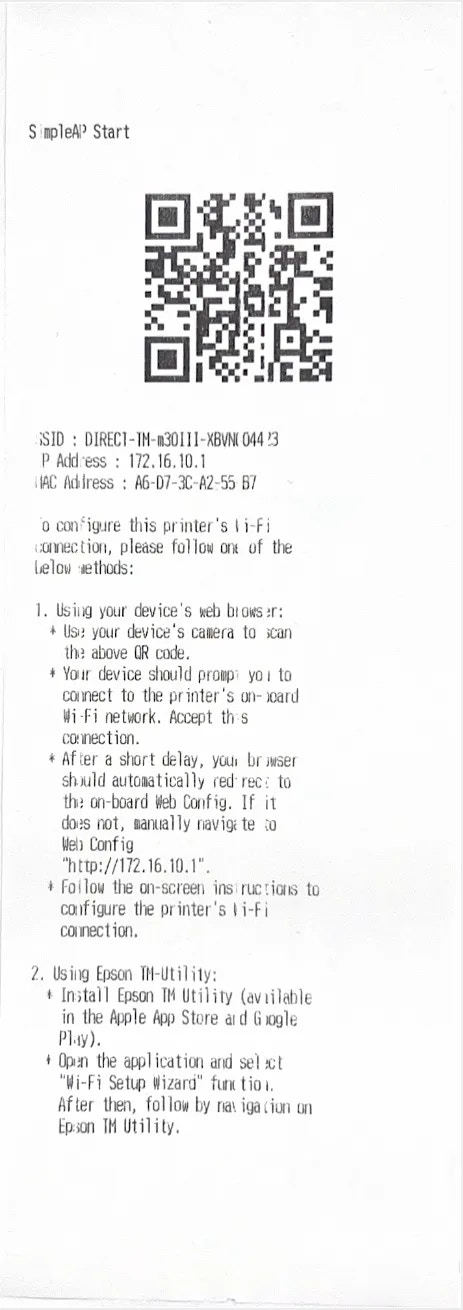 Open the **Epson TM Utility App** from your phone or tablet and begin setup in the **Wi-Fi Setup Wizard:**
Ensure that your phone or tablet is connected to the same Wi-Fi you want to connect to the printer to.
Open the **Epson TM Utility App** from your phone or tablet and begin setup in the **Wi-Fi Setup Wizard:**
Ensure that your phone or tablet is connected to the same Wi-Fi you want to connect to the printer to.
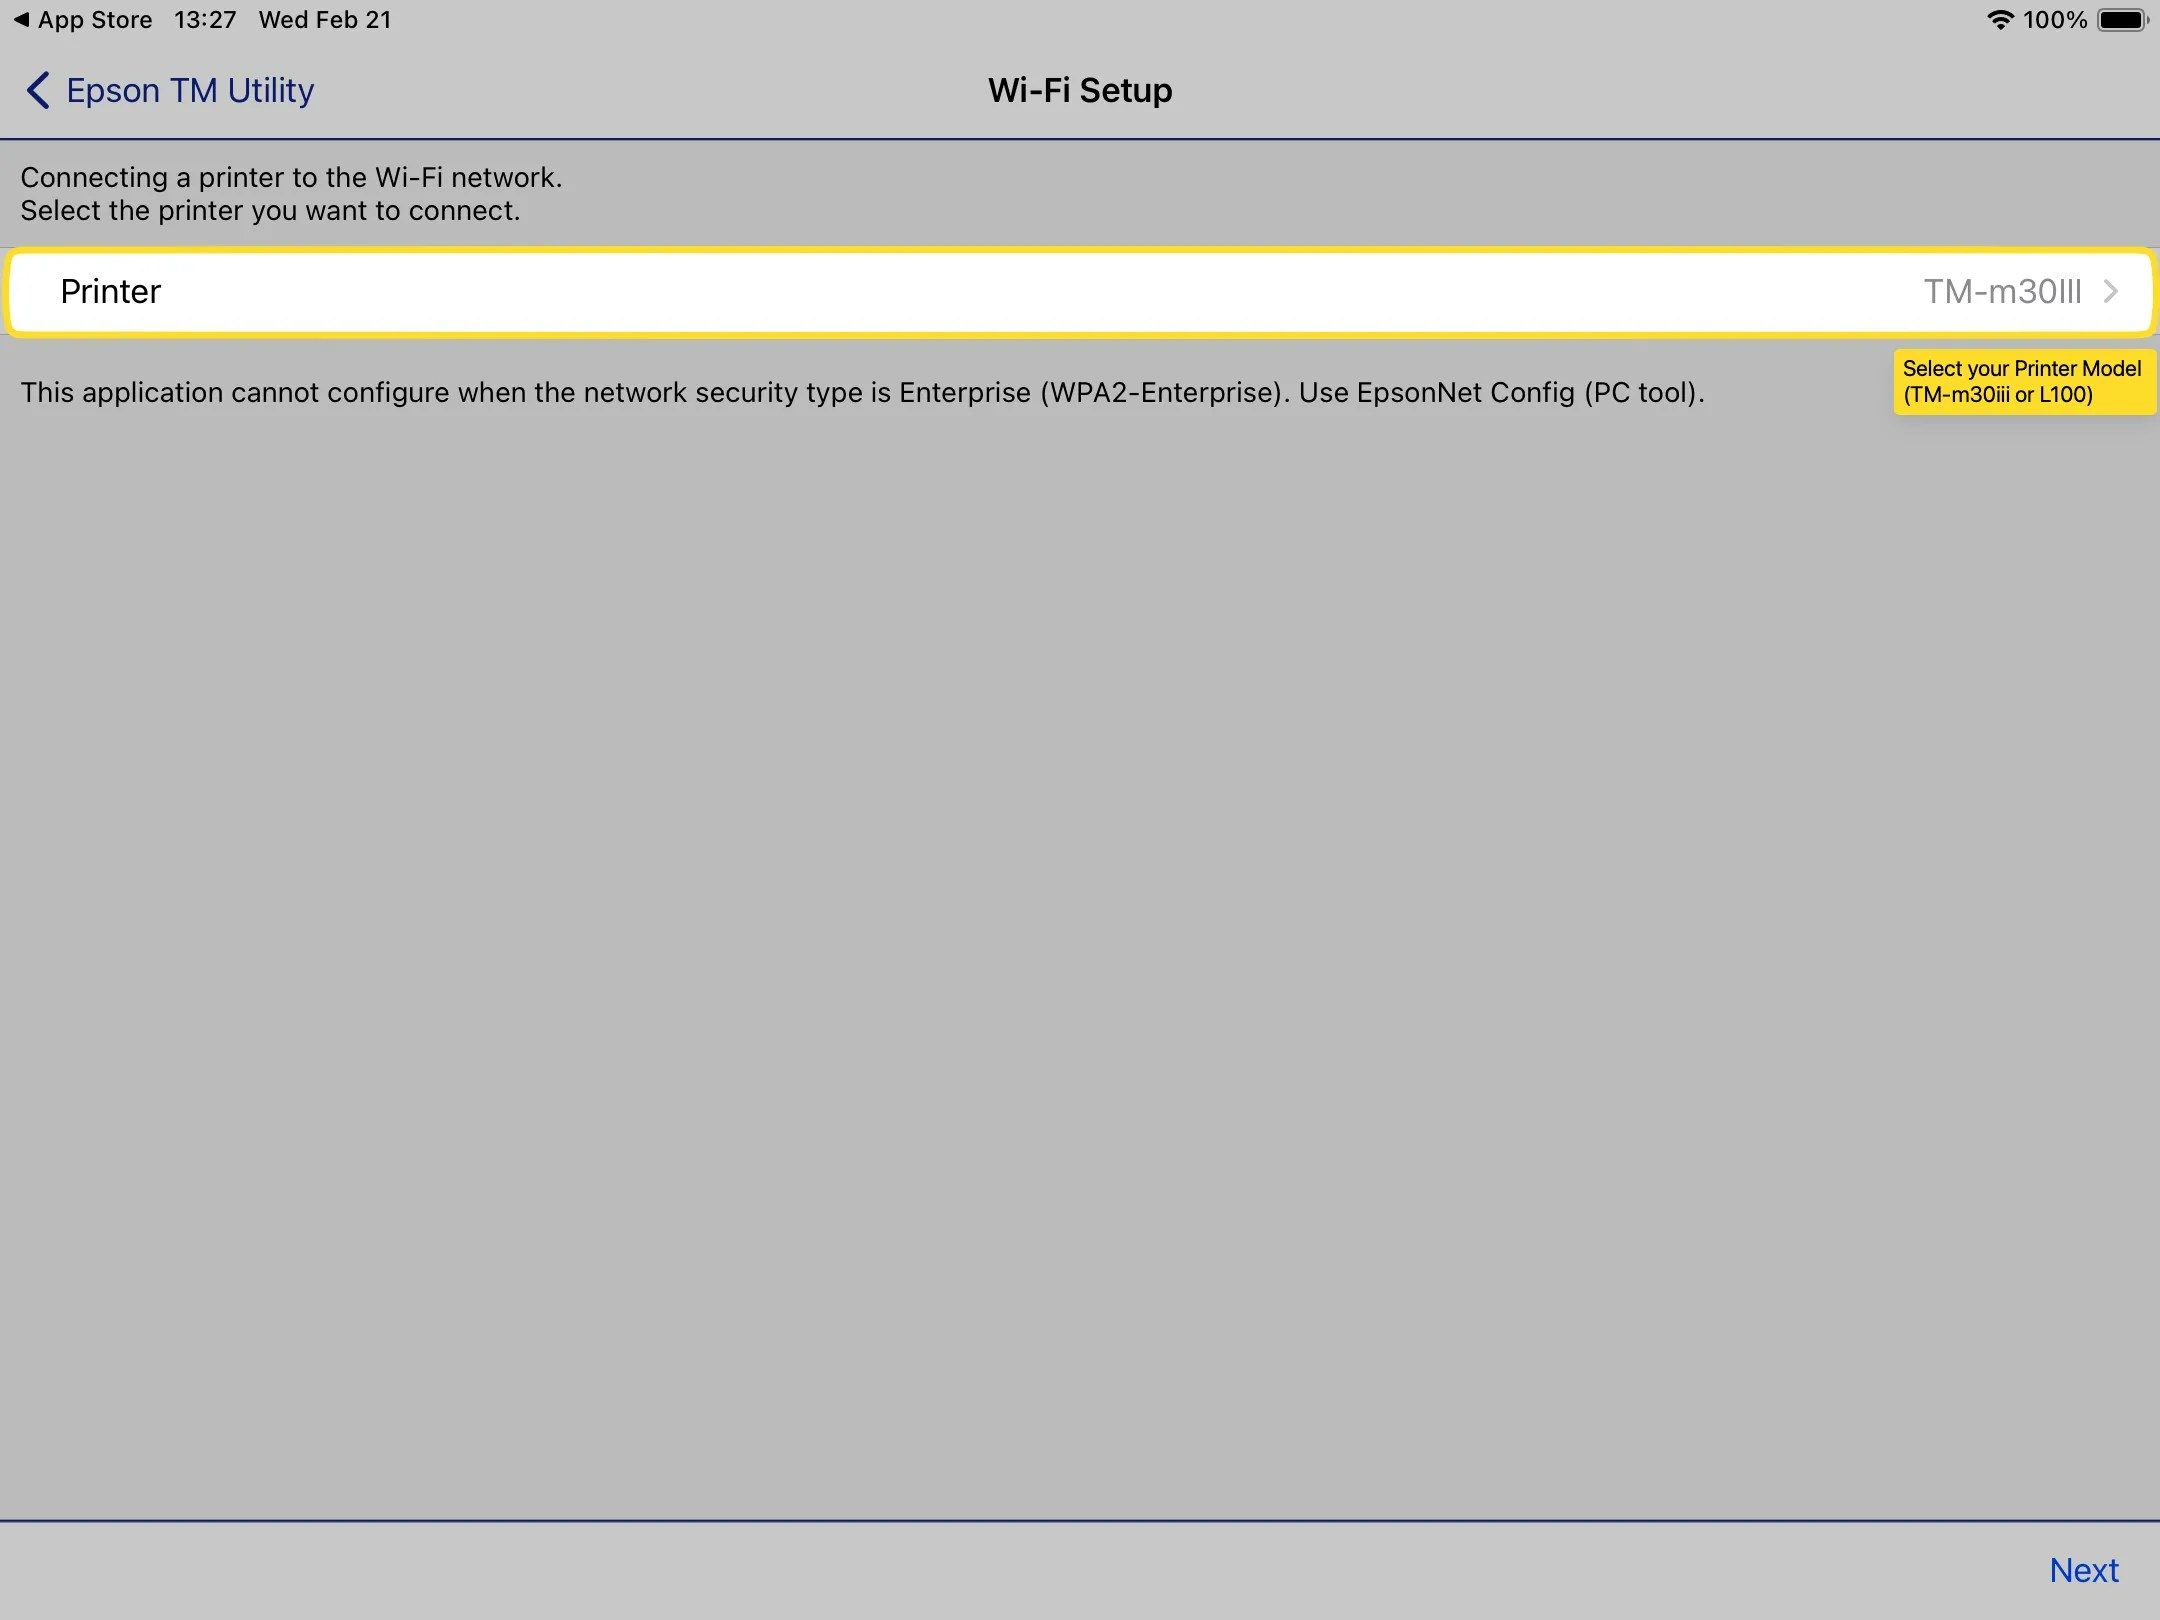
 Select your **Printer Model**, either the **TM30iii** or hte **L100** depending on your model
 The **TM Utility App** will walk through the step-by-step process to connect the app to your printer.
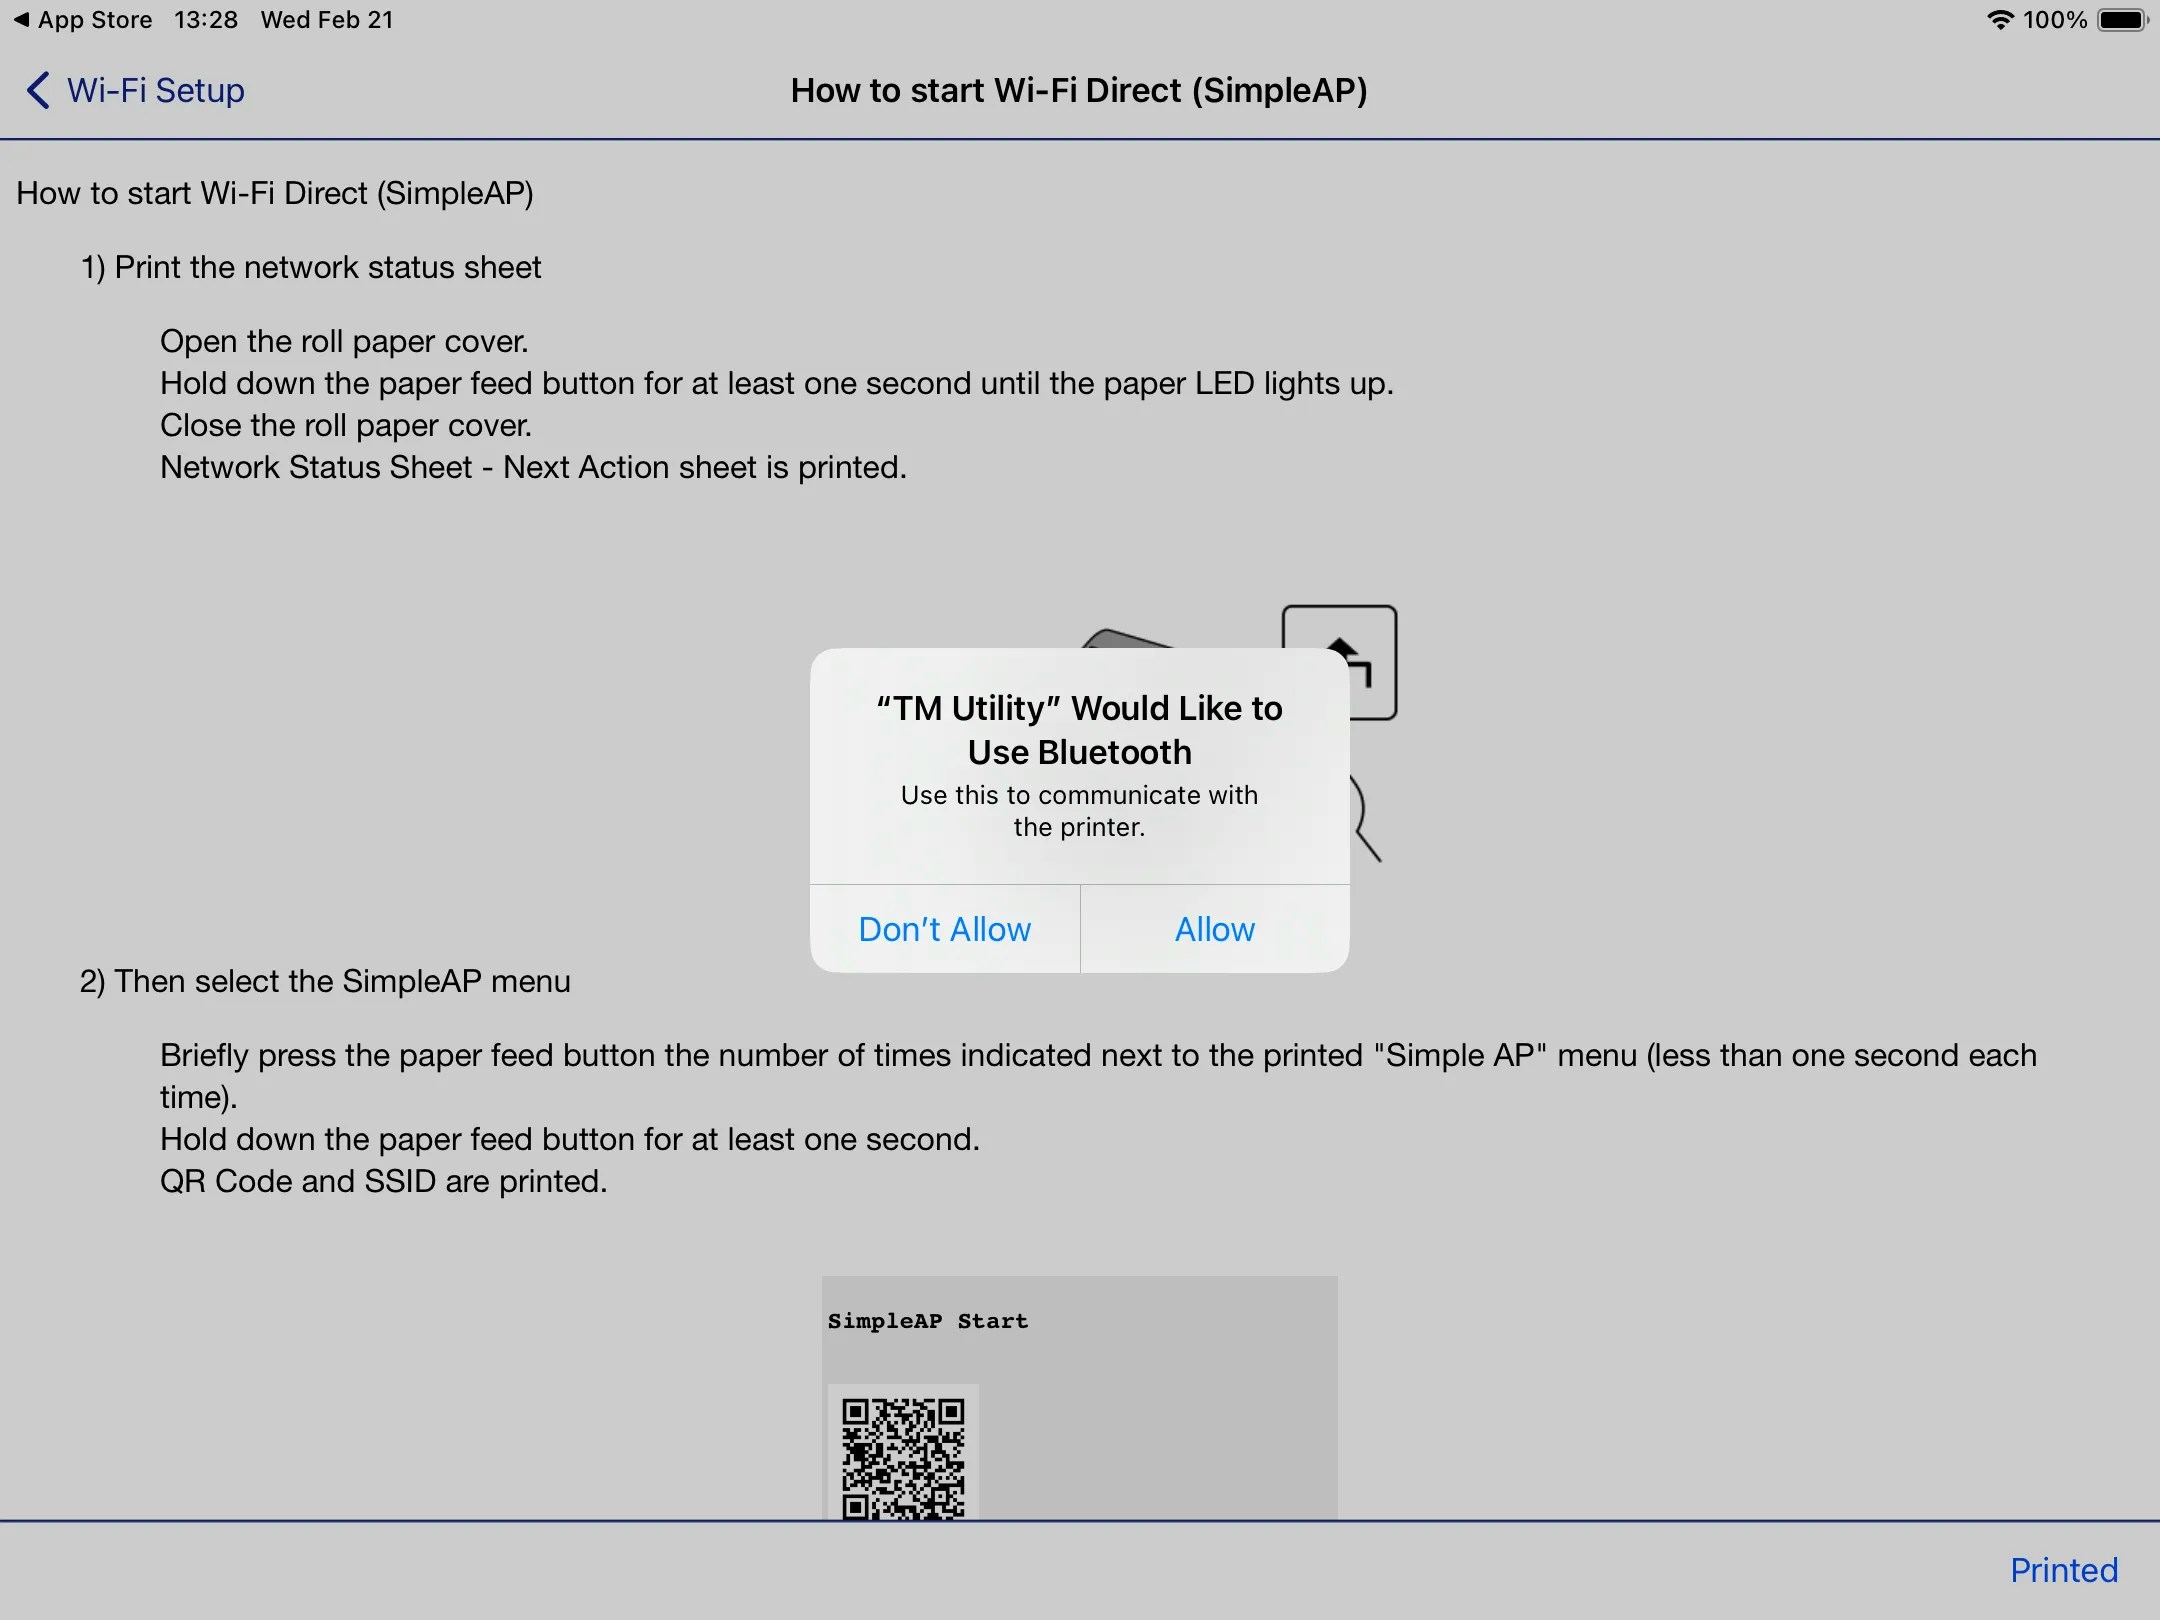
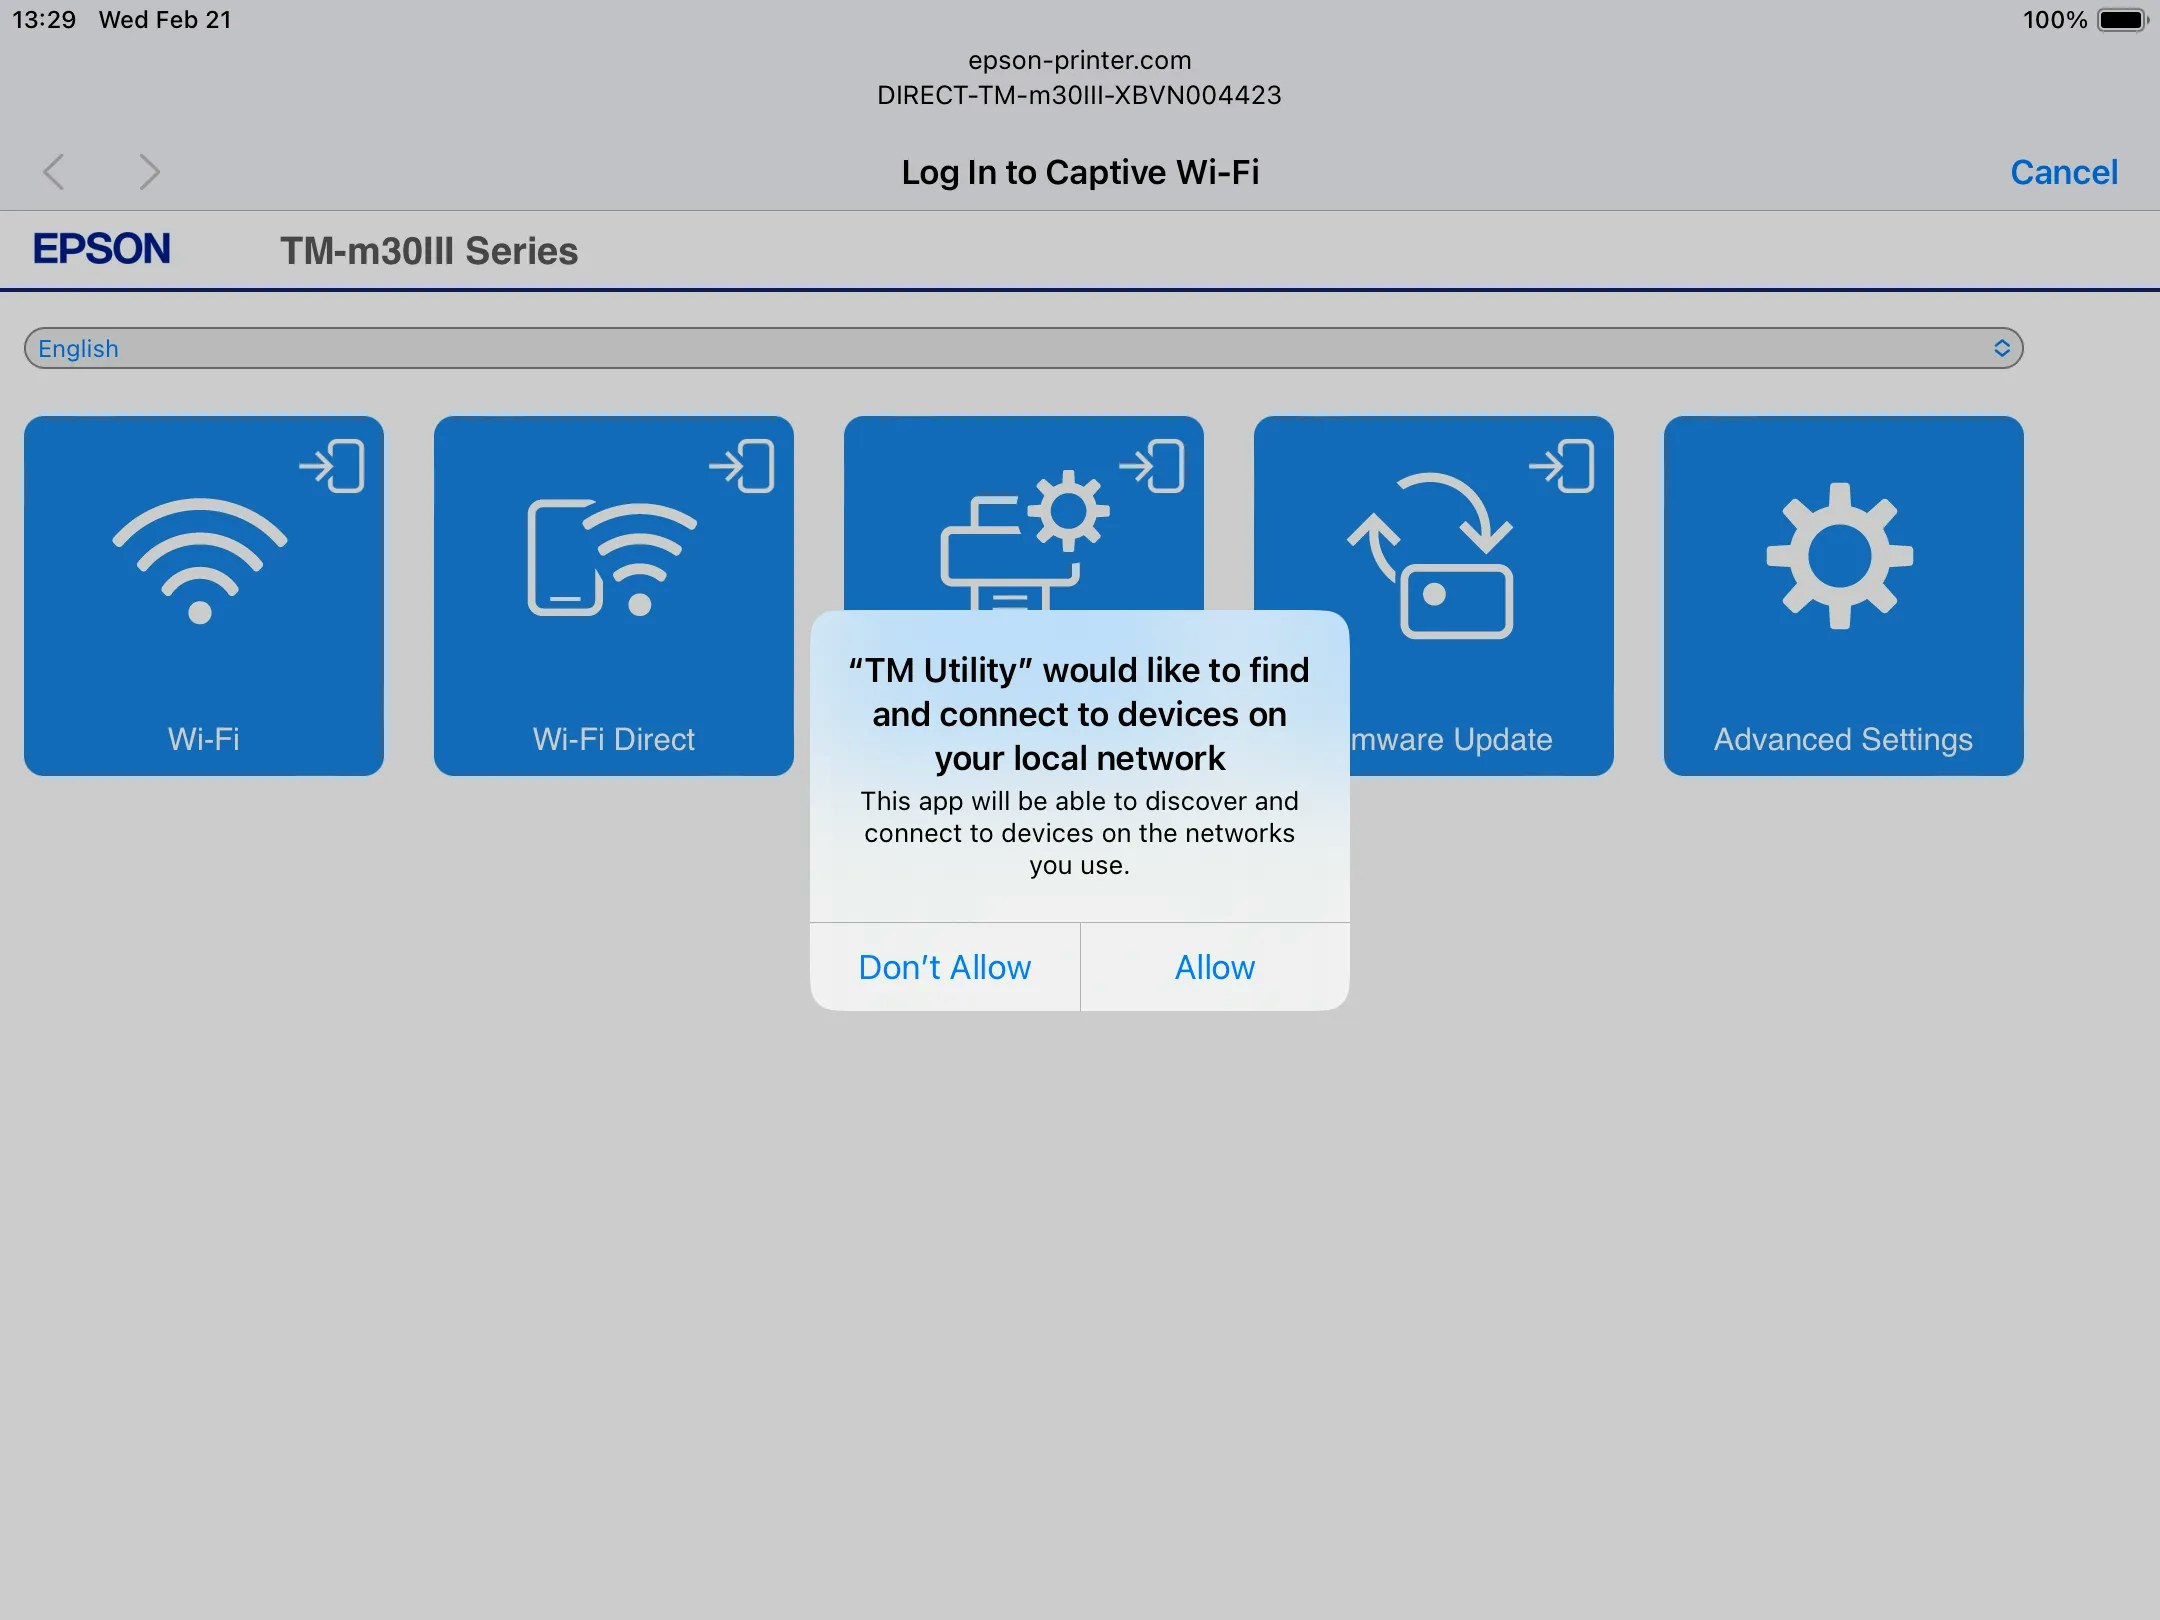
Press **Allow** when the app prompts for permissions as it looks to connect to your device:
The **TM Utility App** will walk through the step-by-step process to connect the app to your printer.
Press **Allow** when the app prompts for permissions as it looks to connect to your device:
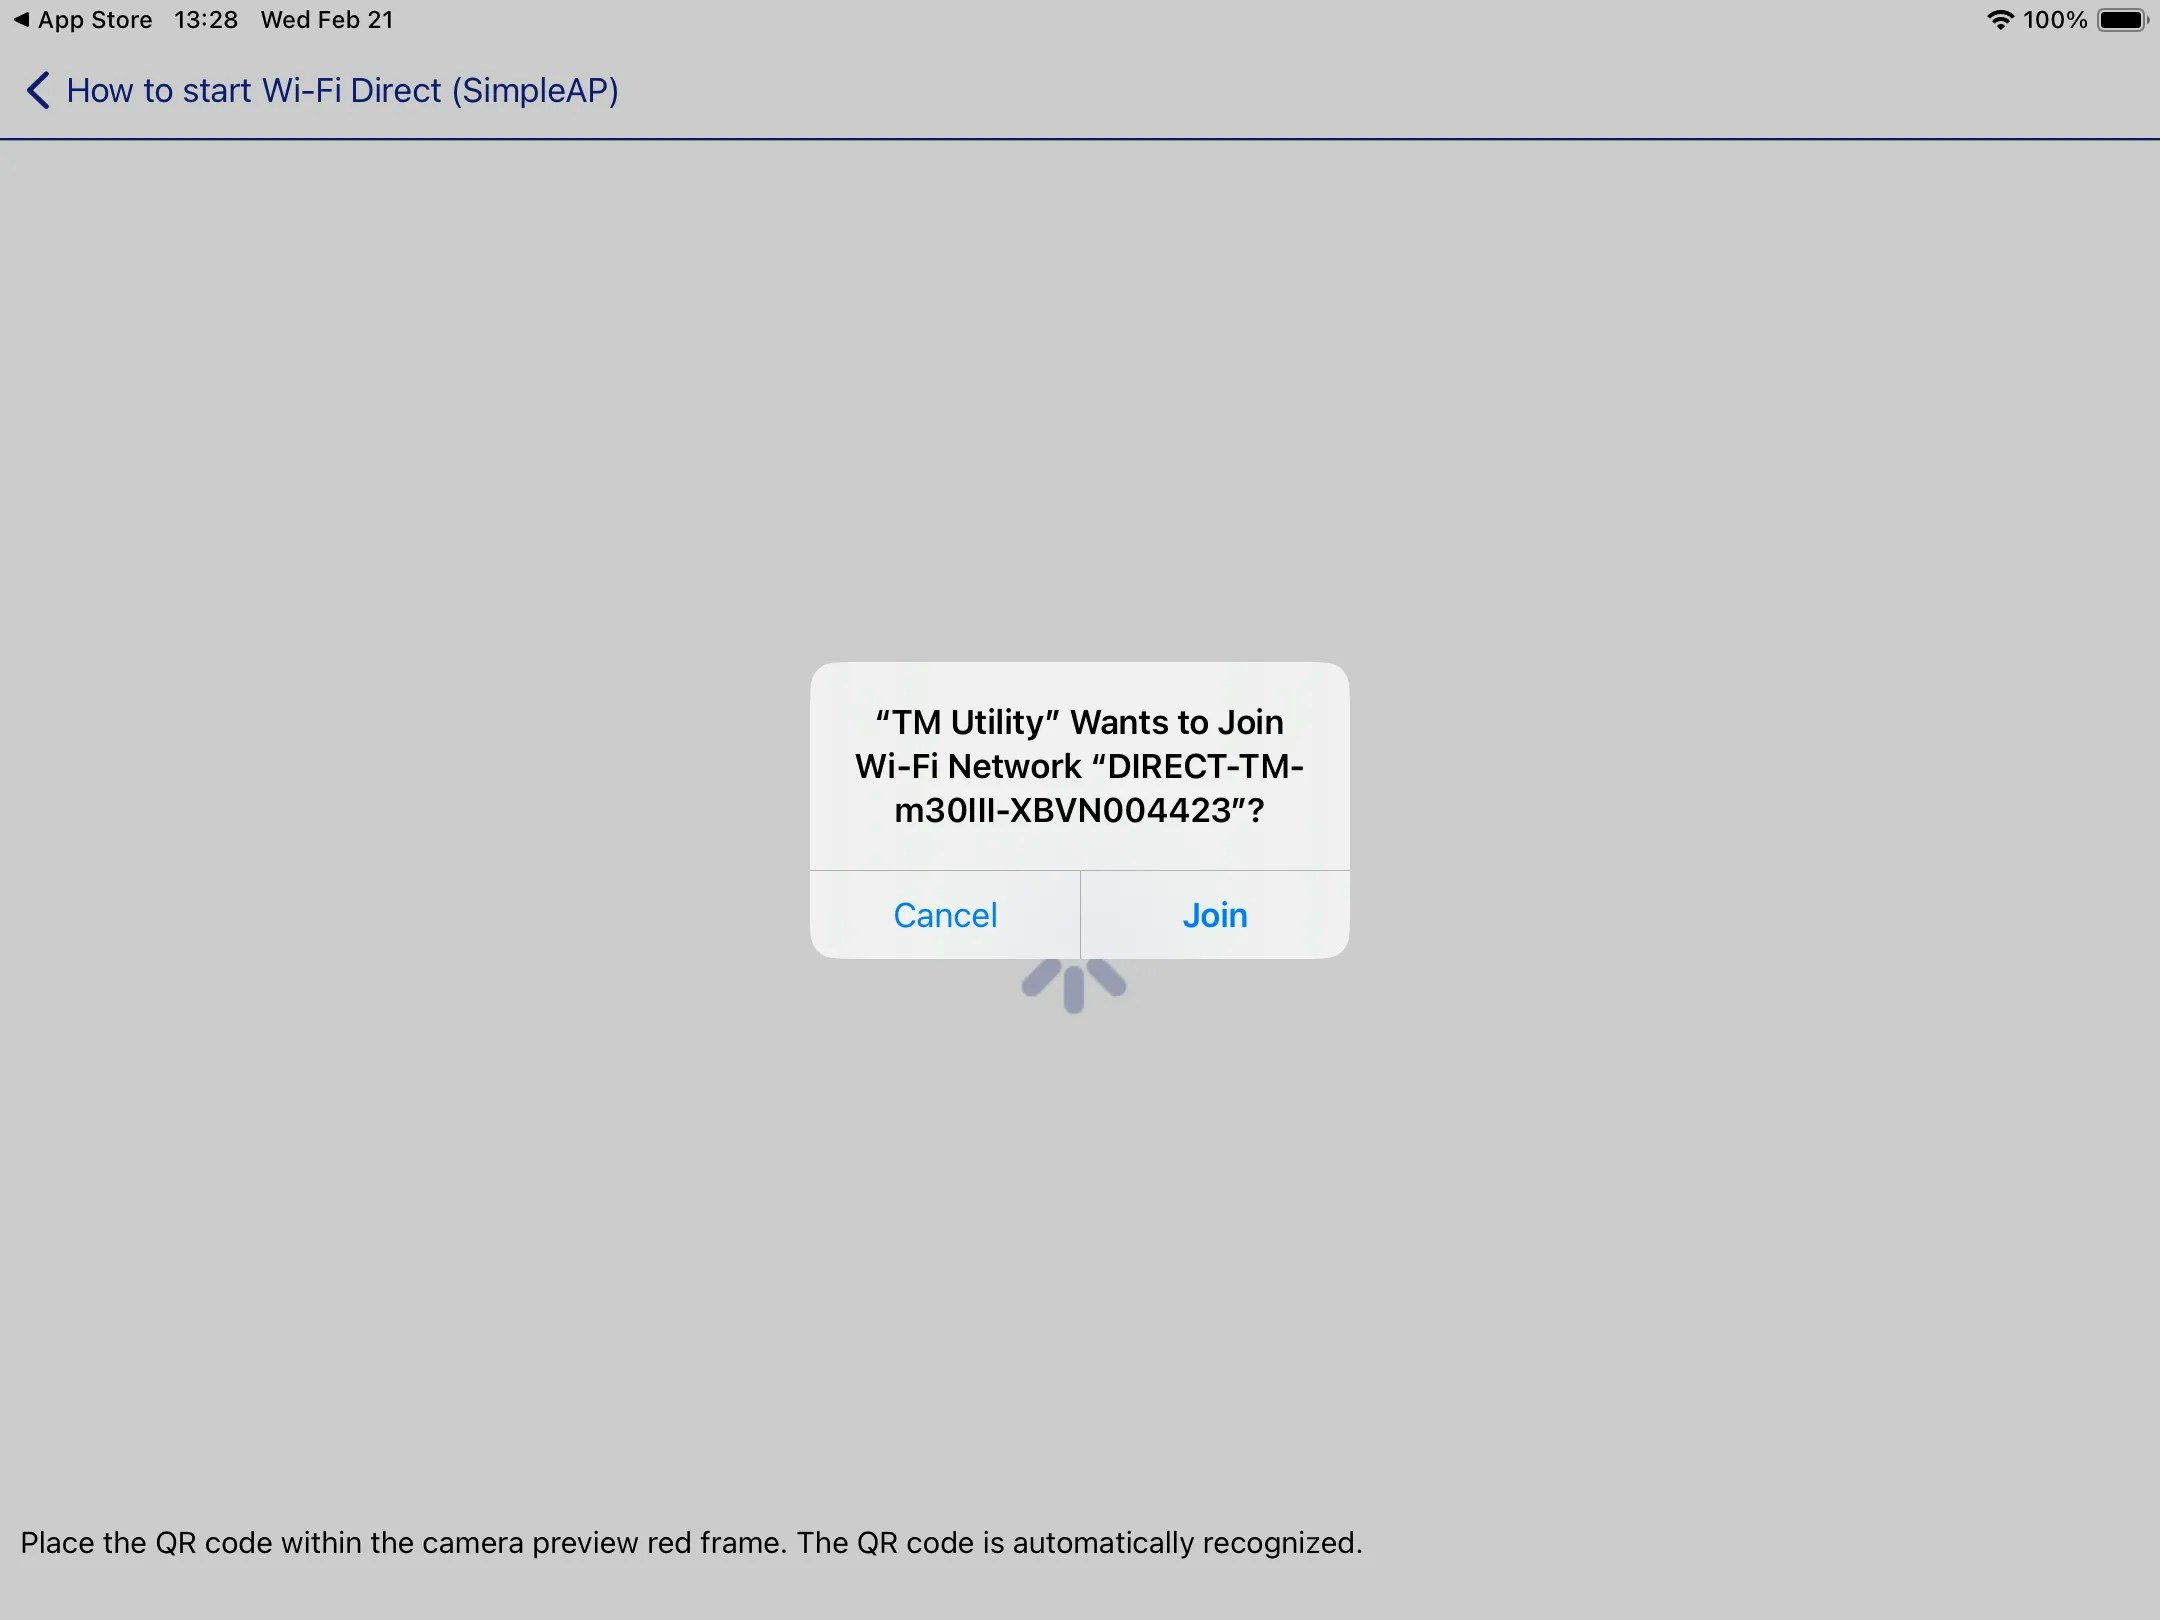
 The app will prompt that it wants to join a Wi-Fi network named *DIRECT-TM-xxxxx*. Click **Join**.
It will ask for a password. **The first time password is the serial number on the back of your printer**.
The app will prompt that it wants to join a Wi-Fi network named *DIRECT-TM-xxxxx*. Click **Join**.
It will ask for a password. **The first time password is the serial number on the back of your printer**.
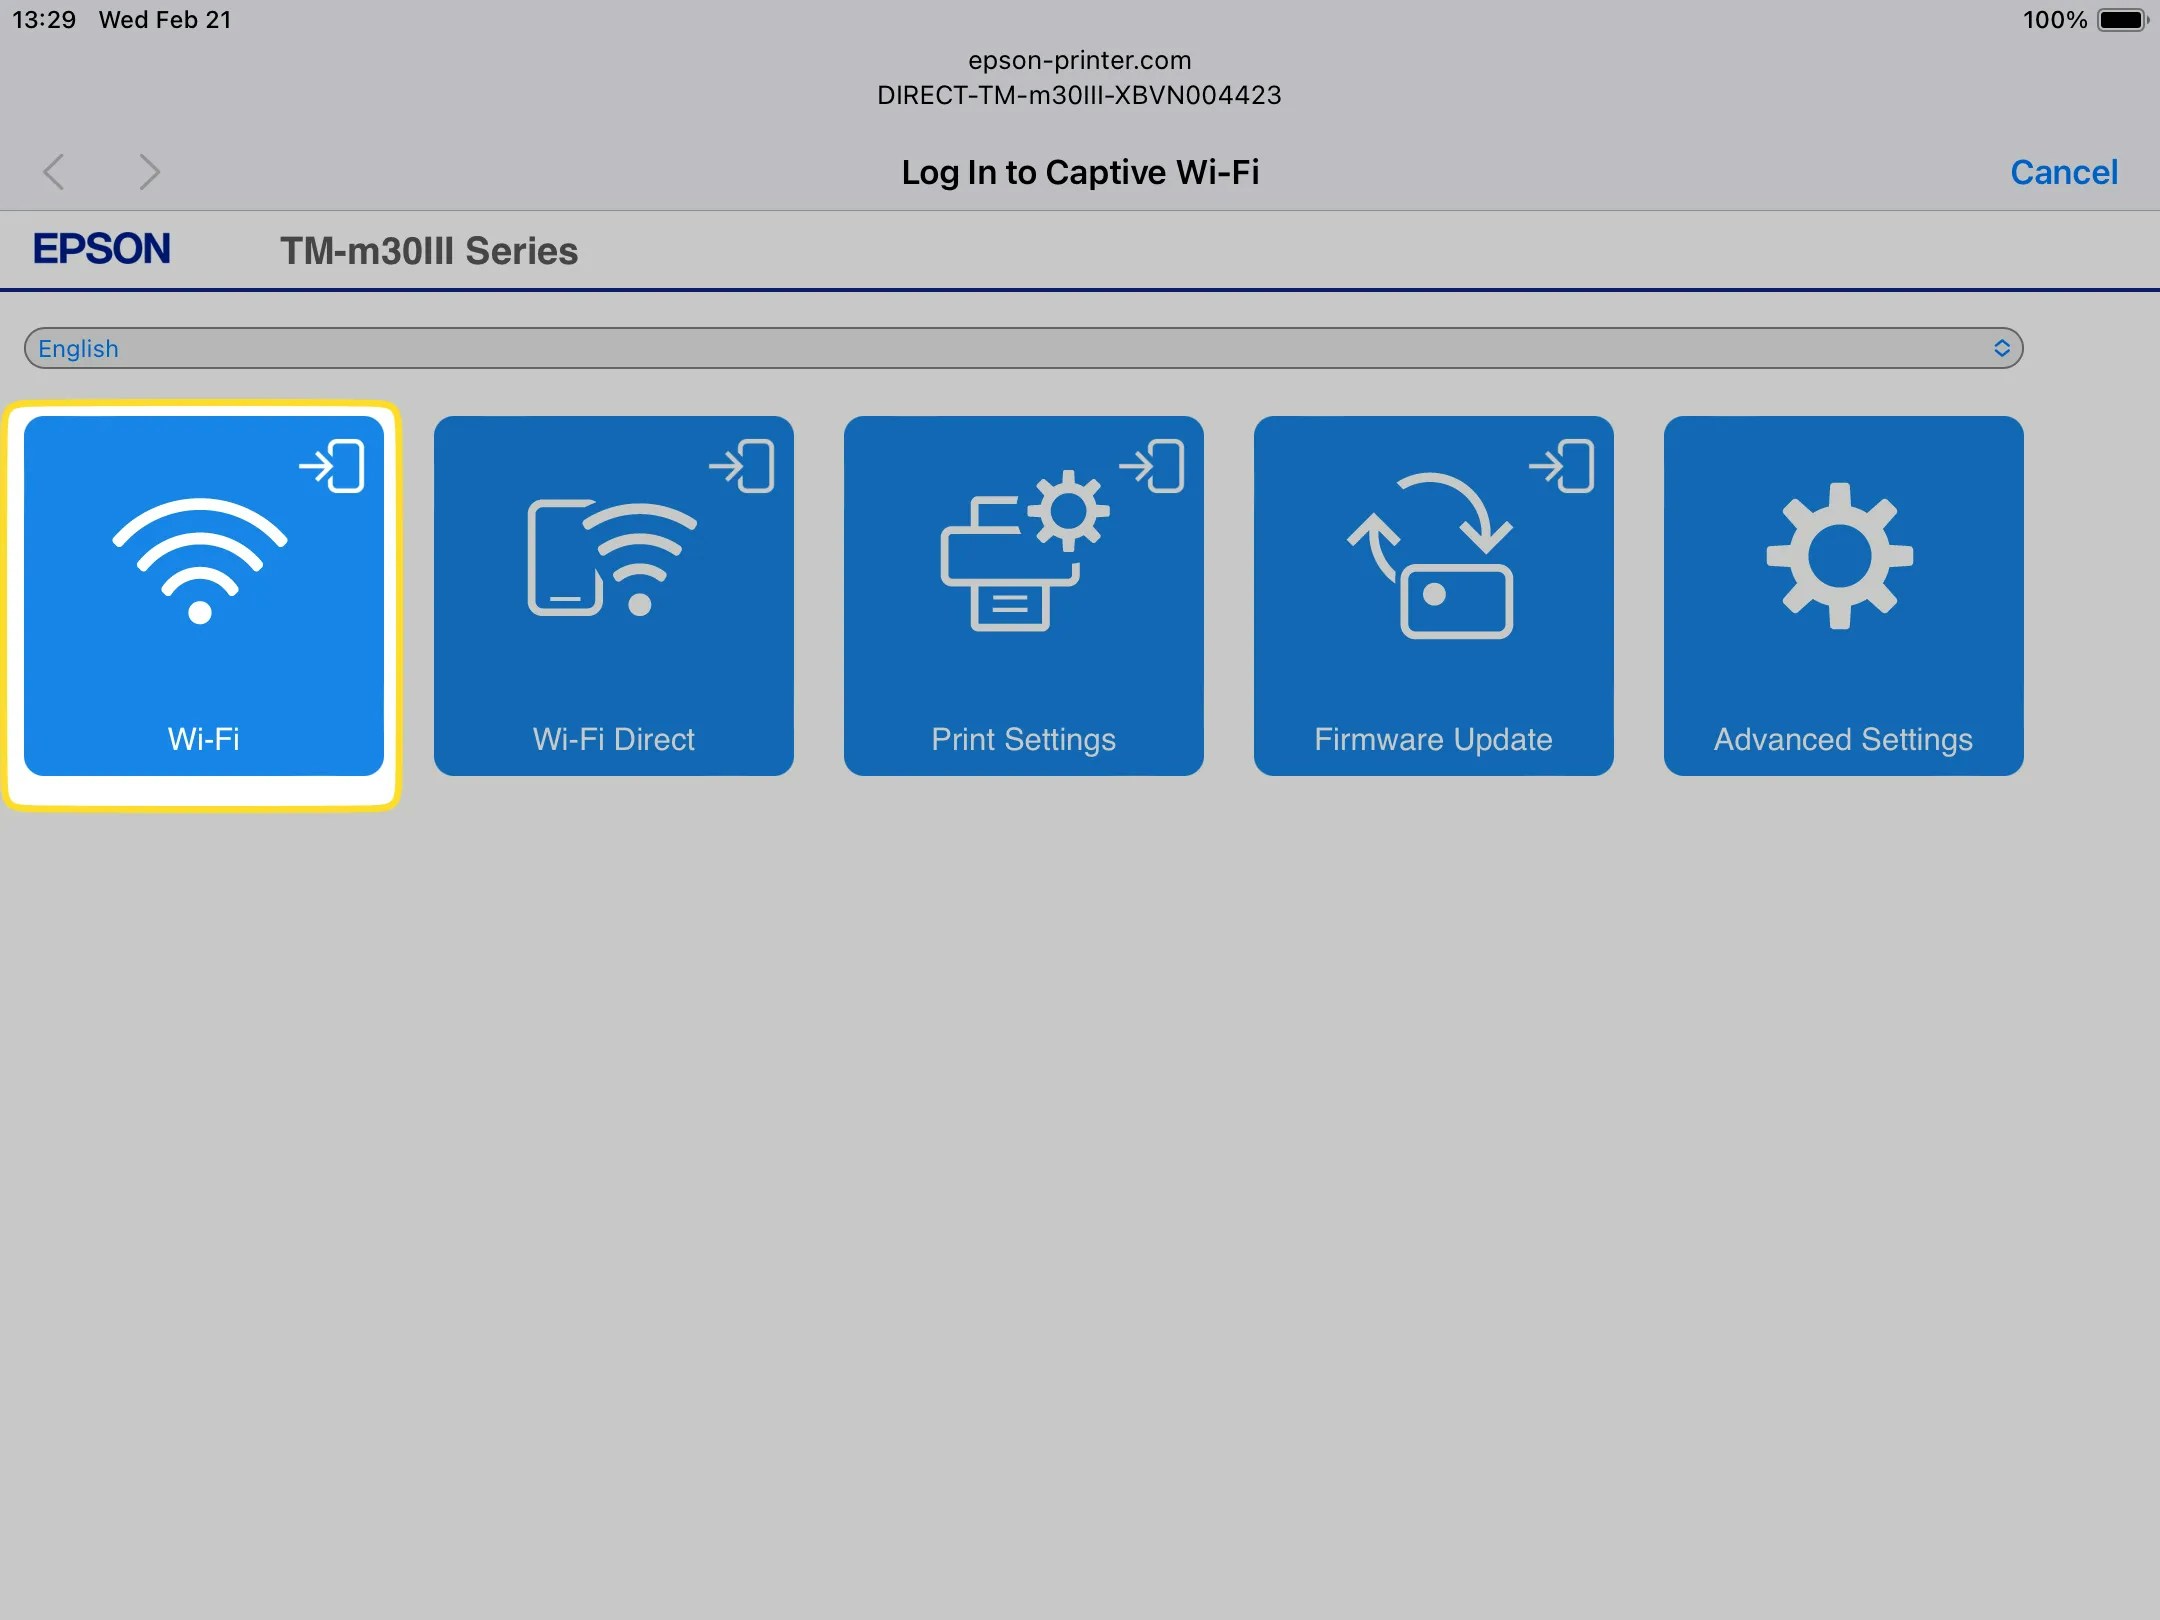
 Once the app is connected, select **Wi-Fi** to begin the network pairing process:
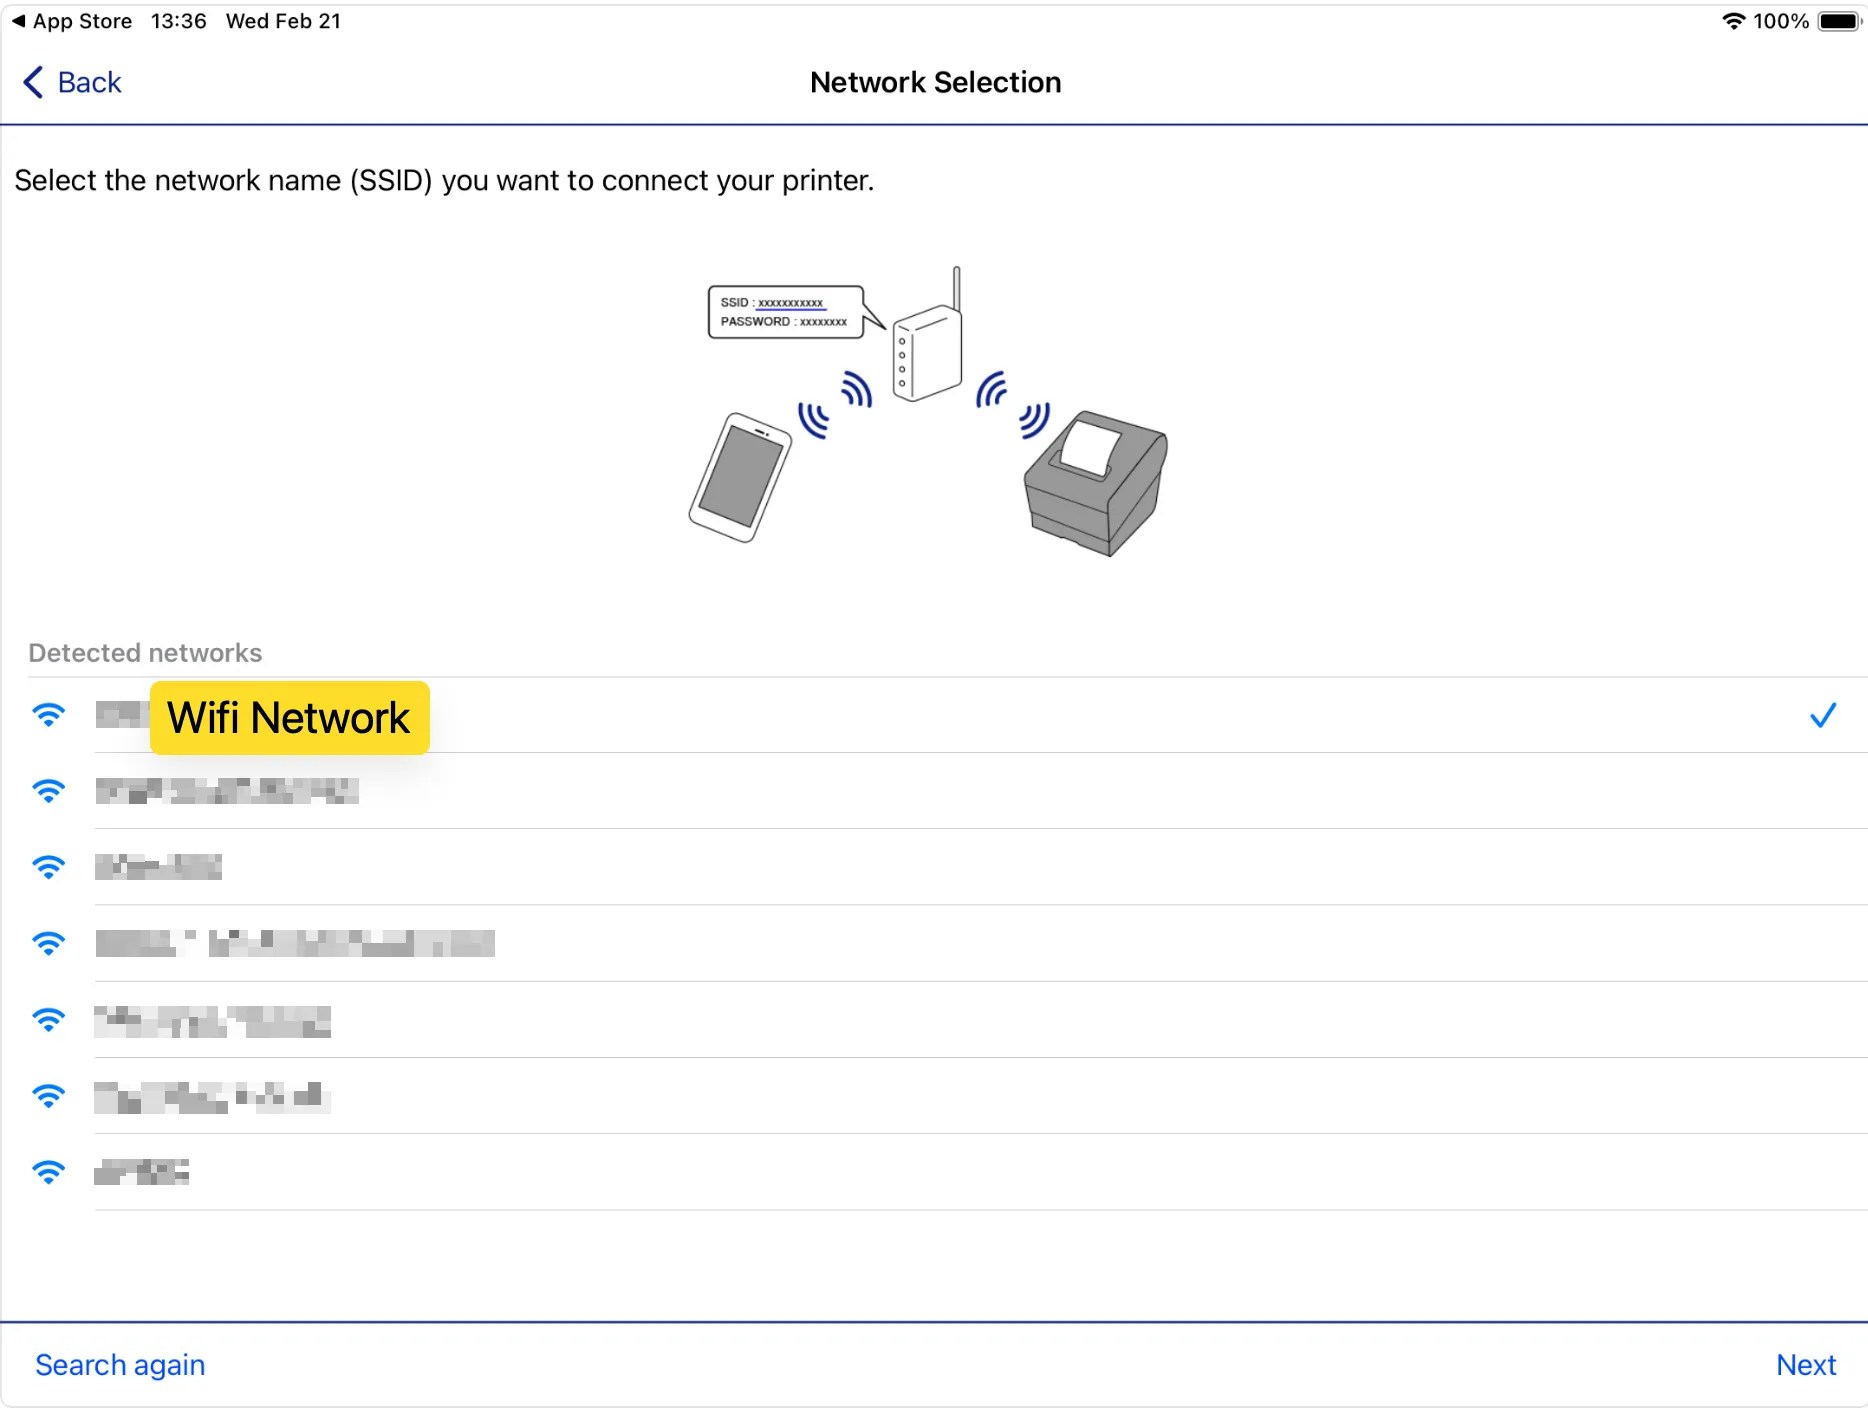
 Select your Wi-Fi network. Make sure it's the same network your POS Device is connected to. When inserting the Wi-fi password, take your time as the printer won't be able to connect with an incorrect password:
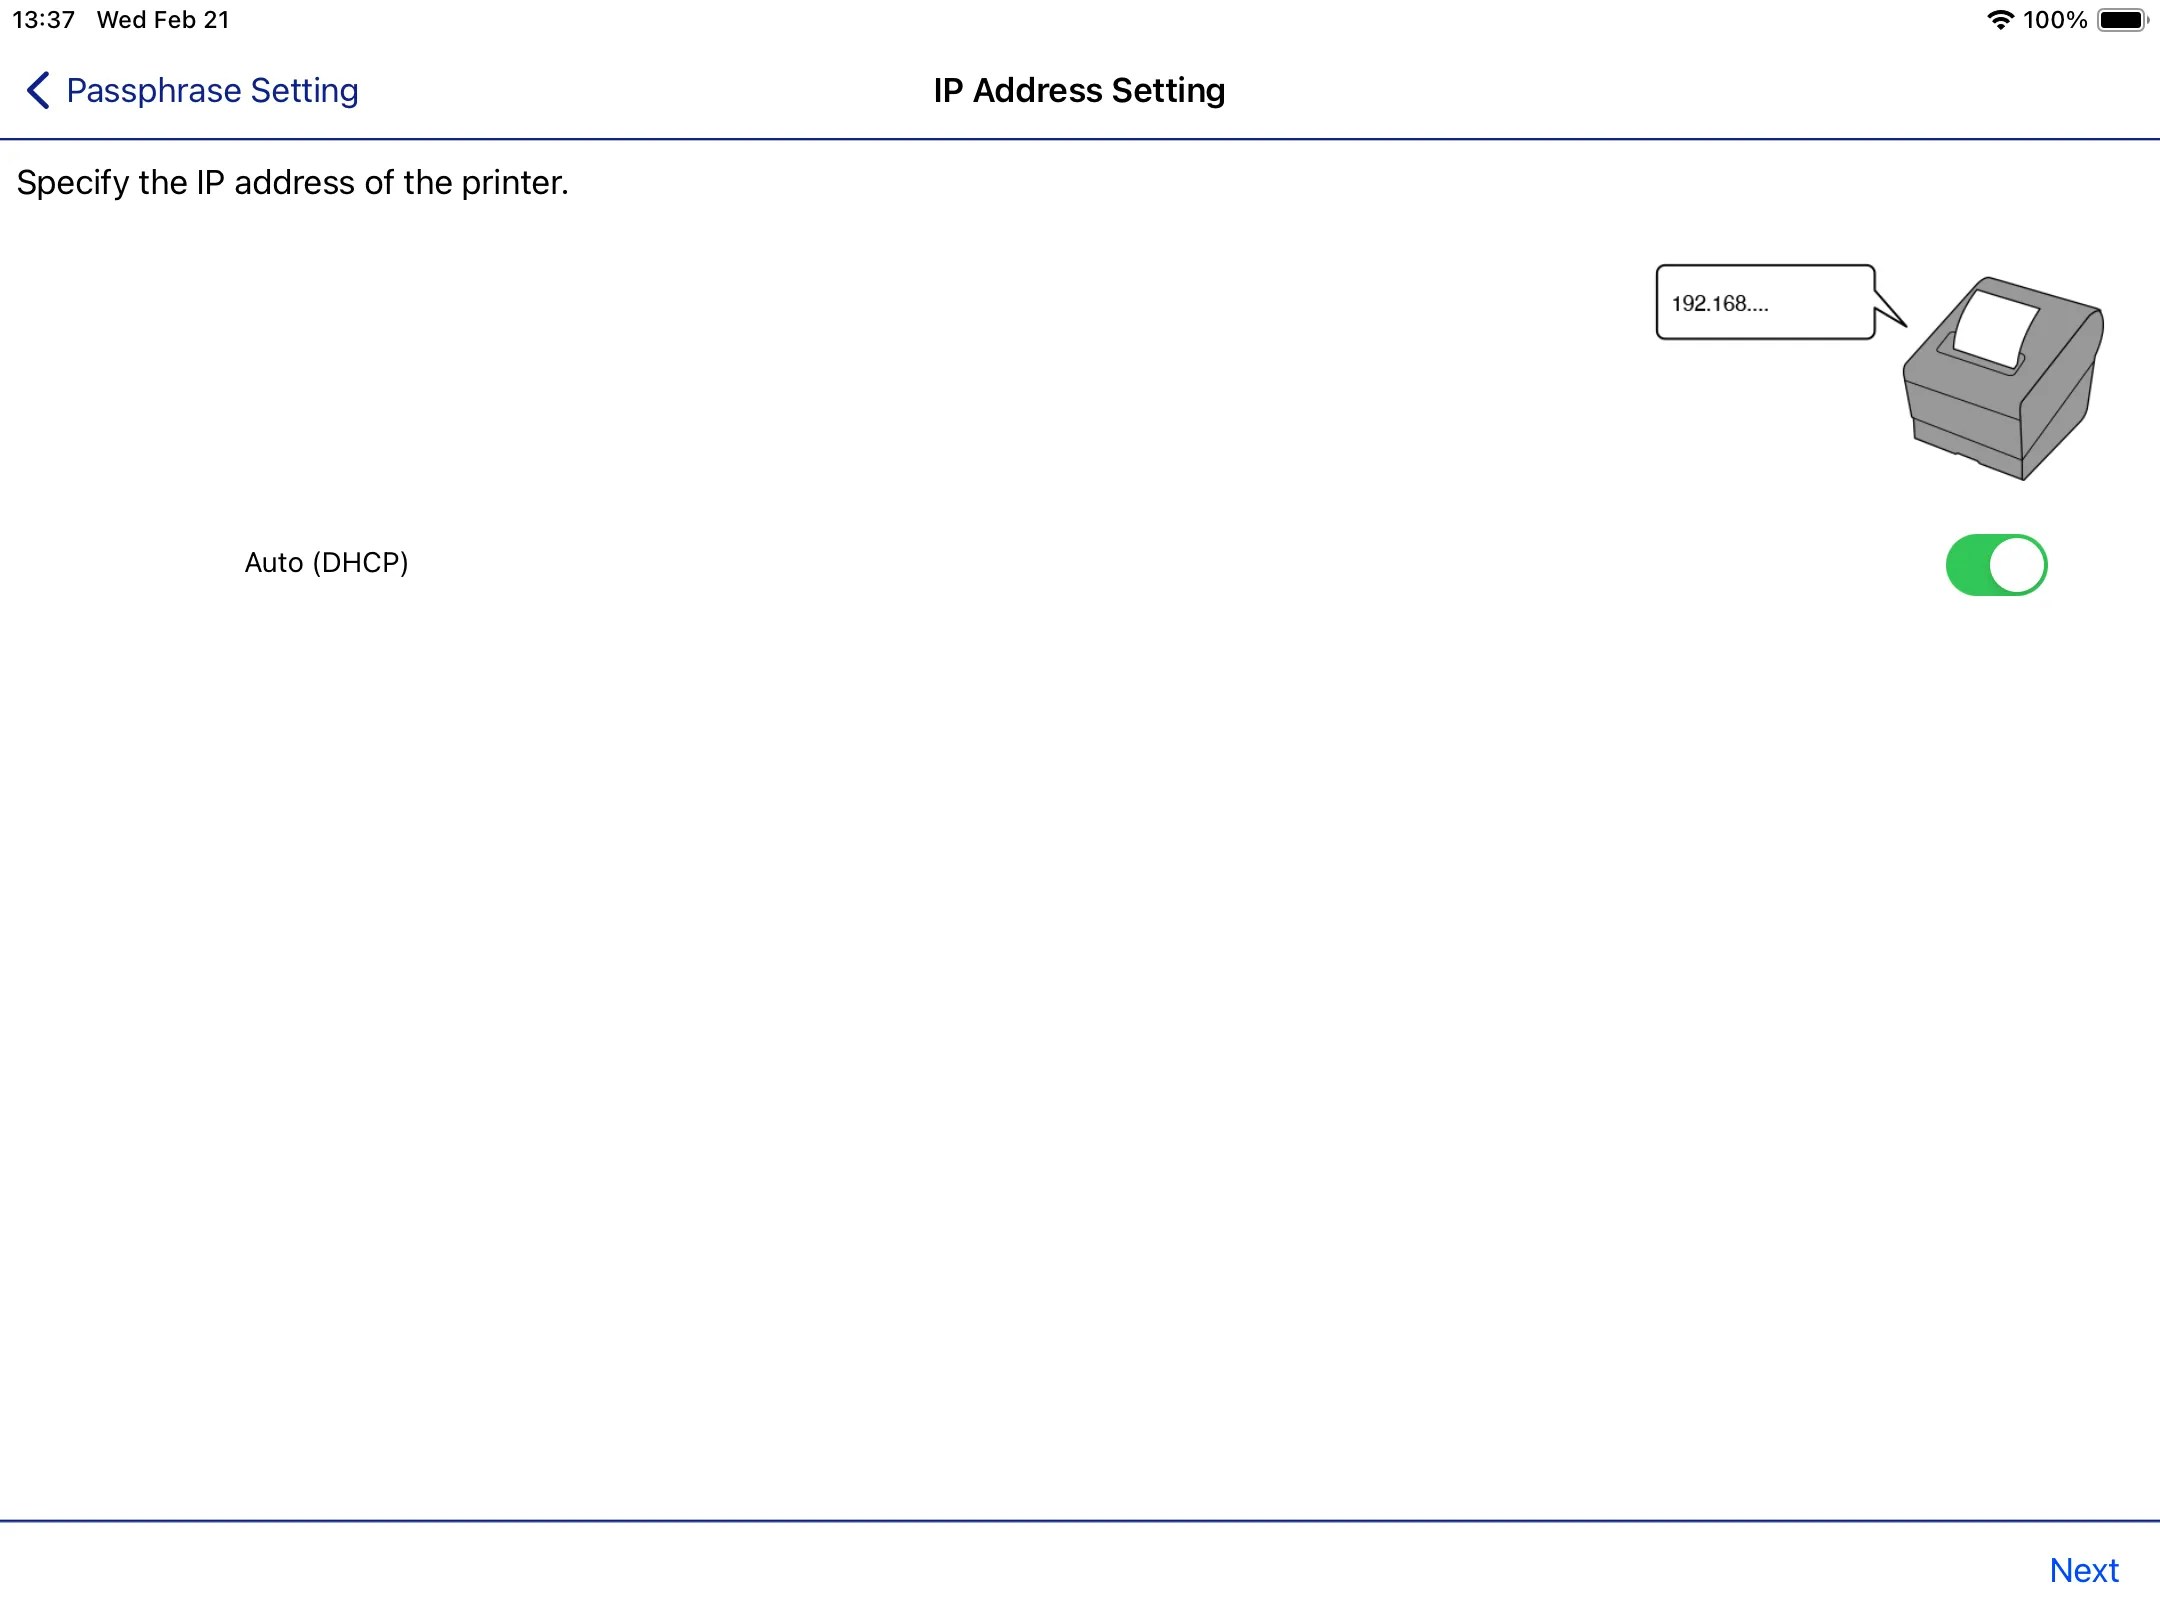
 Select **Auto (DHCP)** when prompted in the IP Address Settings:
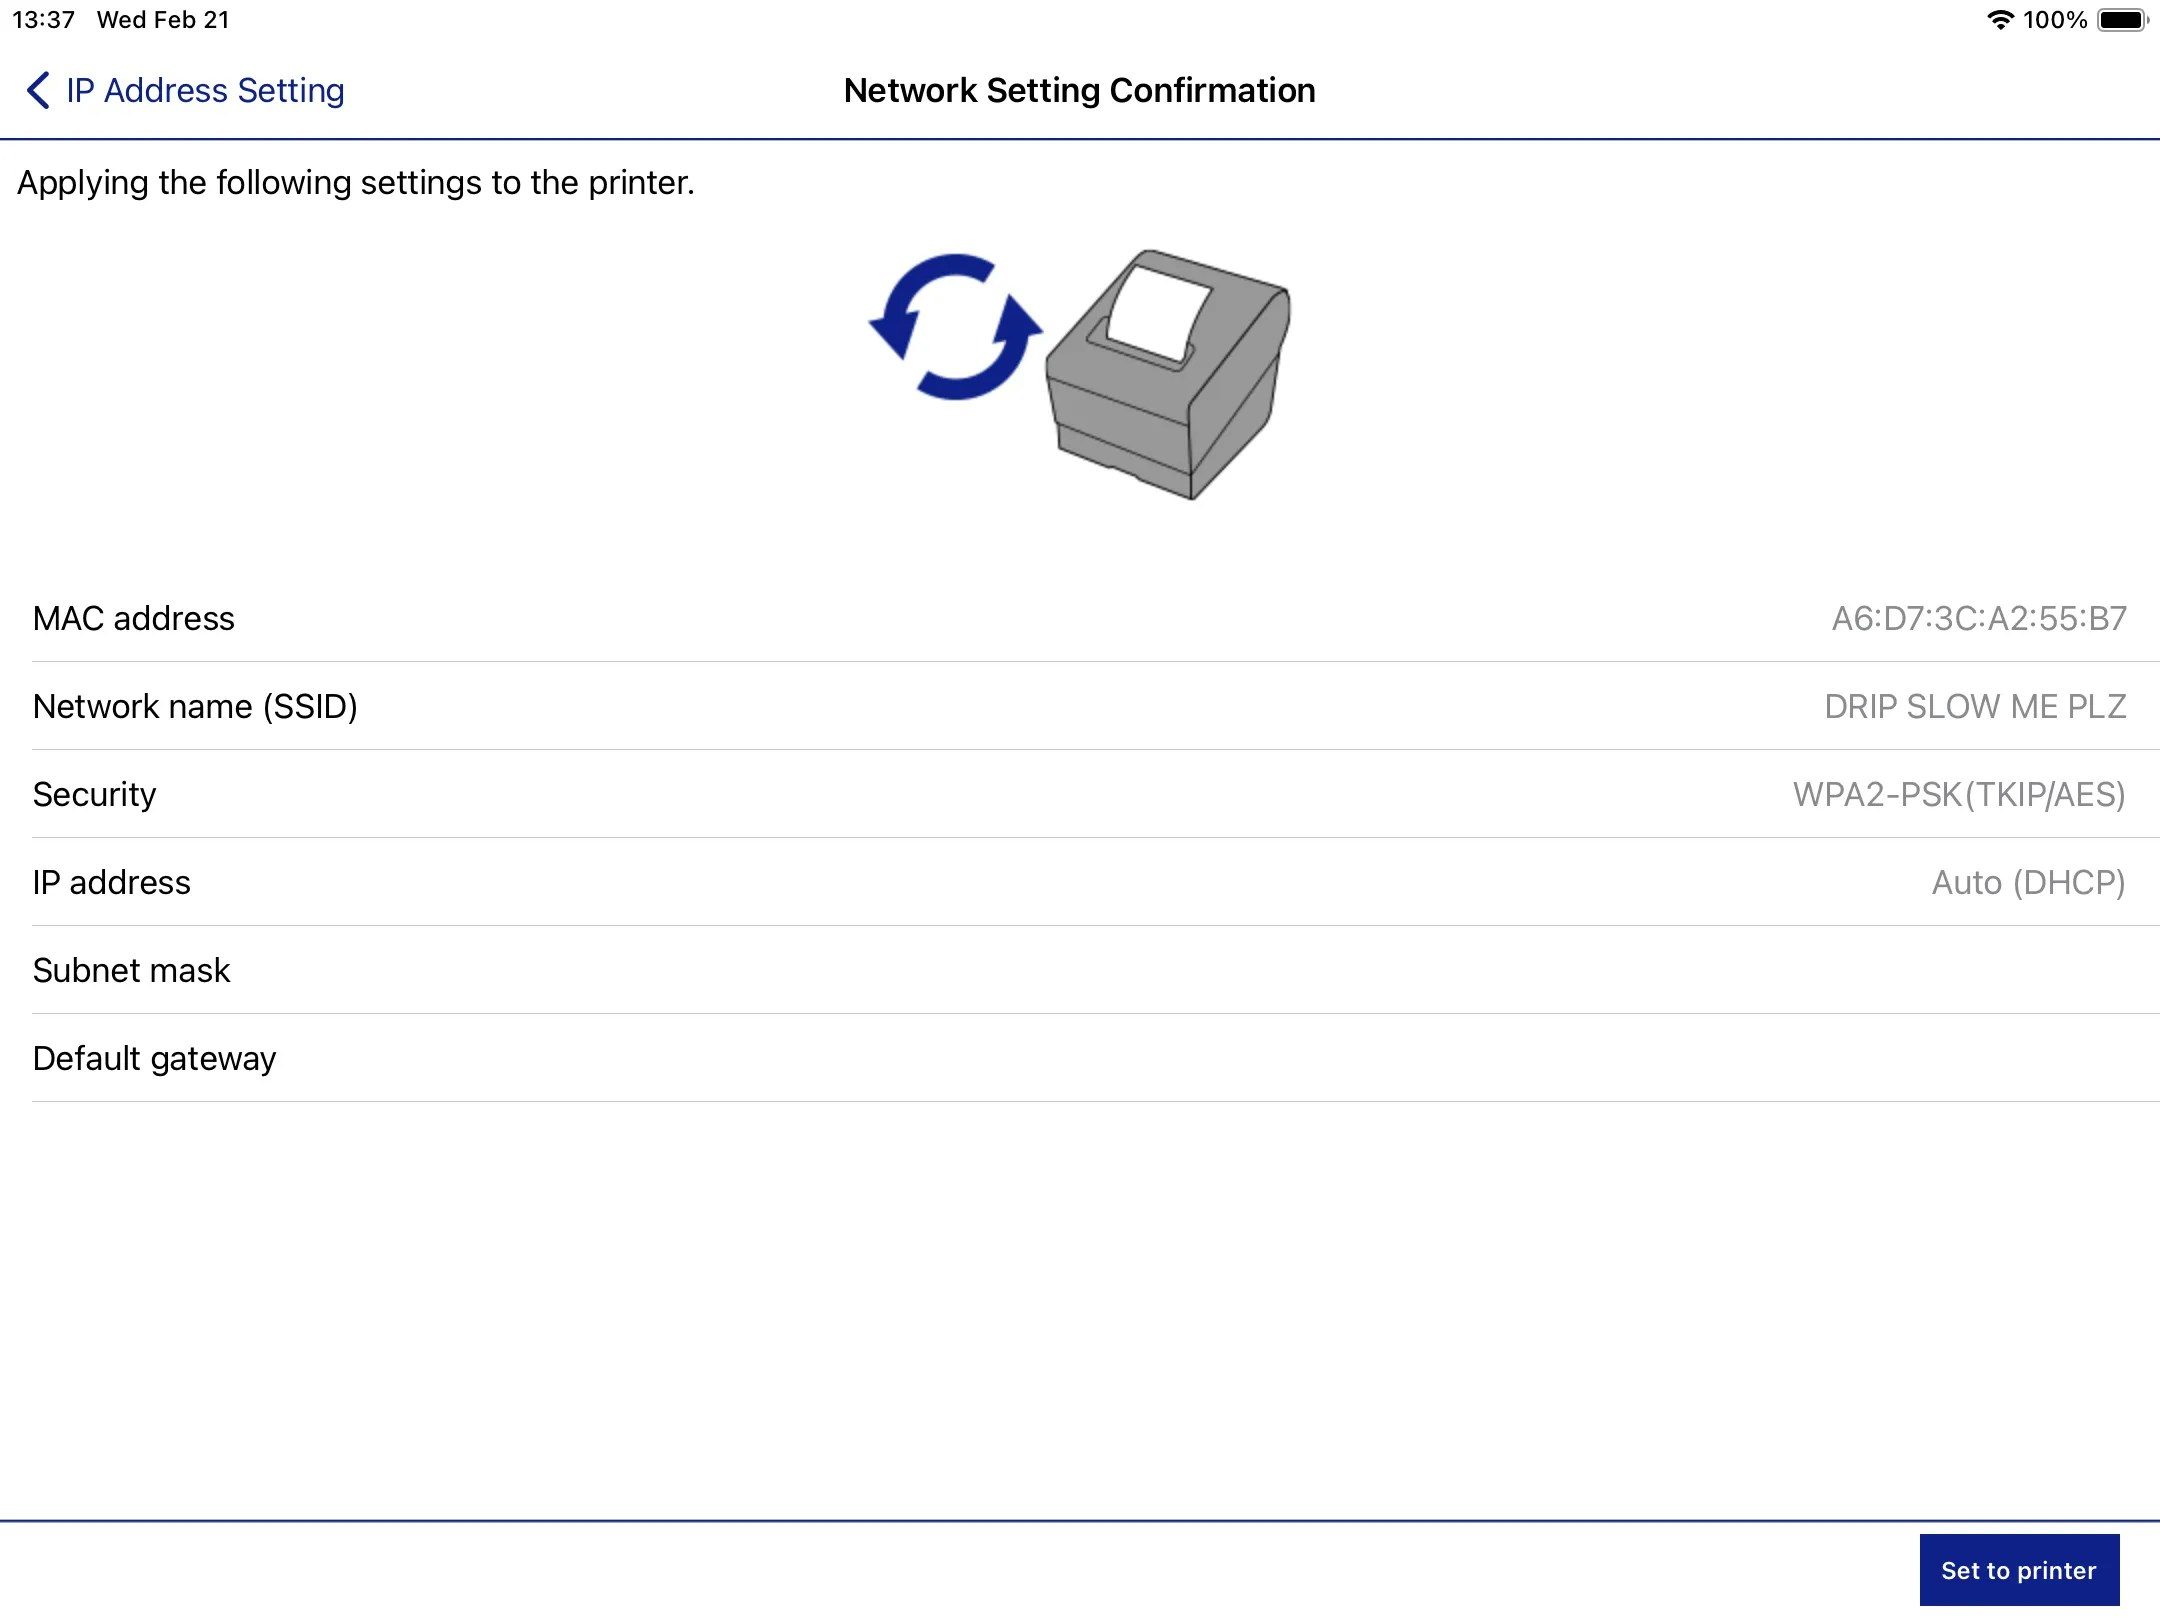
 When ready, press **Set to Printer** at the end of the setup to send the Wi-Fi network information to the printer to connect to:
 Once an **IP Slip** prints with a valid **IP Address**, you've successfully connected your printer to your Wi-fi network!
***
Once an **IP Slip** prints with a valid **IP Address**, you've successfully connected your printer to your Wi-fi network!
***