> ## Documentation Index
> Fetch the complete documentation index at: https://support.dripos.com/llms.txt
> Use this file to discover all available pages before exploring further.
# Create Dripos Patrons
> Create patron accounts on any Dripos platform.
Dripos patron accounts make it easy for you and your customers to view an individual's order history, as well as earn and redeem loyalty points for future purchases.
Dripos patron accounts require a phone number. Phone numbers may not be shared across multiple accounts.
## Create a Patron Account
### Point of Sale
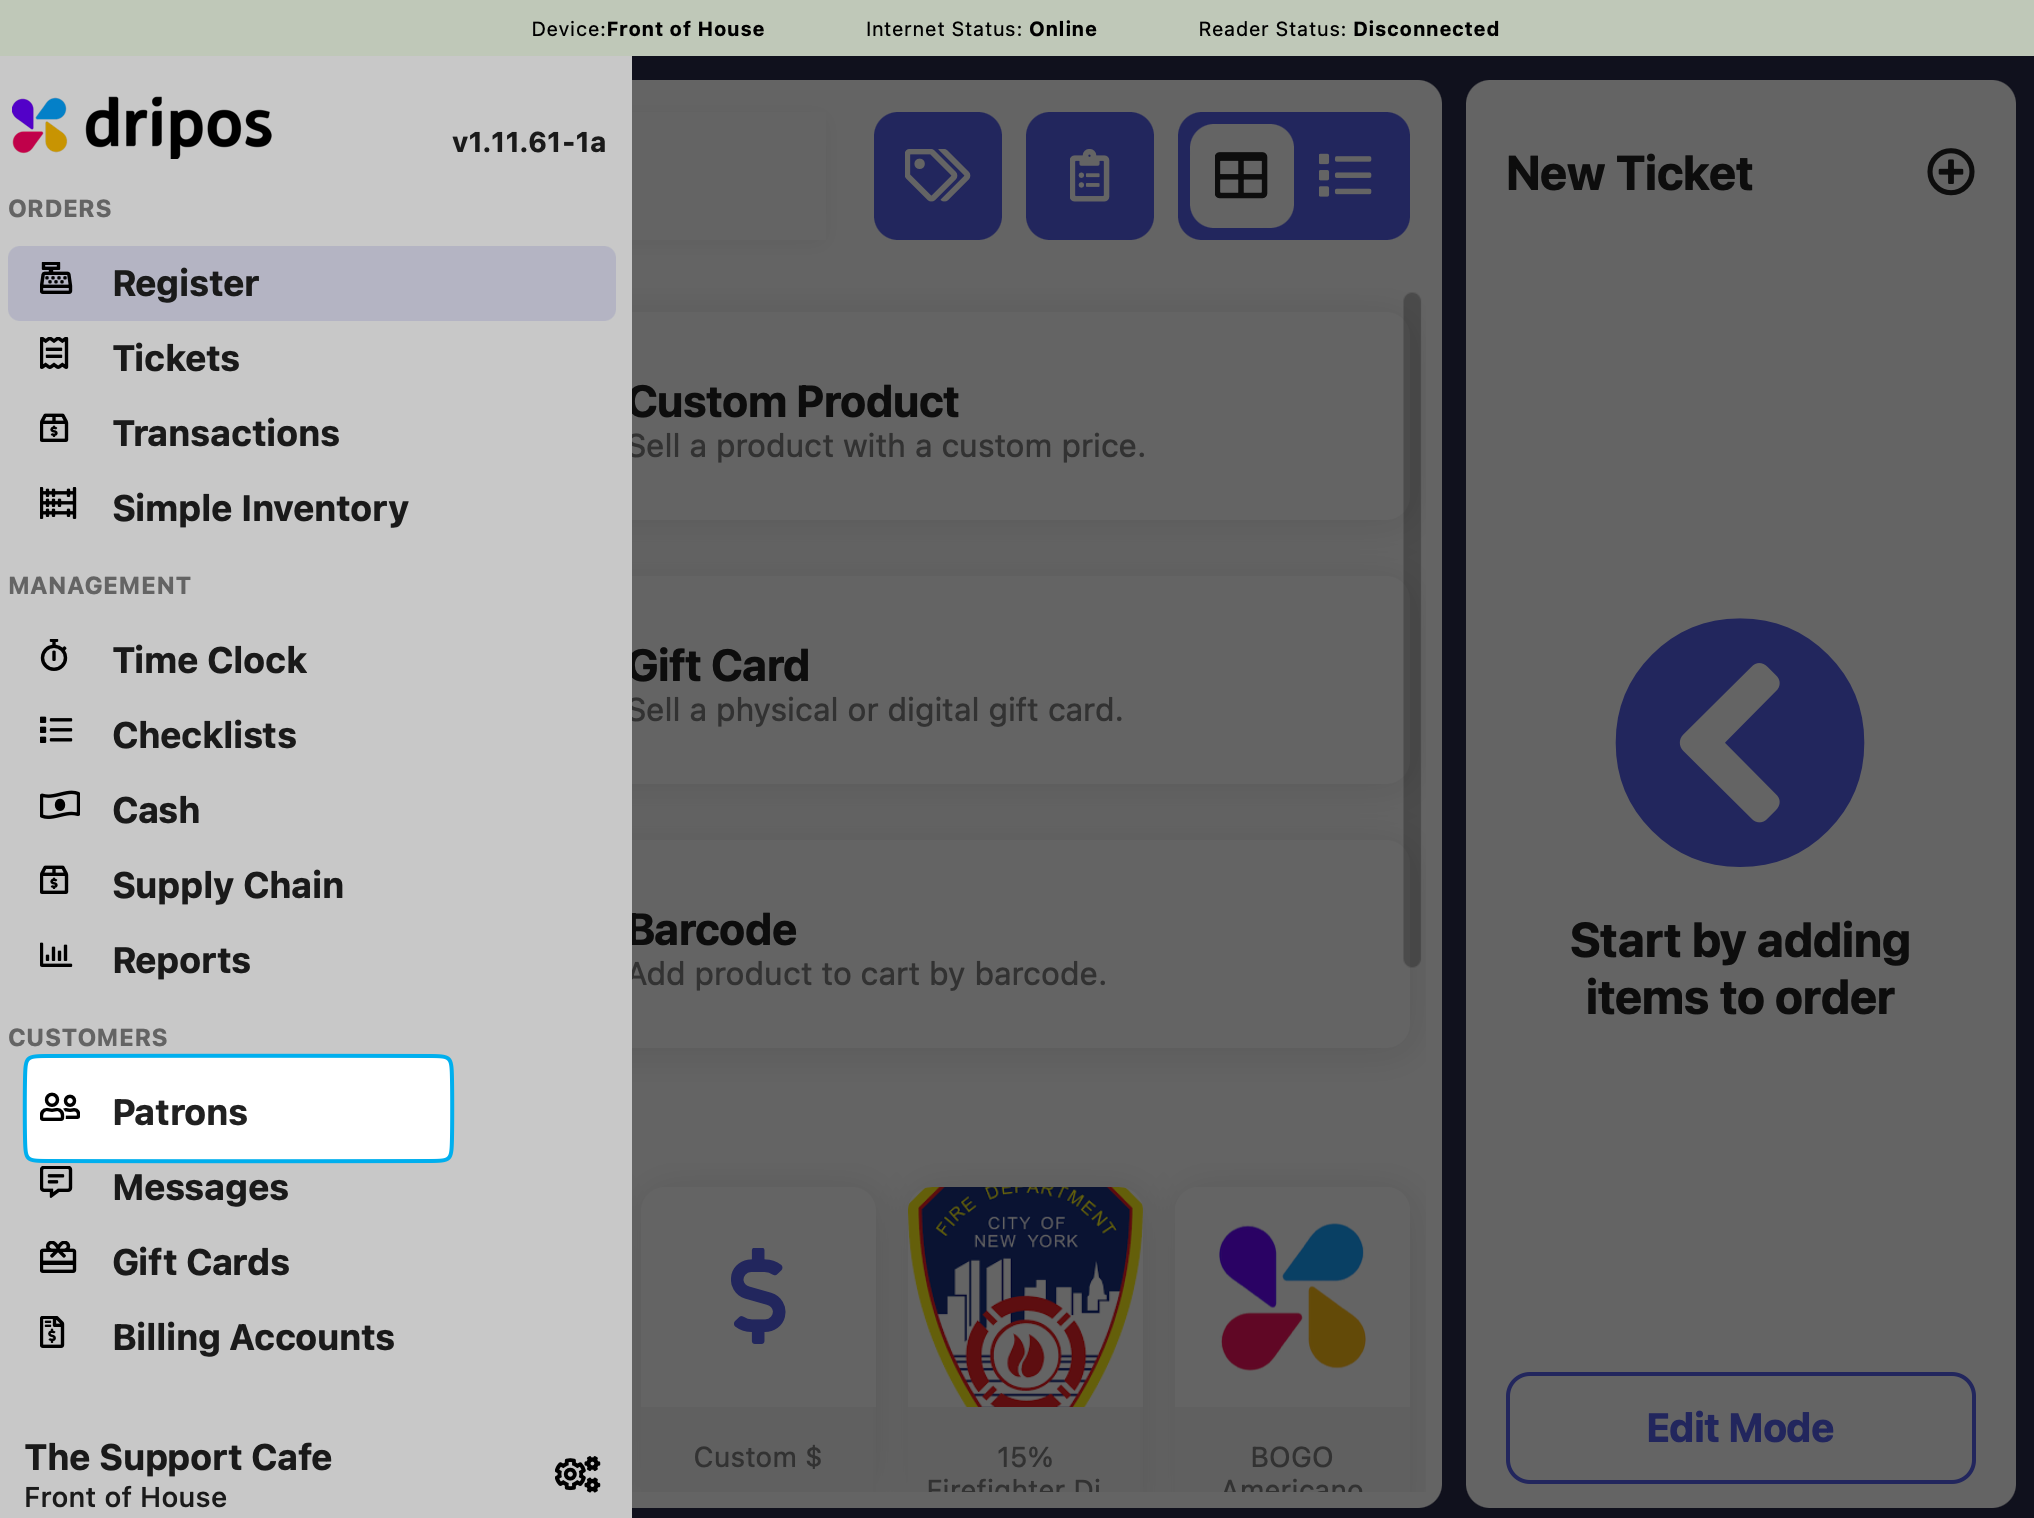
Press the **tribar** in the upper left screen corner > press **Patrons**
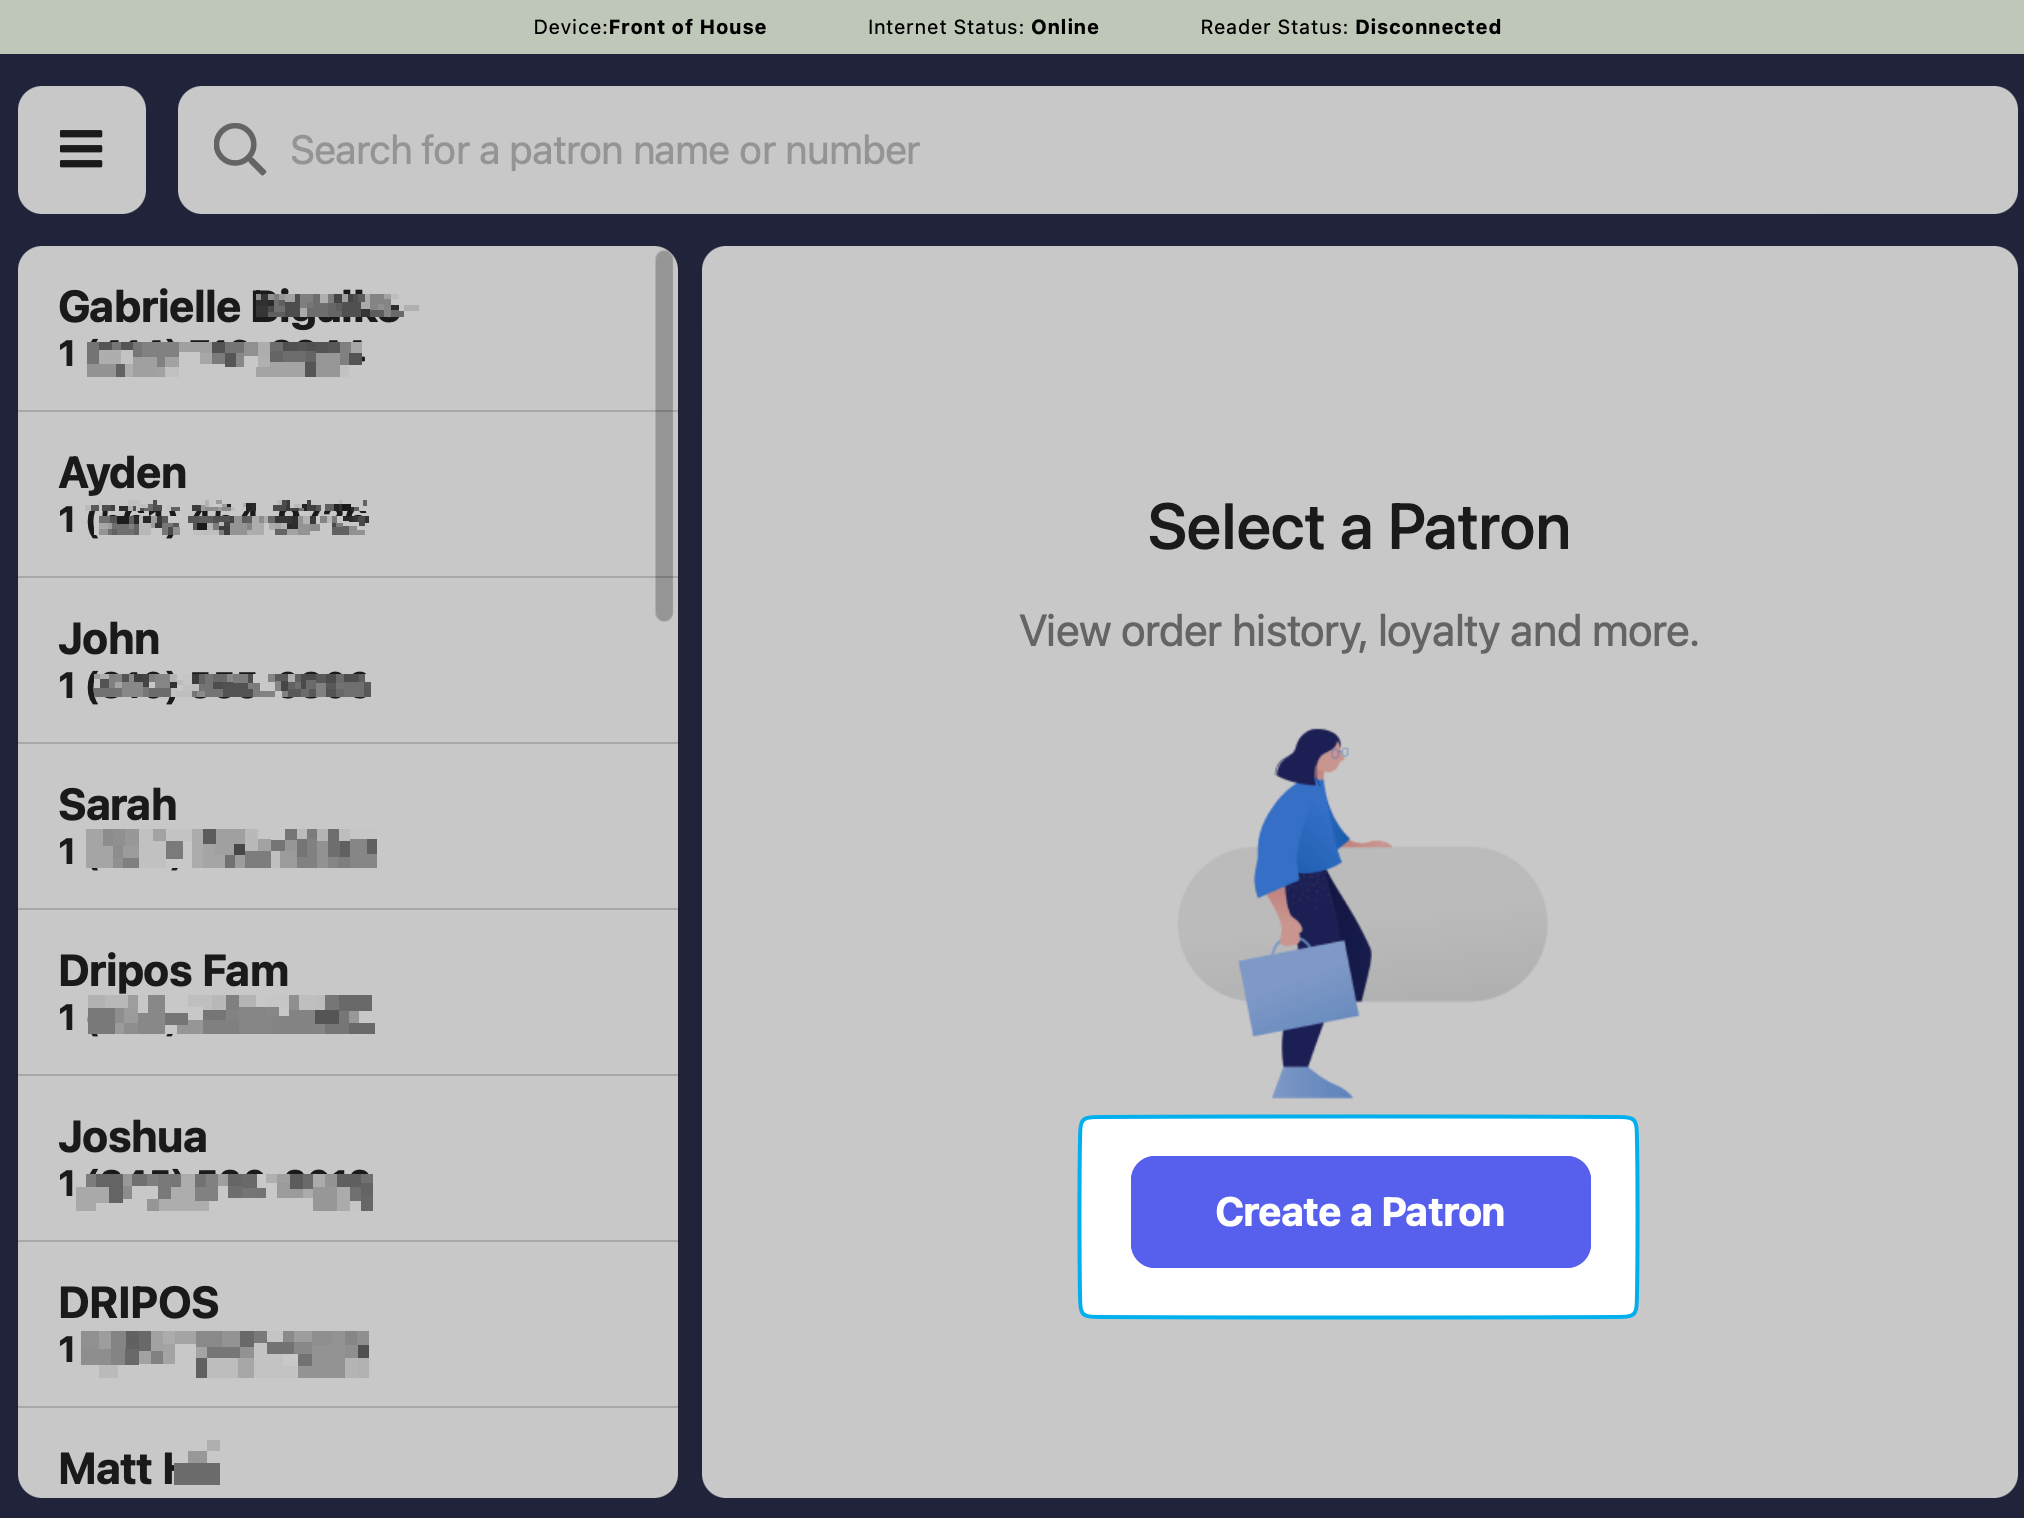
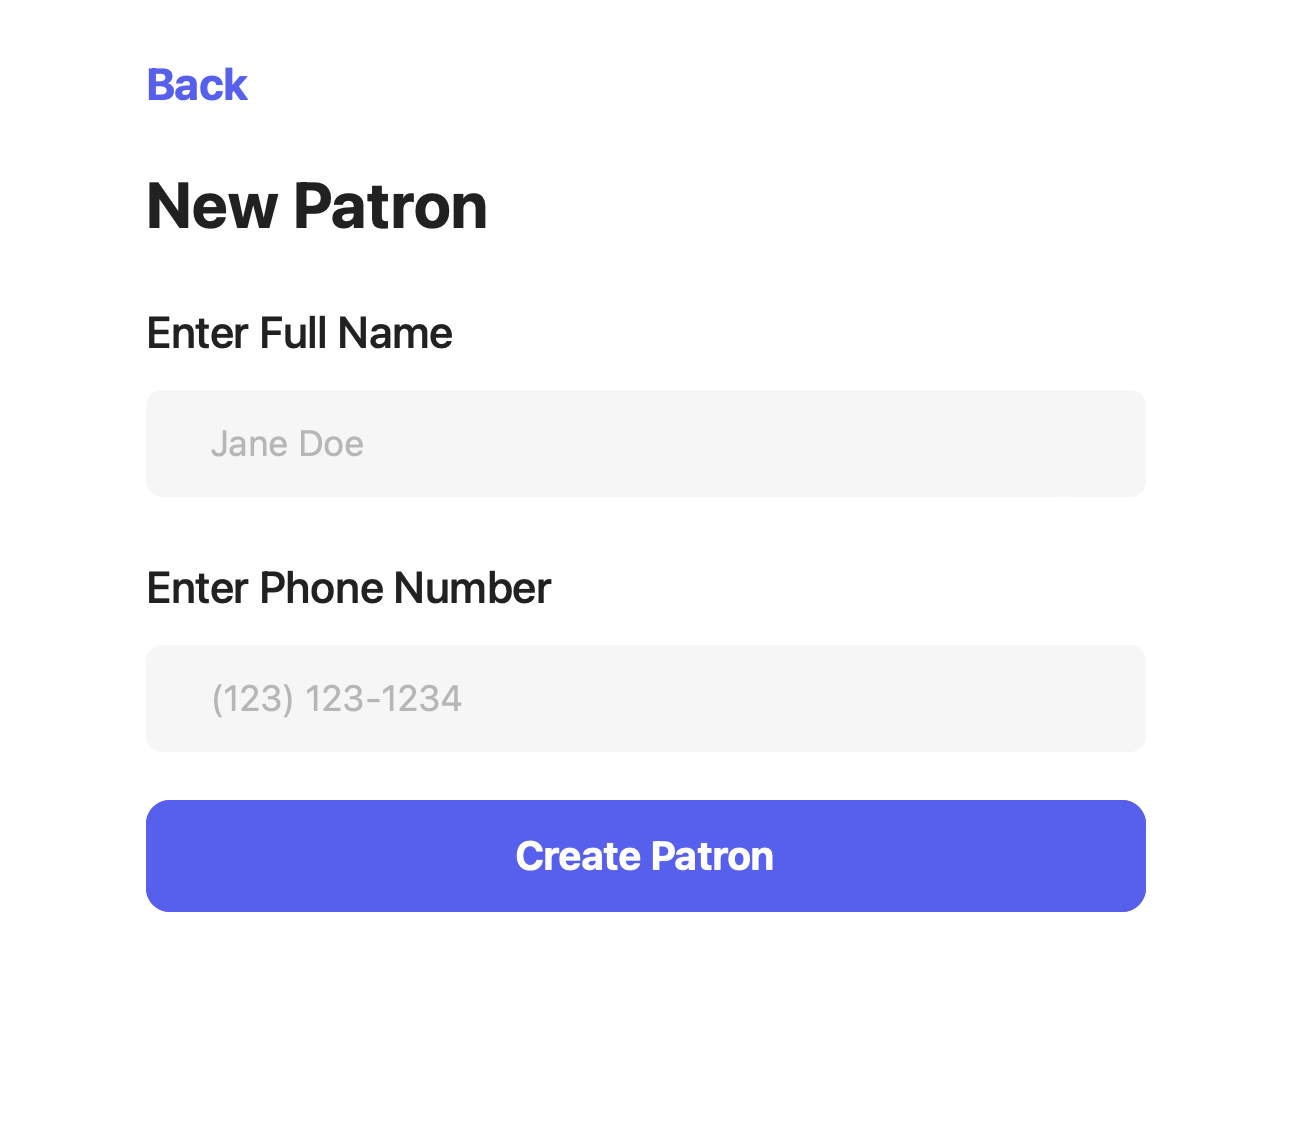
 Press **Create Patron** and complete the following fields:
 ### Point of Sale Checkout
Create a new patron profile during the checkout process to attach to the order
During checkout, click the **Patron** button in the upper right corner to add a new or existing patron to the order
### Point of Sale Checkout
Create a new patron profile during the checkout process to attach to the order
During checkout, click the **Patron** button in the upper right corner to add a new or existing patron to the order
 Add the patron's phone number. If the number is new, a new profile will prompt to create.

 ### Front Facing Card Reader
Press the **Check In** button in the top right of the screen
### Front Facing Card Reader
Press the **Check In** button in the top right of the screen
 On the next page, input the **Phone Number** to link the patron account to > press on the **check icon** in the top right corner:
 Enter the **Name** to attach to the account. Once entered, press on the **check icon** in the top right corner:
 The patron name will then automatically be displayed in the top right corner of the reader screen, confirming the patron account was successfully created
 ### Order App
When an individual logs into the Order App with a new phone number, a new patron account will automatically be created.
Upon checkout, they'll be prompted to input their name which will attach to their patron profile.
### Order App
When an individual logs into the Order App with a new phone number, a new patron account will automatically be created.
Upon checkout, they'll be prompted to input their name which will attach to their patron profile.

 ### Order Website
Upon checkout, customers will be prompted to add their contact information for the order.
If they'd like to create a patron account, they can check the box below the contact information.
### Dashboard
Create a patron profile directly from the Dashboard
On the Dashboard, navigate to **Marketing** > **Patrons** > click **Add Patron**
### Order Website
Upon checkout, customers will be prompted to add their contact information for the order.
If they'd like to create a patron account, they can check the box below the contact information.
### Dashboard
Create a patron profile directly from the Dashboard
On the Dashboard, navigate to **Marketing** > **Patrons** > click **Add Patron**
 Complete the following information:
 ### Kiosk Order
Create a new patron profile when checking out in Kiosk mode
Press the **Start Order** button:
### Kiosk Order
Create a new patron profile when checking out in Kiosk mode
Press the **Start Order** button:
 Input a **Phone Number** to link the account to > press **Enter**:
 On the pop-up page, input the **Full Name** to attach to the patron account > press **Add Order Name**:
 ### Customer Facing Display
Press the **Sign-Up** button:
### Customer Facing Display
Press the **Sign-Up** button:
 Input the **Phone Number** you want the patron account to be linked to > click **Next**:
 On the next page, input the **Full Name** that you want attached to your patron account > click **Next**:
 ***
## Edit Patron Information
Edit a patron's **name**, **birthday** and **current points** at any time.
To update a patron's **phone number**, reach out to the Dripos Support team.
### Dashboard
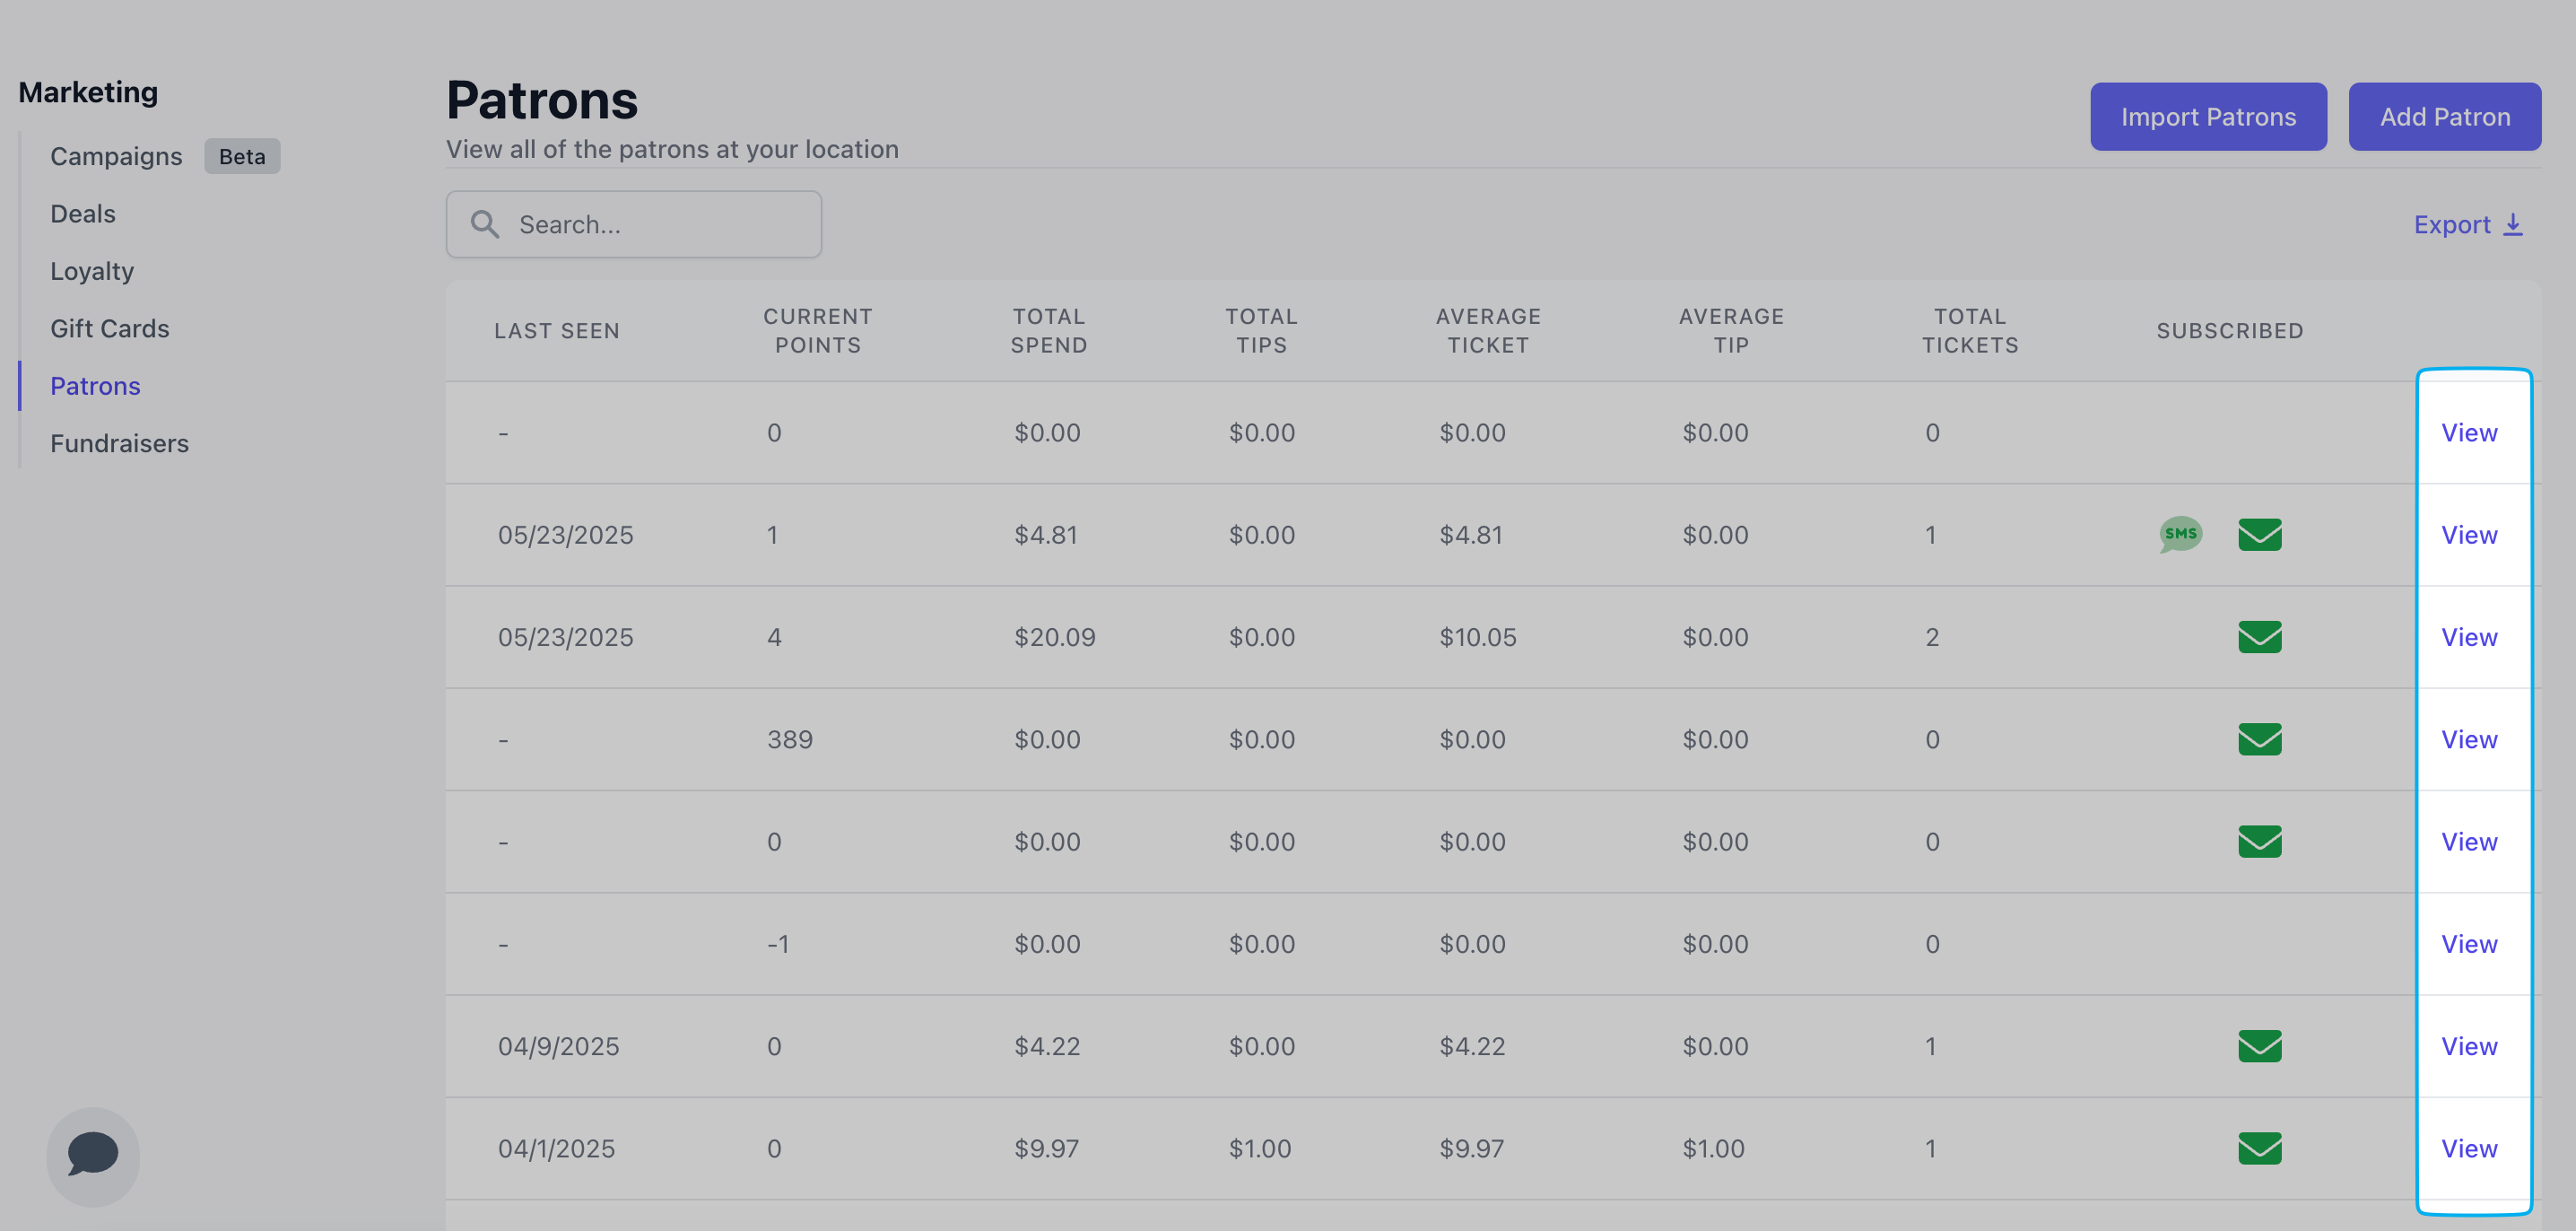
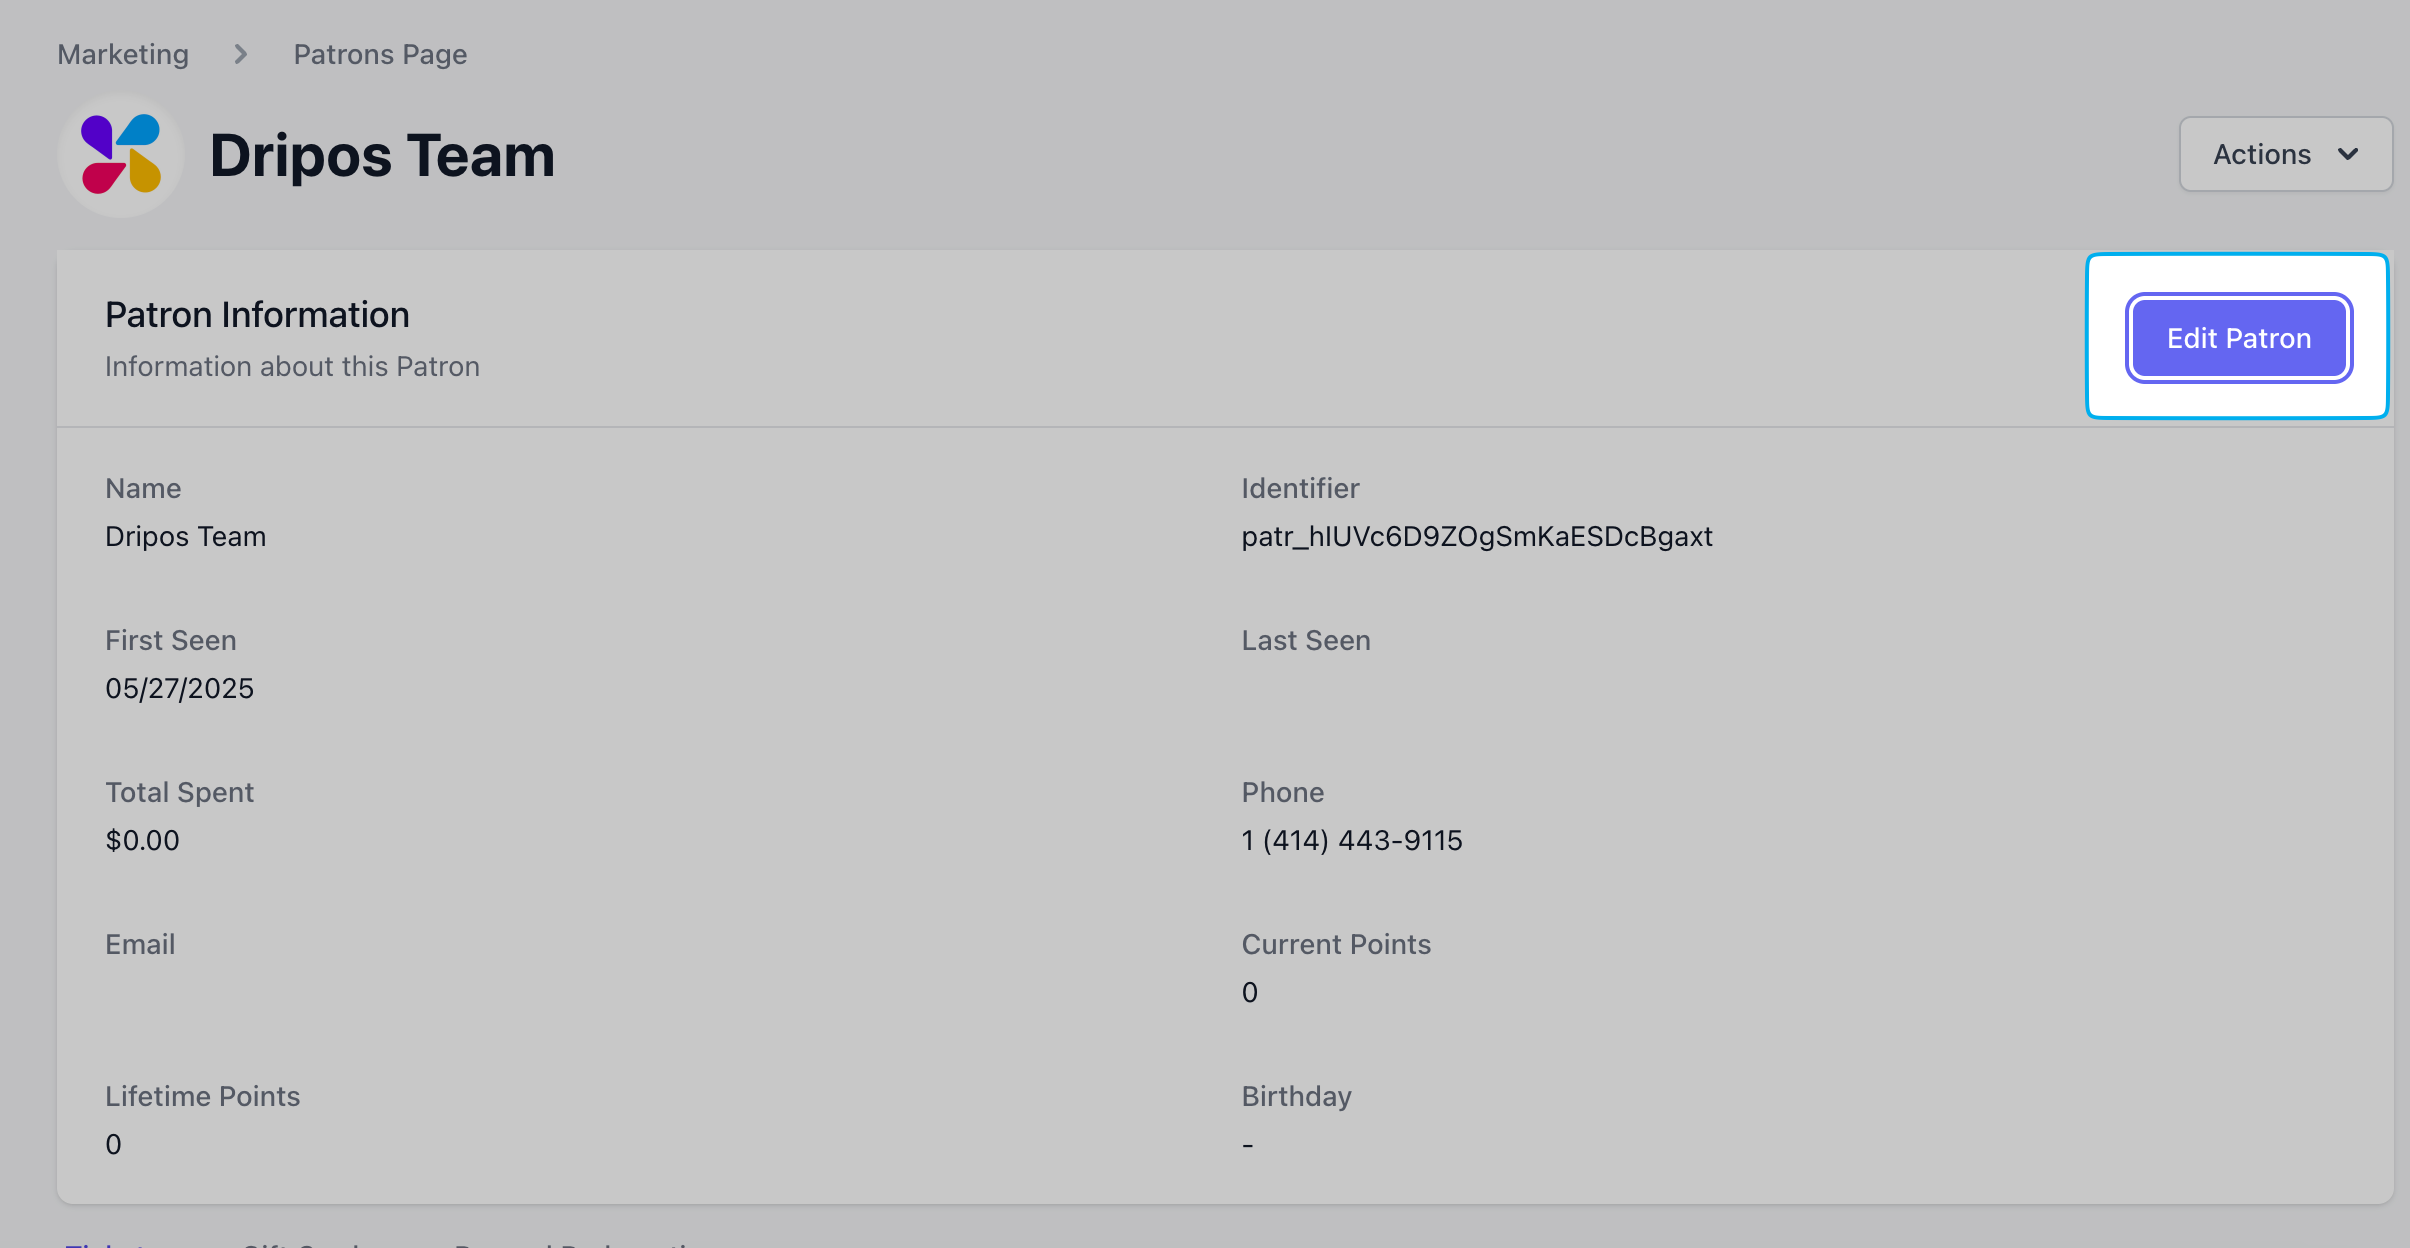
On the Dashboard, navigate to **Marketing** > **Patrons** > scroll to the right-most column of the patron list and click **view** on a patron
***
## Edit Patron Information
Edit a patron's **name**, **birthday** and **current points** at any time.
To update a patron's **phone number**, reach out to the Dripos Support team.
### Dashboard
On the Dashboard, navigate to **Marketing** > **Patrons** > scroll to the right-most column of the patron list and click **view** on a patron
 Click **Edit Information**
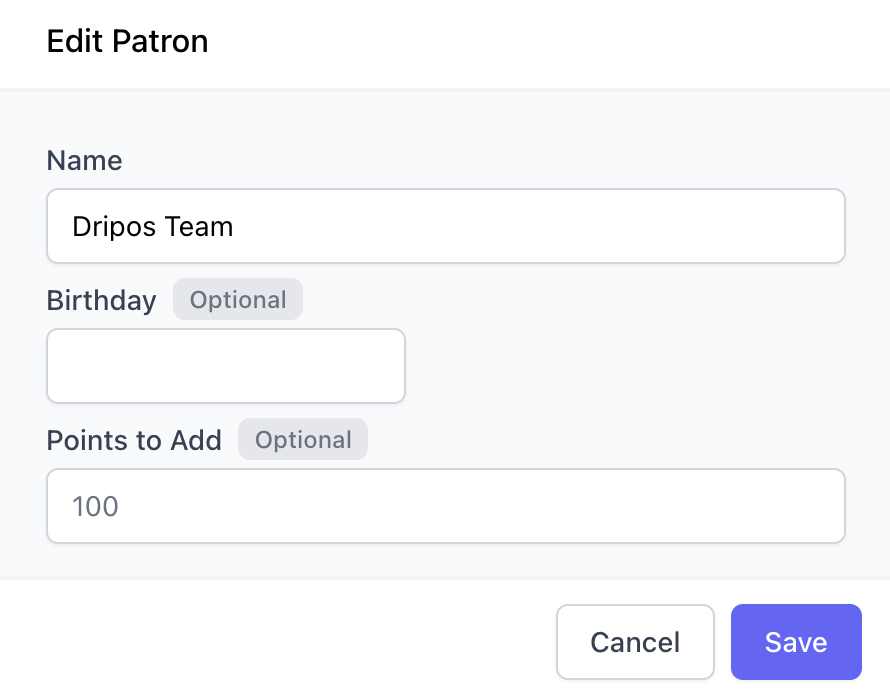
 Edit the following fields: **Name**, **Birthday**, and **Points to Add**
To **Add Points:** Enter in the amount of points to add to the patron's account.
To **Subtract Points:** Enter the **-** symbol followed by the amount of points to deduct from the patron's account.
Edit the following fields: **Name**, **Birthday**, and **Points to Add**
To **Add Points:** Enter in the amount of points to add to the patron's account.
To **Subtract Points:** Enter the **-** symbol followed by the amount of points to deduct from the patron's account.
 ### Point of Sale
Press the **tribar** in the upper left screen corner > press **Patrons**
Find the patron and press **Edit Patron Info**
### Point of Sale
Press the **tribar** in the upper left screen corner > press **Patrons**
Find the patron and press **Edit Patron Info**
 Change the **name**, the current number of **points**, and add any **internal notes** for viewing > press **Save**
 ### Order App
Press the **Account** tab at the bottom right of the screen:
### Order App
Press the **Account** tab at the bottom right of the screen:
 PRess **Personal Information** under the **Account Settings** section:
 Edit the **Patron Name** and **Email**. In addition, request to archive your patron account by clicking **Request Account Deletion**:
 Click **Save** at the top right of the screen to save any changes made.
> **First Seen:** This date will automatically be generated once the patron's account has been created.
>
> **Last Seen:** This date will automatically be updated with each order the customer places while signed in to their patron account.
>
> **Total Spent:** This is the total dollar amount that the patron has spent at the shop.
>
> **Current Points:** This is the current amount of points the customer has collected through their orders, and that are available for them to redeem rewards through.
>
> **Lifetime Points:** This is the total amount of points the customer has collected through their orders, including those points that have already been redeemed.
>
> **Birthday:** This is the customer's birthday that is affiliated with their patron account.
Click **Save** at the top right of the screen to save any changes made.
> **First Seen:** This date will automatically be generated once the patron's account has been created.
>
> **Last Seen:** This date will automatically be updated with each order the customer places while signed in to their patron account.
>
> **Total Spent:** This is the total dollar amount that the patron has spent at the shop.
>
> **Current Points:** This is the current amount of points the customer has collected through their orders, and that are available for them to redeem rewards through.
>
> **Lifetime Points:** This is the total amount of points the customer has collected through their orders, including those points that have already been redeemed.
>
> **Birthday:** This is the customer's birthday that is affiliated with their patron account.