> ## Documentation Index
> Fetch the complete documentation index at: https://support.dripos.com/llms.txt
> Use this file to discover all available pages before exploring further.
# Before Kick Off
> Get started on these onboarding tasks before your first call!
We've already created your account! Use your phone number to log in to the [Dripos Dashboard](http://dashboard.dripos.com).
### Task 1: Complete Stripe Onboarding
You must create a new Stripe account to use for Dripos [here](https://dashboard.dripos.com/payouts). You can find this on the Dripos Dashboard by navigating to **Finance** > **Payouts** > **Settings.**
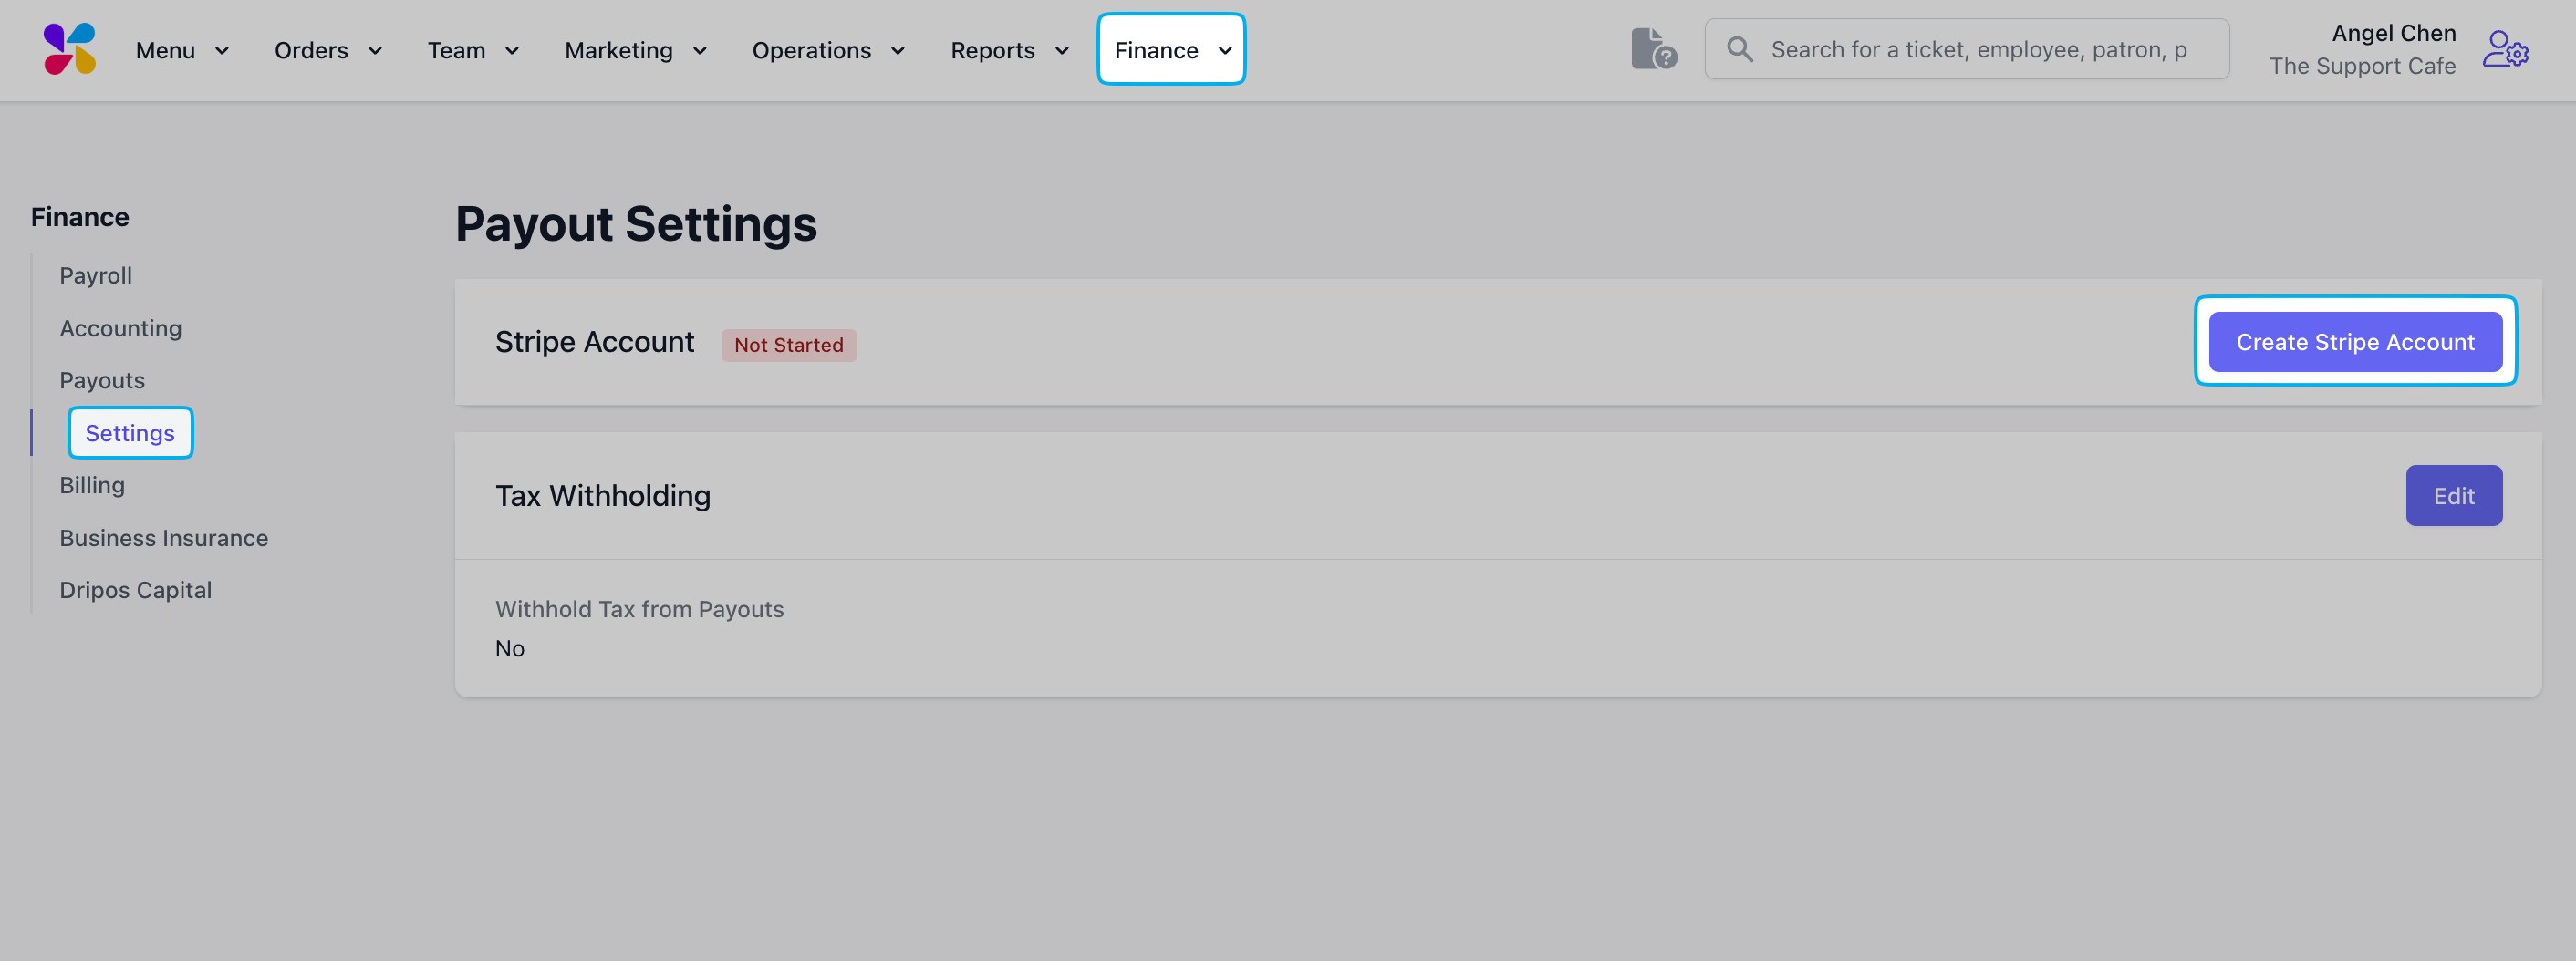 You cannot take payments on the card reader without having a verified Dripos Stripe account.
### Task 2: Check Your Payment Statement Descriptor
After creating your Stripe account, confirm the Payment Statement Descriptor matches your business name or website URL.
You cannot take payments on the card reader without having a verified Dripos Stripe account.
### Task 2: Check Your Payment Statement Descriptor
After creating your Stripe account, confirm the Payment Statement Descriptor matches your business name or website URL.
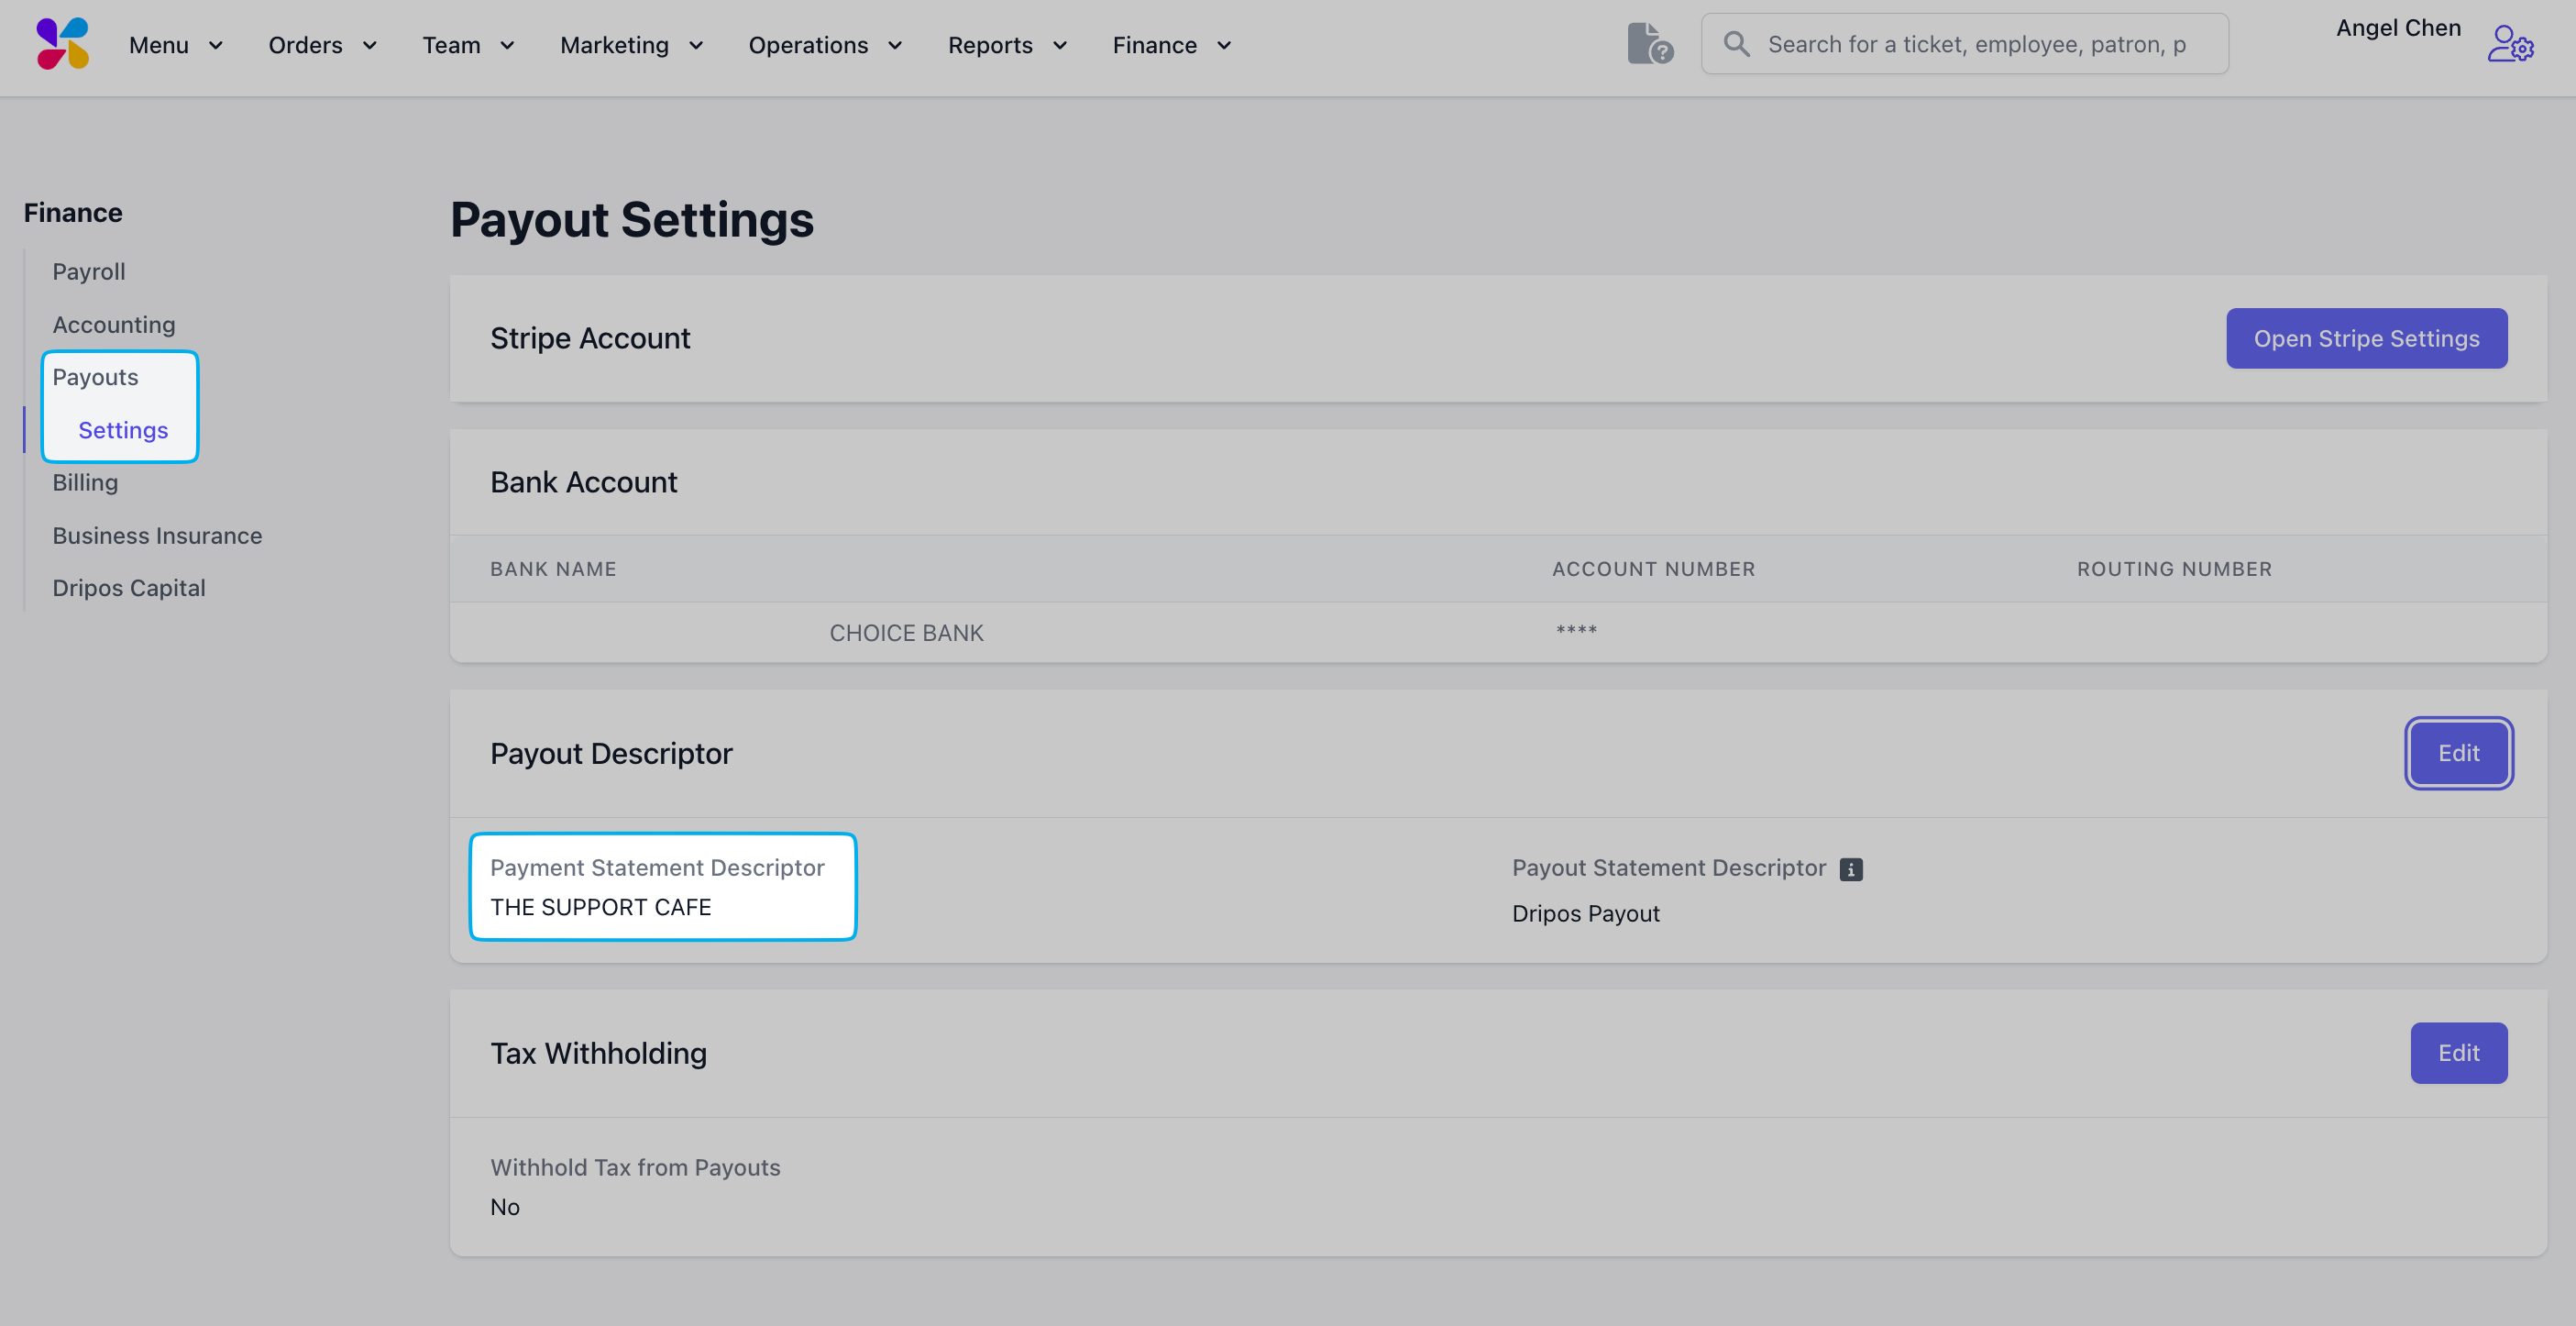 The Payment Statement Descriptor is shown on bank statements, credit card bills, Apple Pay transactions, etc. It informs the customer of the charge made at *your* business.
### Task 3: Add your Billing Details
Add a Billing Method and Billing Address [here](https://dashboard.dripos.com/billing?tab=methods). Each location must have **one primary card** on file. You can find this on the Dripos Dashboard by navigating to **Finance > Billing**.
The Payment Statement Descriptor is shown on bank statements, credit card bills, Apple Pay transactions, etc. It informs the customer of the charge made at *your* business.
### Task 3: Add your Billing Details
Add a Billing Method and Billing Address [here](https://dashboard.dripos.com/billing?tab=methods). Each location must have **one primary card** on file. You can find this on the Dripos Dashboard by navigating to **Finance > Billing**.
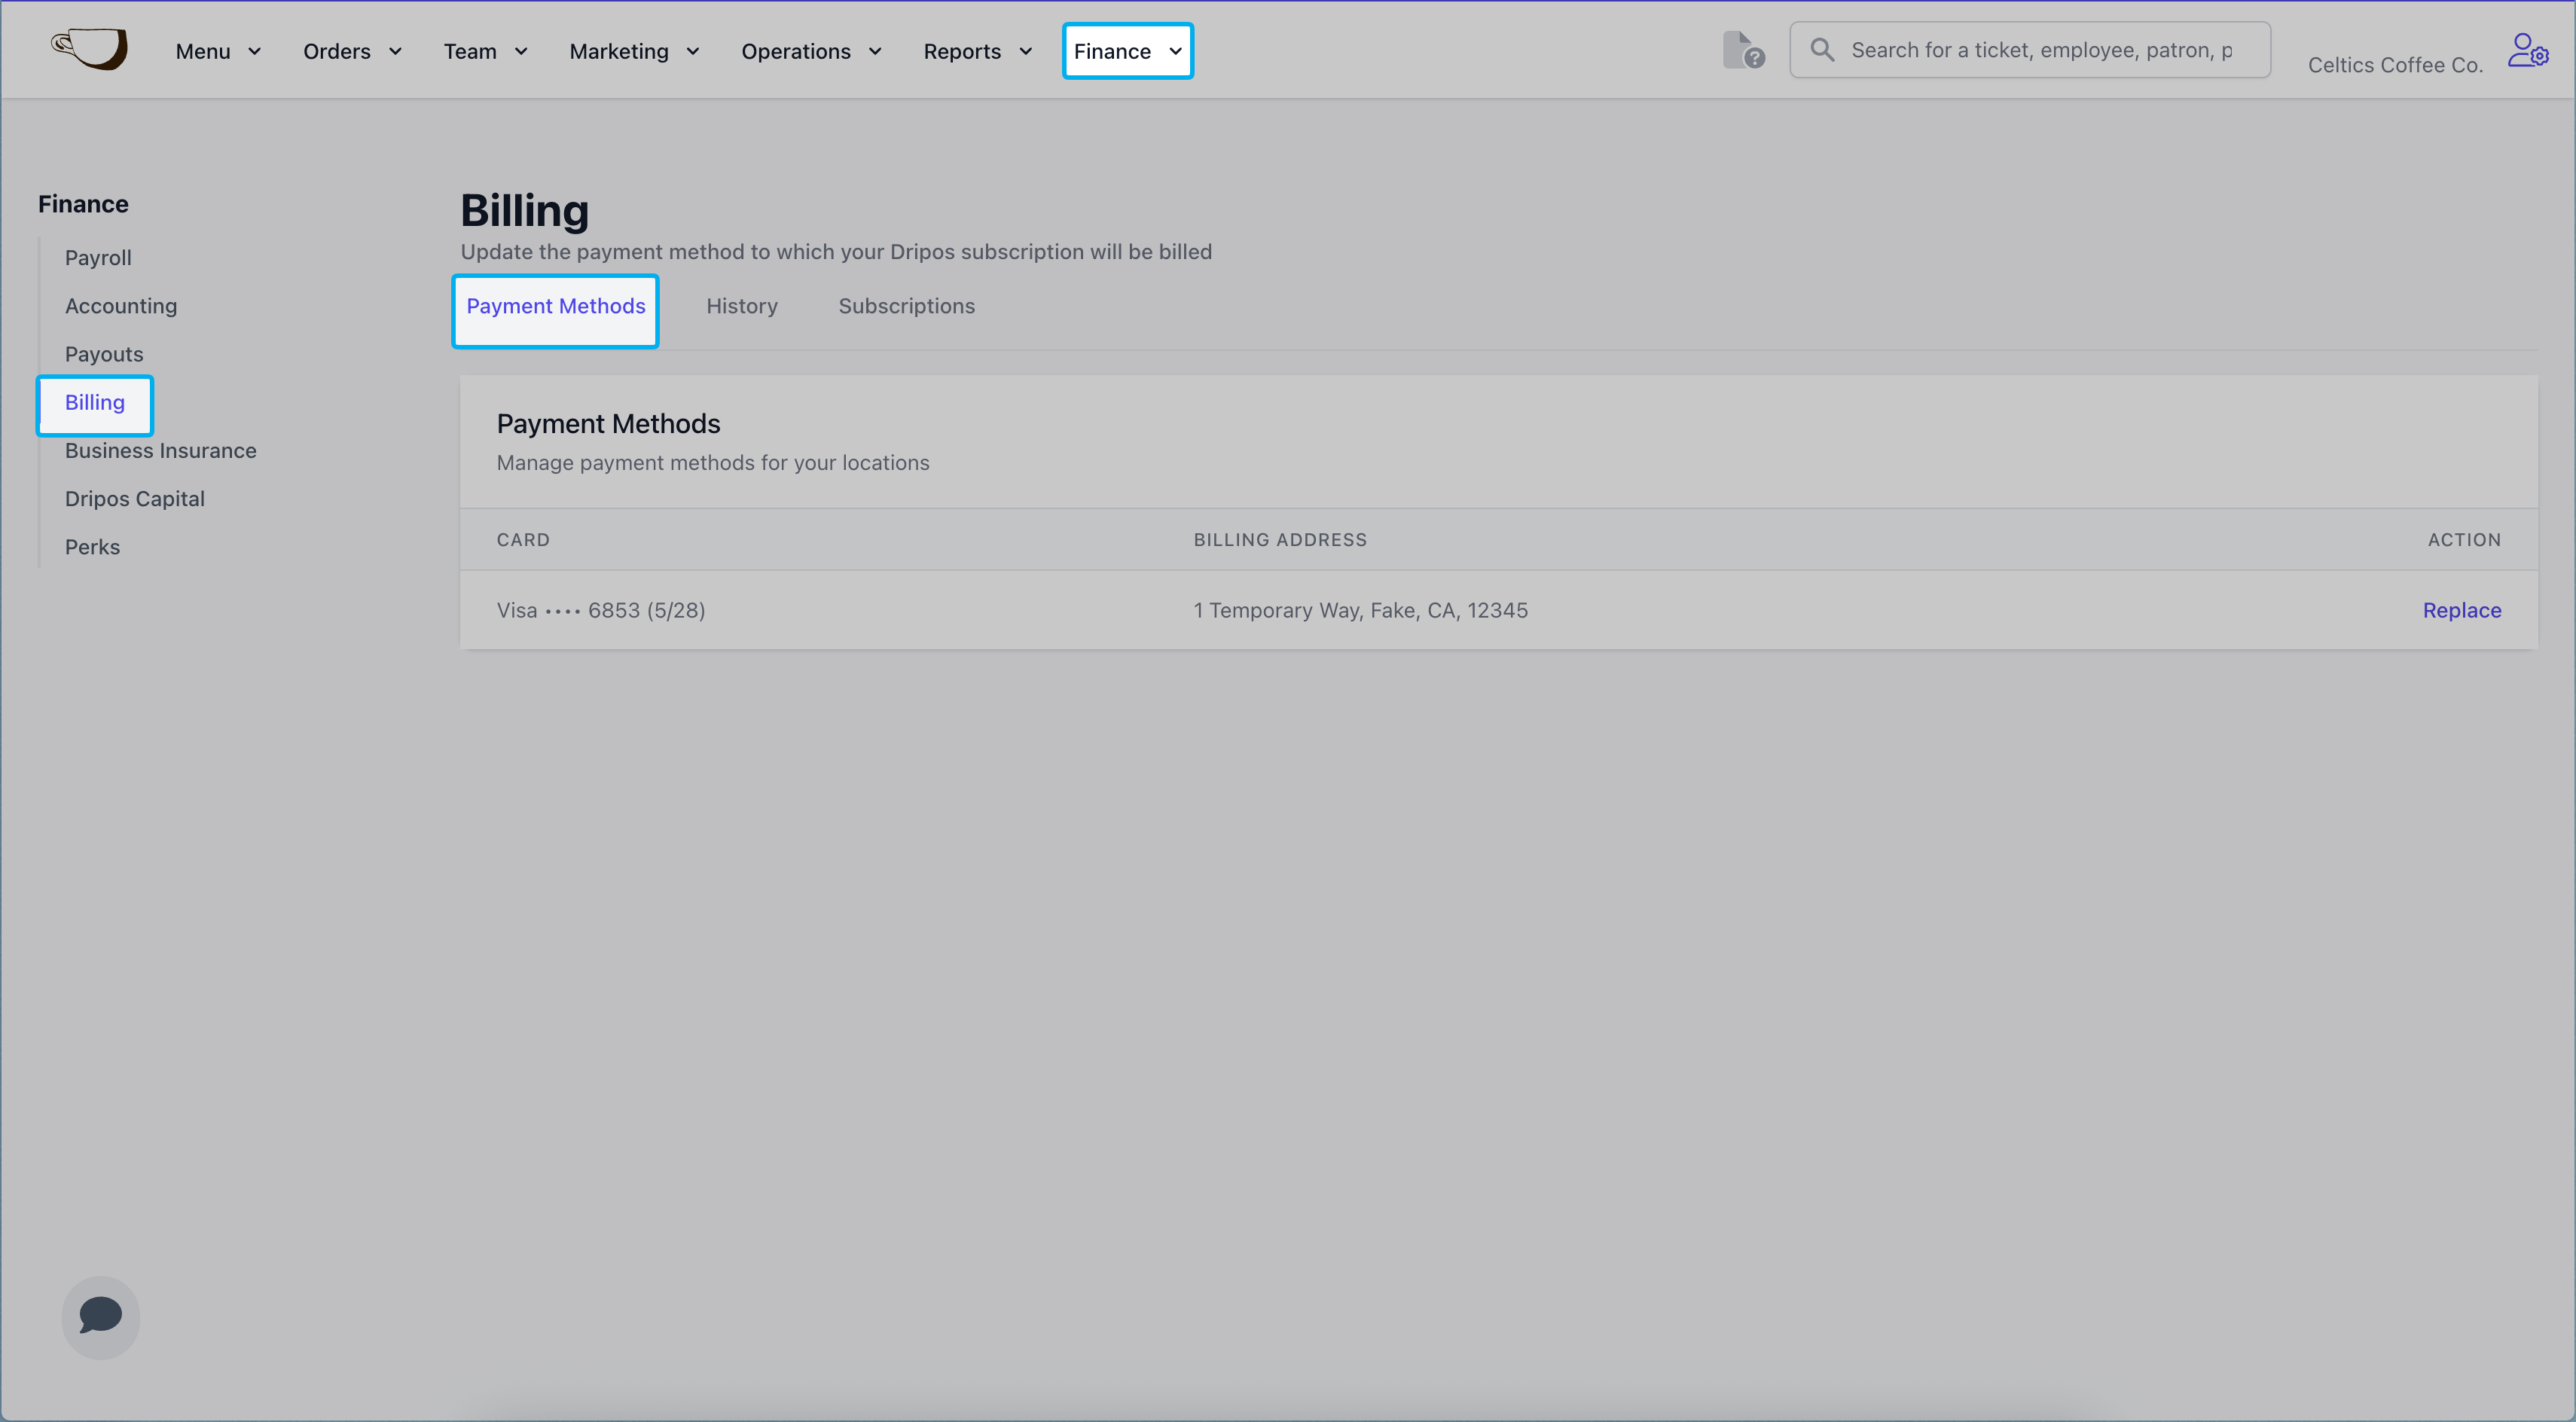 The monthly Dripos subscription will be charged to this Billing Method.
### Task 4: Enter Store Hours
Update your store Time Zone and Hours [here](https://dashboard.dripos.com/hours). You can find this on the Dripos Dashboard by clicking the **Settings Icon** in the top right corner and navigating to **Shop Information > Hours**.
The monthly Dripos subscription will be charged to this Billing Method.
### Task 4: Enter Store Hours
Update your store Time Zone and Hours [here](https://dashboard.dripos.com/hours). You can find this on the Dripos Dashboard by clicking the **Settings Icon** in the top right corner and navigating to **Shop Information > Hours**.
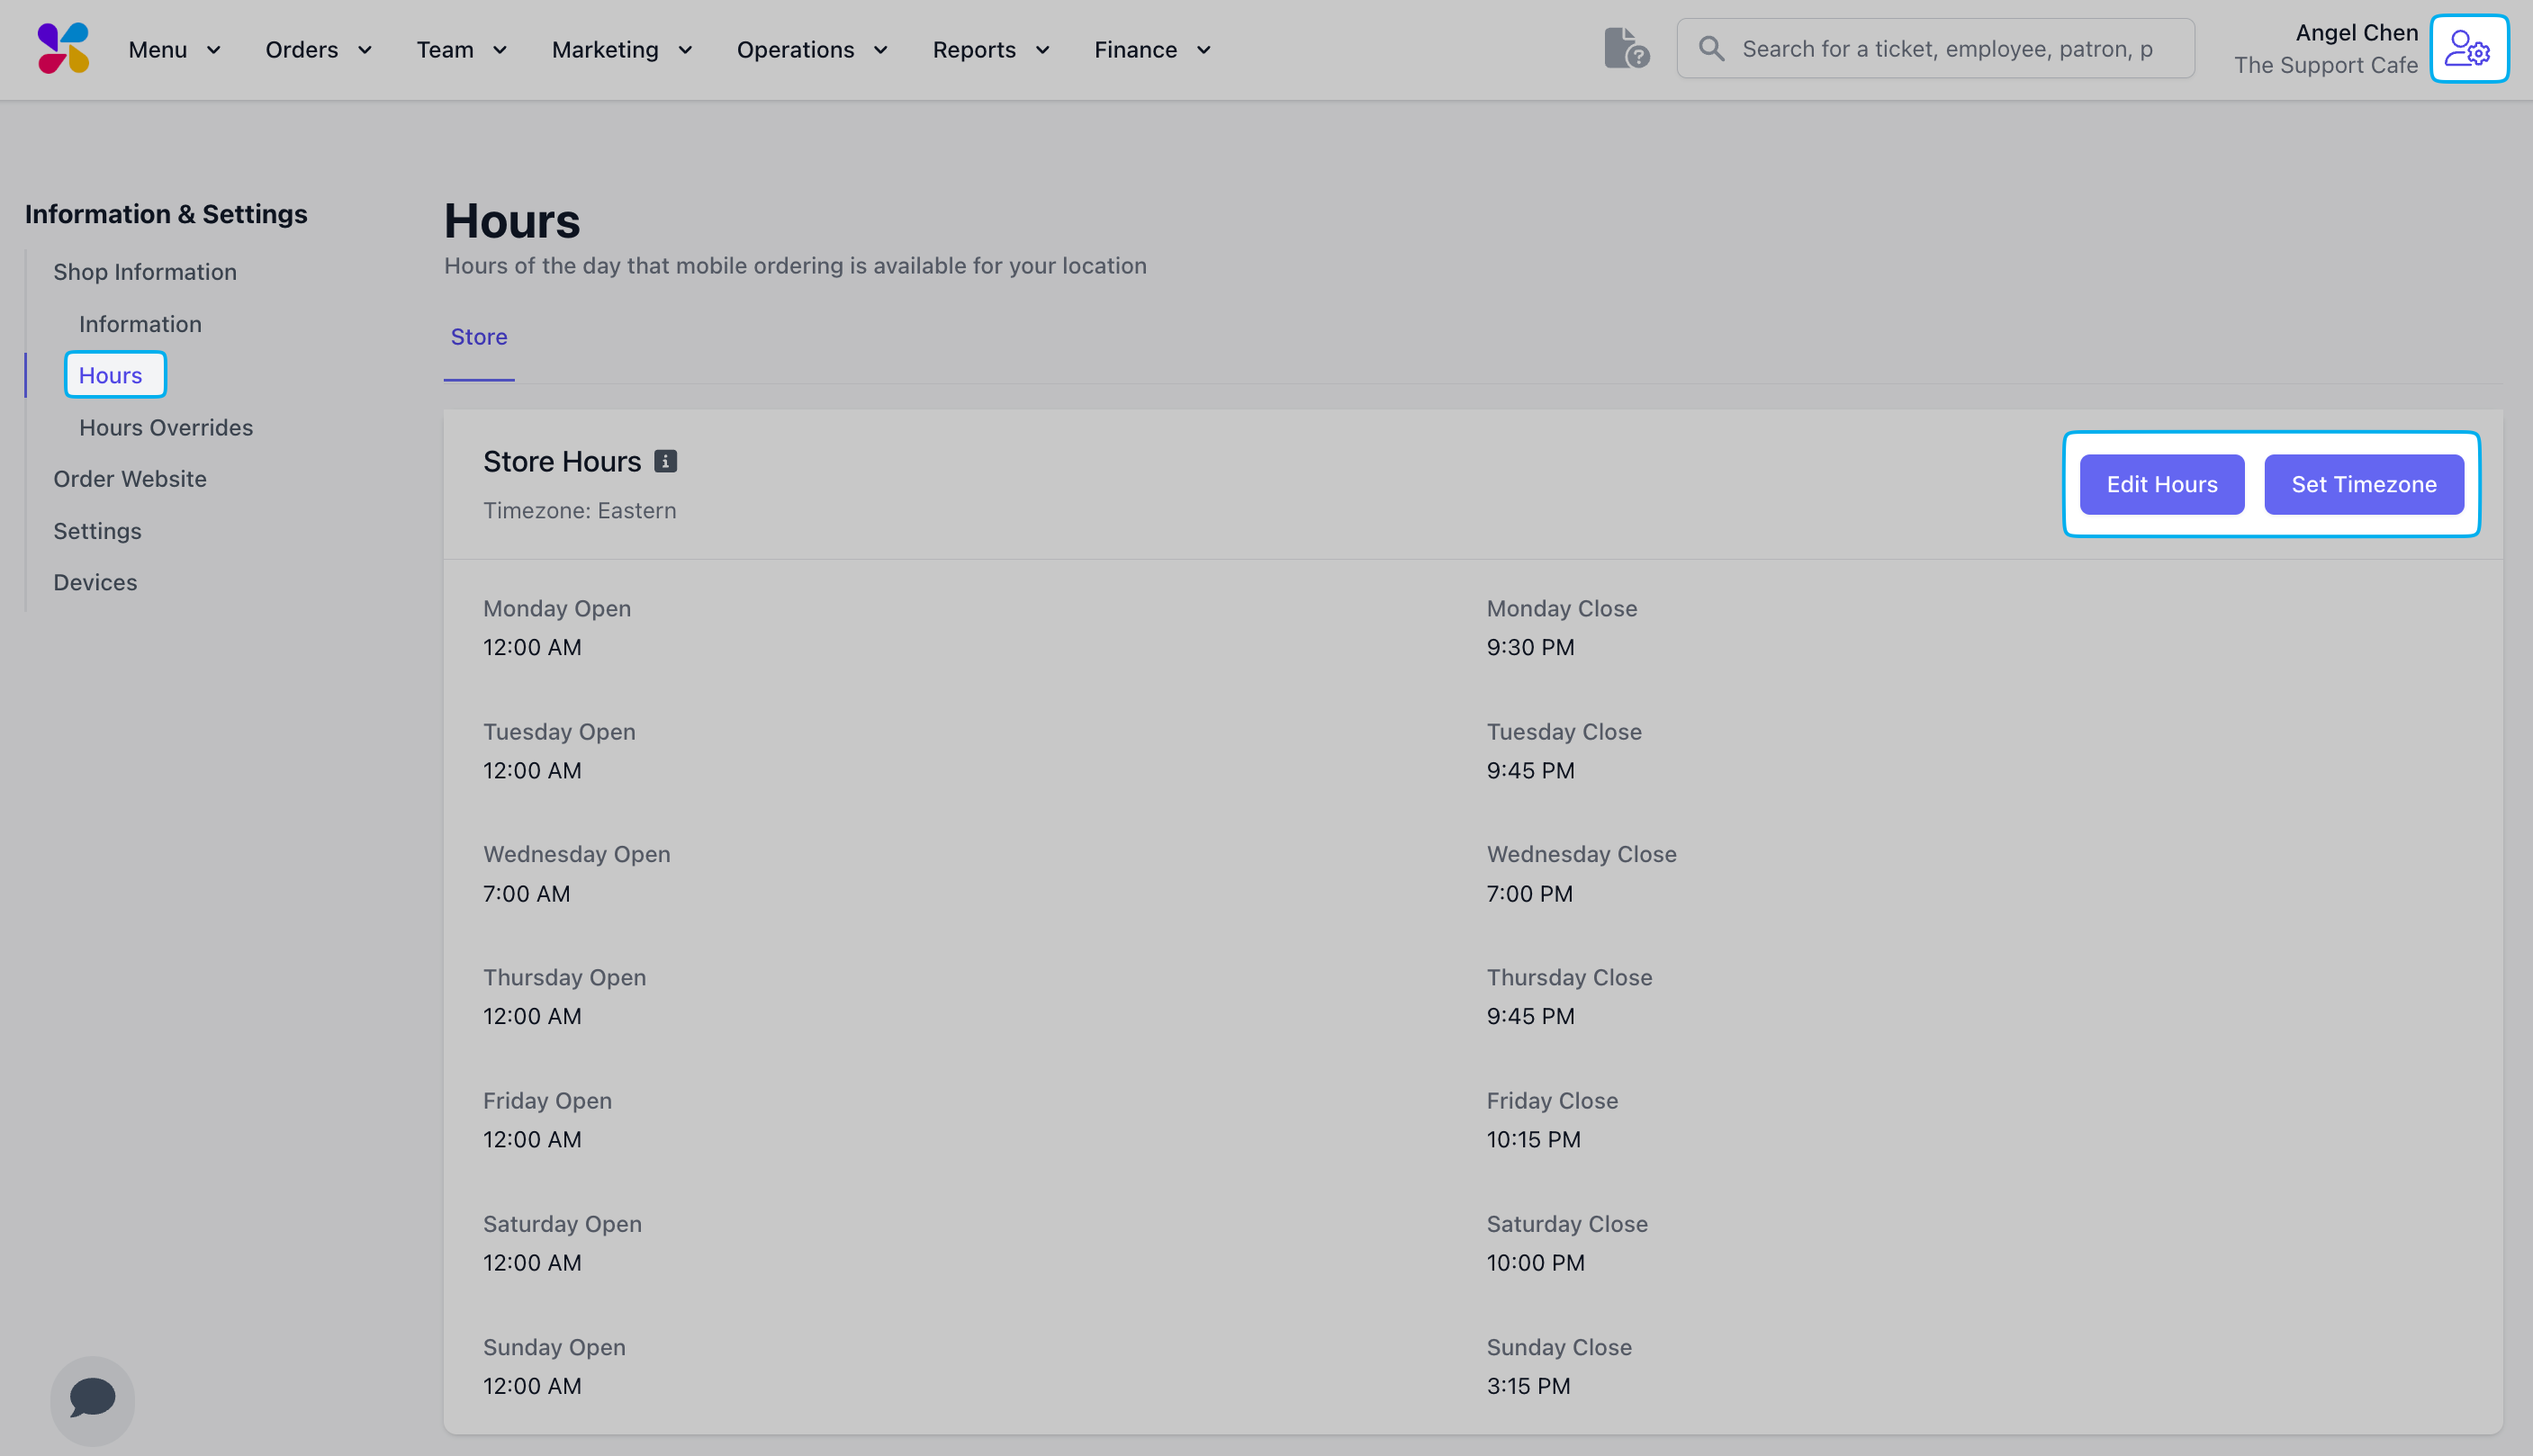 Store Hours display on the ordering website and app. It also determines when customers can place online and mobile orders.
### Task 5: Enter Shop Information
Enter your shop **Location** and **Contact** information [here](https://dashboard.dripos.com/shop). You can find this on the Dripos Dashboard by clicking the **Settings Icon** in the top right corner and selecting **Shop Information**.
Store Hours display on the ordering website and app. It also determines when customers can place online and mobile orders.
### Task 5: Enter Shop Information
Enter your shop **Location** and **Contact** information [here](https://dashboard.dripos.com/shop). You can find this on the Dripos Dashboard by clicking the **Settings Icon** in the top right corner and selecting **Shop Information**.
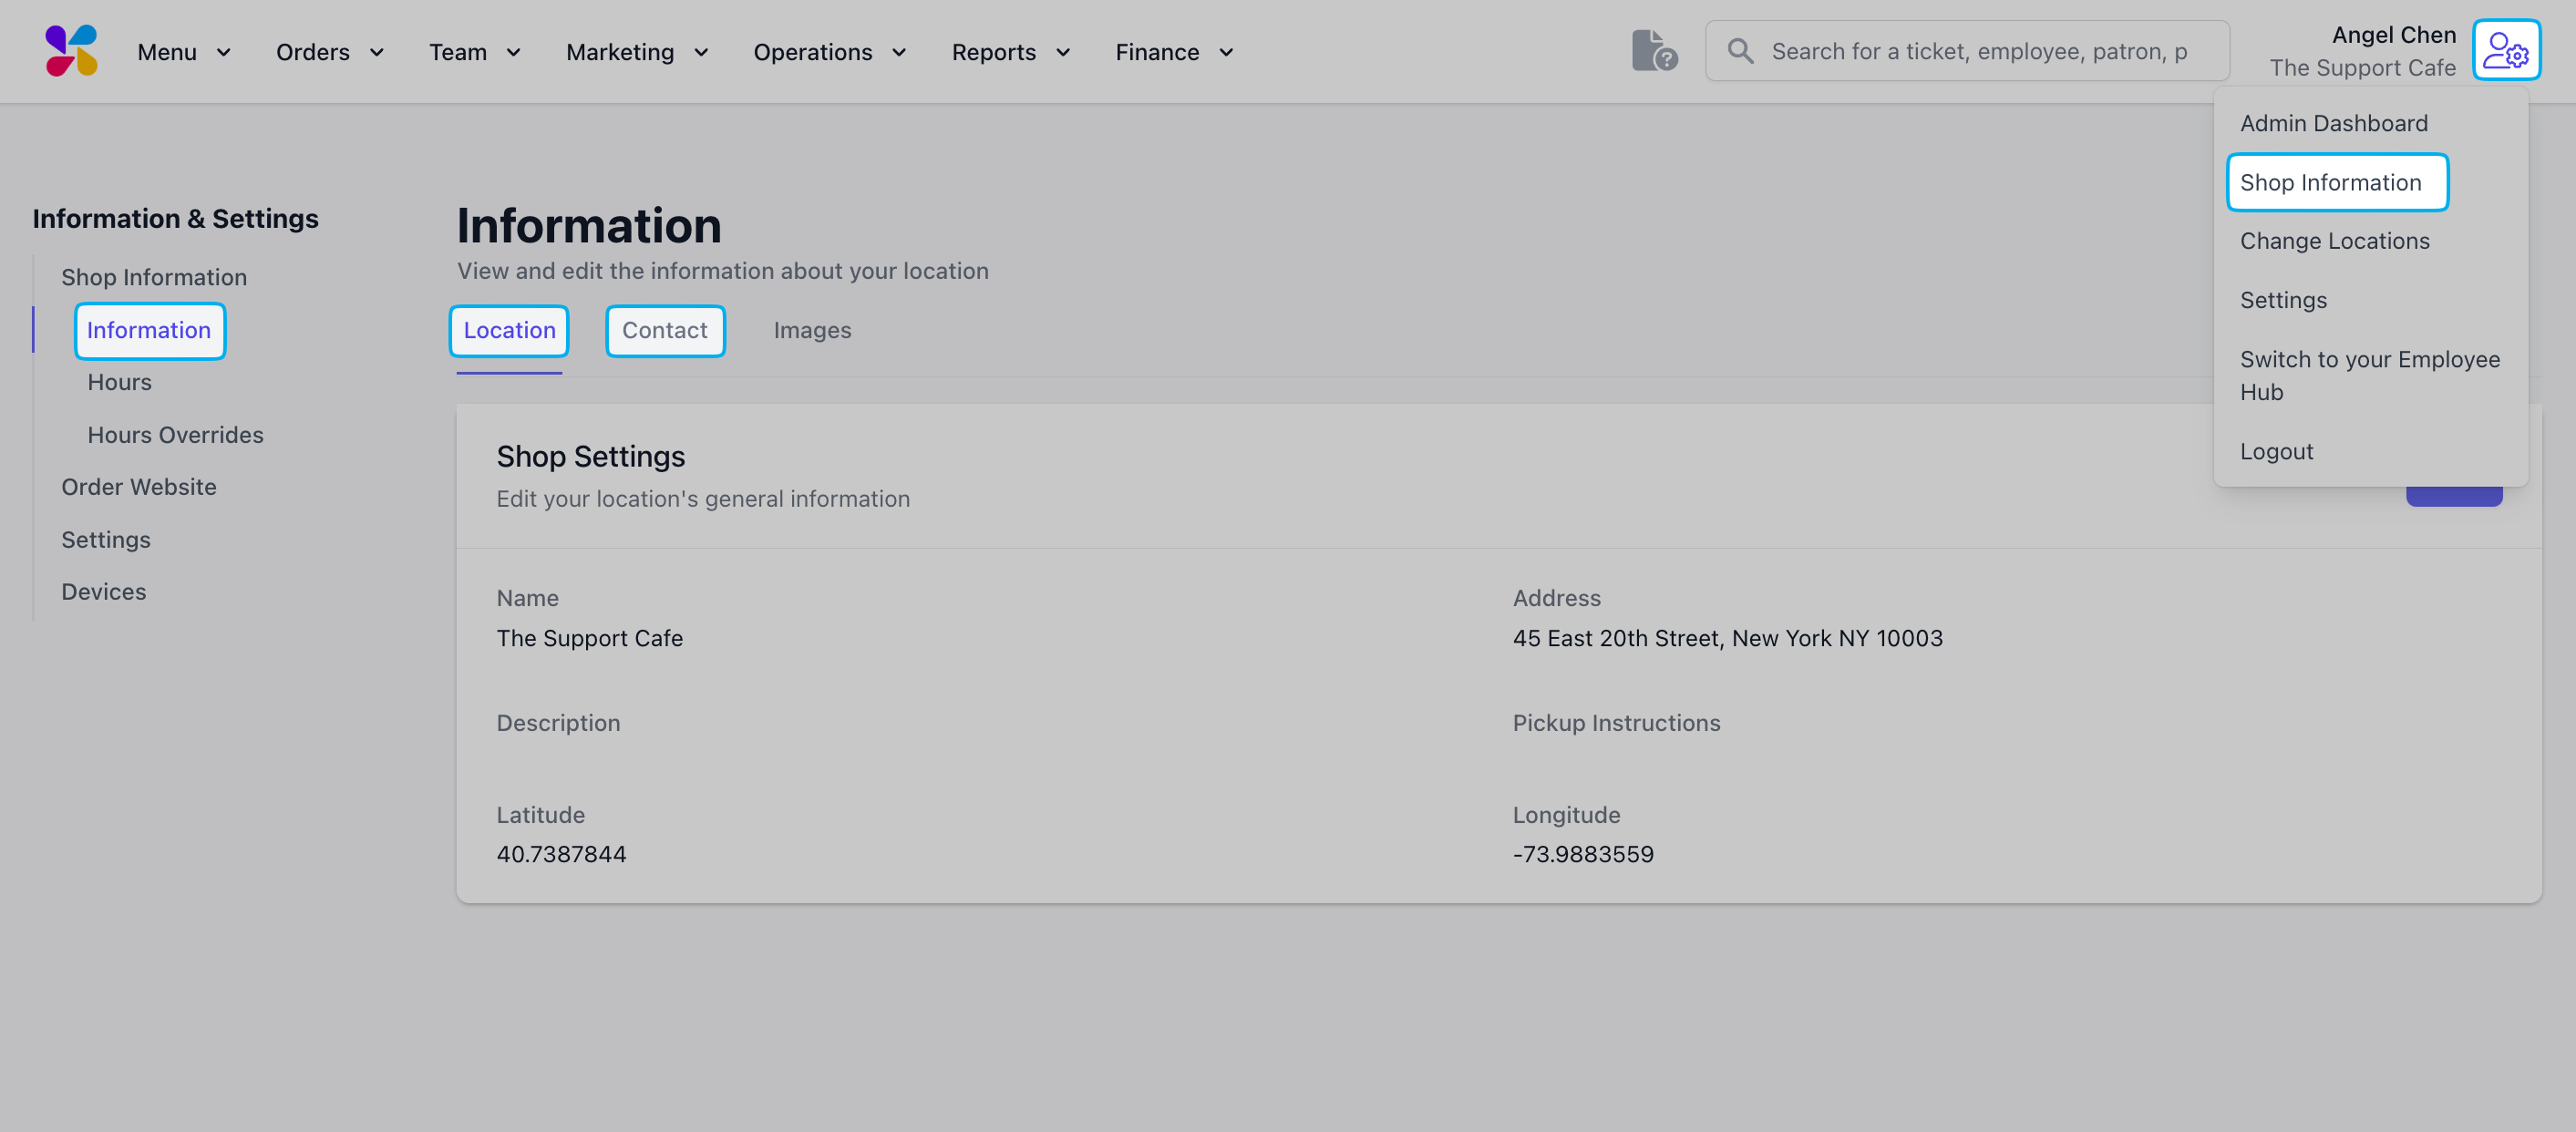 This information is shown on the card reader, mobile order, receipts, etc.
### Task 6: Upload Store Images
Upload a shop Logo and Image [here](https://dashboard.dripos.com/shop?tab=images). You can find this on the Dripos Dashboard by clicking the Icon in the top right corner and navigating to **Shop Information > Images**.
This information is shown on the card reader, mobile order, receipts, etc.
### Task 6: Upload Store Images
Upload a shop Logo and Image [here](https://dashboard.dripos.com/shop?tab=images). You can find this on the Dripos Dashboard by clicking the Icon in the top right corner and navigating to **Shop Information > Images**.
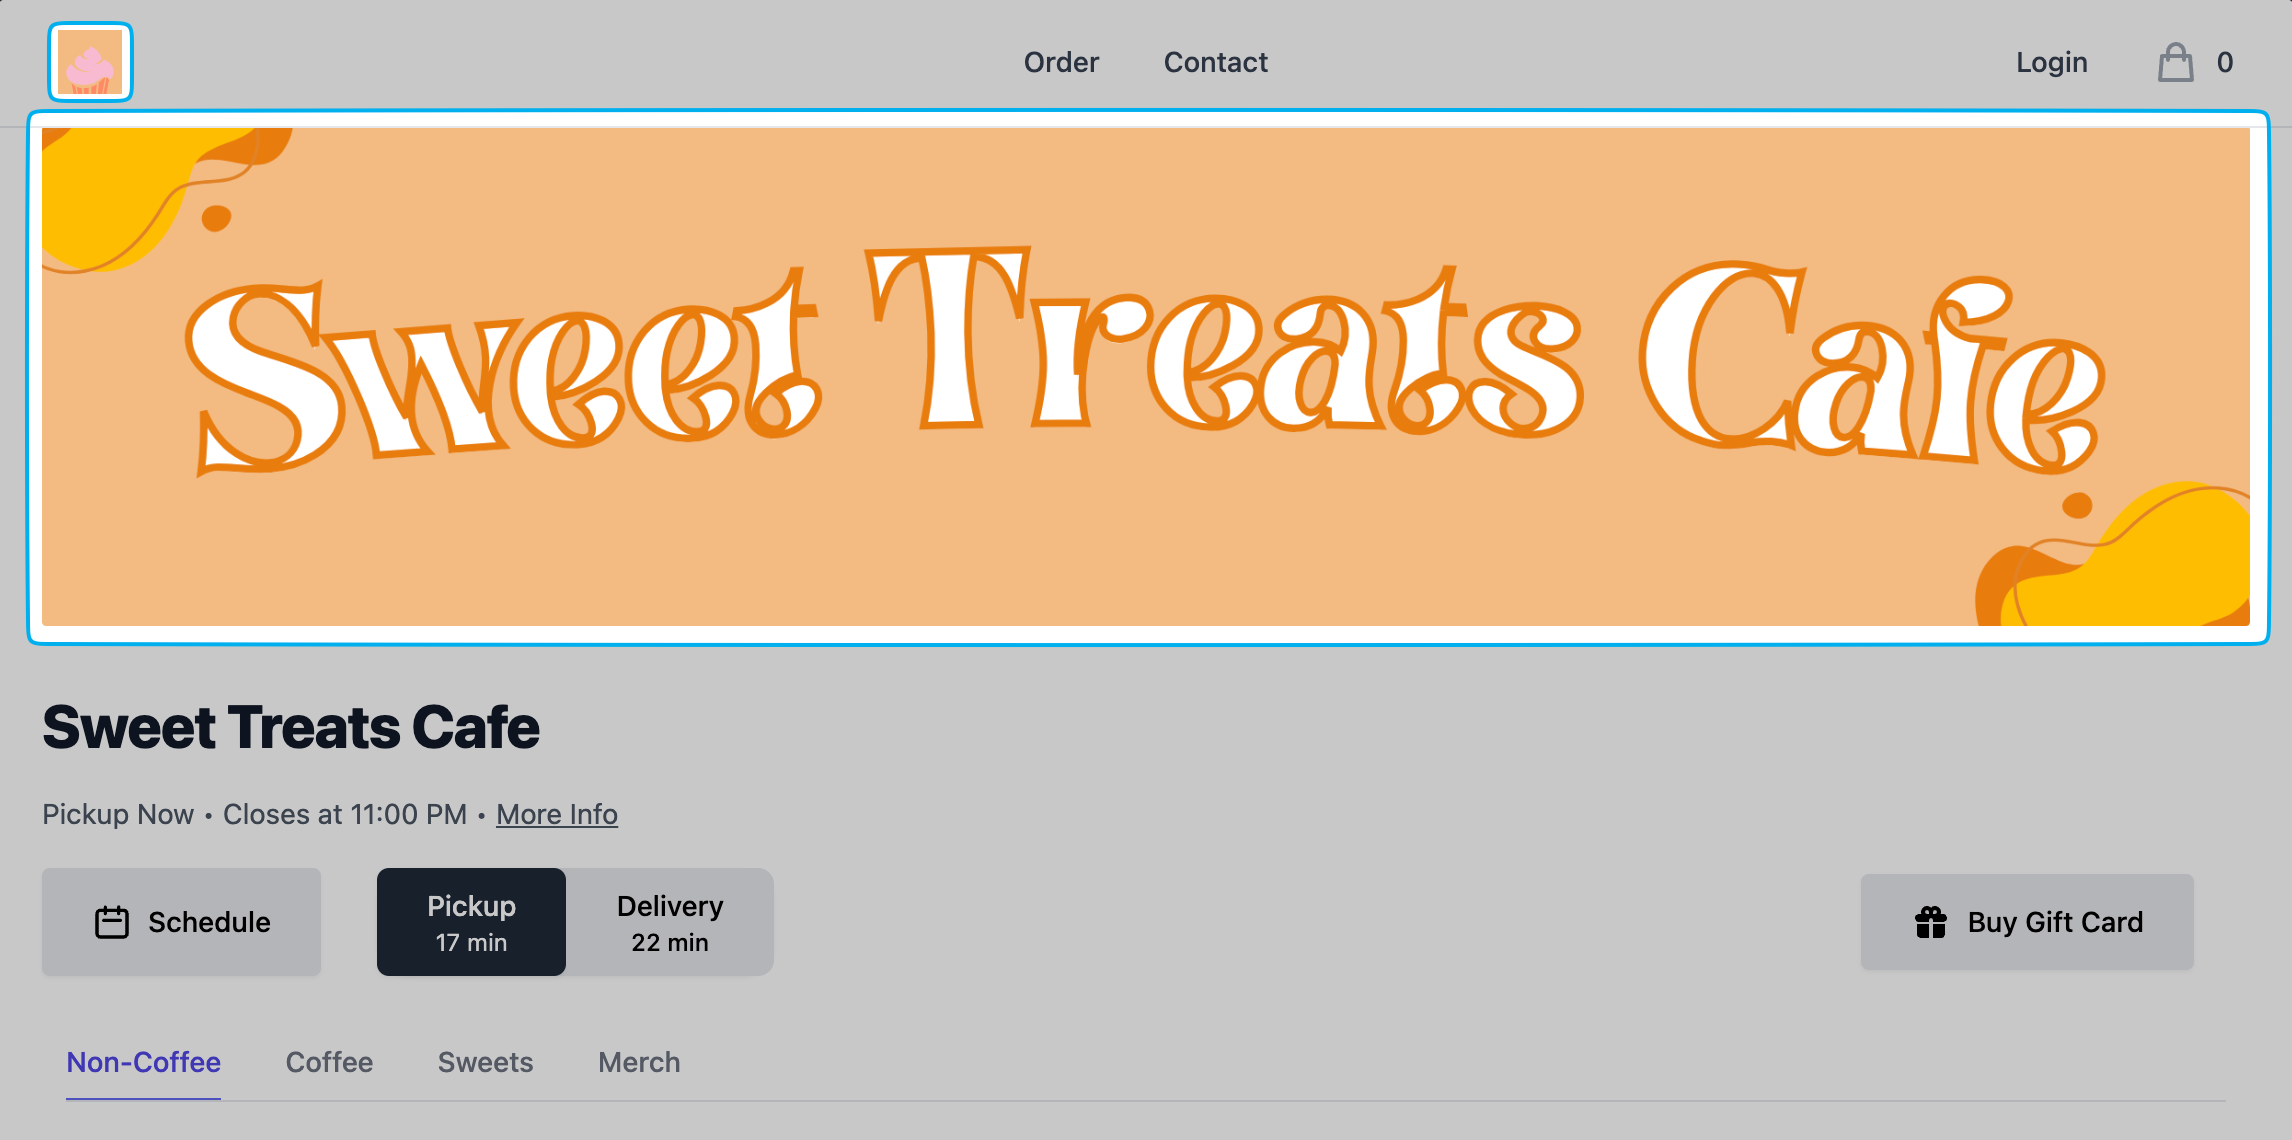
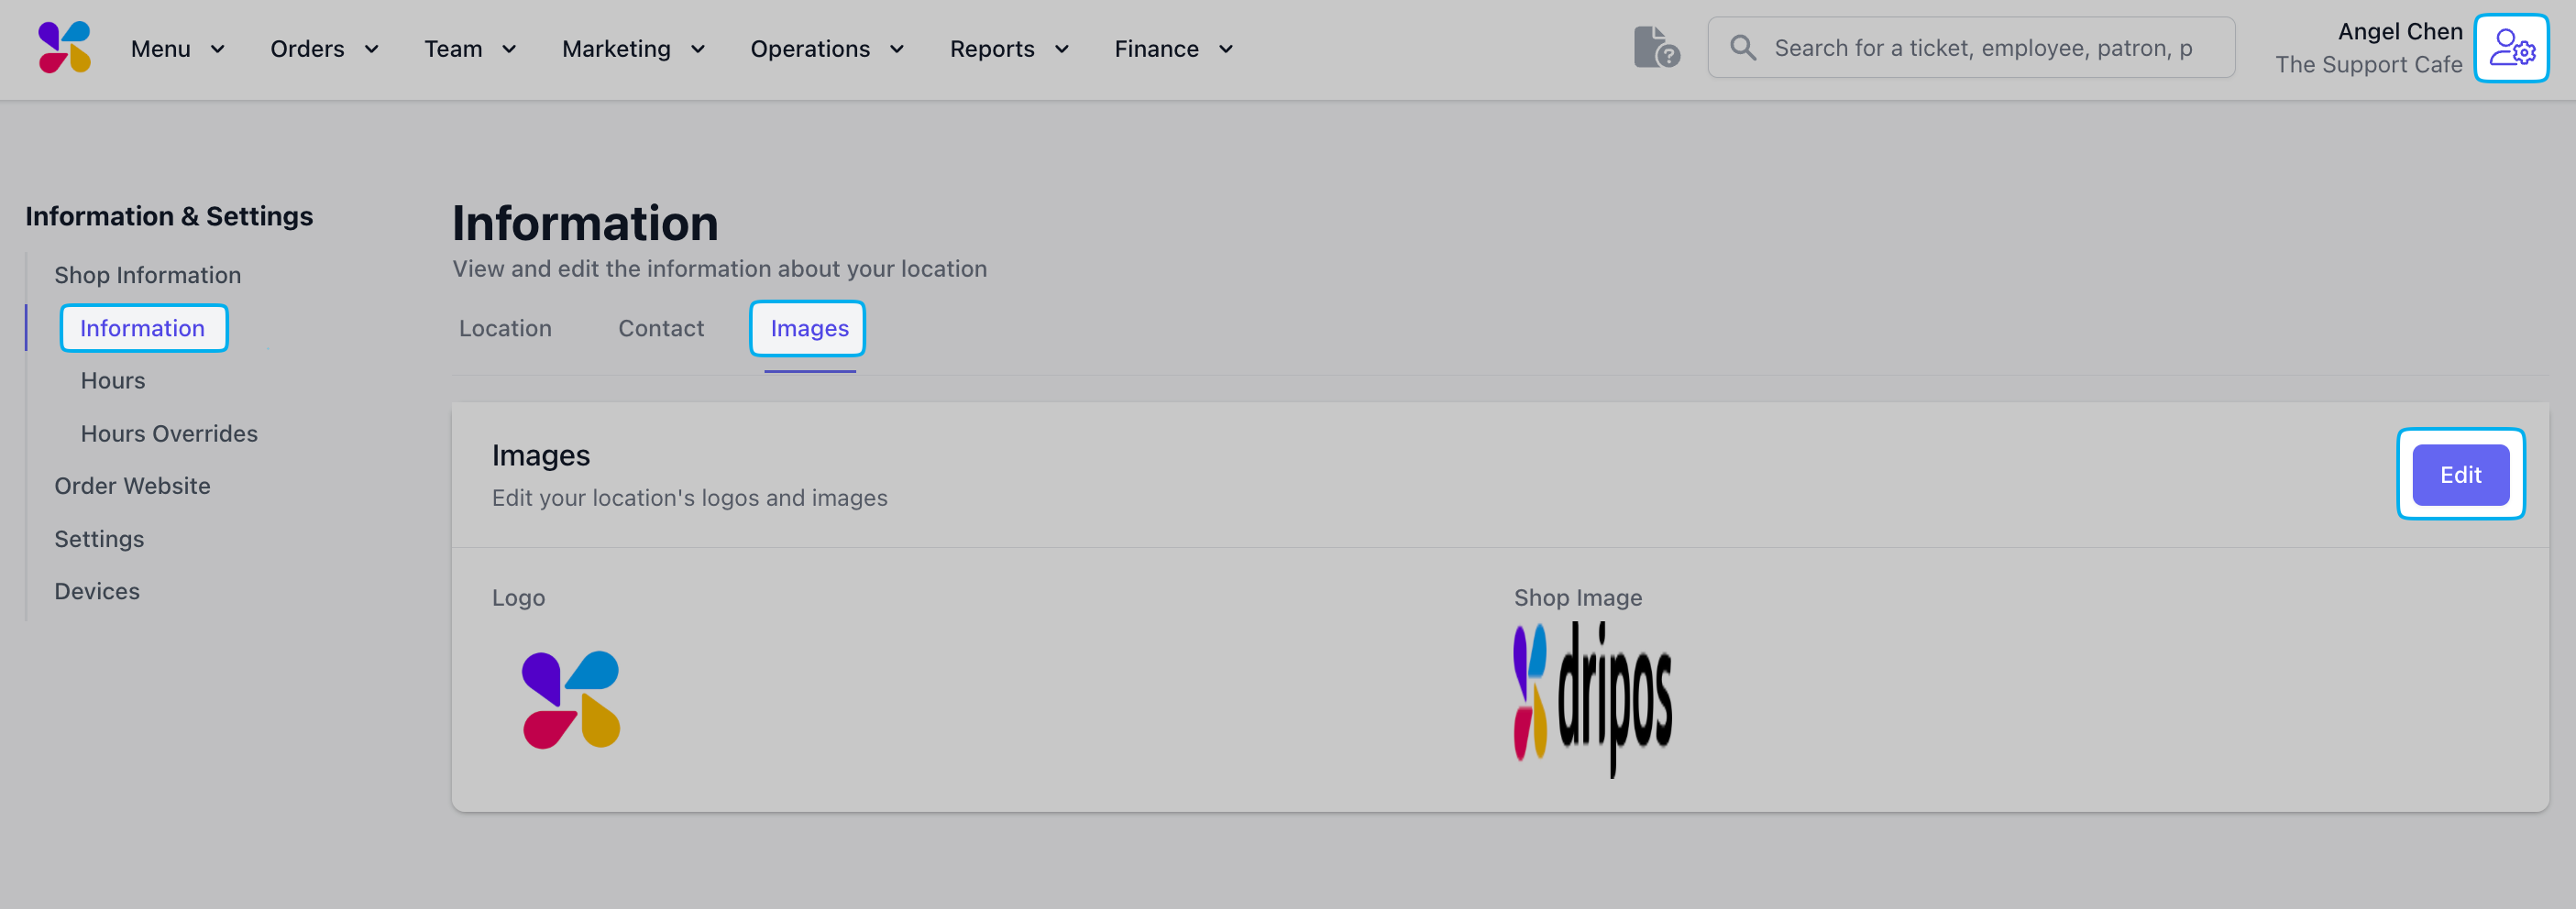 **Recommended Logo Specifications:** Square, 512 x 512 pixels
**Recommended Shop Image Specifications:** Landscape, 2400 x 600 pixels
On the **Order Website**, your Logo will appear in the top left corner, and your Shop Image will appear as banner.
**Recommended Logo Specifications:** Square, 512 x 512 pixels
**Recommended Shop Image Specifications:** Landscape, 2400 x 600 pixels
On the **Order Website**, your Logo will appear in the top left corner, and your Shop Image will appear as banner.