> ## Documentation Index
> Fetch the complete documentation index at: https://support.dripos.com/llms.txt
> Use this file to discover all available pages before exploring further.
# Before Pulse Check
> Let's get your hardware shipped out and the menu started!
### Task 1: Submit a Payment for Your Hardware Invoice
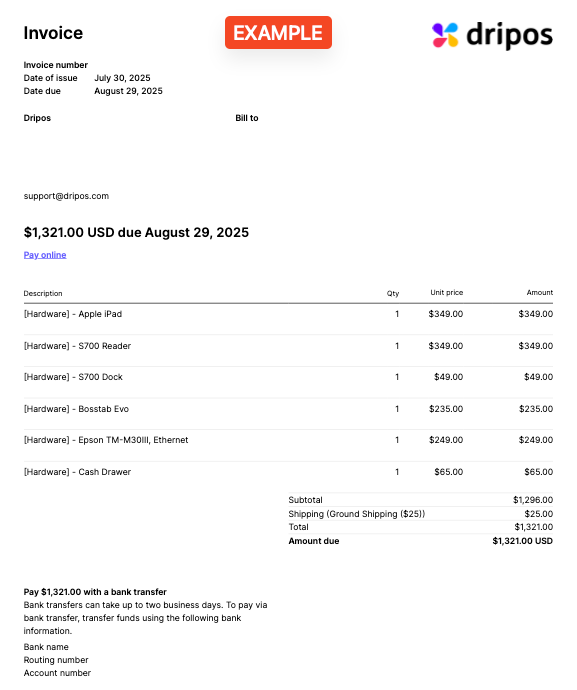
After confirming your hardware on the Kick Off Call, your onboarding specialist will send a finalized hardware invoice.
Click **Pay online** on the PDF or **View** the invoice [here](https://dashboard.dripos.com/billing?tab=history) to submit a payment.
Hardware purchases are nonrefundable and cannot be shipped out until paid for.
### Task 2: Add Tax Rates(s)
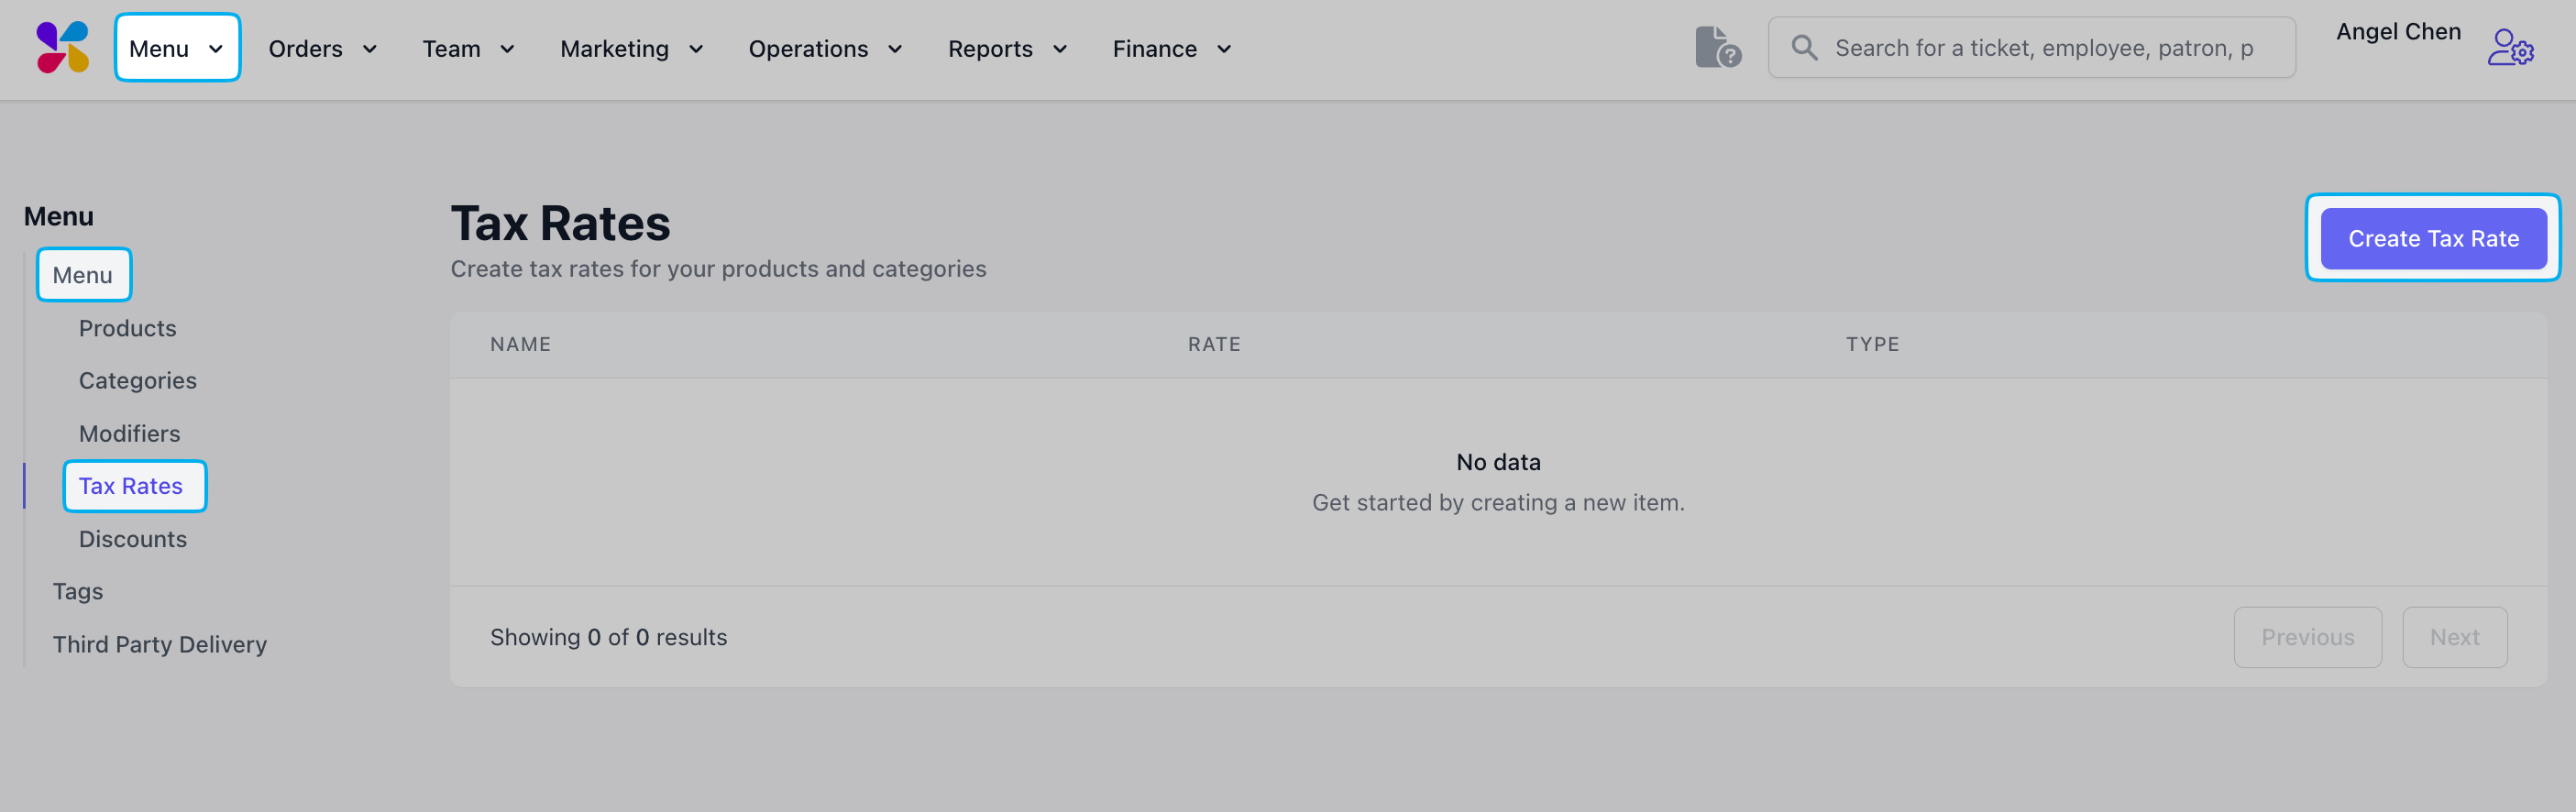
Manually add your sales and other tax rates [here](https://dashboard.dripos.com/taxes). You can find this on the Dripos Dashboard by navigating to **Menu** > **Tax Rates**.
Learn how to apply applicable tax rates to specific products or categories [here](/orders/menu/menu-taxrates).
Dripos does not automatically set sales or other tax rates. Dripos is not responsible for ensuring the proper taxes are paid on your products.
### Task 3: Create Your Menu
Creating your menu is the most important onboarding task! Get started [here](https://dashboard.dripos.com/menu) or find this on the Dripos Dashboard by navigating to **Menu**.
Read our in-depth Menu articles [here](/orders/menu/menu-overview) or watch our[ Menu Builder Webinar](https://www.youtube.com/watch?v=0Ix8AbjjkIw) below.
We recommend building out your menu in this order:
1. **Categories:** Espresso, Smoothies, Food
* You **cannot** create any products without creating a category first
2. **Products:** Latte, Strawberry Banana Smoothie, Breakfast Sandwich
* ***Fixed pricing*** is best for individual products like croissants and bottled water
* ***Sized pricing*** is best for coffees with different sizes or muffins with different flavors
3. **Modifiers:** Milk Options, Smoothie Add-Ons, Sandwich Subsitutions
### Task 4: Add Team Roles and Employees
Add team roles with different permissions to assign to your employees [here](https://dashboard.dripos.com/team). You can find this on the Dripos Dashboard by navigating to **Team** > **My Team**.
Once employees are added to your team, they can download the Dripos Hub App from the [App Store](https://apps.apple.com/us/app/dripos-hub/id1502503322) or [Google Play](https://play.google.com/store/apps/details?id=com.corkdrinks.dripdashboard\&hl=en_US).
Read our in-depth Team articles [here](/team/team-overview) or watch our [Employee Webinar](https://www.youtube.com/watch?v=4IEEtKDA8Hs) below.
Roles like Barista and Cashier can have all permissions set to None and still be able to use the POS normally. Read more about the different permissions [here](/team/setup/setup-permissions) and PIN protect settings [here](/team/setup/setup-access).
**Notify of trade and time-off request:** Employees with this role will receive notifications for all trade and time off requests placed (best for Manager and Admin roles)
**Notify of late clock-in:** Employees with this role will receive notifications for all late clock-ins (best for Manager and Admin roles)
To change the phone number or email for an existing employee, please contact the Dripos Support team.
### Task 5: Set Up Loyalty System
Create Earning and Redeeming rules to determine how your customers can earn and spend points [here](https://dashboard.dripos.com/rules). You can find this on the Dripos Dashboard by navigating to **Marketing** > **Loyalty** > **Rules**.
Read our in-depth Loyalty articles [here](/marketing/loyalty/loyalty-setup) or watch our [Loyalty and Patrons Webinar ](https://www.youtube.com/watch?v=4IEEtKDA8Hs)below.