Get Started with Dripos Onboarding
Welcome to Dripos 🎉 !
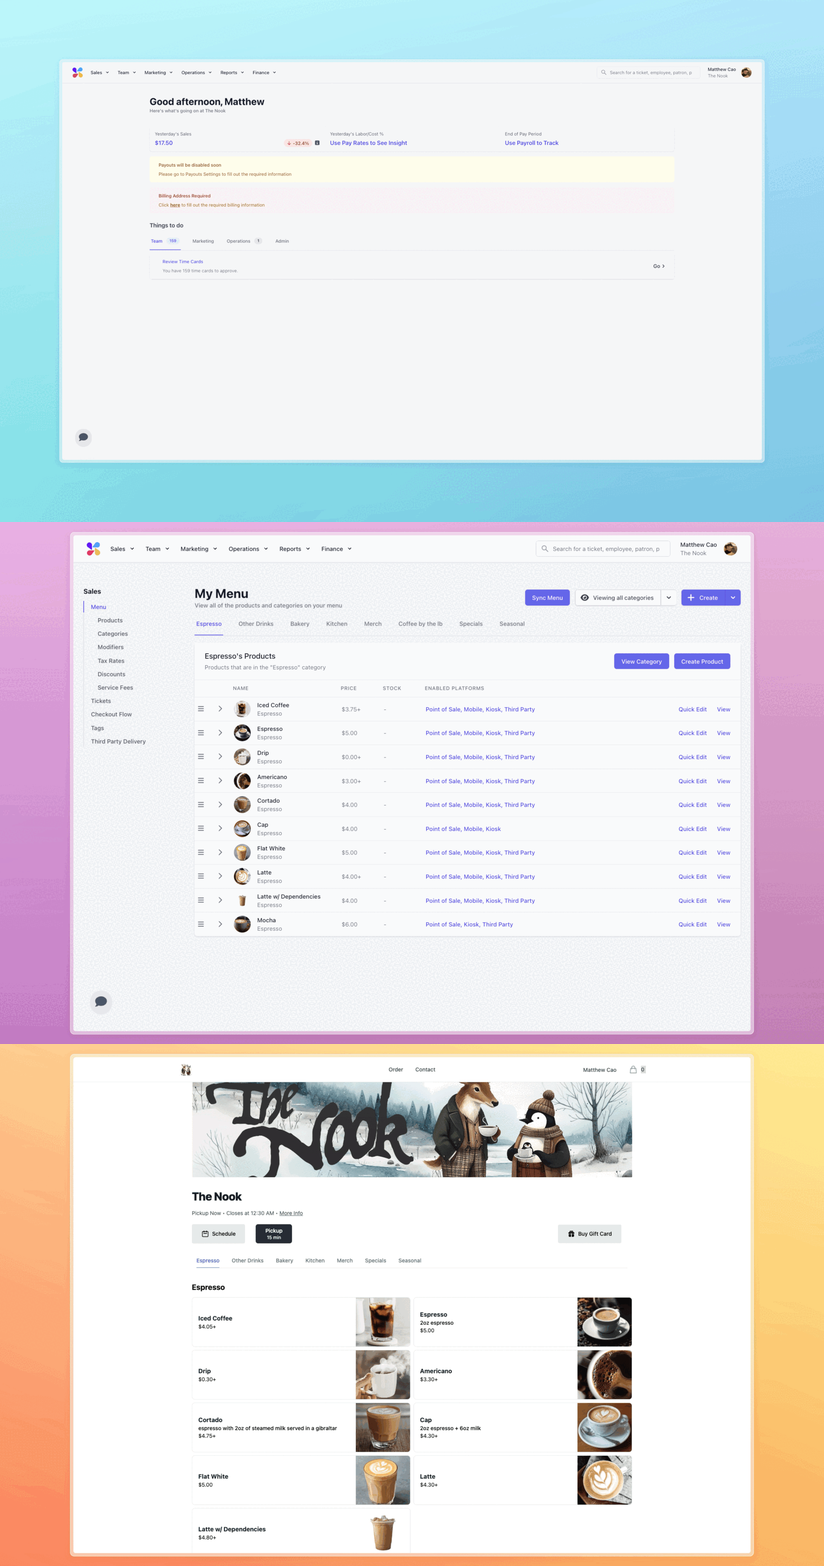
We are so excited to kick off the onboarding process with your business! This document will introduce you to the Onboarding Guide, the website you’ll use to help go live.
We’ve already created your account! Use your phone number to access the Web Dashboard to get started.
The Onboarding Process
Onboarding Tasks
Onboarding tasks are things you are required to complete before you are ready to launch the Dripos system. In general, most of the tasks don’t have to be completed in a specific chronological order, however we have broken tasks up by due date.
The onboarding calls you will have with your onboarding specialist will revolve around the tasks you were required to complete before the call, or after the previous call. It is important to complete the relevant tasks before your next call to get the most out of your education-focused meetings and to launch on time.
Hardware Guide
Click here to read about your hardware once it arrives! As a note, you will not receive any hardware prior to your first onboarding call and prior to paying the invoice.
Before Call 1
Complete Stripe Onboarding
You cannot go live, or utilize the card reader without having a verified Stripe account. This should be one of the first onboarding tasks you complete.
Even if you are an existing business and have an existing Stripe account, you will still need to make a separate Stripe account through Dripos that will be independent of your existing Stripe account.
- Log on to the Web Dashboard. Once signed in, select Finance > Payouts > Settings:
- Select Open Stripe Settings > Enter your phone number and email to attach yourself to the Stripe account:
- Enter initial business information:
- Continue through Stripe’s account setup steps to provide relevant information to confirm the existence of your business and ownership:
- Attach the bank account that you want to receive payouts from the orders you process. This can be changed in the future.
Check Your Statement Descriptor
The statement descriptor displays to your customer on their bank statements/credit card bills/Apple Pay notifications. It indicates where the customer spent their money, so it must be explicitly stated as your business.
- Log on to the Web Dashboard. Once signed in, select Finance > Payouts > Settings:
- Once you’ve set up your Stripe Account, a statement descriptor will be automatically set based on your Stripe Account.
The automatically set statement descriptor often isn’t your business’s name. Small businesses without websites may get “INSTAGRAM.COM” or “FACEBOOK.COM”.
- Edit your statement descriptor by clicking the Edit button on the right:
- Change the statement descriptor to your business’ name or your website URL and hit Save.
Enter your Billing Details
The credit card information you enter into Billing will be kept on file and charged according to your quoted monthly subscription price.
How to Enter Your Billing Details on the Web Dashboard
- Log on to the Web Dashboard. Once signed in, select Finance > Billing:
- Click Add Billing Method > Enter your card information > Once you’ve entered your information hit Save:
- Next, click on the Billing Address tab > click Edit:
- This will prompt a pop up to appear where you will need to fill in your billing Address, City, State, and Zipcode:
- Once you have finished, click Save:
How to Check Your Billing History on the Web Dashboard
- Log on to the Web Dashboard. Once signed in, select Finance > Billing:
- Toggle to the History menu option to view a breakdown of hardware invoices and Dripos monthly subscriptions:
- Click View next to any of the historical line items to open up the associated Stripe invoice page.
You can do the following on the Stripe invoice webpage you’re redirected to:
- Pay hardware invoice:
- View Dripos subscription receipt:
Run a WiFi Speed Test
The health of your internet connection can dictate what hardware we send you and additional steps required to stay reliably connected to Dripos.
Running an Initial Wi-Fi Speed Test Online
- Google Wi-Fi Speed Test on a device while in your shop:
-
Take a photo or record the upload and download speeds you’re given after waiting a few seconds for the test to complete.
-
We will ask you how your Wi-Fi performed on our first call, but please disclaim if the test gave poor results.
On average, we say that anything around 100mbps-200mbps or higher for downloads is considered strong Wi-Fi, while anything around 50mbps or higher for uploads is strong. Generally our minimum operating requirements are 20mbps download and 10mbps upload.
Running a Final-Exact Wi-Fi Speed Test Online
-
Perform the following steps after you’ve received all Dripos-issued hardware, and shortly before your final hardware-focused onboarding call.
-
Google Wi-Fi Speed Test on the specific tablet you will be using as the POS tablet.
-
Repeat this step anywhere else a tablet or card reader will live in your physical shop.
We’ve found that the precise spot your hardware is set up in can impact the network connection. Typically, the closer to the router the devices are, the better the connection.
What if my Wi-Fi Speeds are Low? If we find that your internet speeds are slow and inhibiting the use of our products, your onboarding specialist, or a specialist on our Support team will work with you to determine the best course of action.
We typically recommend getting a Wi-Fi extender to strengthen a weak connection, a Wi-Fi mobile hotspot to create a new network, or ethernet-hardwiring the device to the router.
Check Your Time Zone
The timezone for every location defaults to CST. If this is not your timezone, your store hours, employee scheduler, and reports will be incorrect if you don’t change it.
Viewing Your Timezone on the Web Dashboard
- Log on to the Web Dashboard. Once signed in, click the Dripos logo > select Restaurant and Devices:
- You will land on the Location tab within My Shop, which displays the timezone:
Changing Your Timezone on the Web Dashboard
We advise you to check/change your timezone to reflect your location before setting hours. If you set store hours before changing the timezone, your store hours will be shifted incorrectly.
- While on the Location tab of My Shop, select Edit on the right:
- In the popup, scroll to the Timezone dropdown option. Click on the dropdown to reveal the other time zone options:
- Hit Save on the bottom right to save the timezone change.
Store Hours with Default CST Timezone:
Changing Timezone to EST Shifts Store Hours:
You must now edit Store Hours to show your actual store’s hours in your time zone. This requires an extra step of work, so be sure to change your timezone first.
Set Store Hours
The hours you set up as the operating hours will display on the mobile ordering website and app, dictating when customers can order online.
It is important to ensure your location information displays the correct time zone your shop is in. This can be adjusted in your Shop Settings.
- Log on to the Web Dashboard. Once signed in, select the Dripos logo on the right > select Restaurant and Devices:
- From the Shop settings > select Hours:
- While inside the Hours tab > click Edit > Select/Deselect days you’re open/closed:
- To the right of the days selected > click the dropdown arrow within the time box to change your open and close times:
- Hit Save in the bottom right corner of the popup.
Set Store Info and Images
This information will be visible to mobile ordering customers, and impact what’s printed on receipts, displays on the card reader, etc.
Confirming Your Location’s Address on the Web Dashboard
- Log on to the Web Dashboard. Once signed in, select the Dripos logo on the right > select Restaurant and Devices:
This is commonly overlooked and impacts when customers can order, and how employees are scheduled to work.
- Toggle to the Contact menu option to edit how customers can reach your shop and add links to your social media pages if applicable:
- Toggle to the Images menu option to add a logo and shop image to be viewed on the Order Website/App:
This is typically an image of your physical location for customers to identify your shop.
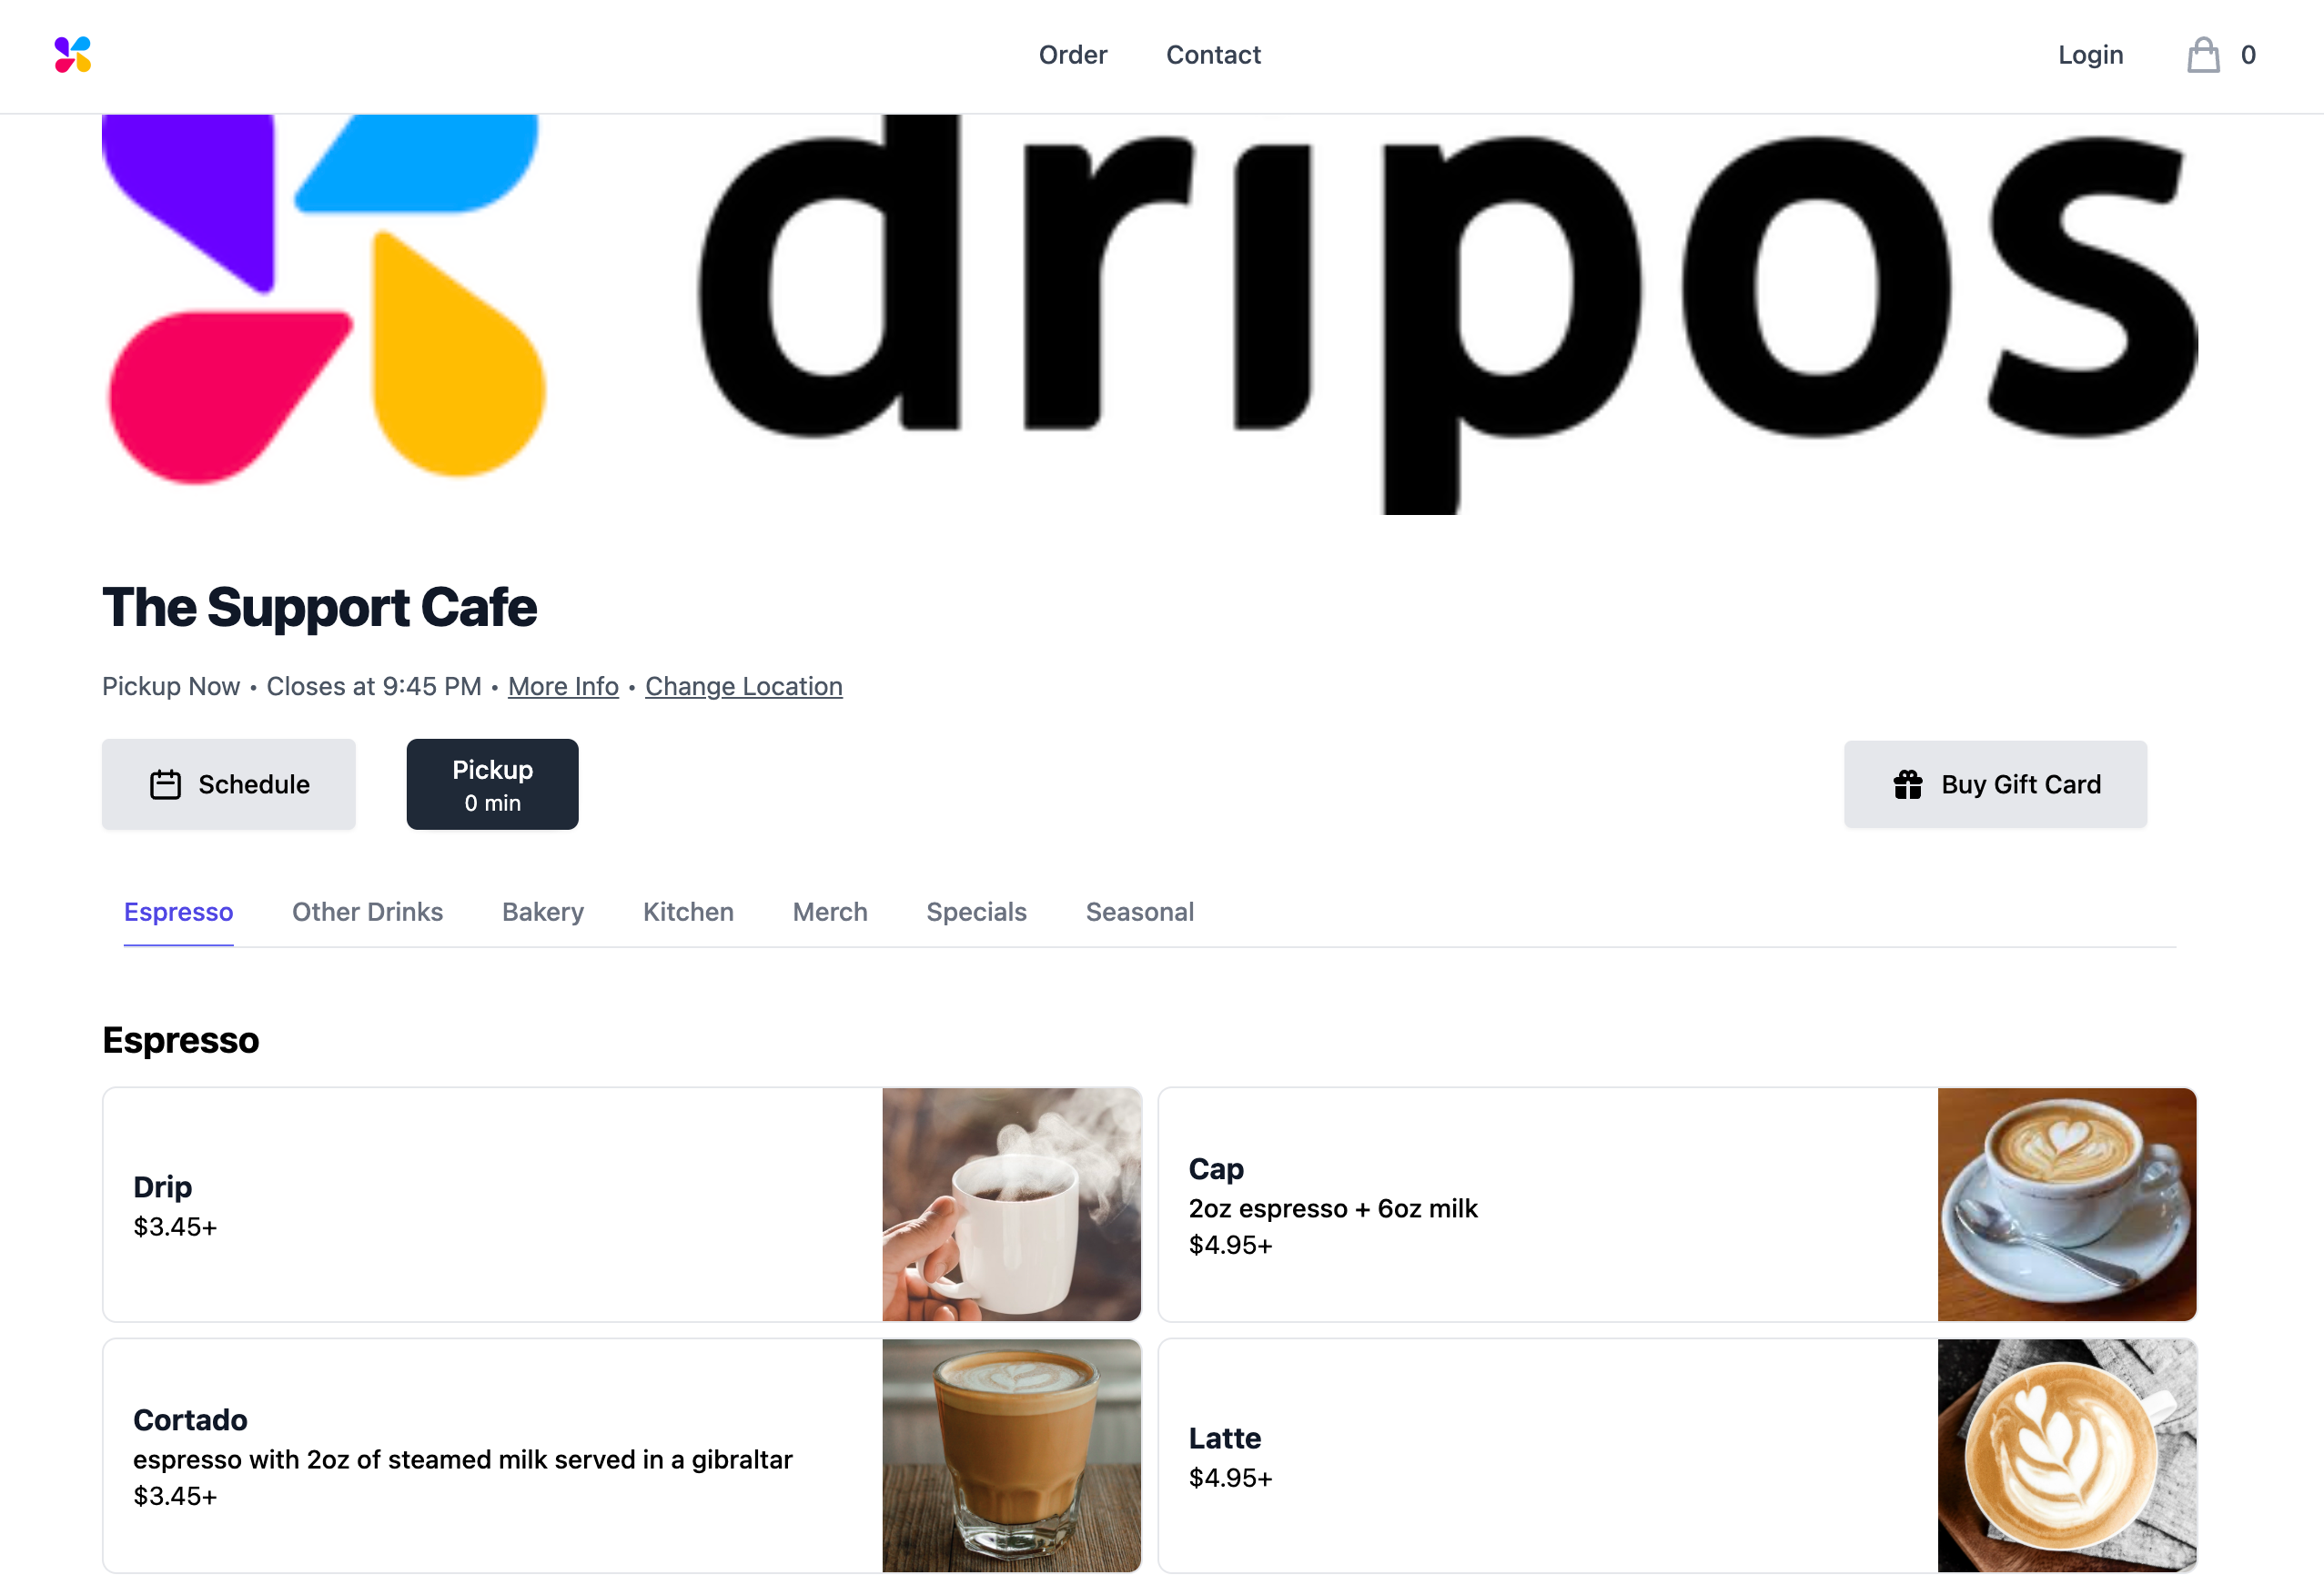
Displays of Your Shop’s Logo and Image On the Order Website, your logo will appear in the top left corner, and your store image will appear as a top banner:
On the Order App, your store image will appear as a top banner, and your logo will appear on the digital receipt:
Before Call 2
Submit a Payment for Your Hardware Invoice
We cannot ship your hardware until your Dripos hardware has been fully paid for.
Receiving Your Hardware Invoice After your initial onboarding call, your onboarding specialist will email you a PDF of a hardware invoice that contains a list of the items we will ship to you and the associated costs.
We talk about hardware together on our call, but carefully review the invoice and inform your onboarding specialist of anything you want to change.
Paying Your Hardware Invoice from the PDF
- Click on the Pay online hyperlink in the PDF emailed to you:
- View your shop’s hardware invoice on the redirected Stripe link and pay the balance in full:
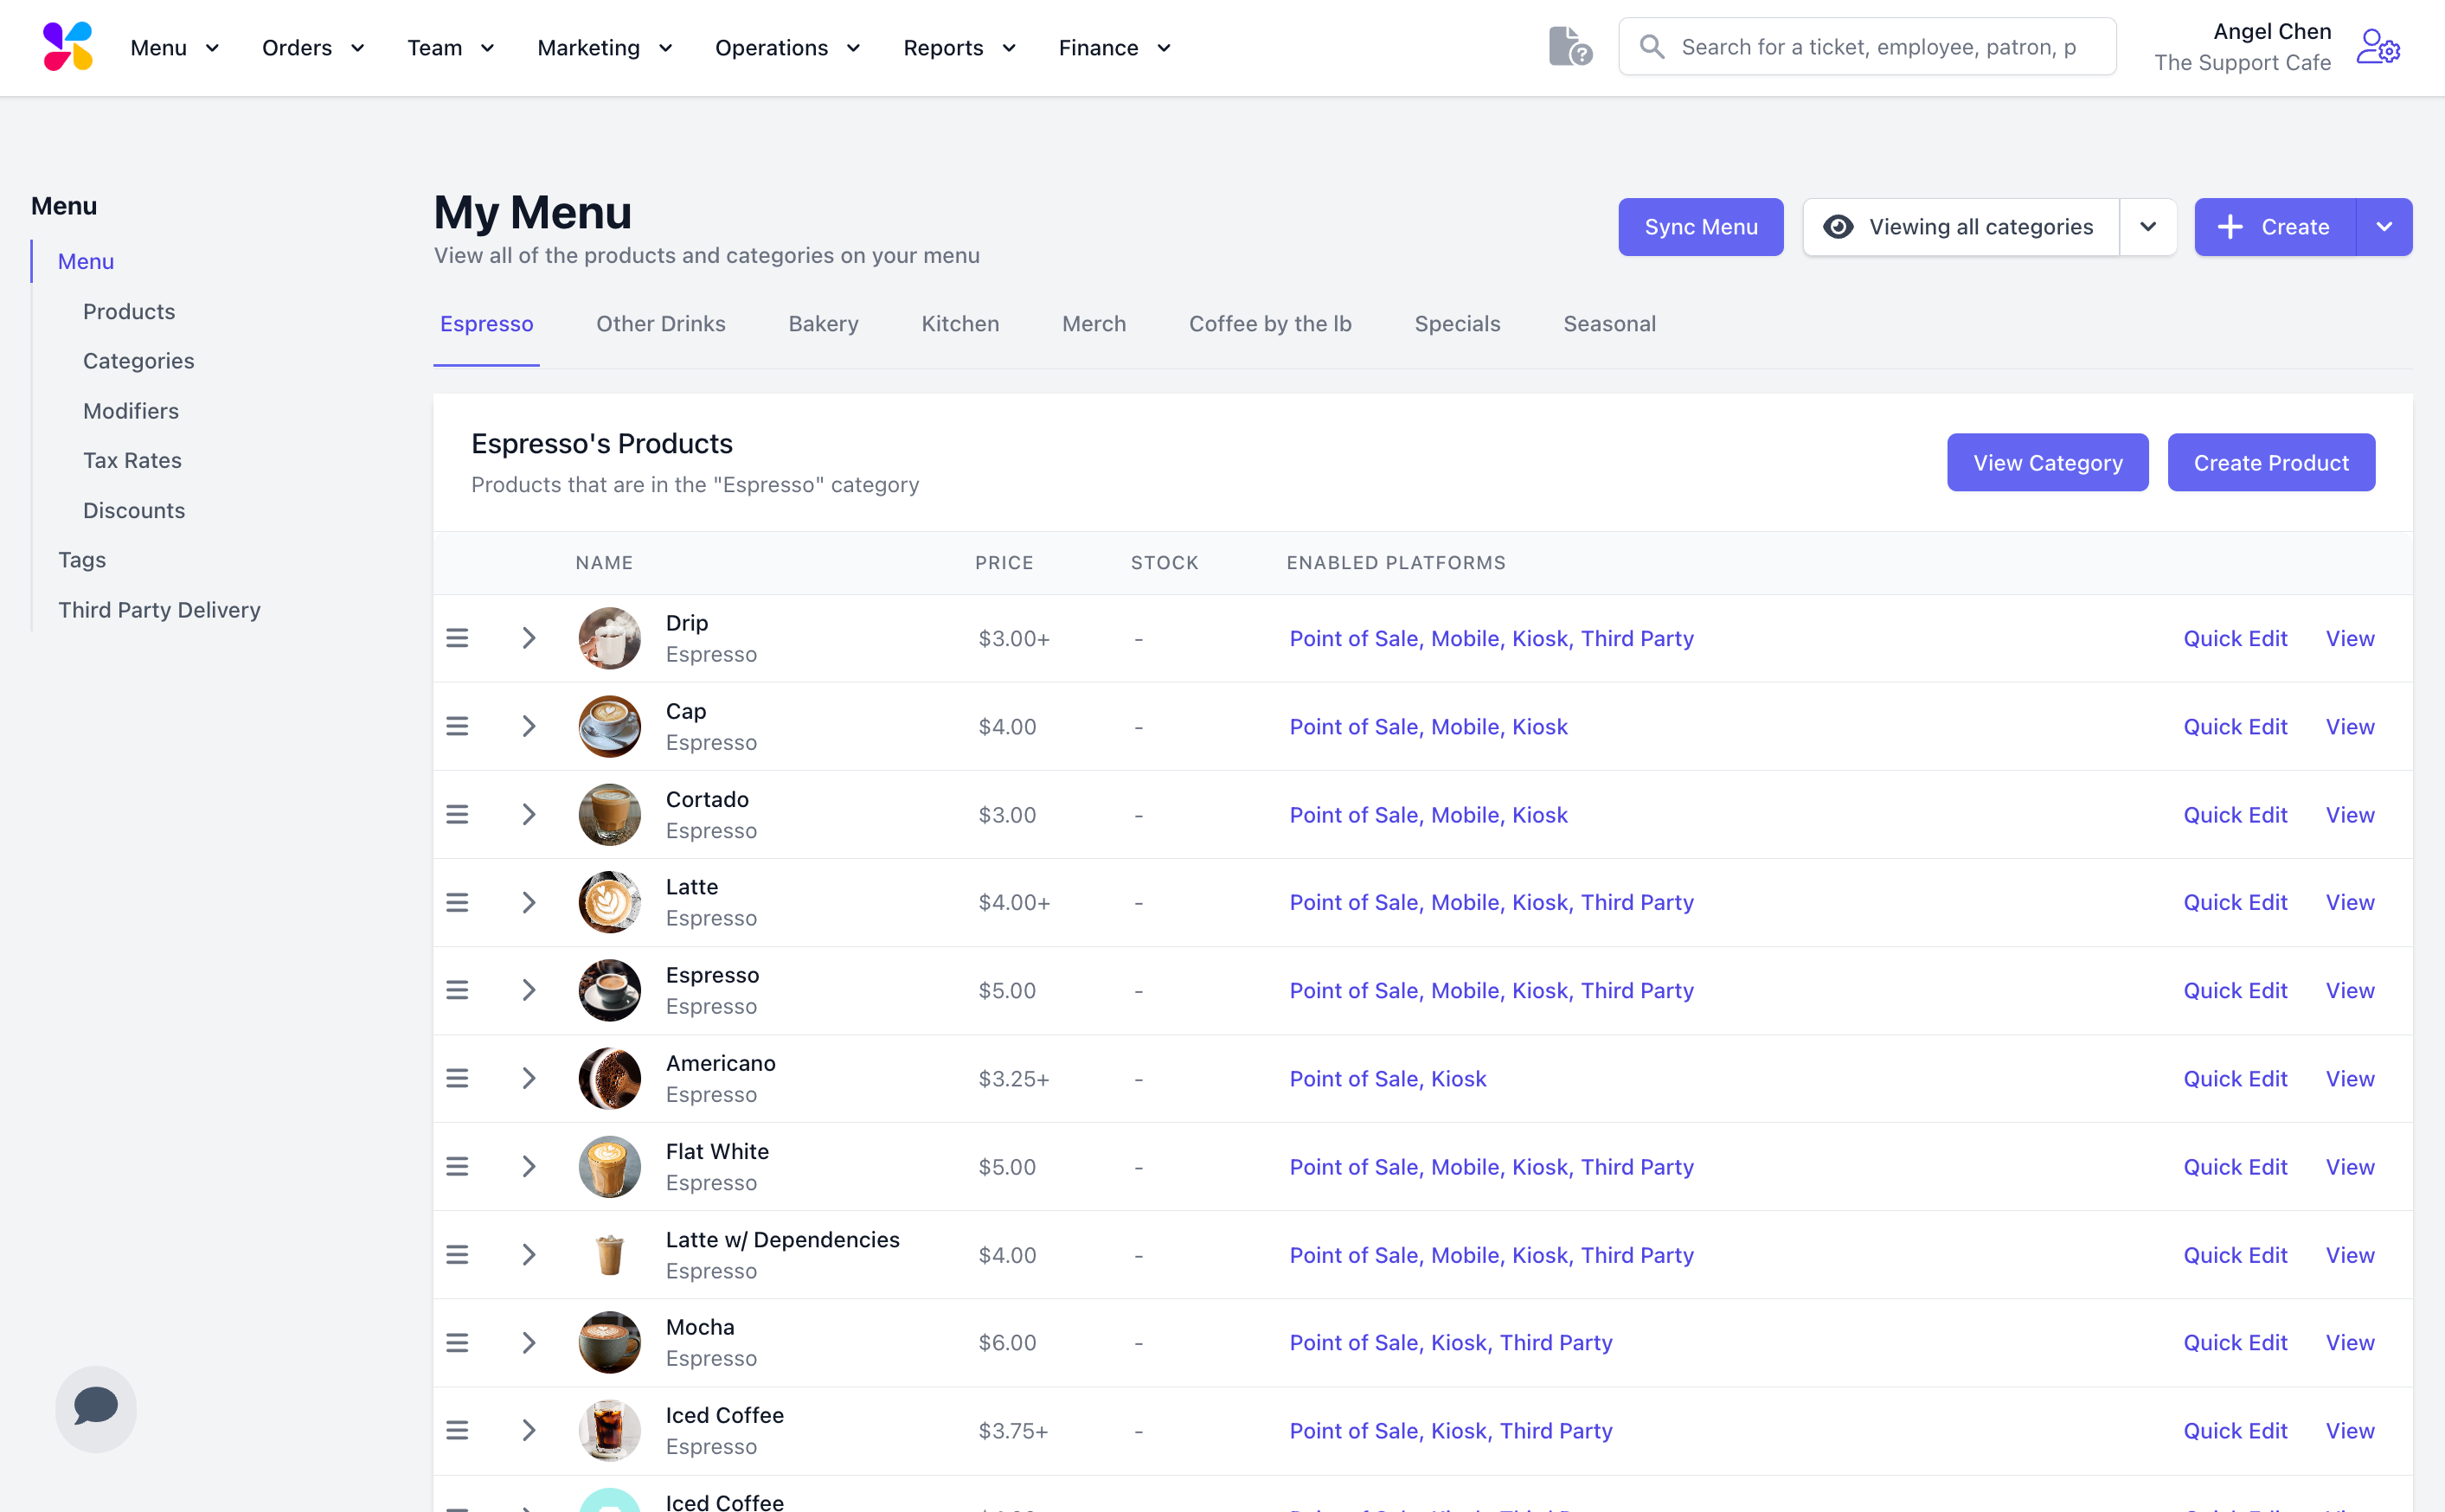
Create Your Menu
Creating your menu is arguably the most important onboarding task, perfecting the menu is easier to do pre-launch than post-launch.
How to Build Your Menu on the Web Dashboard The below directions act as supplemental “quick reads” versions of our Guidebook. Learning more by visiting those guides will ensure you have a strong understanding of the menu buildout process. Link here!
1. Create a Category This is how you will split the individual items you sell into broader groups based on the type of items or food groups. You cannot create any products without creating a category first.
- Espresso/coffee
- Tea/non-espresso drinks
- Breakfast
- Food
- Retail
2. Create a Product This is where you will create the individual items you’re selling that live within categories you’ve previously made. You will attach a product to a category, when you click on the category you will find all of the products attached to it.
- Latte
- Cold Brew
- Croissant
- Bottled Water
- Avocado Toast
Most of the default settings/options you see as you’re creating new products can typically stay as is:
Fixed pricing and Sized pricing are the most common pricing options:
- Fixed pricing is best for individual products like croissants and bottled water.
- Sized pricing is best for coffees with different sizes or muffins with different flavors.
3. Create a Modifier This is where you will indicate the milk options, flavor syrups, and other modifications for the products in your menu.
Modifiers are usually what we get asked the most about by customers, it’s important to understand your modifiers and the way you create them as they will impact the workflow of baristas and online ordering customers.
Custom Modifiers are made within a product’s page and apply only to that specific product:
Global Modifiers are made generally with the ability to attach to multiple products and are created in the Modifiers page:
A common modifier is milk, below are the typical and advised settings to use:
A common modifier is flavor syrups, below are the typical settings used:
Set up your Tax Rate(s)
You must manually enter your sales tax rate and any other tax rates and apply those rates to the specific products or categories applicable.
Create a Tax Rate on the Web Dashboard Dripos will not automatically generate any sales tax rates for your location and Dripos is not responsible for ensuring the proper taxes are paid on your products.
- Log onto the Web Dashboard. Once signed in, click on the Sales tab > select Menu > select Tax Rates:
Apply the Tax Rate to Categories on the Web Dashboard Once you create your default sales tax rate, it will not automatically apply to the products or categories in your menu.
- Log onto the Web Dashboard. Once signed in, click on the Sales tab > select Menu > select Categories:
- Click into a category > select Tax Rates > click Add Tax Rate to attach a tax rate to all the products within the category:
Review Which Products Have Tax Rates Attached on the Web Dashboard
- Log onto the Web Dashboard. Once signed in, click on the Sales tab > select Menu > select Products:
- Ensure that the products with No Tax Rate should be listed as such, or edit the category to attach a tax rate.
Add Discounts for Tickets and/or Products
You can create discount “buttons” that make adding a dollar/percentage discount easy when checking out customers on the POS.
There are 4 types of discounts in Dripos:
- Custom Ticket Discounts
- One-Time Ticket Discounts
- Custom Product Discounts
- One-Time Product Discounts
Creating Ticket Discounts on the Web Dashboard A ticket discount applies to the entire order and discounts the subtotal of the transaction, rather than a specific product.
Creating Product Discounts on the Web Dashboard A product discount applies to specific products and discounts only those products.
You must manually attach the product discount to products in your menu.
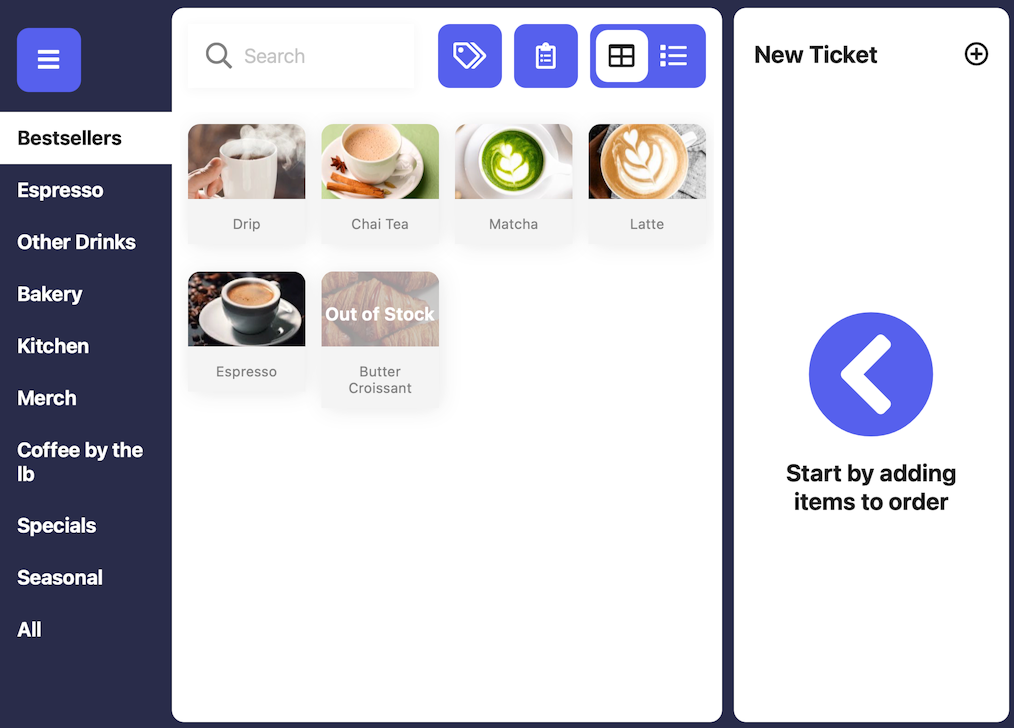
Once you create a product discount, it will live within the specific product’s button within the register screen of the POS:
Add Team Roles and Employees
You cannot create employees until you have created roles to put them into first. Different roles can access different parts of Dripos using a PIN.
Creating a Barista Role The most common role created is a barista role. Below are the commonly seen ways to set this role up.
- Go to your web dashboard > Team > My Team > Roles
Notify of trade and time-off request: You likely don’t want every barista to receive a text whenever another barista requests time off. Notify of late clock-in: Most baristas don’t need to be notified if someone else clocks in late.
Create Employees
- Go to the web dashboard > Team > My Team > Employees
Now that the employee is created, they can download the Dripos Hub app and login via their phone number.
Email or text support if you need an employee’s phone number changed.
Have All Employees Download Dripos Hub App
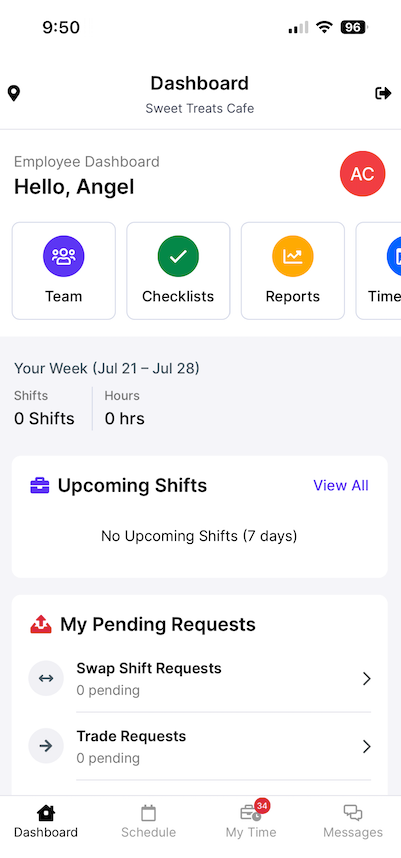
Your employees will primarily use the Hub app for scheduling and communication, you will also be able to check real-time reports and employee information here.
Tell Employees to Download the App
Once you create your employees, they will be able to log into the Dripos Hub app with their phone numbers to access your shop’s employee-relevant information.
Depending on the employees’ permissions, individuals will/won’t see specific features. If an employee has no permissions turned on, they will only be able to access the scheduler, messages, and can request time off.
You can do many administrative tasks on the Hub app like schedule employees, view reports, access the approval center, and communicate with employees.
Create Your Loyalty
With Dripos, you will have the freedom to create your own loyalty system with different ways to earn and redeem points to reward your customers, or continue your pre-existing loyalty program!
What are “Rules” and What’s Commonly Used?
Earning Rules: How and when can a customer get points? Redeeming Rules: How and when can a customer spend their points?
How Does a Customer Earn/Redeem Points? Loyalty points are attached to a phone number belonging to a patron of your shop.
Add Your Order Link to Your Google Listing and Socials
If you’re using online ordering, it’s important to explicitly point customers to the order link or app.
Here is a Google article that walks through adding URLs to your Google Listing.
Accessing Your Online Order Link On your web dashboard > Click the Dripos logo in the upper right-hand corner > Settings > Order Website
Your location must be set to “live” to view your order link, otherwise you will get a 404 error. Turning “Disable Mobile Ordering” to “yes” will prevent customers from ordering online before launching.
Before Call 3
Download Dripos POS App on Tablets
Link for iPads here.
Review Menu in POS App
Navigate and familiarize yourself with the POS!
Toggle Web Dashboard Settings to Reflect Shop-Specific Features
This will be in your Shop Settings via the Web Dashboard.
Complete Any Remaining Tasks
See above for guides on completing all of your tasks!
Unbox All Hardware Sent by Dripos
Hardware guide here.
Run WiFi Speed Test in the Exact Spots Hardware Will Live
See Call 1 steps for a refresher on how to do this!
Your onboarding specialist is here to make this transition easy, they can answer any and all questions! Feel free to explore the rest of this Guidebook to learn beyond just onboarding.
Was this page helpful?