Required Hardware

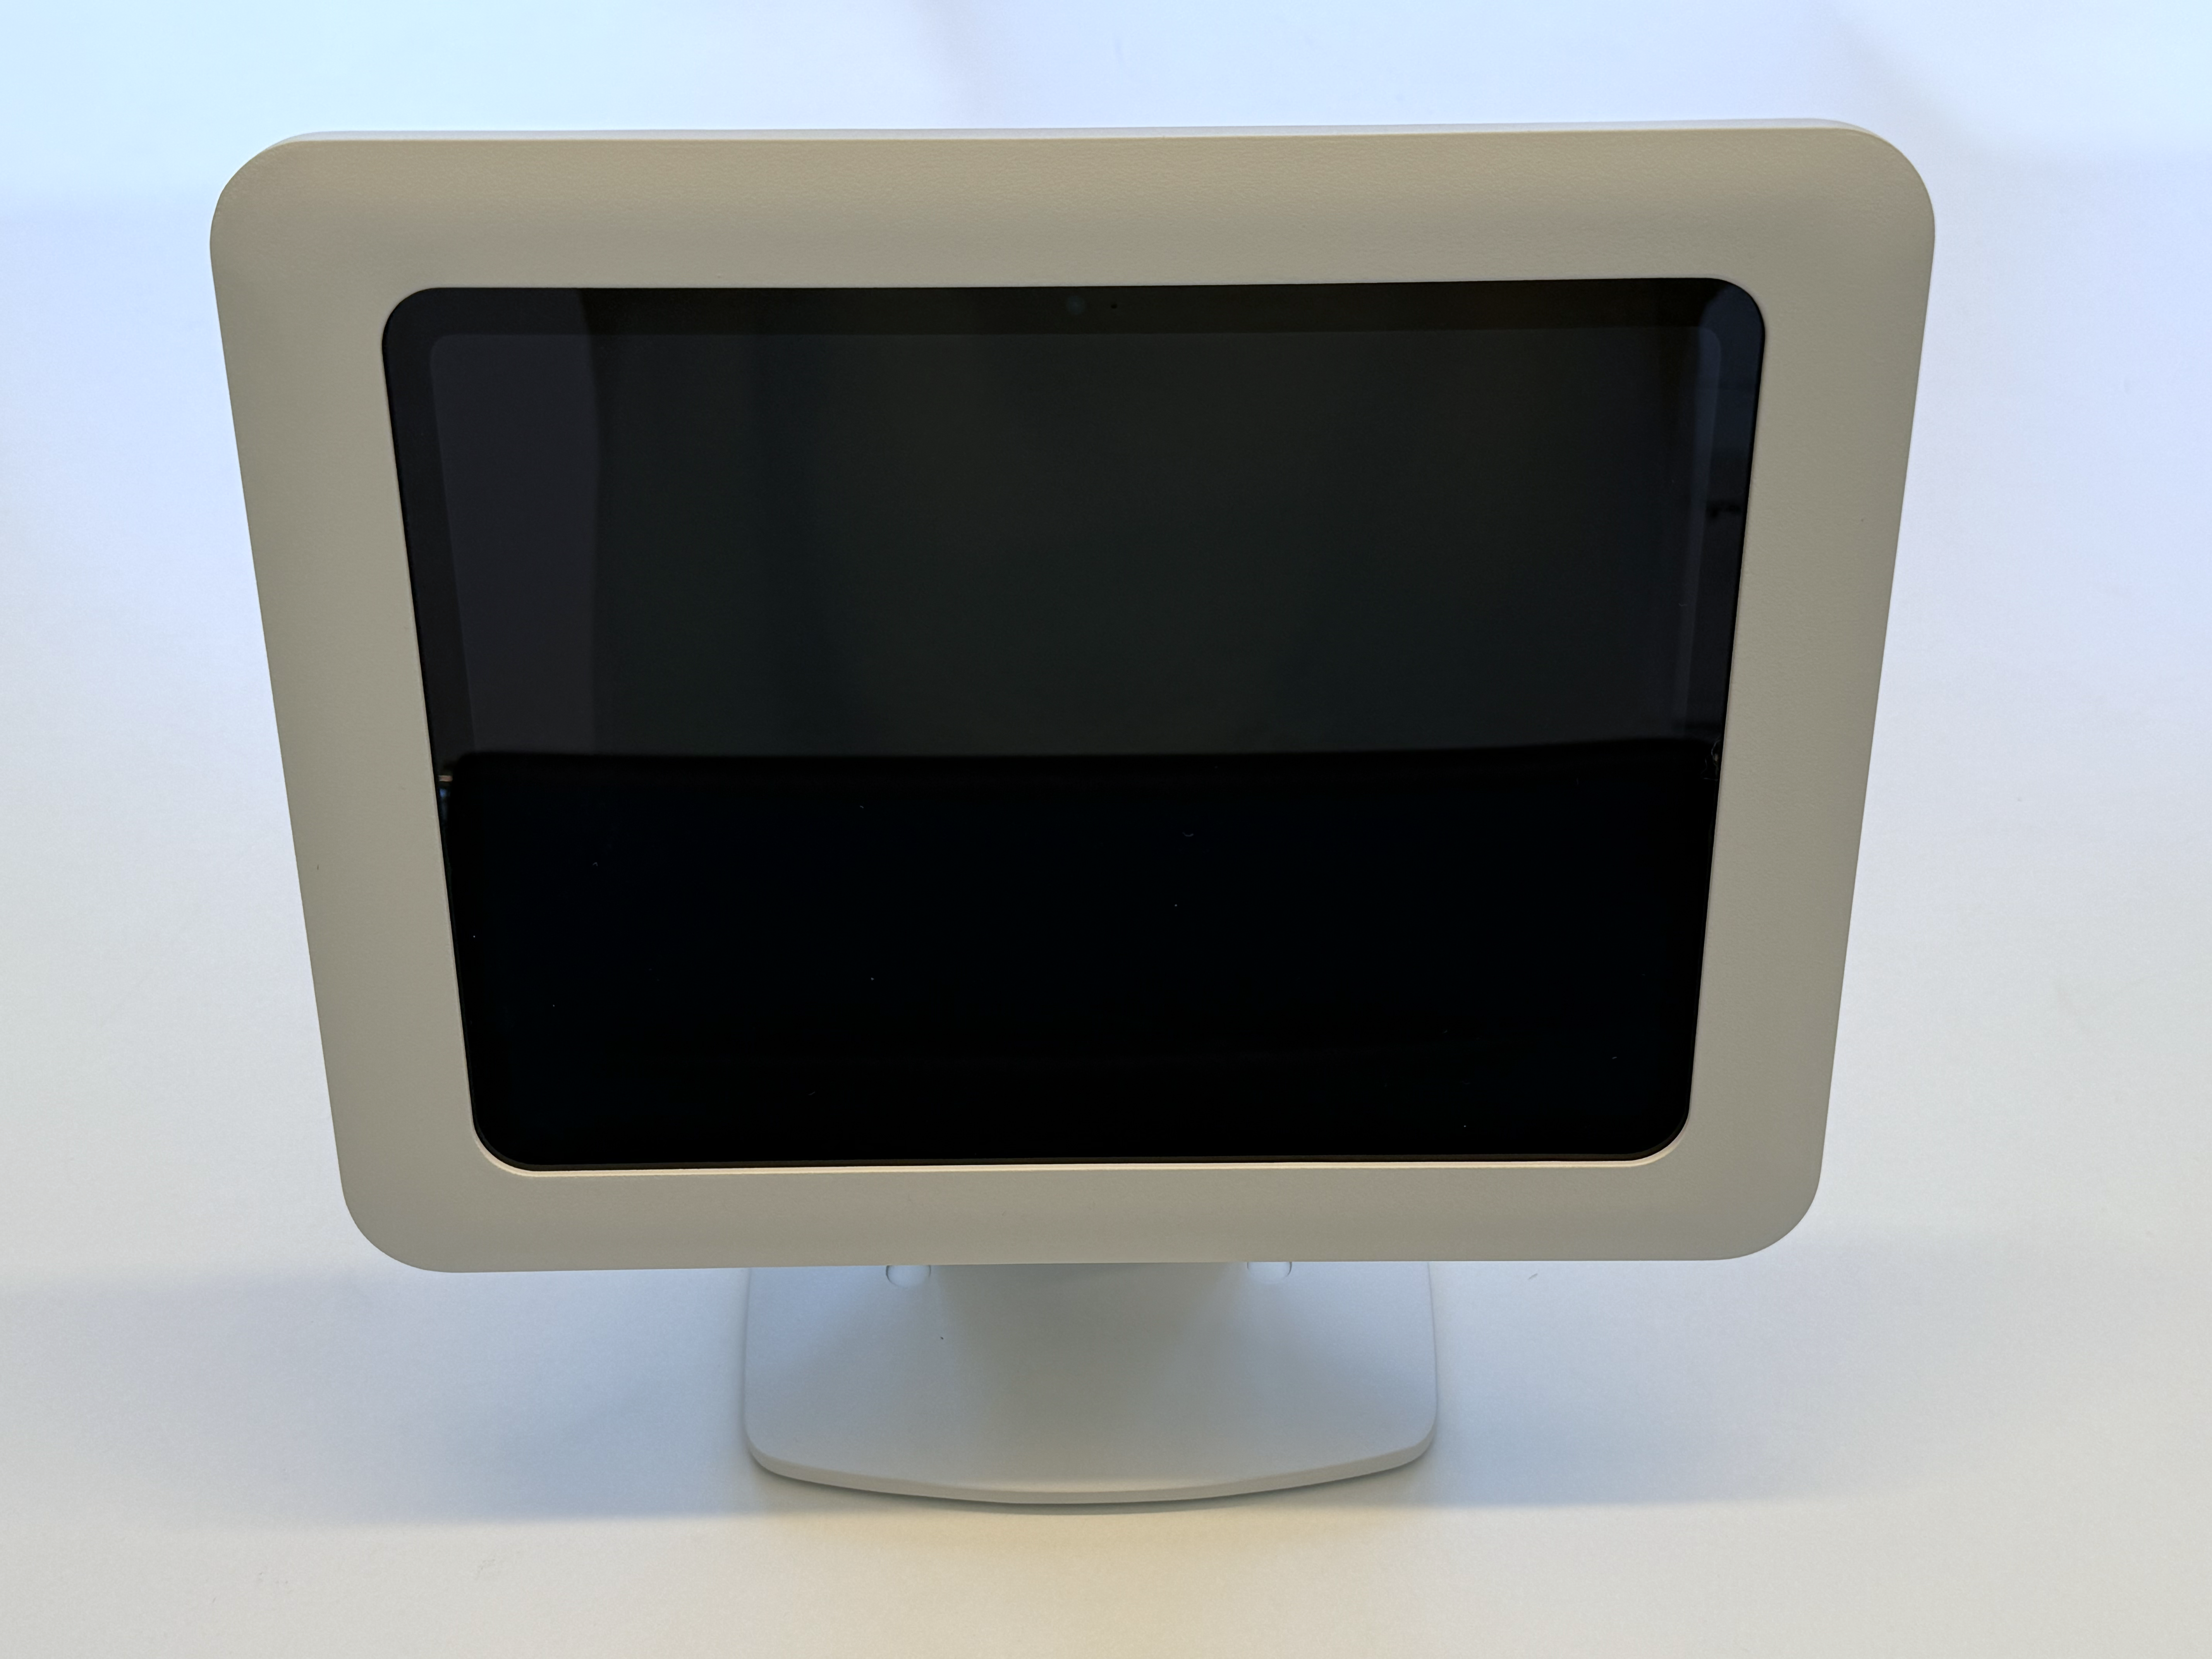
Register Stand
Register Stand Keys
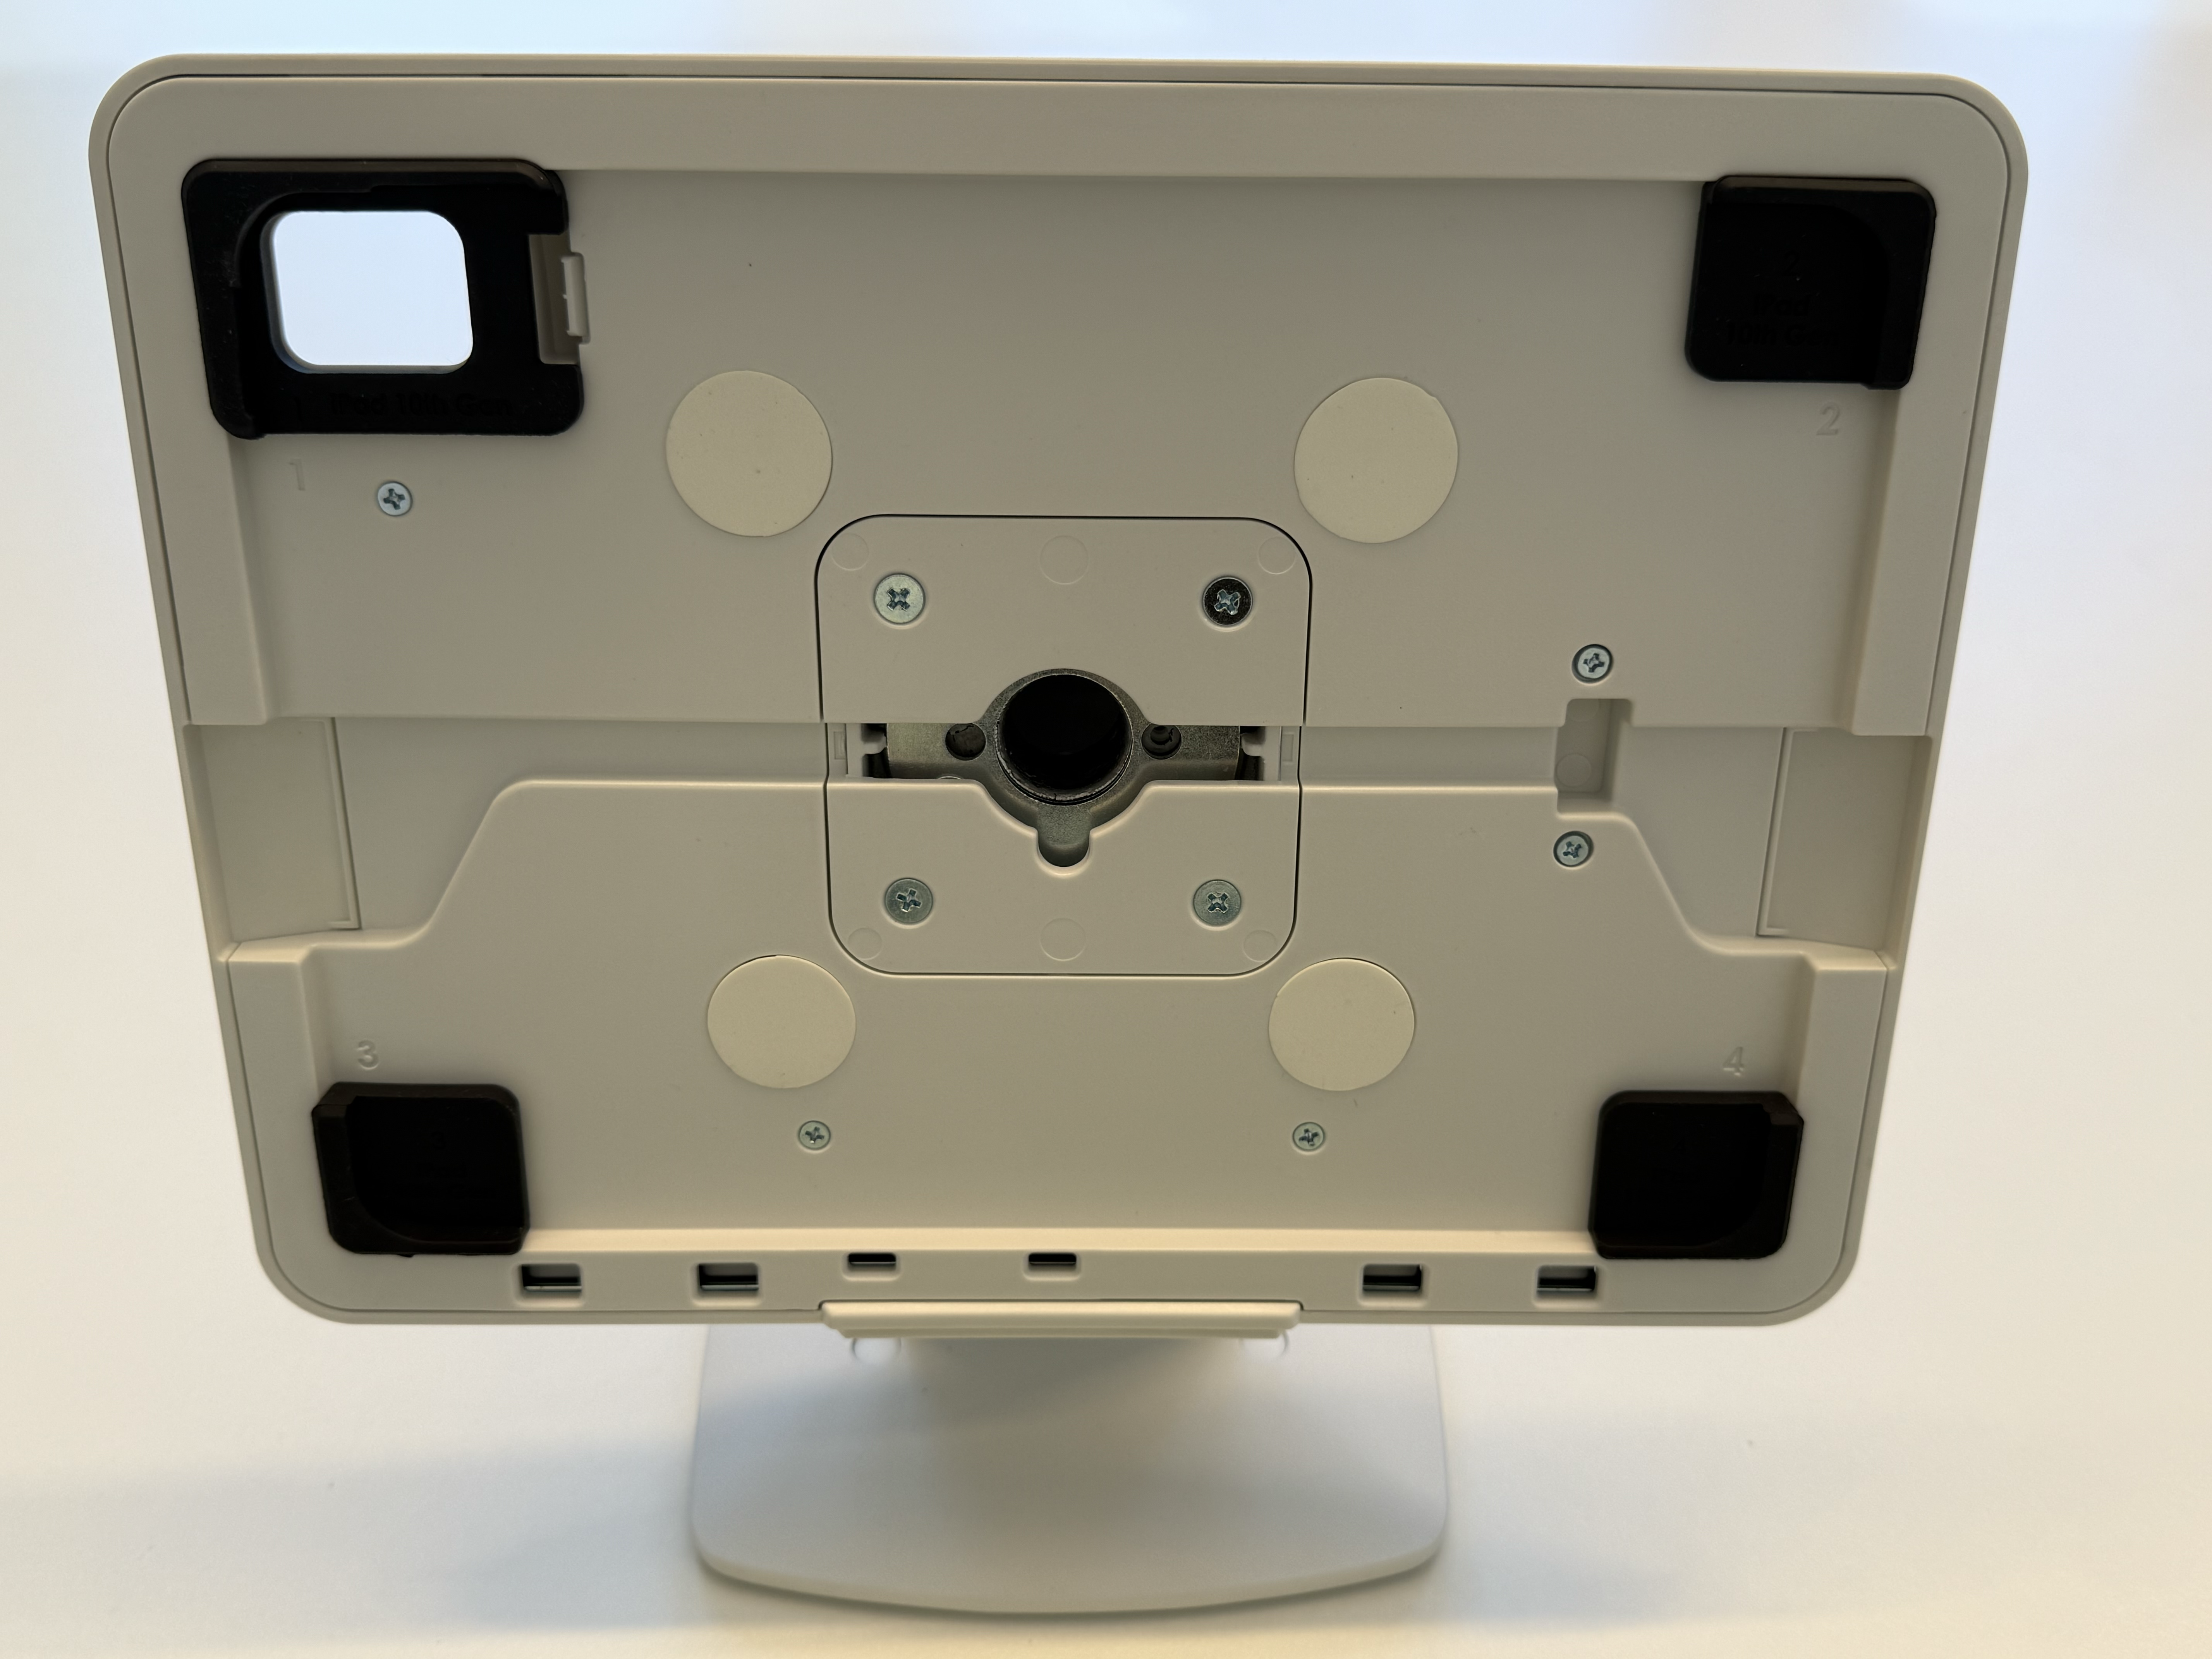
Register Stand Cushion Inserts
Right Angle USB-C Charging Cable
iPad
Register Stand Compatible Models: iPad 10.9” 10th Gen, iPad 11” 11th Gen, iPad Pro 11”, iPad Air 11”
Register Setup
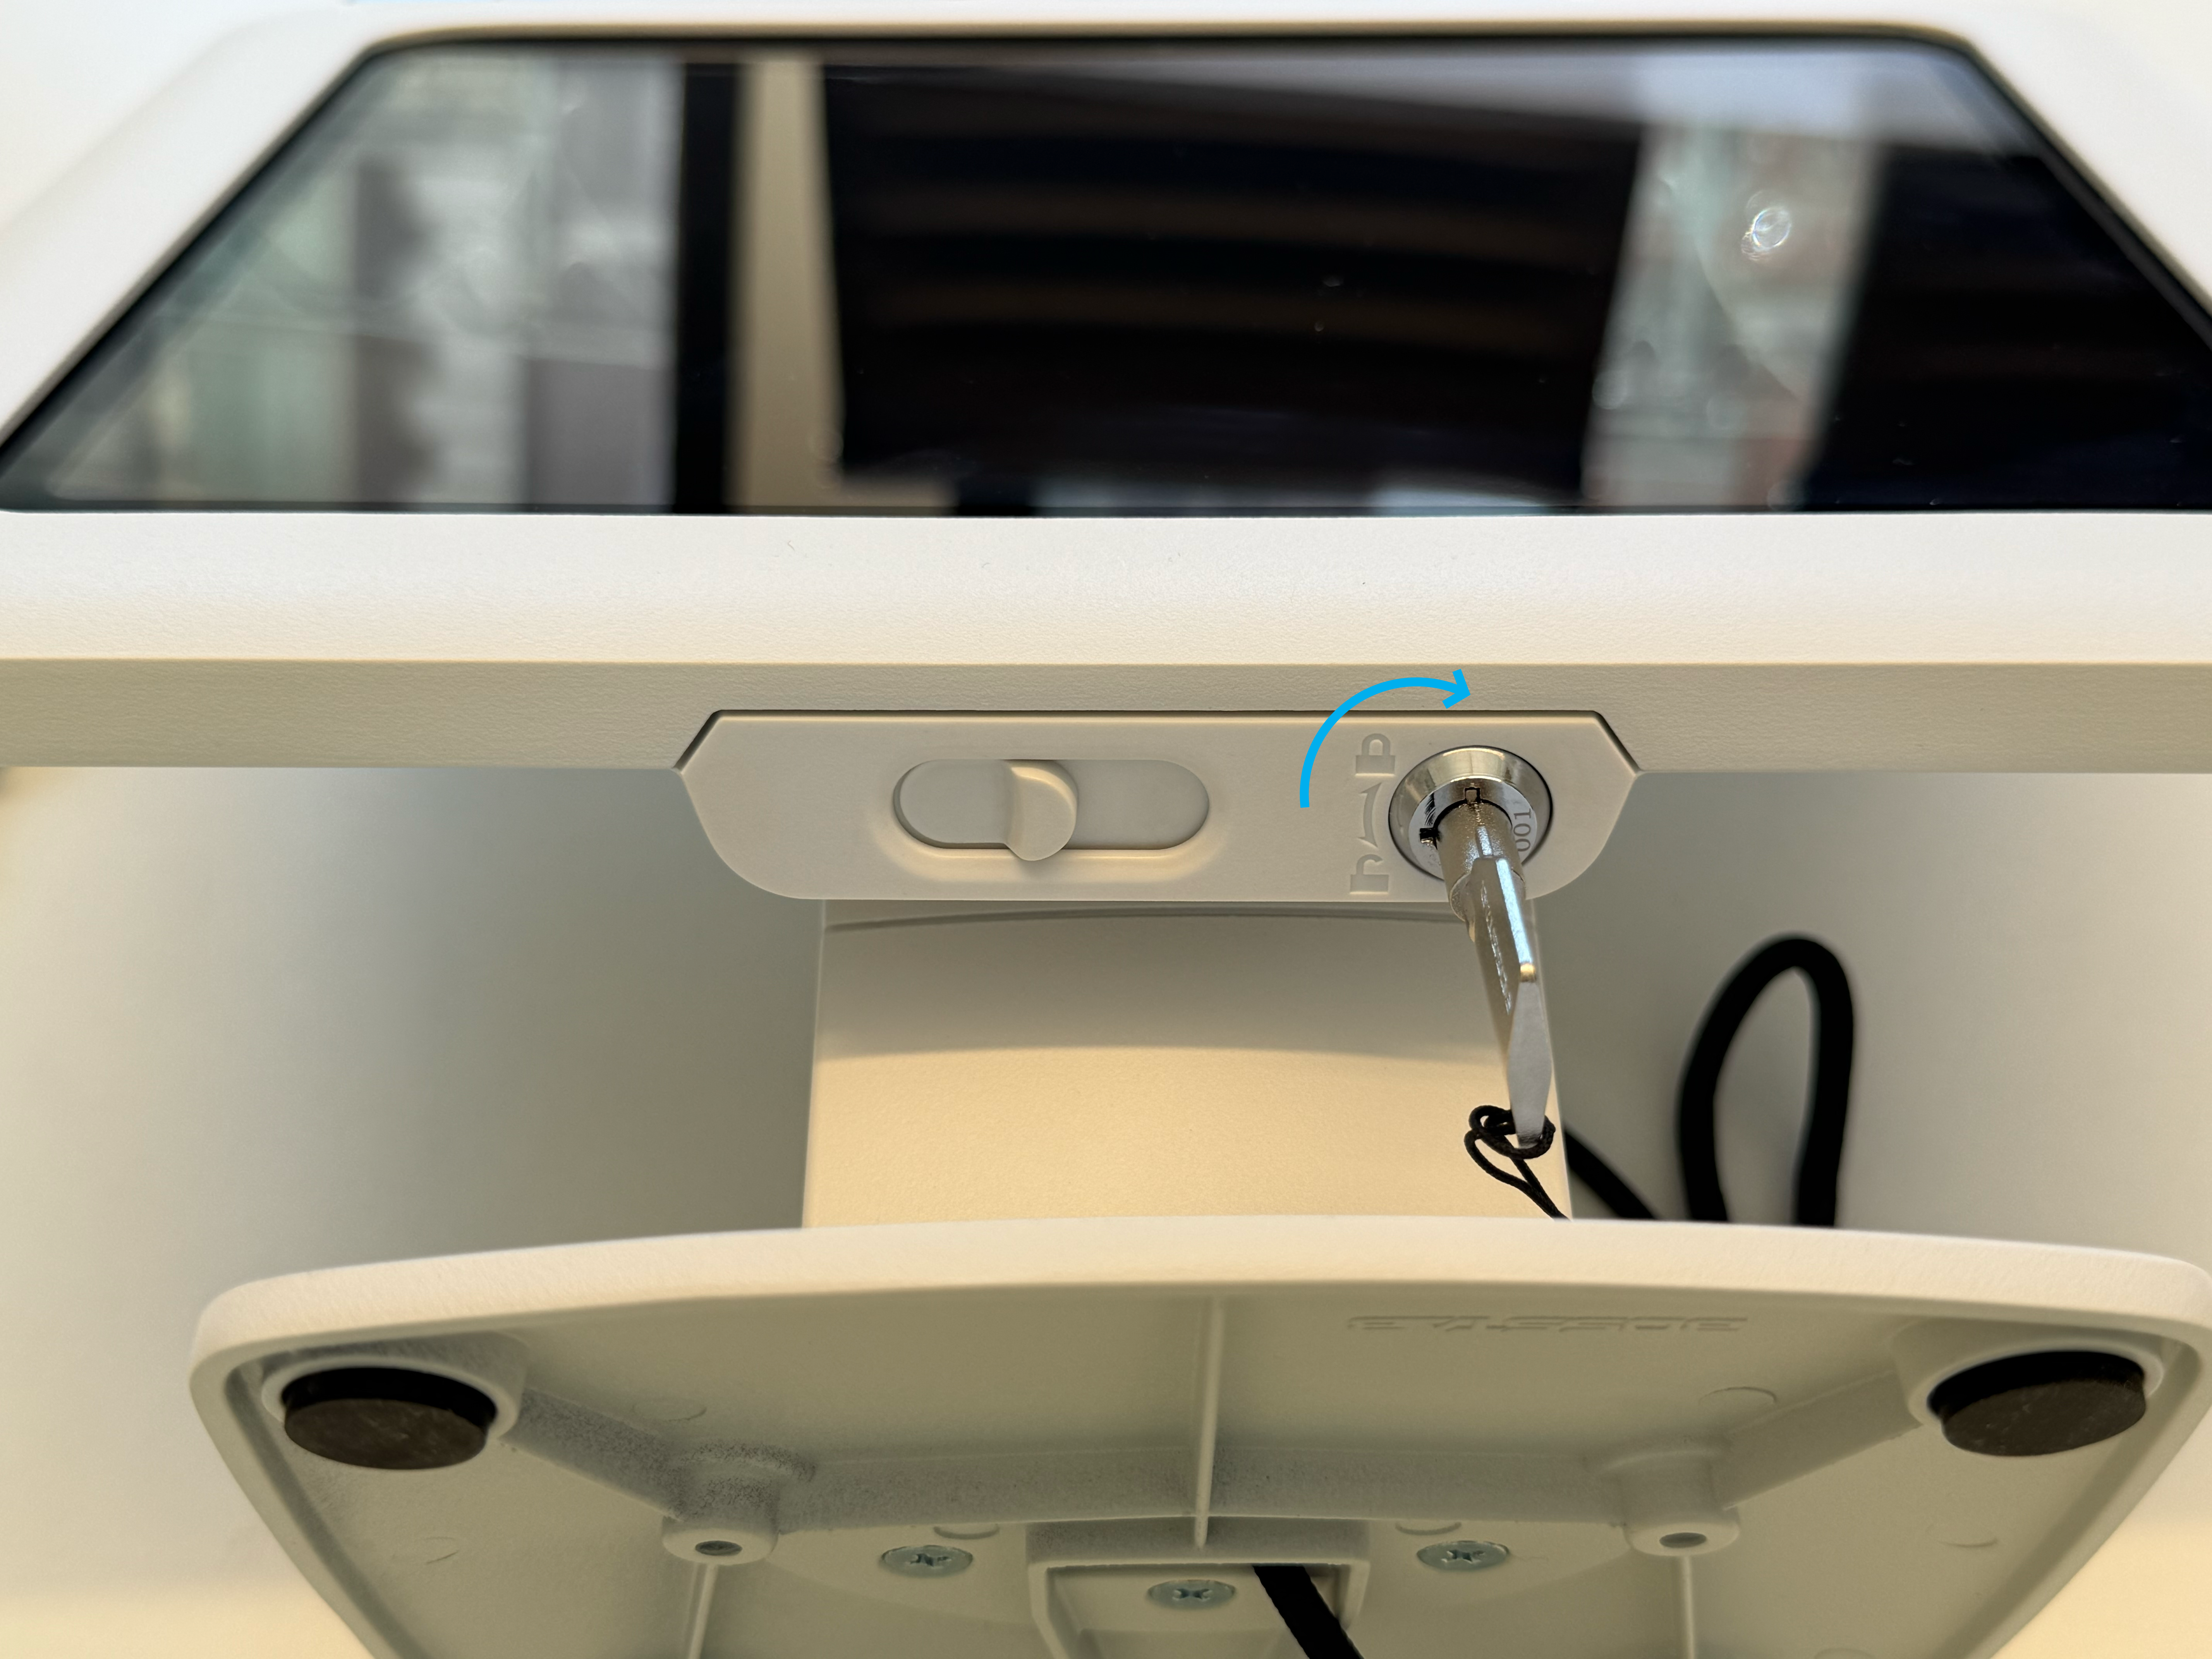
Insert and turn the register stand key 90 degrees counterclockwise to unlock the stand. Slide the latch from left to right to detach the cover piece and set aside.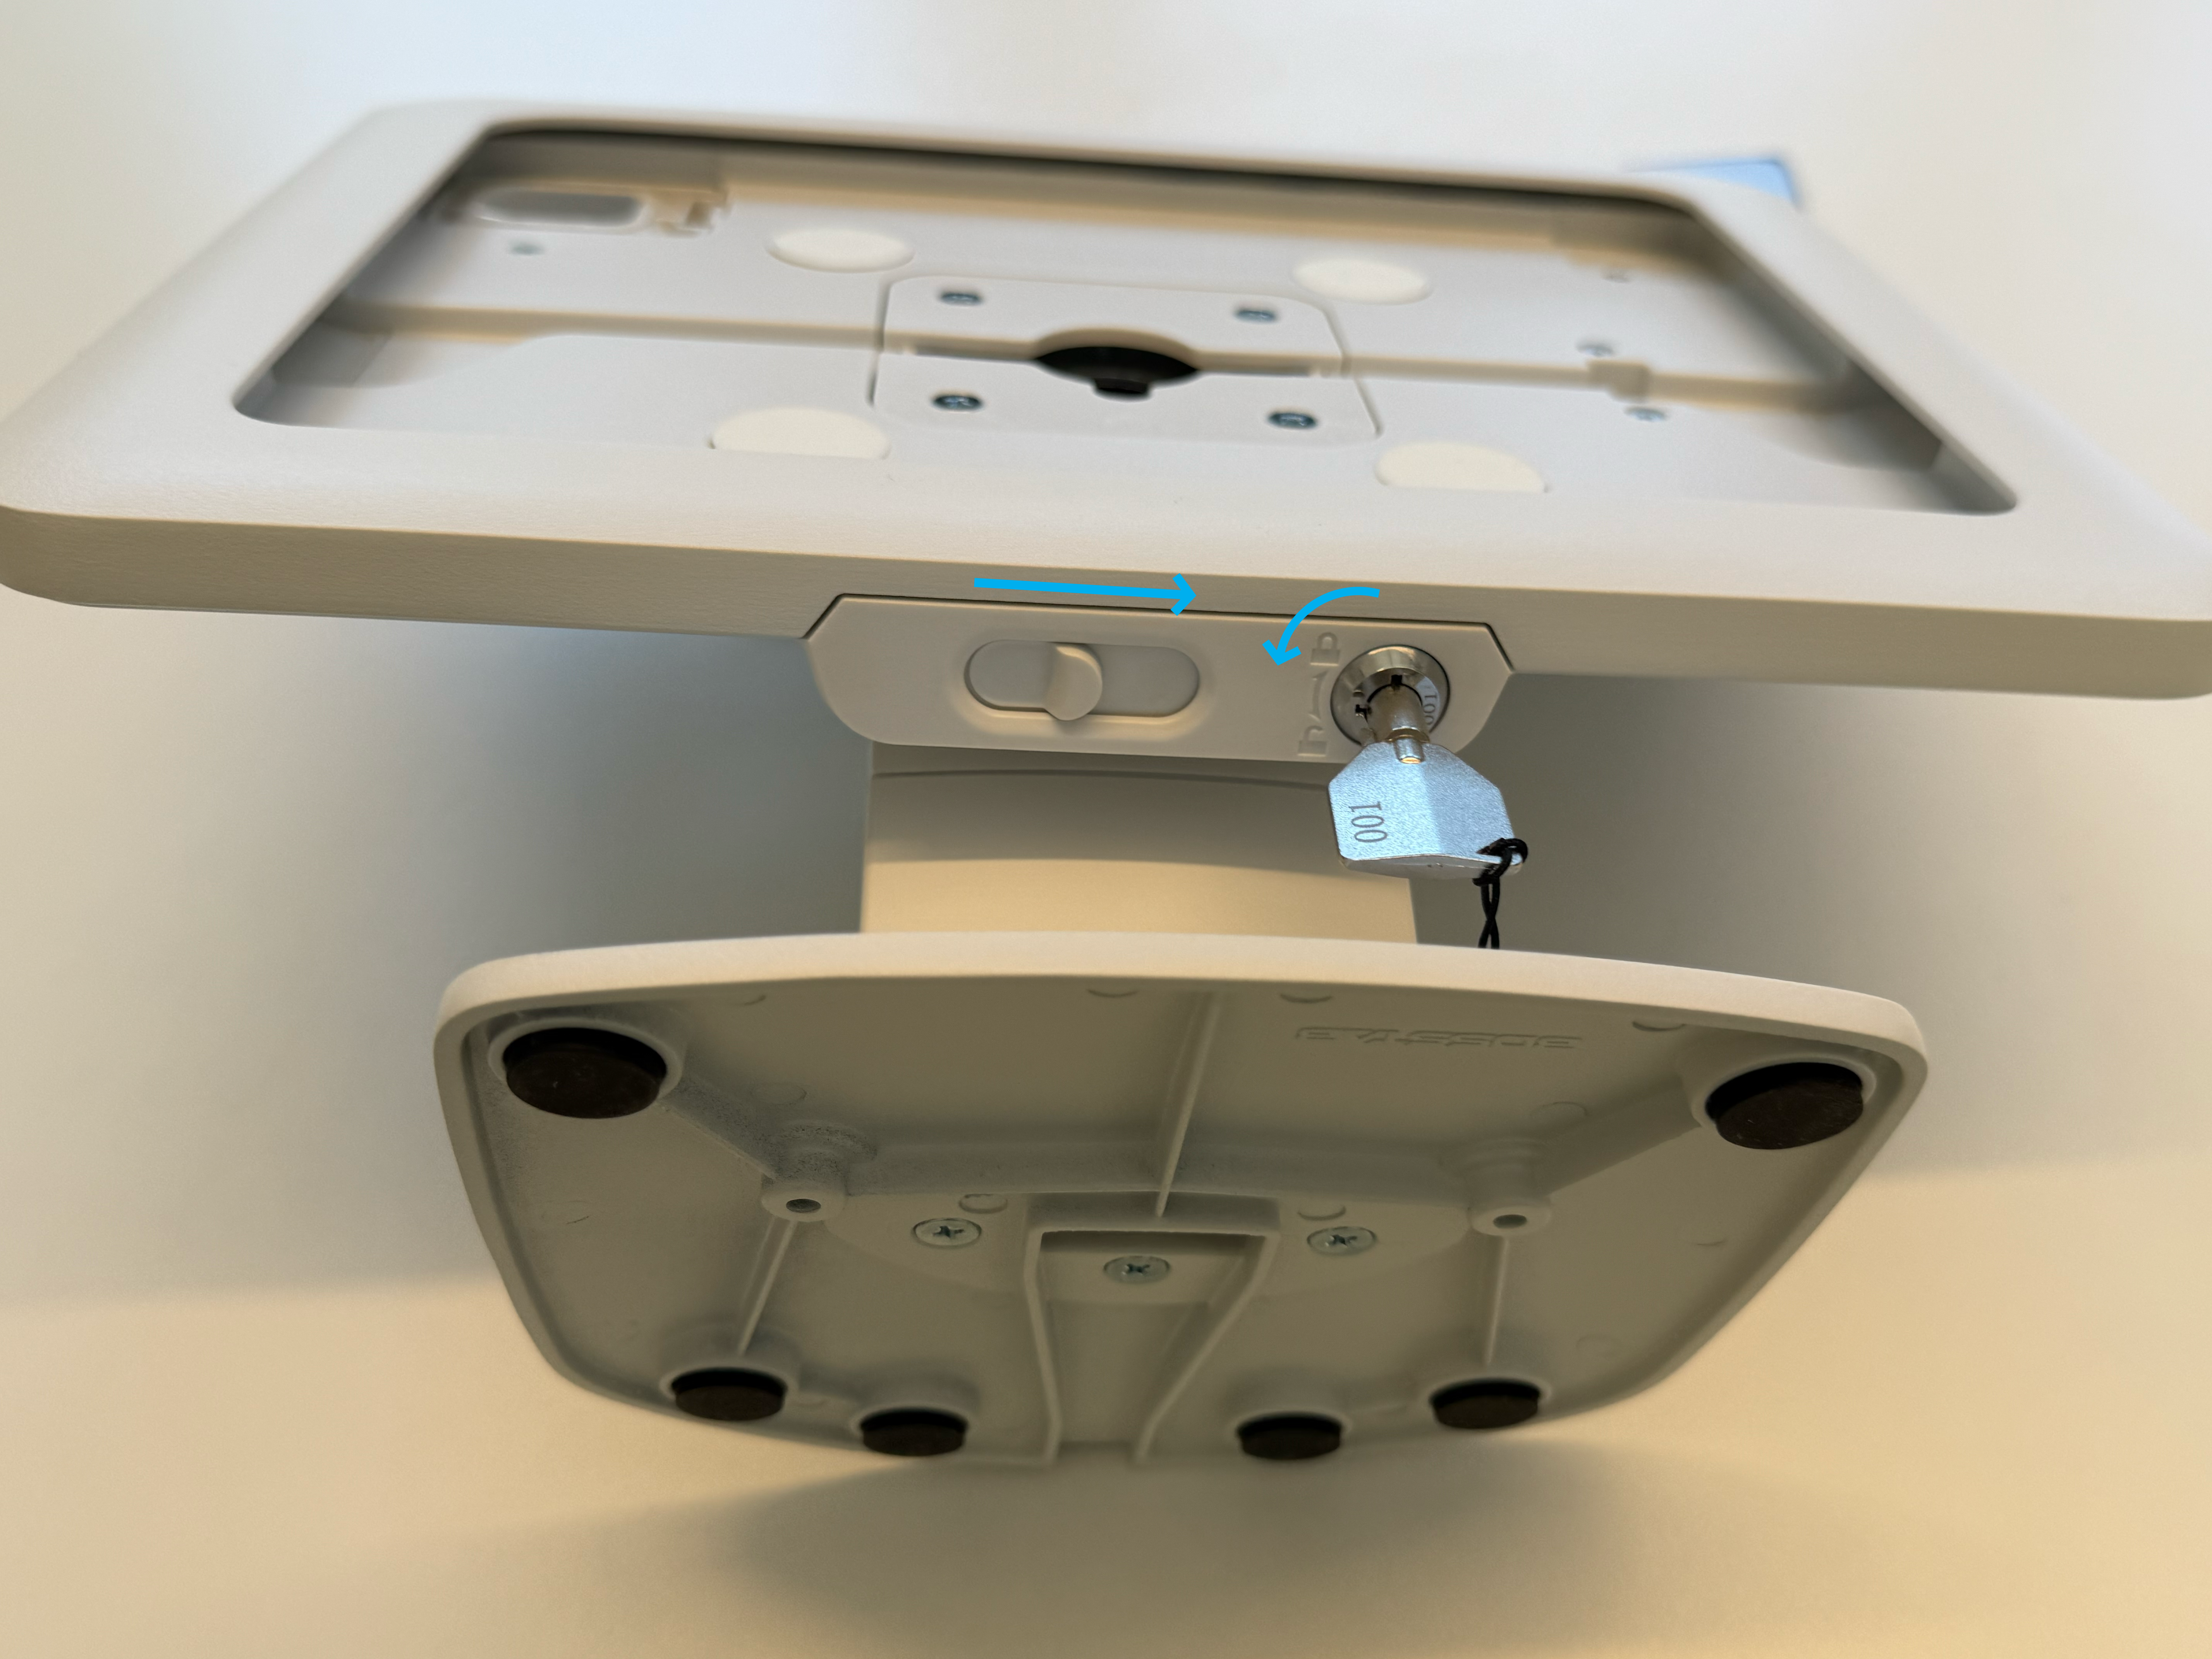

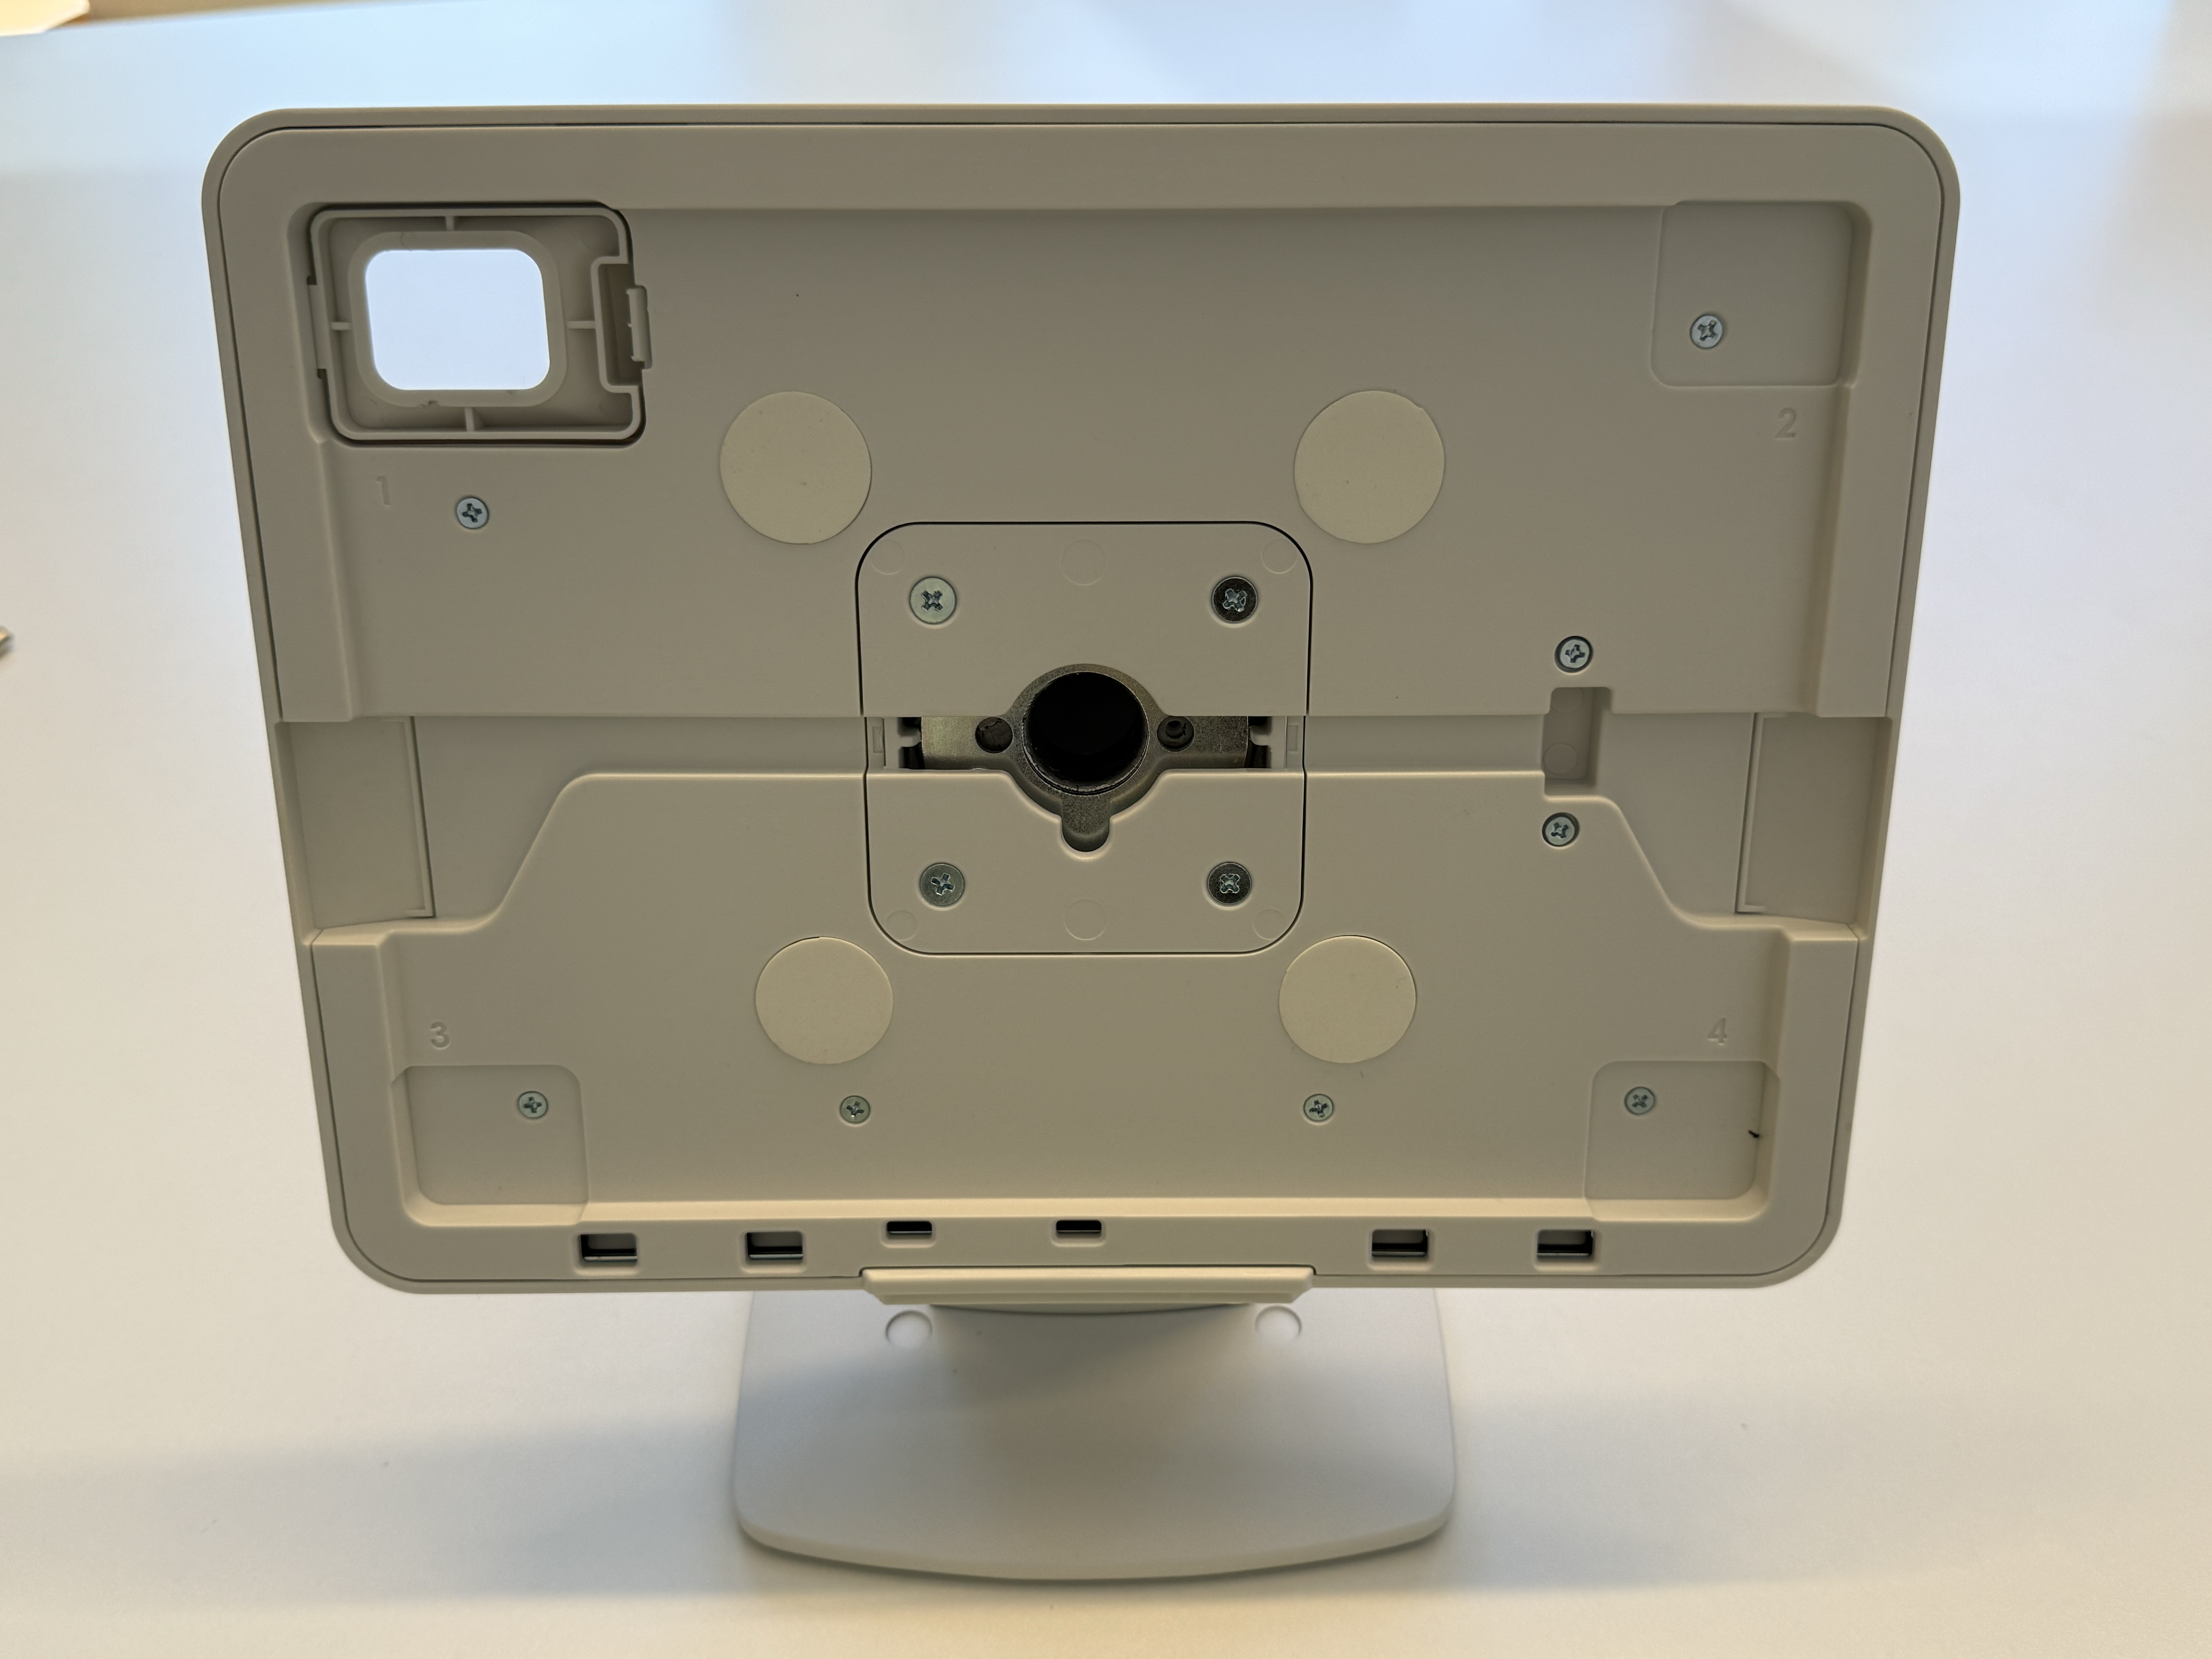
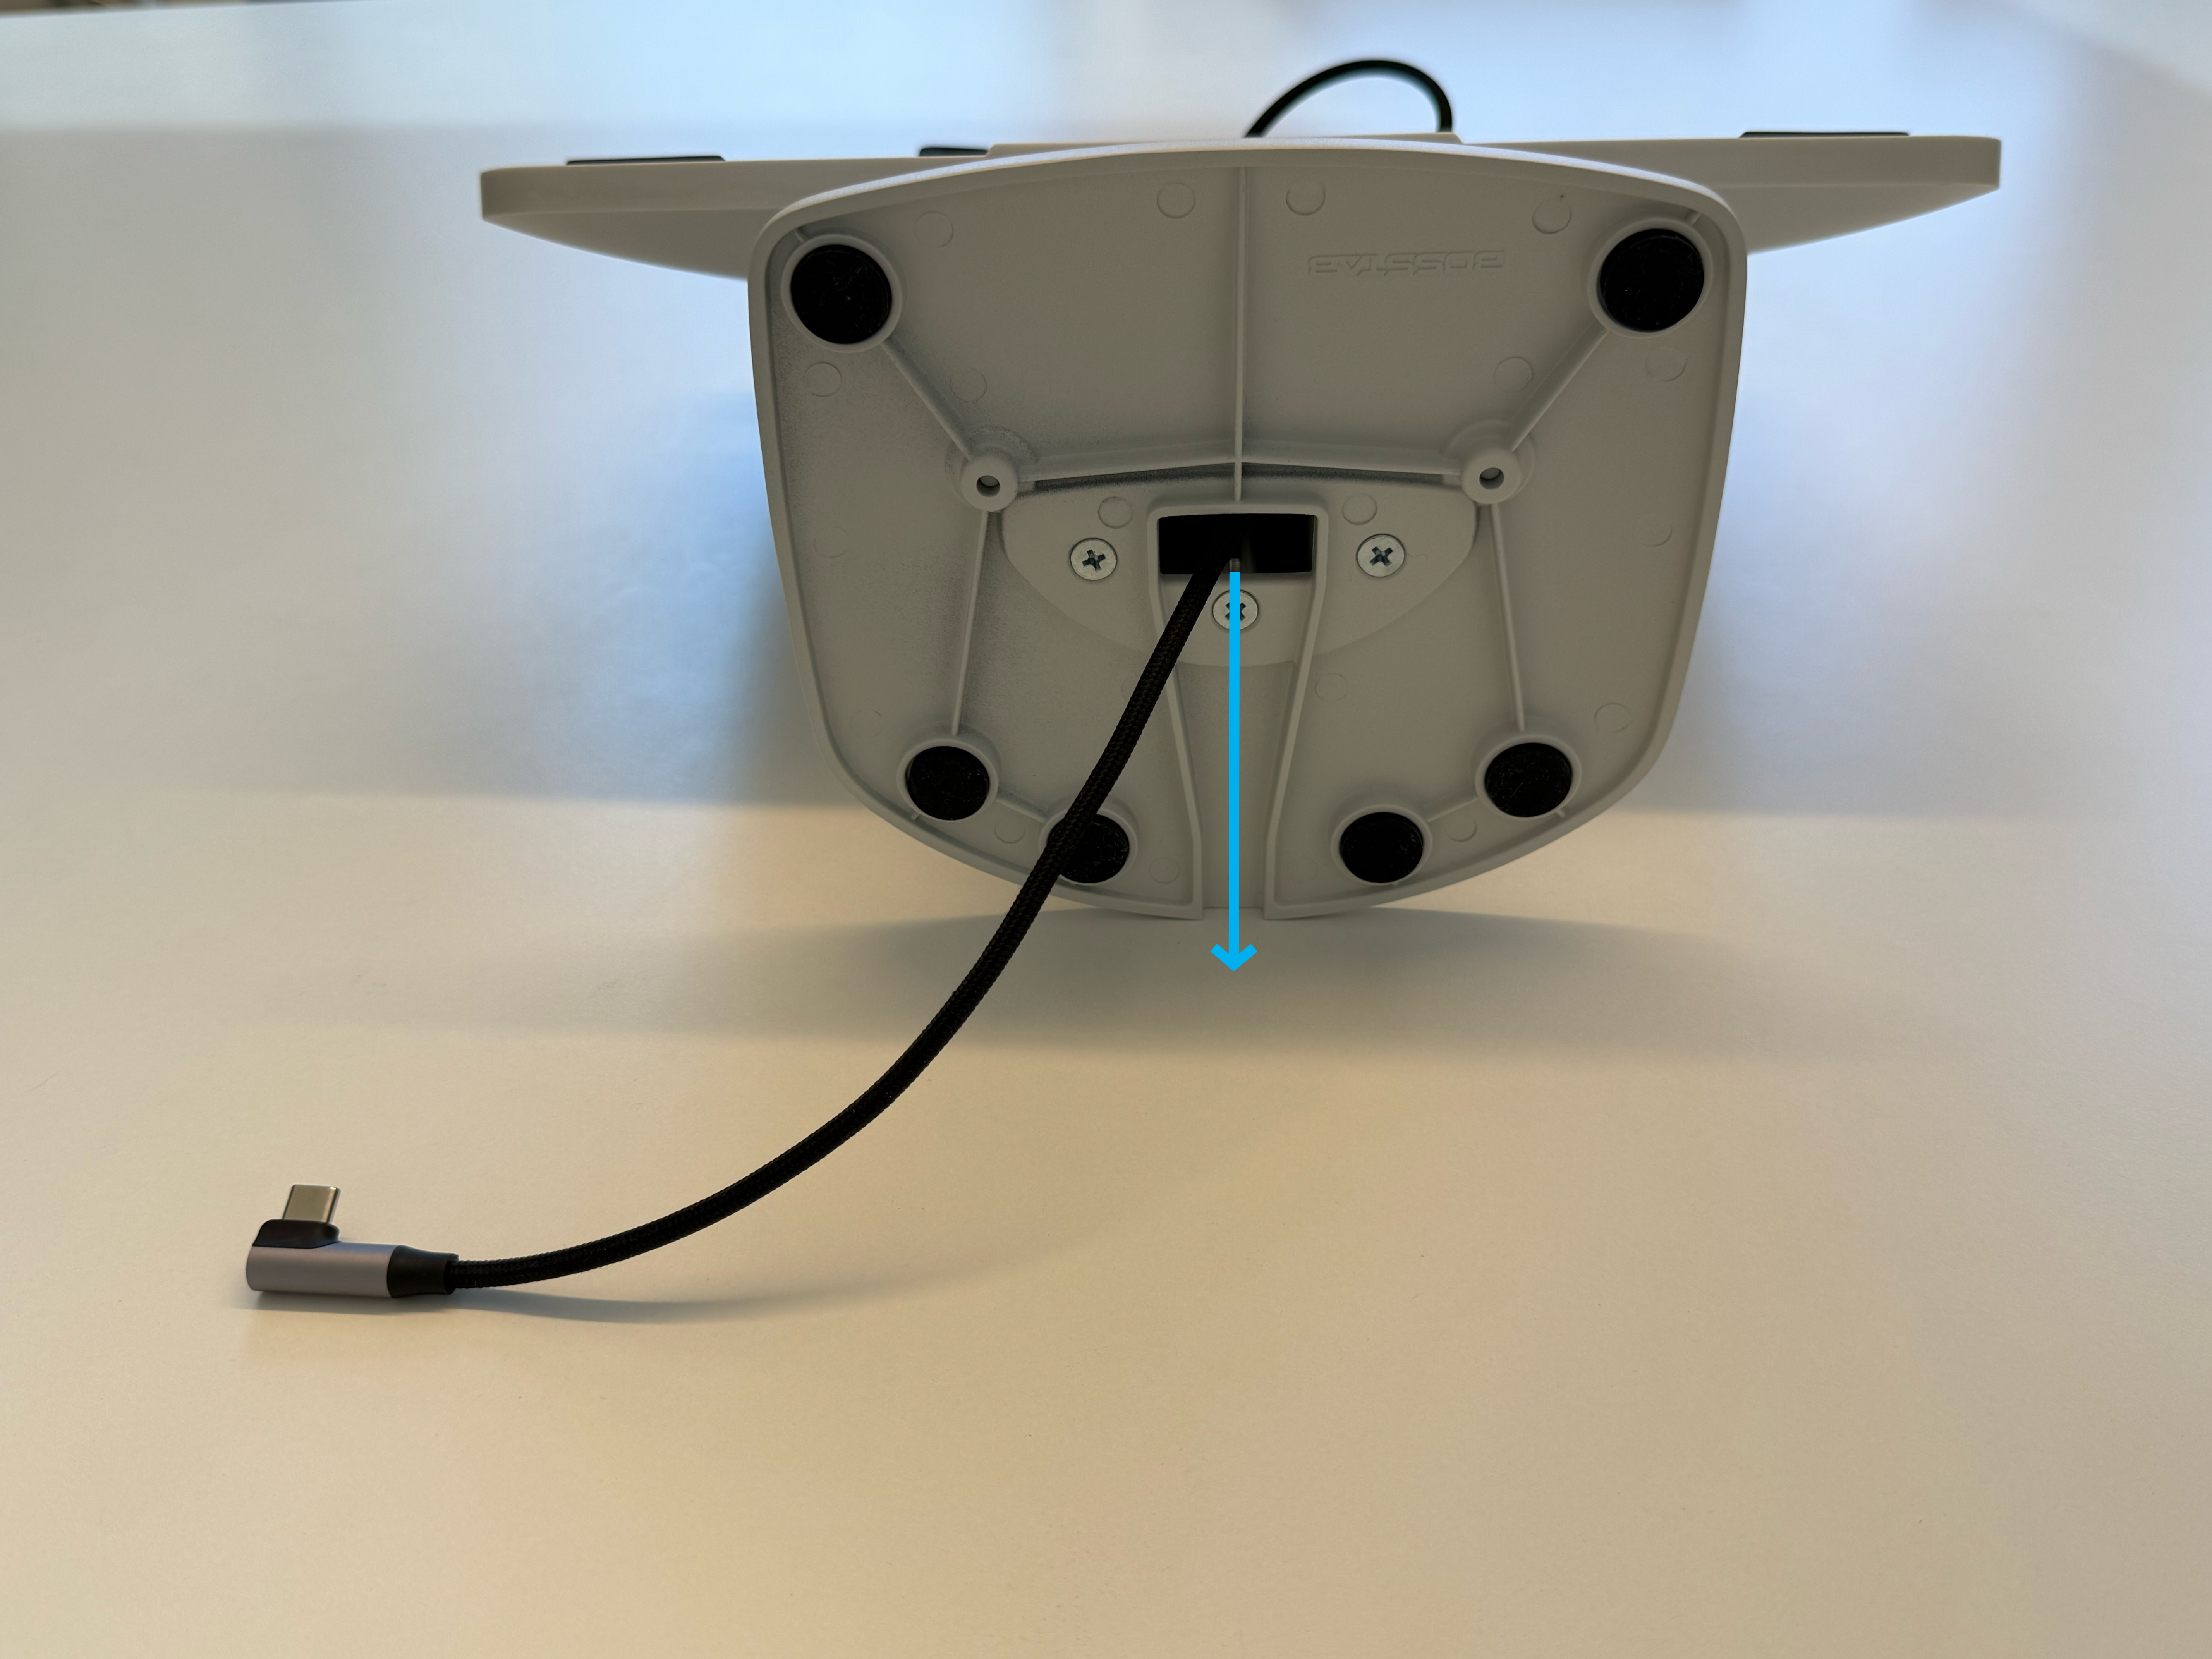
Insert the right angle USB-C charging cable through the middle of the stand. Feed the cord through the bottom of the stand.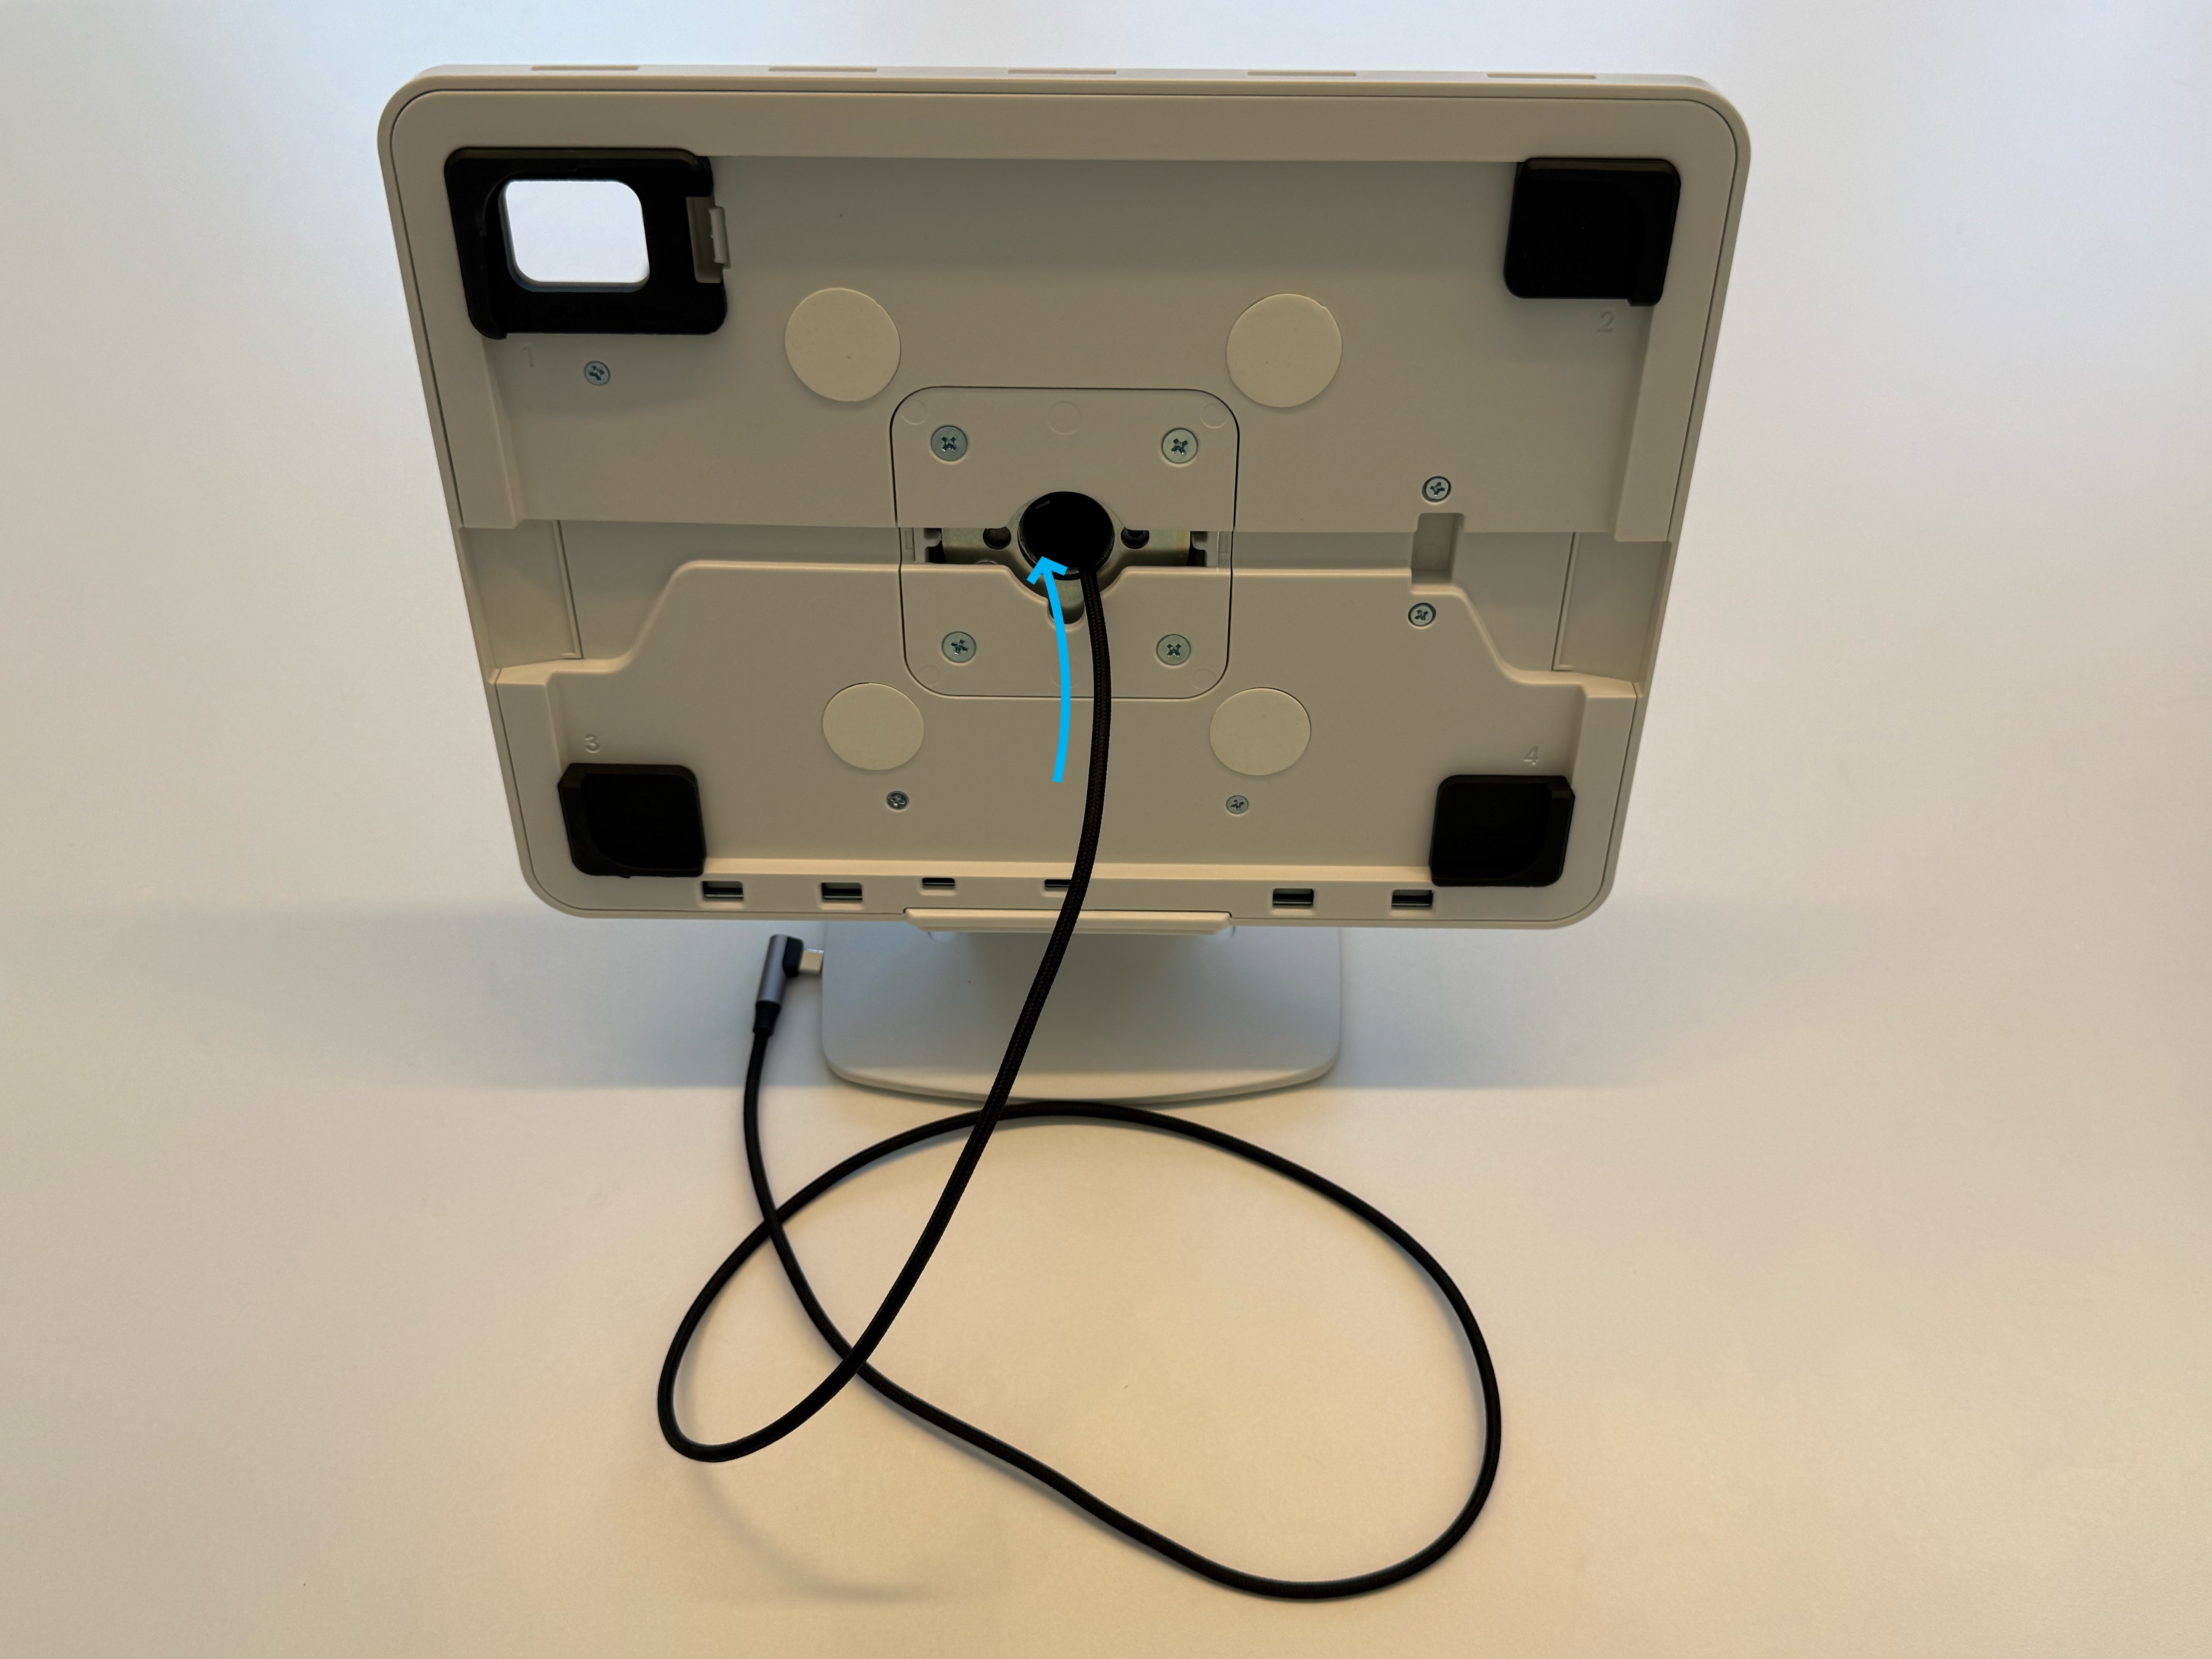
)


)
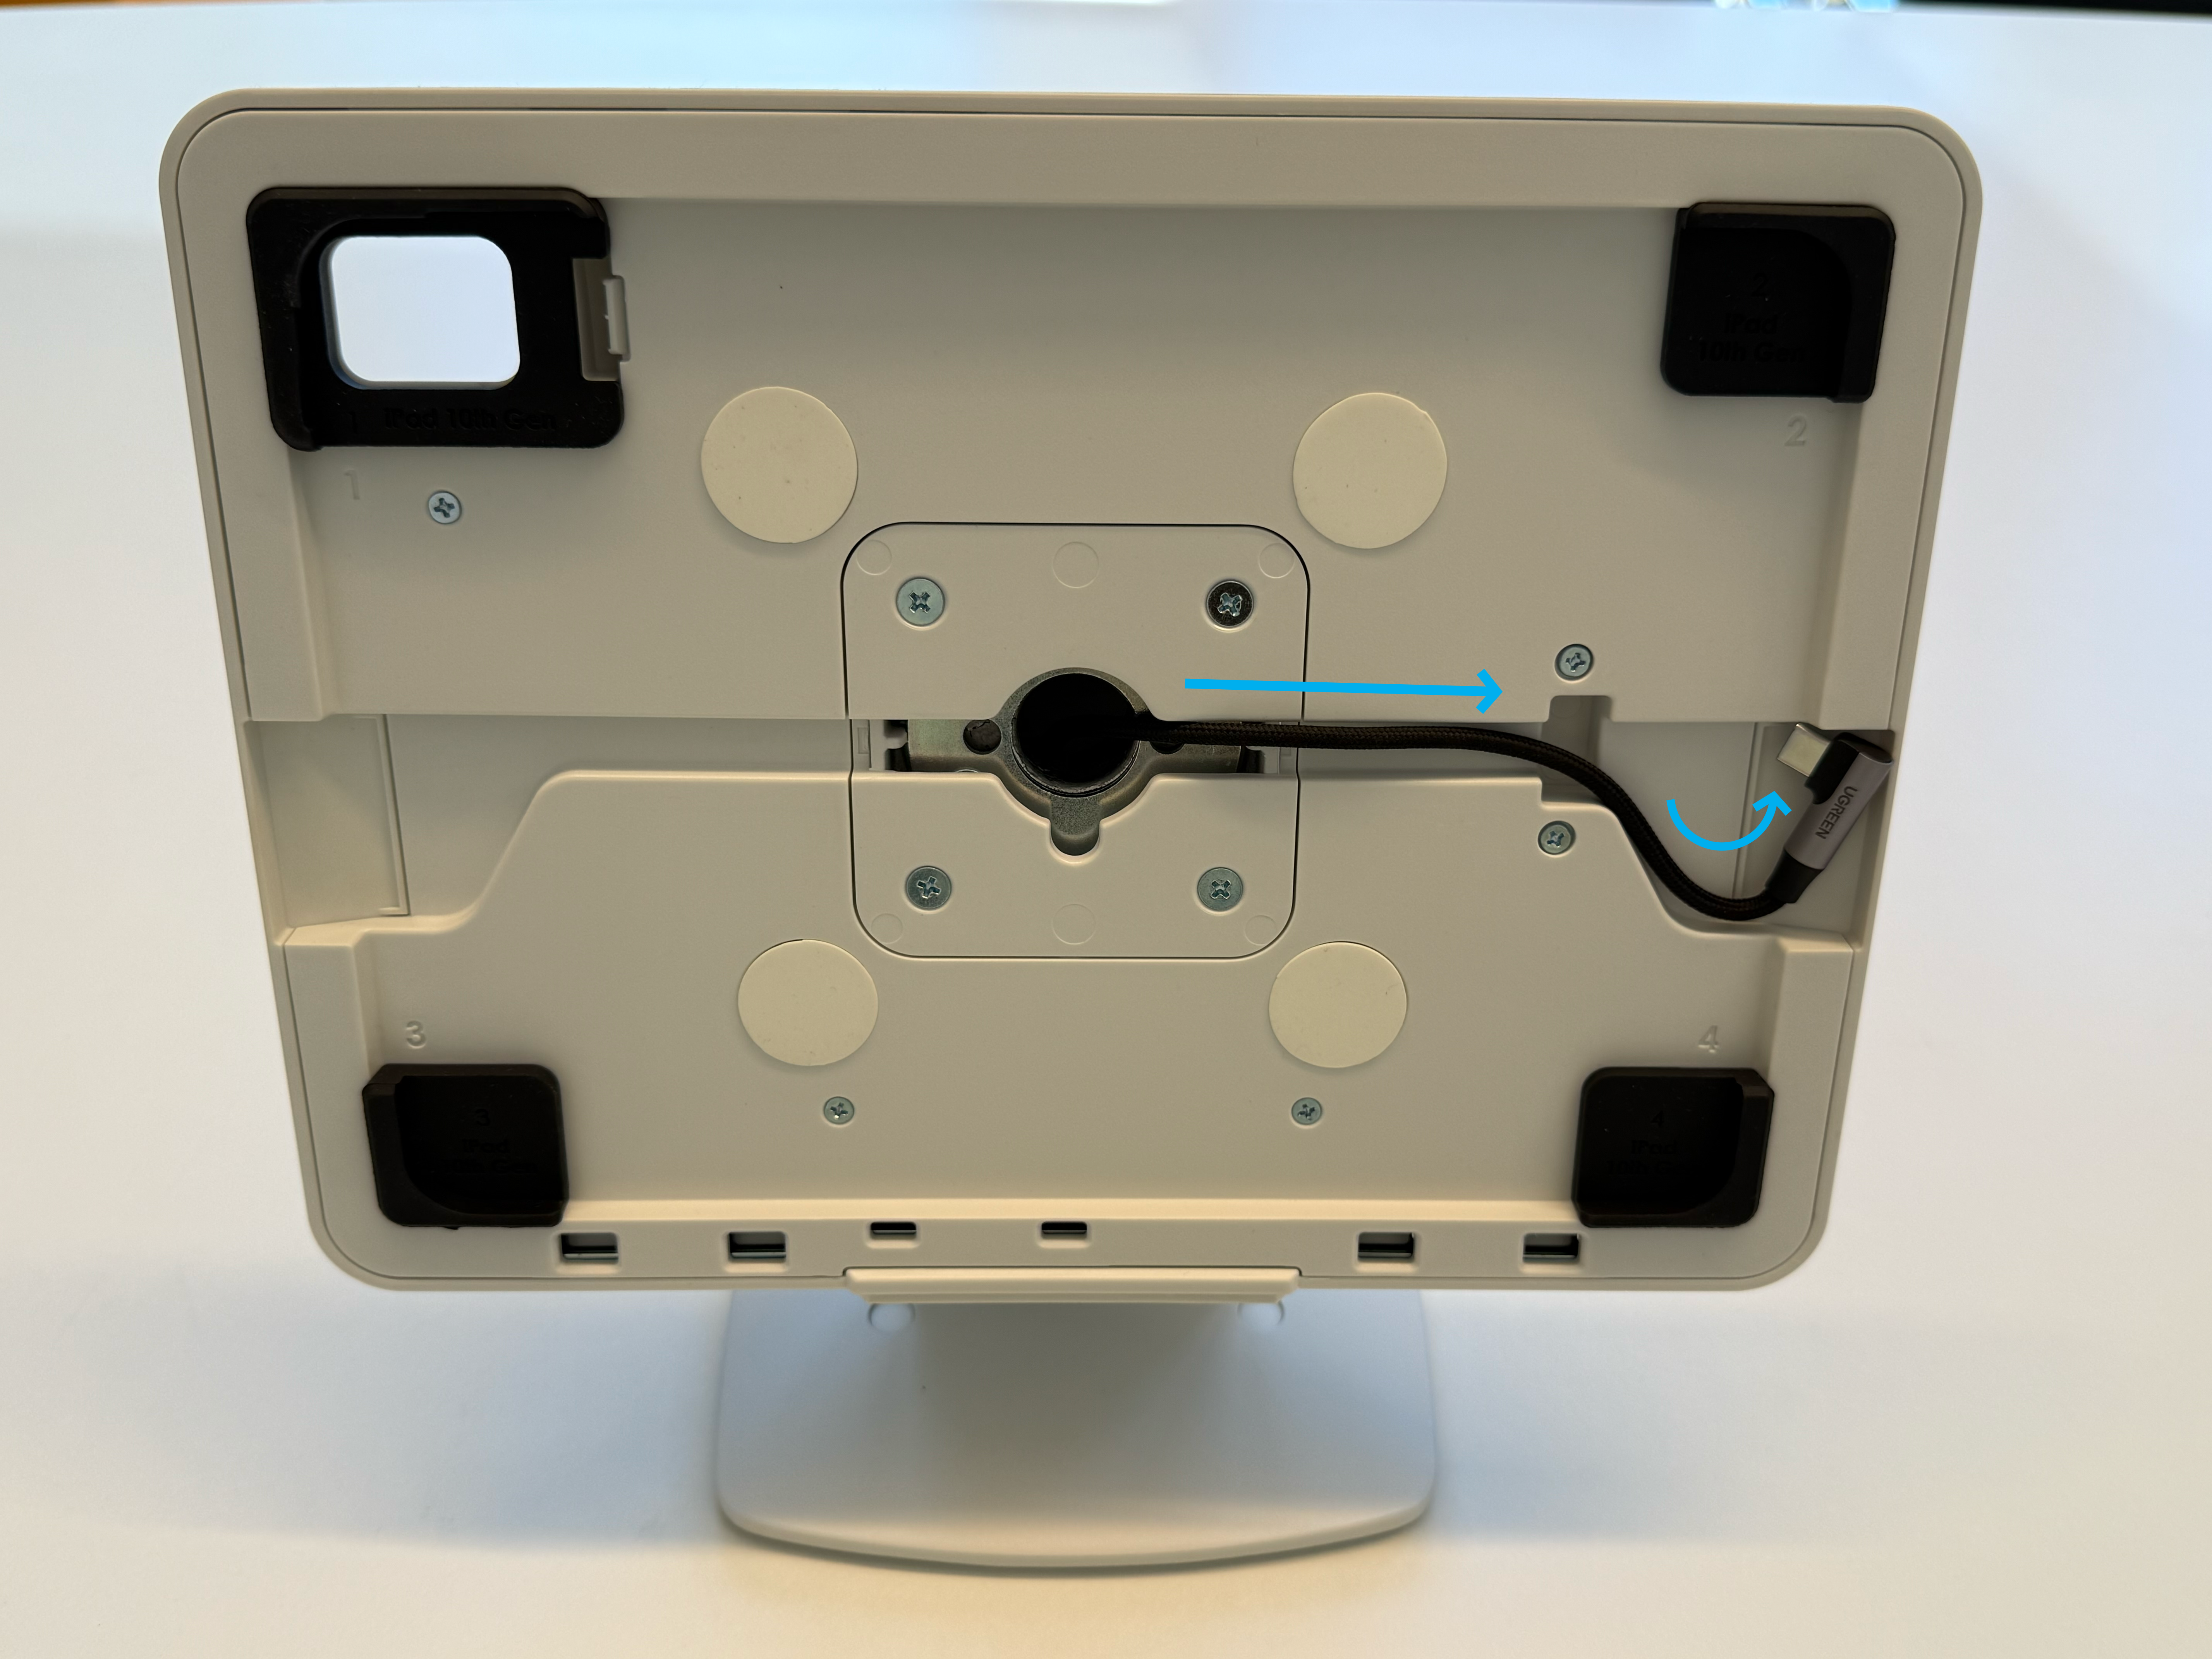
Plug the USB-C charging cable into the iPad. Place the iPad inside the register stand and ensure the camera is lined up correctly with the register stand opening at the top left corner.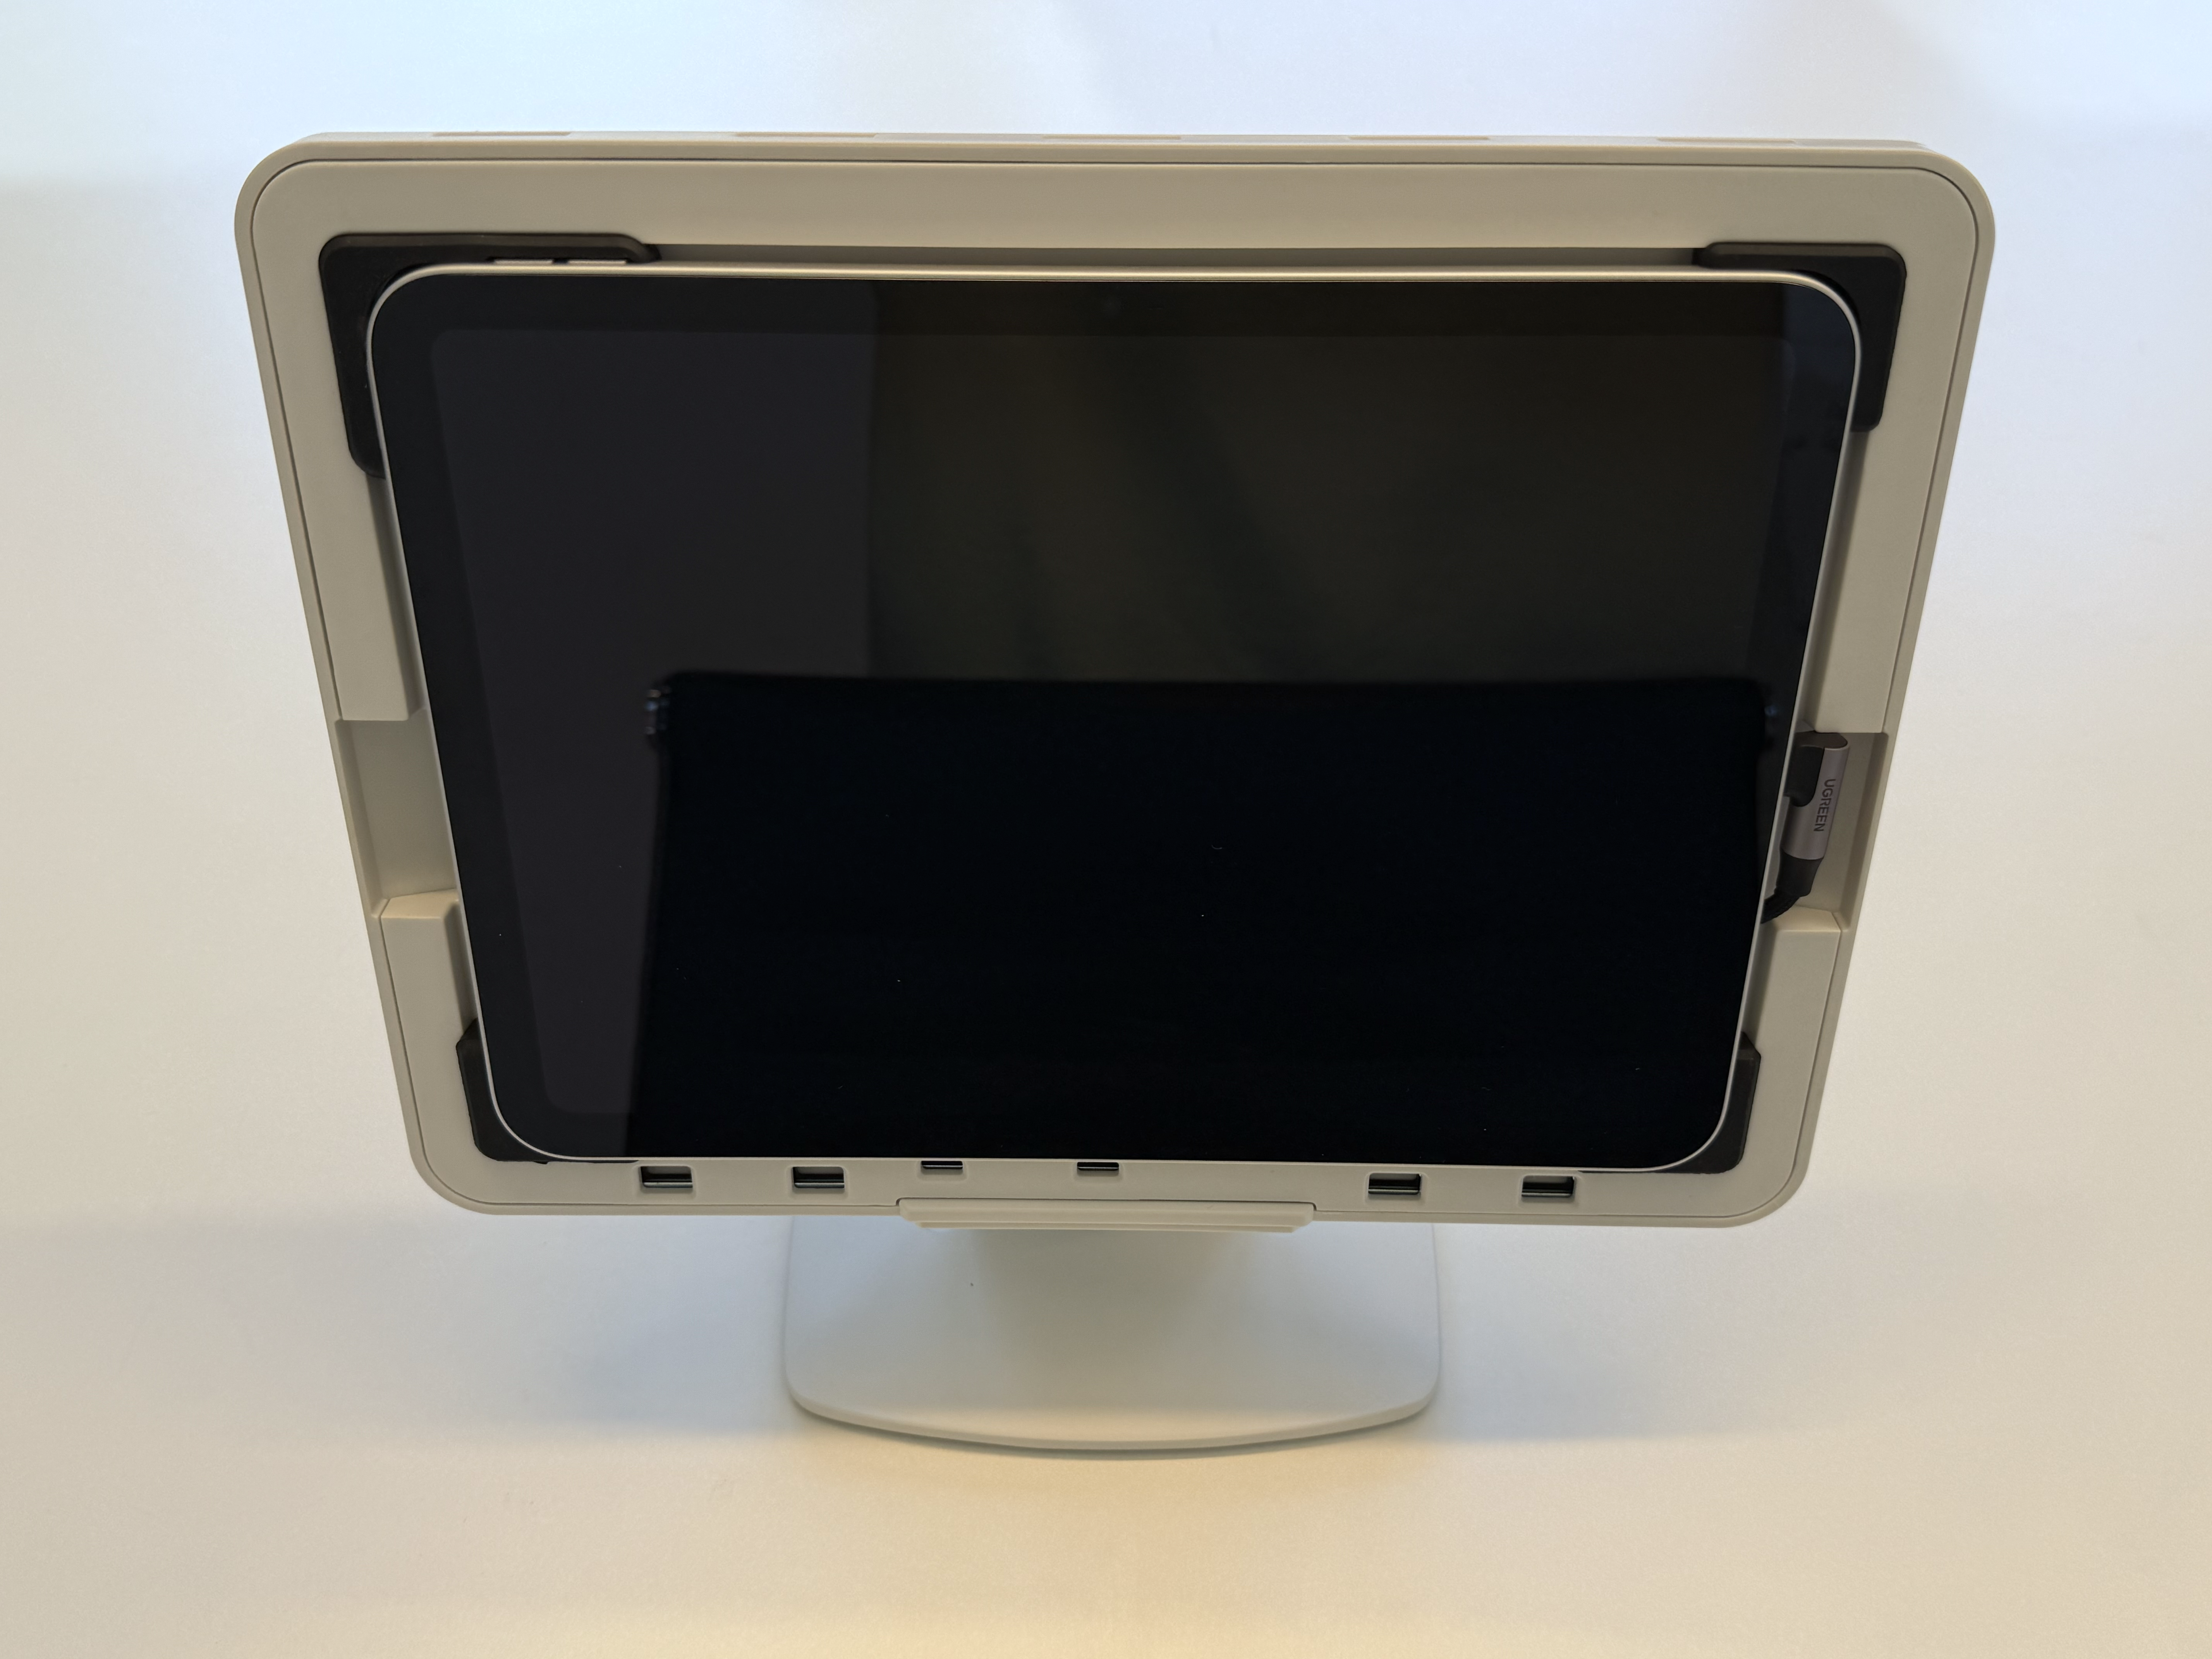

Place the register stand cover over the iPad. Confirm the cover is securely in place before inserting the register stand key and turning 90 degrees clockwise to lock into place.