Connecting an Epson TM-30 or L100 Series Printer to Wi-fi Using an Epson Wi-fi Dongle
Learn how to set up an Epson Wi-fi Dongle with the Epson TM-m30 Series Printers
Dripos compatible Epson TM-m30 Series (TM-m30ii and TM-m30iii) and Epson L100 Printers are Ethernet dependant by default. If there is no option to hardwire your printer to your router/modem via LAN, you may want to purchase an Epson Wifi Dongle (reach out to support@dripos.com if you’d like to purchase one from us!) to make the printer Wifi Compatible.
How to Connect an Epson TM-30iii or Epson L100 to Wifi Using a Epson Wifi Dongle
Requirements:
-
Epson TM Utility App:
-
Epson Wifi USB Dongle
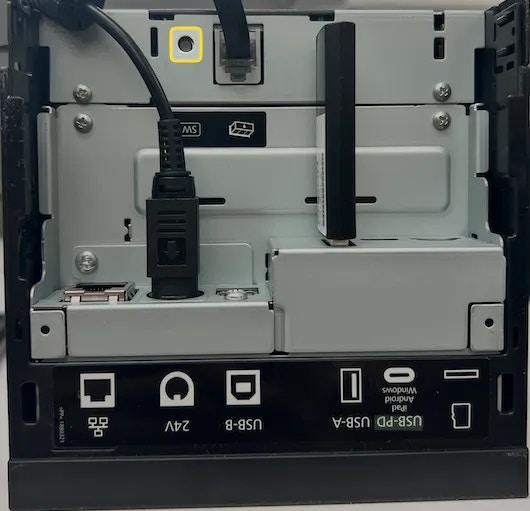
- With the Epson Wi-fi USB Dongle plugged into the USB-A Port of the Printer, turn on the Printer using the Power Button to automatically initiate the Wi-fi SimpleAP setup. Two Prompts should print:
SimpleAP Initialization | SimpleAP Start Slip | |
---|---|---|
- Open the Epson TM Utility Appand begin setup in the Wi-fi Setup Wizard:
- Select your Printer Model:
- The TM Utility App will walk through the step-by-step process to connect the App to your Printer. Be sure to press Allow when the app prompts for permissions as it looks to connect to your device:
- Once the app is connected, select Wi-Fi to begin the network pairing process:
- Select your Wi-Fi Network. Make sure it’s the same Network your POS Device is connected to. When inserting the Wi-fi Password, take your time as the printer won’t be able to connect with an incorrect password:
- Select Auto (DHCP) when prompted in the IP Address Settings:
- When ready, press Set to Printer at the end of the setup to send the Wifi Network information to the printer to connect to:
- Once an IP Slip prints with a valid IP Address, you’ve successfully connected your printer to your Wi-fi Network! Follow our Dripos POS Printer setup guide to learn how to connect your Printer to the POS.
How to Factory Reset your Epson TM-m30 Series Printer
If you need to change the Wi-Fi Network that your Printer is connected to, do the following to factory reset the Printer.
-
Turn off the Printer.
-
Remove the bottom protective cover of the printer (if applicable) and locate the Reset Button on the bottom of the printer:
-
Use a small tipped object such as a Pen or Toothpick to press the Reset Button. While Pressing the Reset Button, turn on the Printer.
-
The printer will print a “Initialization Complete” message when turned on.
-
Release the Reset button. The Printer will be restored to its Factory Default Settings.
Was this page helpful?