Ethernet Printer Set Up
Connect your printer to the internet via ethernet.1
Place the printer near a wall outlet and a Wi-Fi router (or your WiFi extender).
2
Remove the cover at the bottom of the printer to access the power and ethernet ports.
3
Connect the power and ethernet cables to the printer ports.
4
Turn the printer on using the Power Button on the top right corner.Several icons on the printer status bar will begin to blink. After a minute, the icons will stabilize.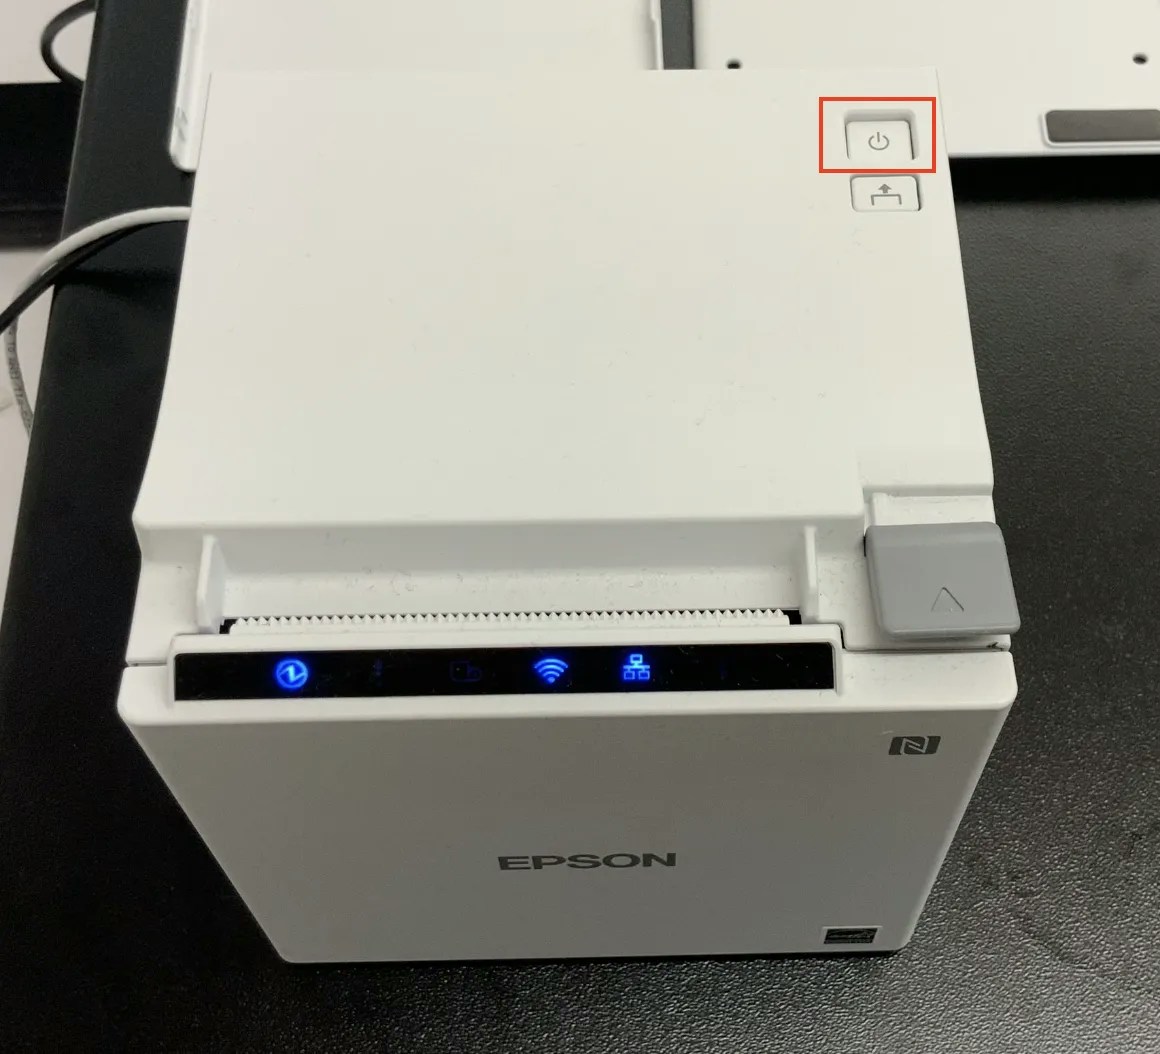
5
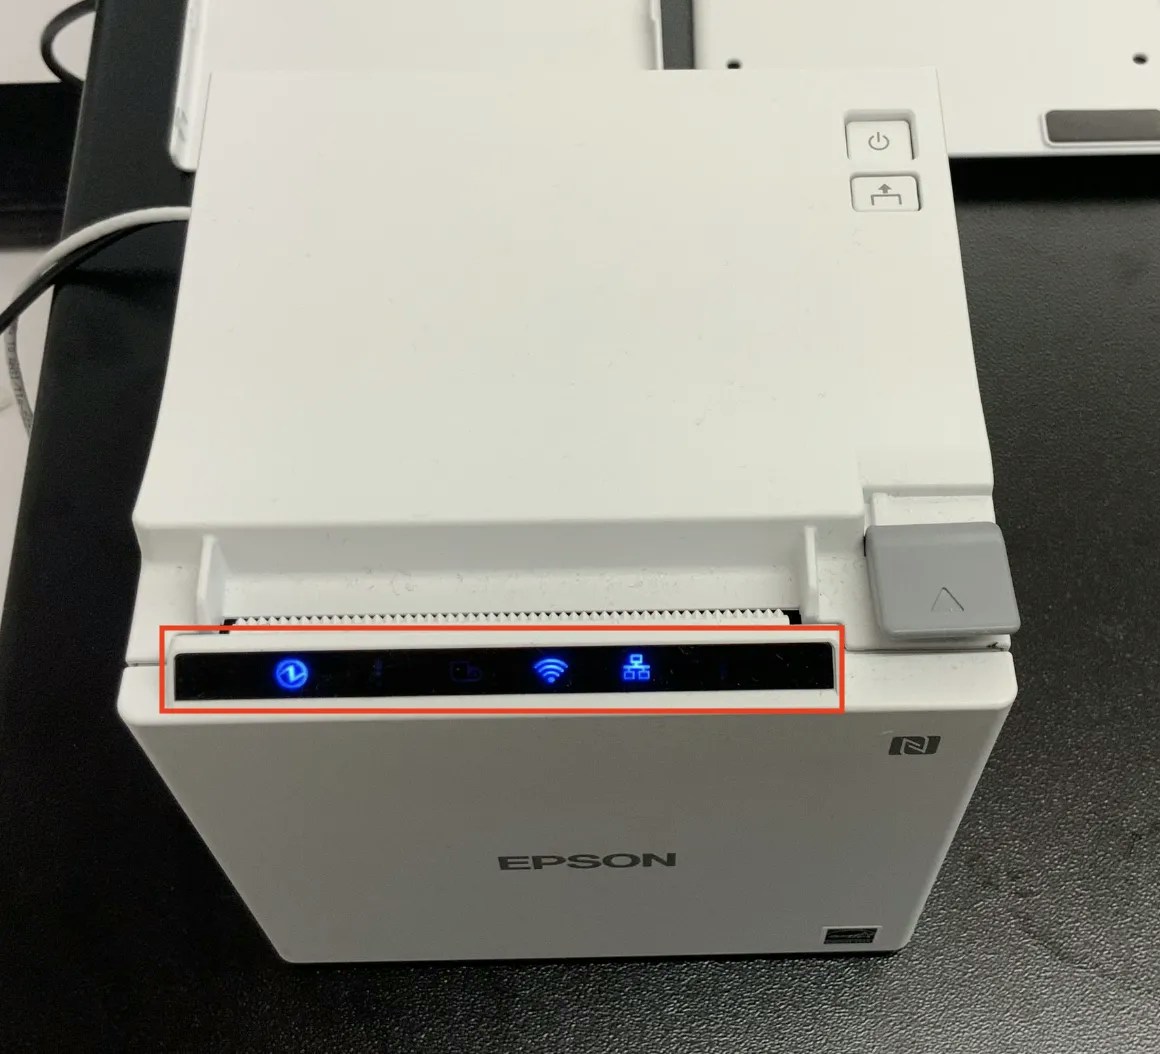
When the printer is fully configured, the Power and Ethernet icons will be blue. If these icons are not lit up, your printer is not properly connected to internet.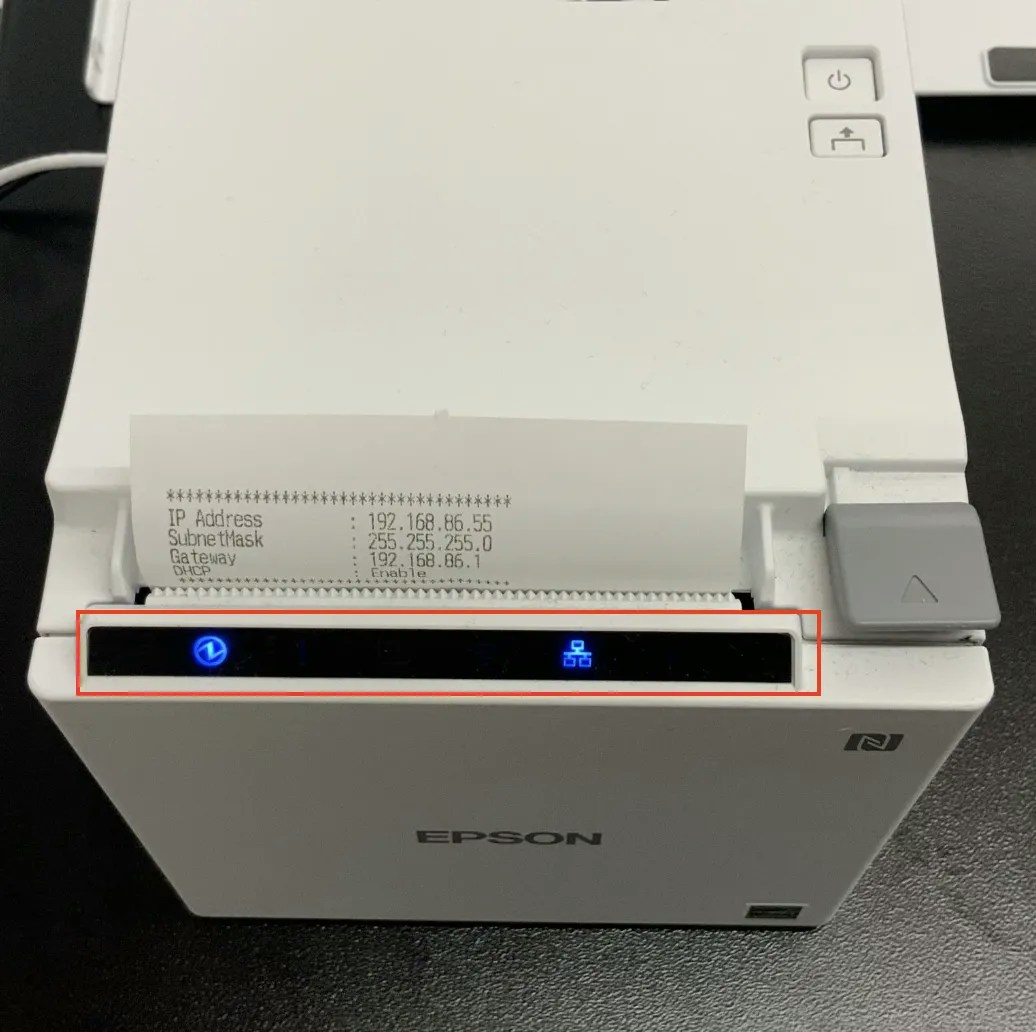
6
Once the icon lights are stable, the printer will print a receipt displaying an IP Address for connecting to the POS.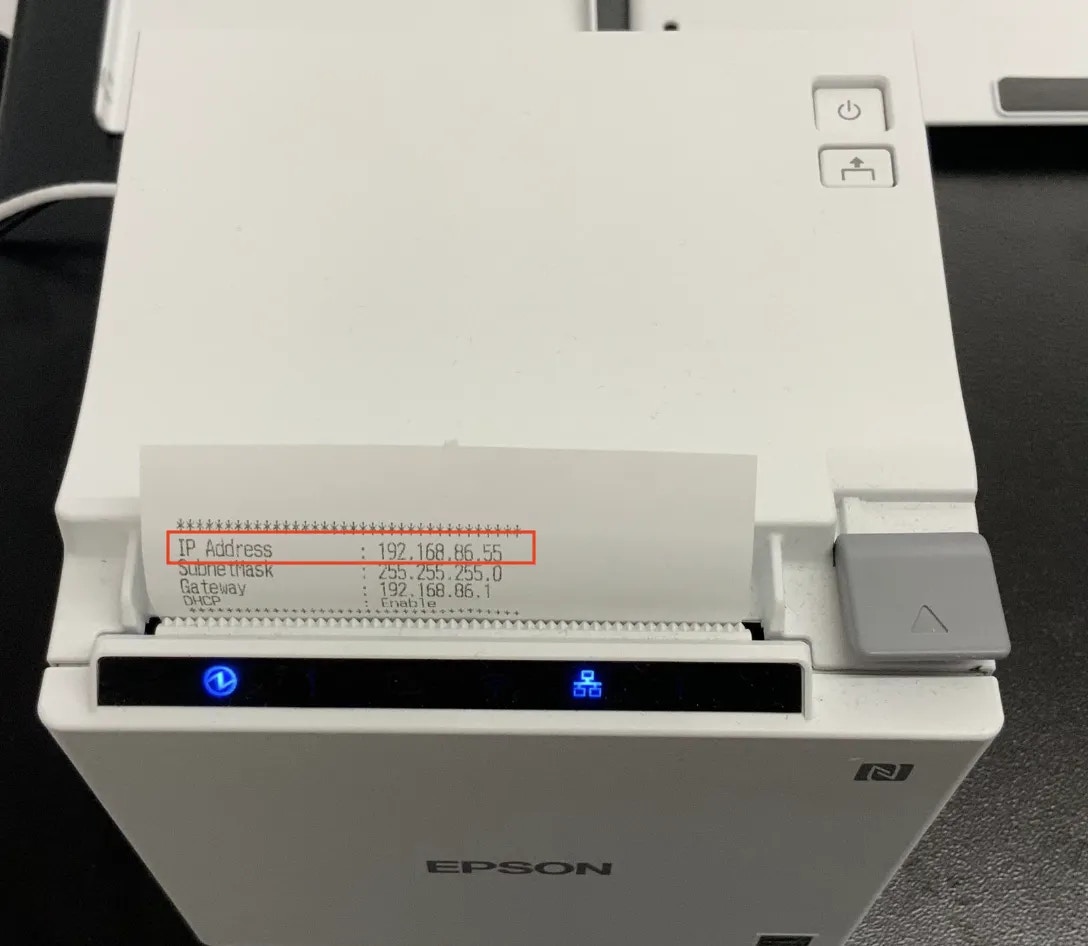
7
Navigate to the tablet system Settings > Wi-Fi and click the Information button and ensure the first three sets of the IP address (xxx.xxx.xx.-) matches the printed IP address.
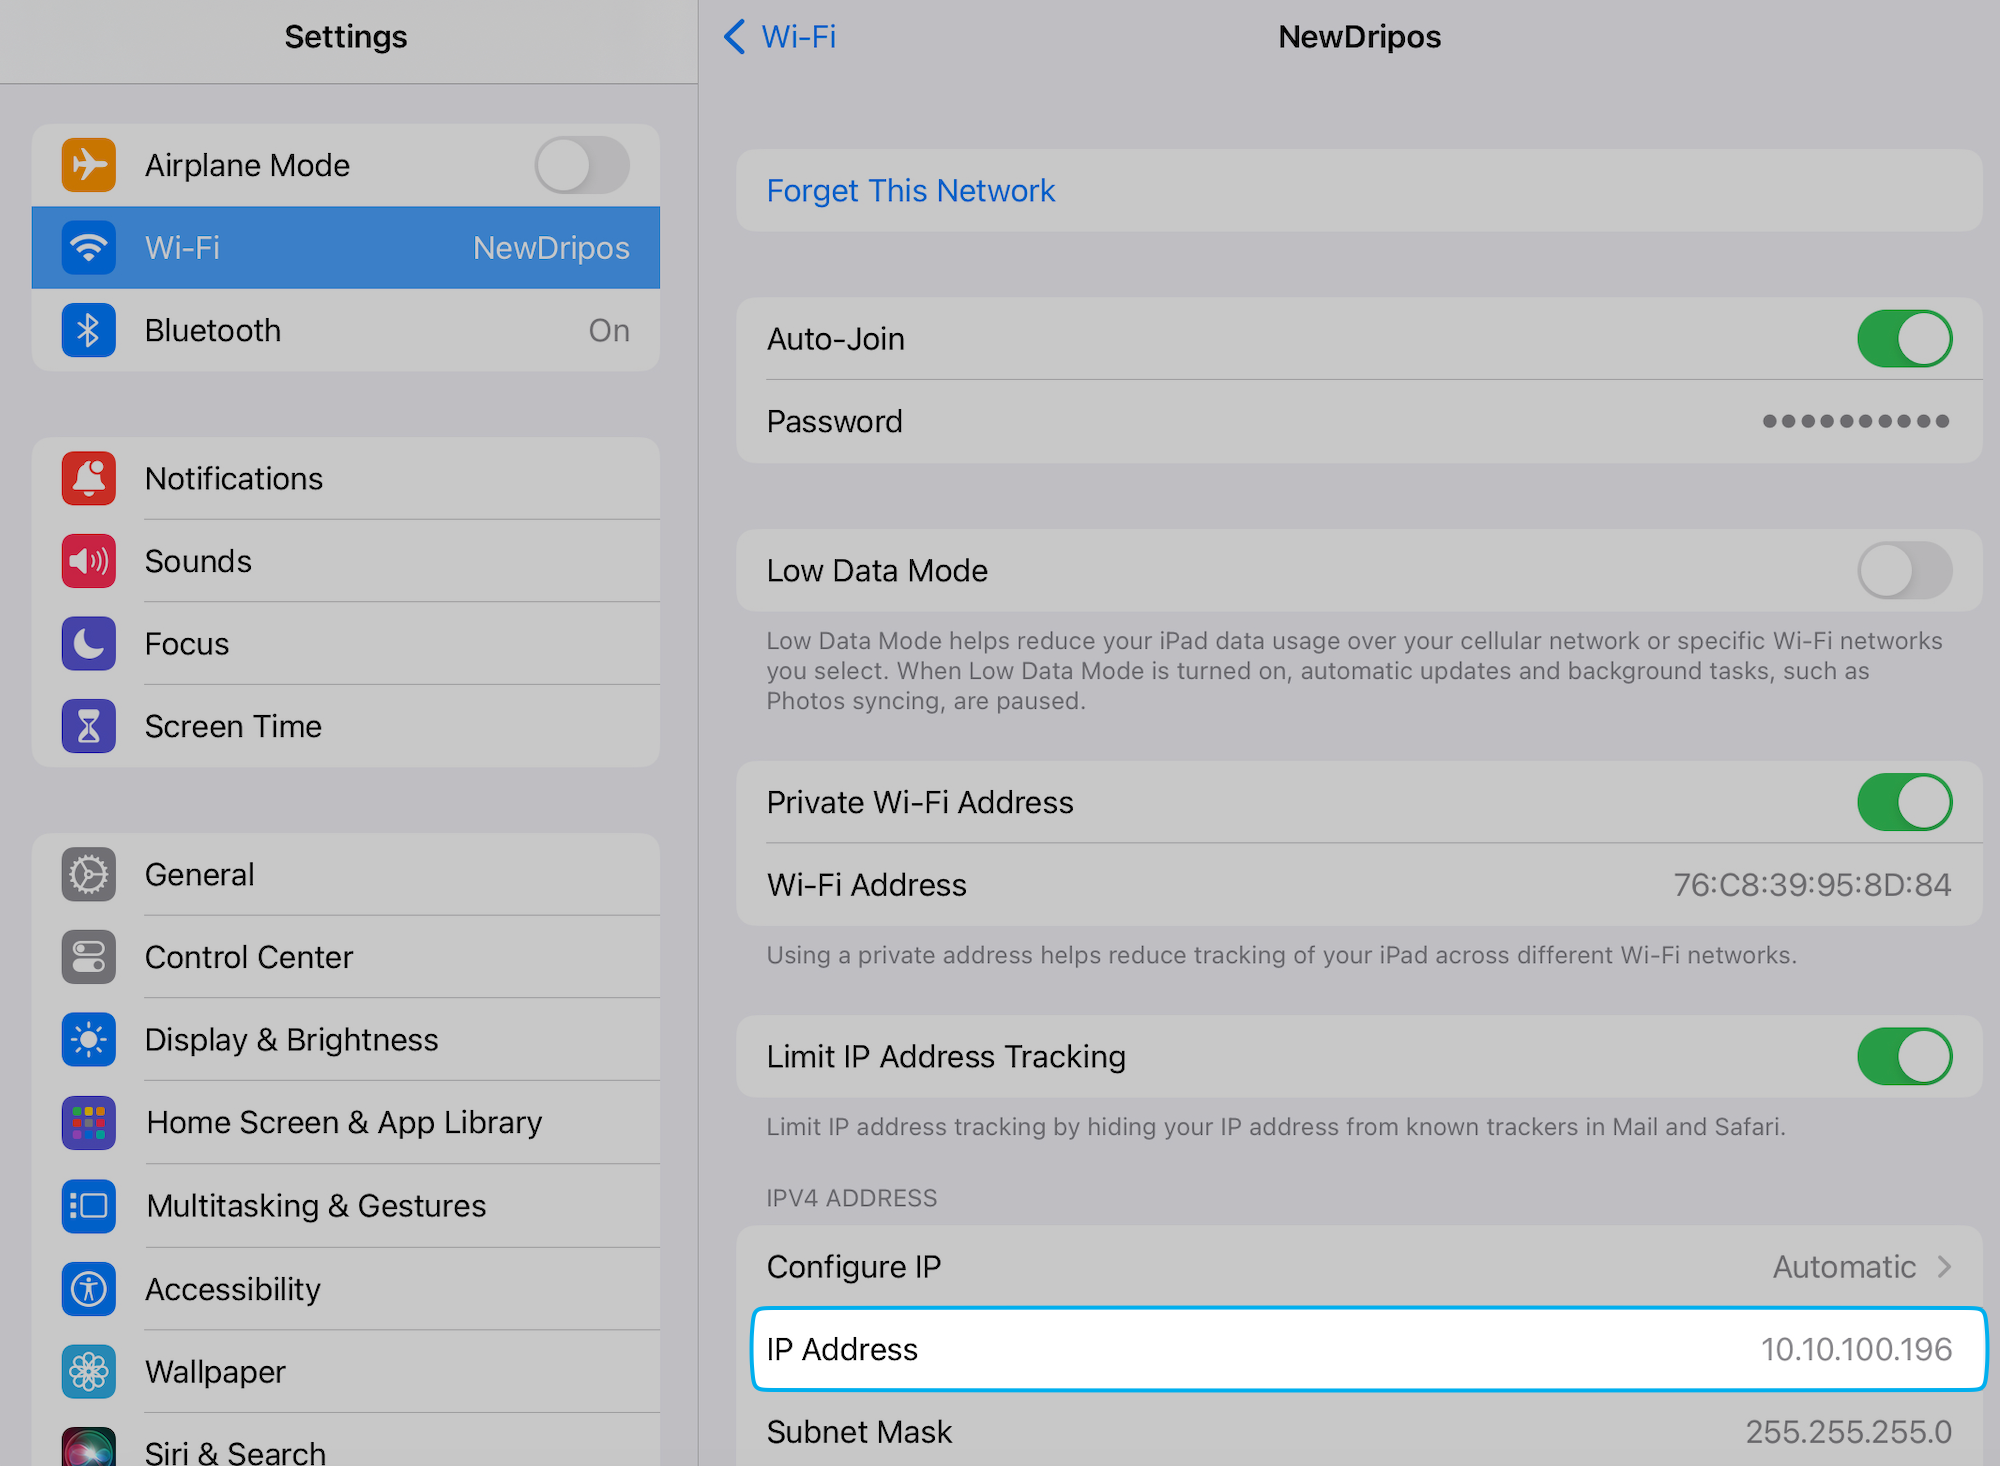
The last set of numbers for the IP address will not match.