Turn on the Stripe Reader M2 by pressing and releasing the power button. If the reader does not turn on, it may need to be charged using the included cable.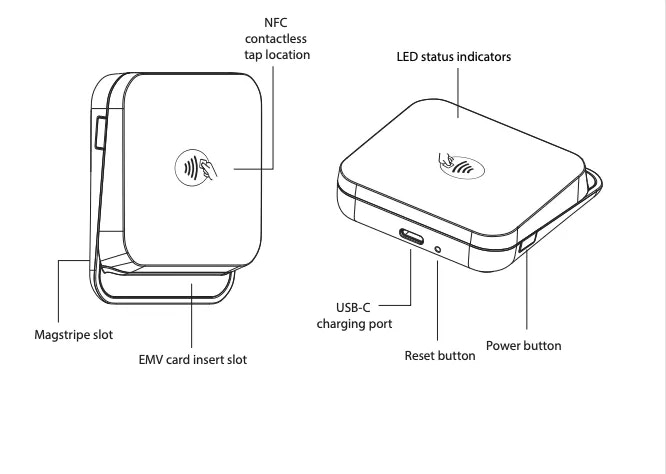
When the Stripe Reader M2 is on, press and release the power button once to check the battery level. The LEDs on top of the reader show the current status.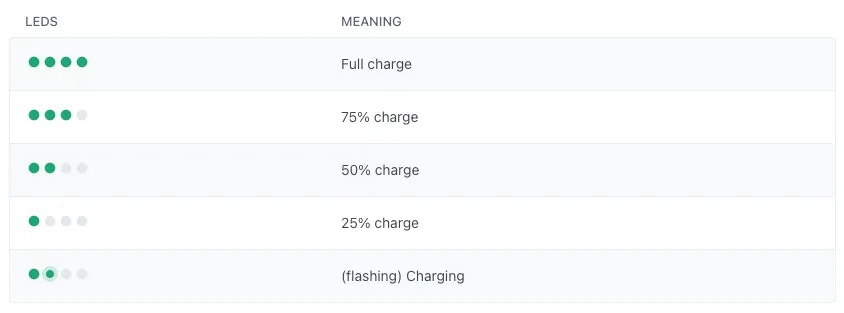
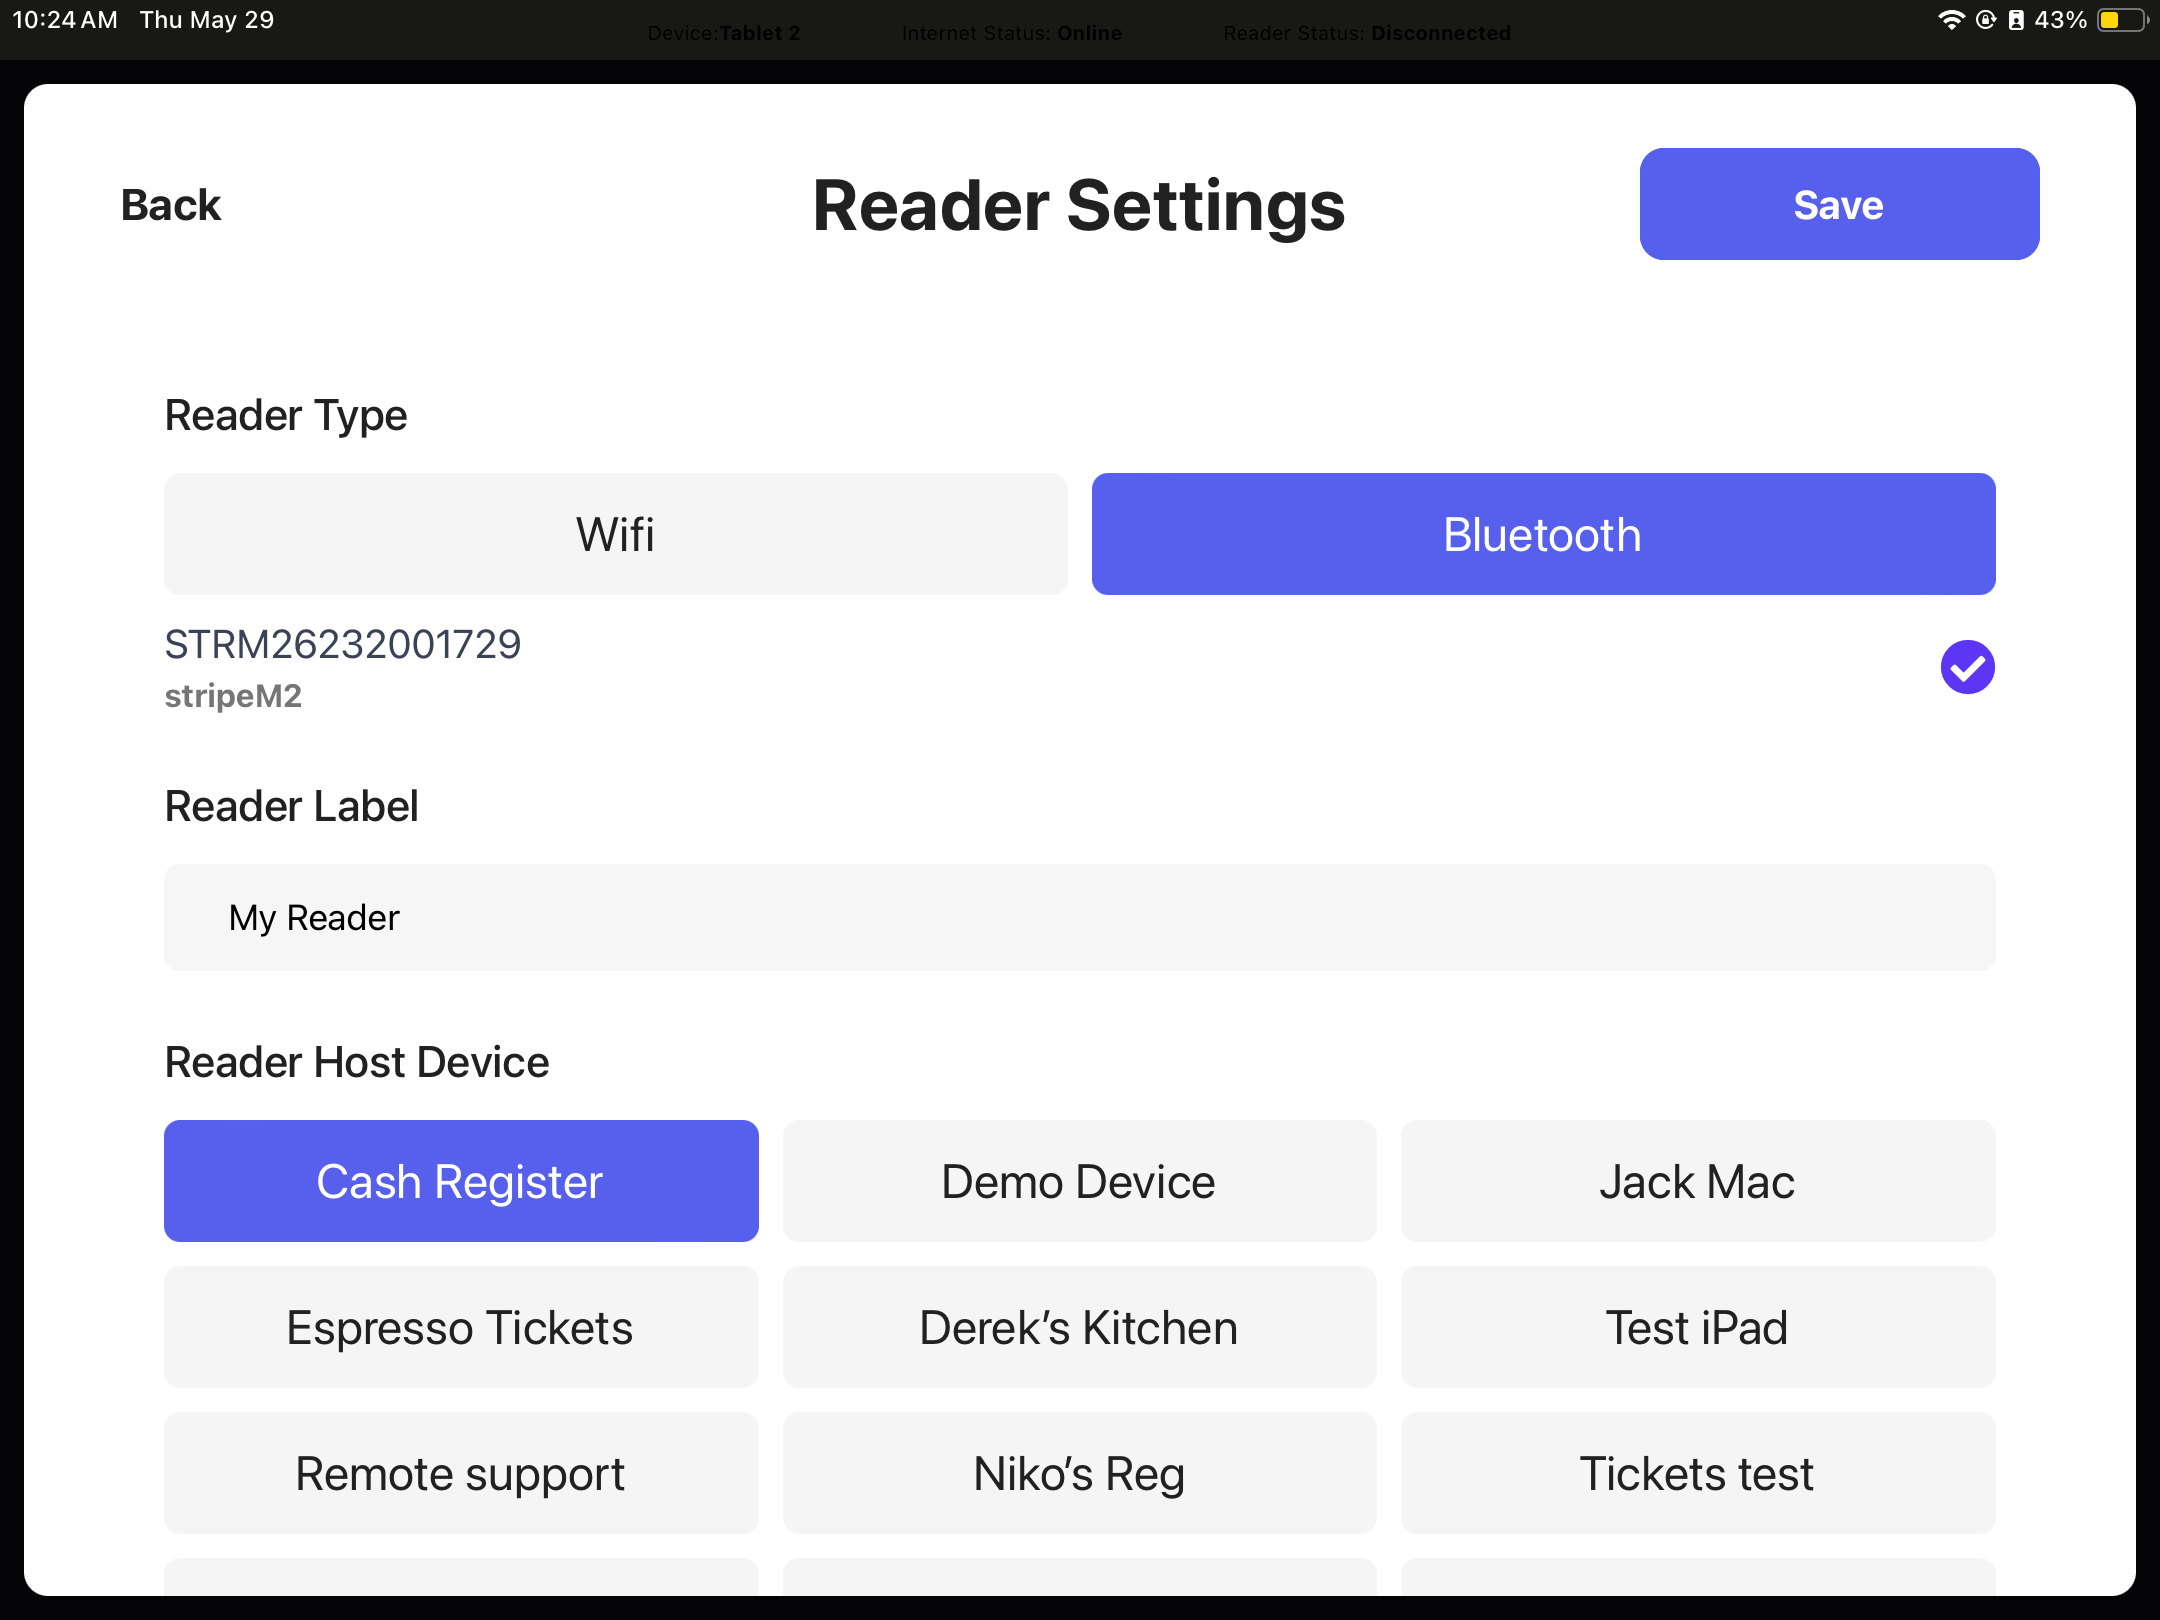
On the Point of Sale tablet
- Press the tribar in the upper left screen corner
- Press the Settings button
- Scroll down to Card Readers
- Press Add Reader
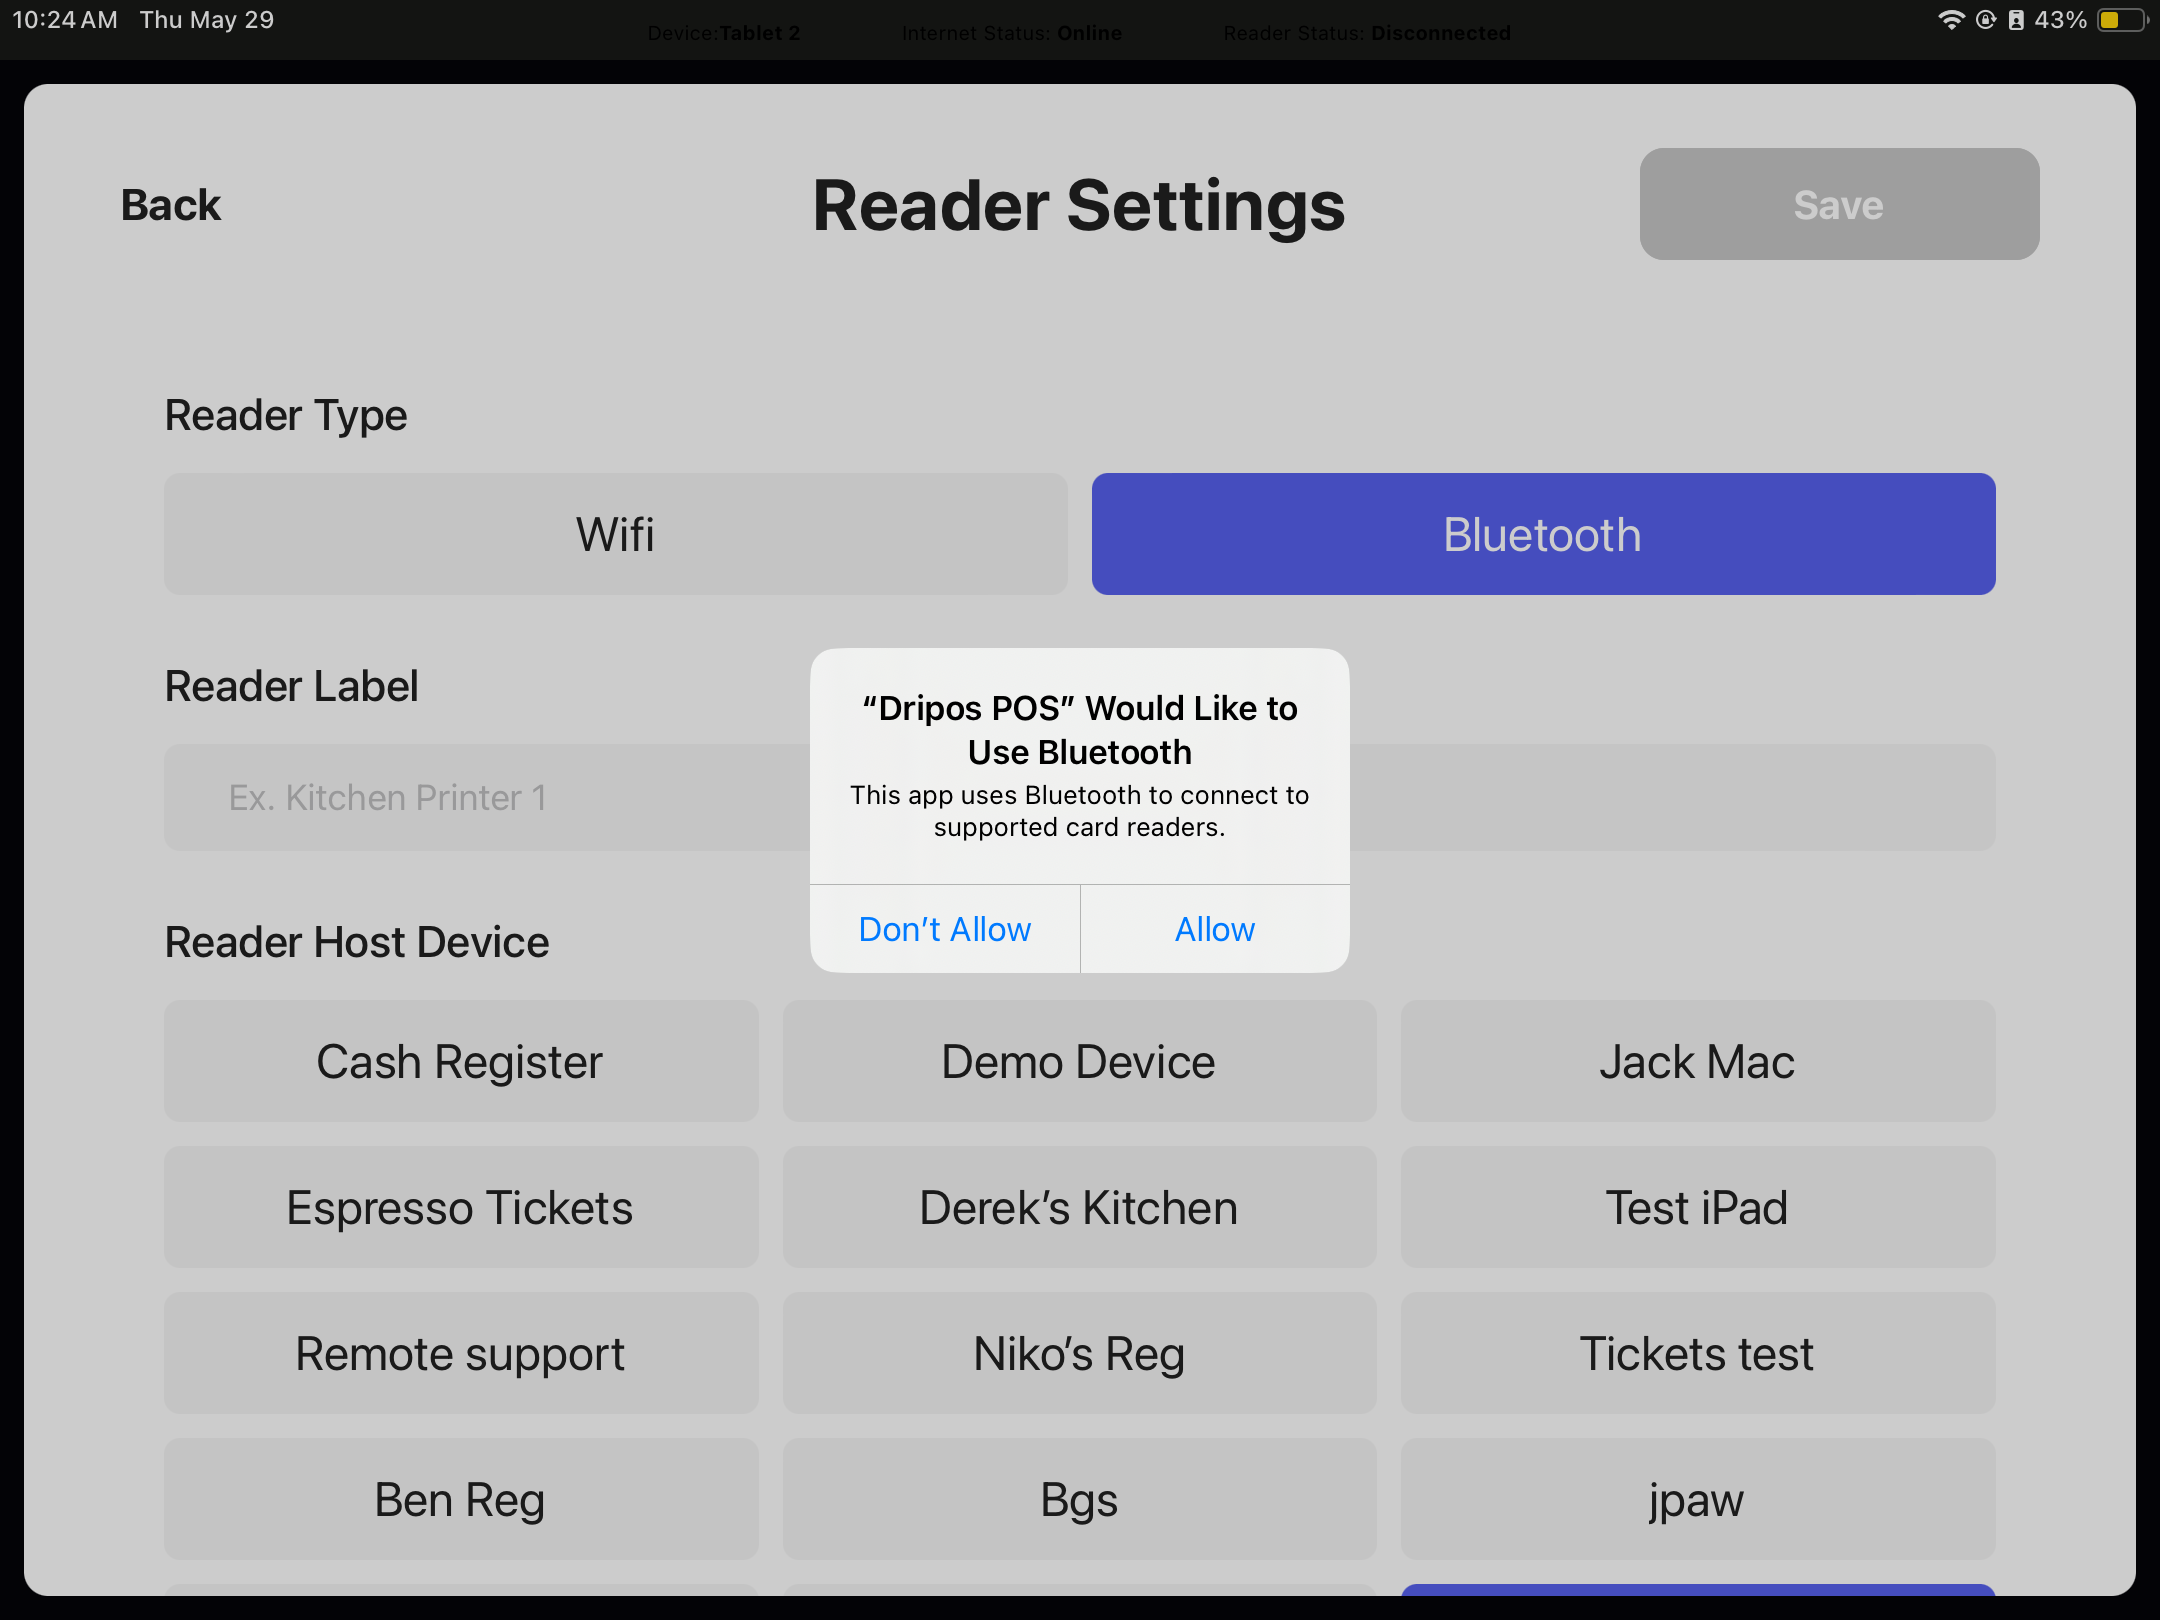
Confirm location services by clicking Allow While Using App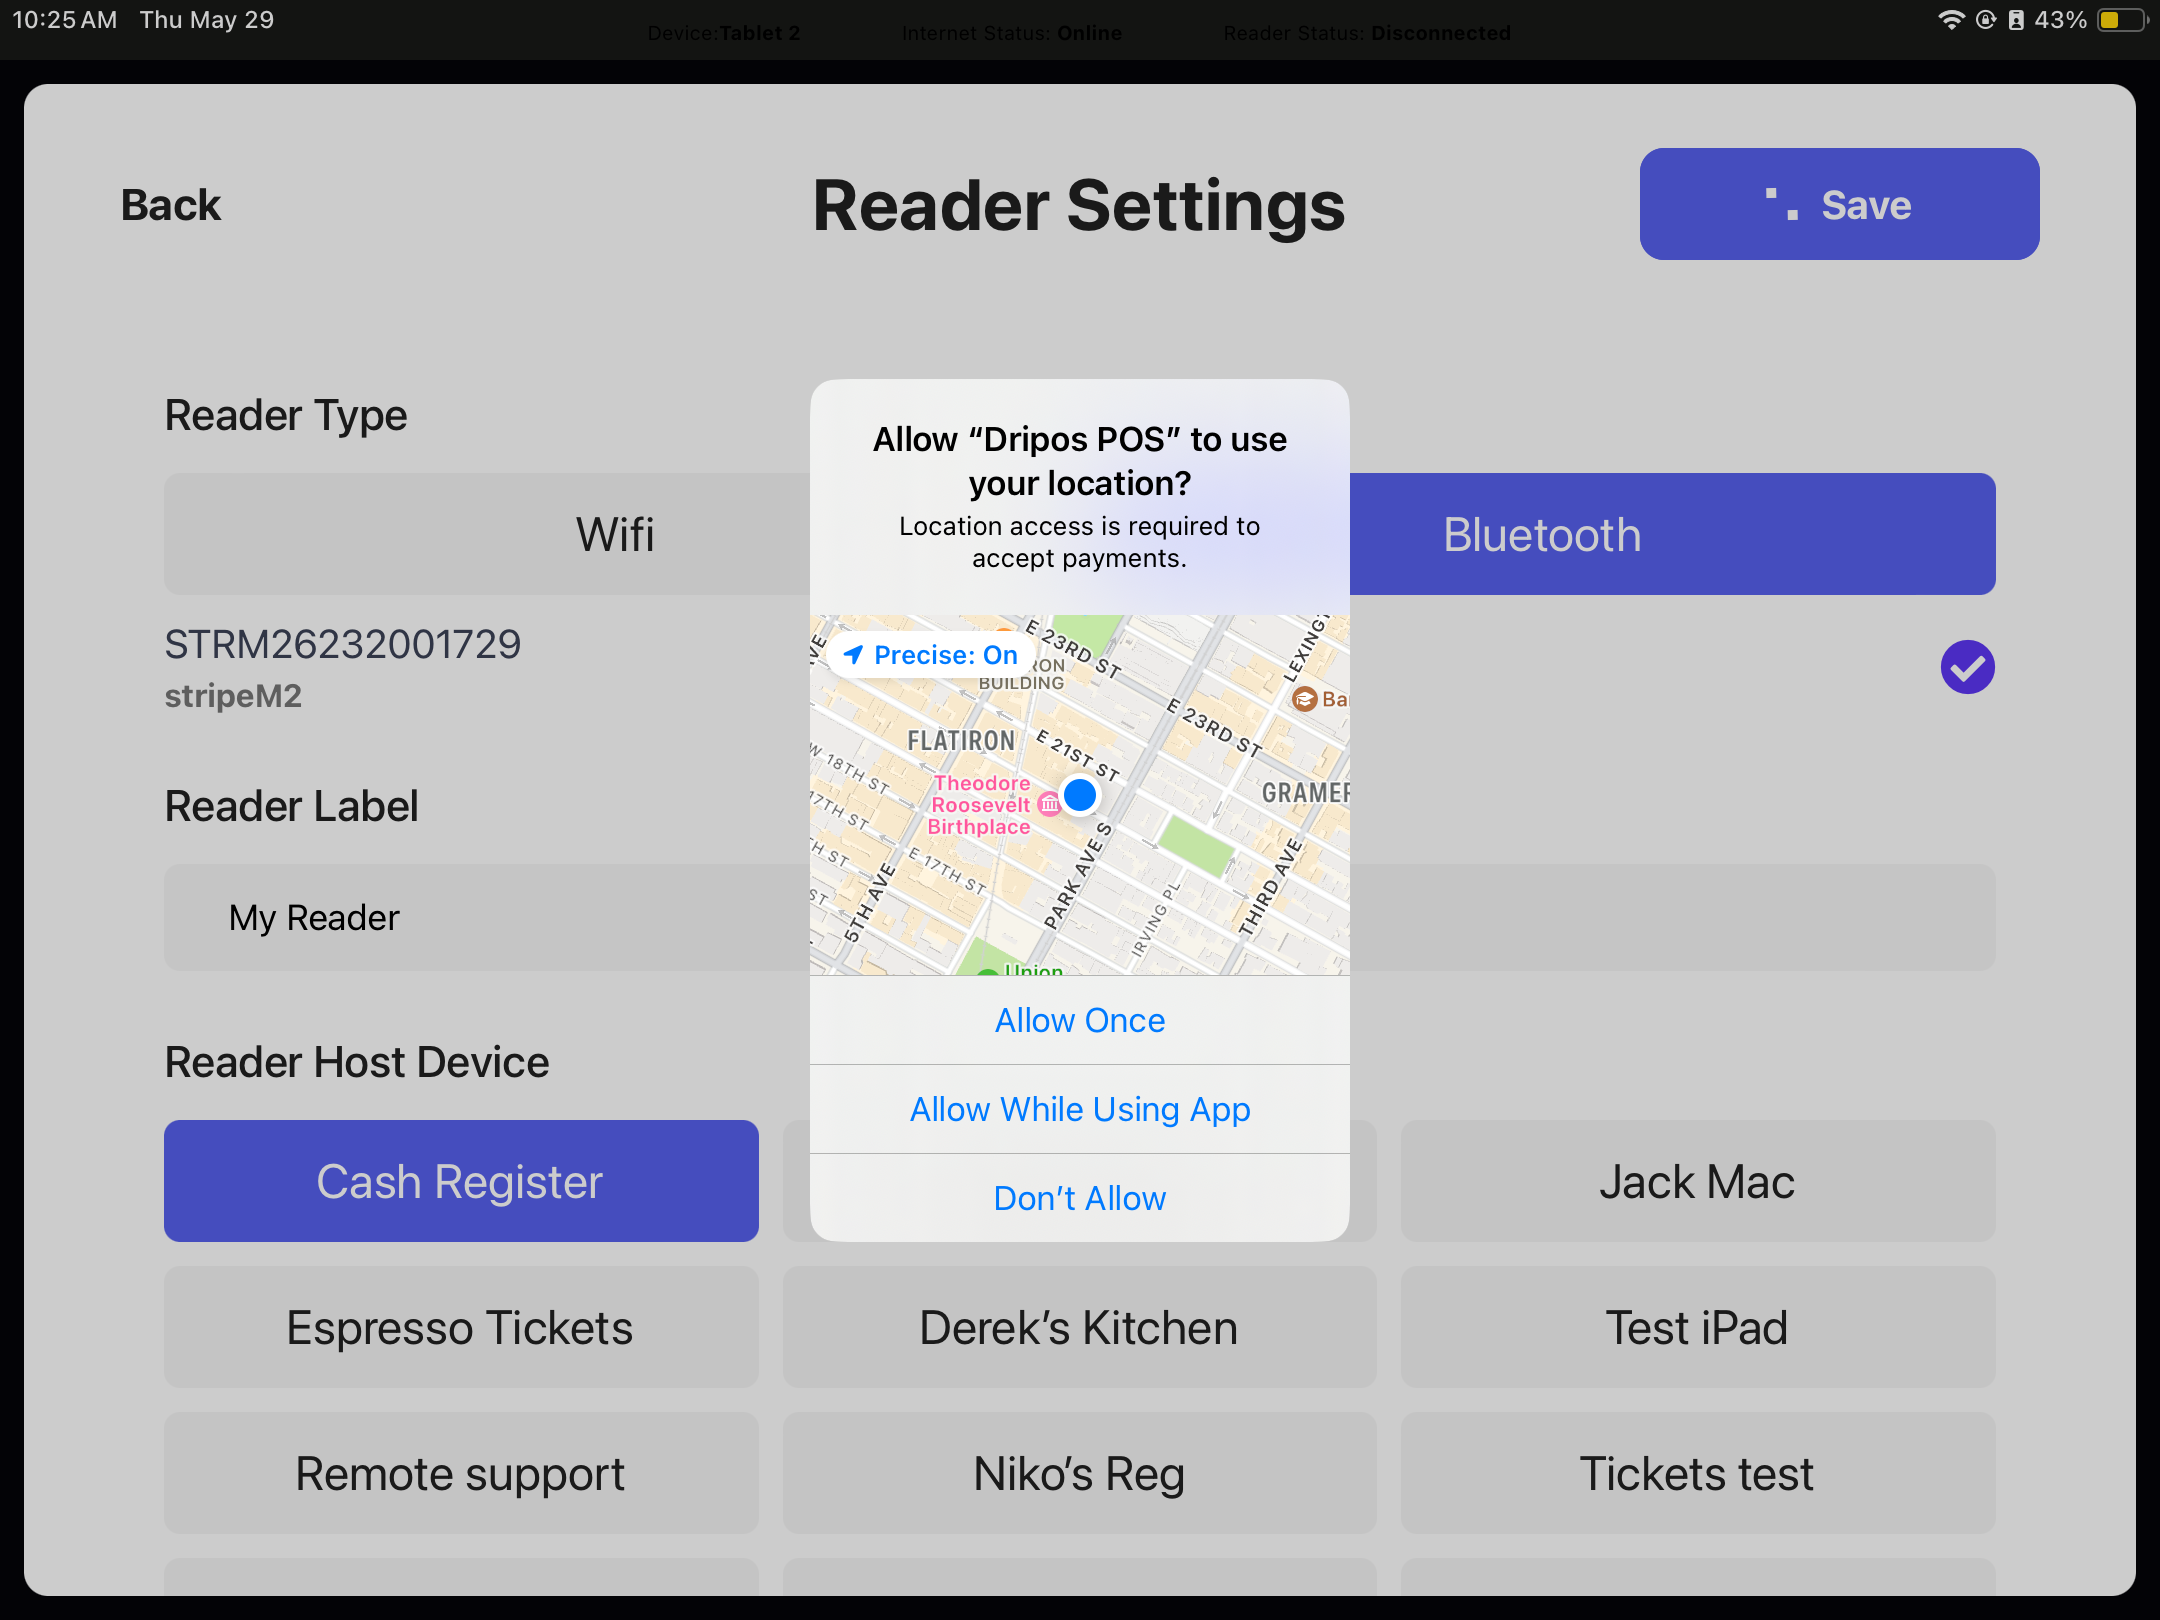
Location services must be enabled for the bluetooth card reader to pair successfully.If the location services pop up does not appear, location services may have been denied previously.Check if Dripos is enabled in your tablet’s location services within the tablet’s software settings > Privacy and Security > Location Services > ensure Dripos is enabled.If Dripos is not listed in your tablet’s location services, delete and redownload the Dripos app to be prompted for location services permissions when pairing your bluetooth reader.
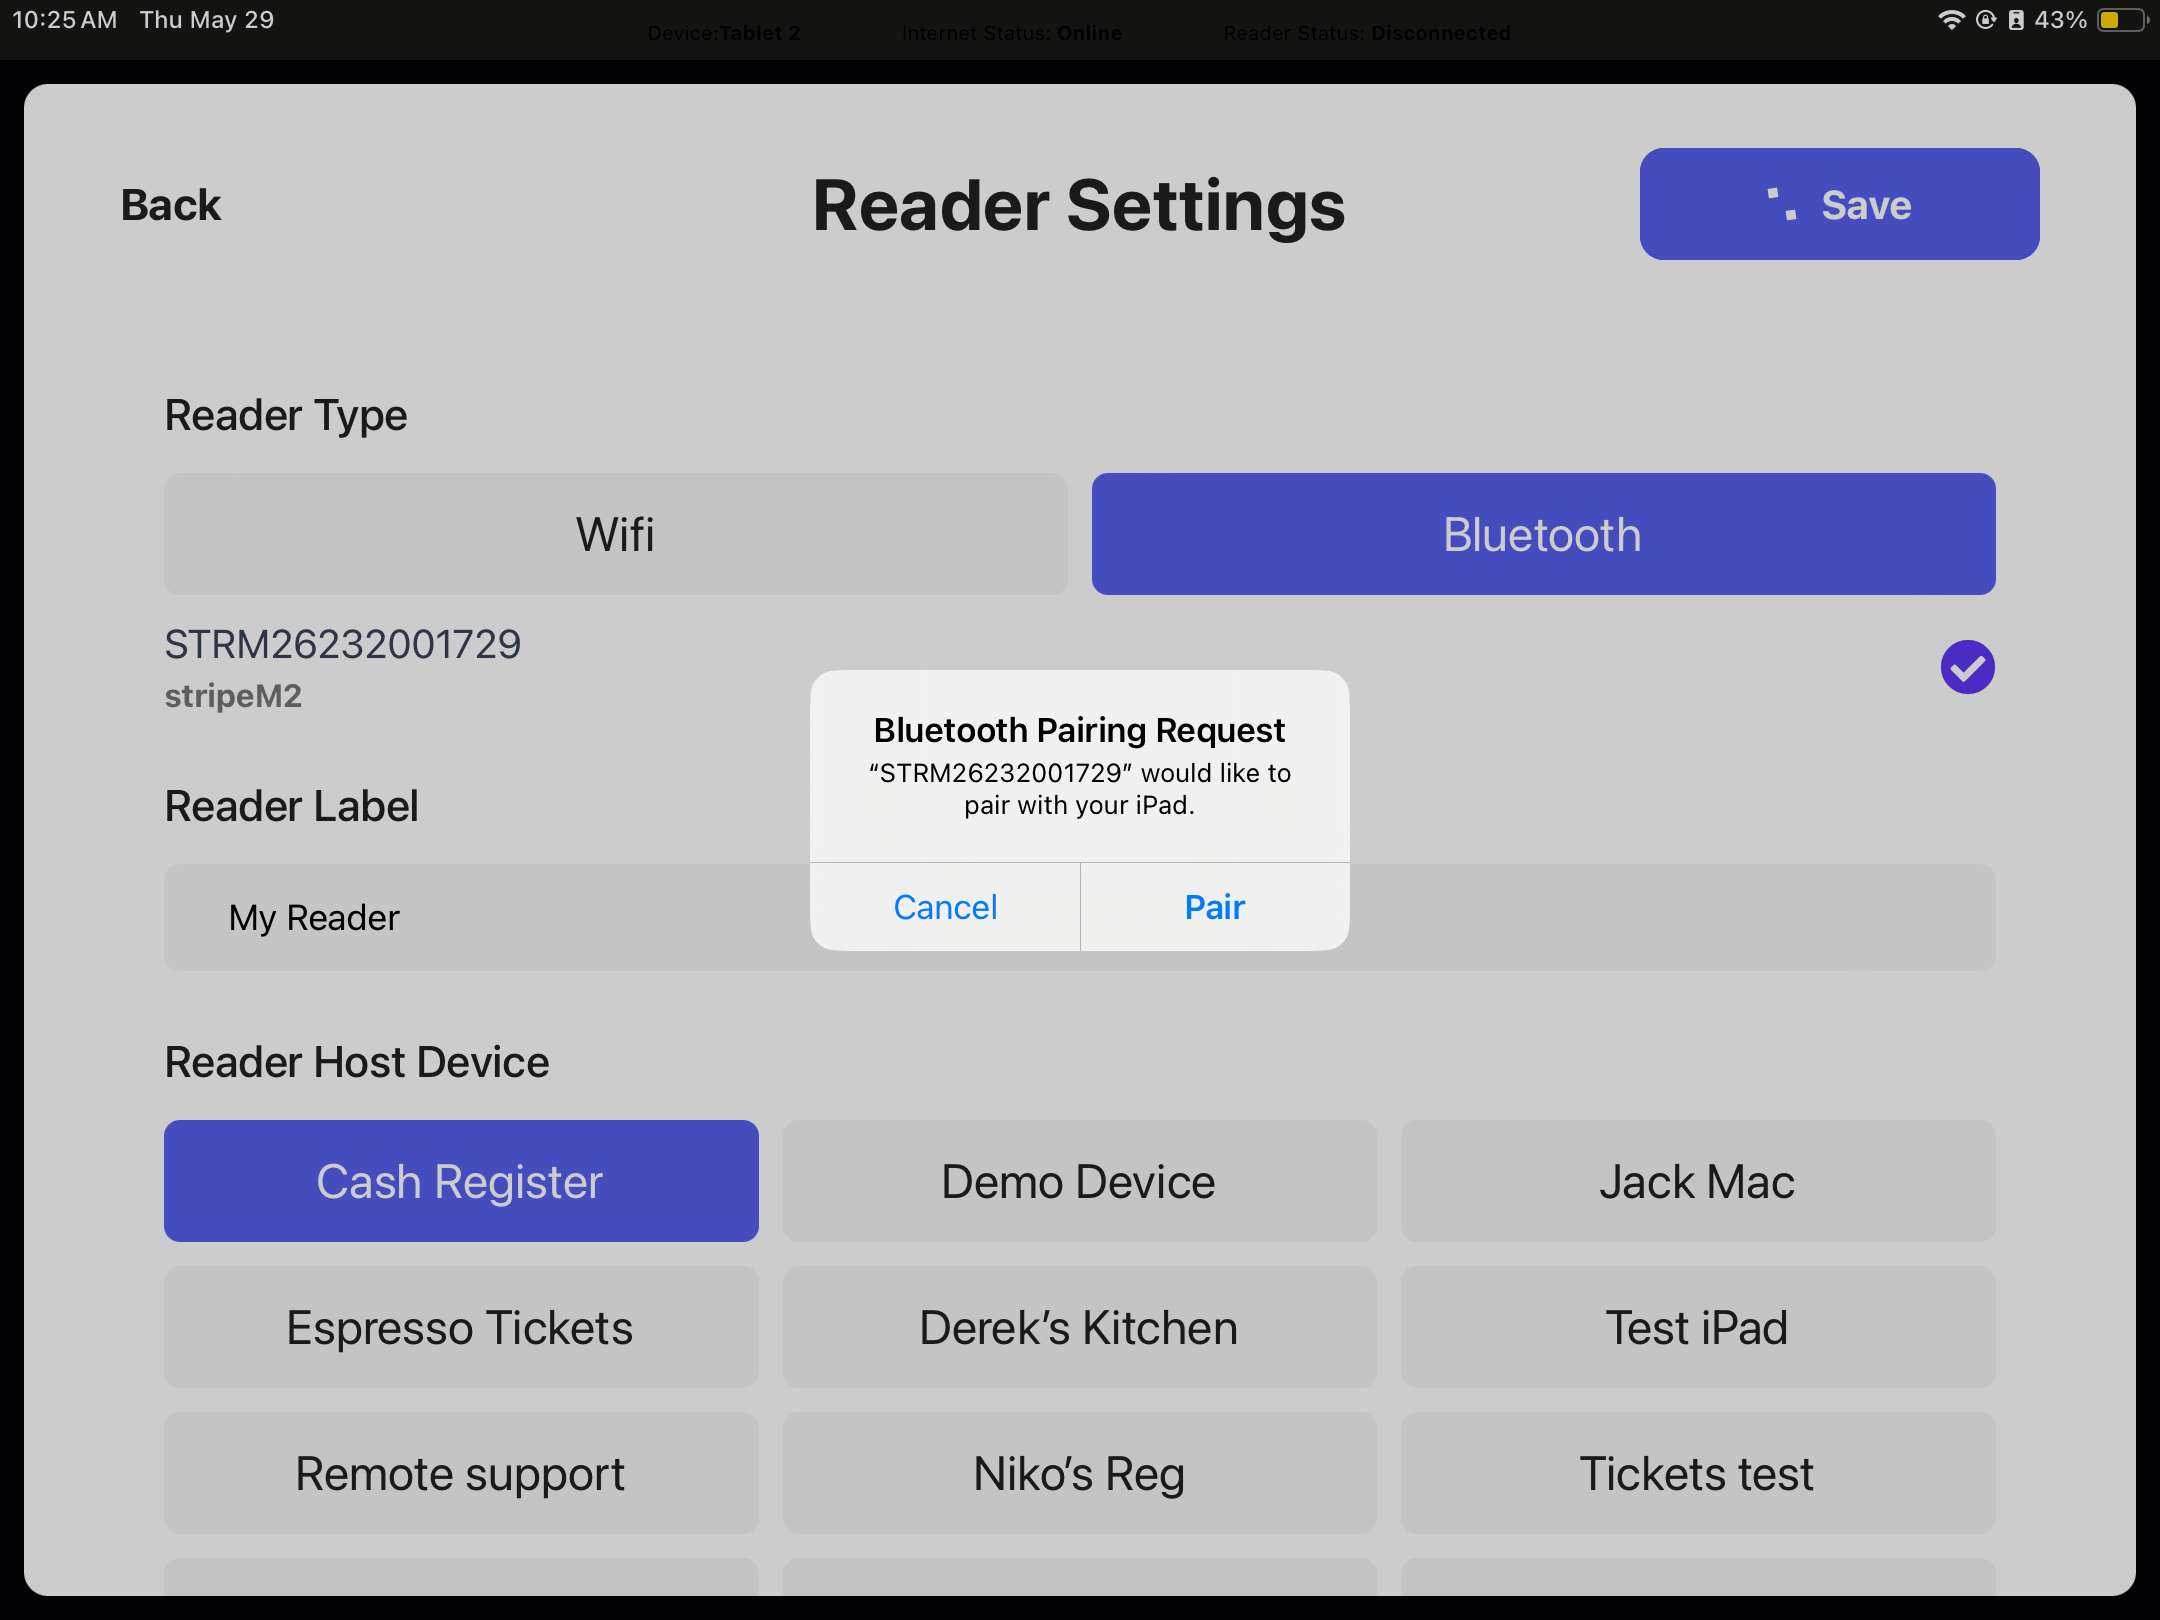
When the reader connects to a device running your app, the status LEDs on top of the reader flash four times.After connecting, the first status light begins flashing at five second intervals.The reader stays connected to your iOS or Android device while in standby mode and automatically exits standby mode when you resume activity.When connected, the reader automatically turns off after 10 hours of inactivity. You can turn off the reader manually by pressing and holding the power button for four seconds. You don’t need to turn off the reader to conserve power. When the reader turns off, the four LEDs light up and then turn off one by one to indicate it has turned off.