Switch from Kiosk Reader Mode (Formerly WiFi Reader Mode) to Advanced Reader Mode
Switch from Kiosk Reader Mode (Formerly WiFi Reader Mode) to Advanced Reader Mode
Remove a card reader from Kiosk Reader Mode and repair it in Advanced Reader Mode.
1
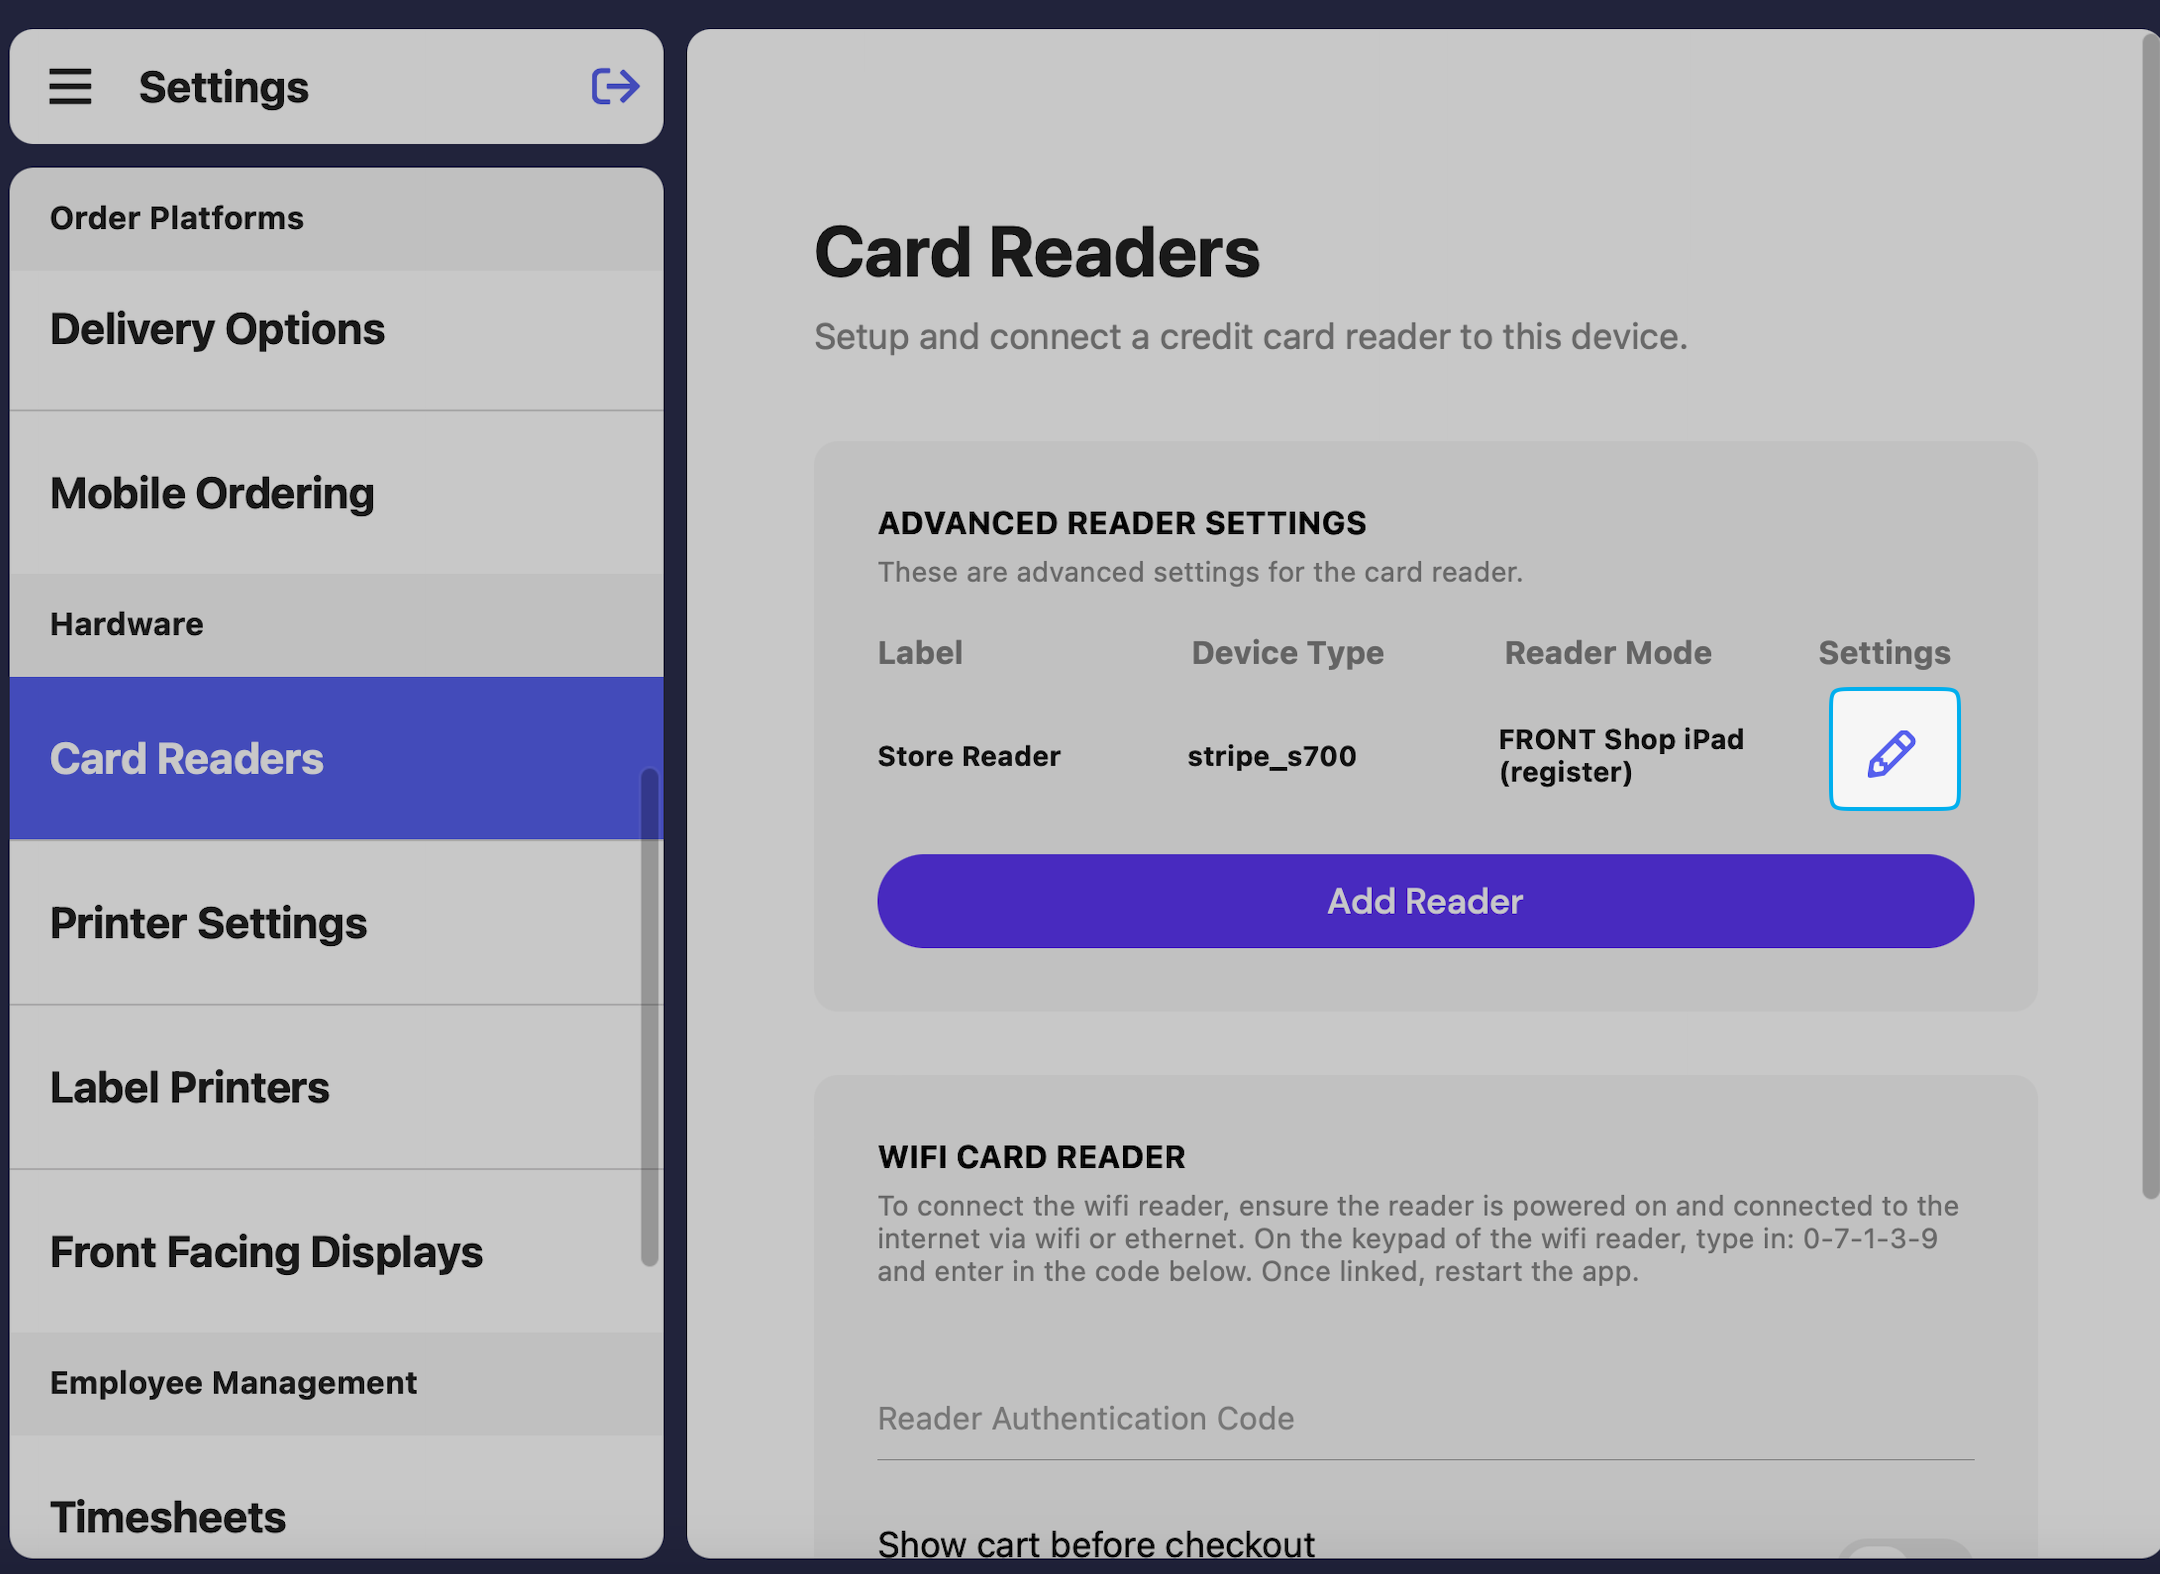
Navigate to POS Settings > Card Readers
2
Remove the card reader in Kiosk Reader Mode by clicking the X next to the reader
3
Navigate to Tipping within the Point of Sale settings and toggle off Reader TippingSet Tipping Mode to Before Payment or After Payment
4
Navigate to Advanced Settings in settings > Restart App
5
Navigate back to POS settings > Card Readers
6
On the card reader, swipe from left to right on the screen > press Device Settings > enter pin 07139 > Generate Pairing Code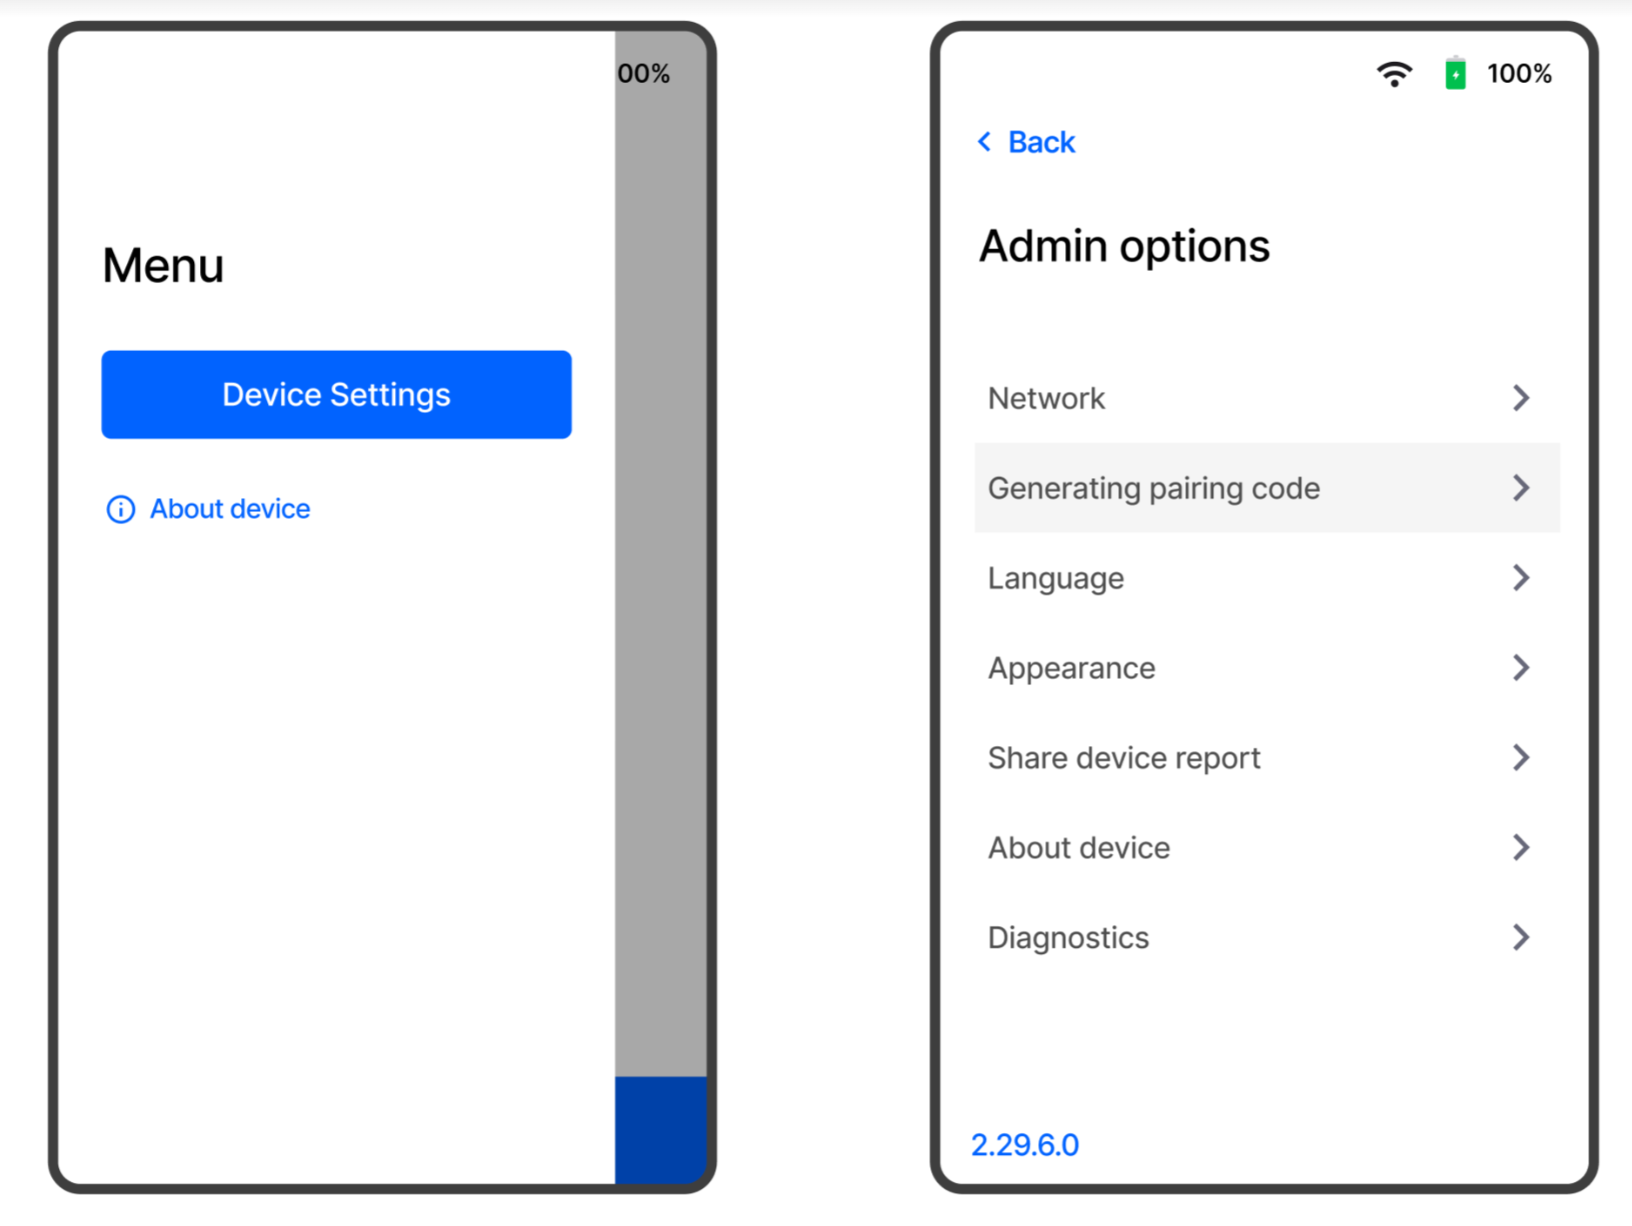
7
Click Add Reader > enter pairing code > label reader > select Host Device of the iPad you are on > click Save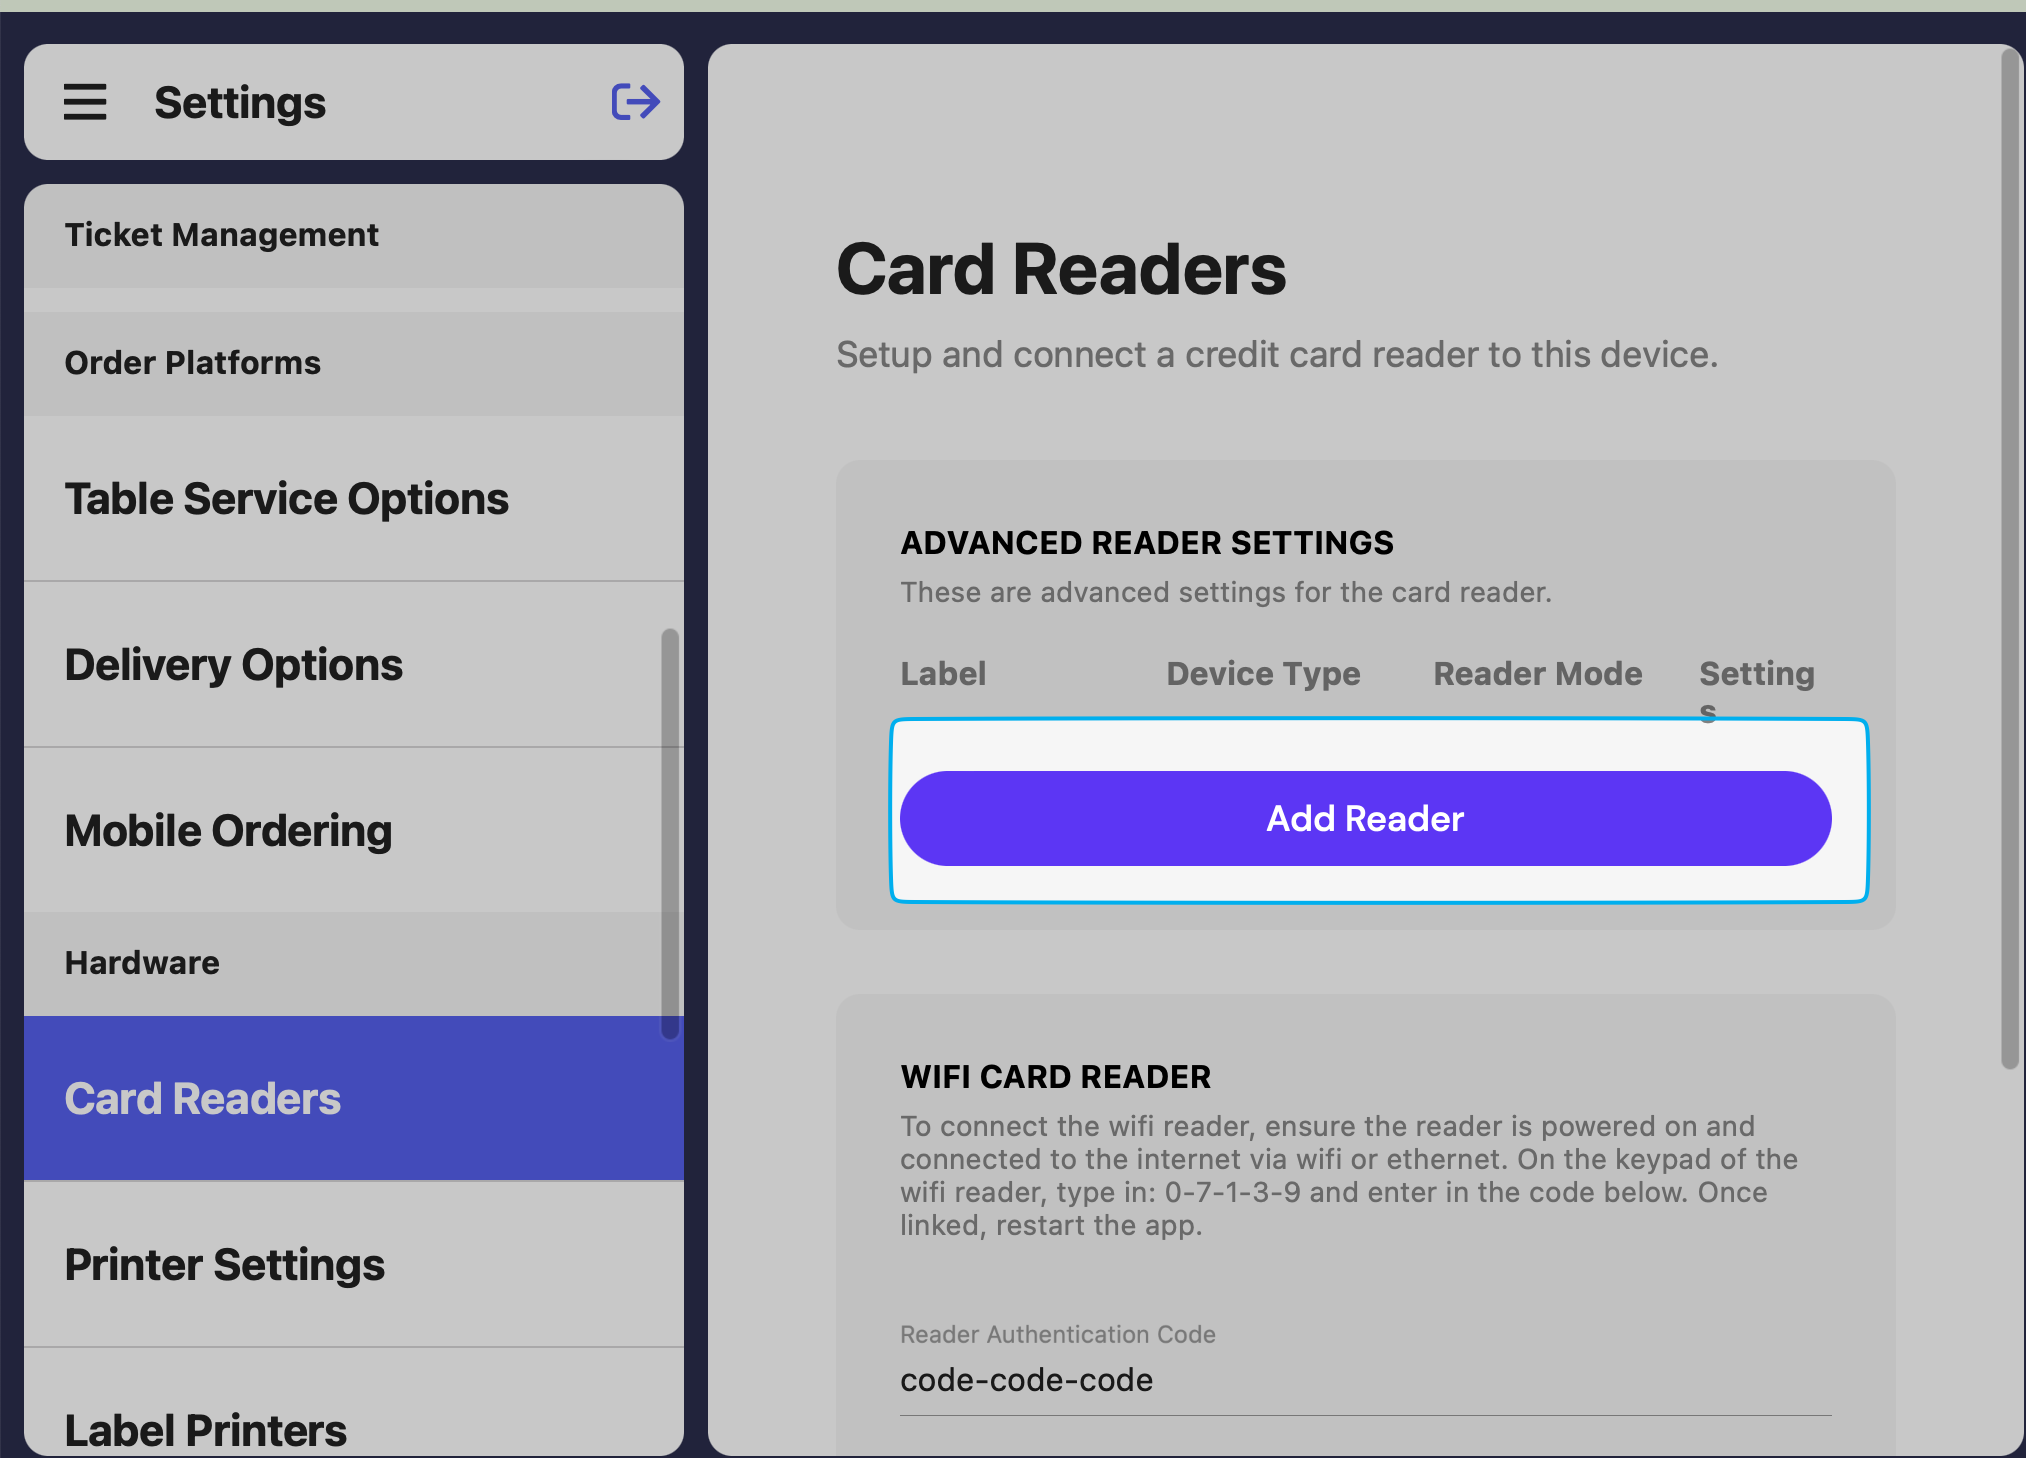
Re-pair an Existing Reader
Re-pair an Existing Reader
1
Select Reader to Re-pair
On the Point of Sale tablet
- Press the tribar in the upper left screen corner
- Press the Settings button
- Scroll down to Card Readers
- Click the pencil icon next to the card reader to repair
2
Remove Reader
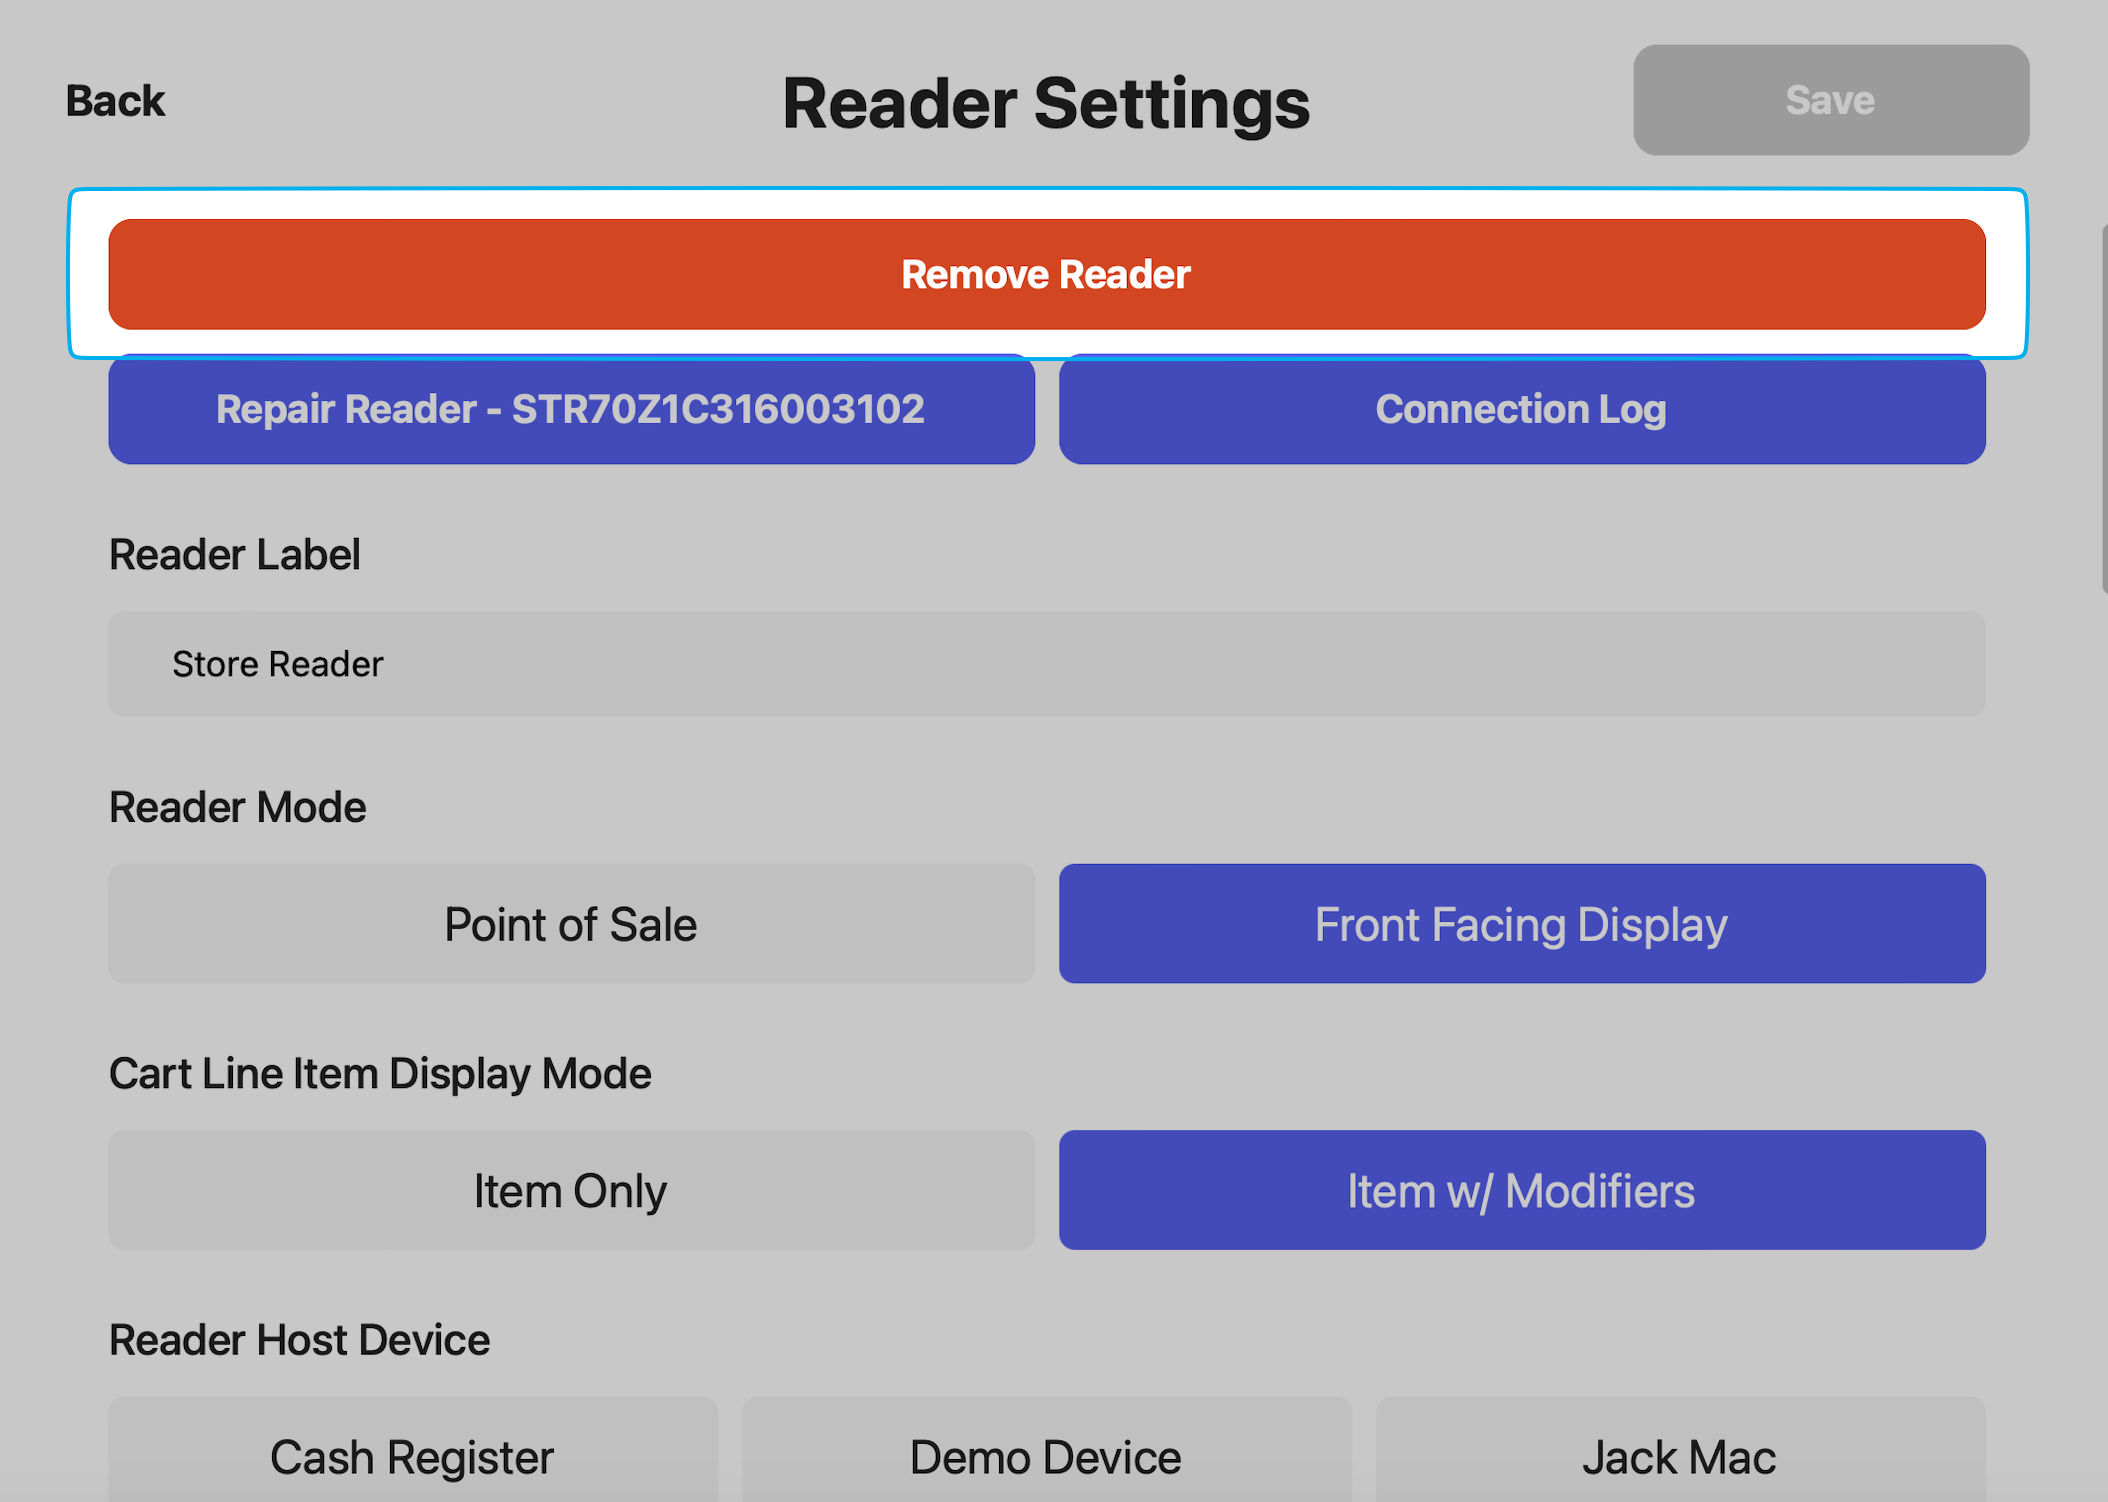
3
Factory Reset Card Reader
Hold down the power button and two volume buttons at the same time (that’s all 3 buttons at once!)The screen will ask to Factory Reset, press Yes
4
Re-pair Reader
Once the reader turns back on, the reader setup steps will begin. Follow these steps to repair a reader to the Point of Sale.
Card Reader Not Charging
Card Reader Not Charging
Could Not Connect to Reader Error
Could Not Connect to Reader Error
1
Press the tribar in the upper left corner of the POS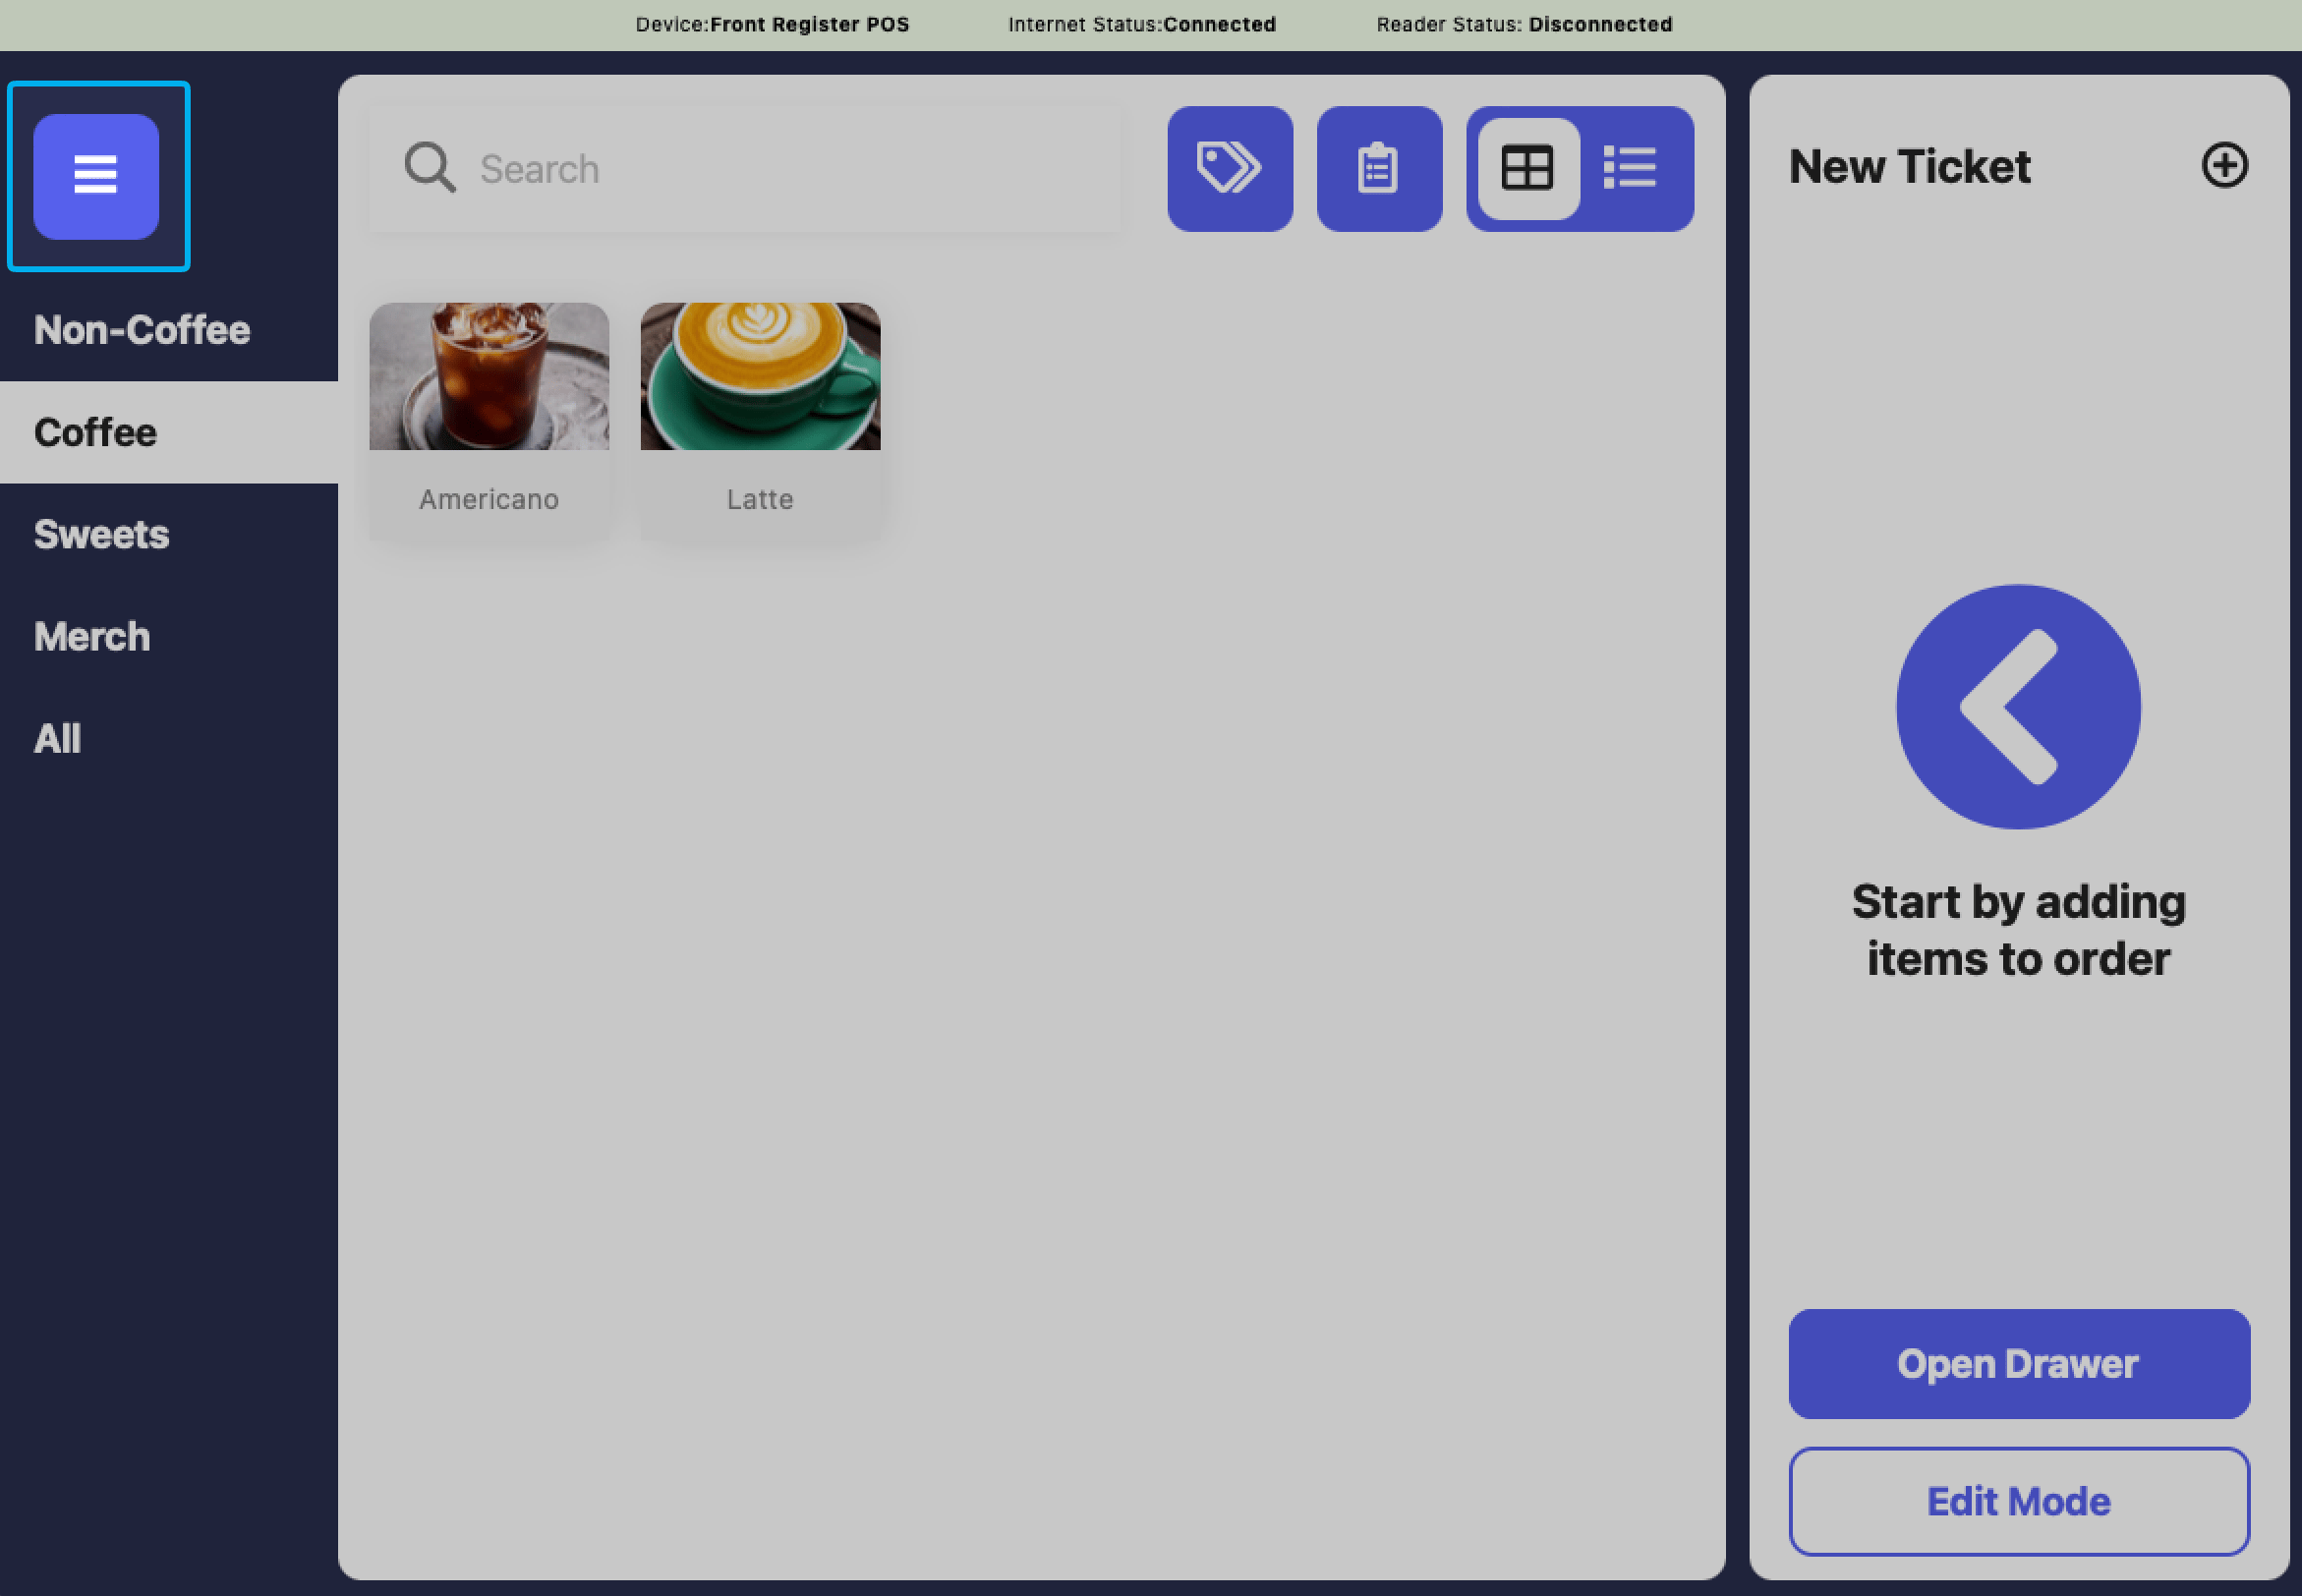
2
Press the refresh button (circular arrow) that appears next to the Dripos logo at the top of the side menu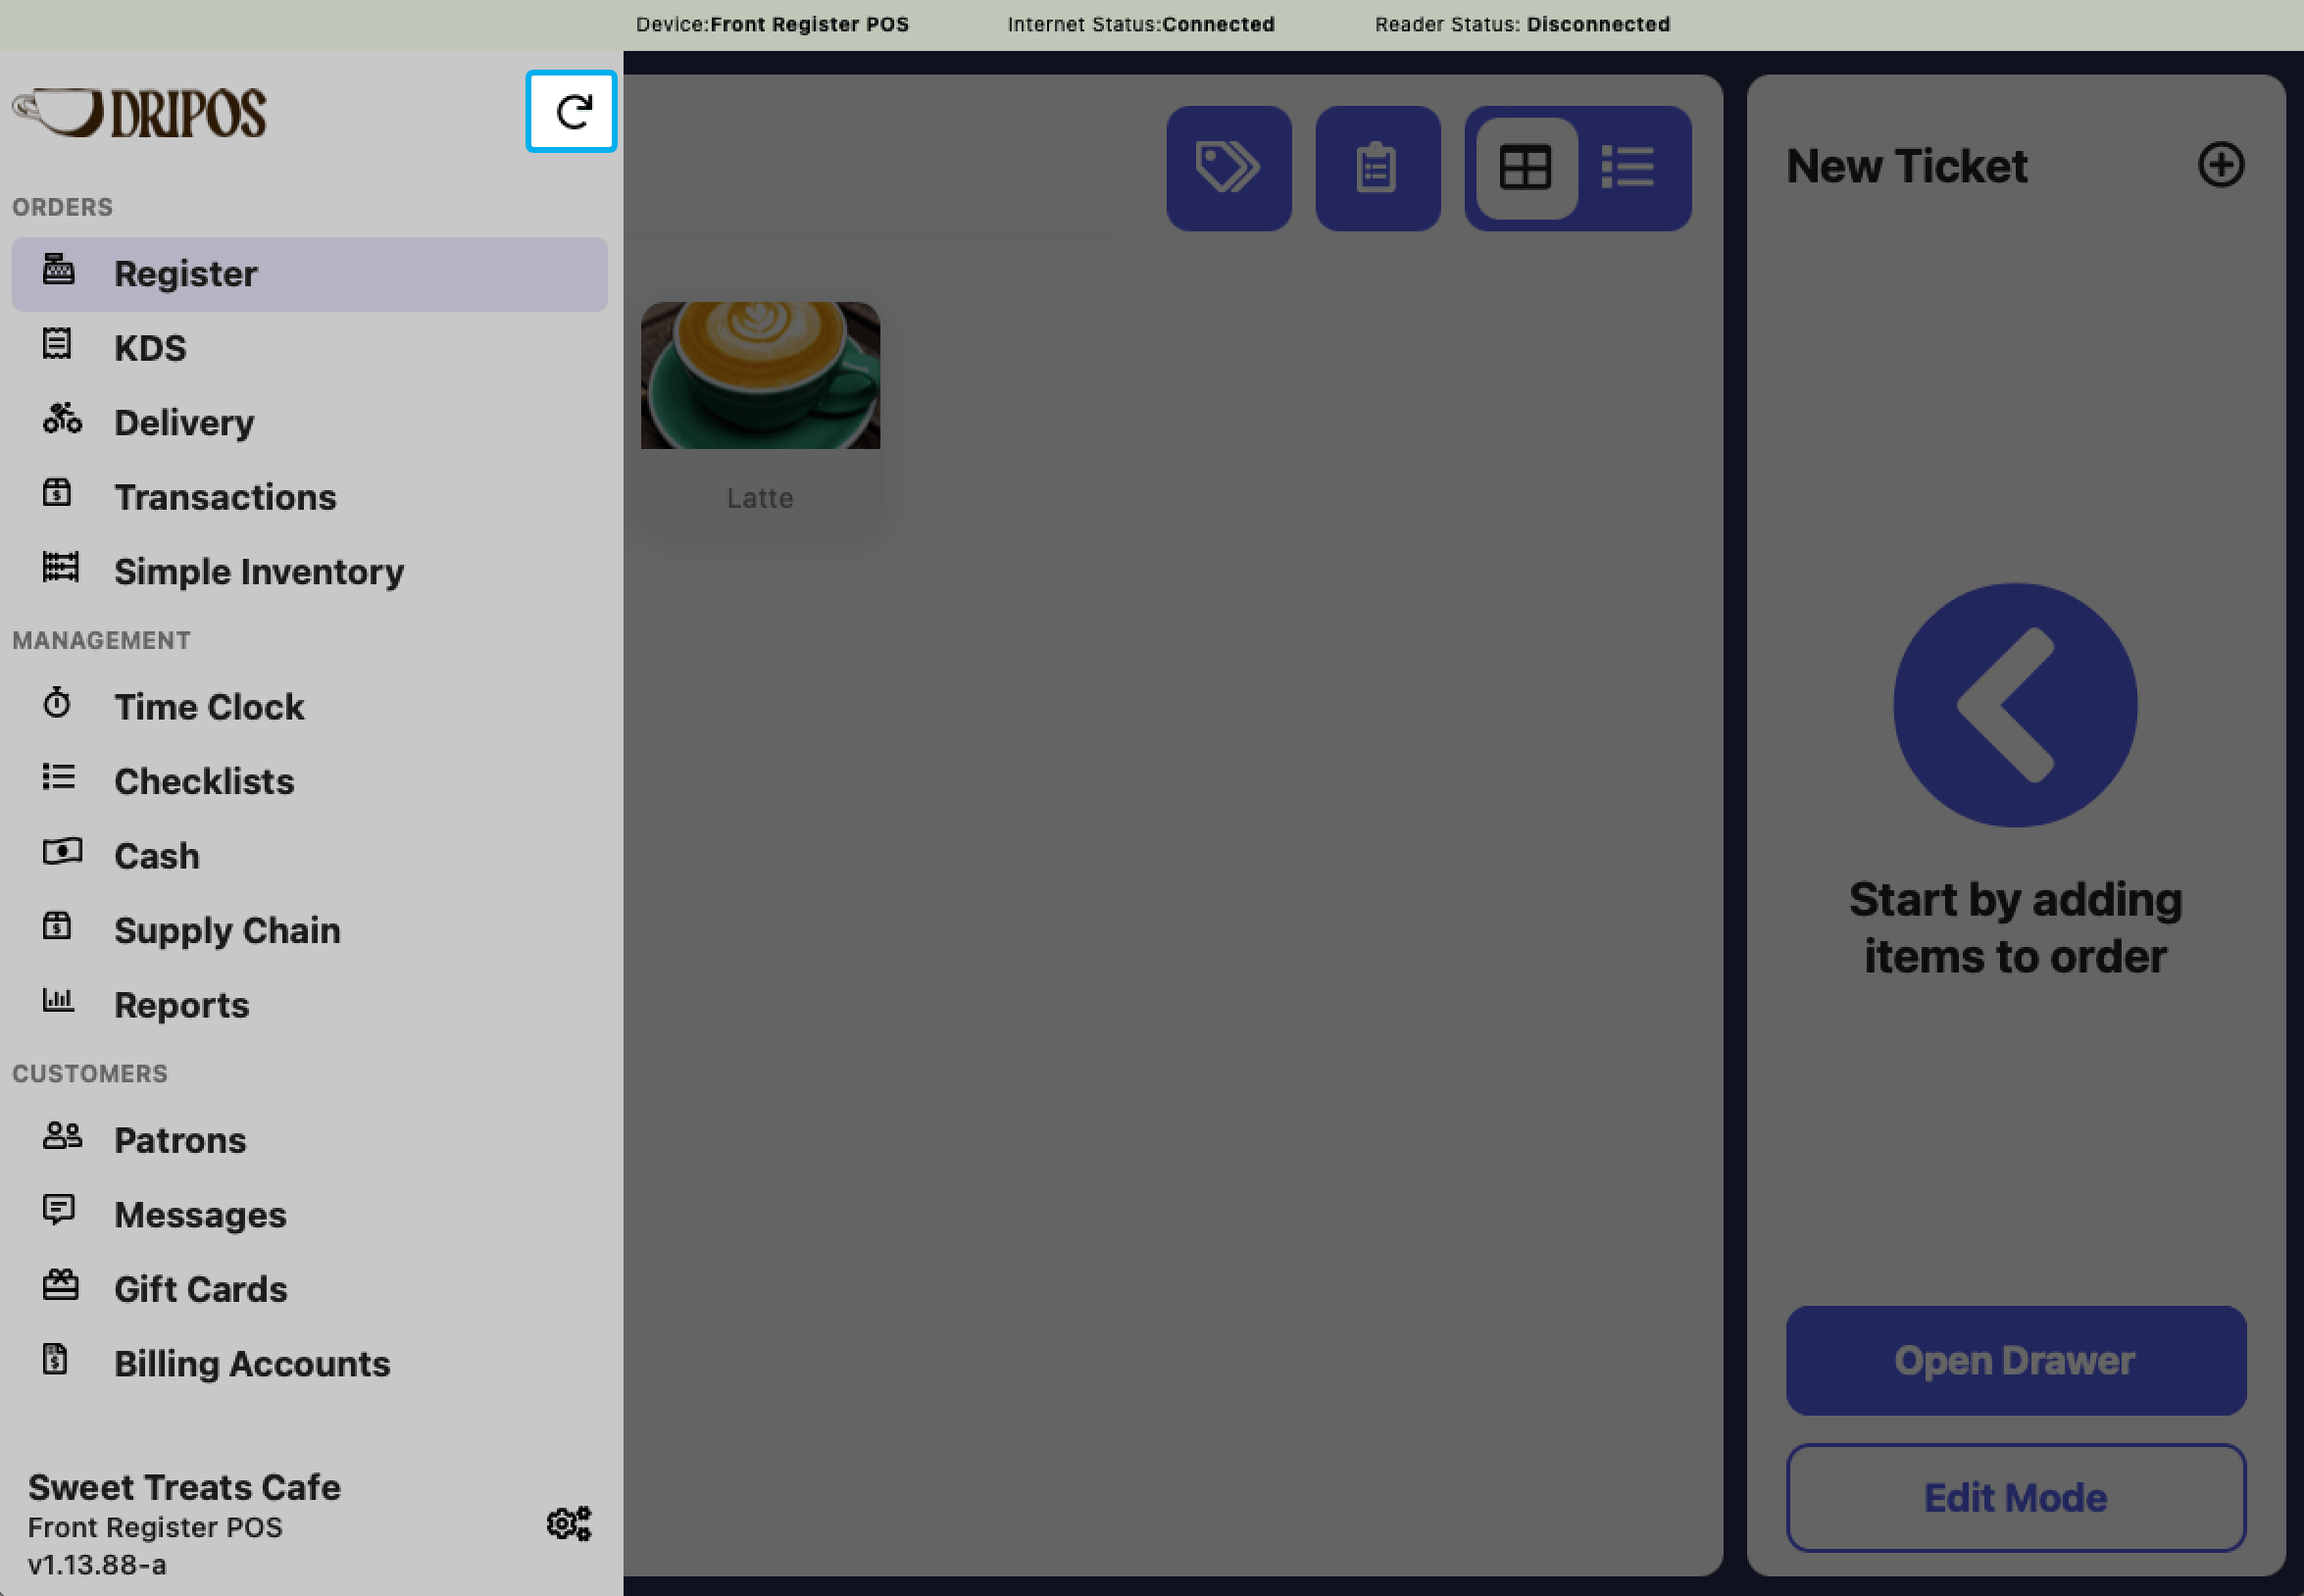
3
On the card reader, press Confirm on the “Could not Connect to Reader” message
4
Select the appropriate register on the the “Connect to Register” screen on the card reader after POS has been refreshed
Error Loading Device Error
Error Loading Device Error
1
Hold down the power button on the right hand side of the card reader until the screen turns black to perform a Hard Reset. Ignore the pop-up options to “Power Off” or “Restart” the device.
2
While the card reader is turning back on, press the tribar in the upper left corner of the POS
3
Press the refresh button (circular arrow) that appears next to the Dripos logo at the top of the side menu
4
Once the card reader turns on, the error message should disappear.