Link Payment Methods
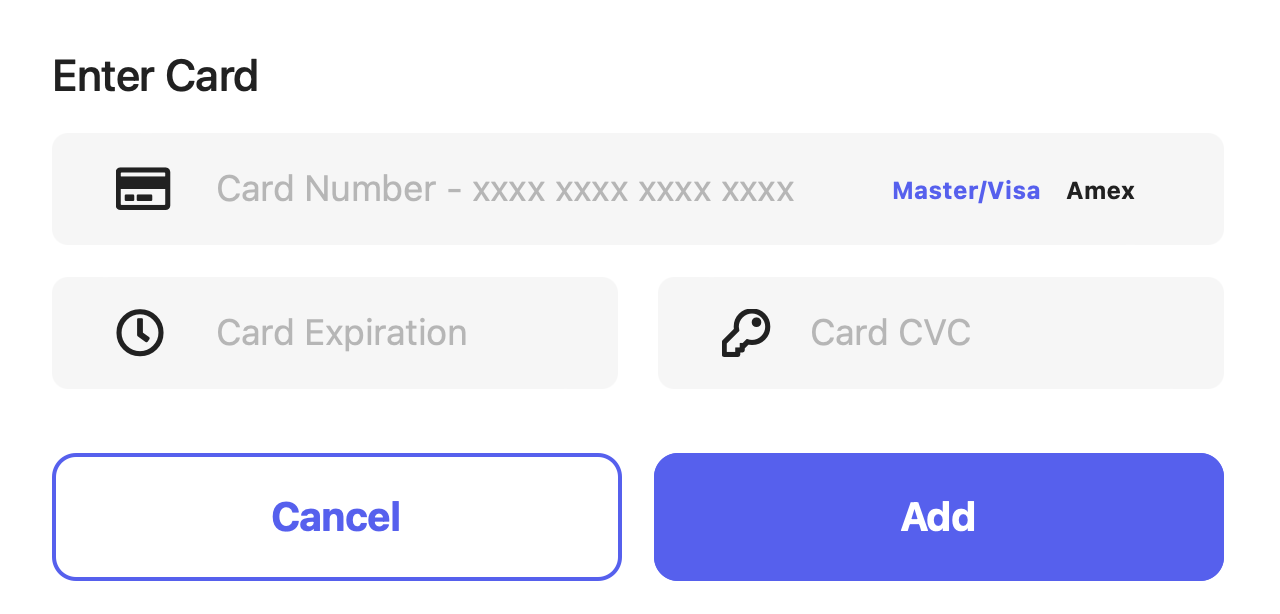
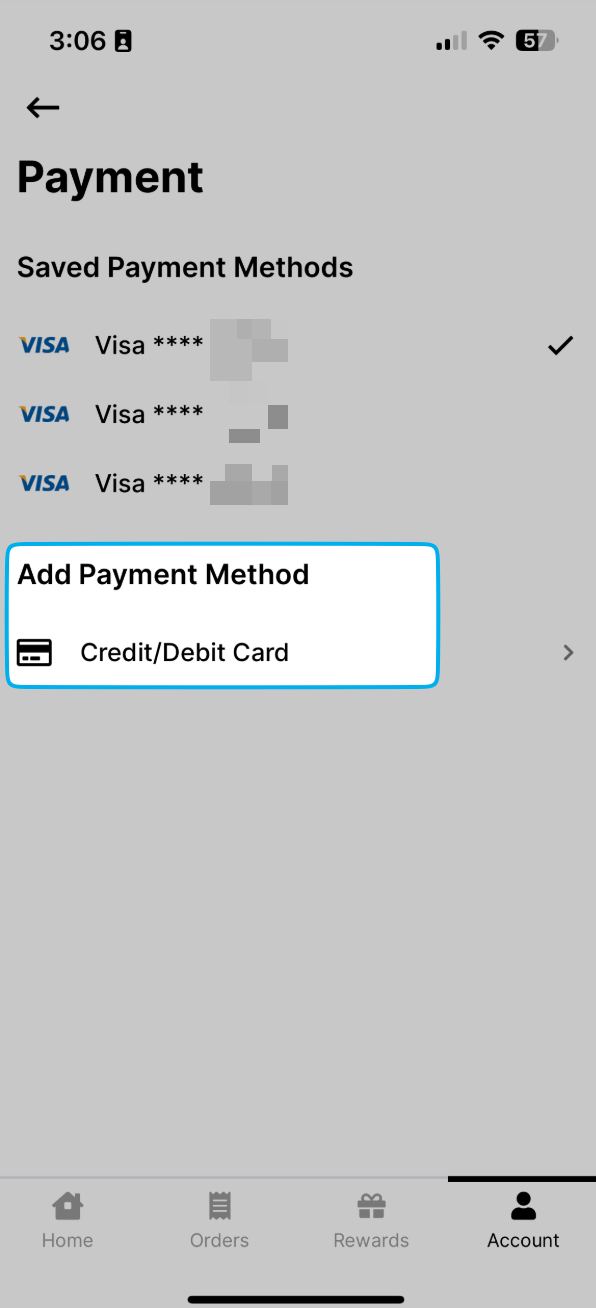
Link card payment methods to patron accounts. When a linked card is used as payment, the patron account will automatically then attach itself to the order.- Point of Sale
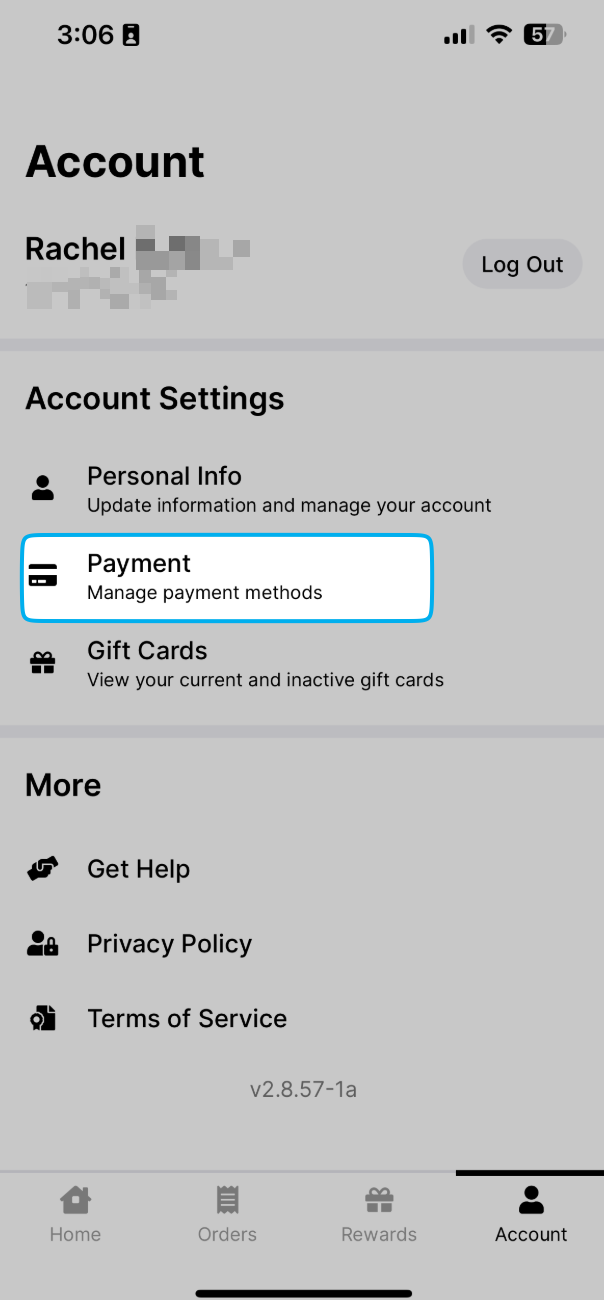
- Order App
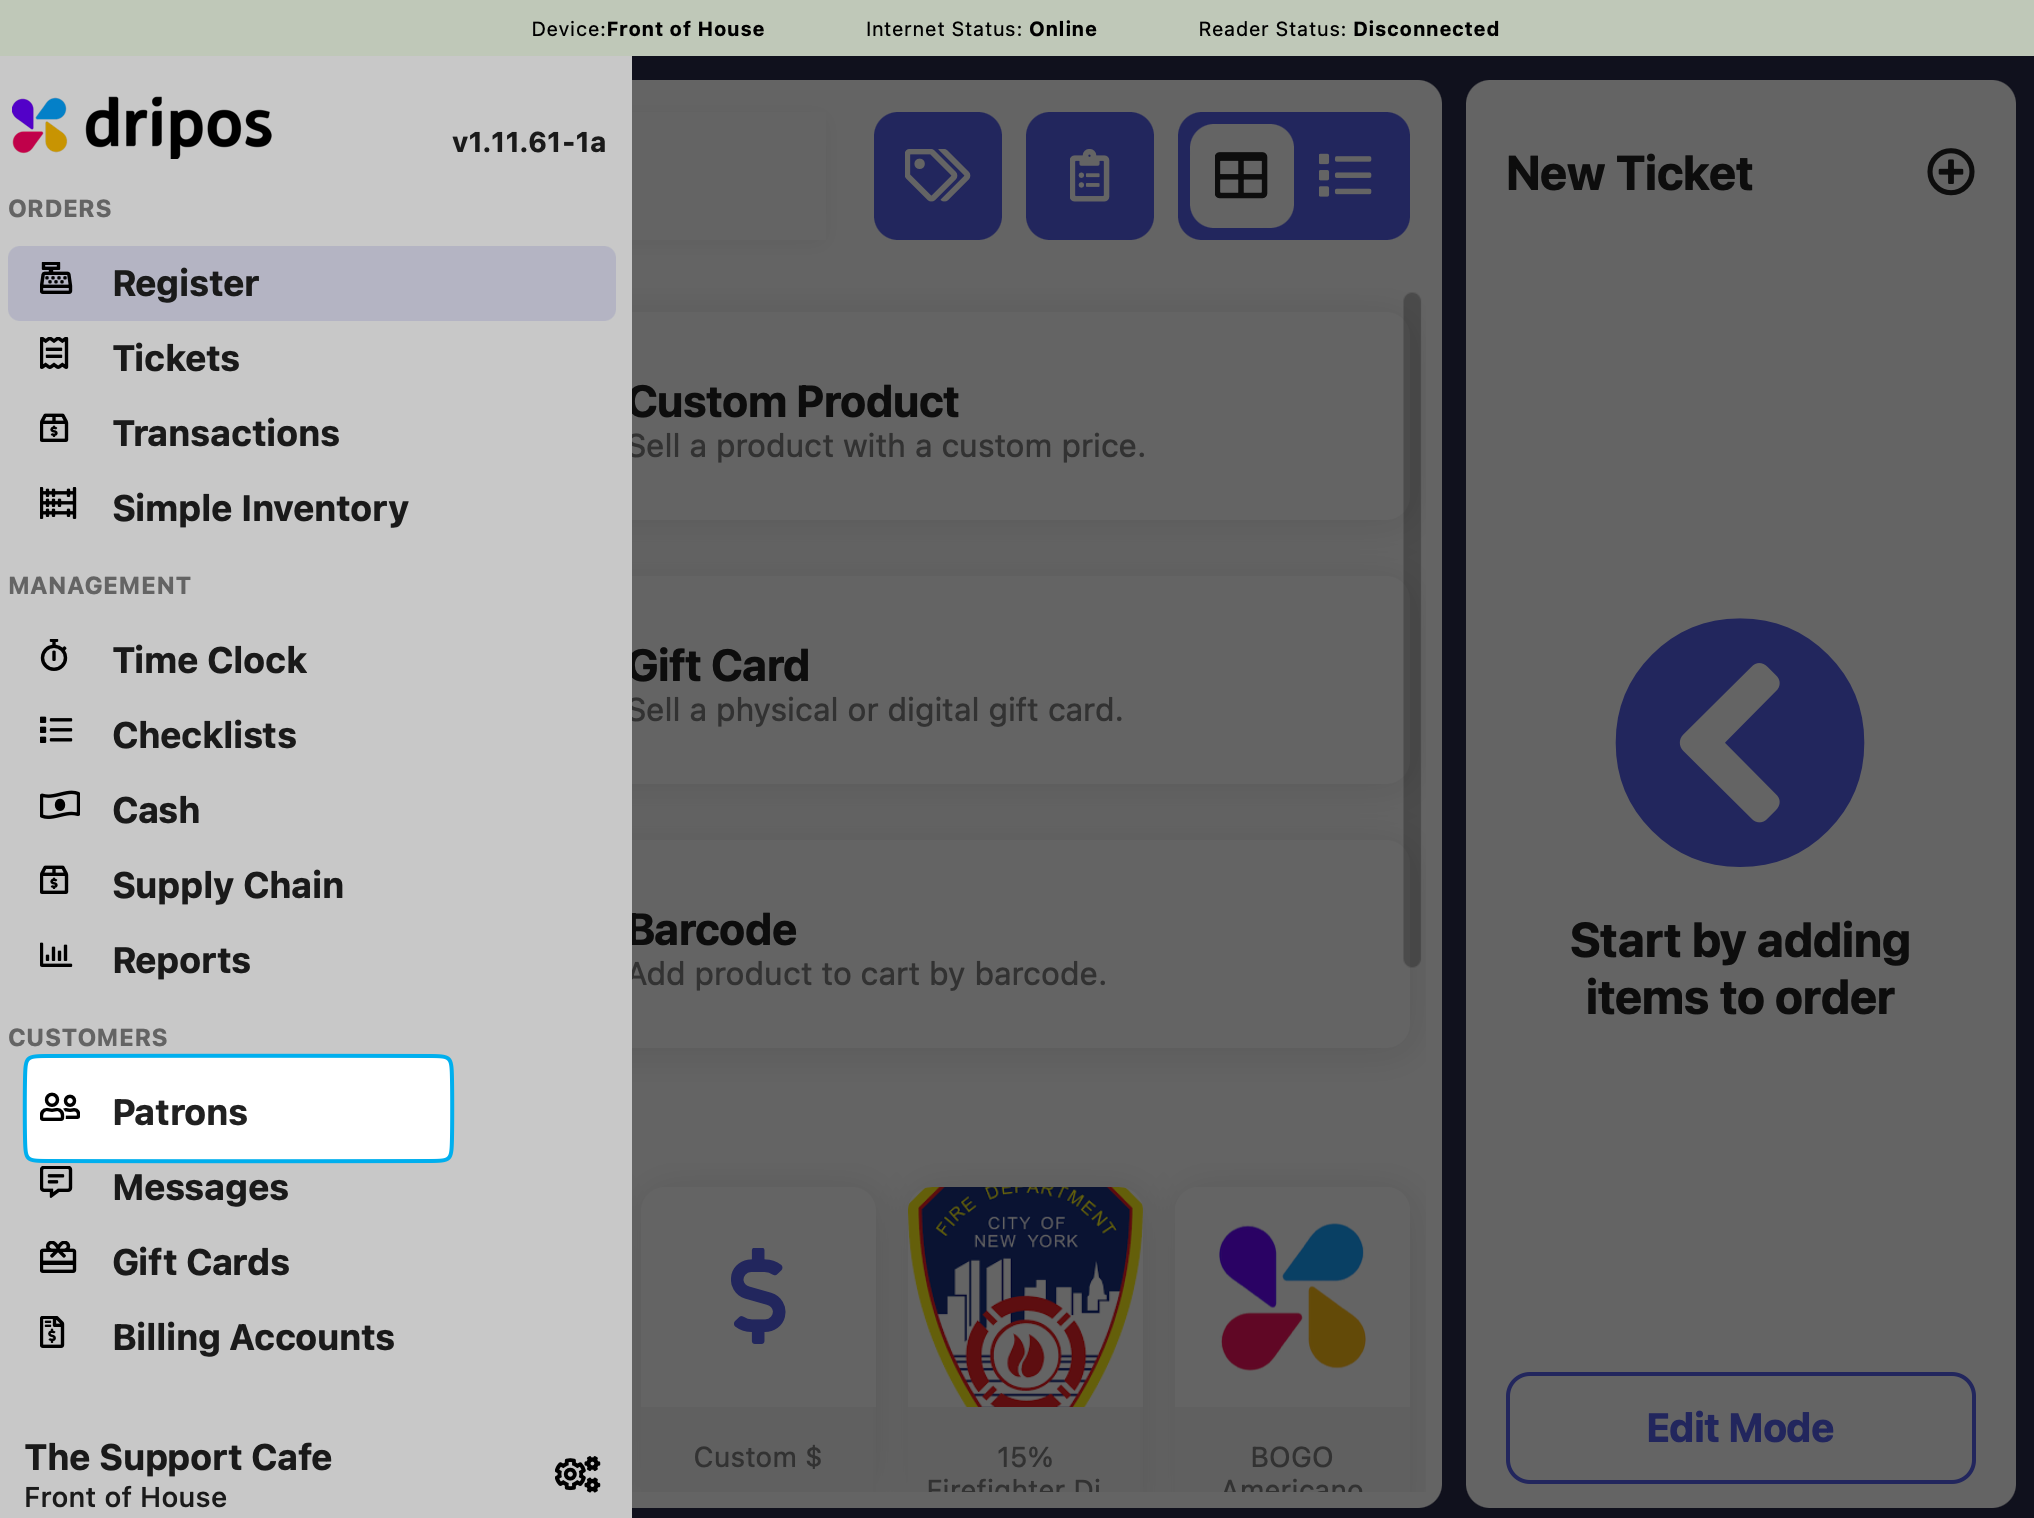
Point of Sale


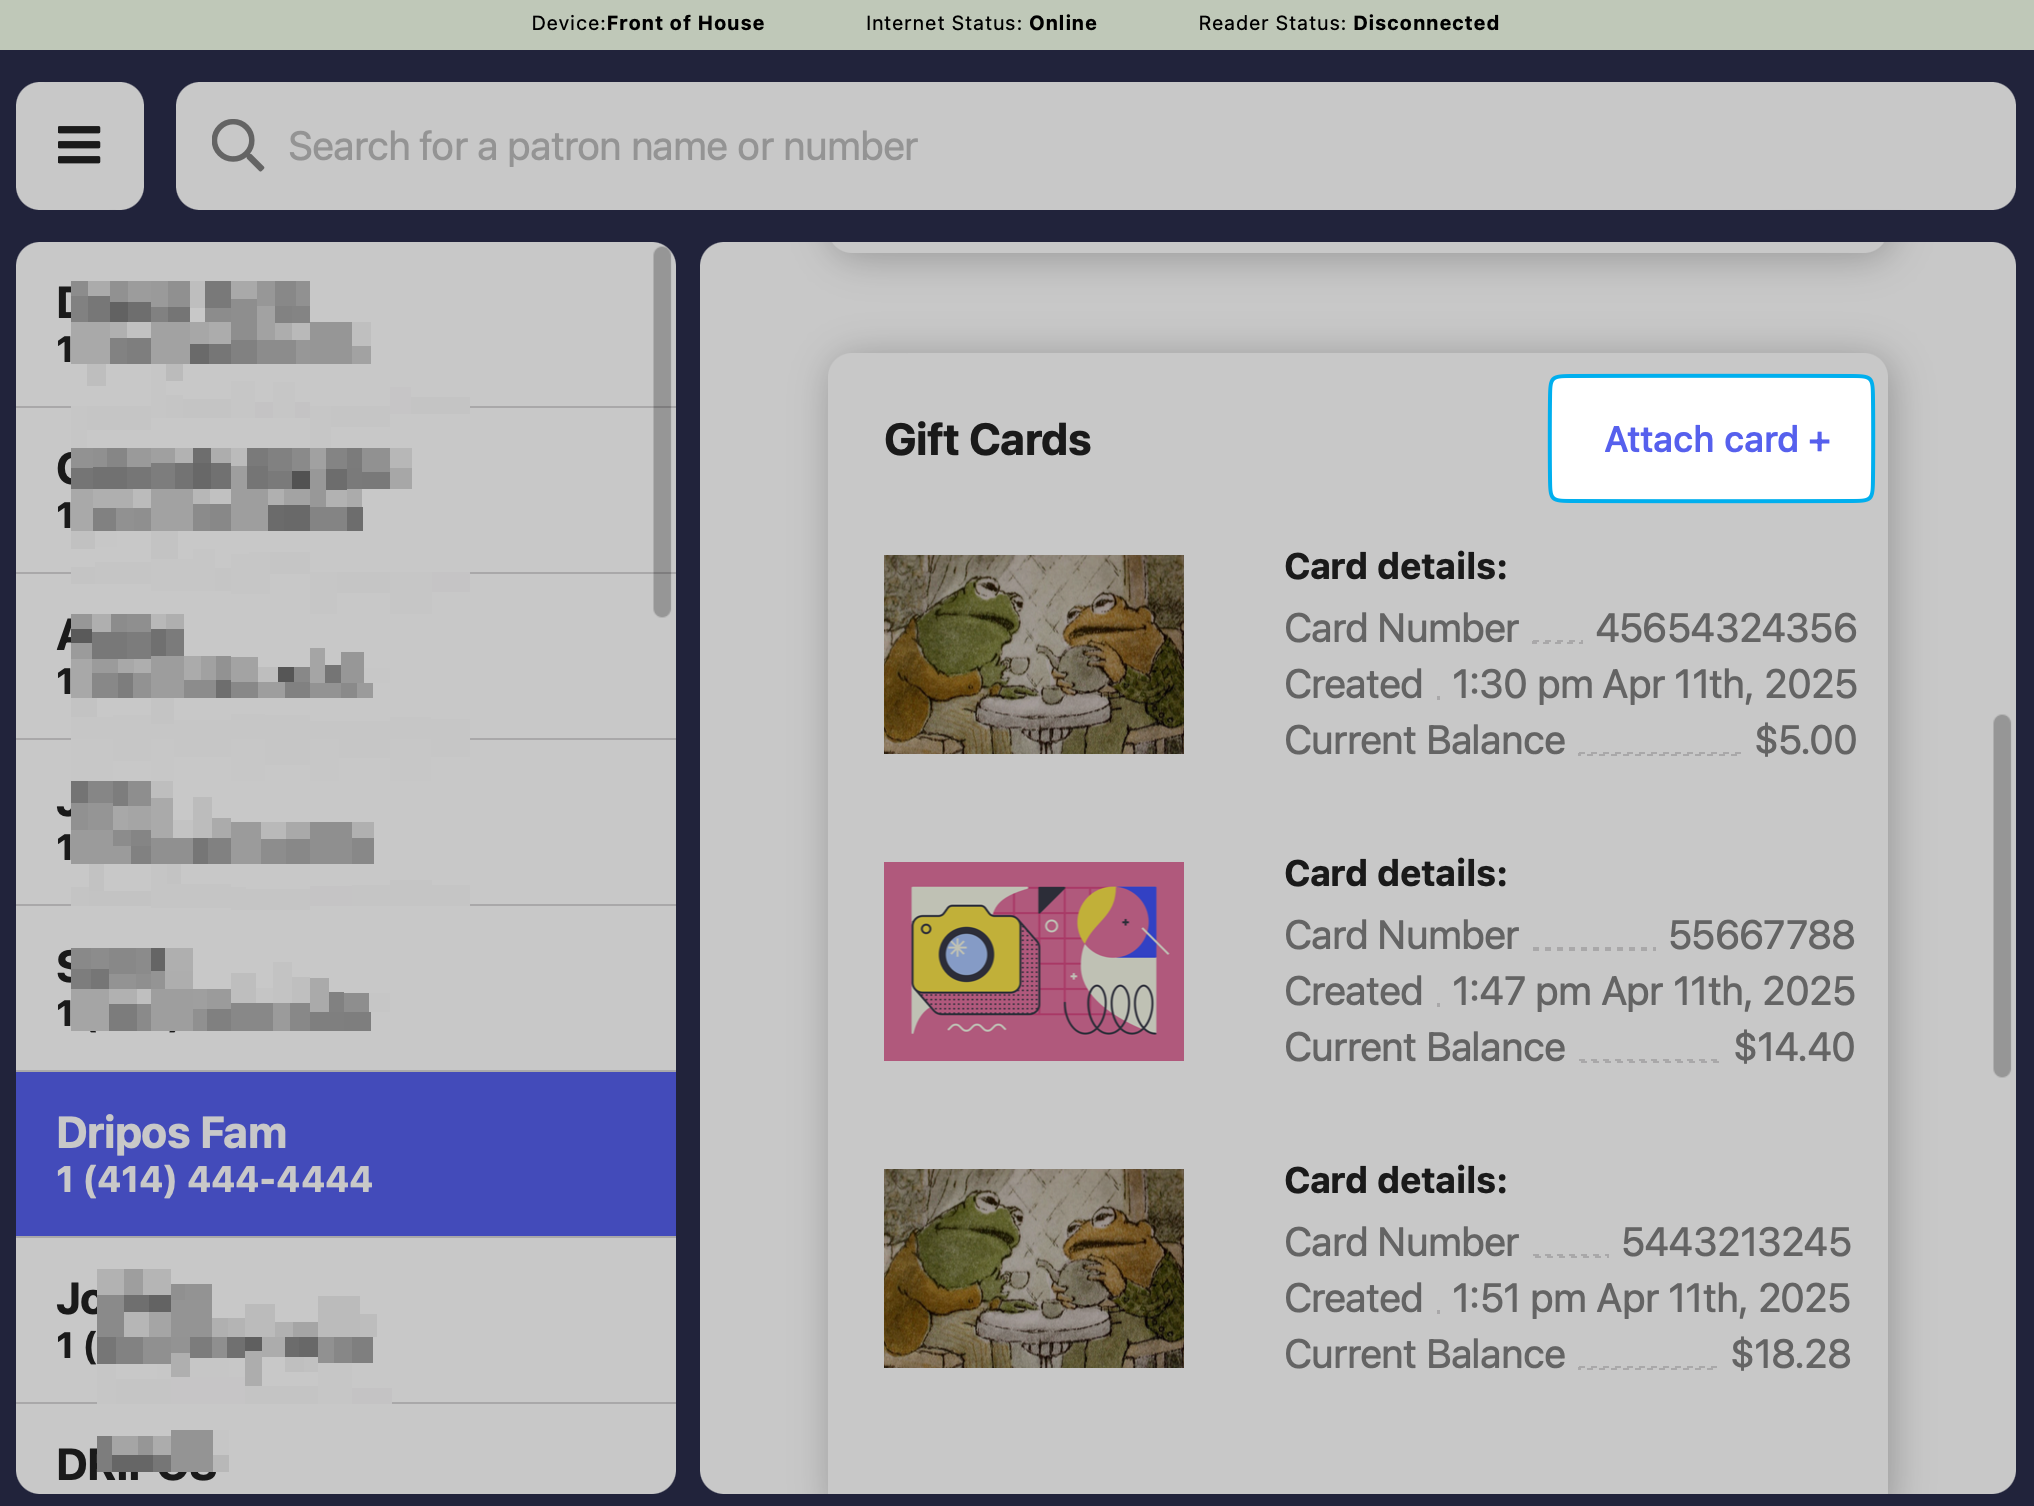
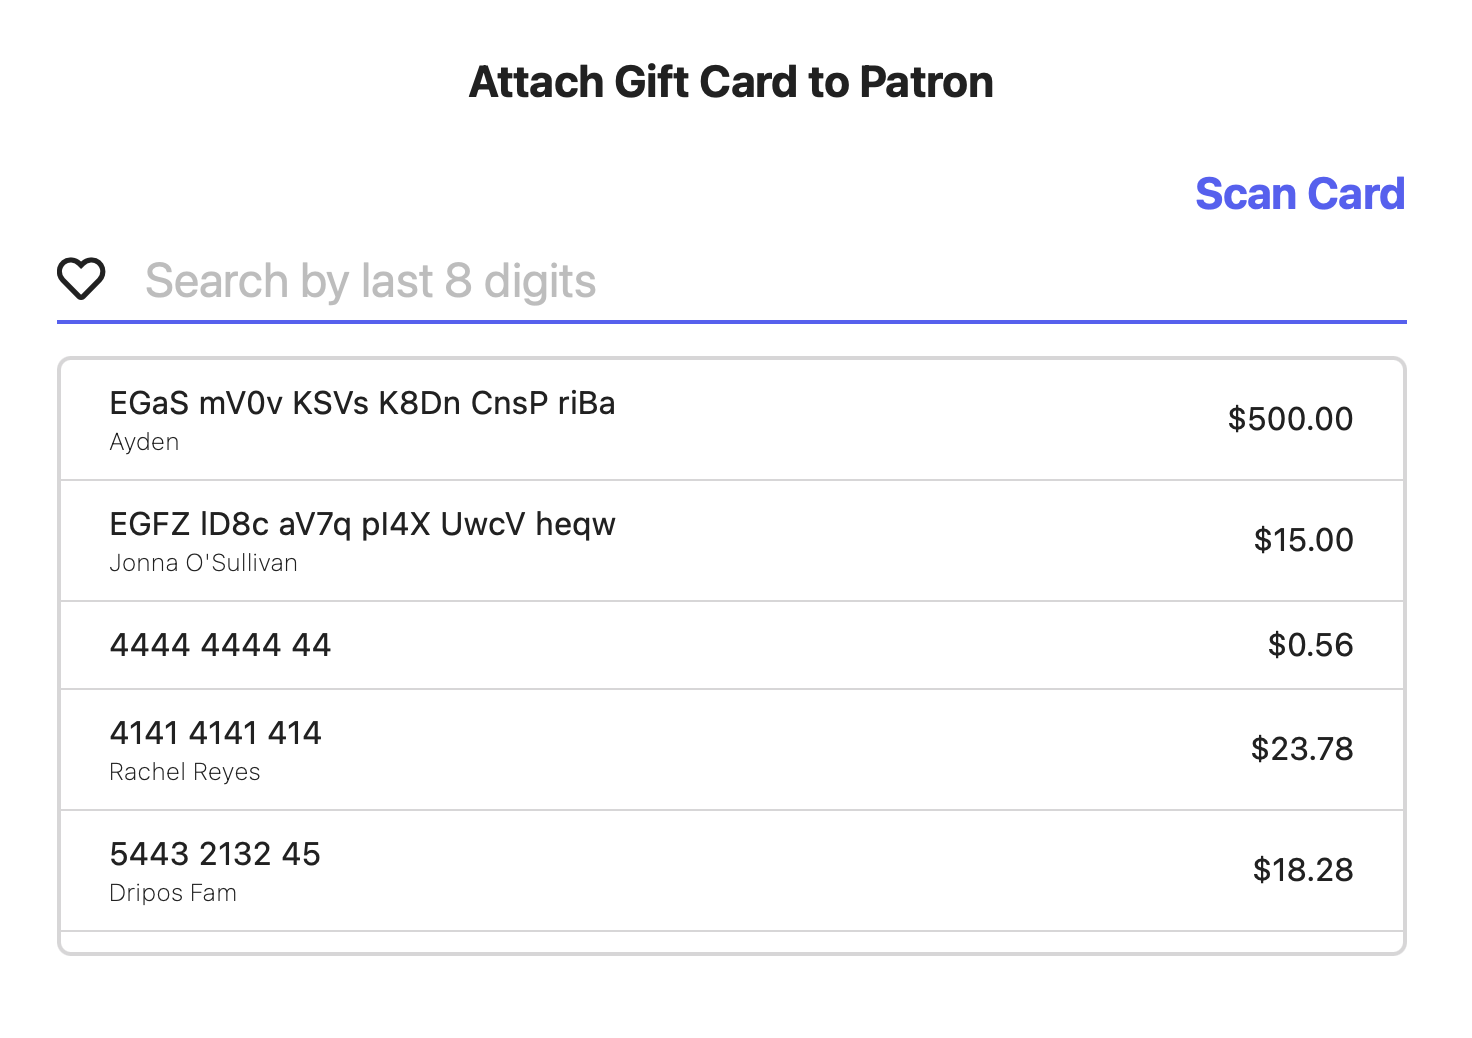
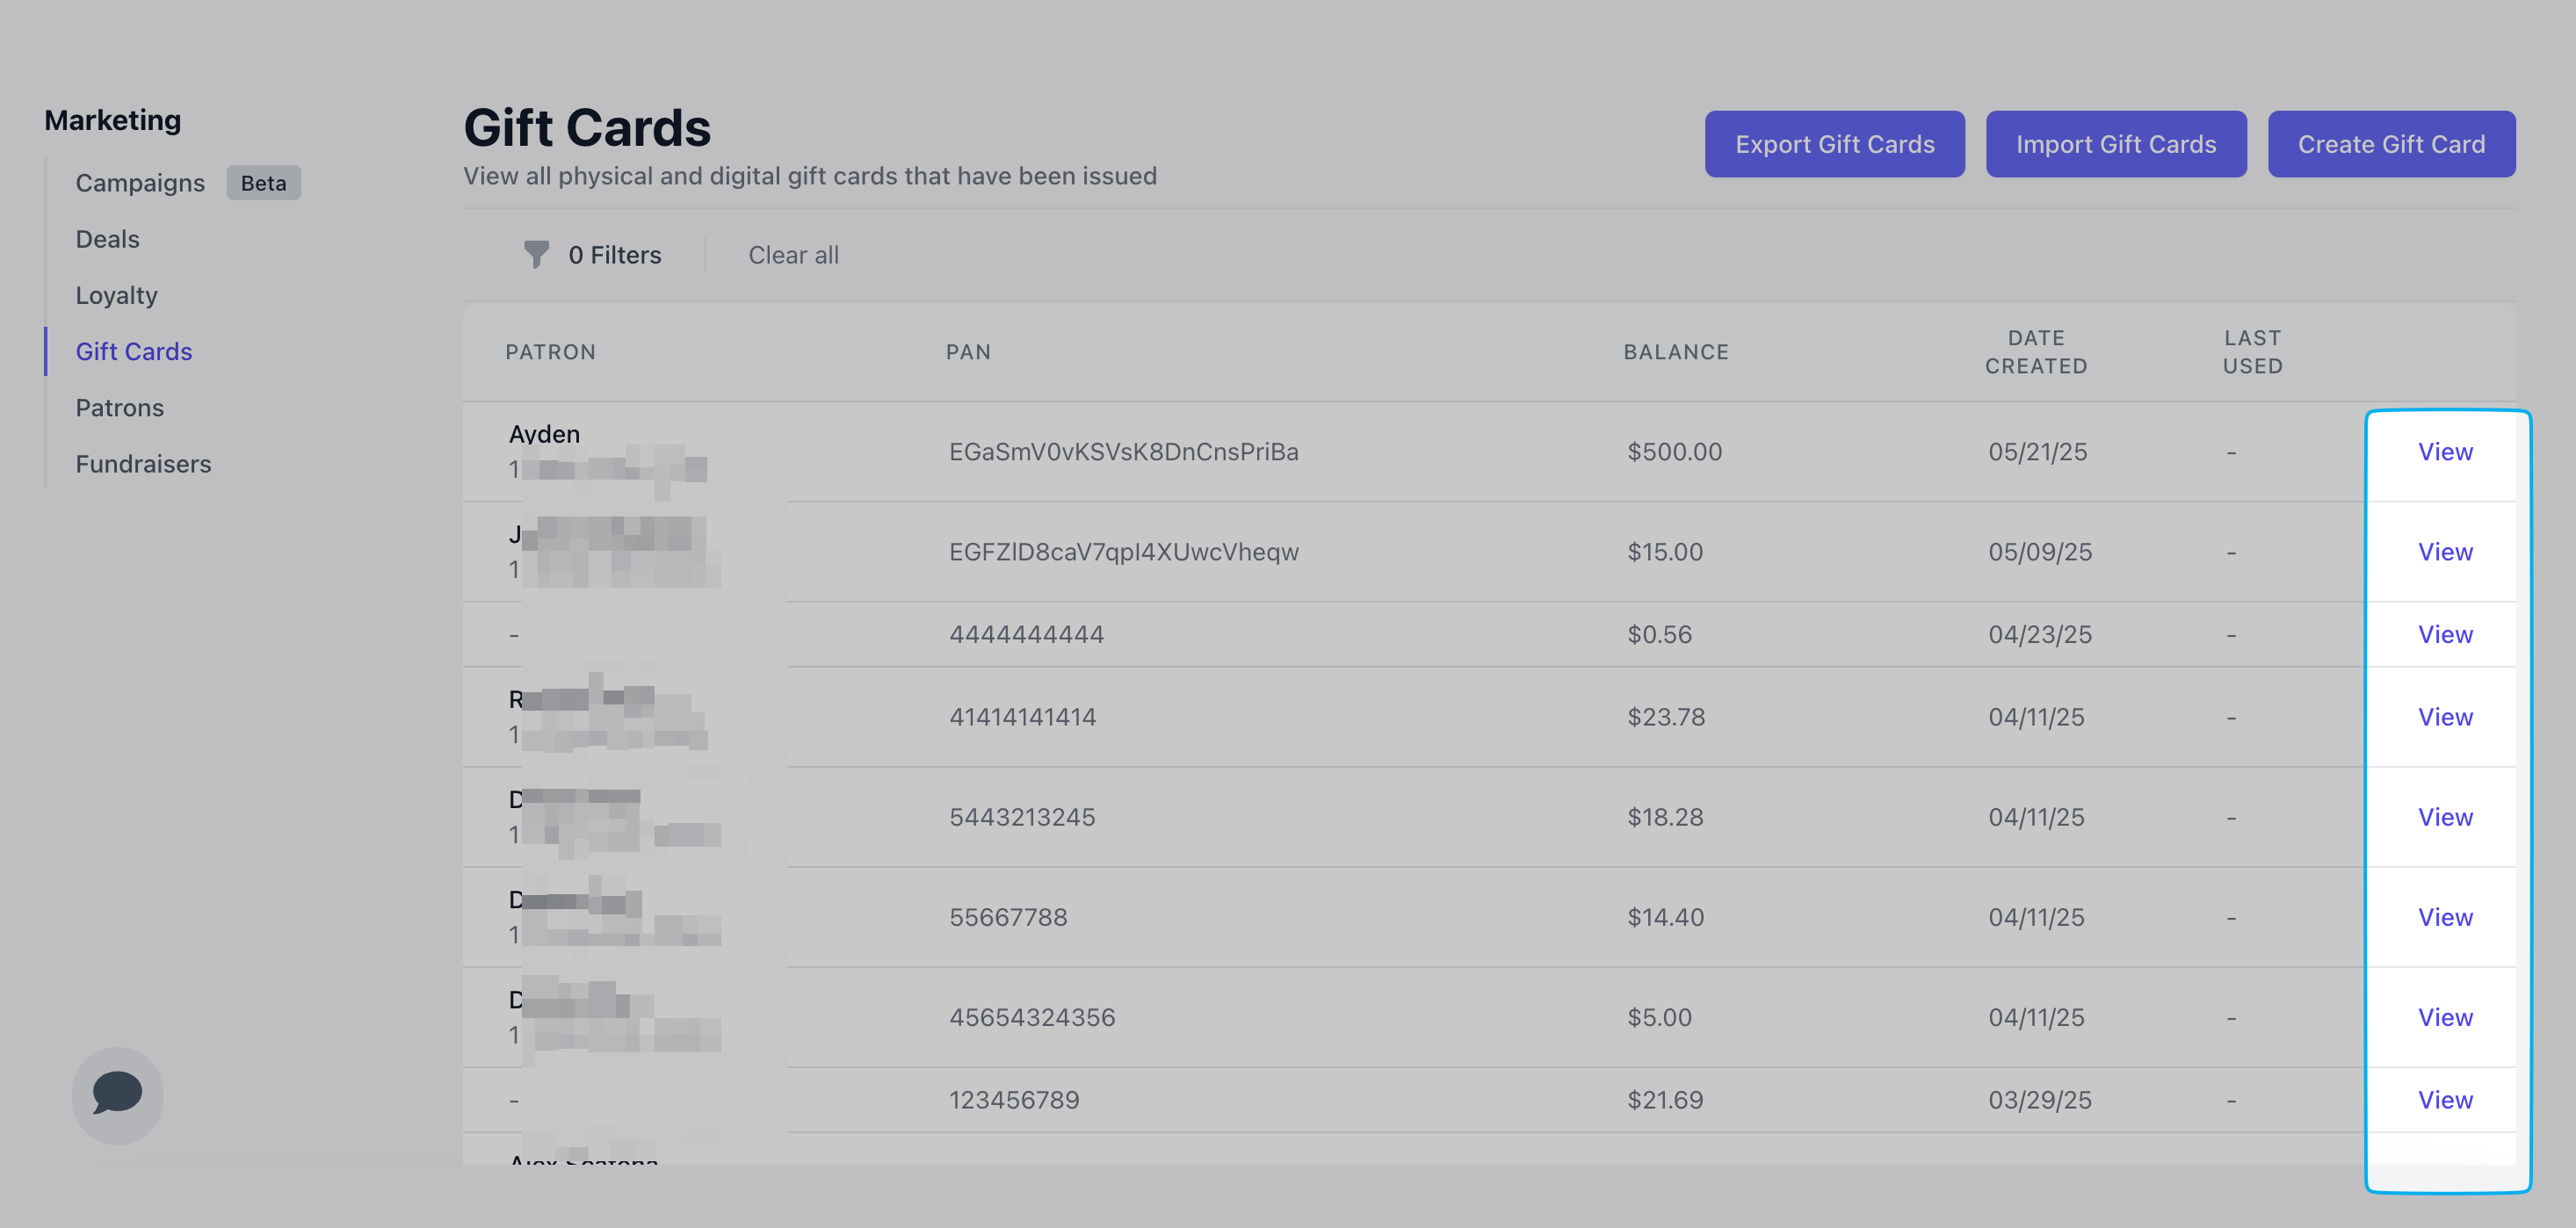
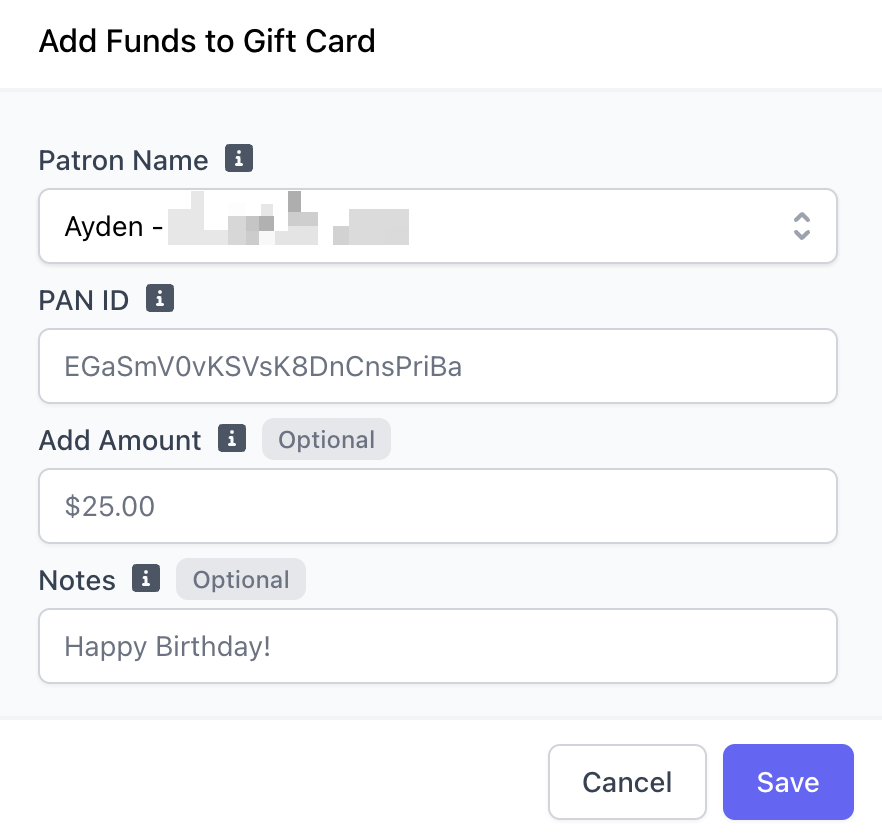
Link Gift Cards
Link physical and digital gift cards to patron accounts. When a patron is attached to an order, their gift cards are automatically available as a payment option—no searching required.- Point of Sale
- Dashboard
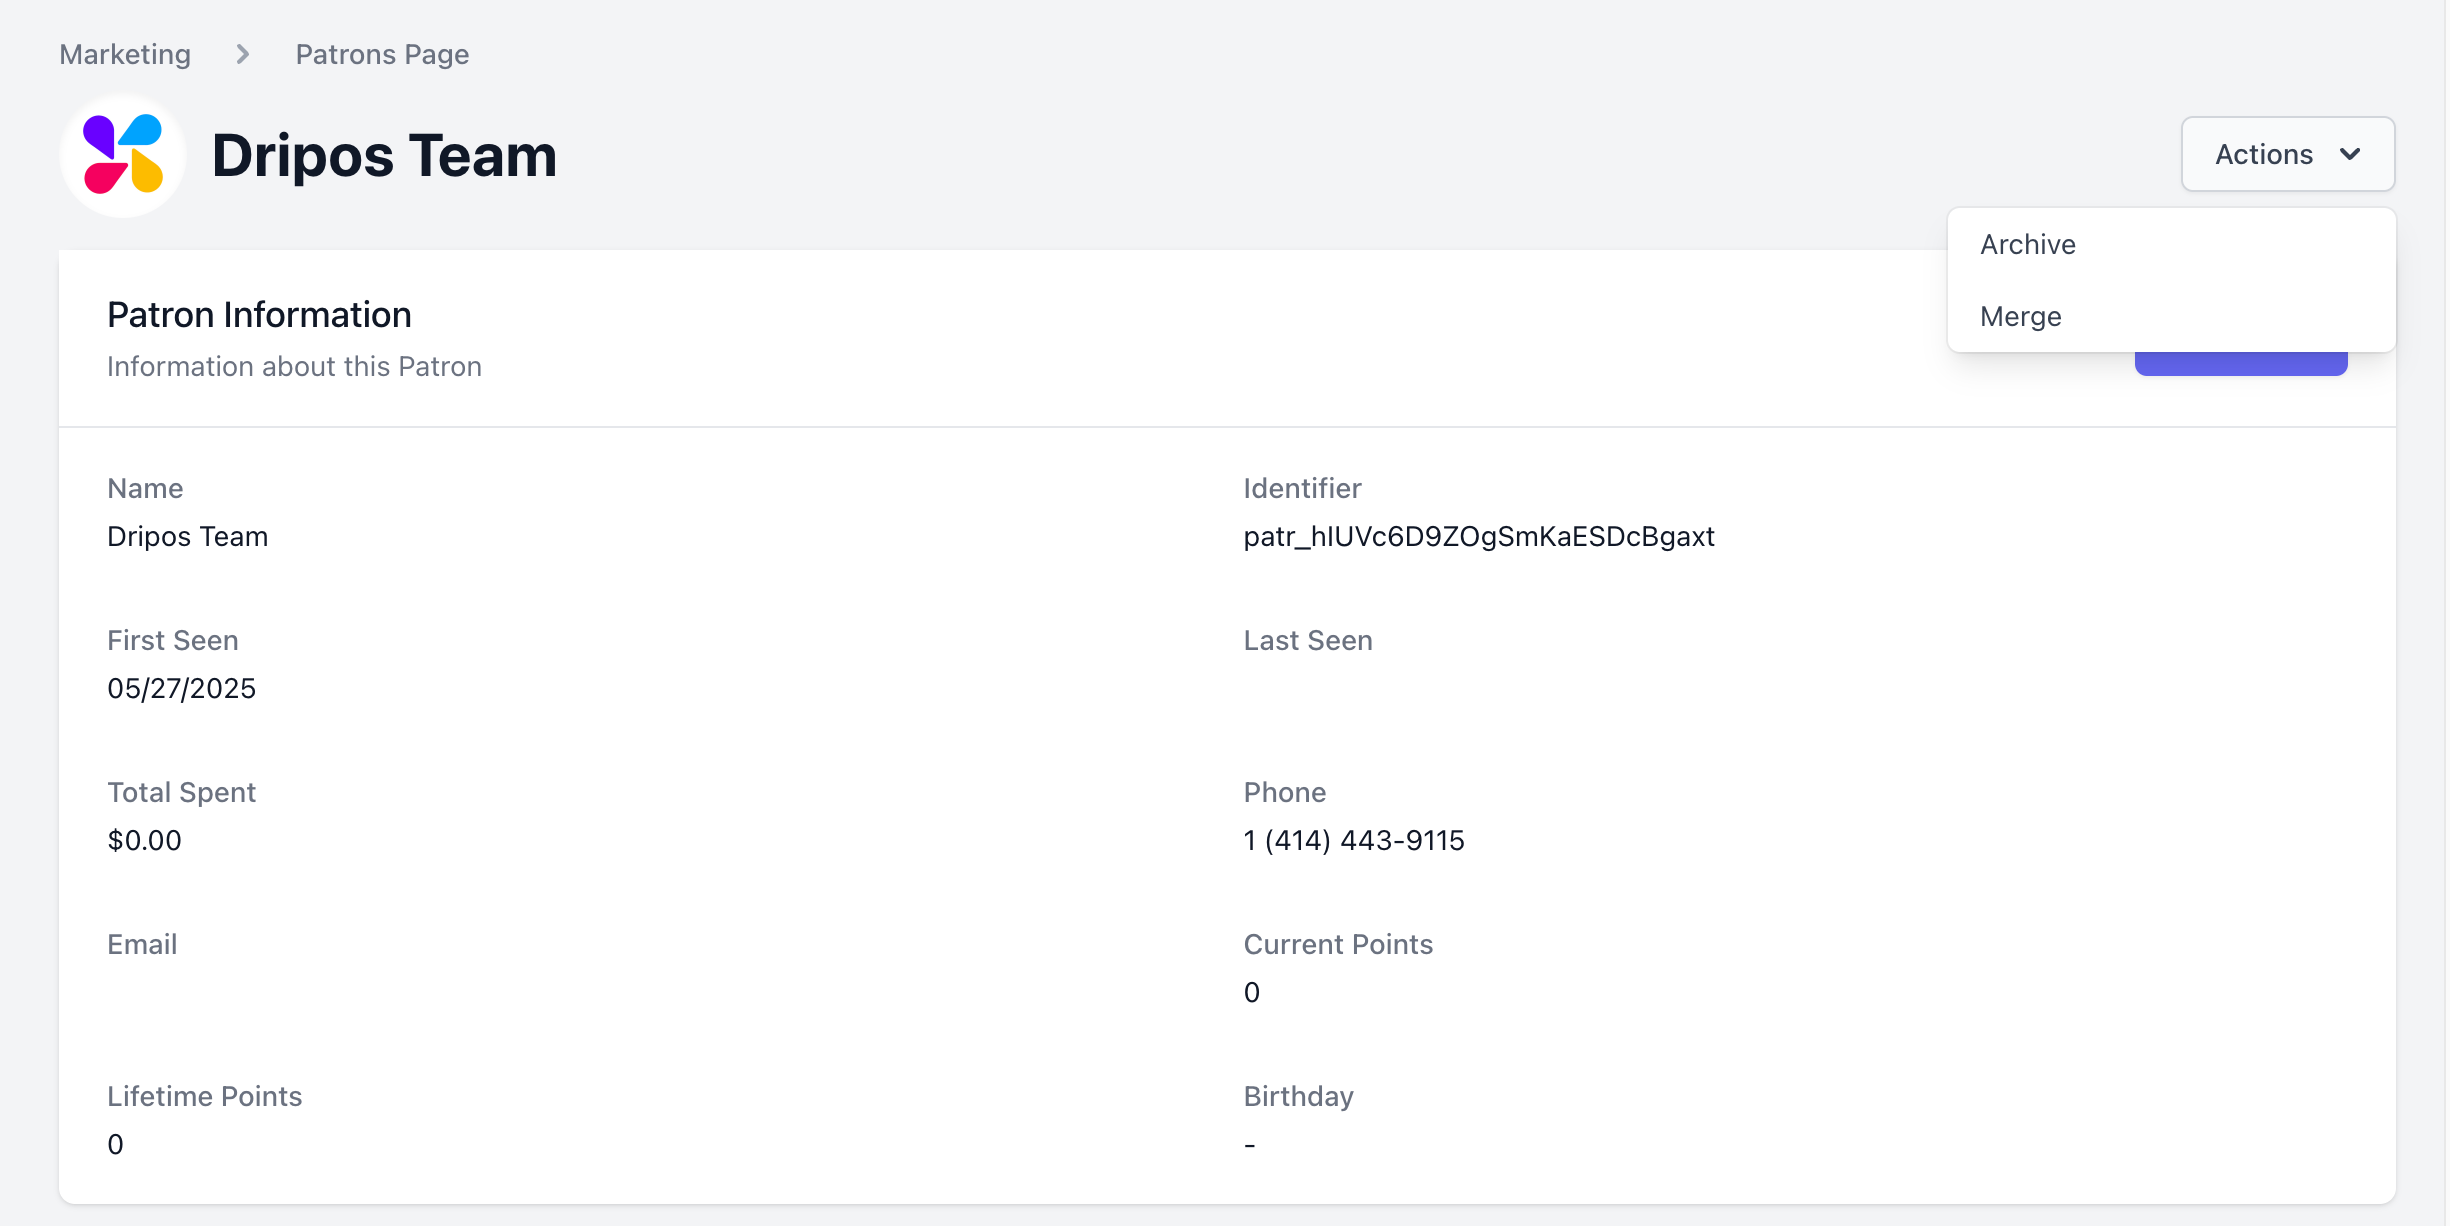
Merge Patron Accounts
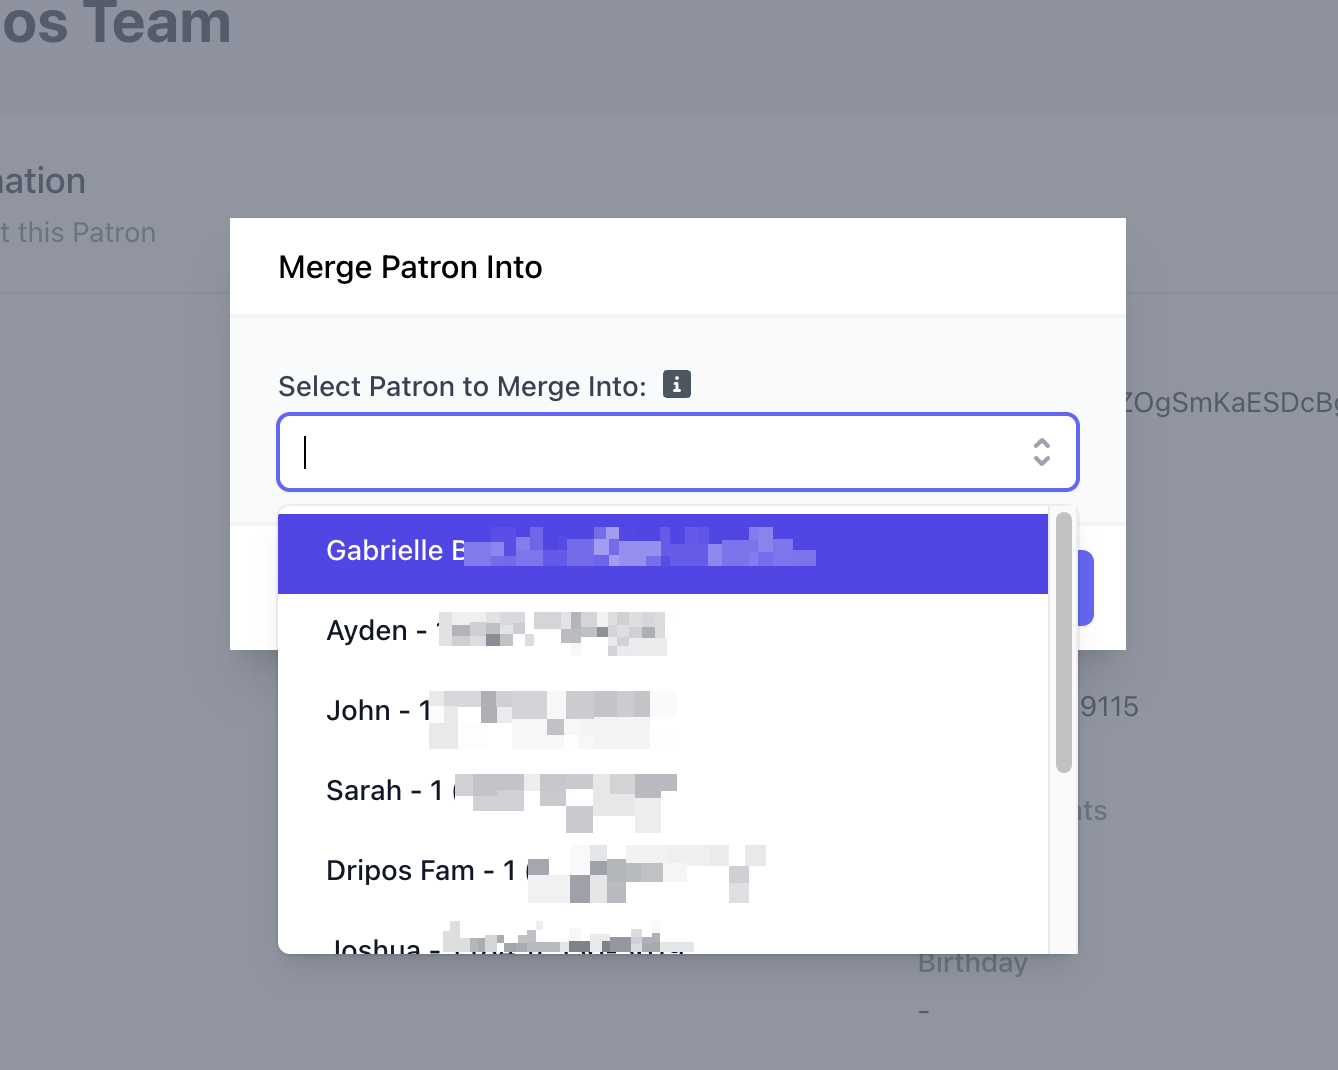
Merge two patrons’ loyalty points and transaction history into one patron account. To merge one patron account with another, Dripos will transfer all data and history from one patron to another and the original account will be archived.How to Merge Patron Accounts
How to Merge Patron Accounts
Merge patron accounts from the Dashboard
Locate the patron whose history you want to merge. This will ultimately be the patron profile that is archived. Click View.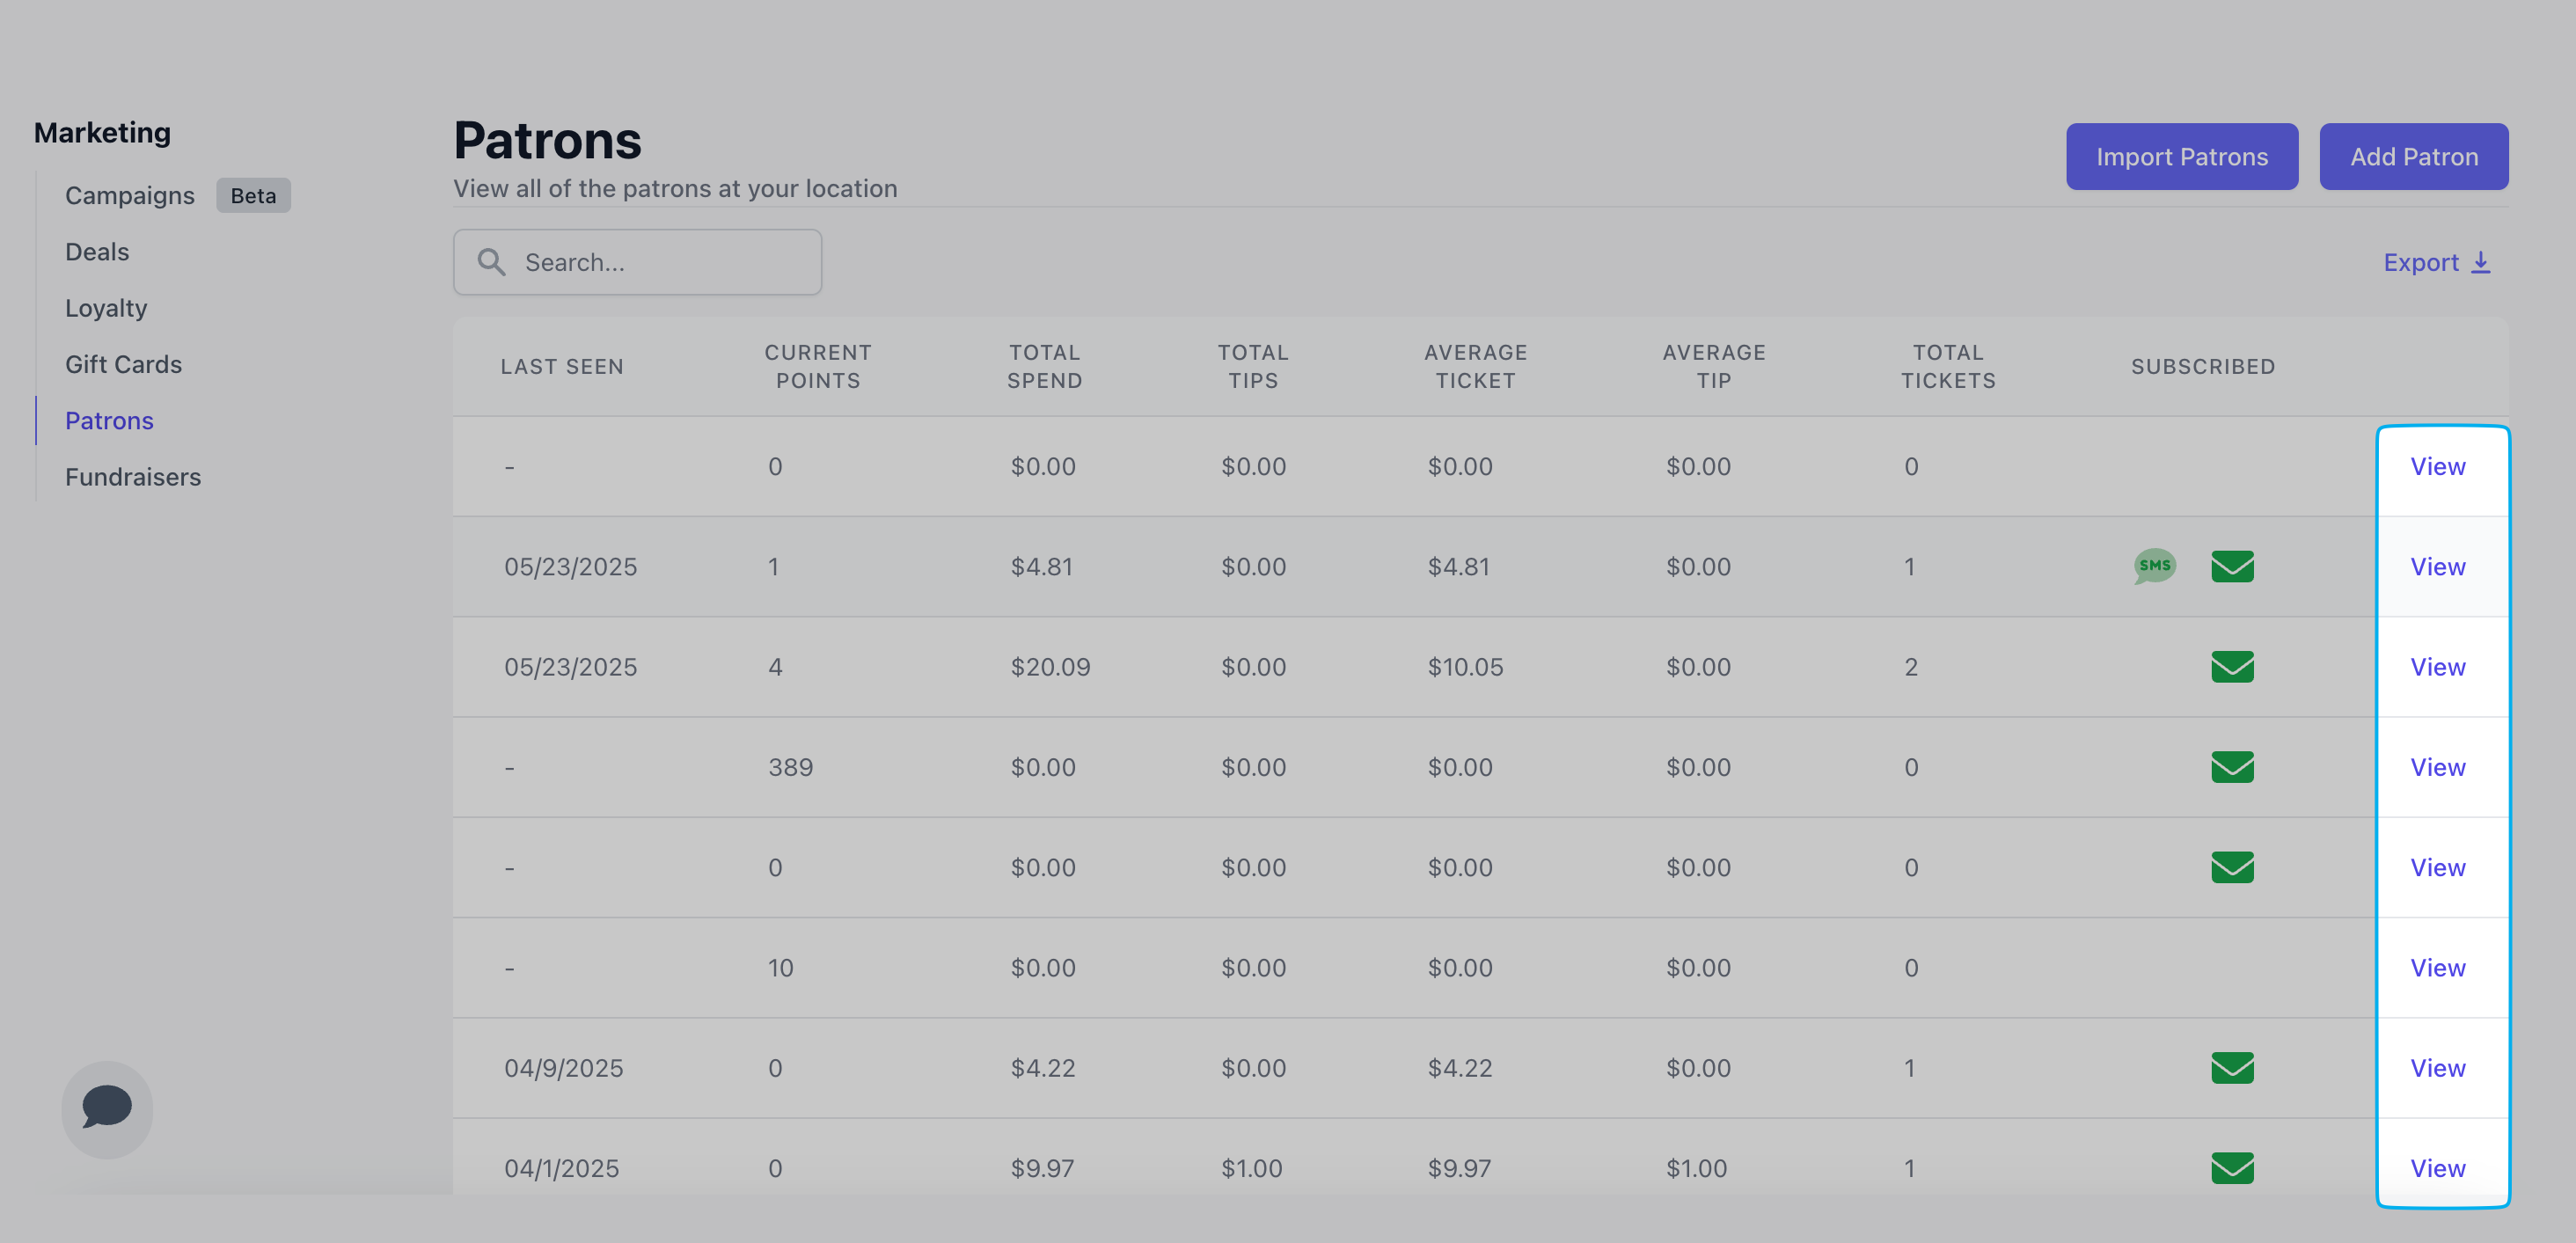
Archive Patron Accounts
How to Archive Patron Accounts
How to Archive Patron Accounts
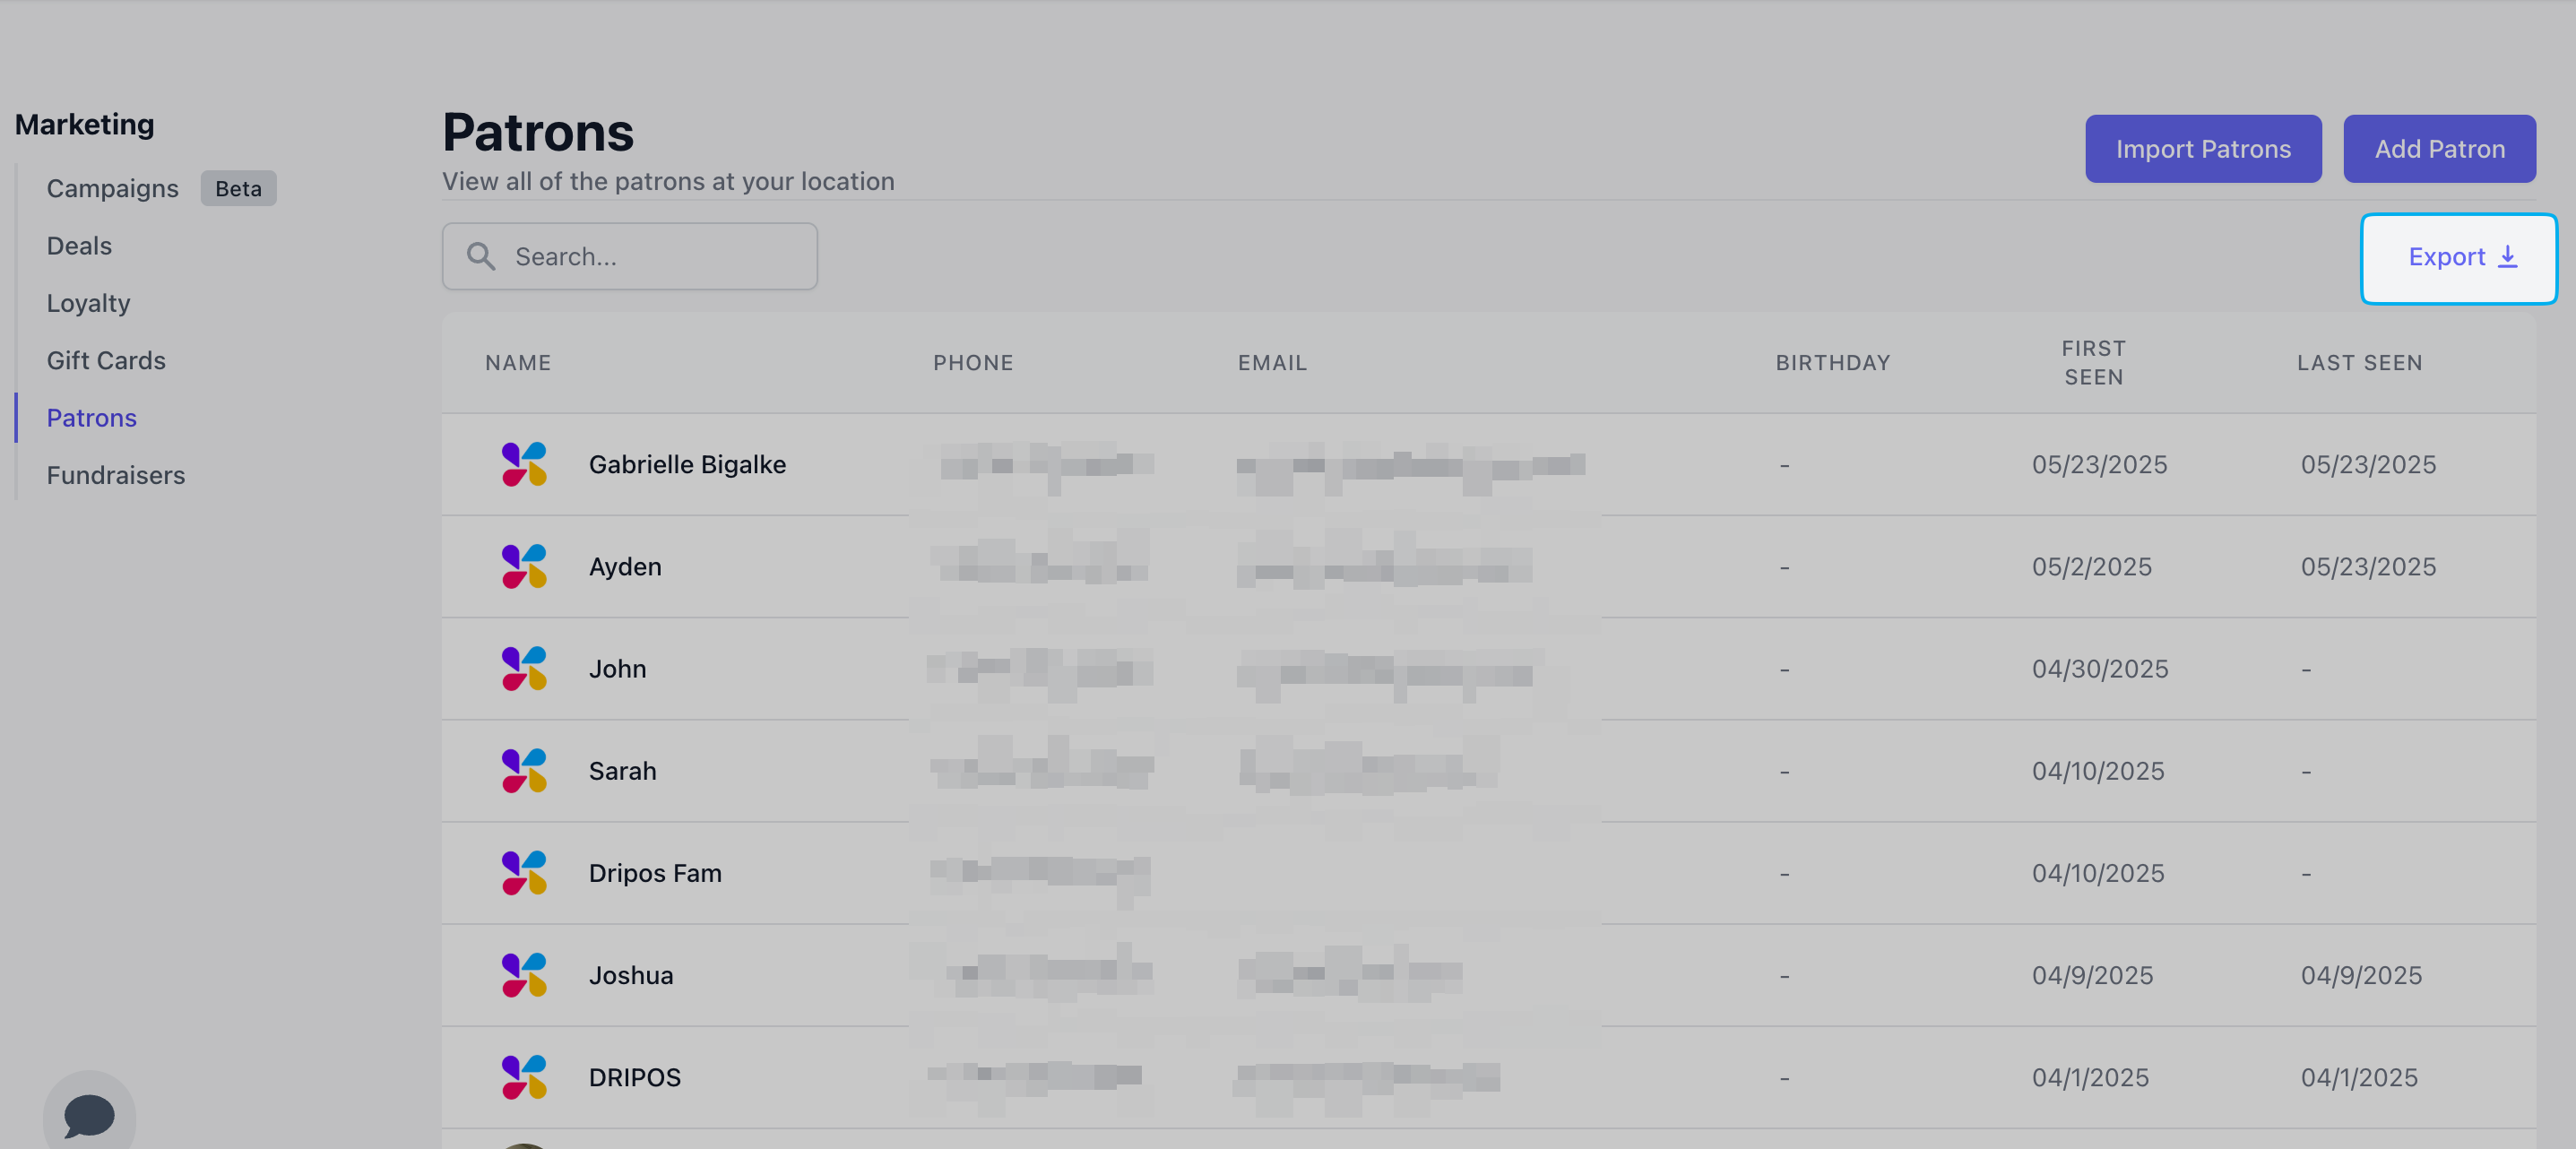
Export Patron List
Export your list of patrons to a .csv fileExport Patron List to .csv File
Export Patron List to .csv File
On the Dashboard, click Marketing > Patrons > click Export