Create Billing Accounts
Create a billing account either from the Dashboard or the Point of SaleDashboard
Dashboard
- Navigate to Orders > Billing Accounts > Create Account
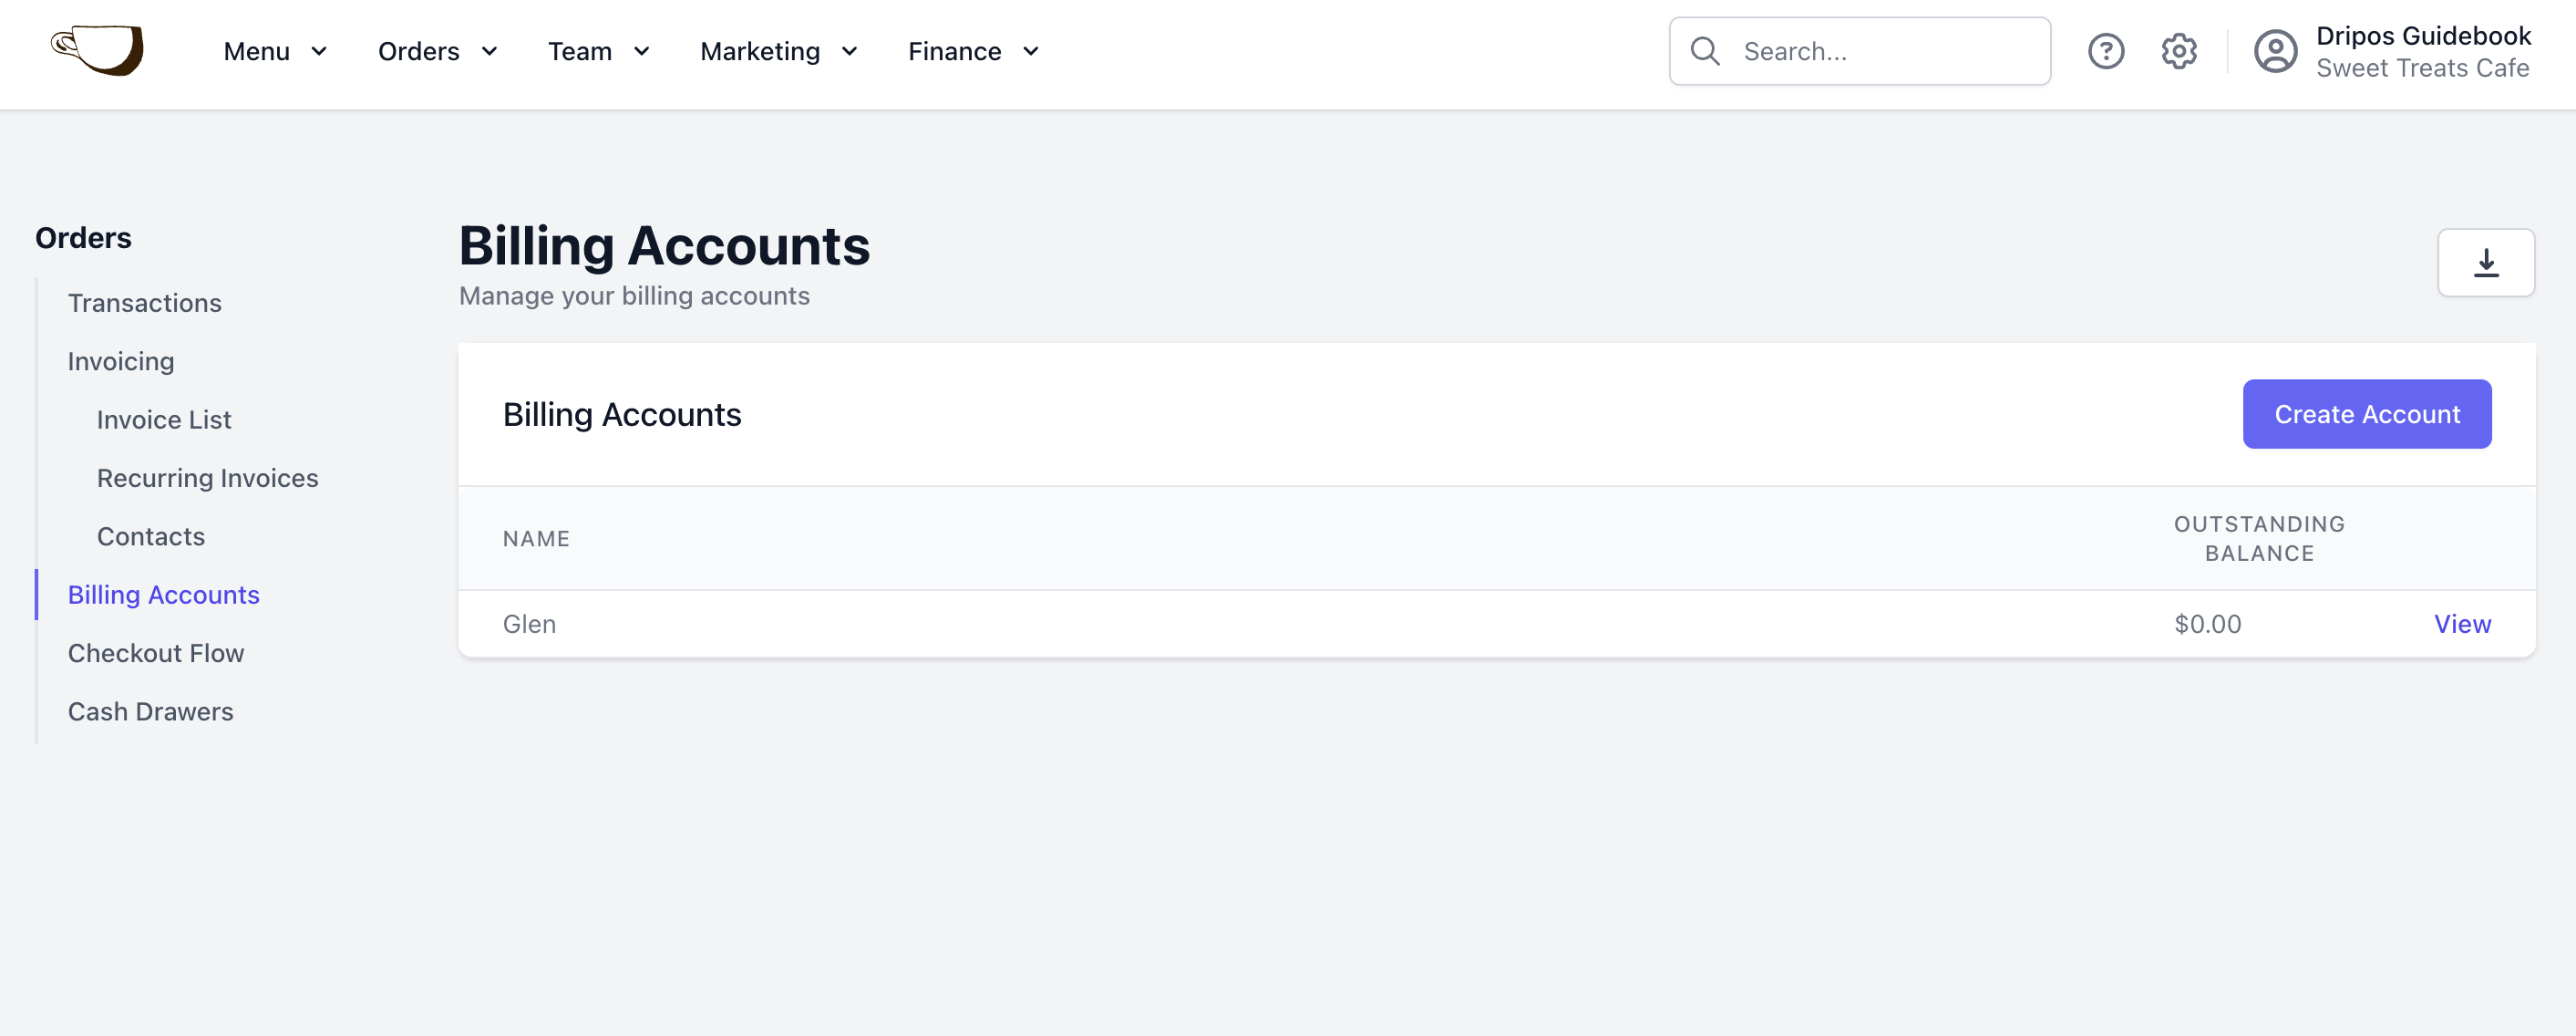
- Fill out the following fields:

Account Name: Special event, customer name, etc.
Account PIN: Security PIN to access billing account
Phone: Customer phone number
Email (Optional): Customer email address
Notes (Optional)
Point of Sale
Point of Sale
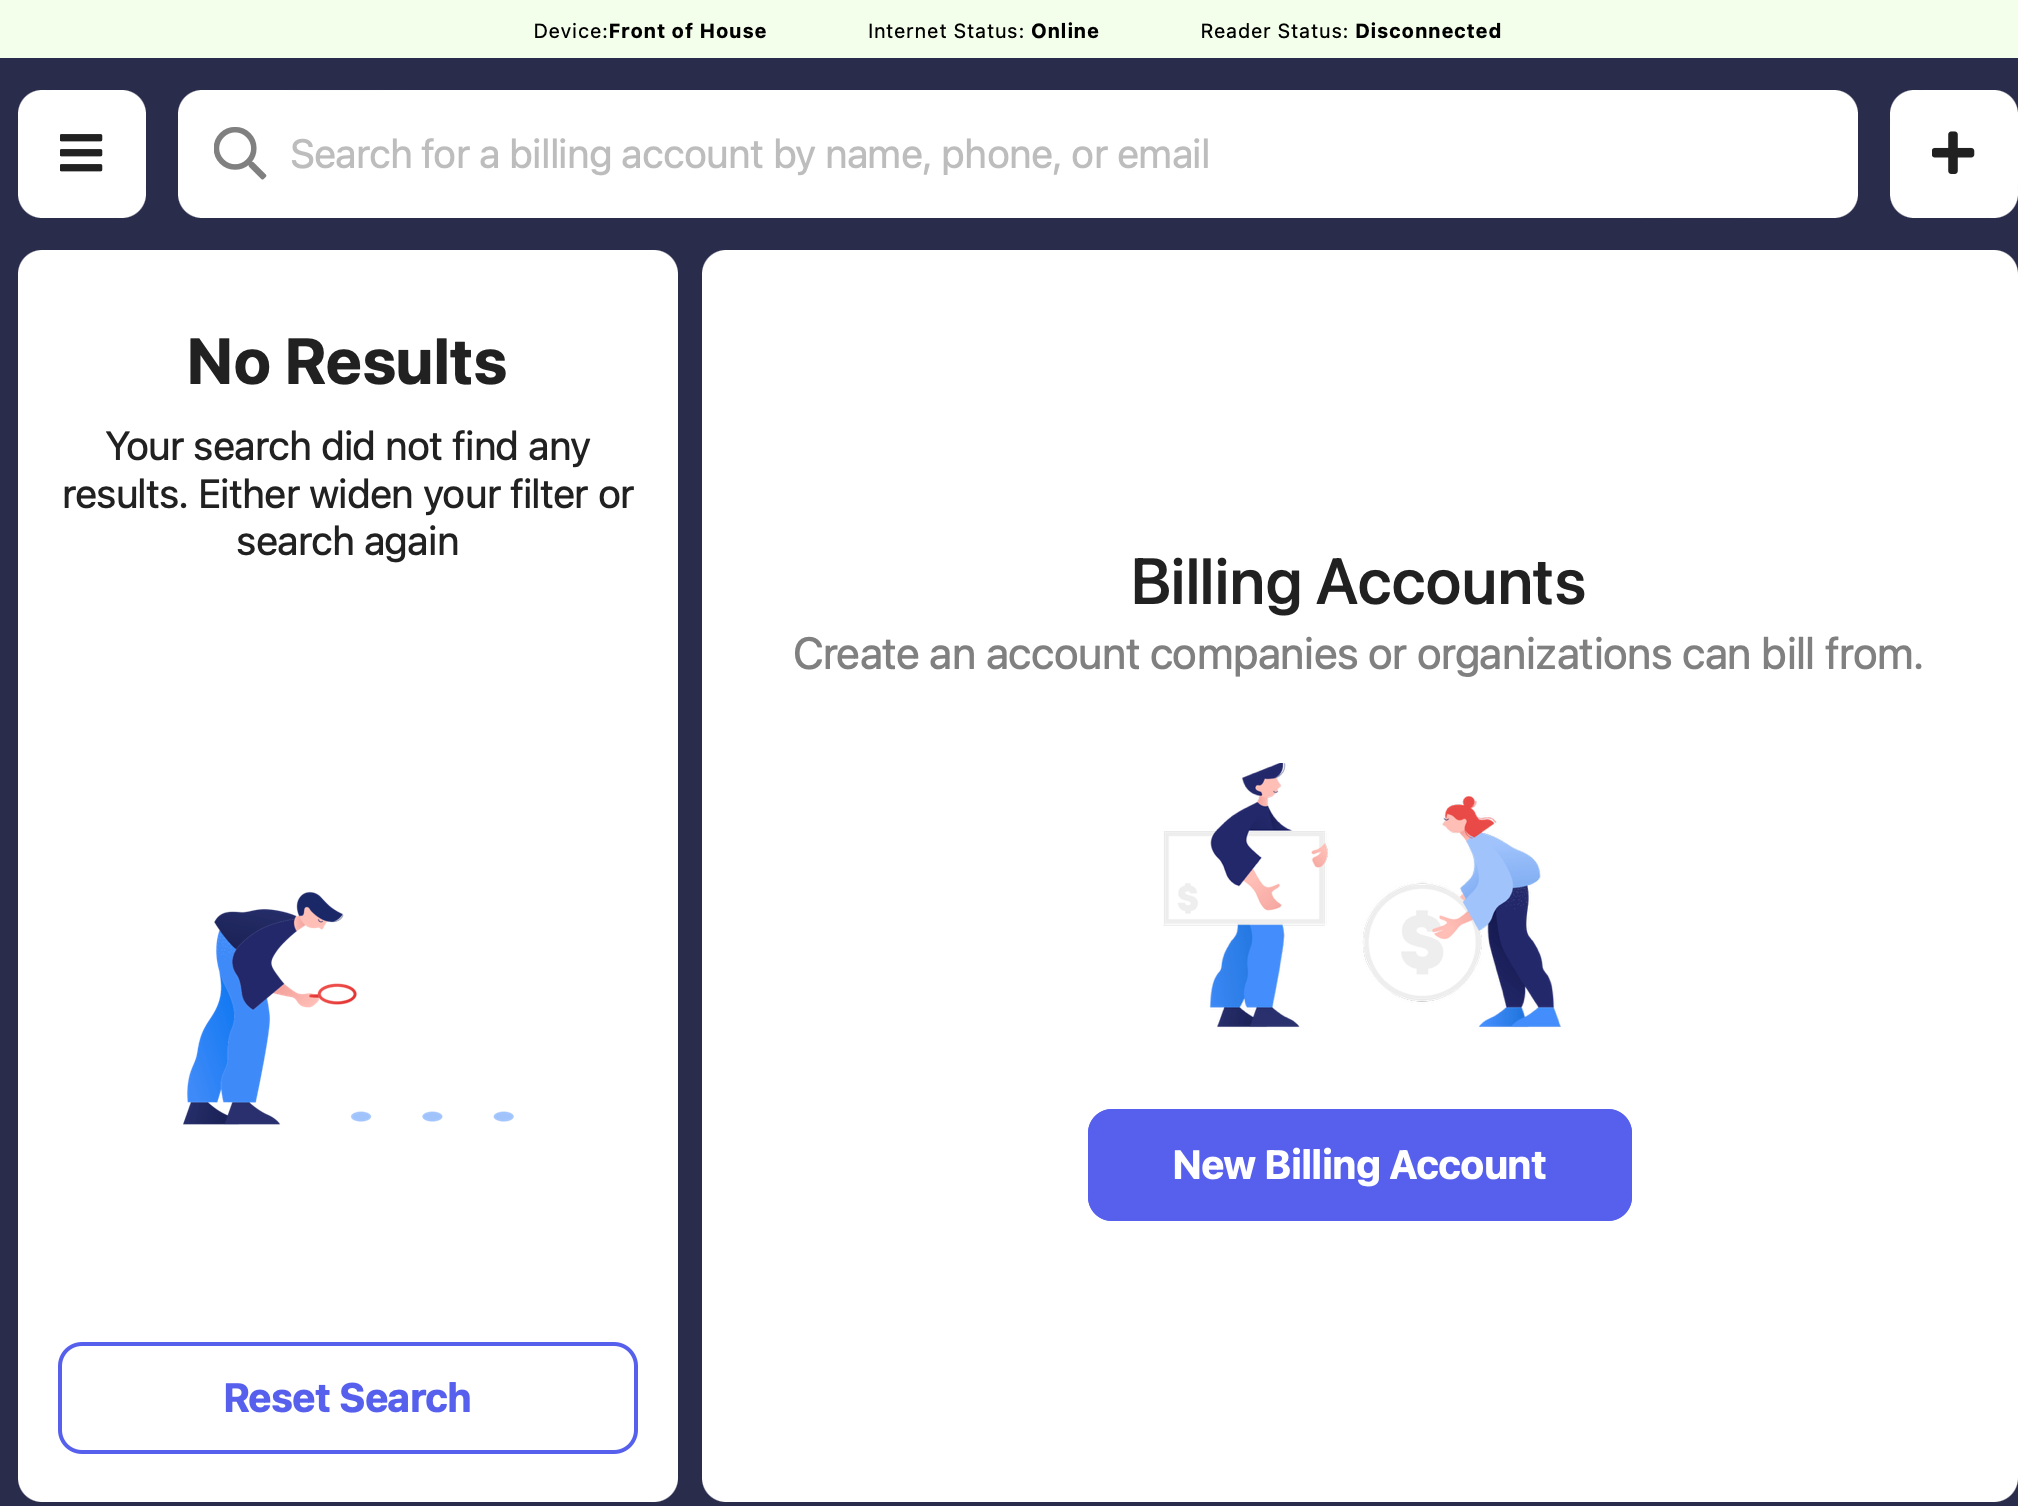
- Press the tribar in the upper left screen corner > Billing Accounts

- Press New Billing Account
- Fill out the following fields and press Create Billing Account
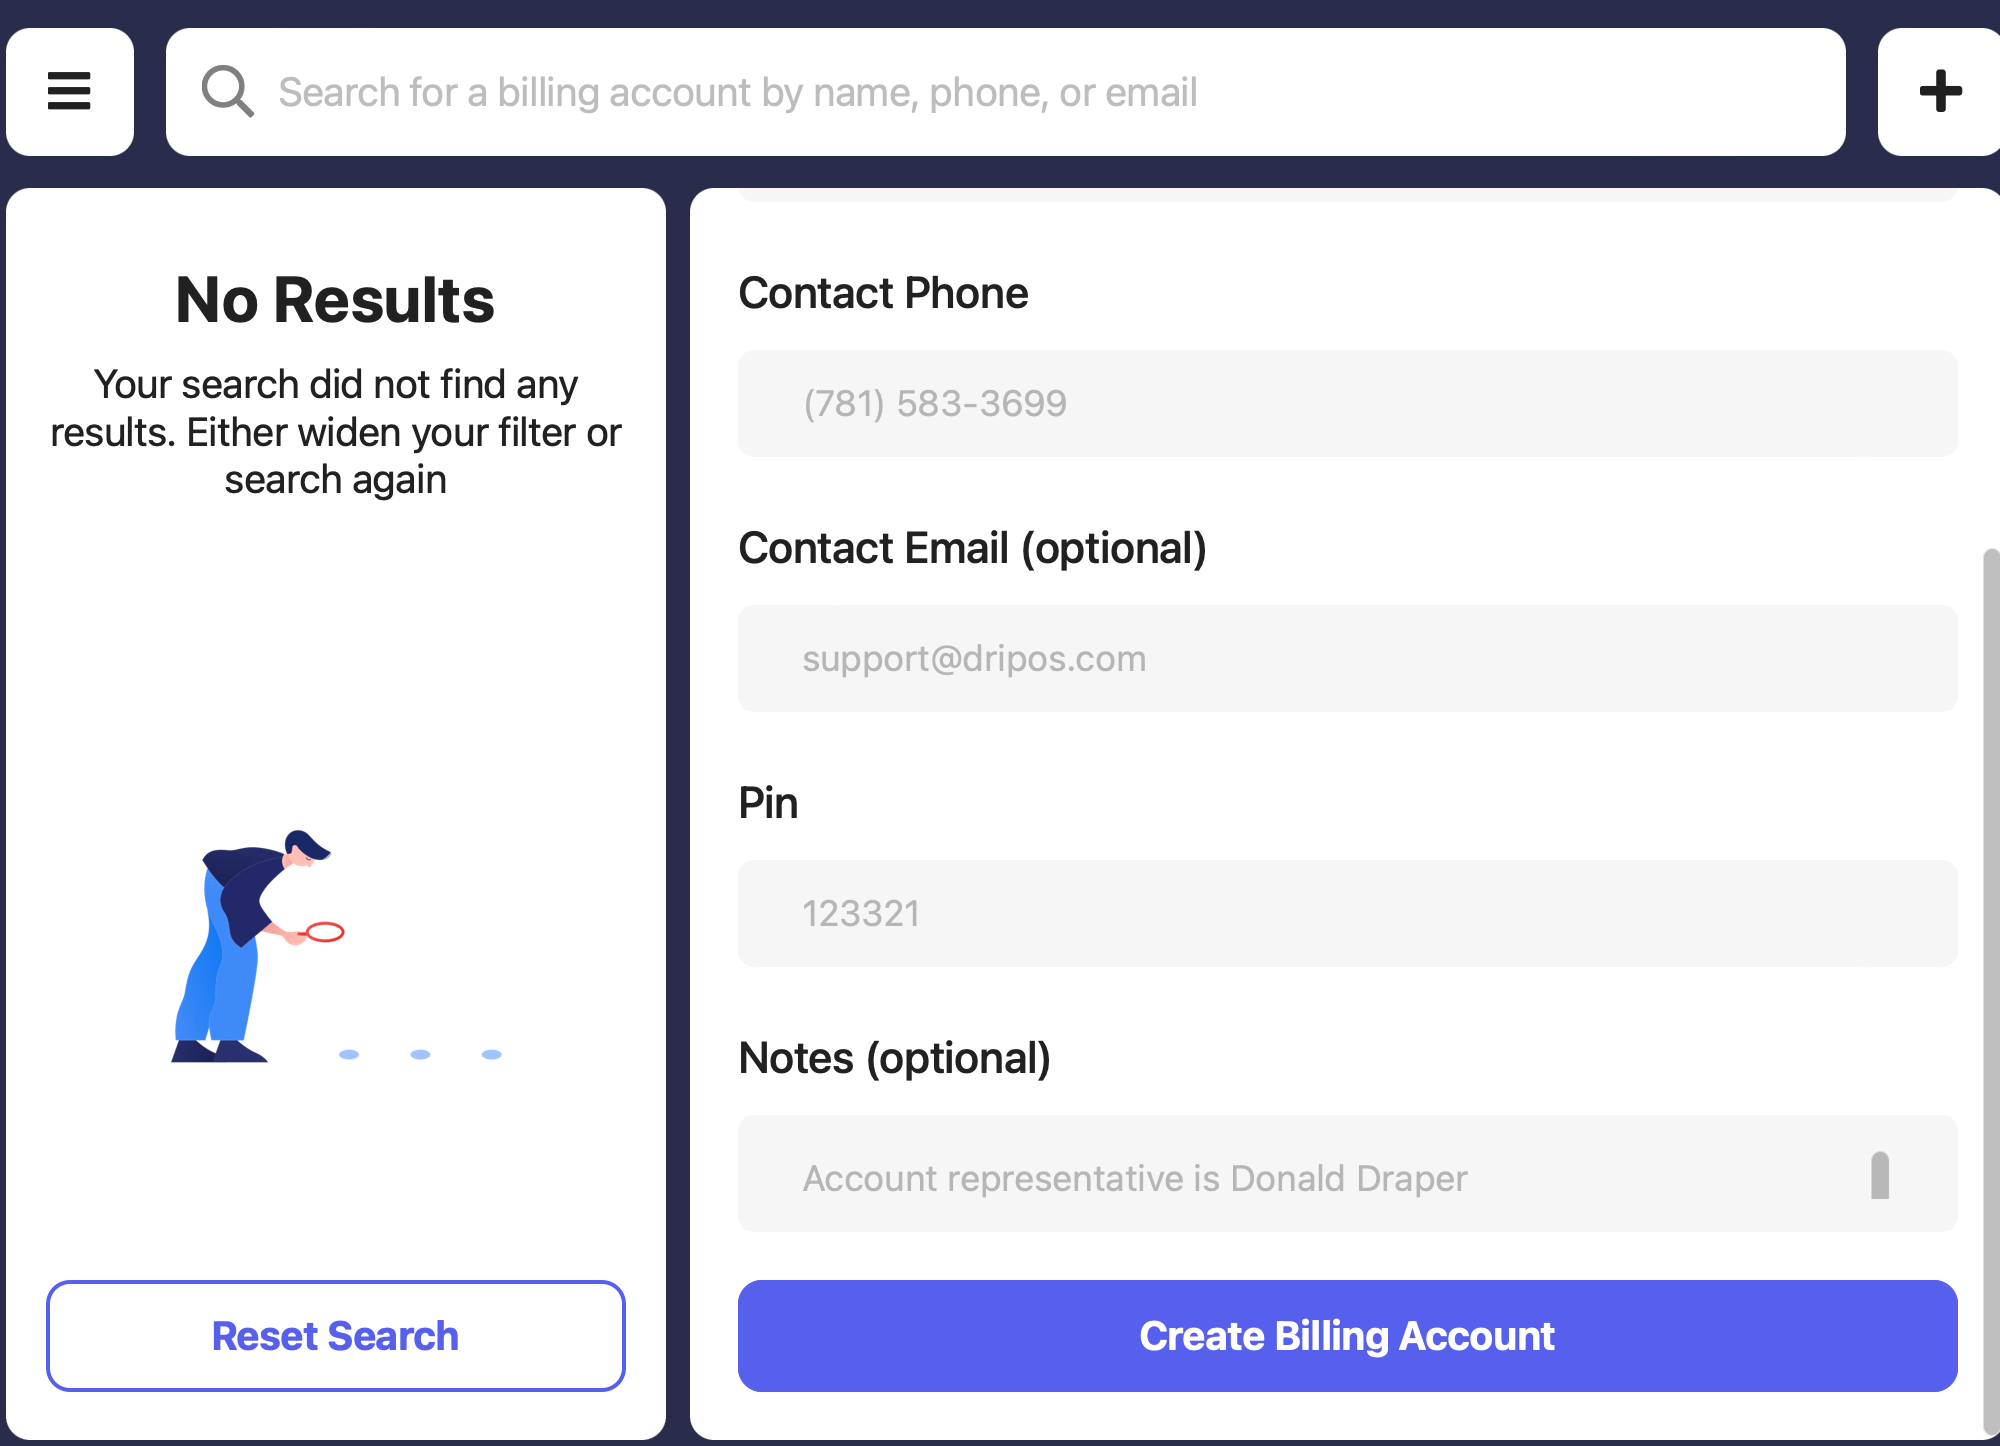
Name: Special event, customer name, etc.
Phone: Customer phone number
Email (Optional): Customer email address
Account PIN: Security PIN to access billing account
Notes (Optional)
Checkout with a Billing Account
Billing accounts can be used as payment on orders created from the Point of Sale. Billing accounts as a whole are then paid off at a later time with real payment (card, cash, etc).How to Checkout with a Billing Account
How to Checkout with a Billing Account
- Create a new order and add items to cart as usual > click Charge
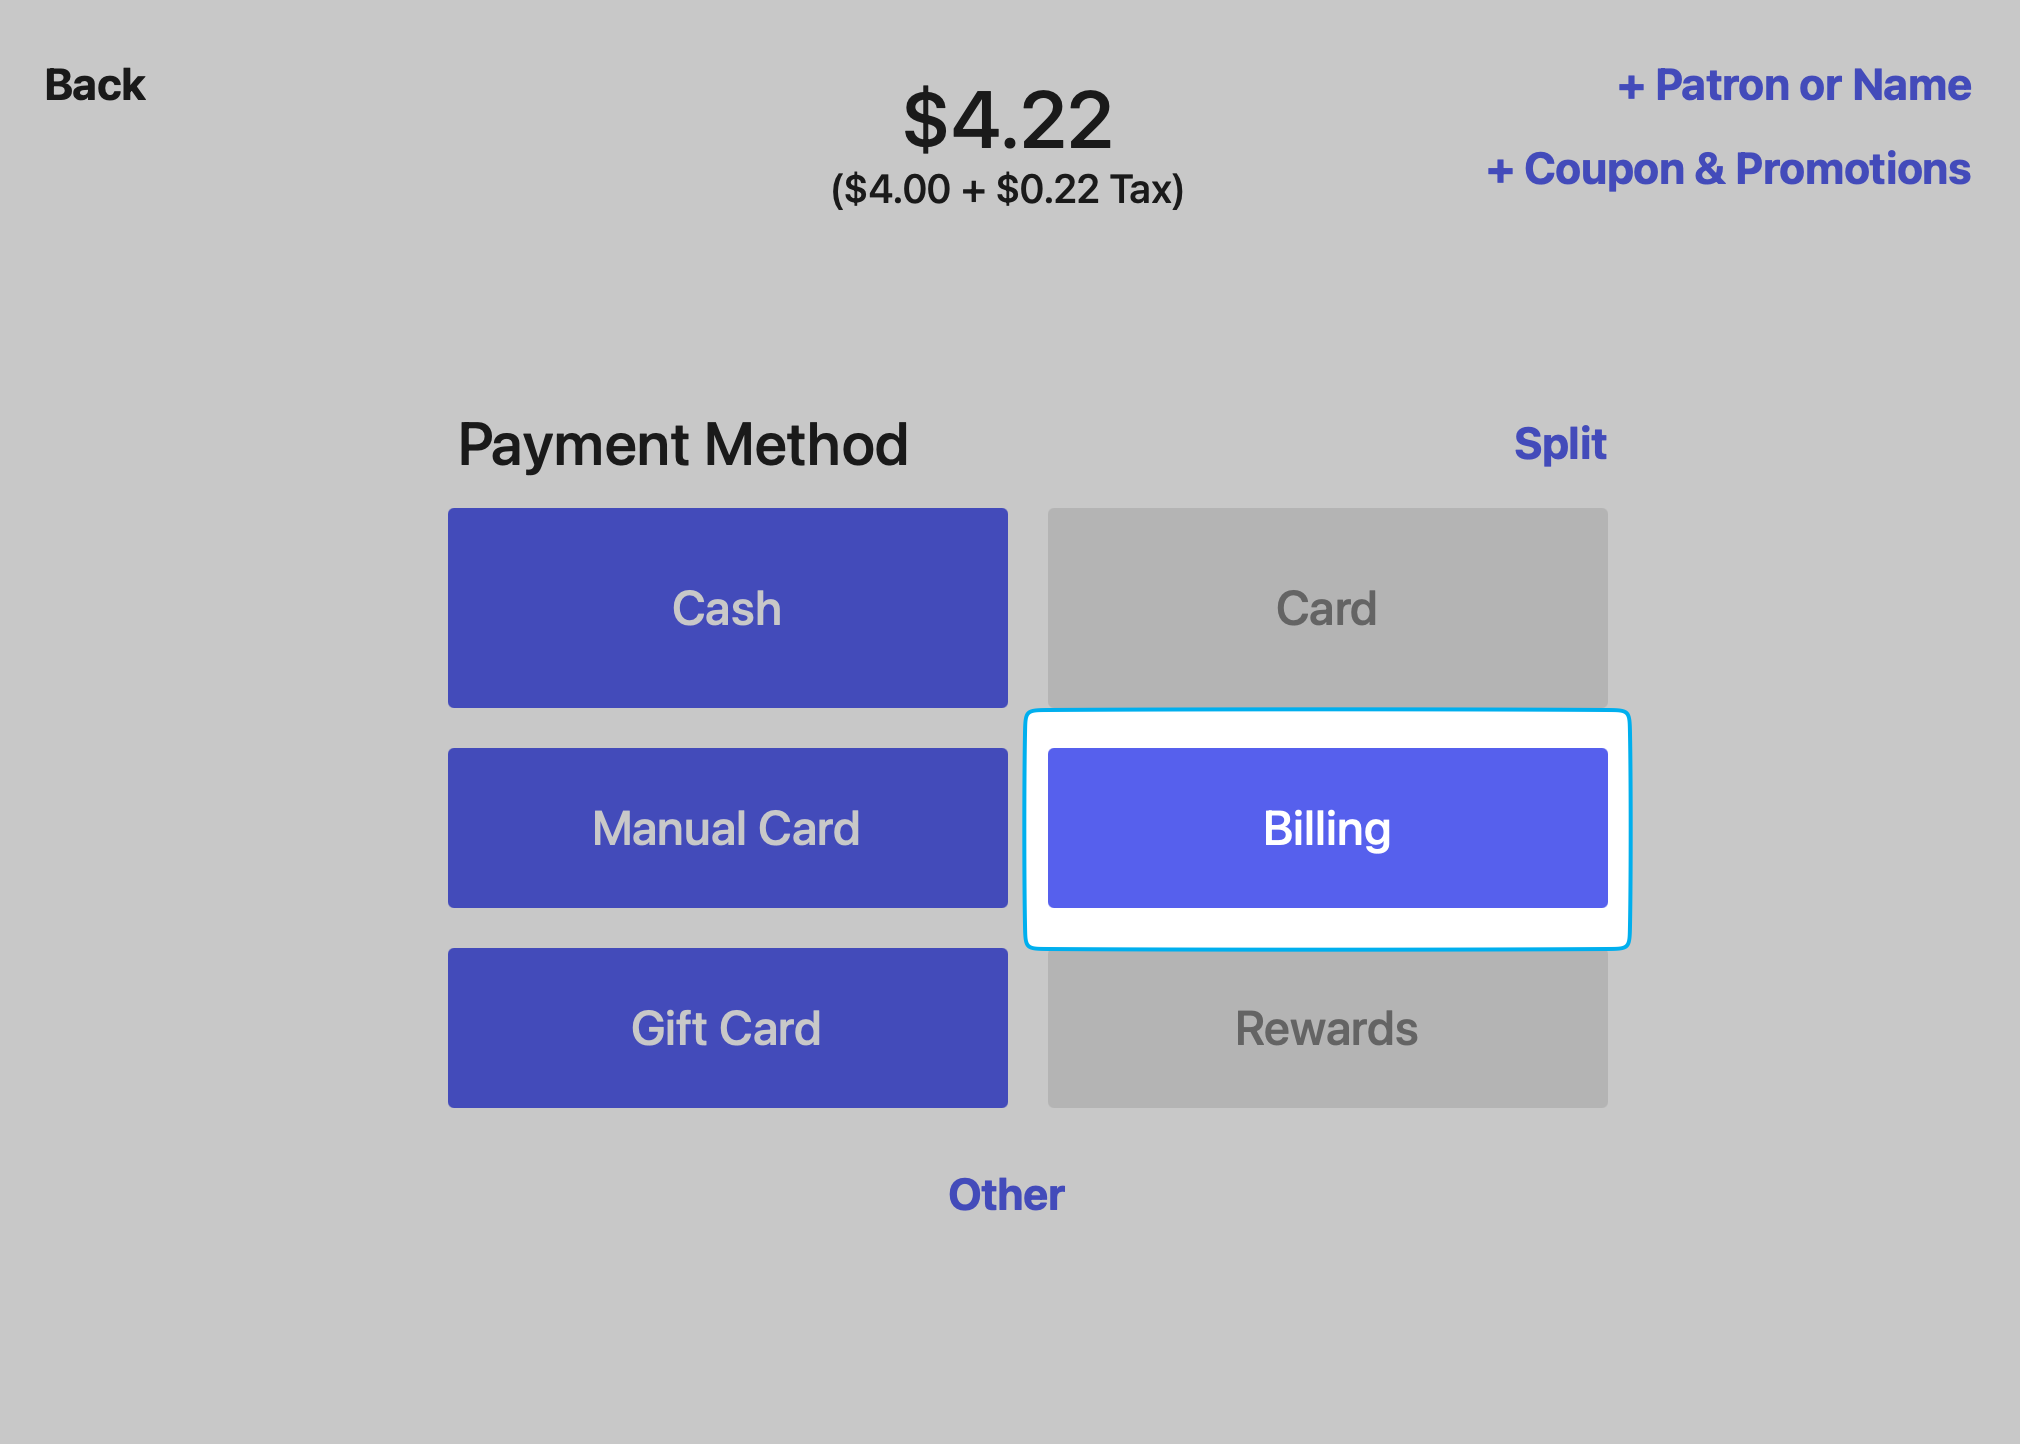
- On the Payment Method screen press Billing
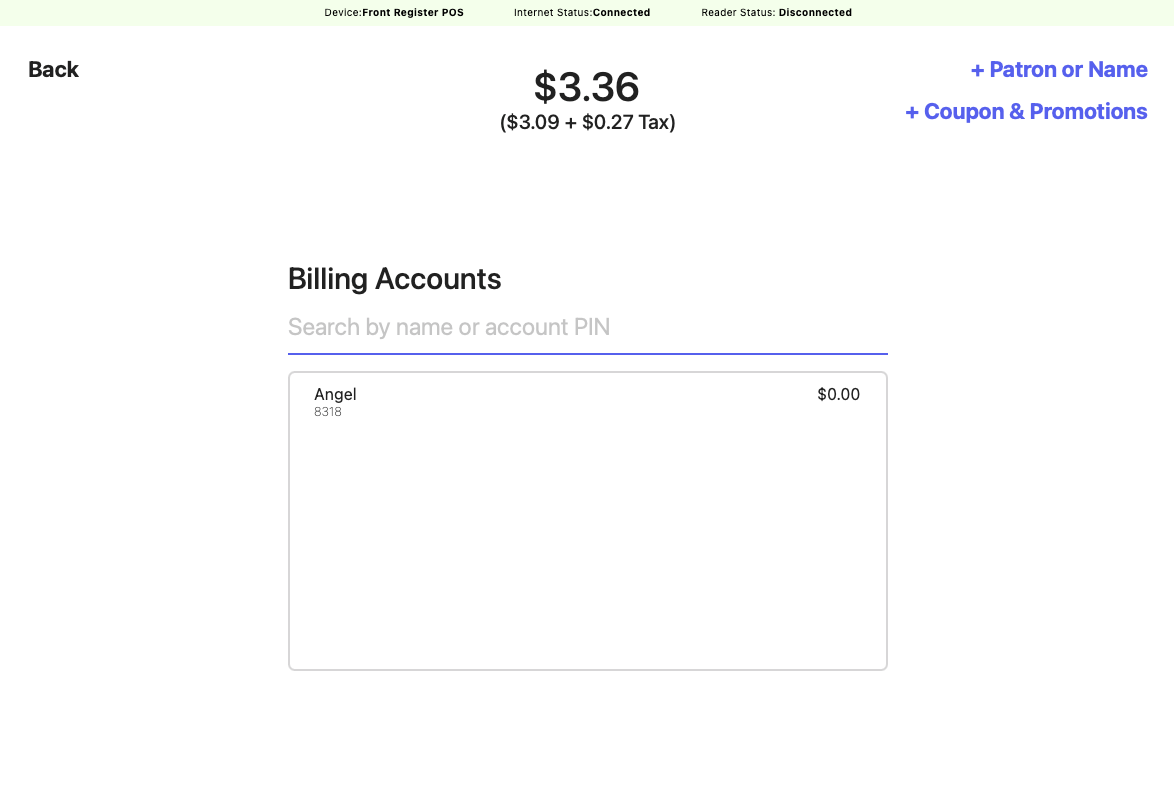
- Select the customer’s billing account using the dropdown or search for the billing account by Name or PIN
Pay Off Billing Accounts
Pay off and collect payment on billing accounts directly from the Point of Sale or the DashboardPoint of Sale
Point of Sale
- Press the tribar in the upper left screen corner > Billing Accounts
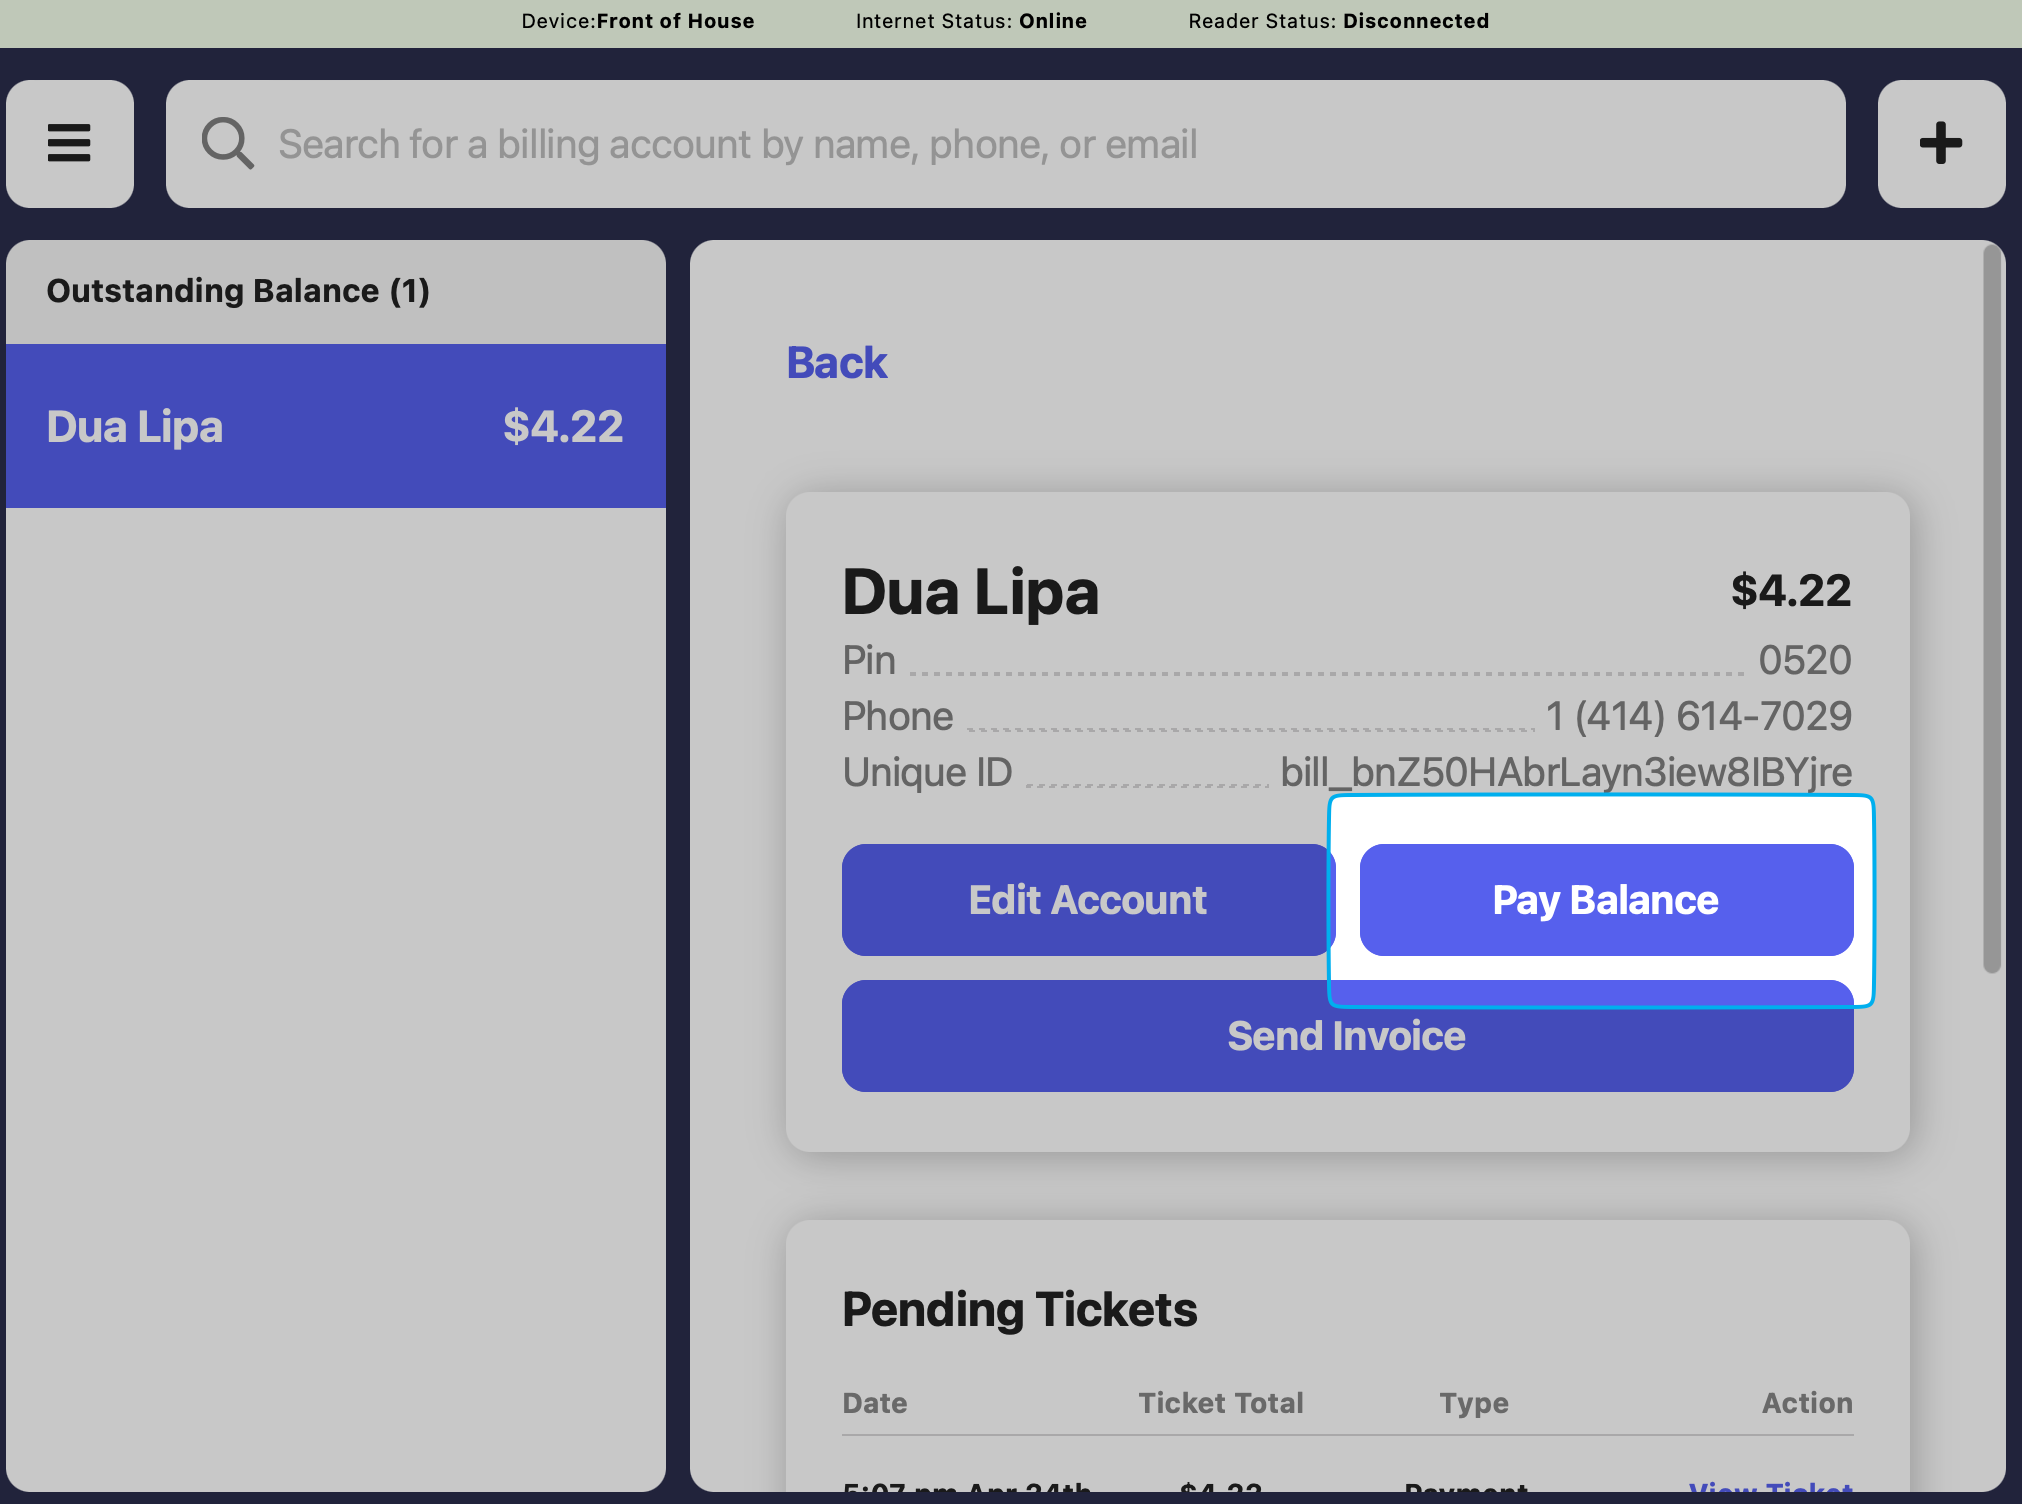
- Select the billing account and press Pay Balance
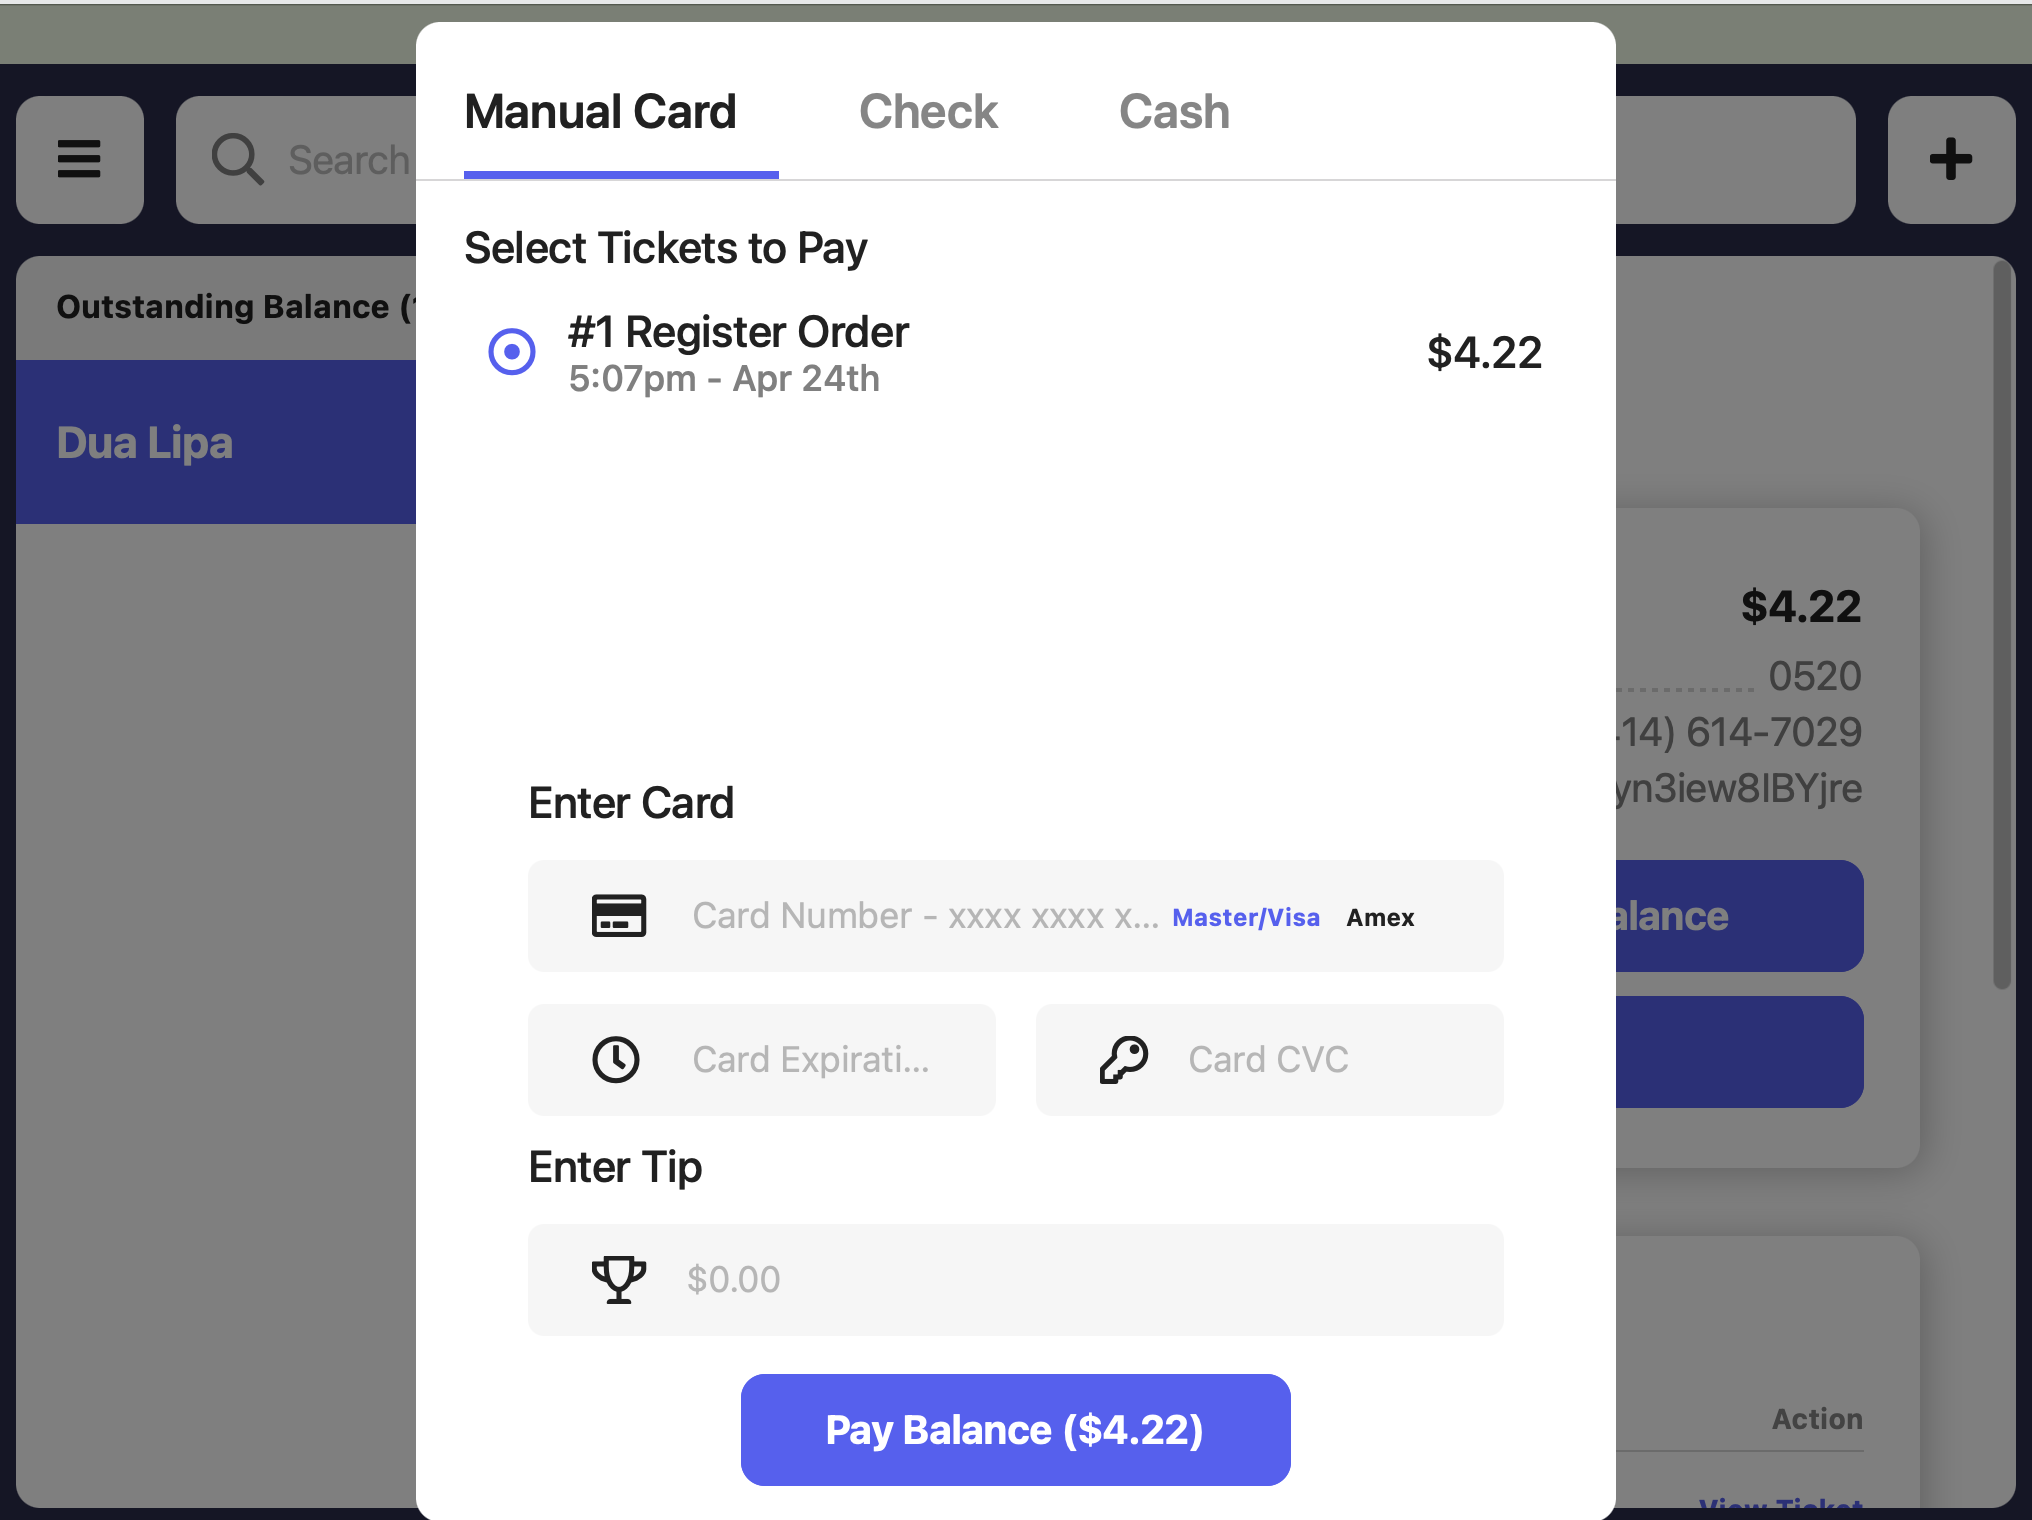
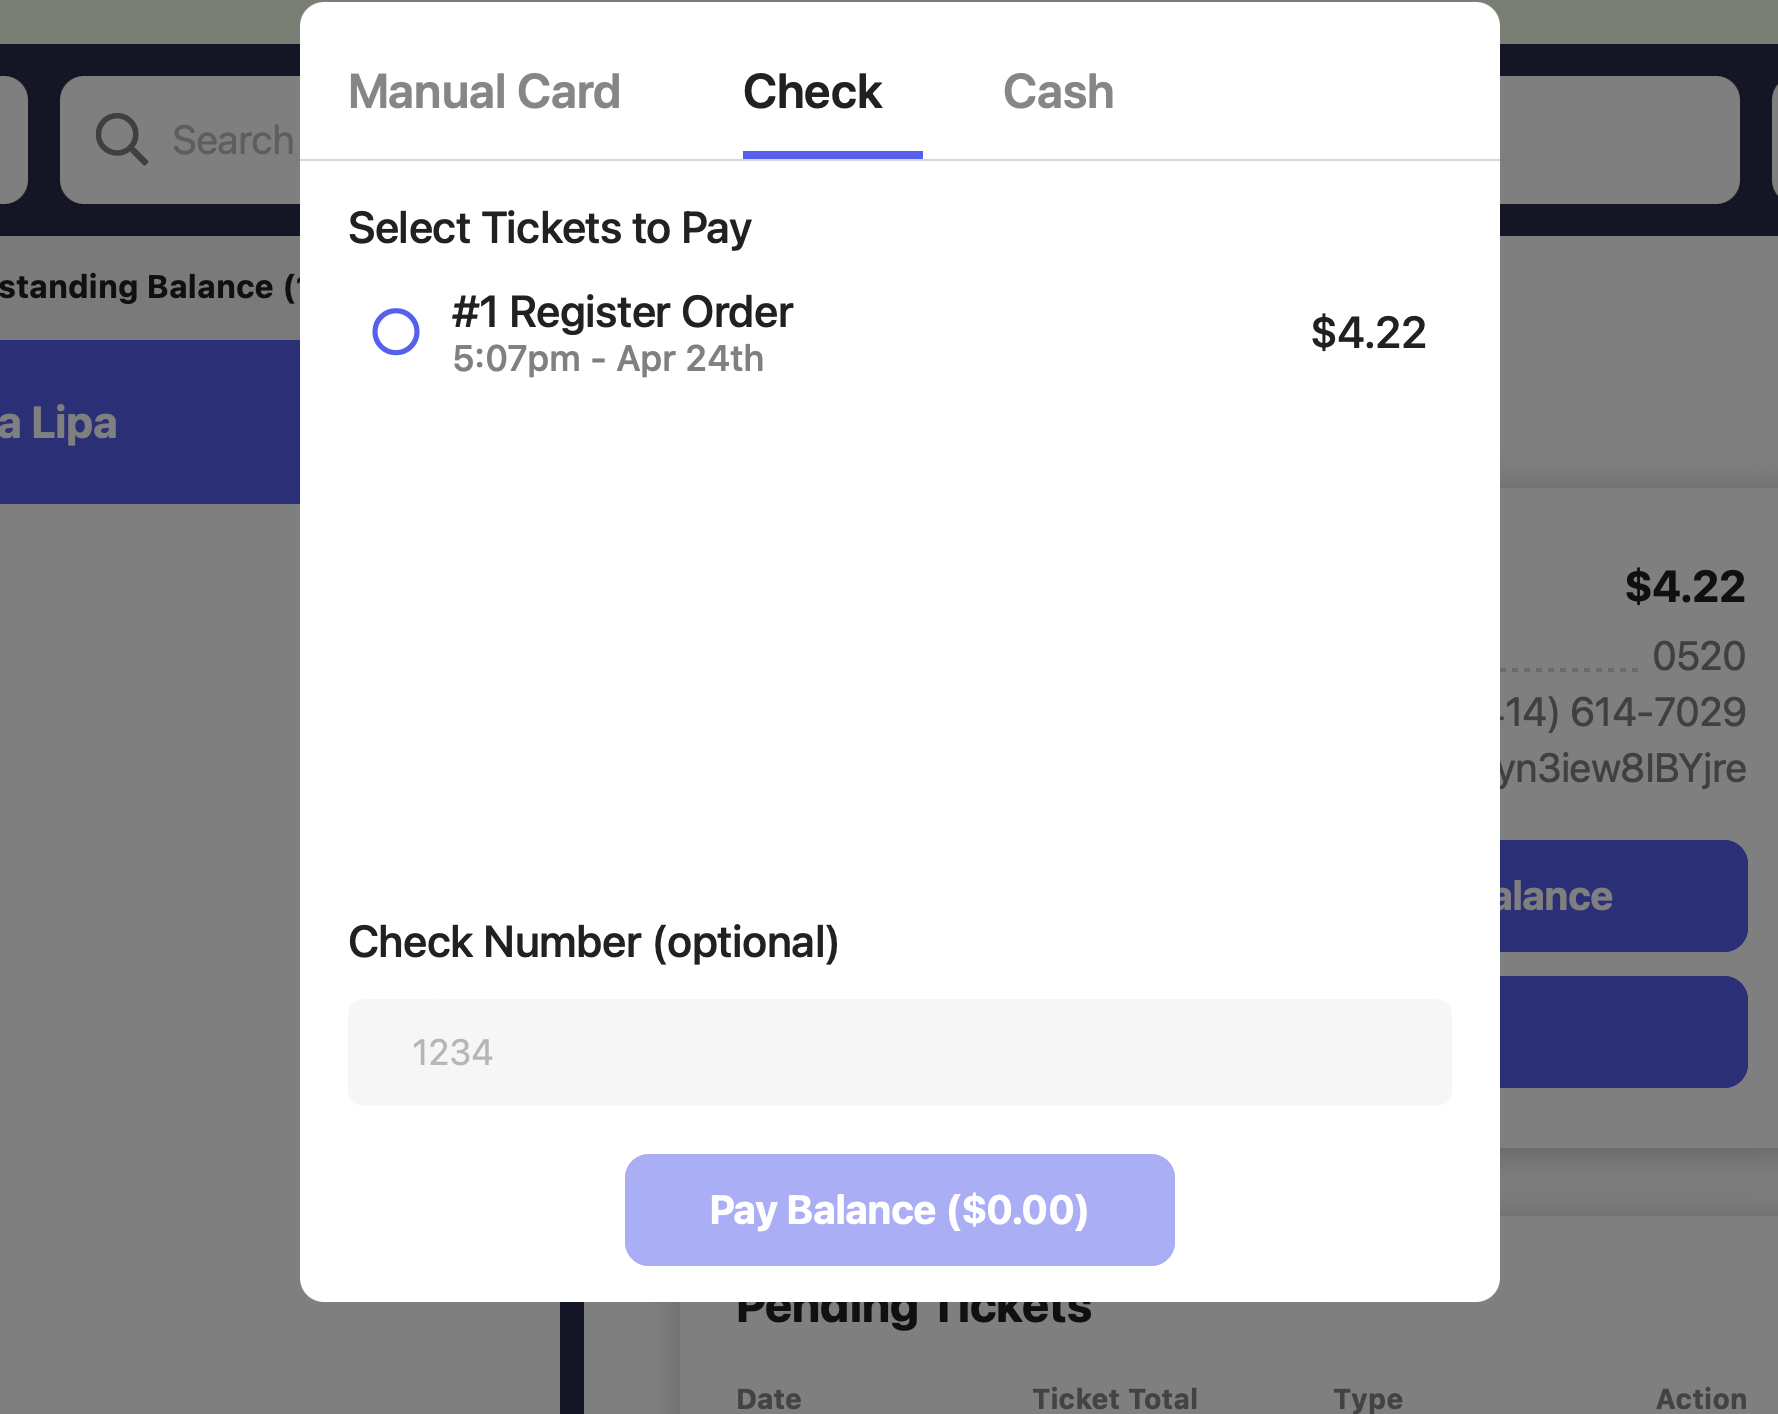
- Billing accounts can be paid by manual card, check, or cash.
Disselect a ticket to remove it from this payment and remain unpaid on the billing account for now.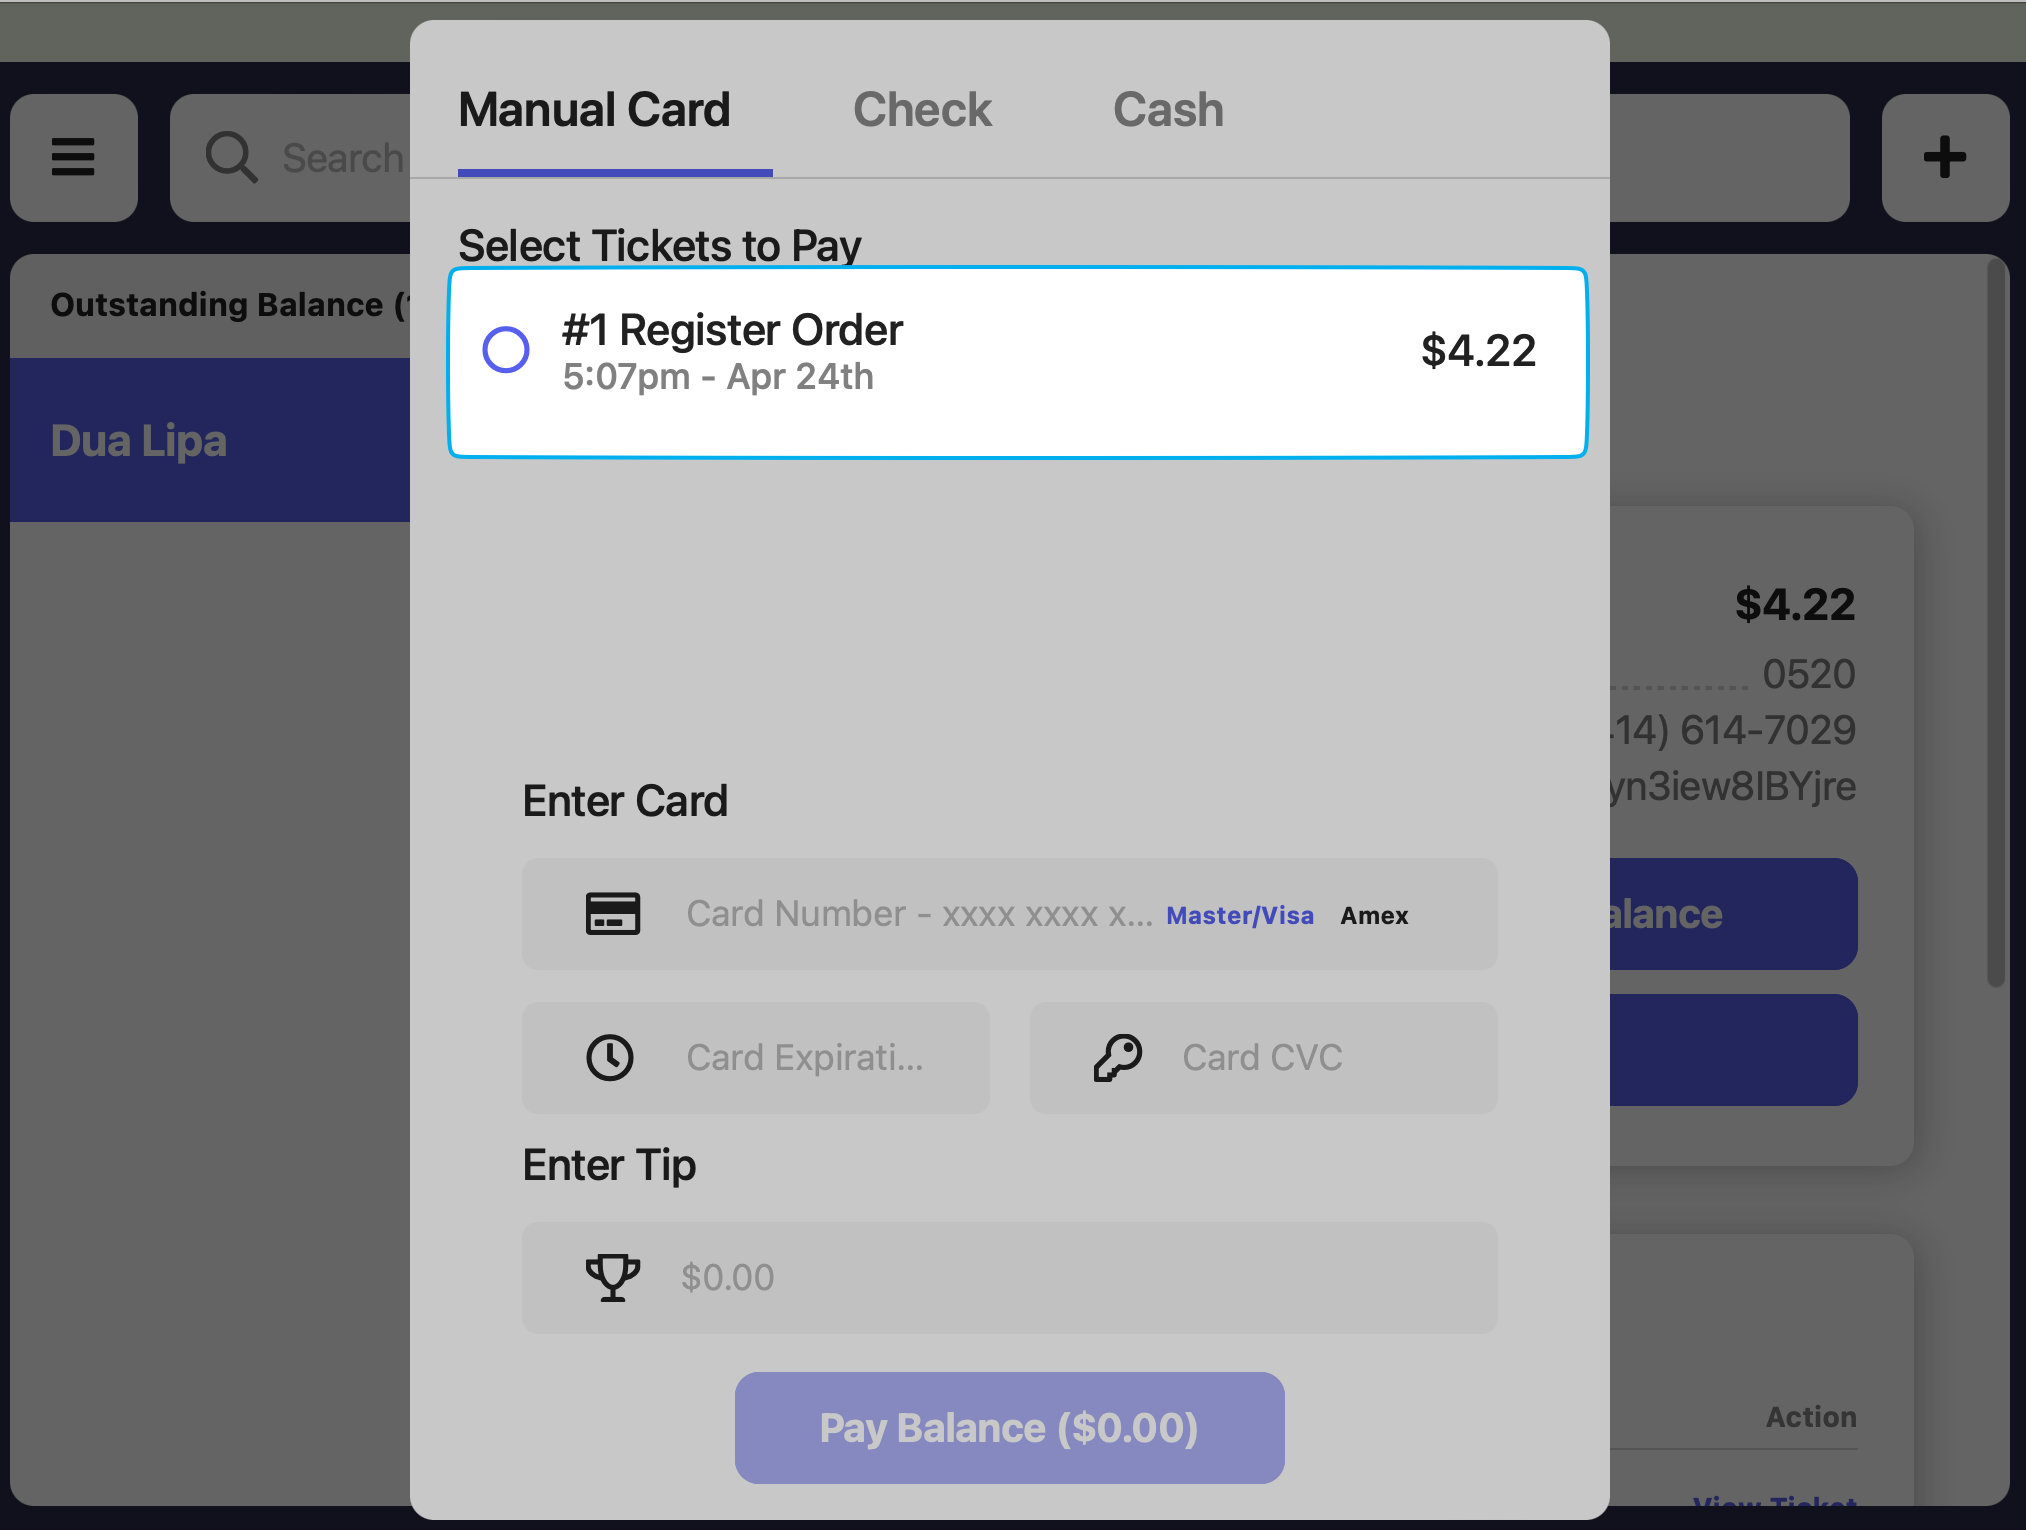
Manual Card: Insert the card details and press Pay Balance to complete the transaction.
Check: Enter the check number (optional) and press Pay Balance to complete the transaction.
Cash: Press Pay Balance to complete the transaction.

The cash sale will be recorded in your reports, but it will not be reported in your cash drawer.To record a pay in to your cash drawer, navigate to the open Cash Drawer on your Point of Sale and press Pay In to track the billing account payment in your drawer.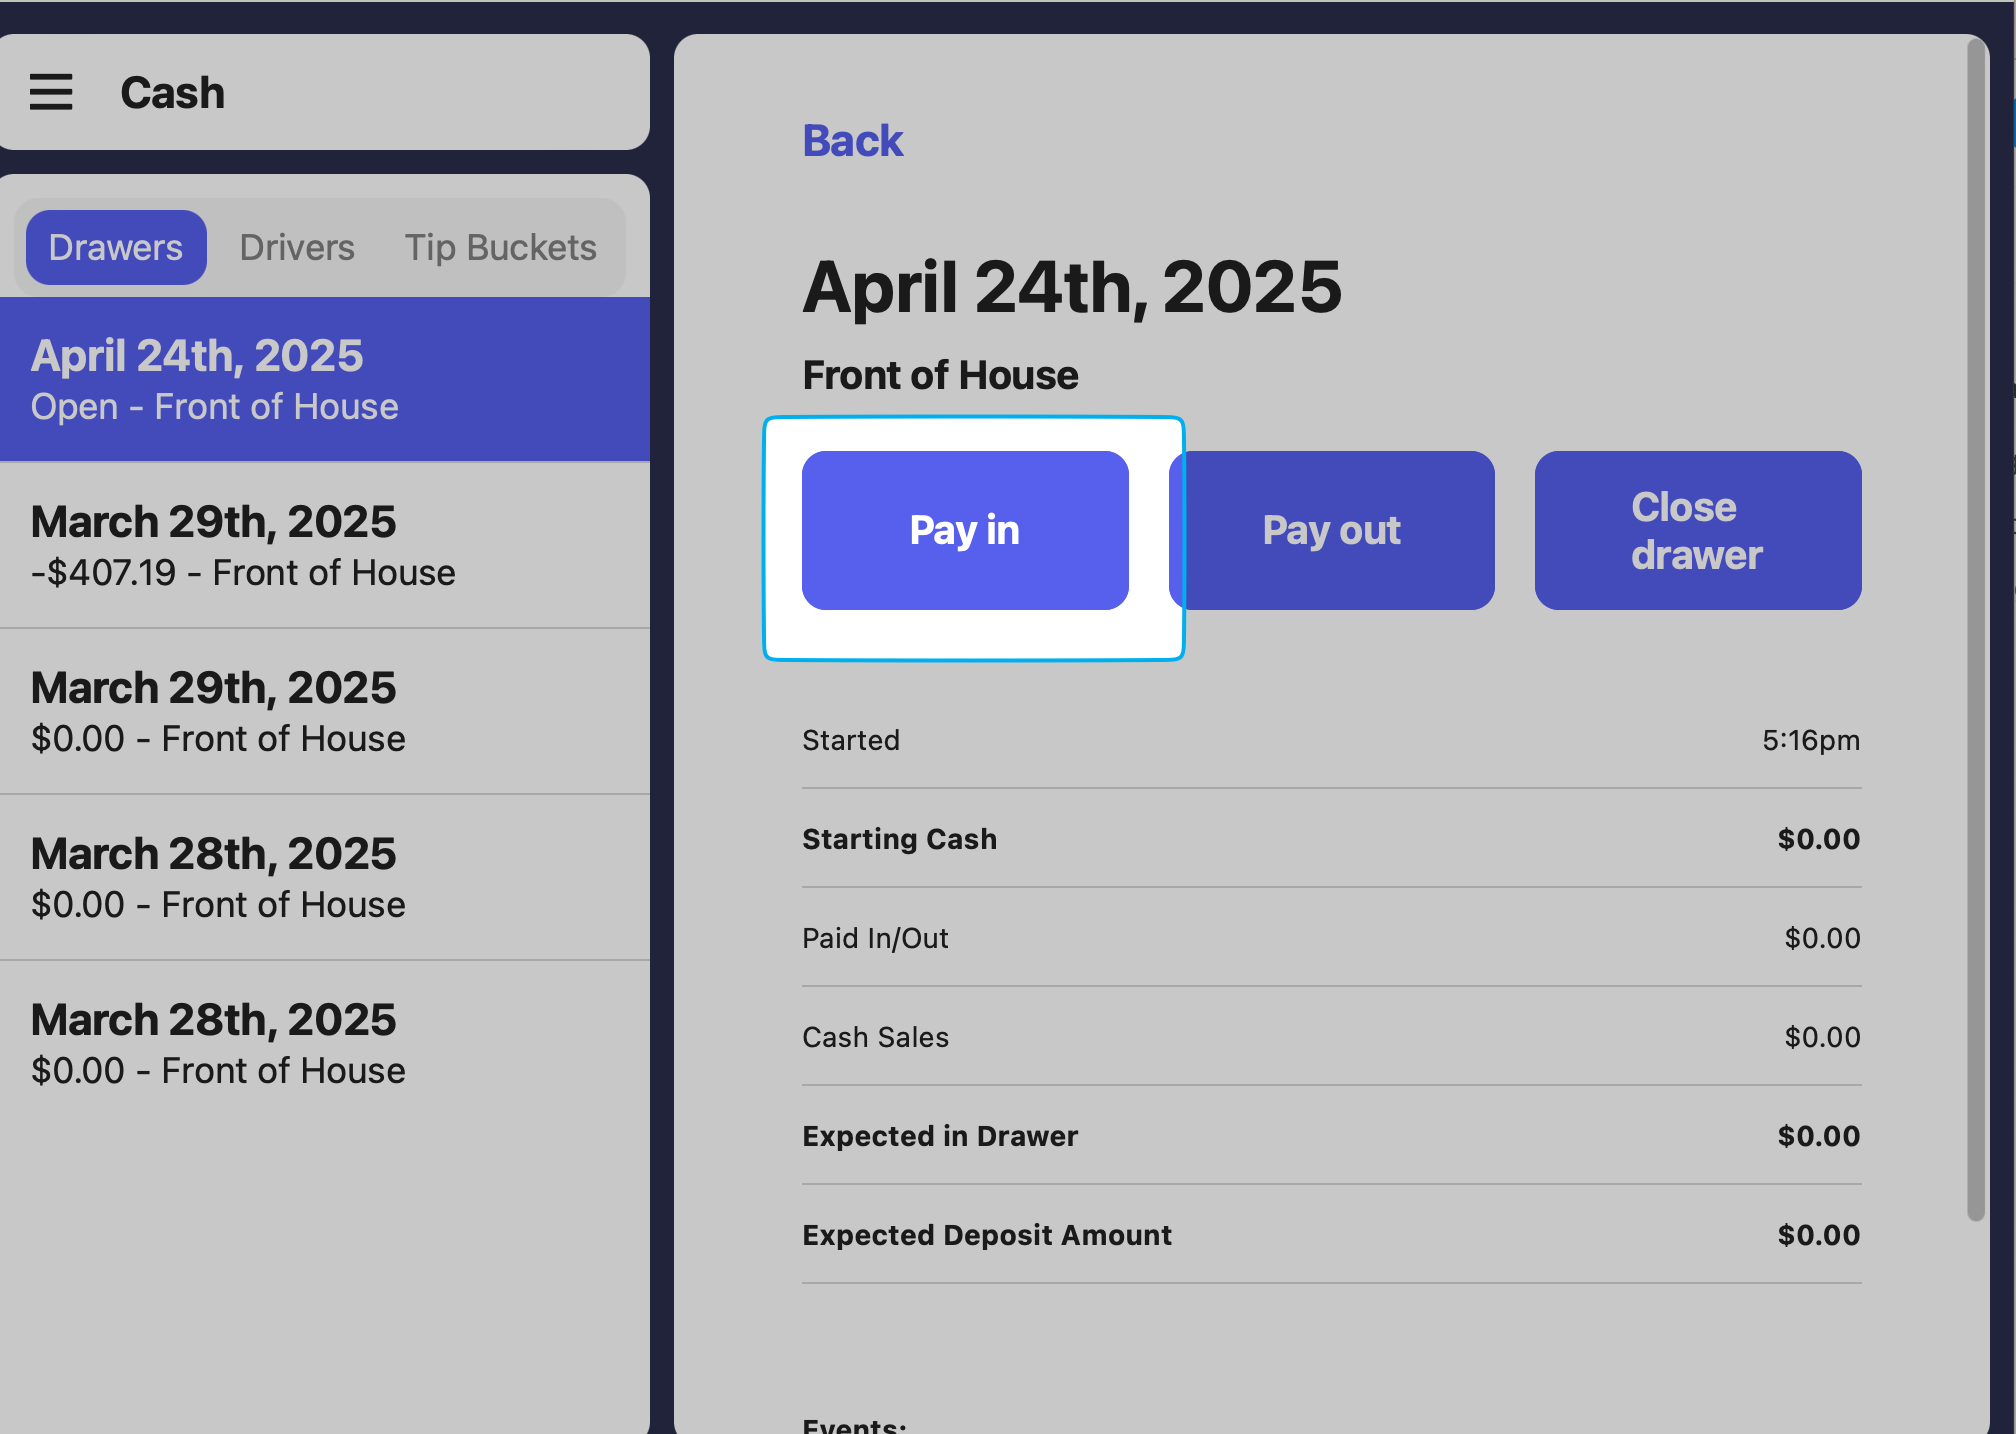
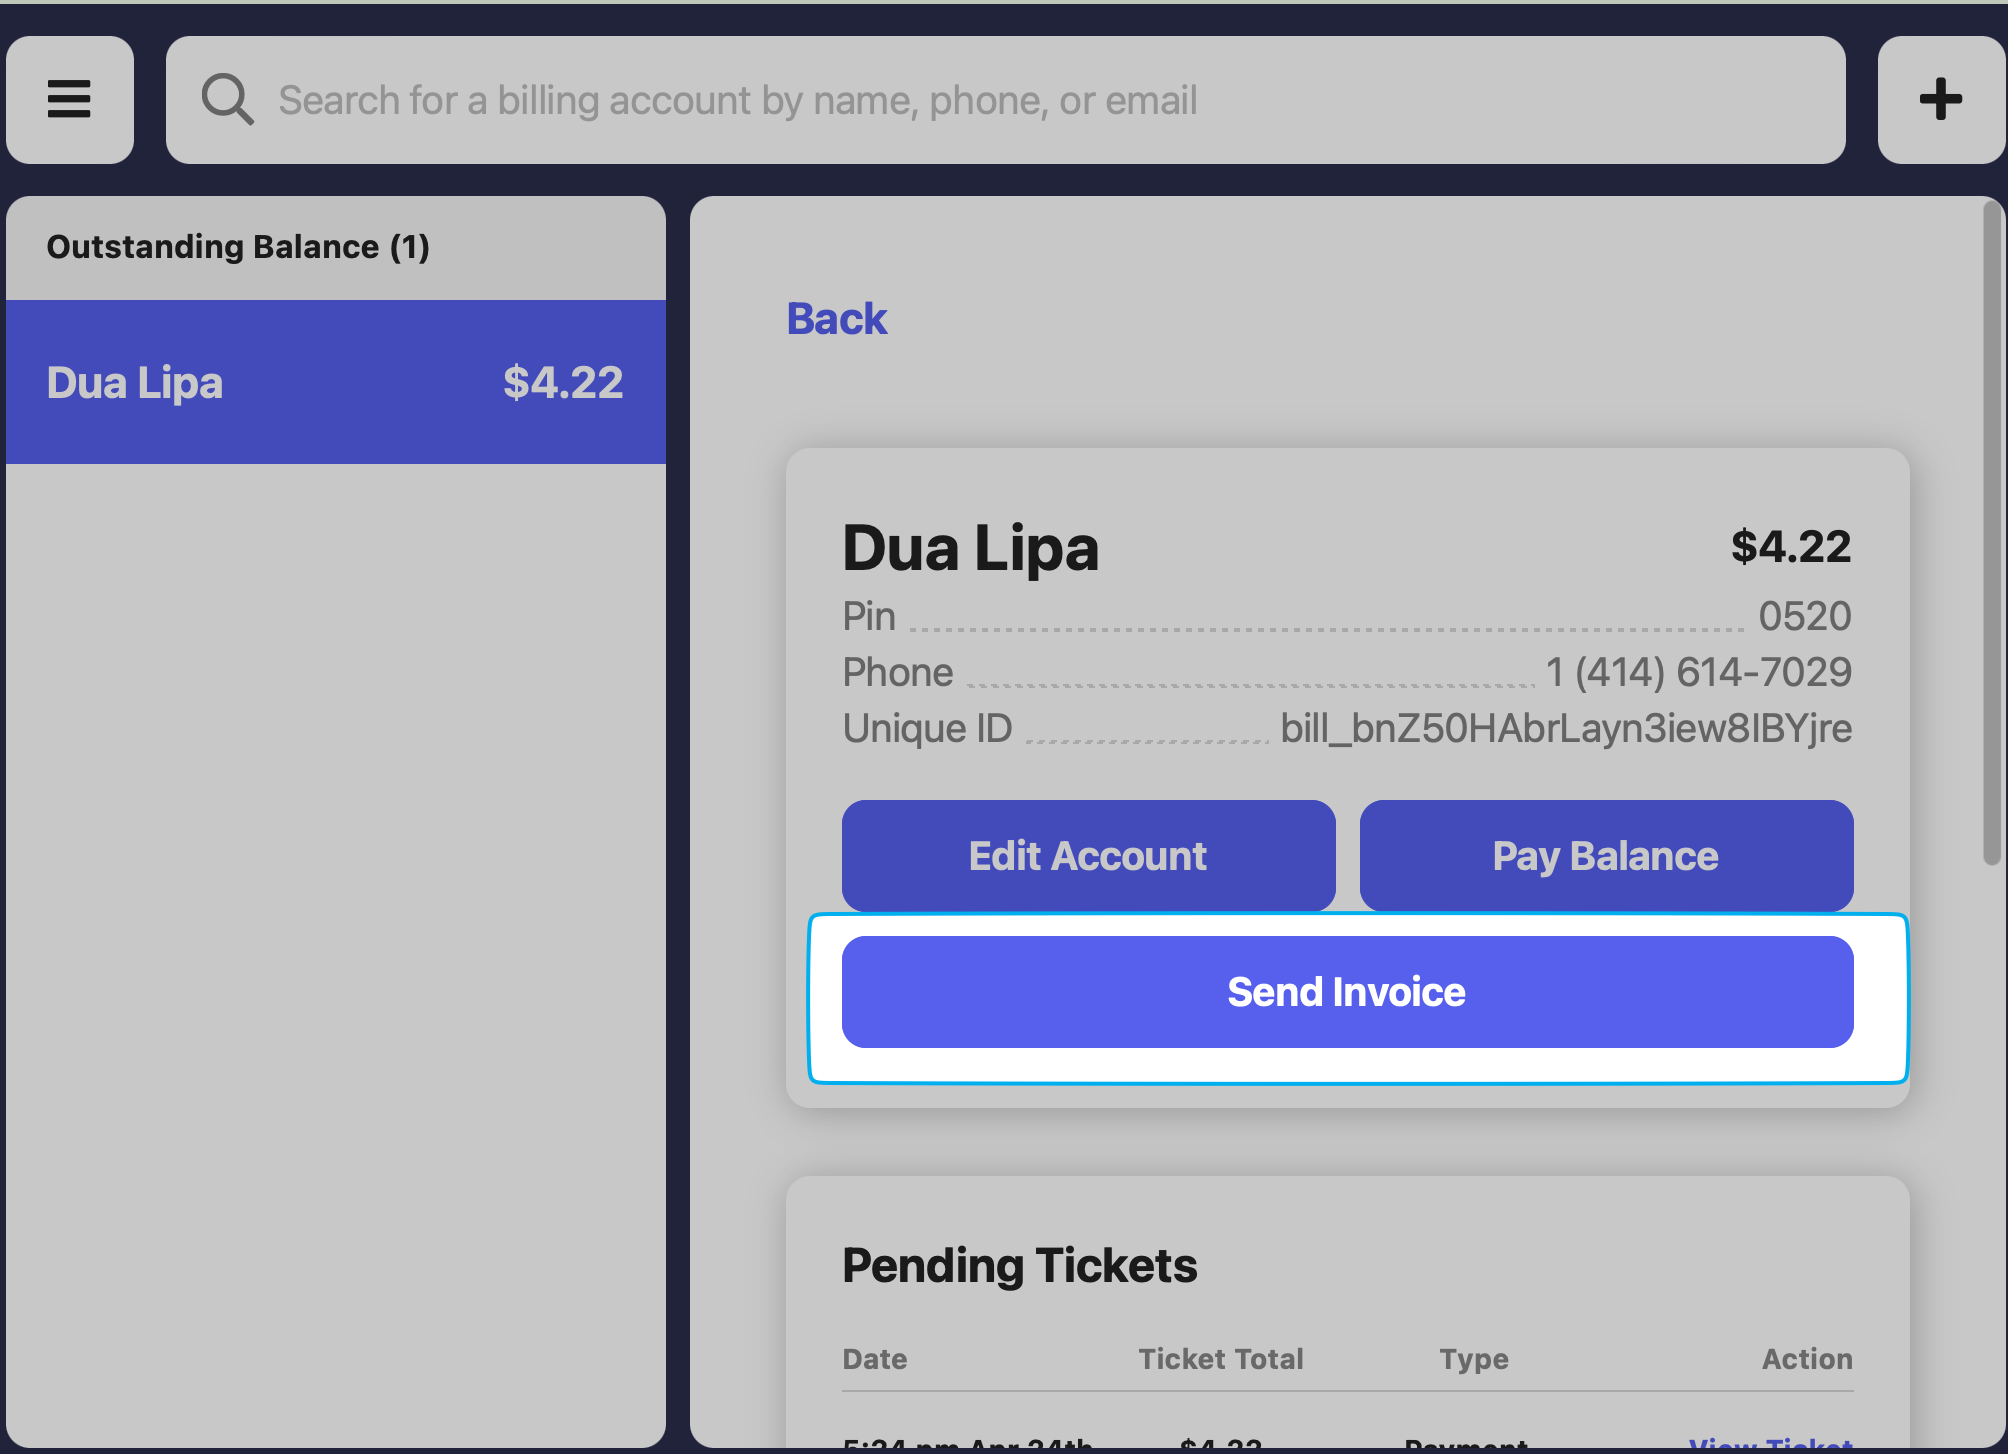
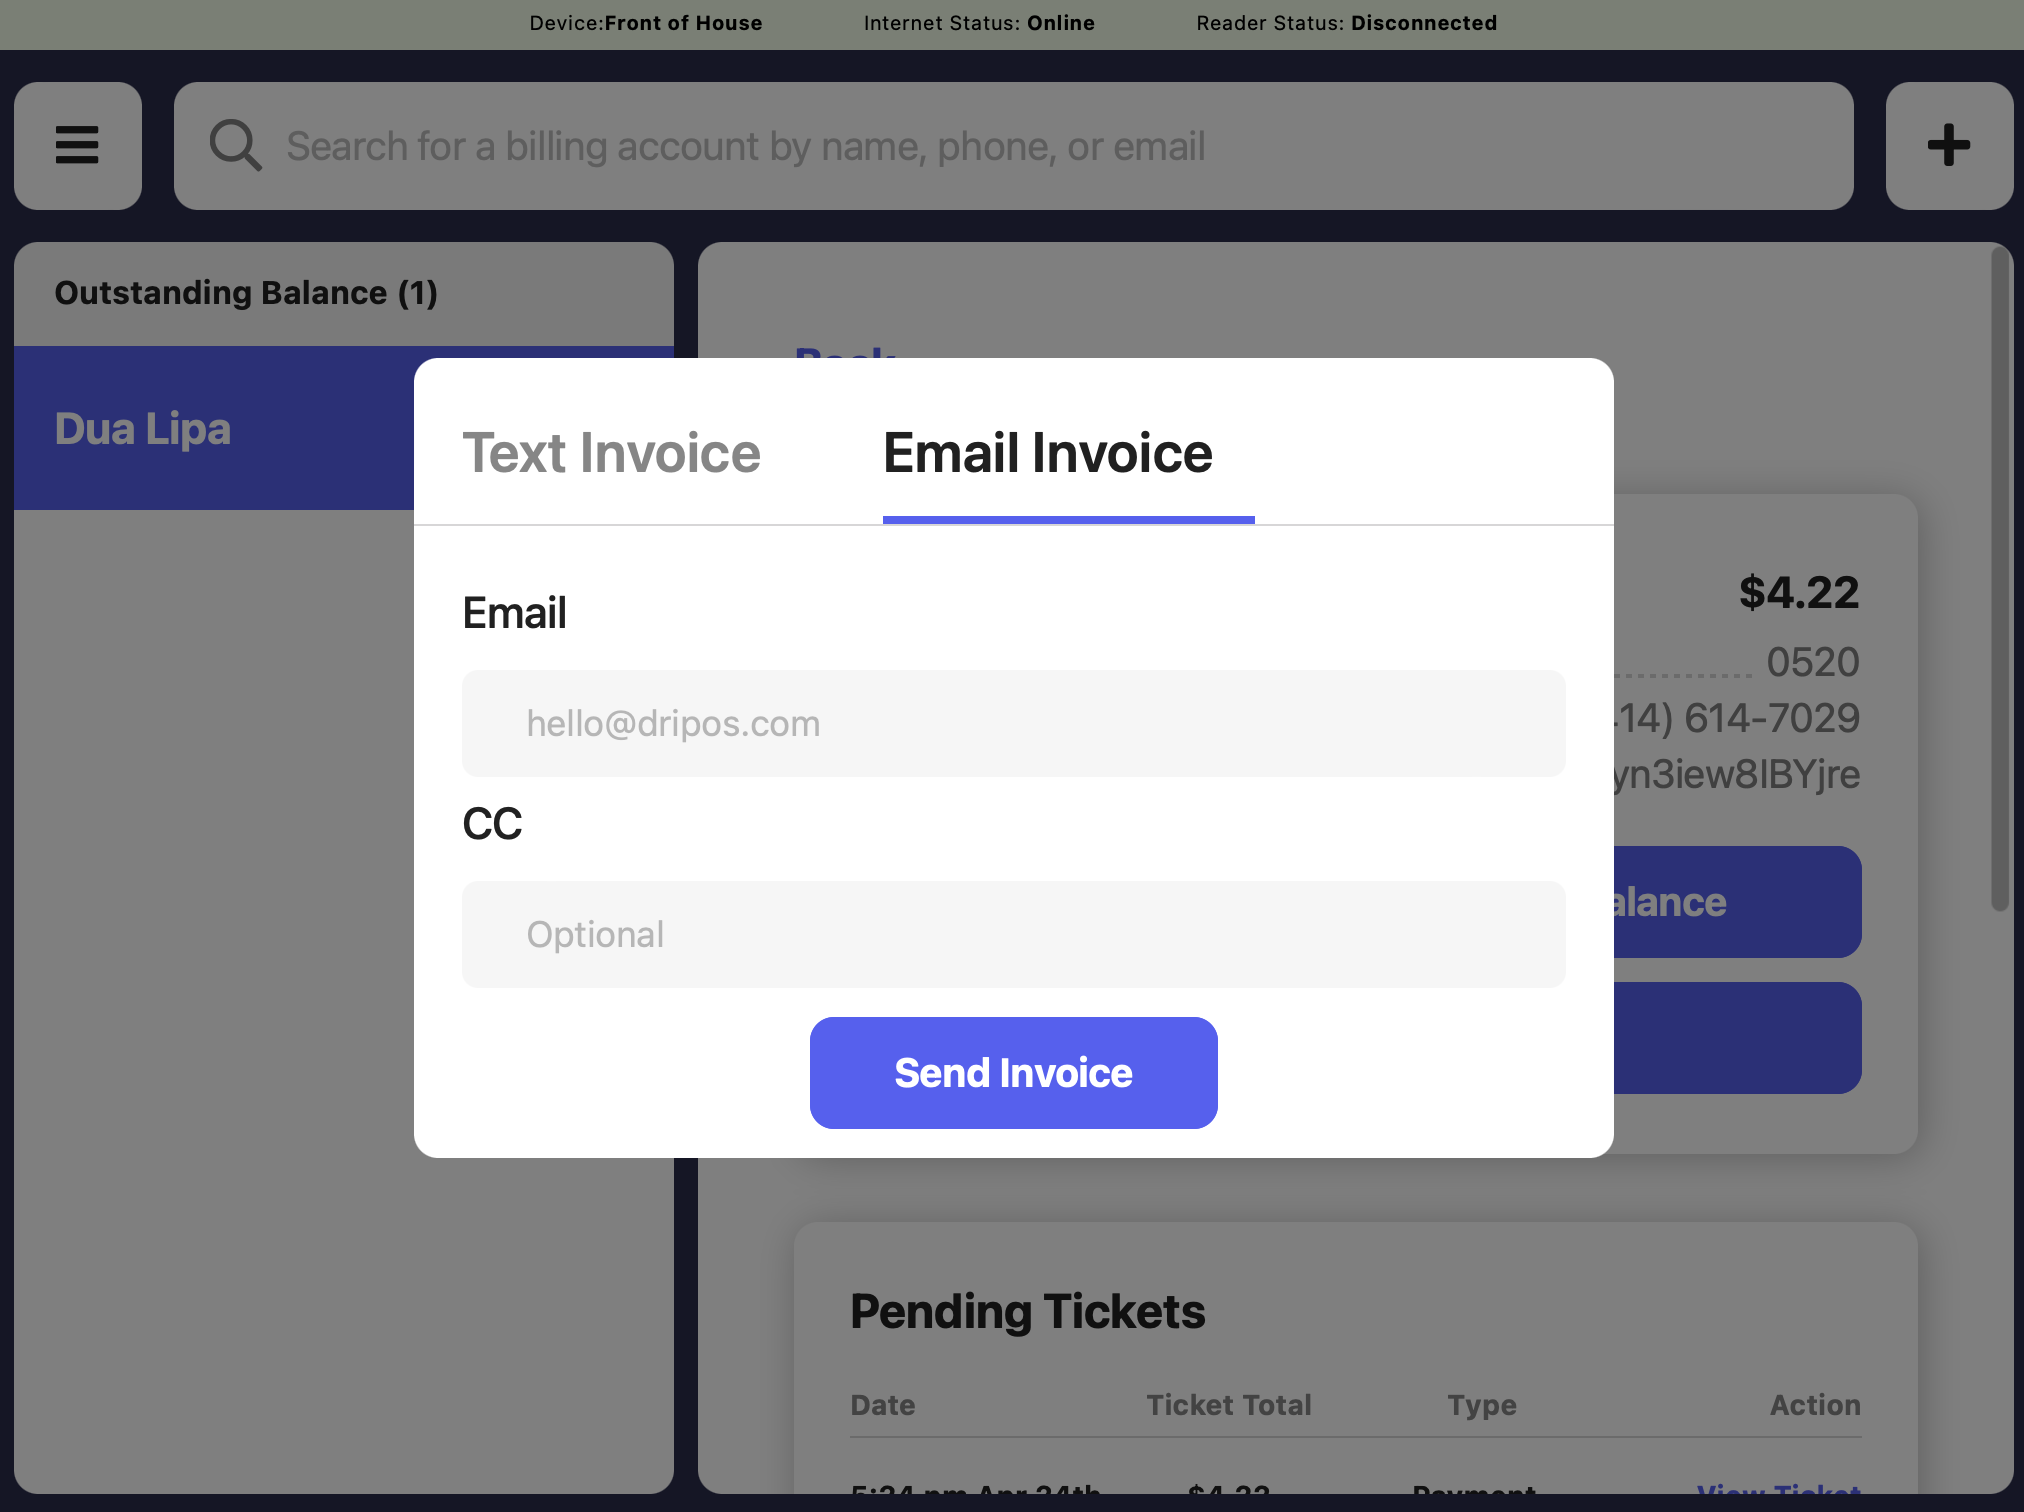
- To send an invoice with a payment link to the email or phone number attached instead, click Send Invoice
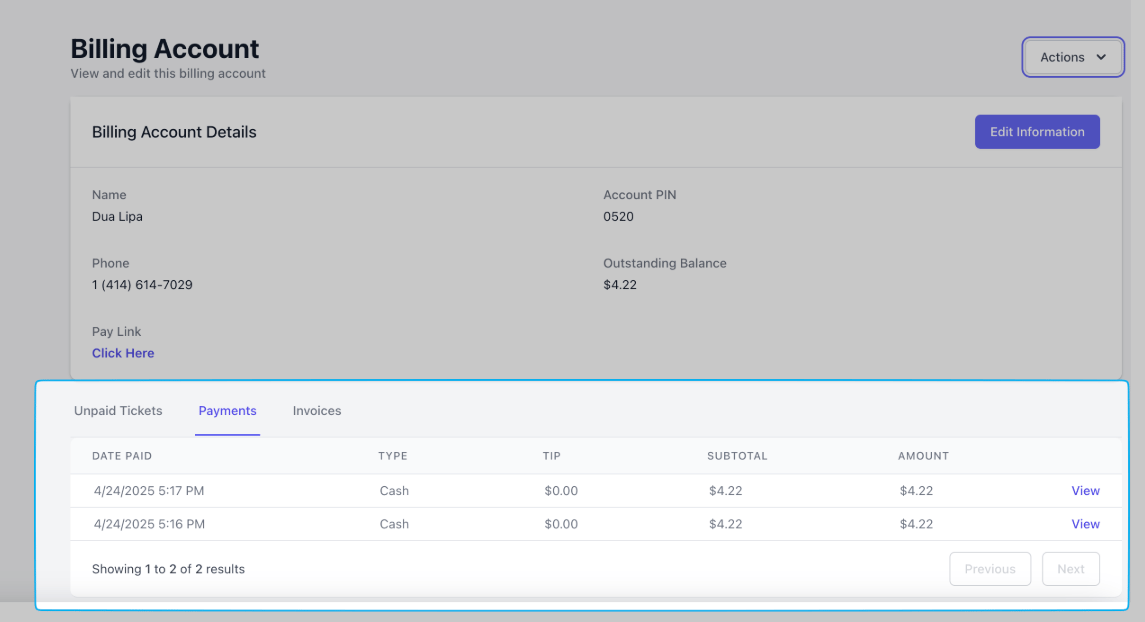
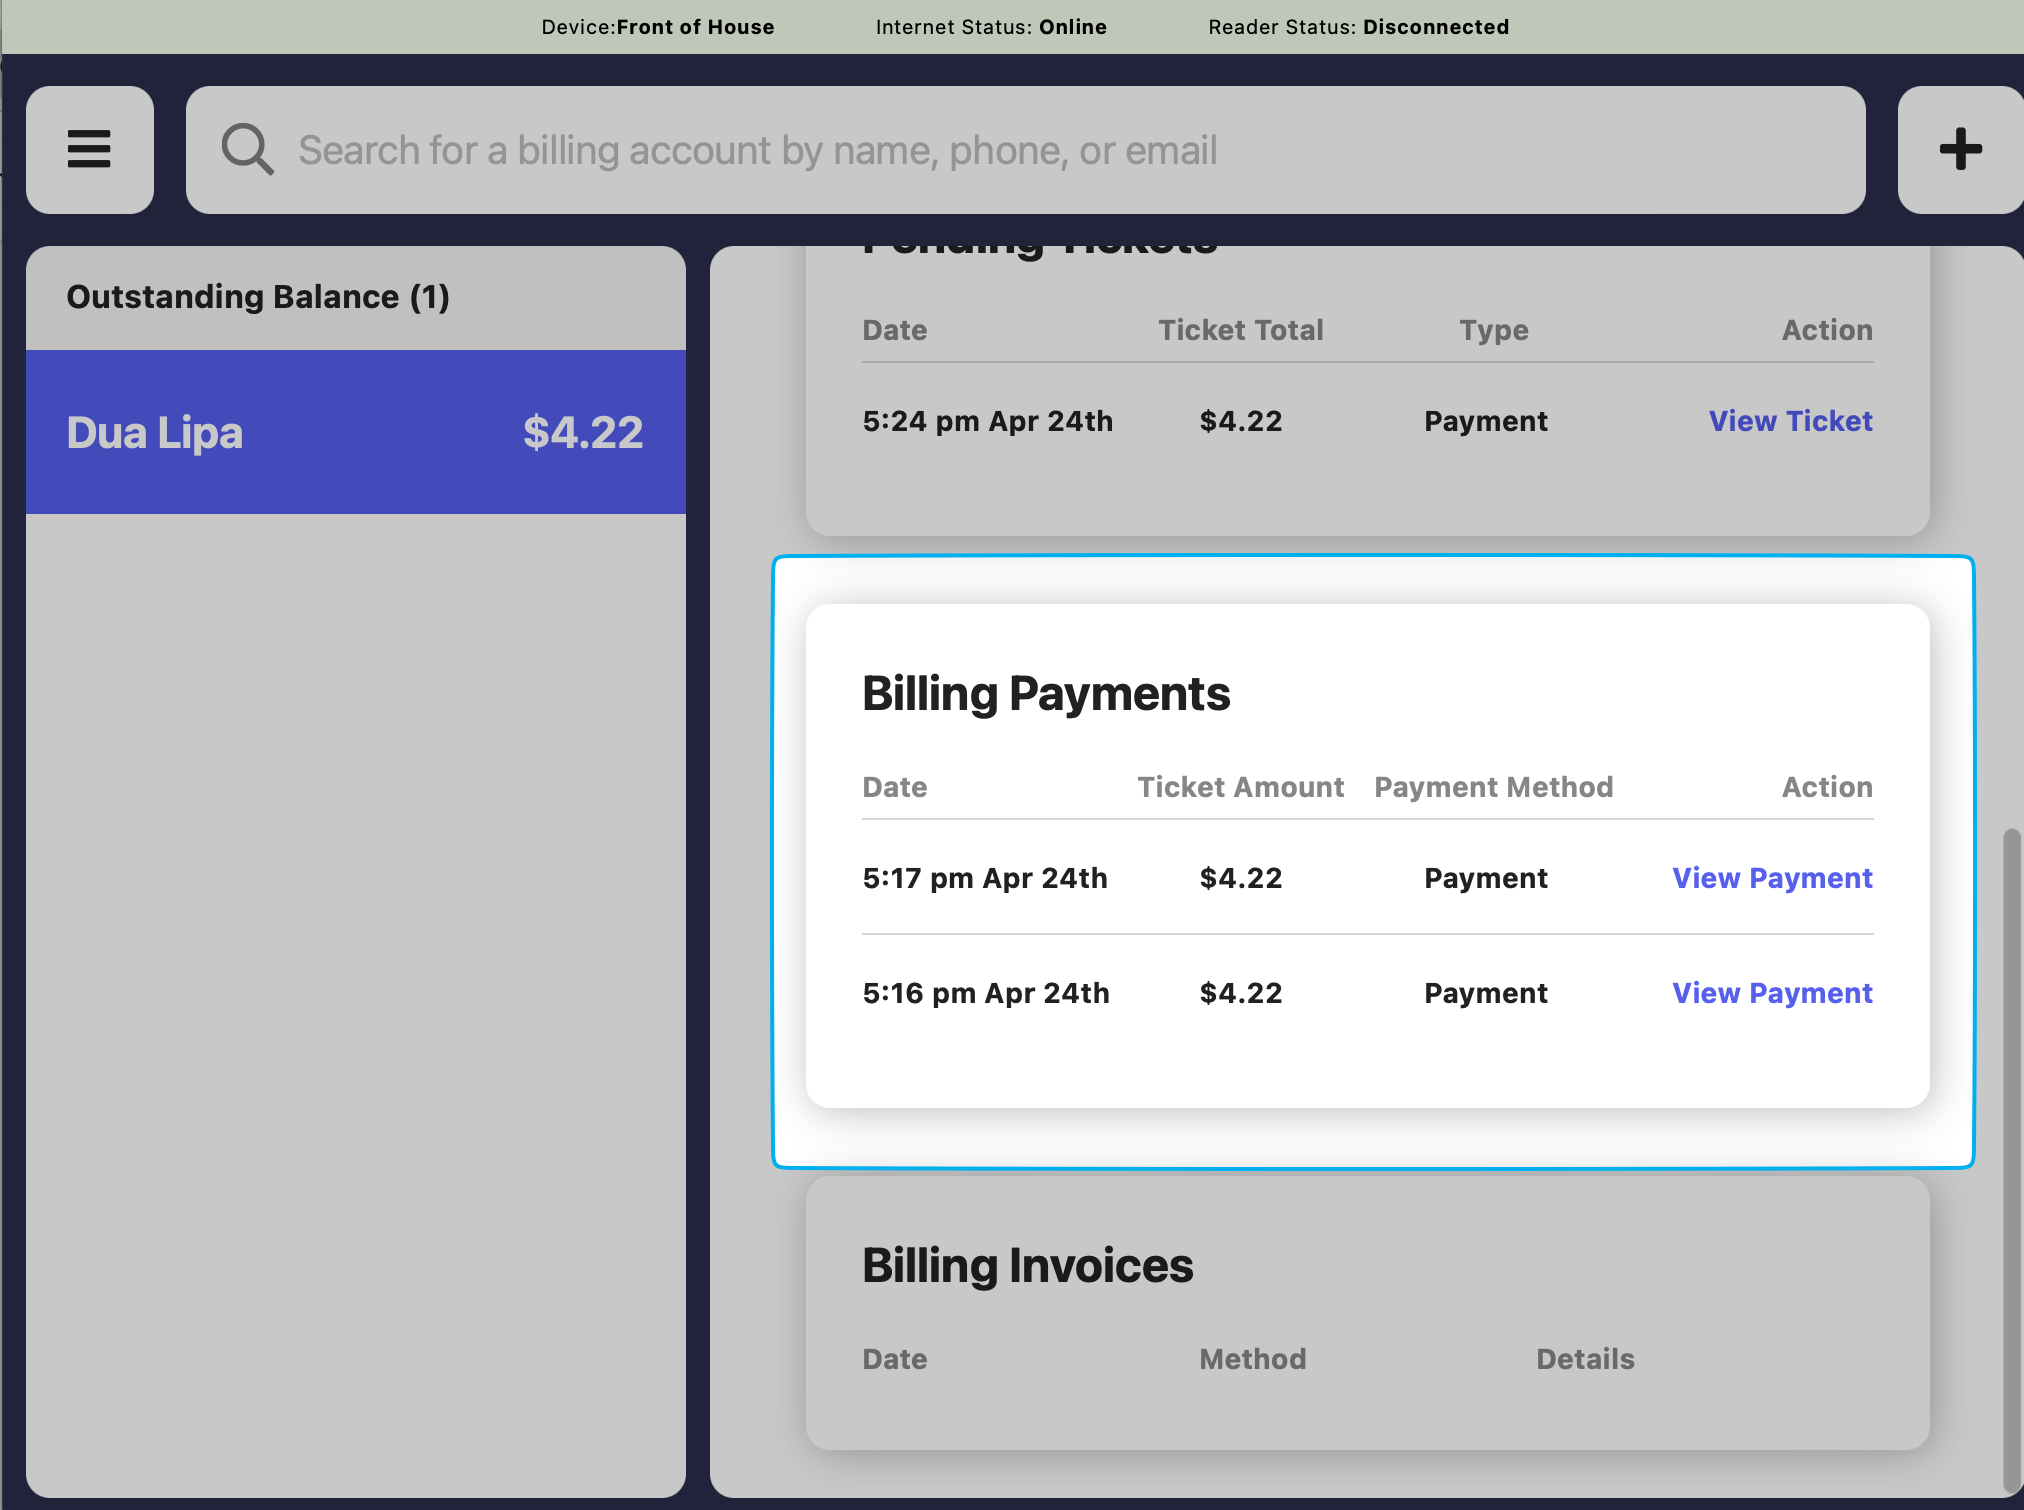
- View all completed payments here:
Dashboard
Dashboard
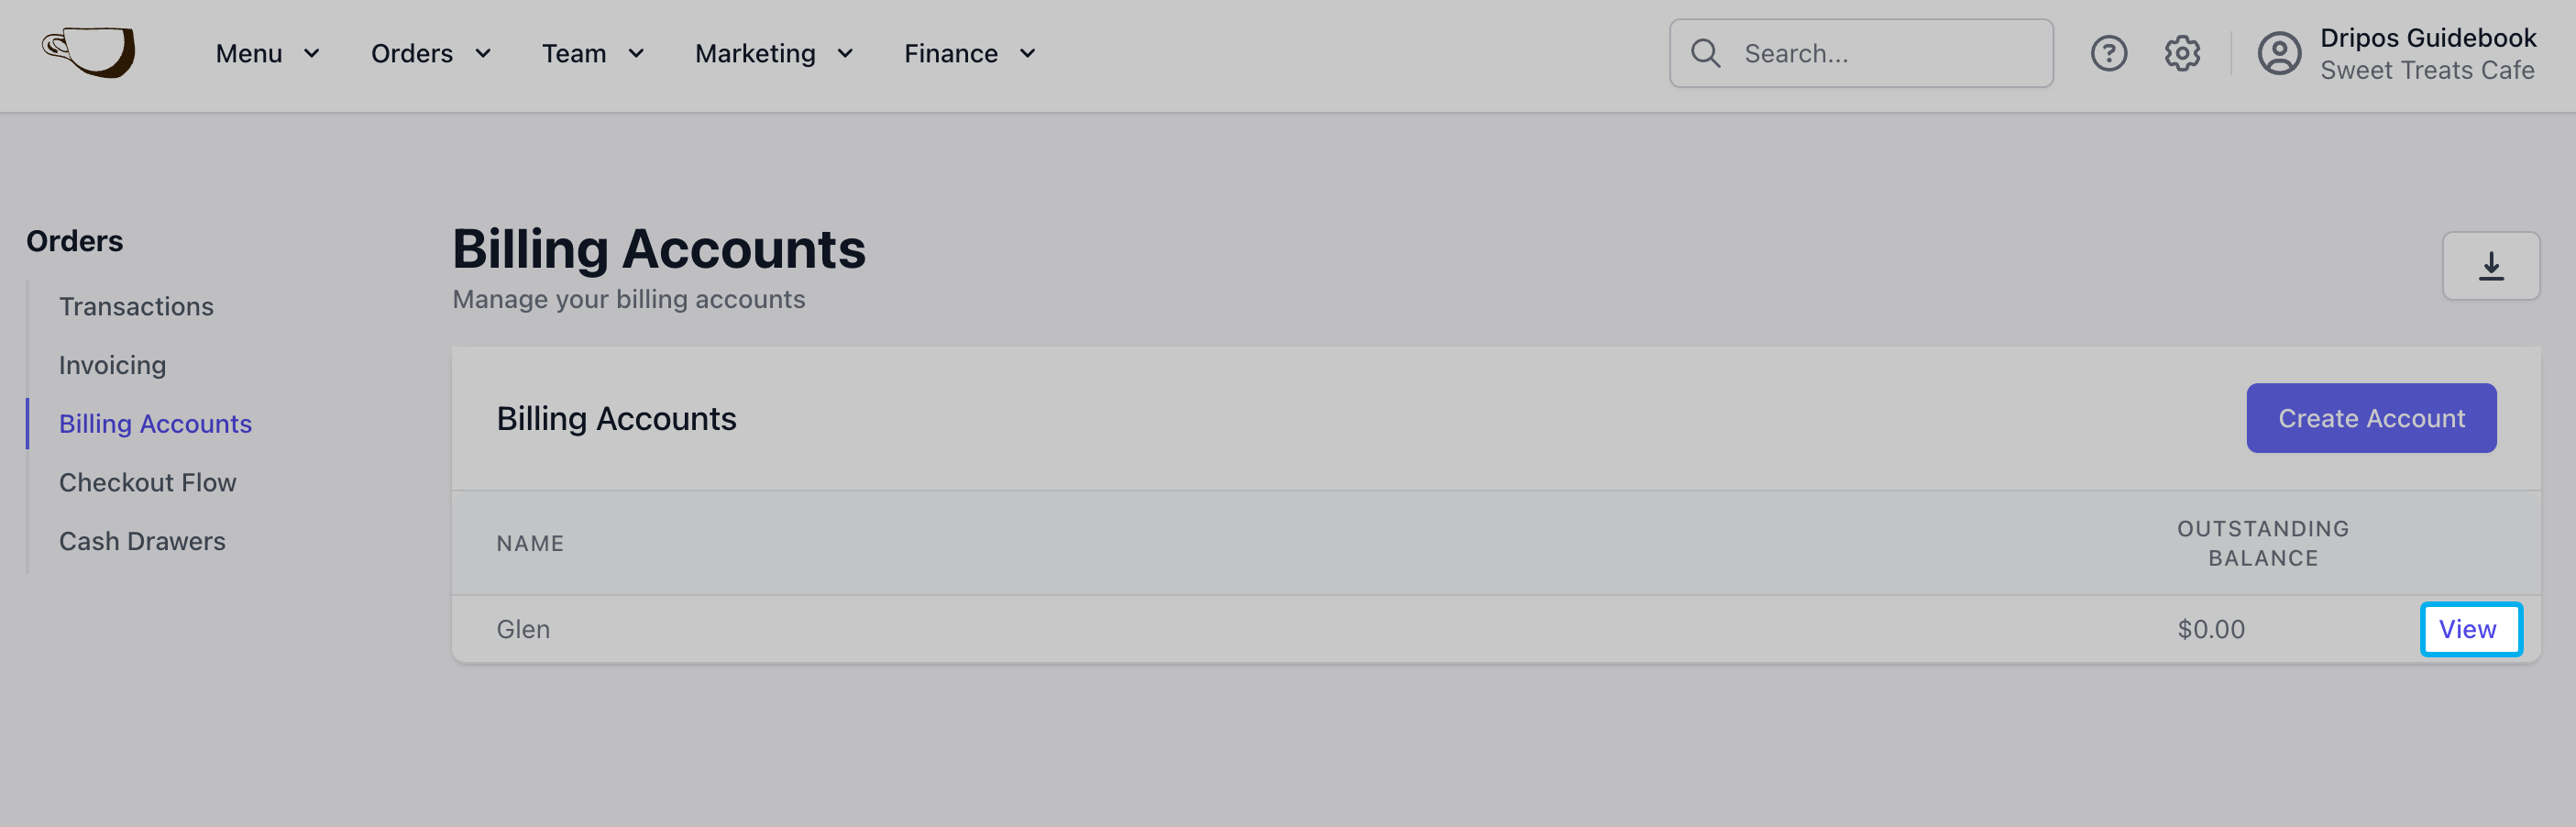
- Under Orders > Billing Accounts > click View on the billing account
- View all unpaid tickets here:
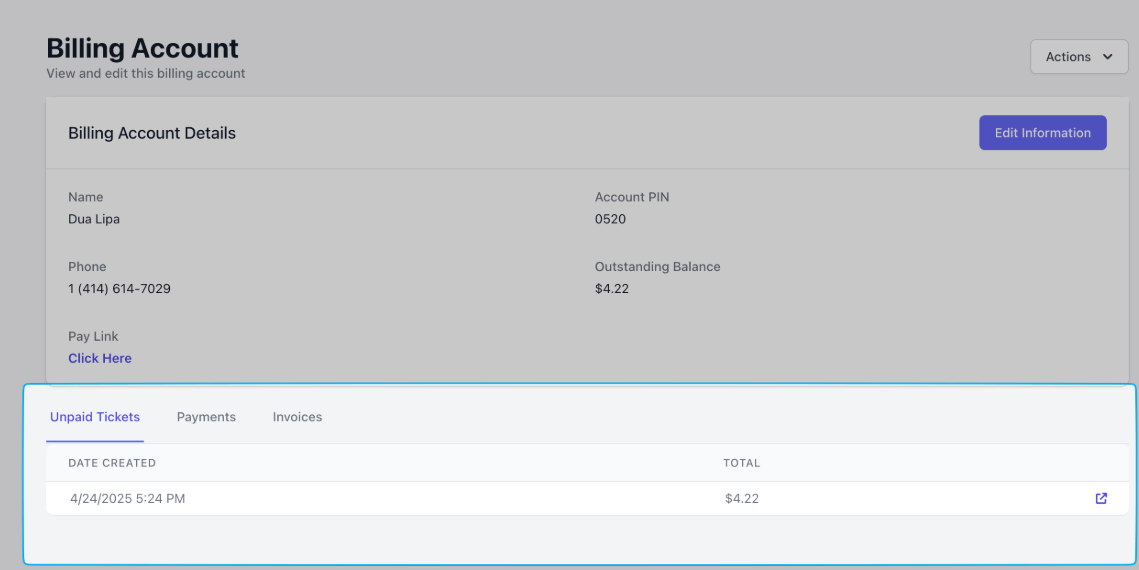
- Click Actions > select one of the payment options listed:
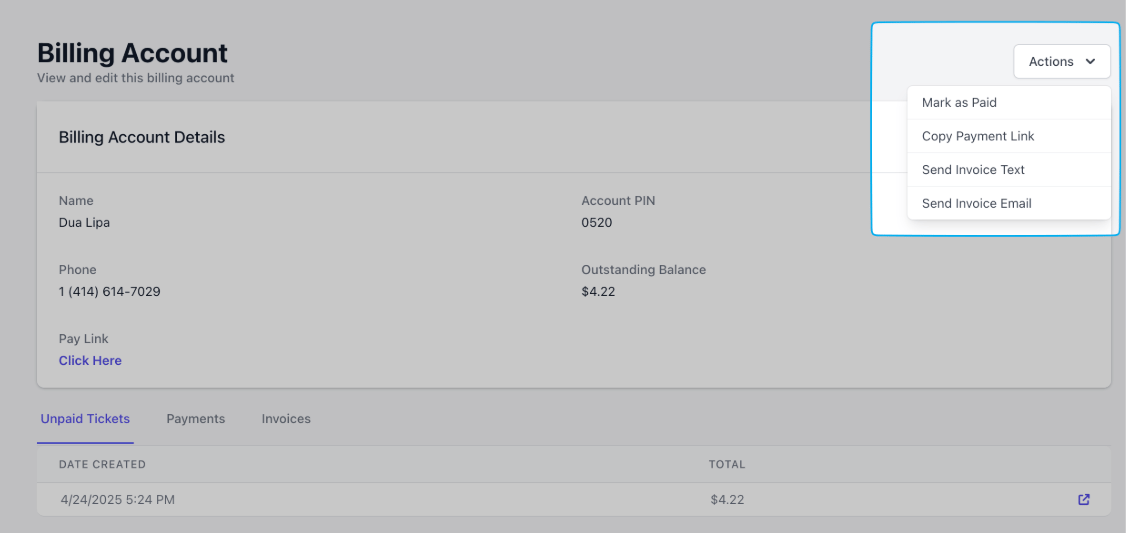
Mark as Paid: Mark the invoice as paid if you’ve collected payment elsewhere
Copy Payment Link: Copy the URL to the payment link
Send Invoice Text: Send the billing account invoice payment link to the number on file
Send Invoice Email: Send the billing account invoice payment link to the email on file
- View all completed payments here: