Adjust Inventory Stock
Make adjustments to your ingredient stock.Dashboard
Dashboard
Make adjustments to your ingredient stock directly from your Dashboard.Navigate to Menu > Supply Chain > Ingredients > View ingredient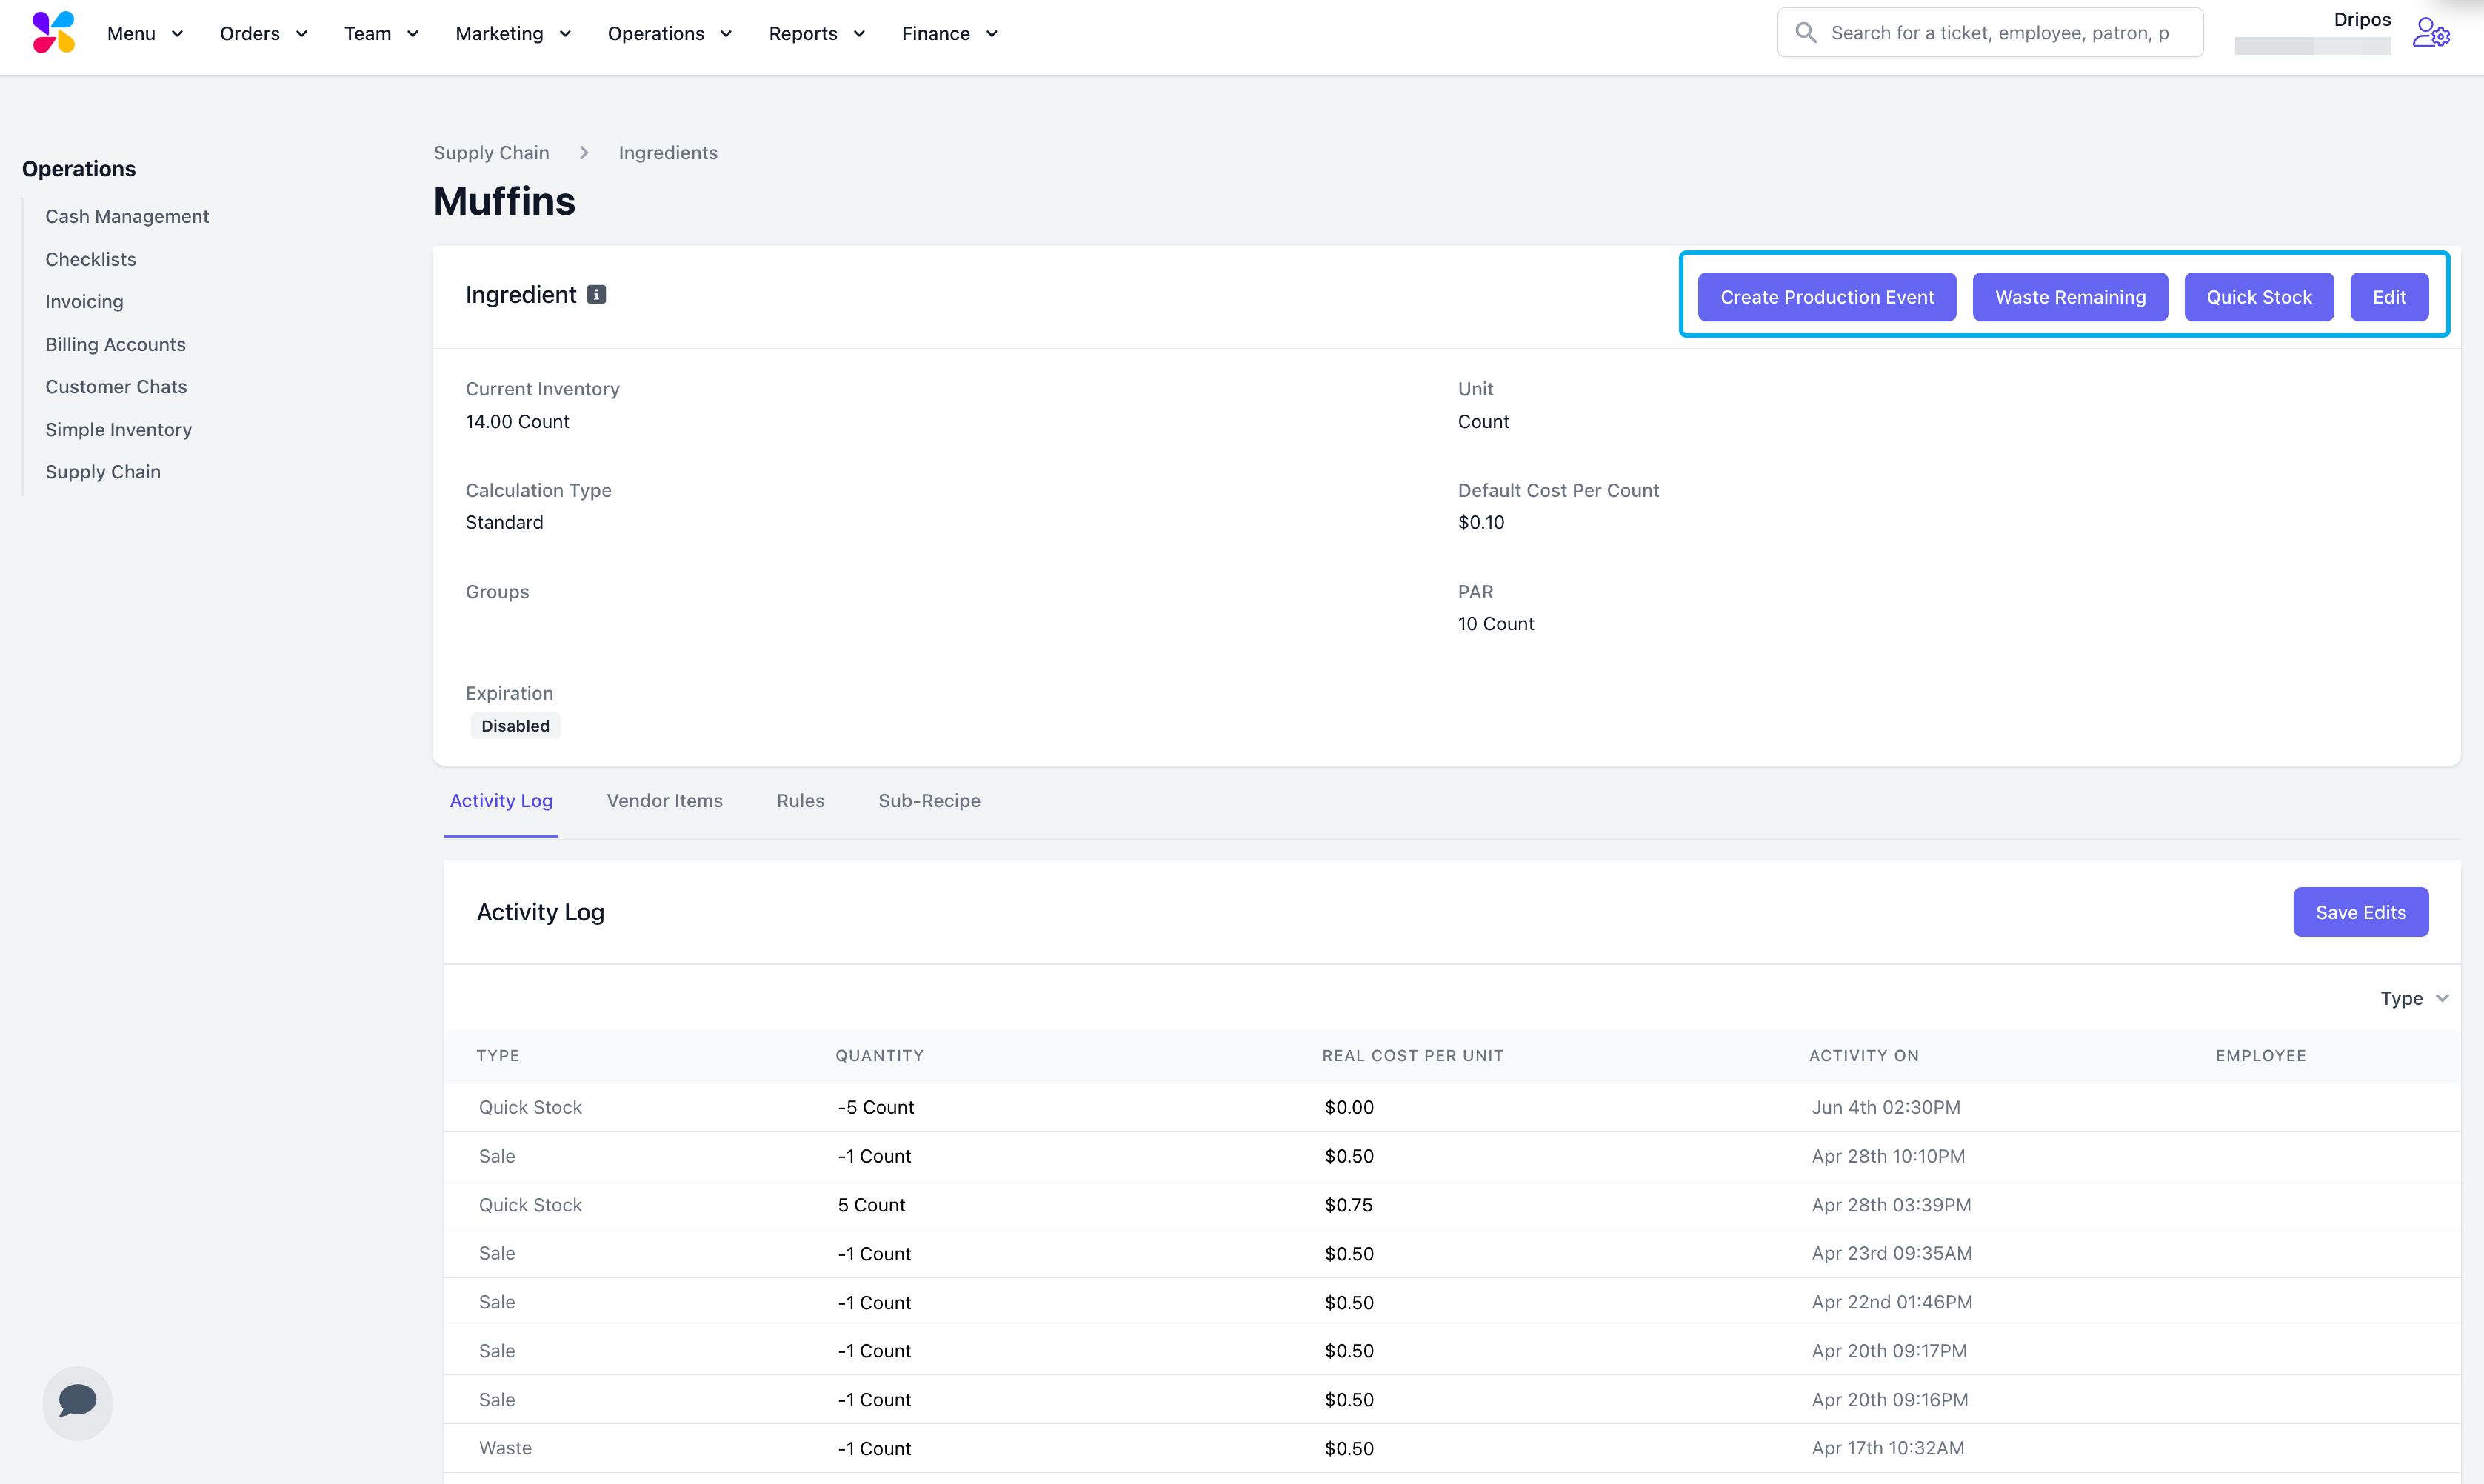
1
Waste Remaining
Waste all remaining ingredient stock. This will set the quantity in stock to 0 and create a Waste Event for the ingredient.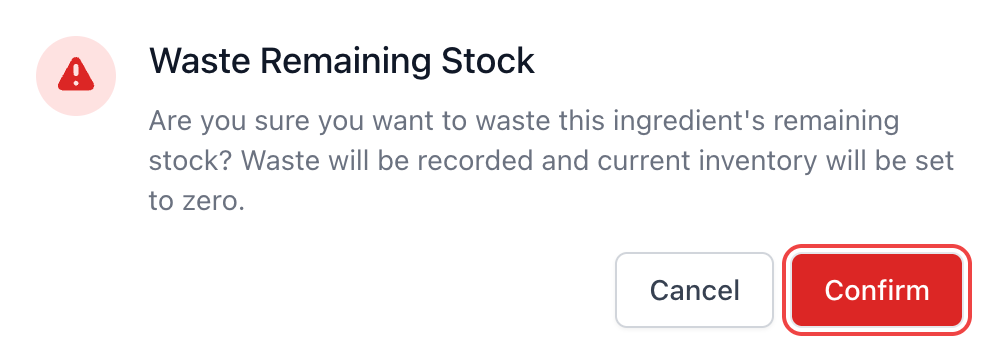
2
Quick Stock
Add quantity to an ingredient’s stock. Ensure the proper unit is selected. The Per Unit Cost will autofill. If a vendor item is attached, it too will autofill.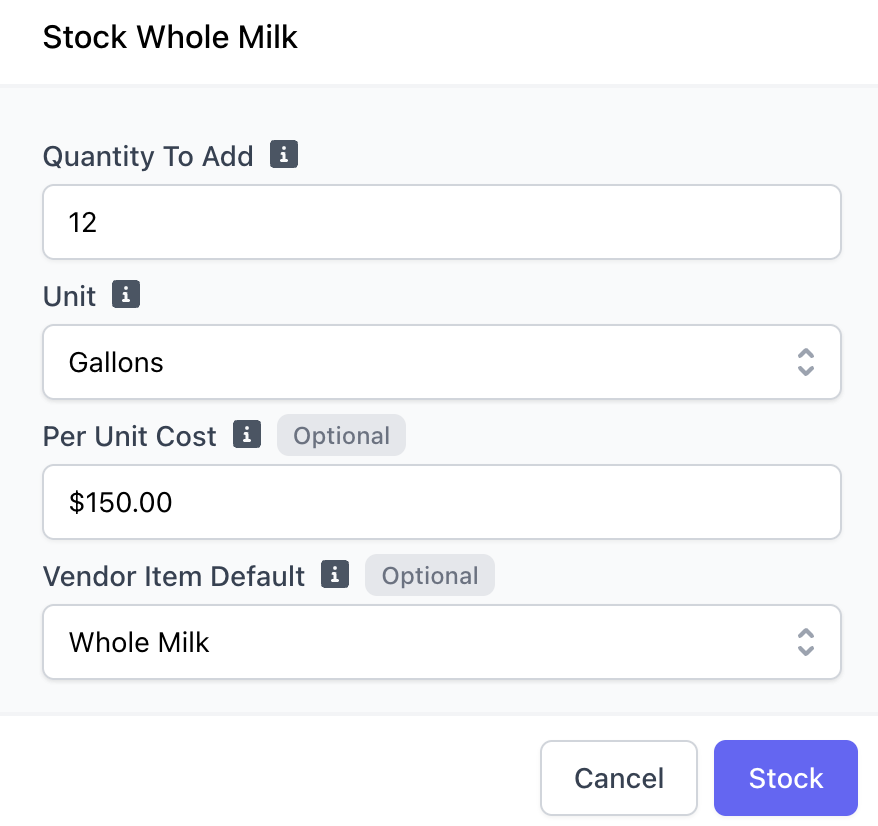
3
Production Event
Use a production event to decrease the stock of the ingredients used in the sub recipe and in turn, restock the final ingredient.Learn more about production events here
4
Quick Stock from Ingredients Page
Additionally, edit ingredient stock directly from the Ingredients page.Select the Stock button to the right of the ingredient you want to add or subtract stock from.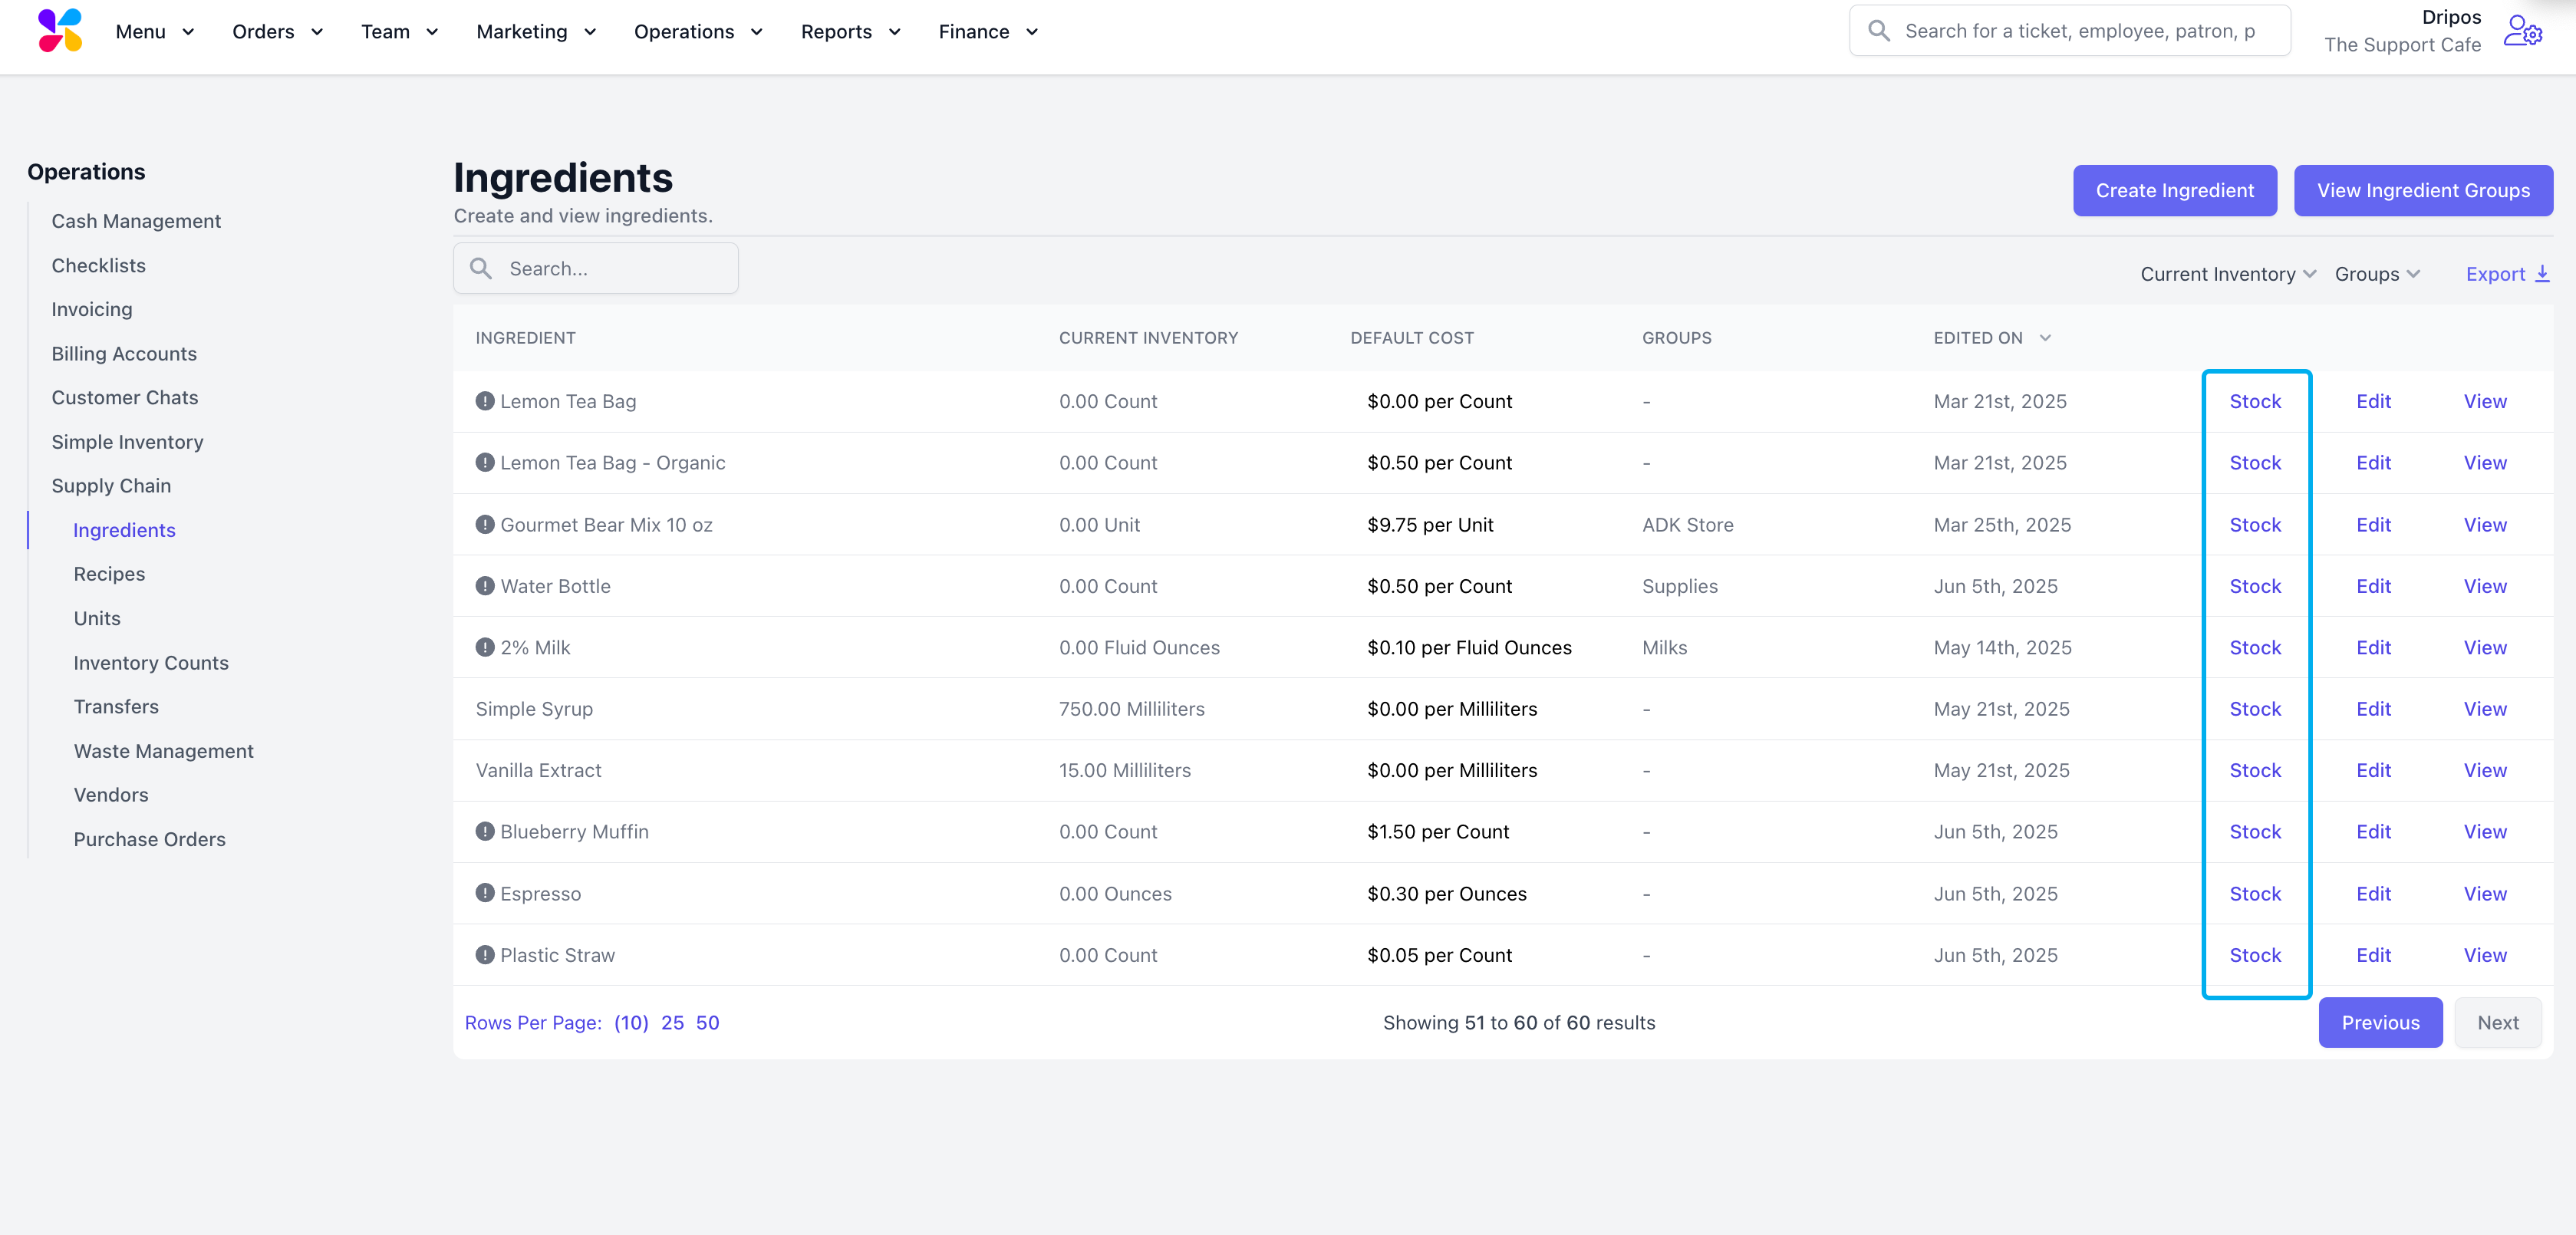
Point of Sale
Point of Sale
Make adjustments to your ingredient stock directly from your POS.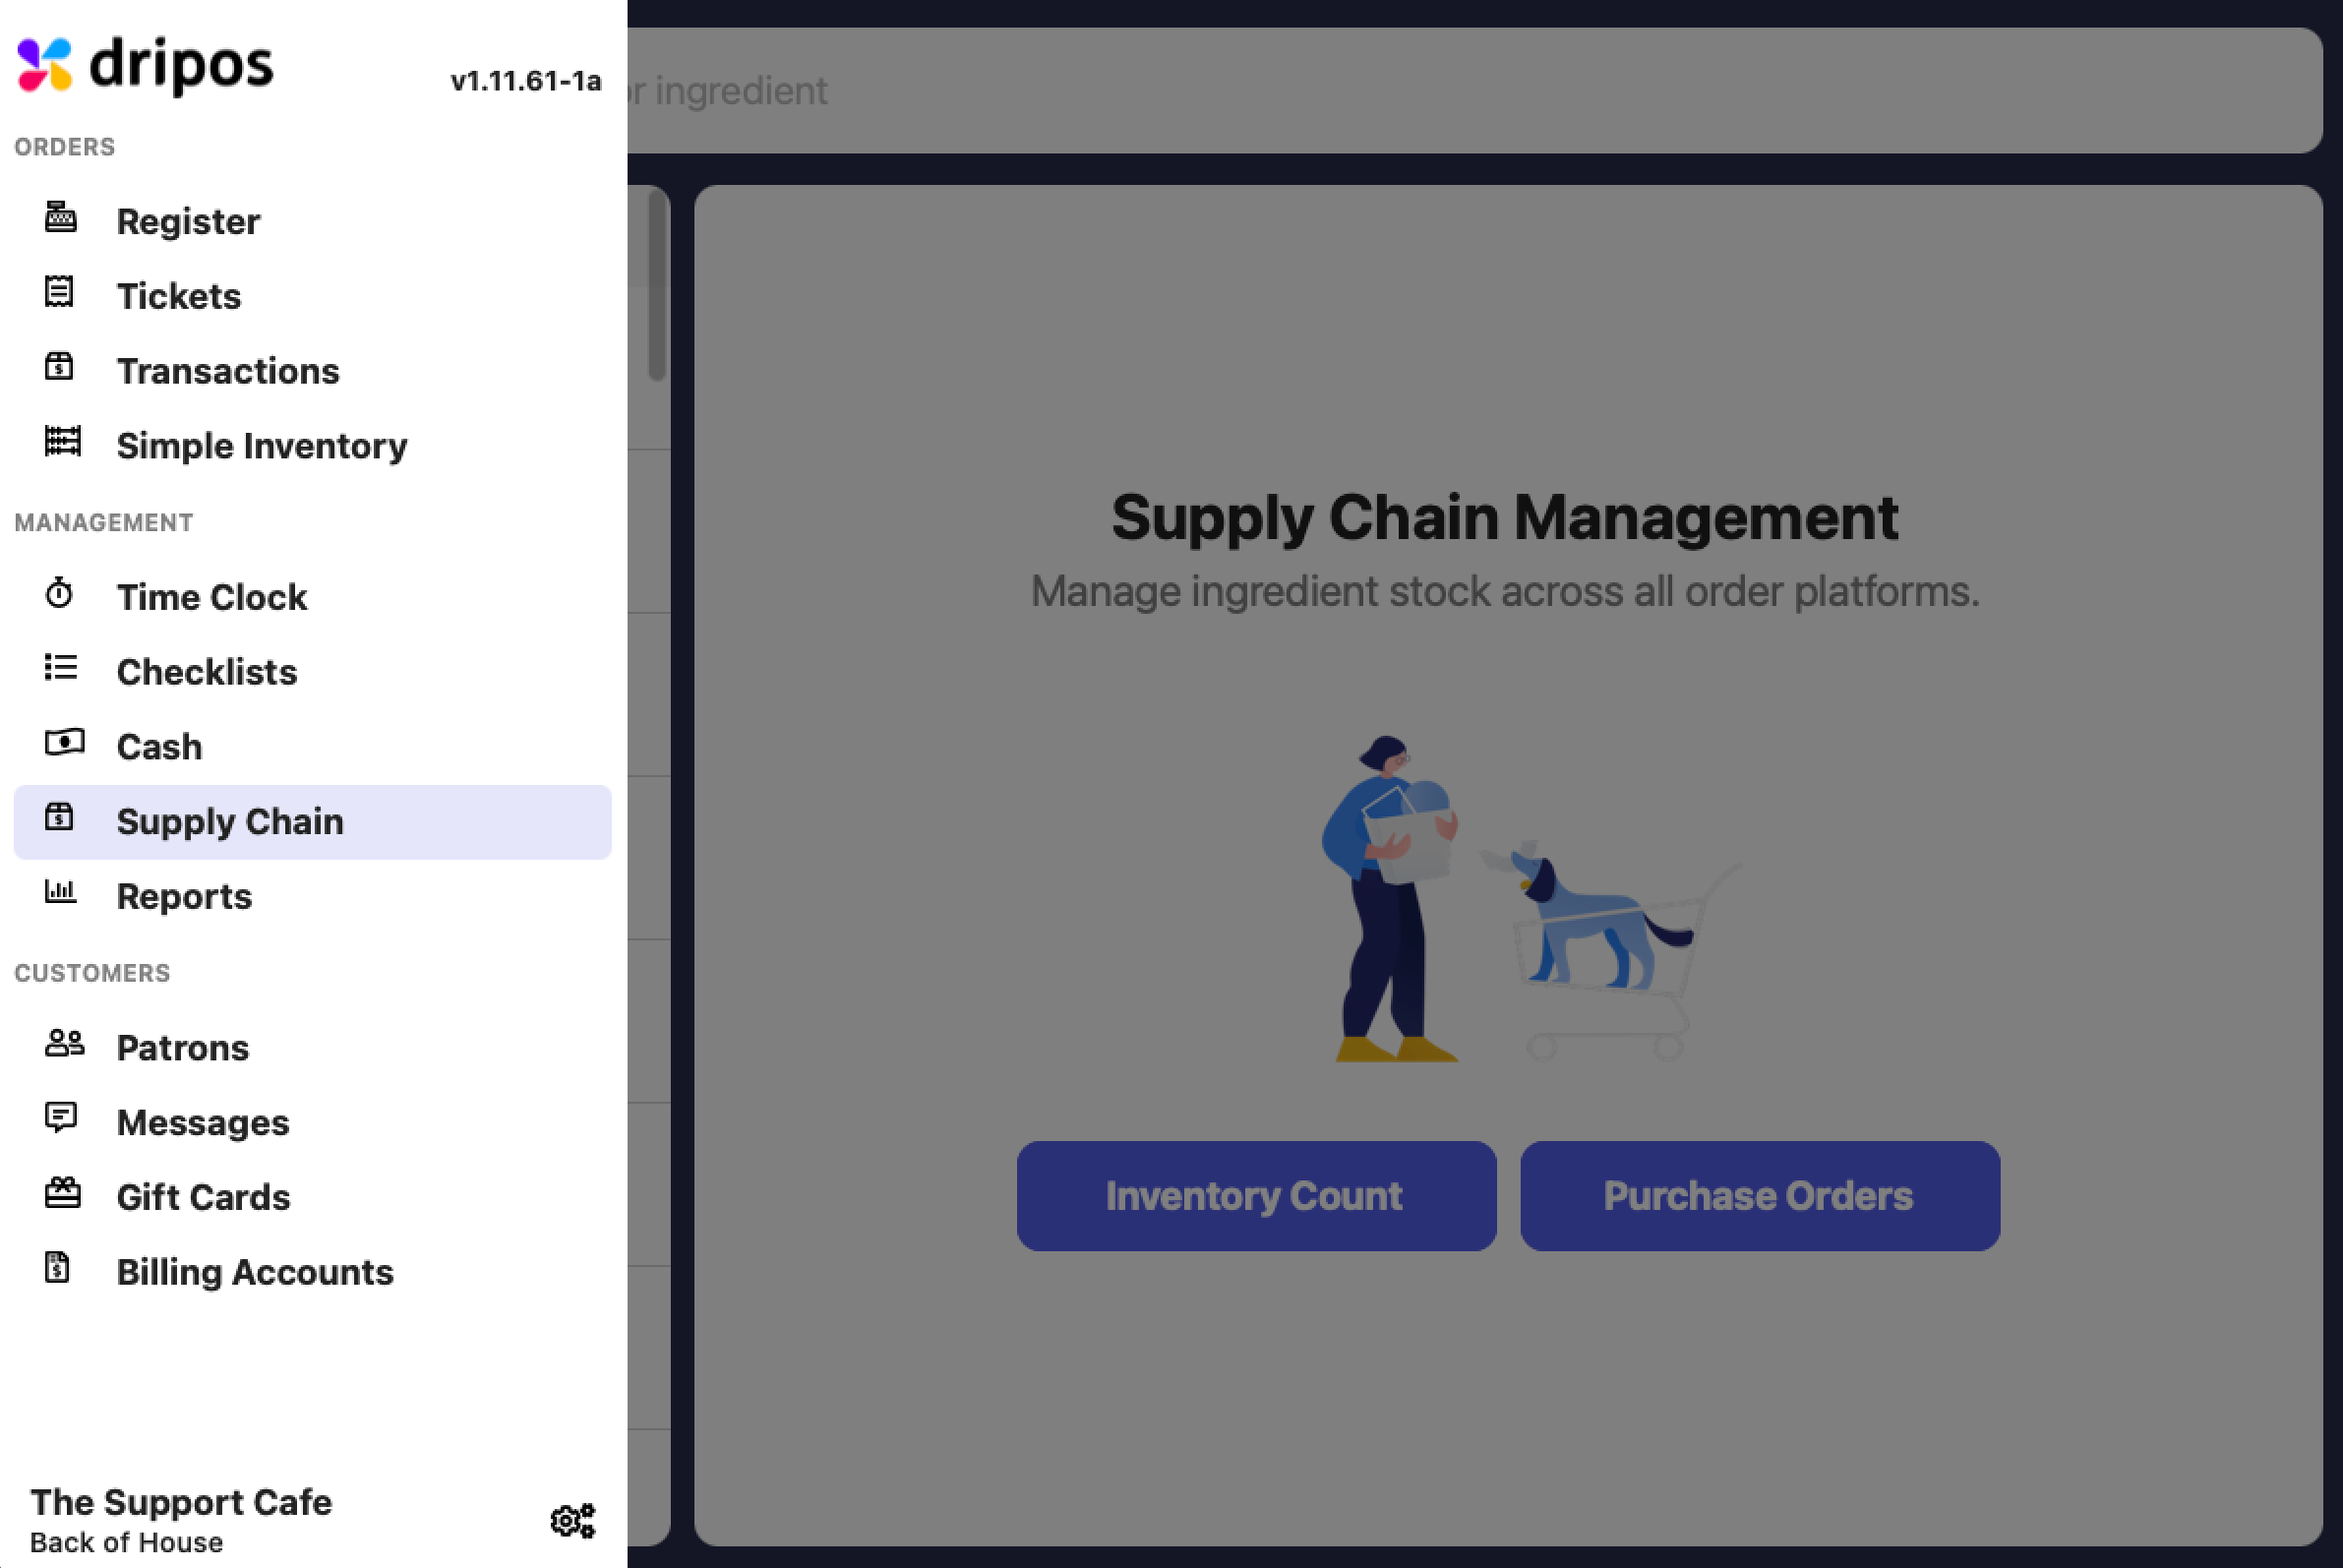
1
View Ingredients
Ingredients are sorted by Out of Stock and In Stock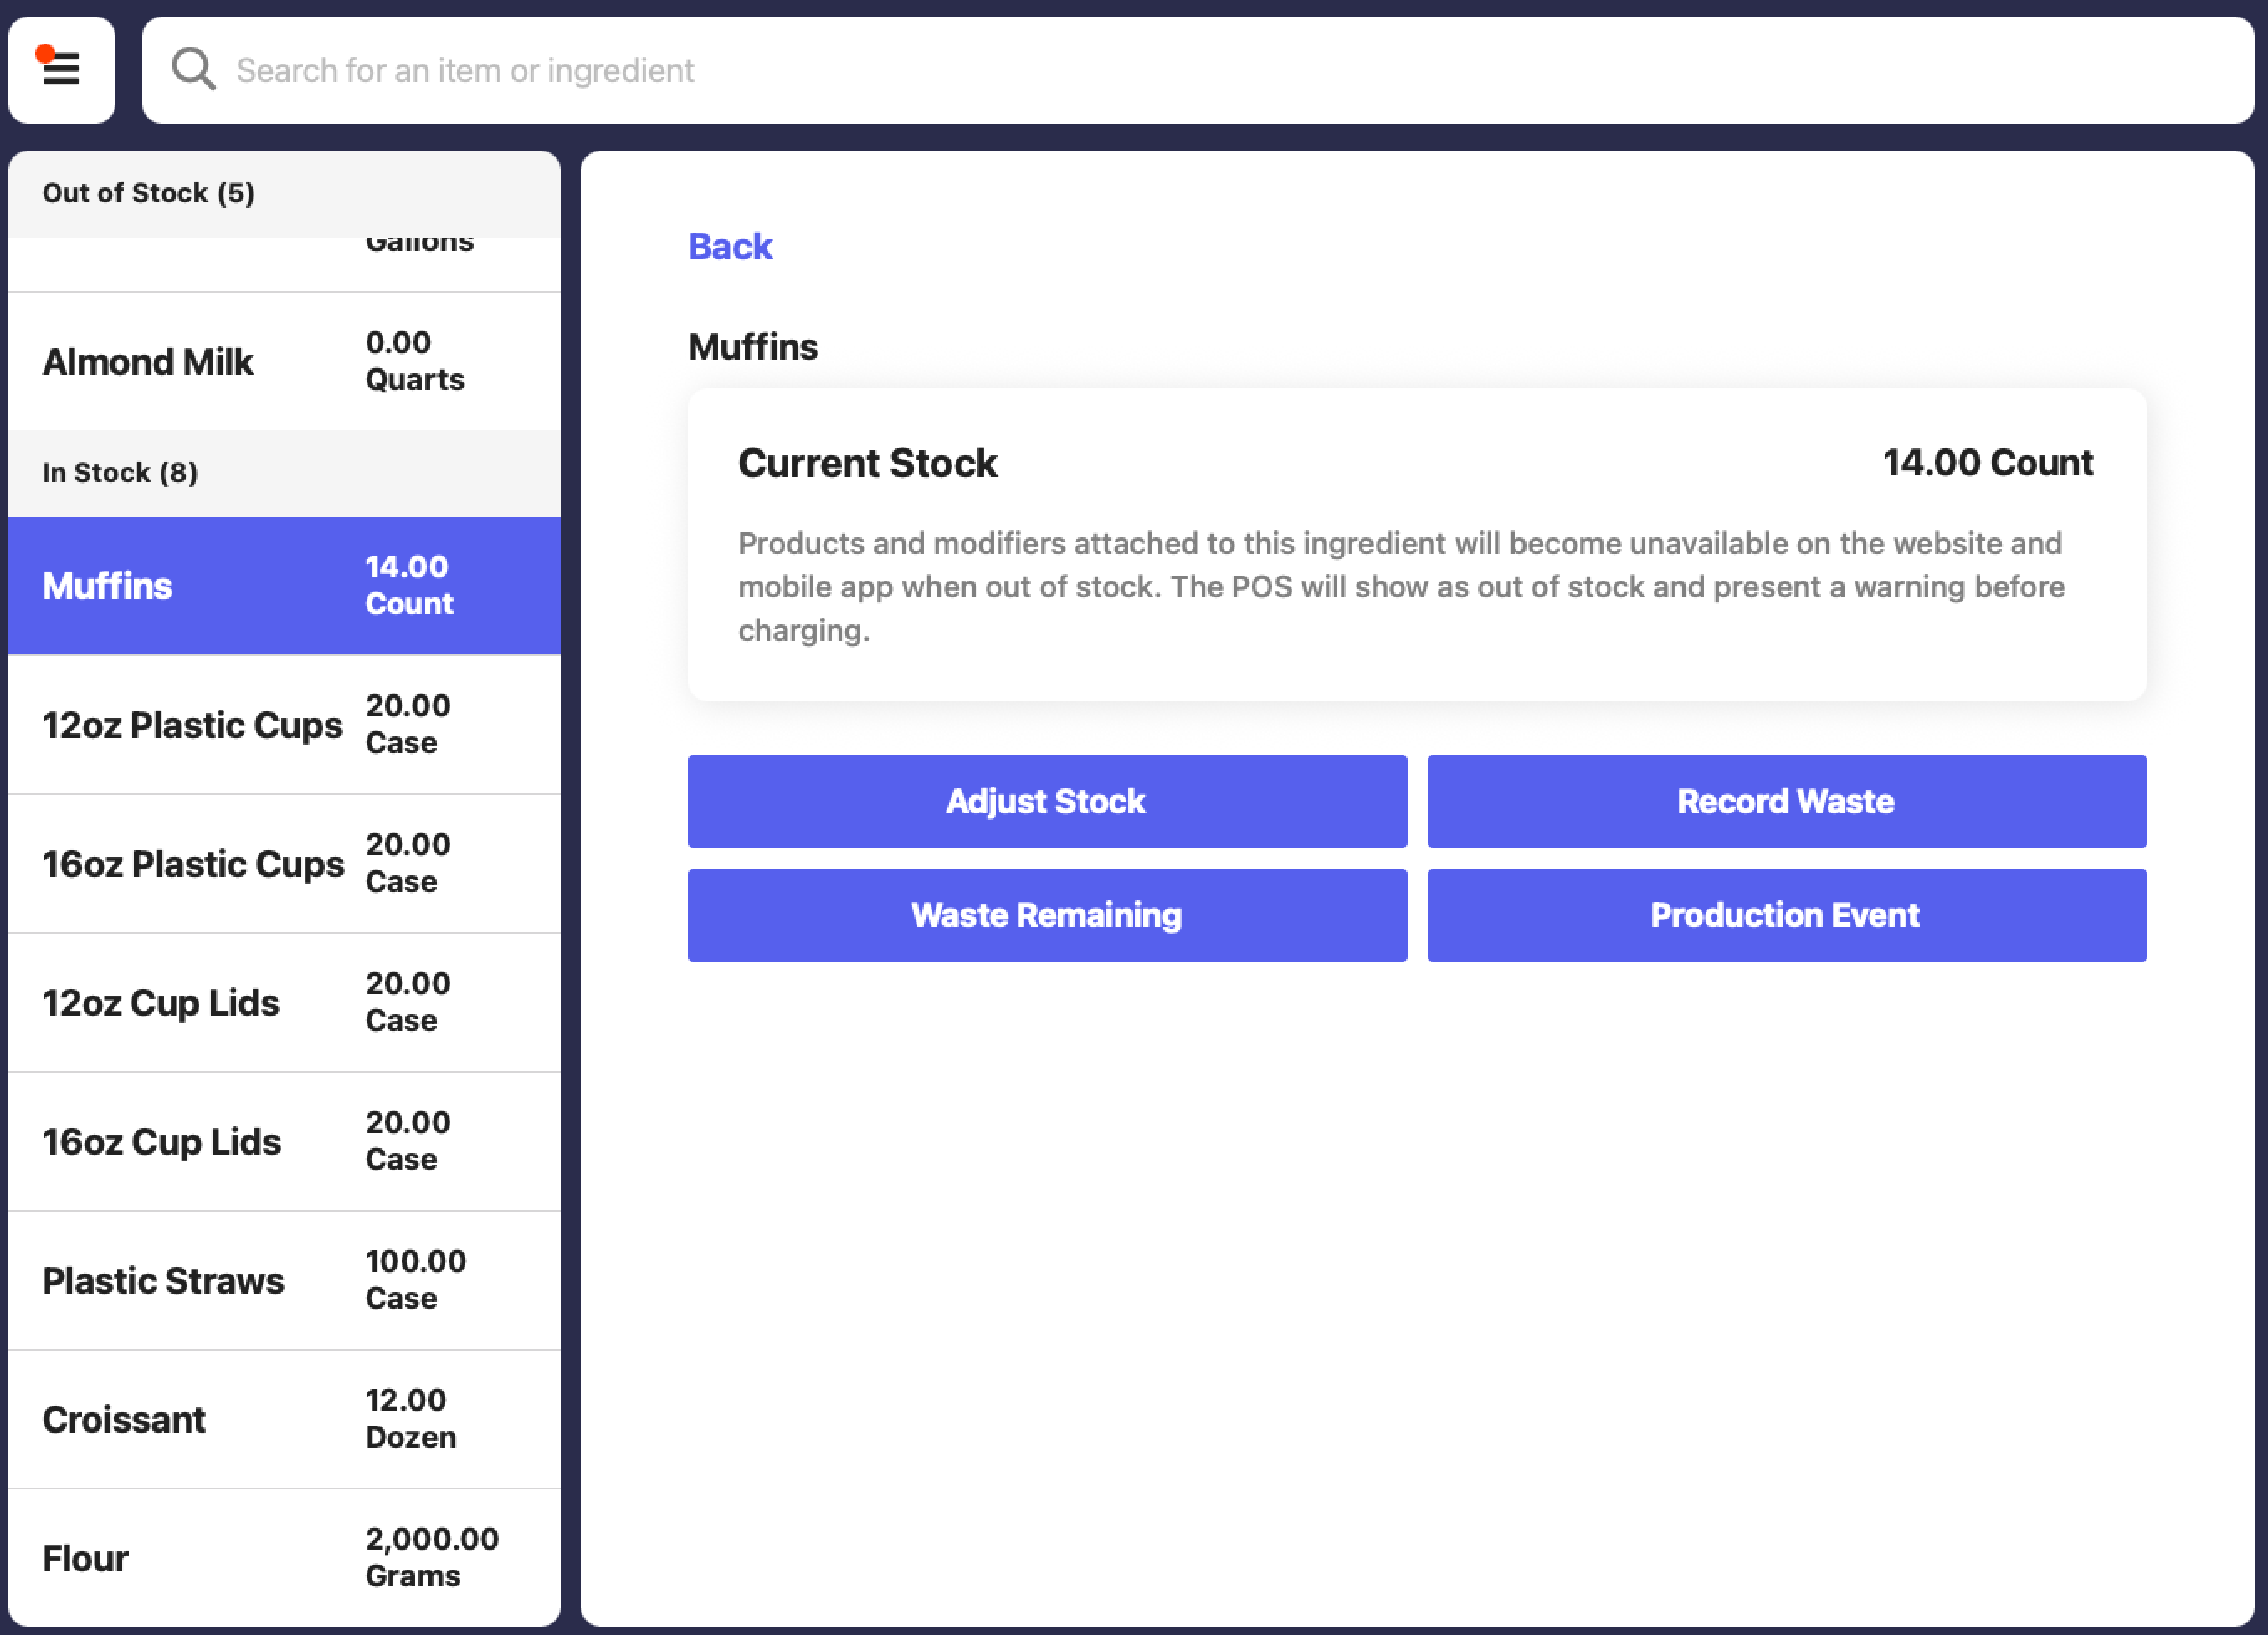
2
Adjust Stock
Manually add or subtract (by inputting a negative value) stock from an ingredient.Once the stock value is inputted, press Edit Stock to confirm your changes.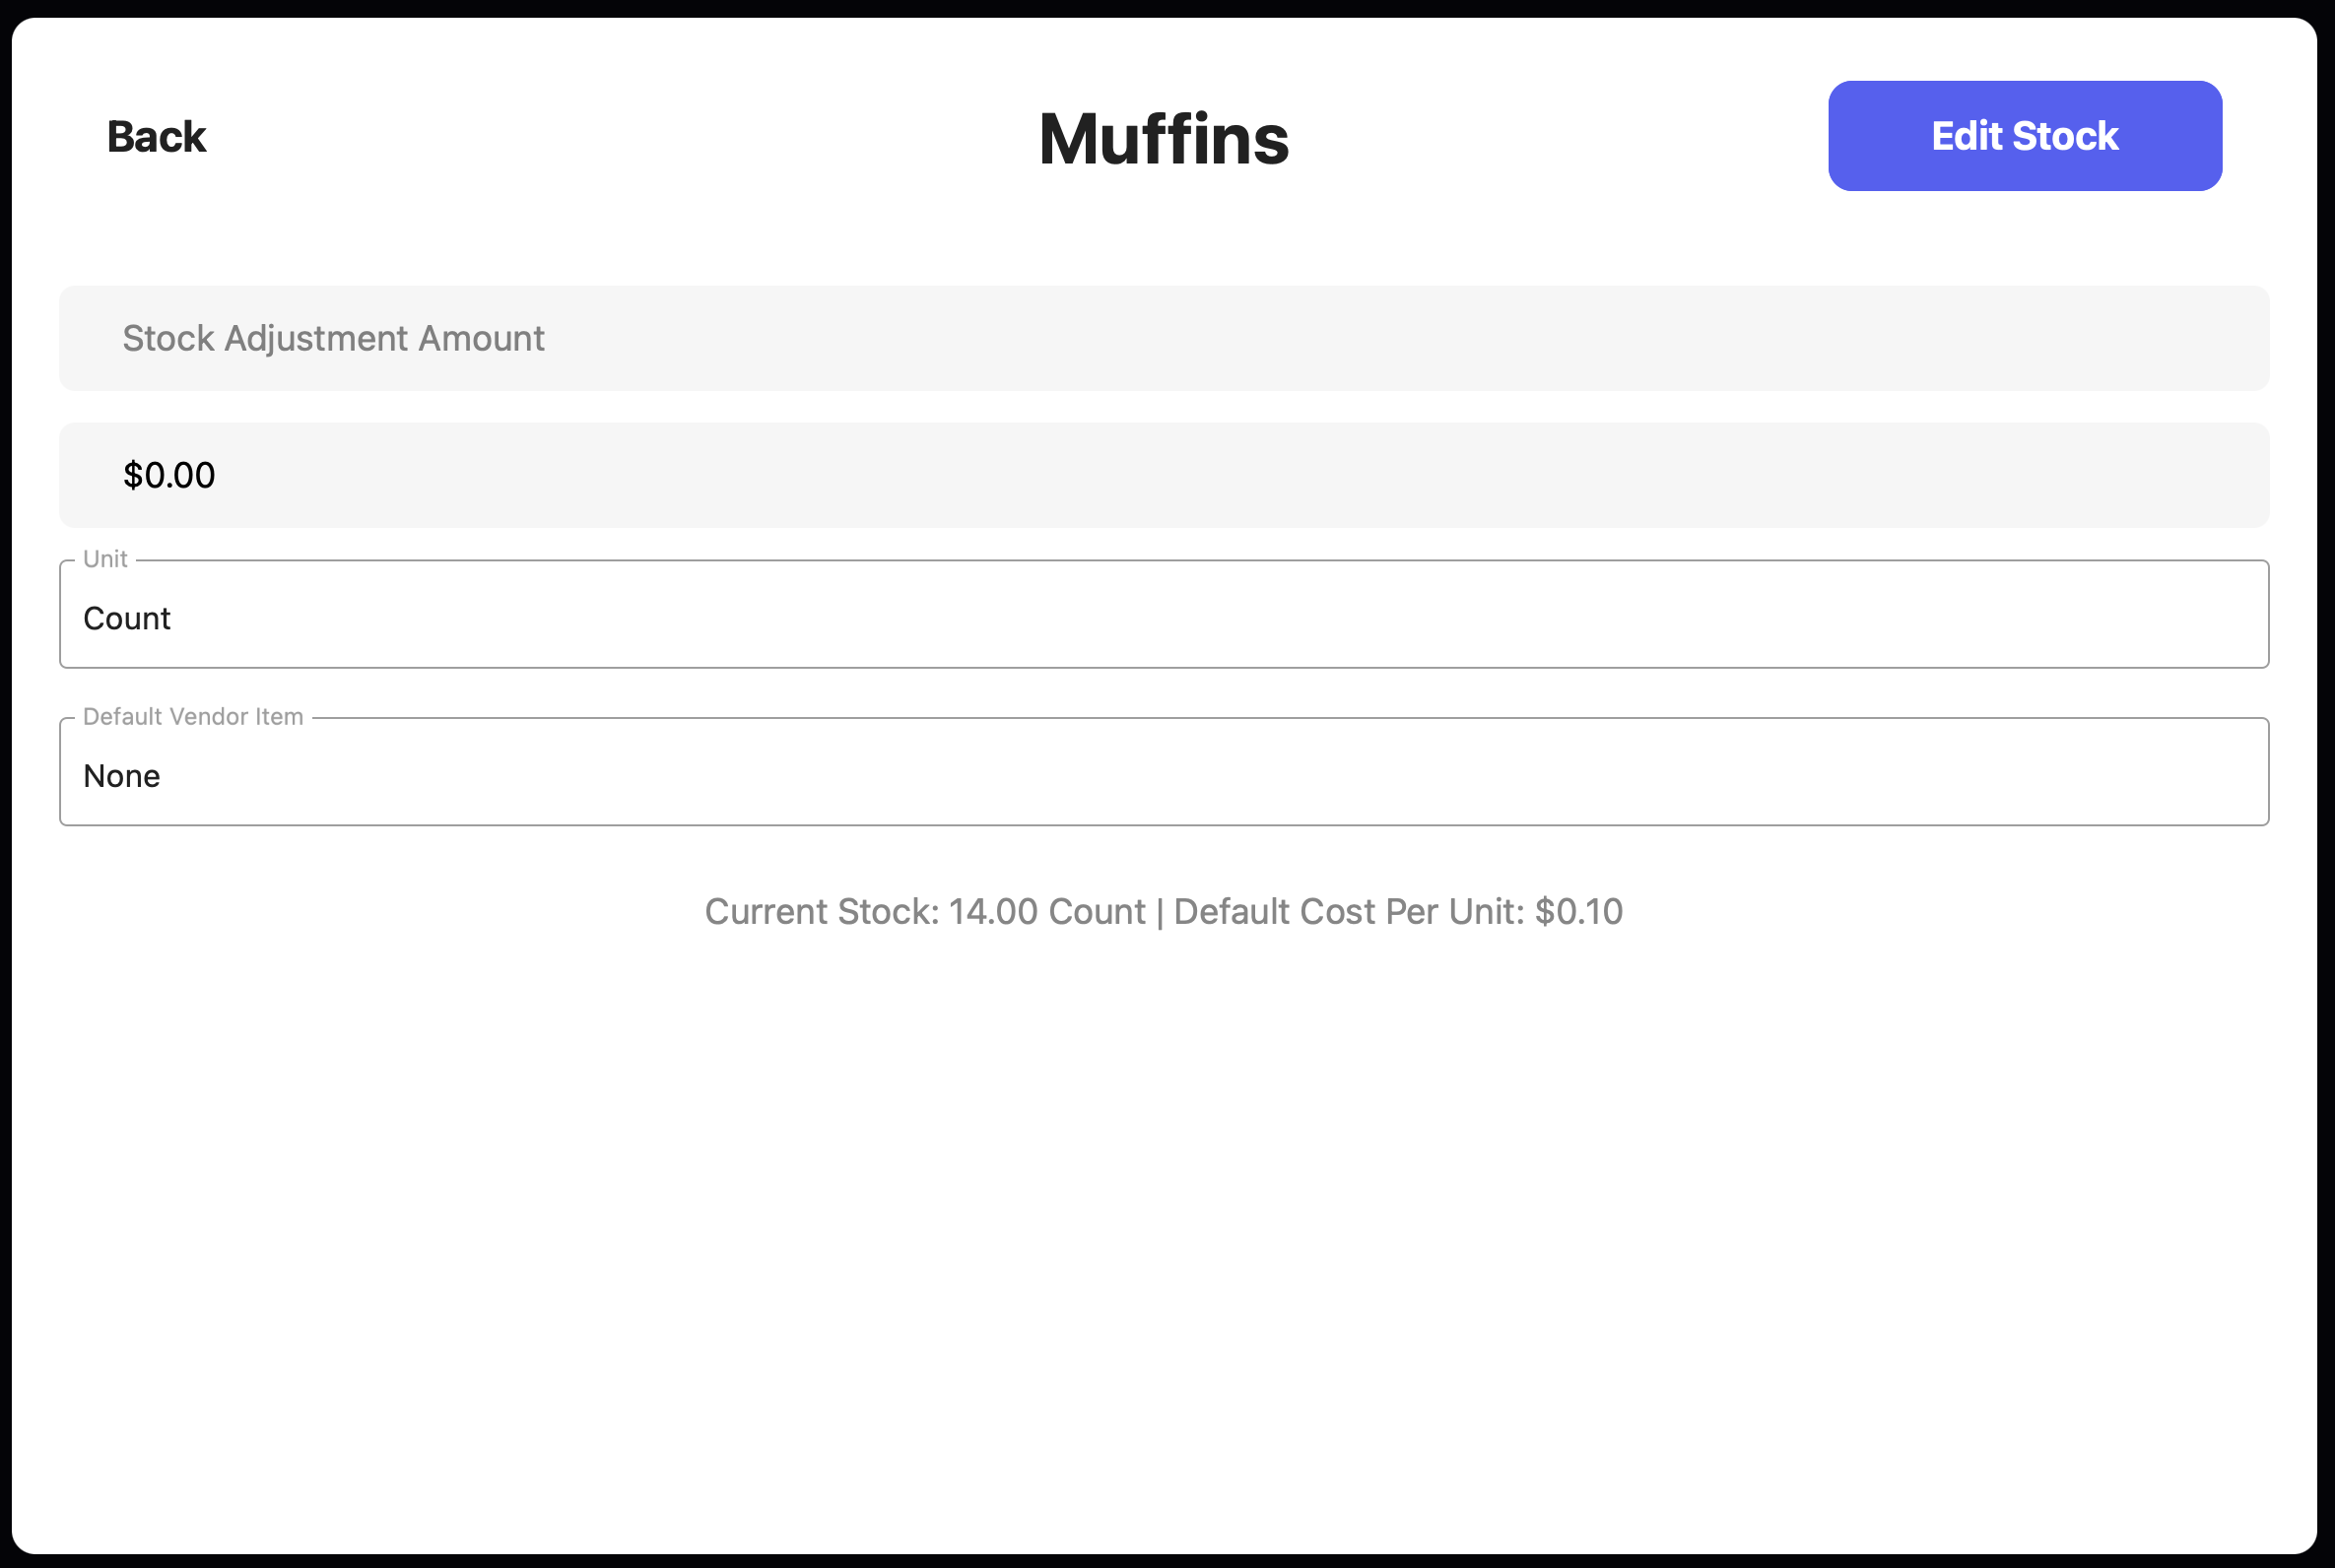
3
Record Waste
Record and categorize waste to decrease ingredient stock. Once values are inputted, press Record Waste to confirm your changes.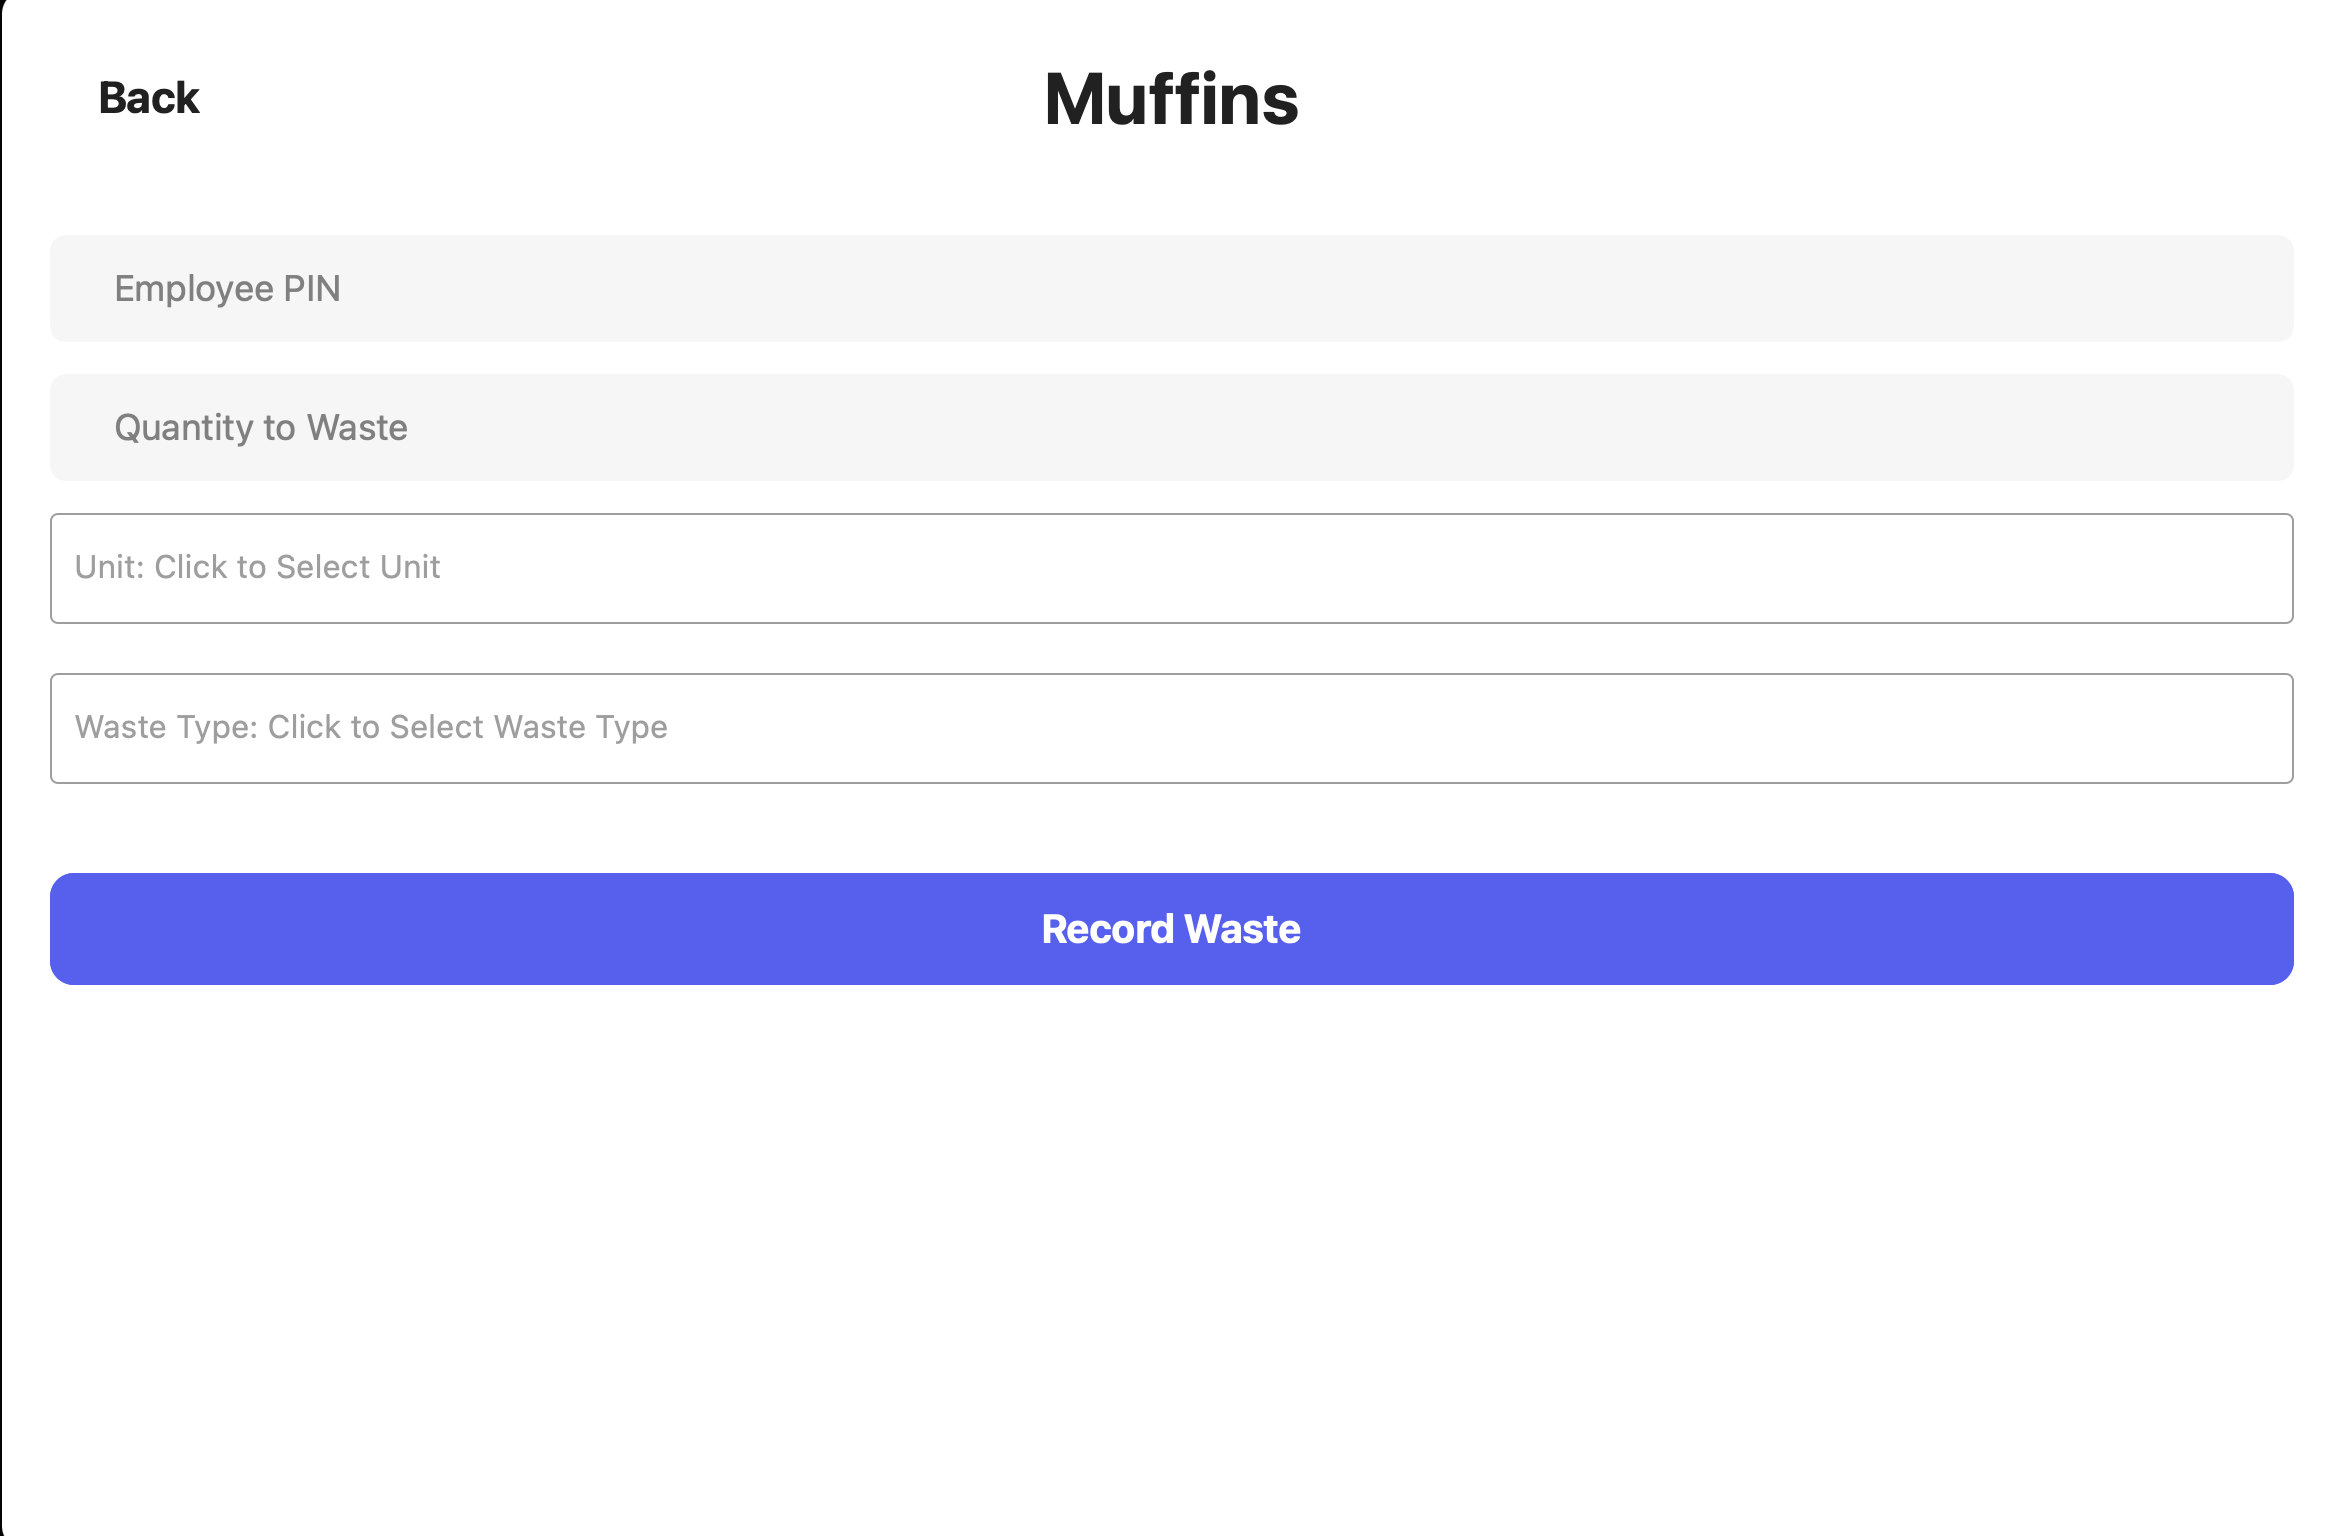
4
Waste Remaining
Waste all remaining ingredient stock. Select then confirm.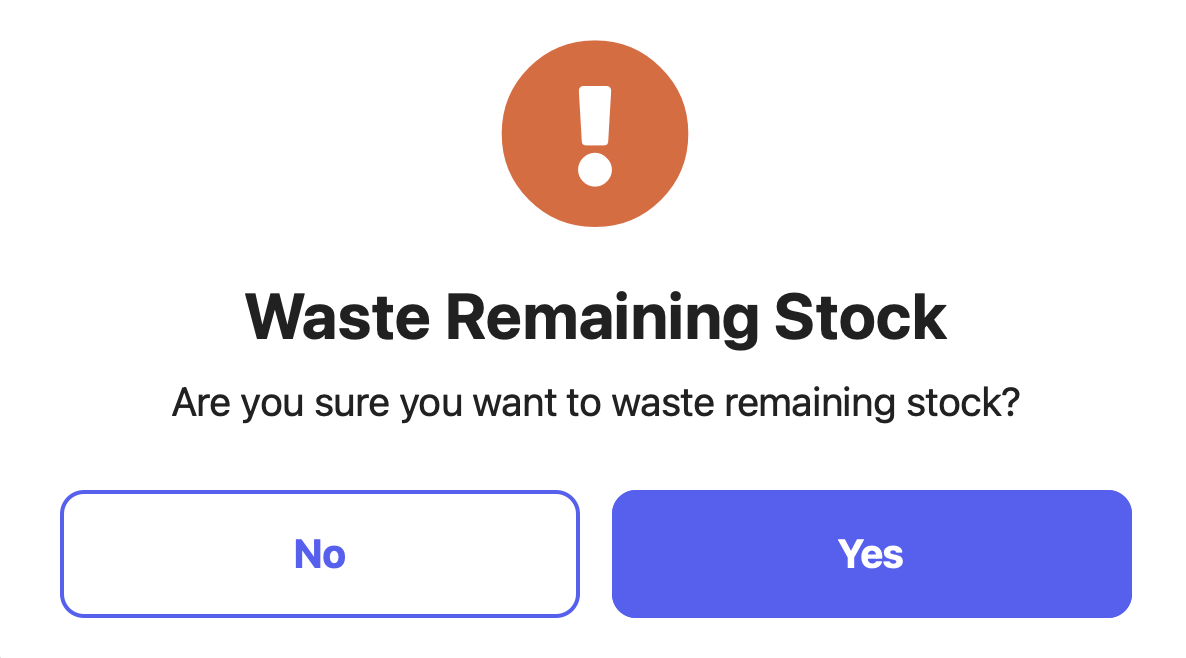
5
Production Event
Use a production event to decrease the stock of the ingredients used in the sub recipe and in turn, restock the final ingredient.Learn more about production events here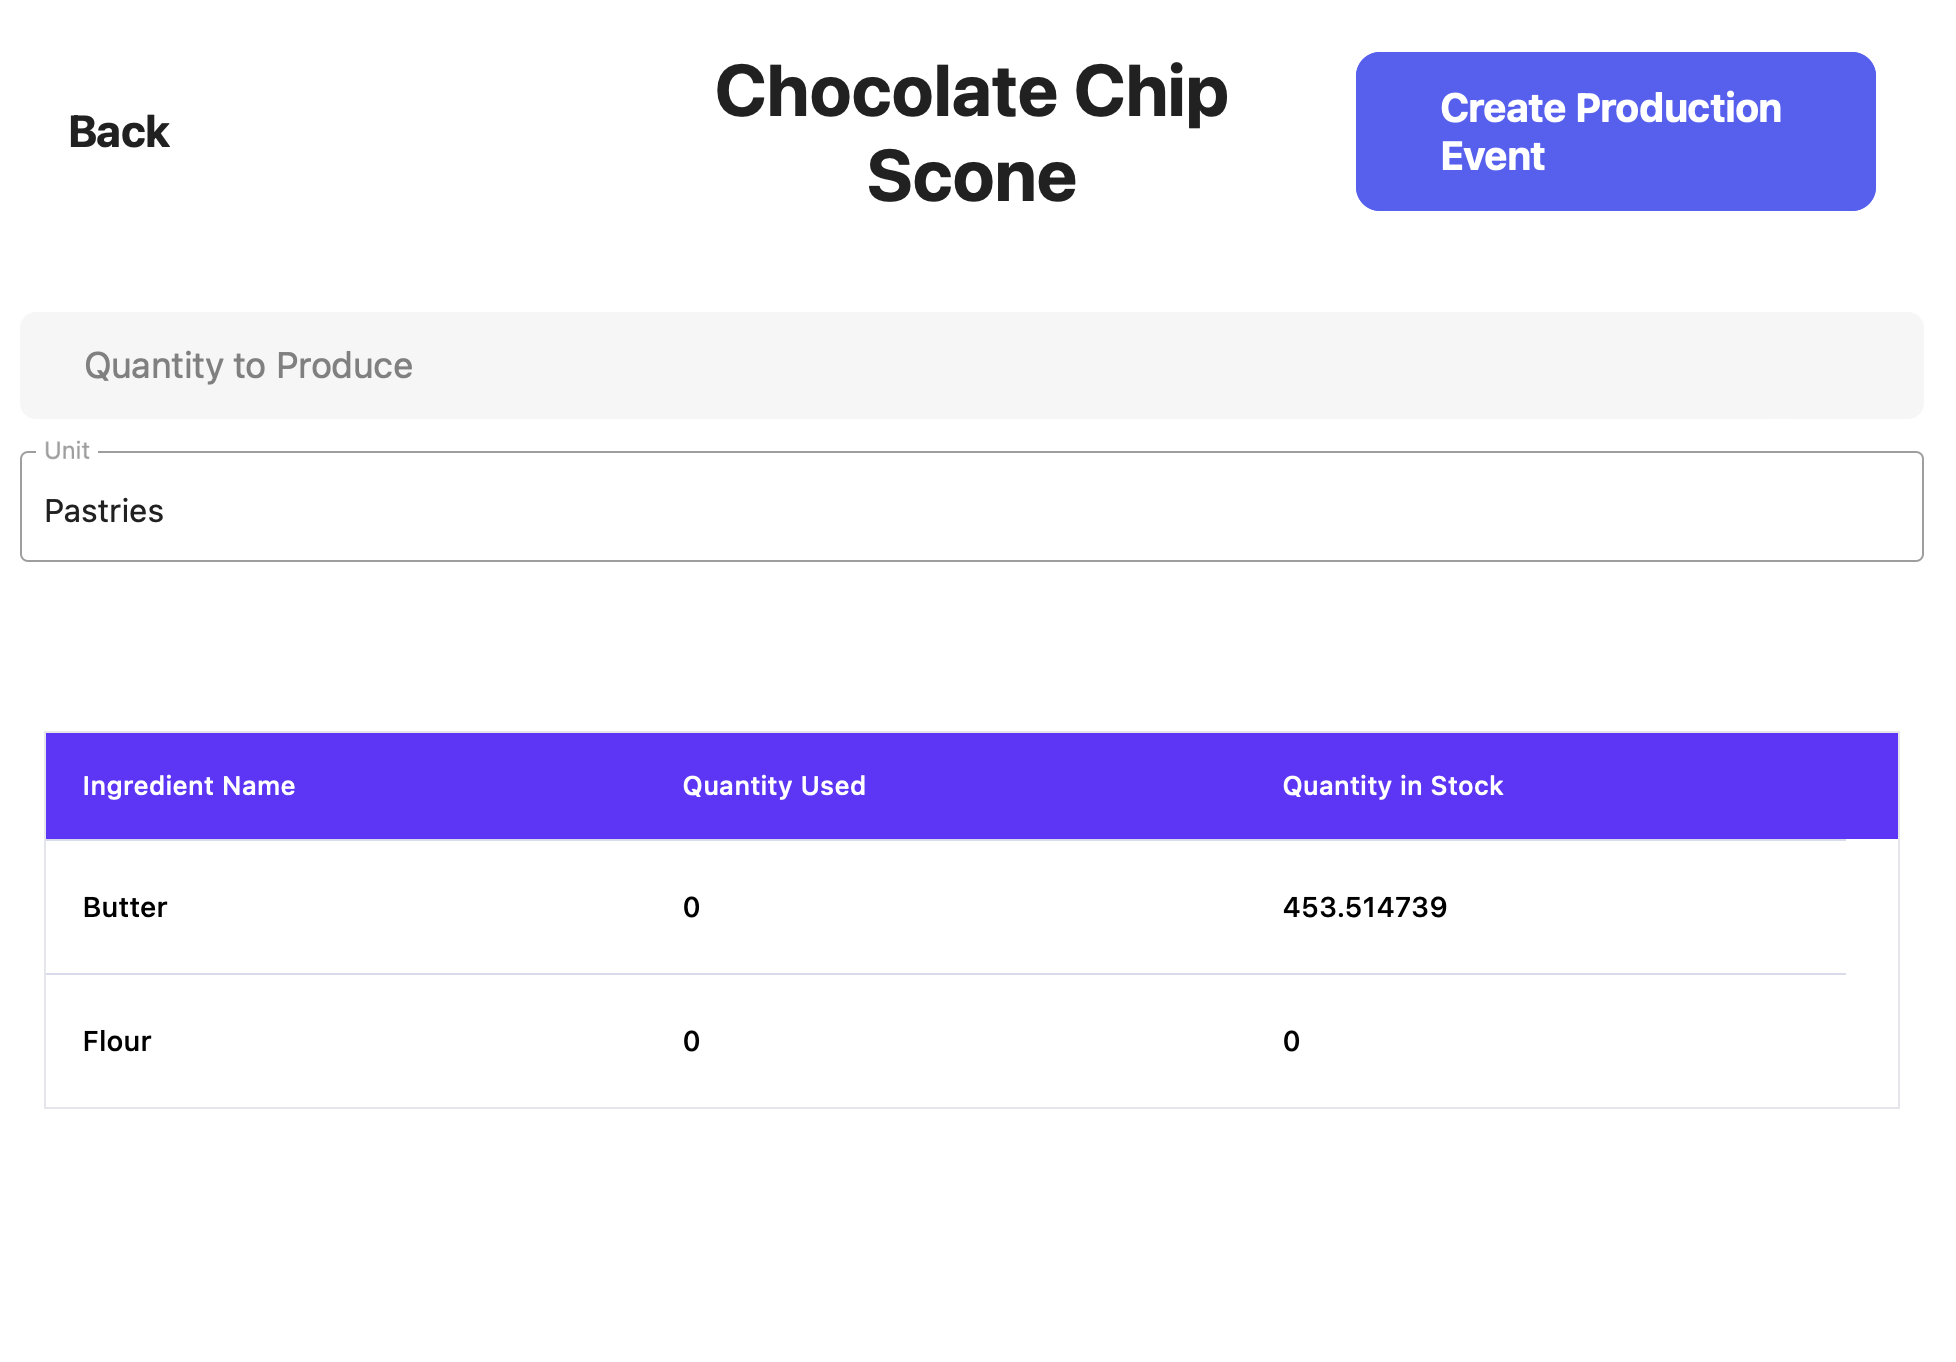
Inventory Counts
Perform Inventory Counts to adjust the stock of multiple ingredients at once.Dashboard
Dashboard
1
Under Menu > Supply Chain > click Inventory Counts > Create New Count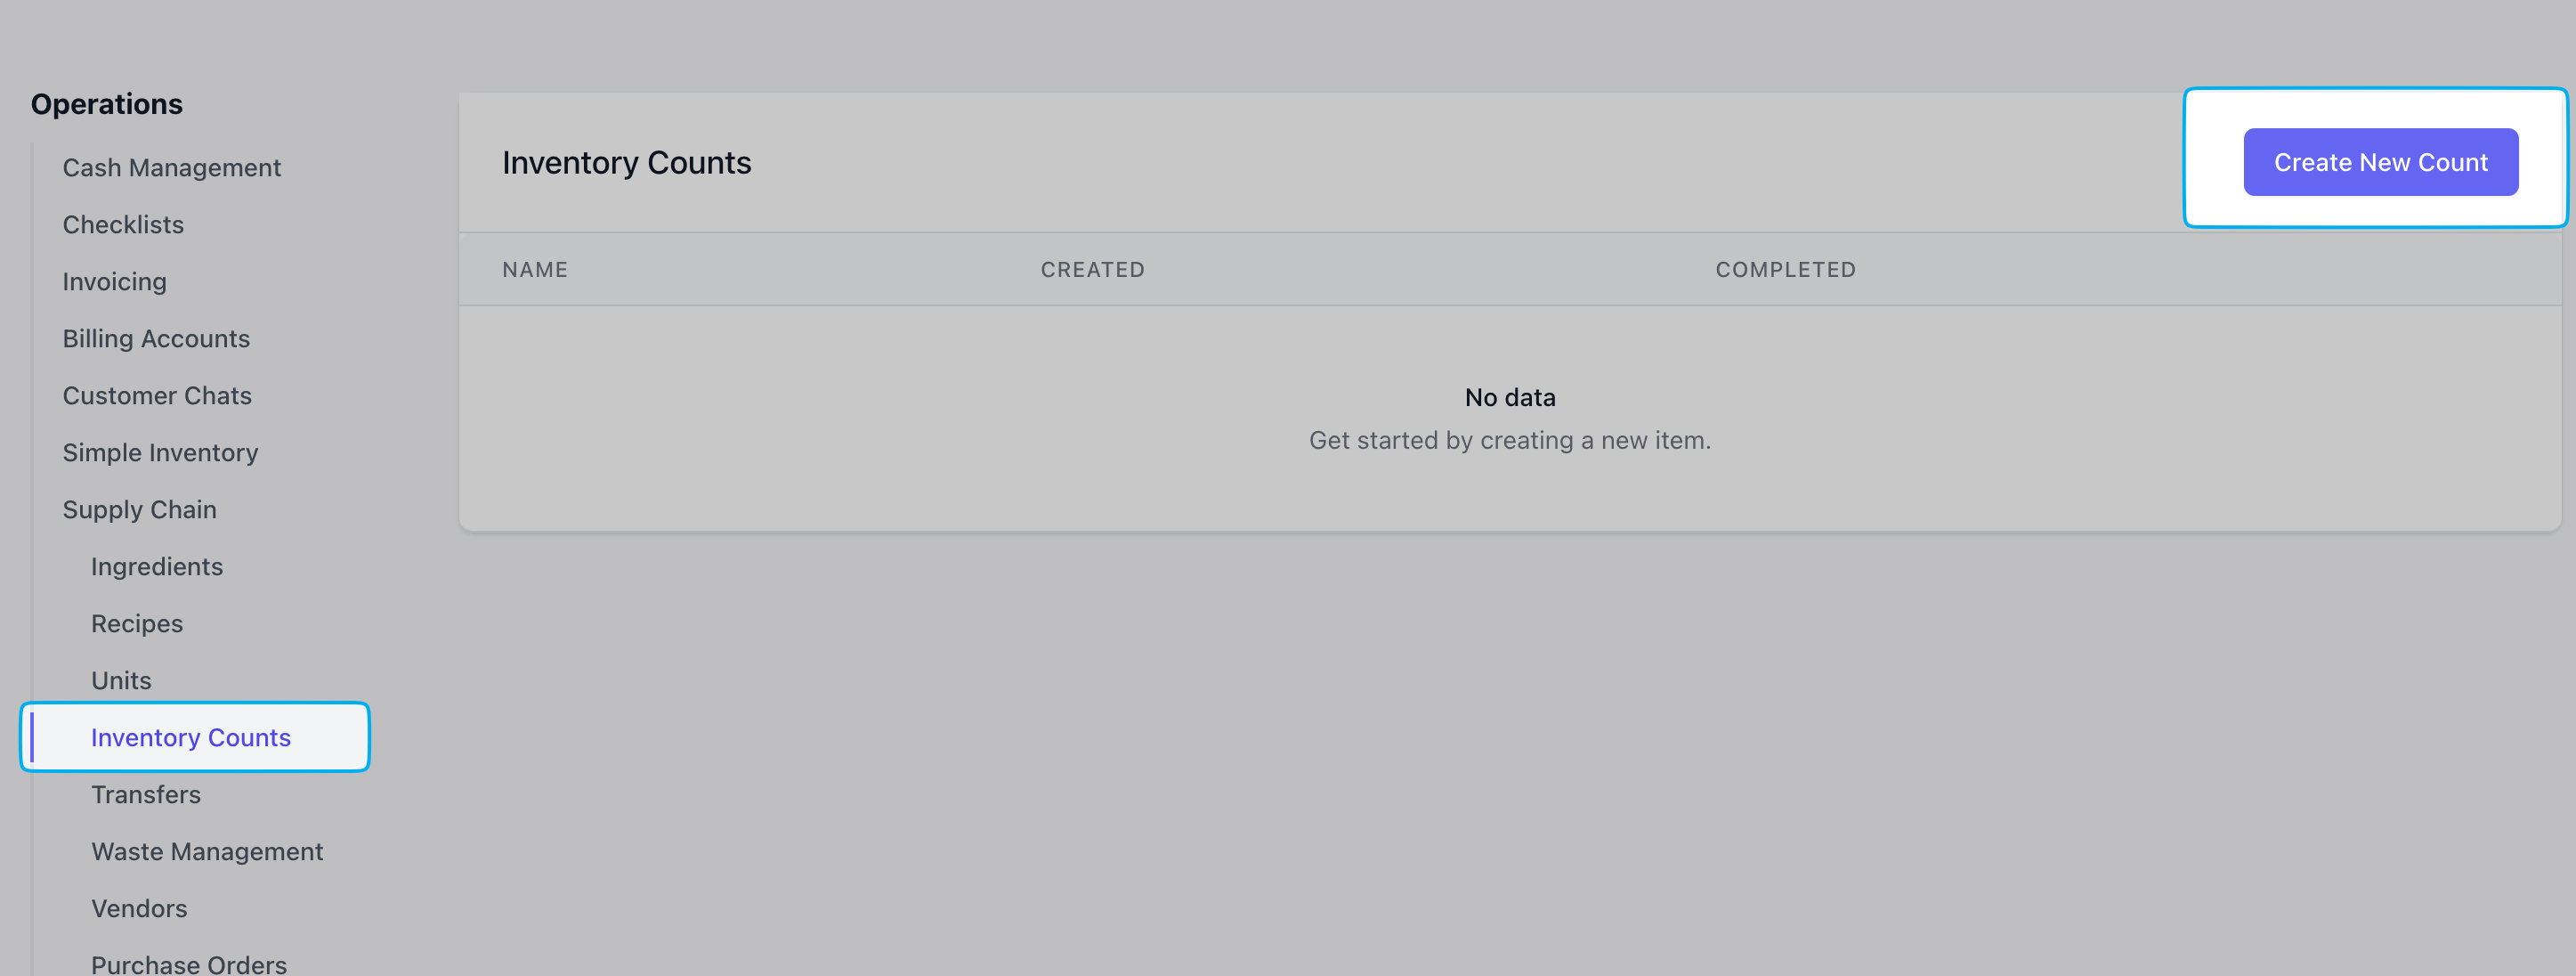
2
Adjust the current stock of each ingredient in the Counted Quantity column. Click Save as Draft.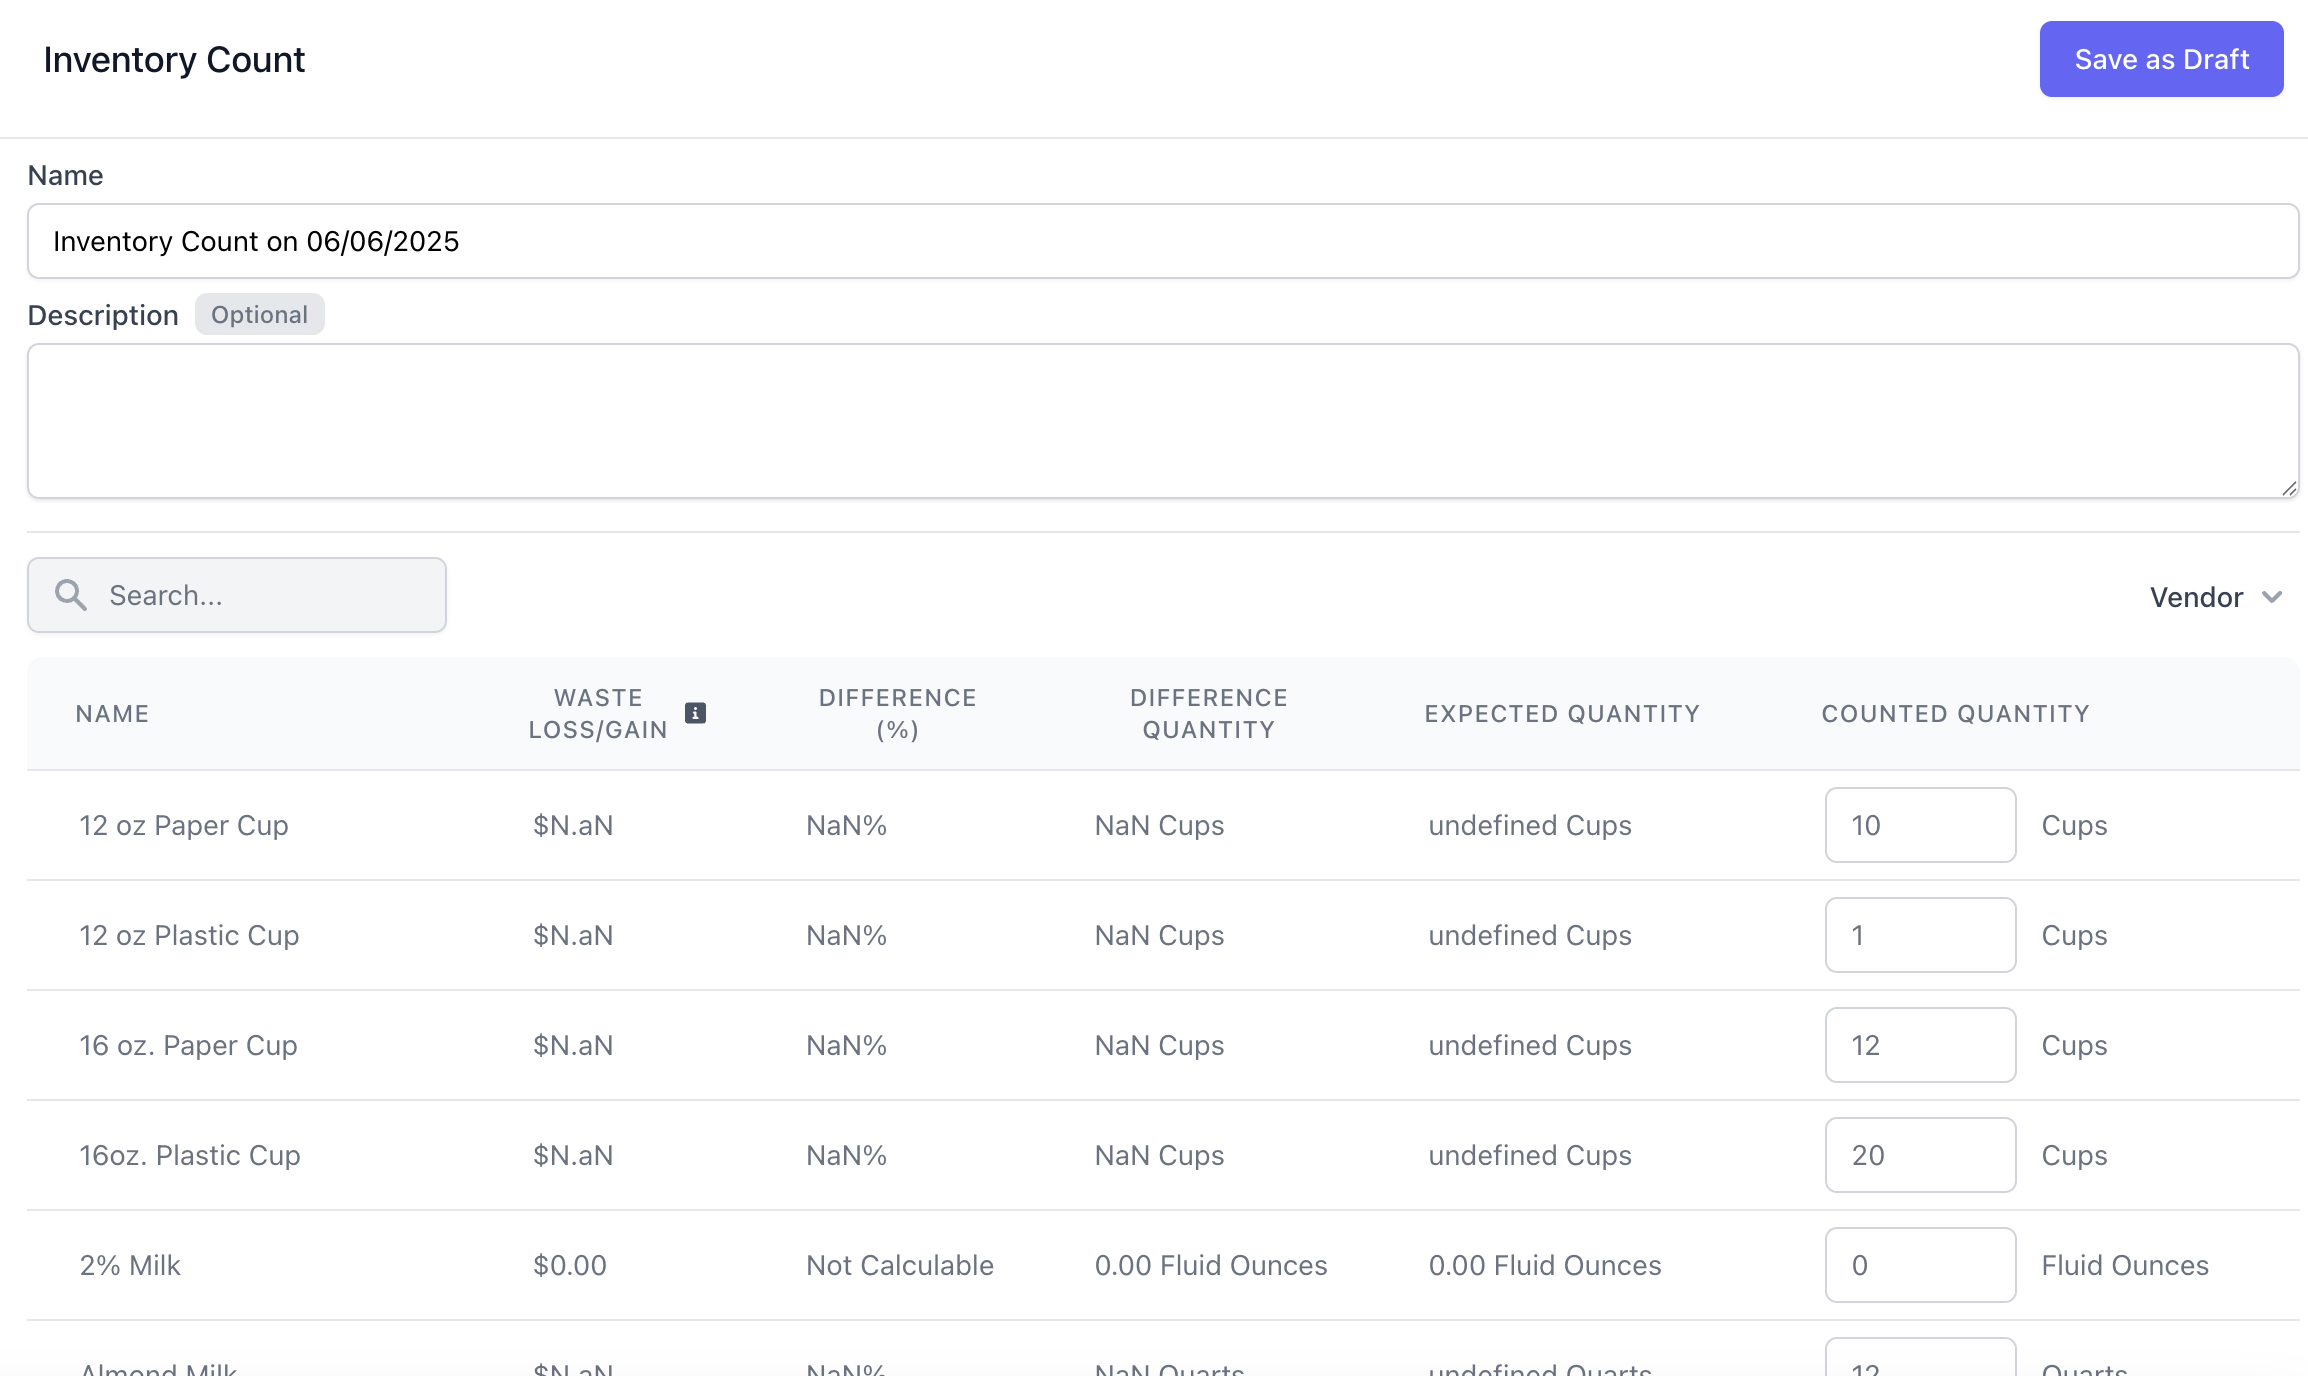
3
View the inventory draft you’ve just created > click Complete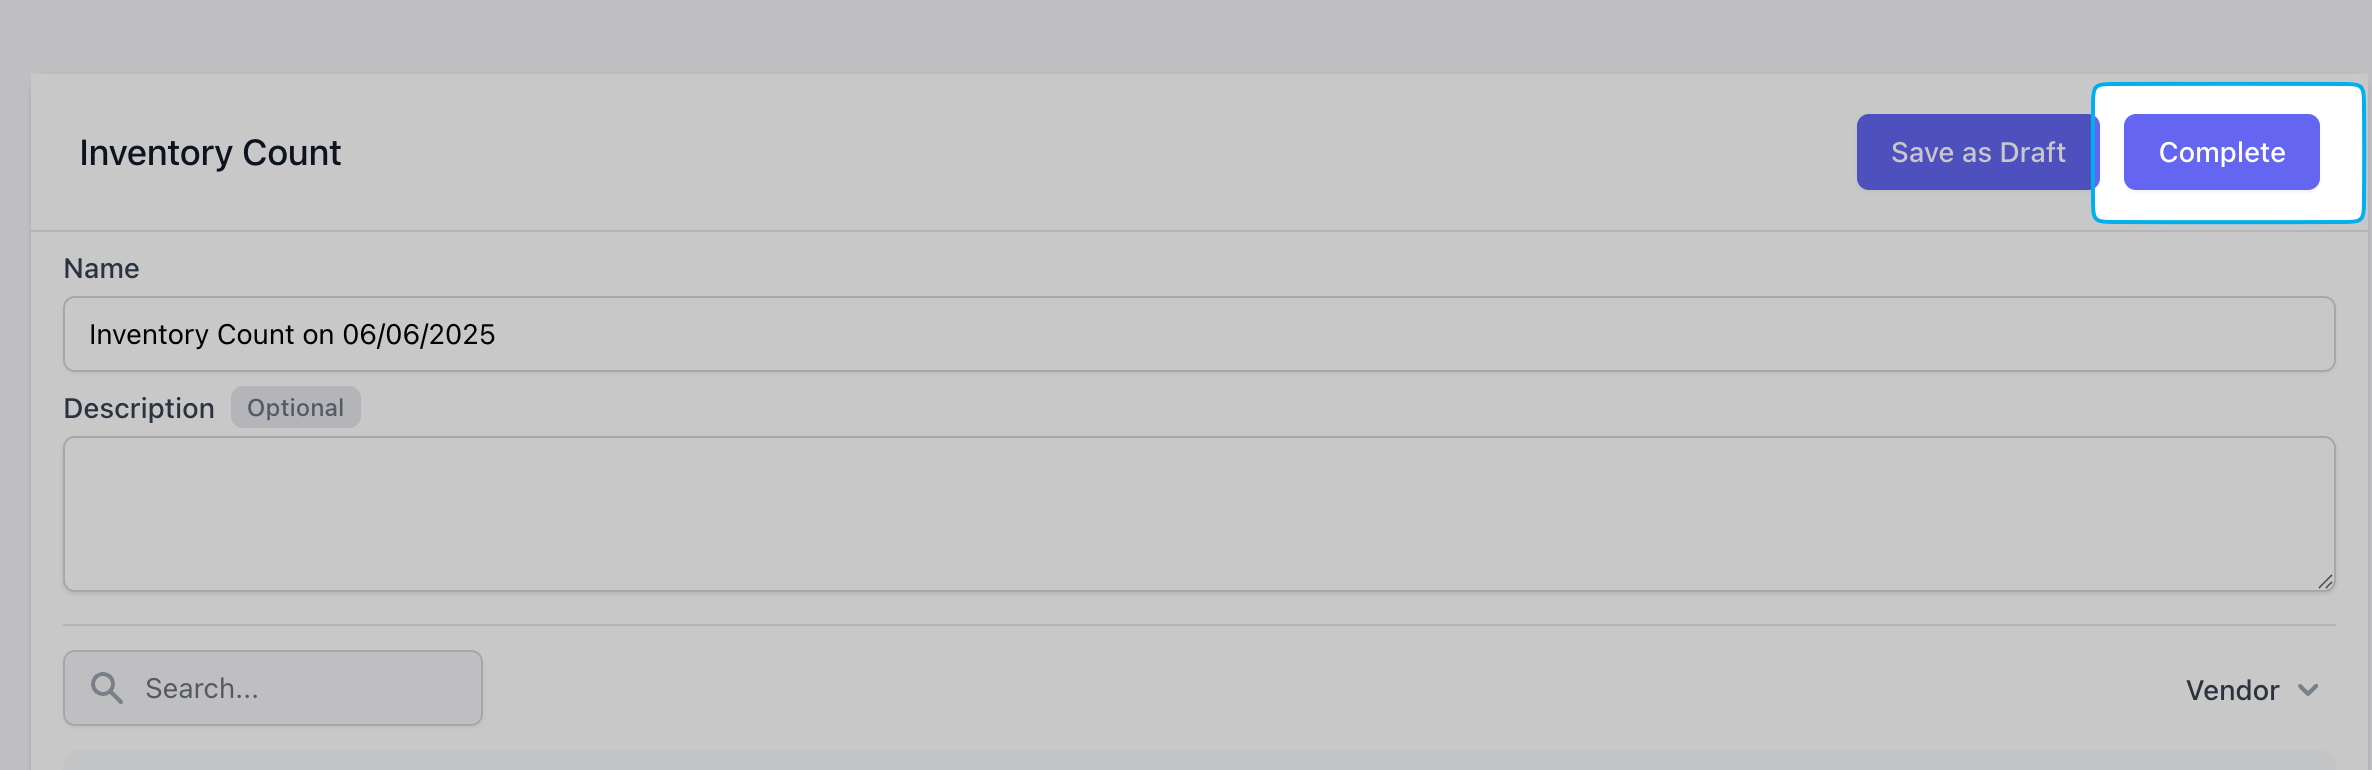
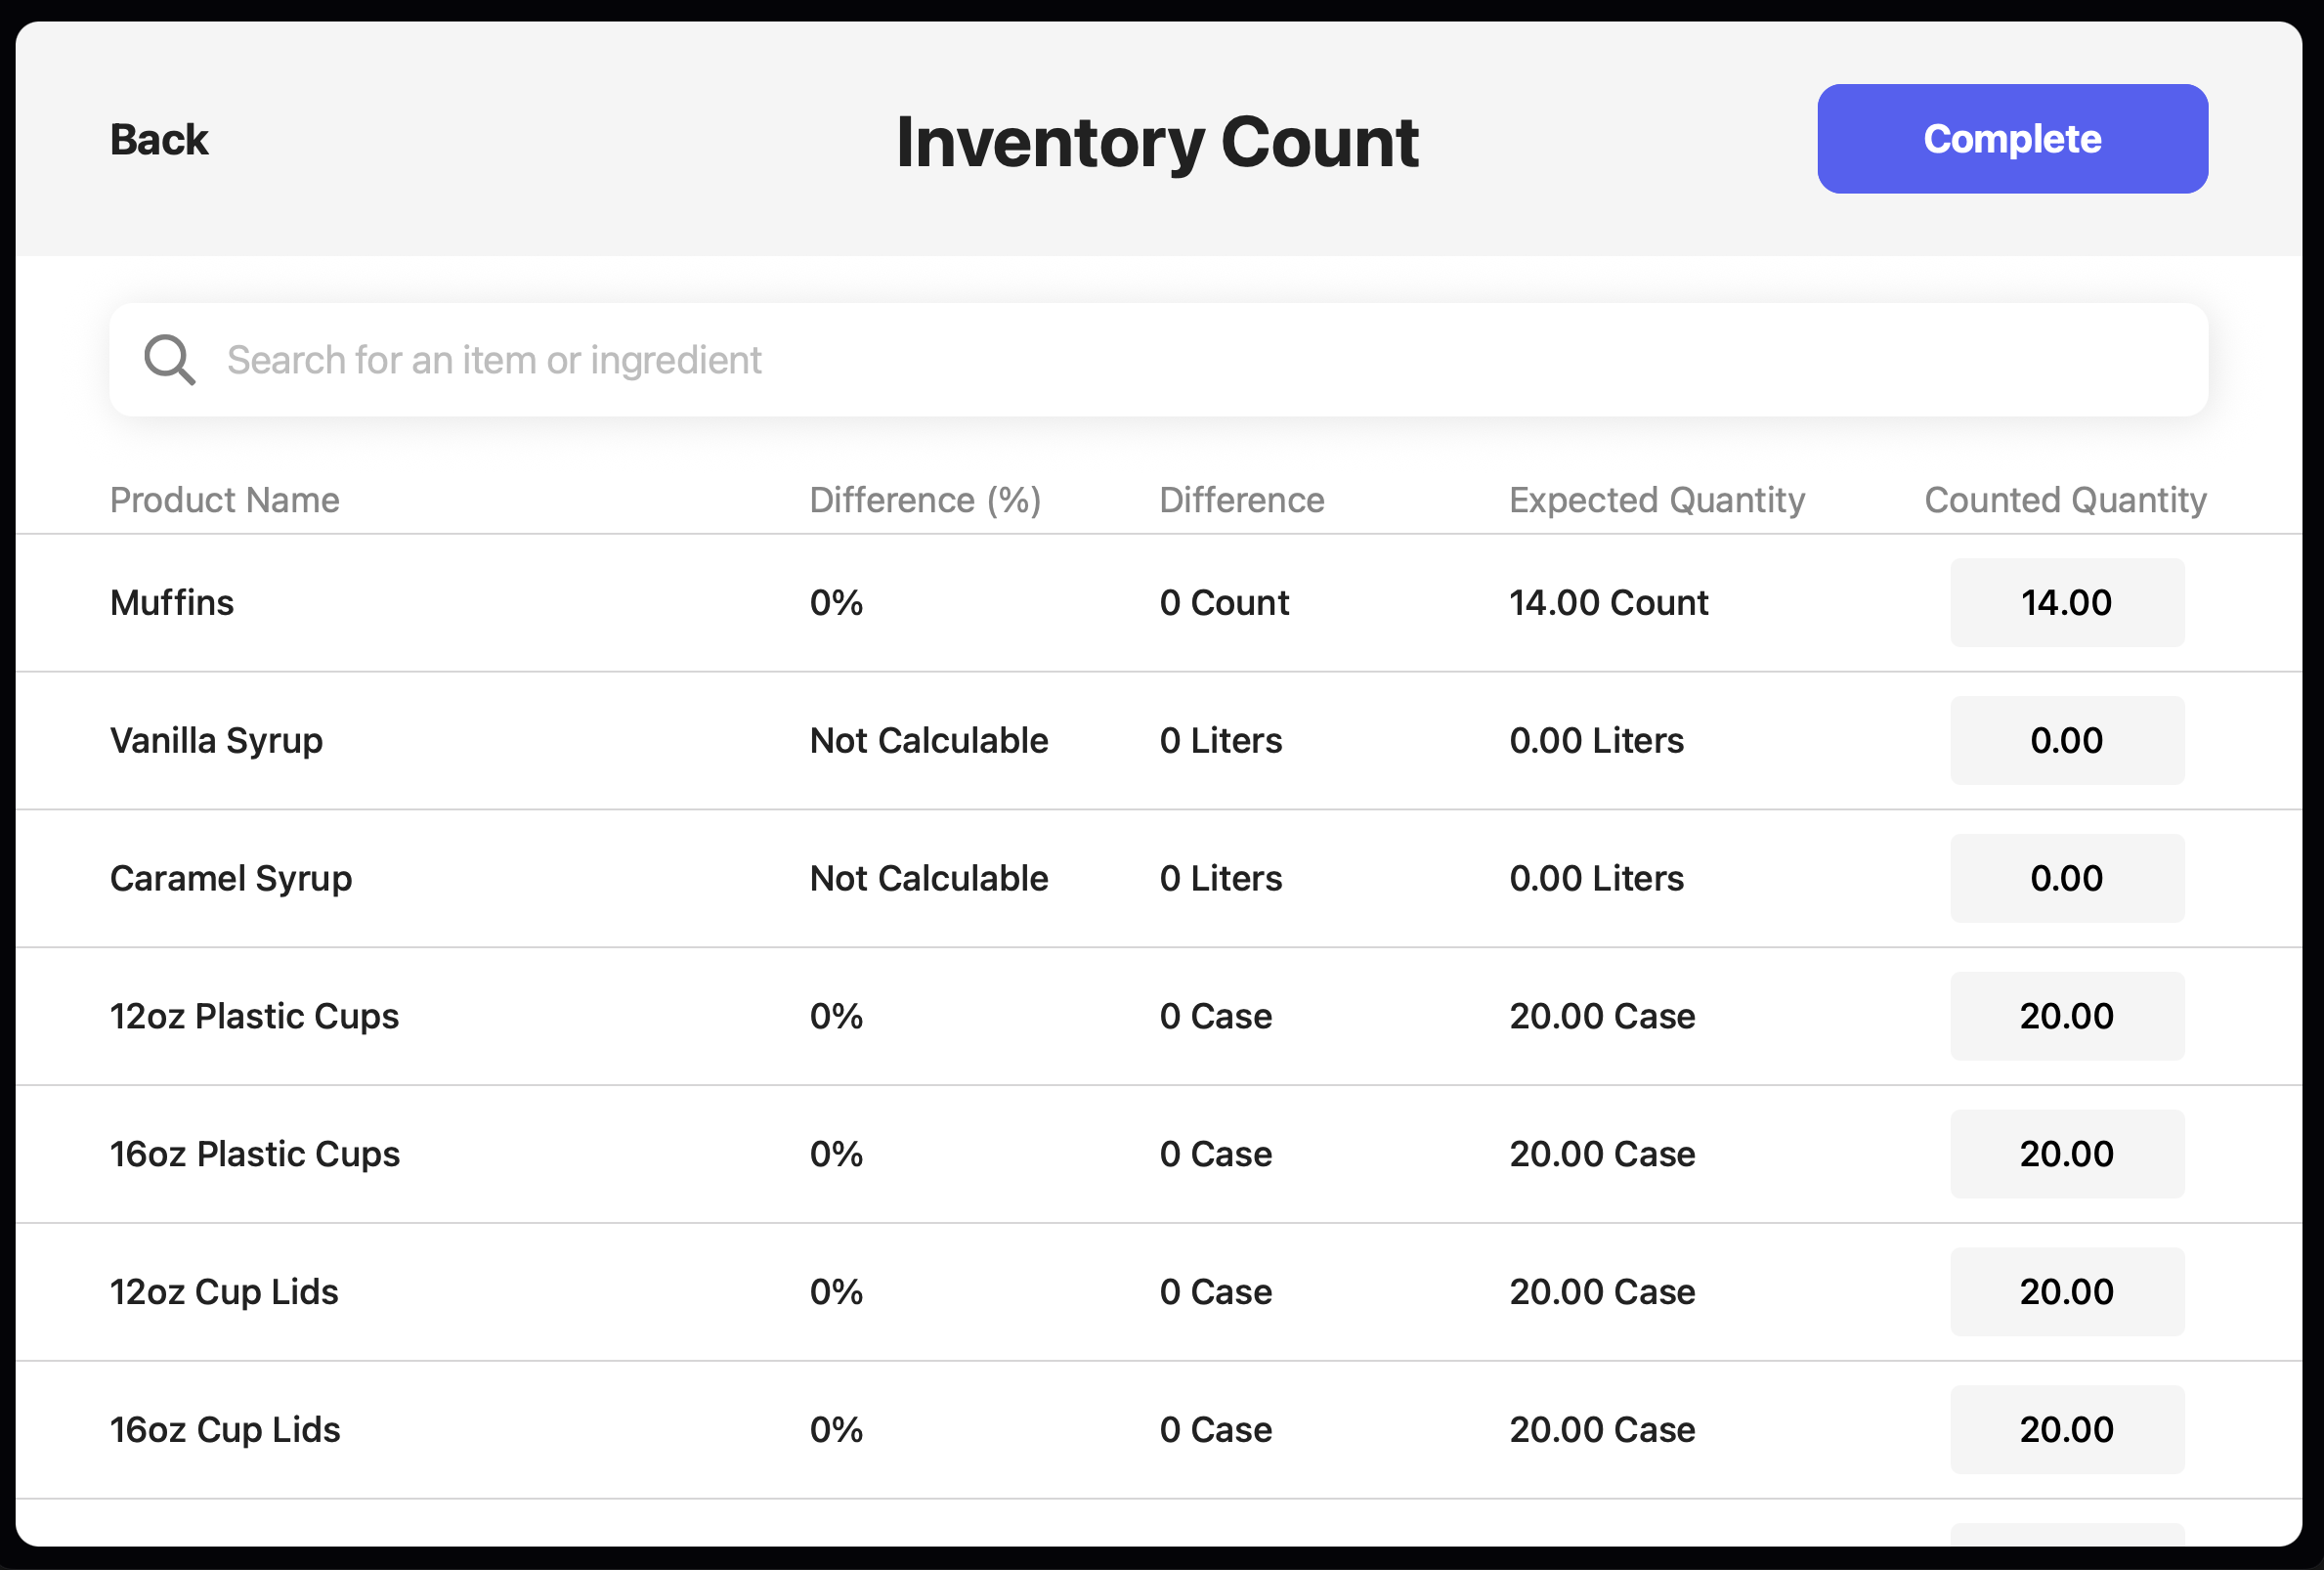
Point of Sale
Point of Sale
1
Click the Supply Chain tab on the POS > Inventory Count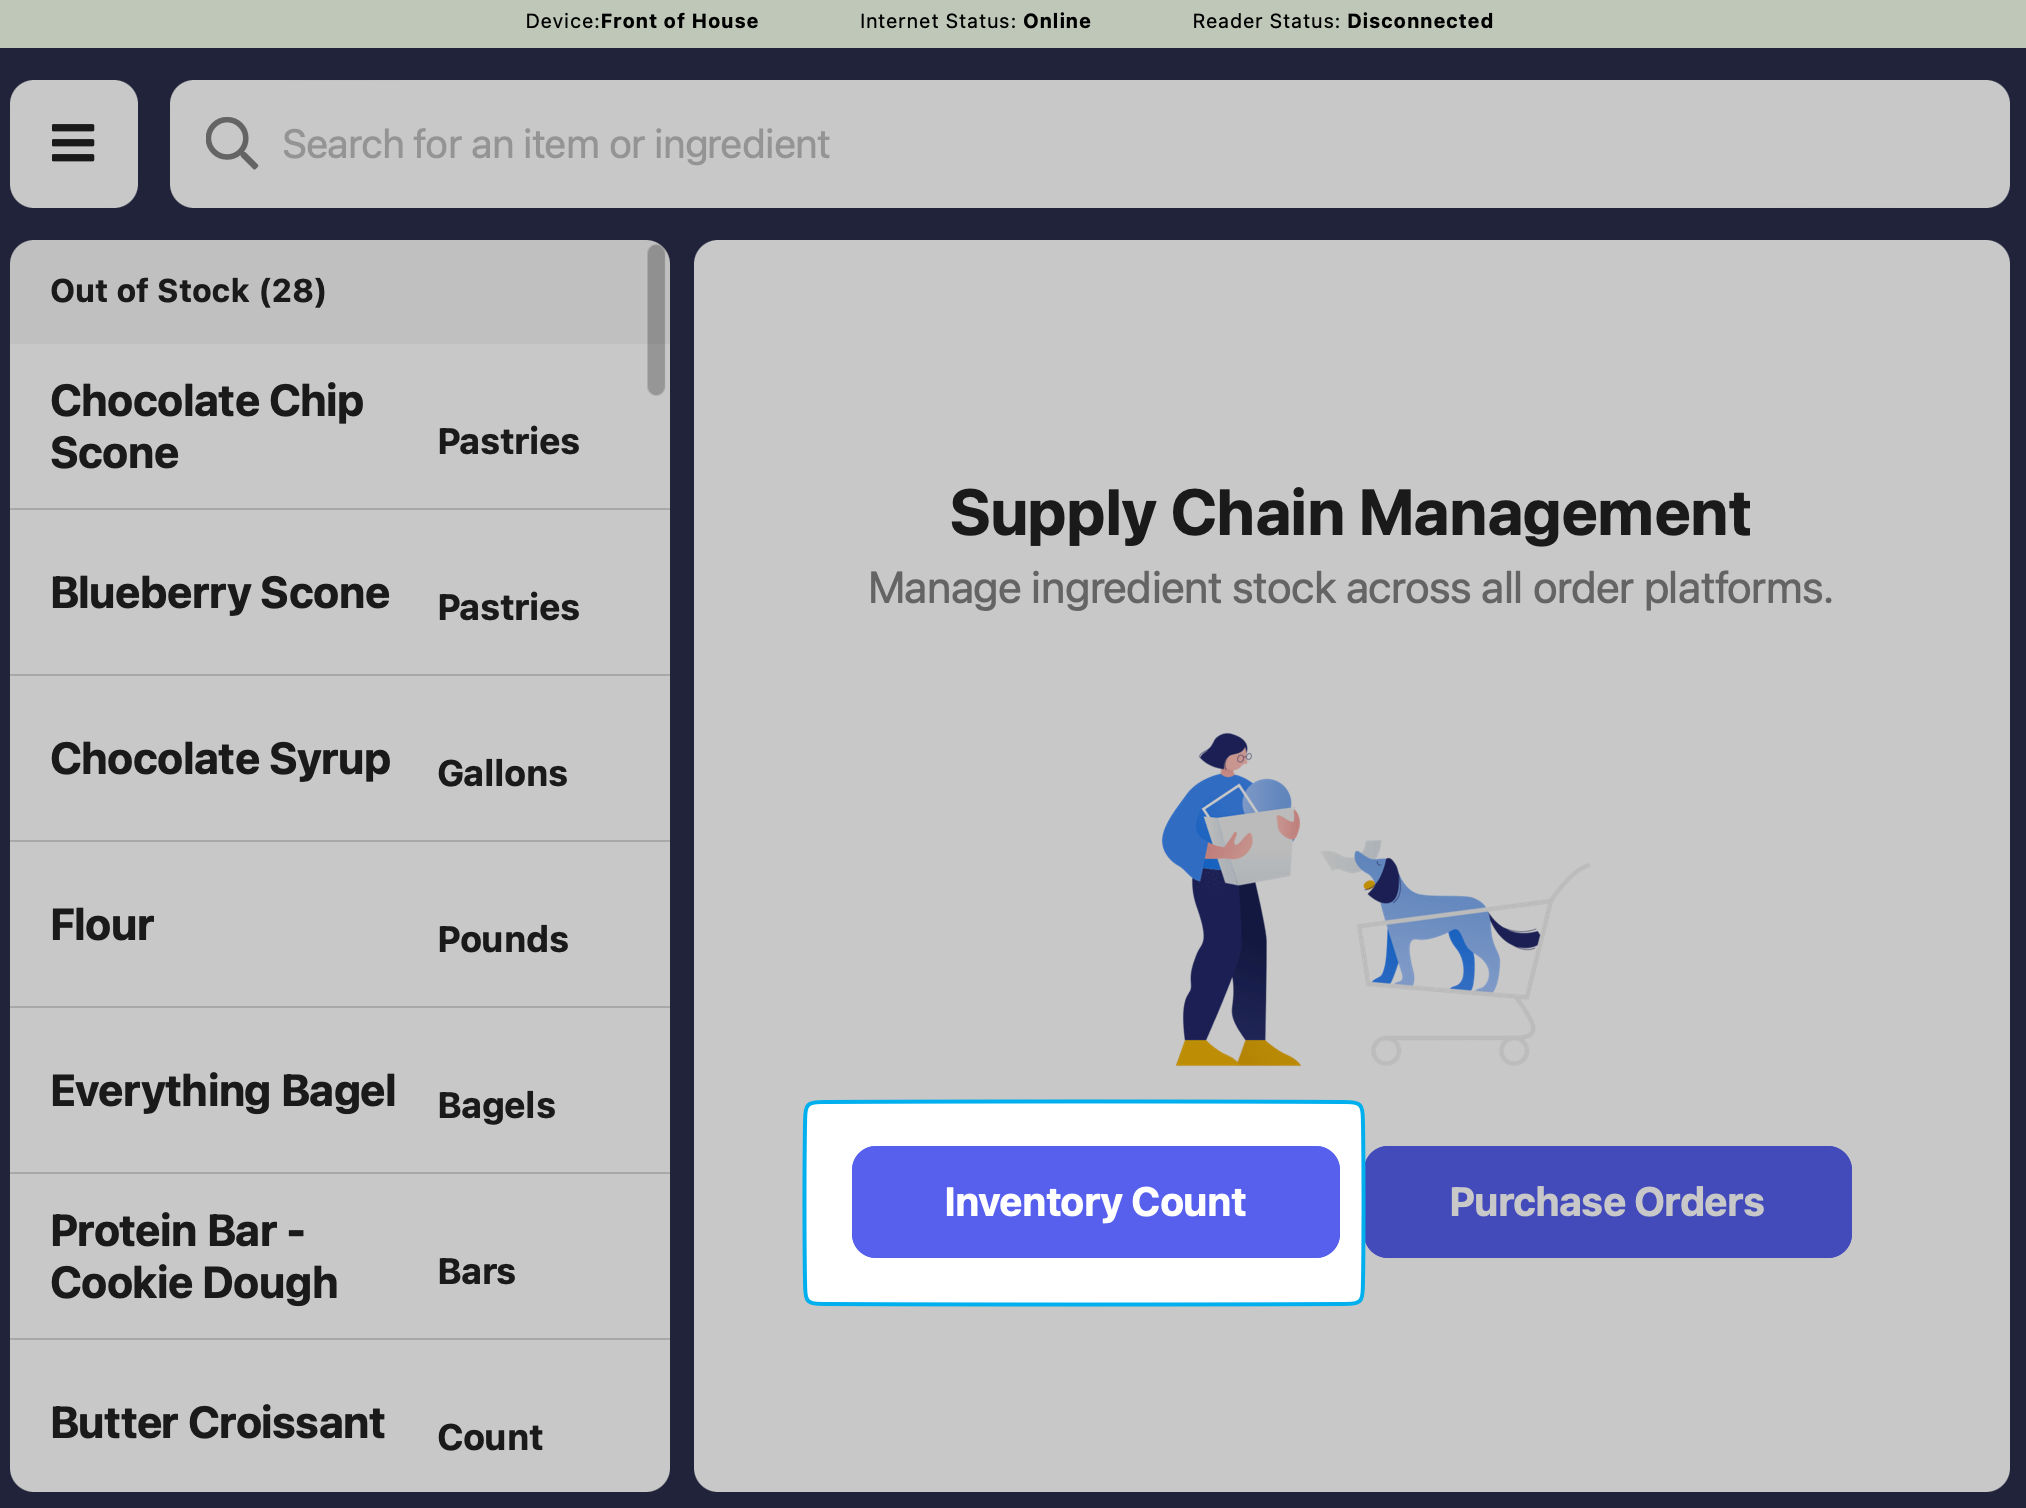
2
Adjust the current stock of each ingredient in the Counted Quantity column. Press Complete to save.