Add Vendors
1
On the Dashboard, navigate to Menu > Supply Chain > Vendors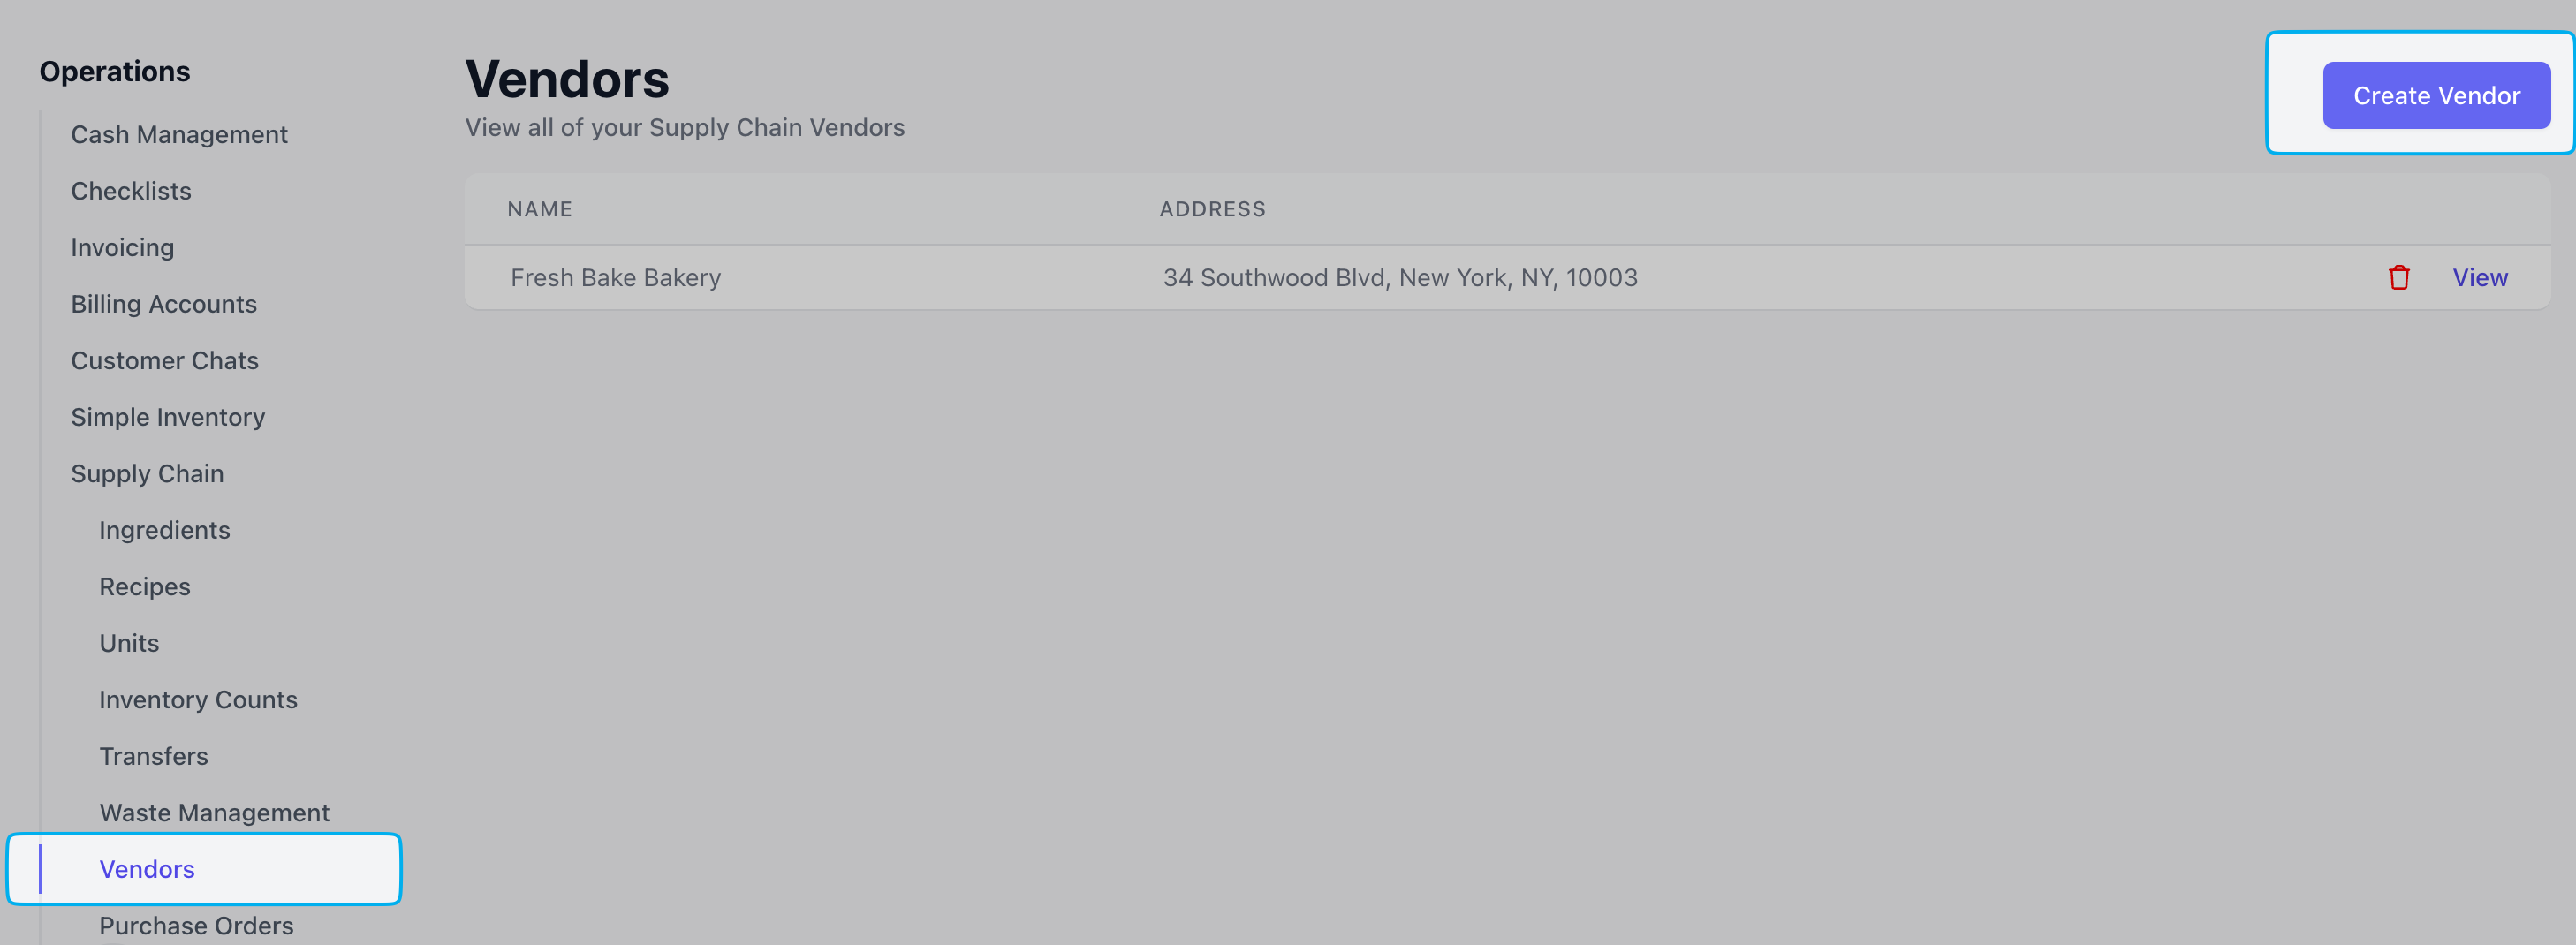
2
Click Create Vendor and fill in the necessary fields.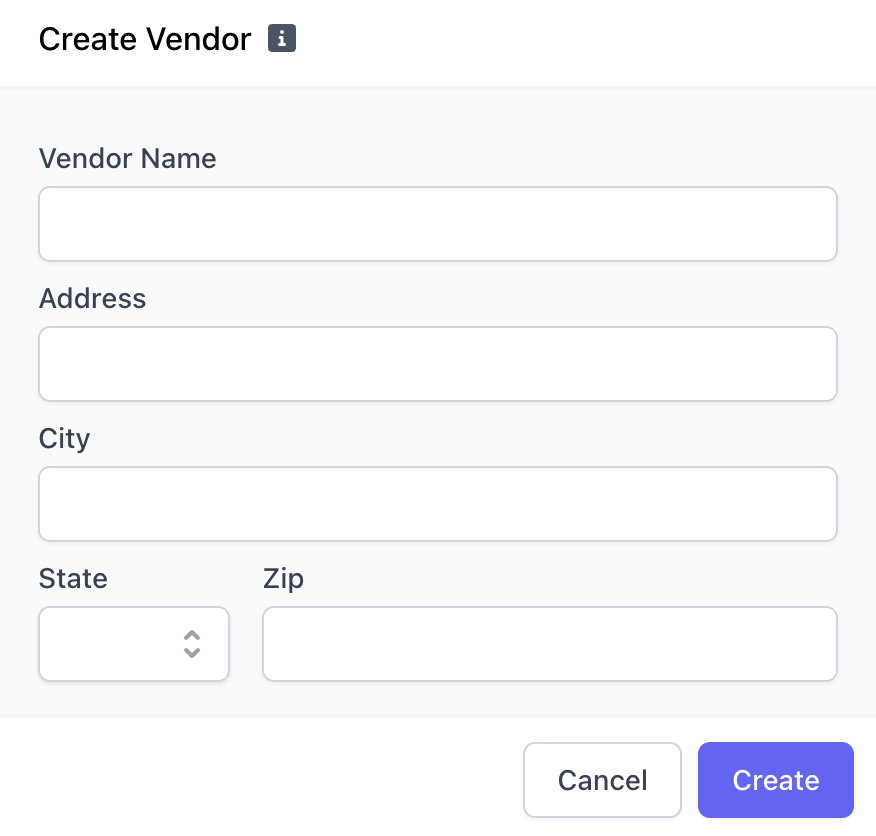
Manage Vendors
All added vendors can be viewed in the Vendors tab. Click View to open the vendor’s page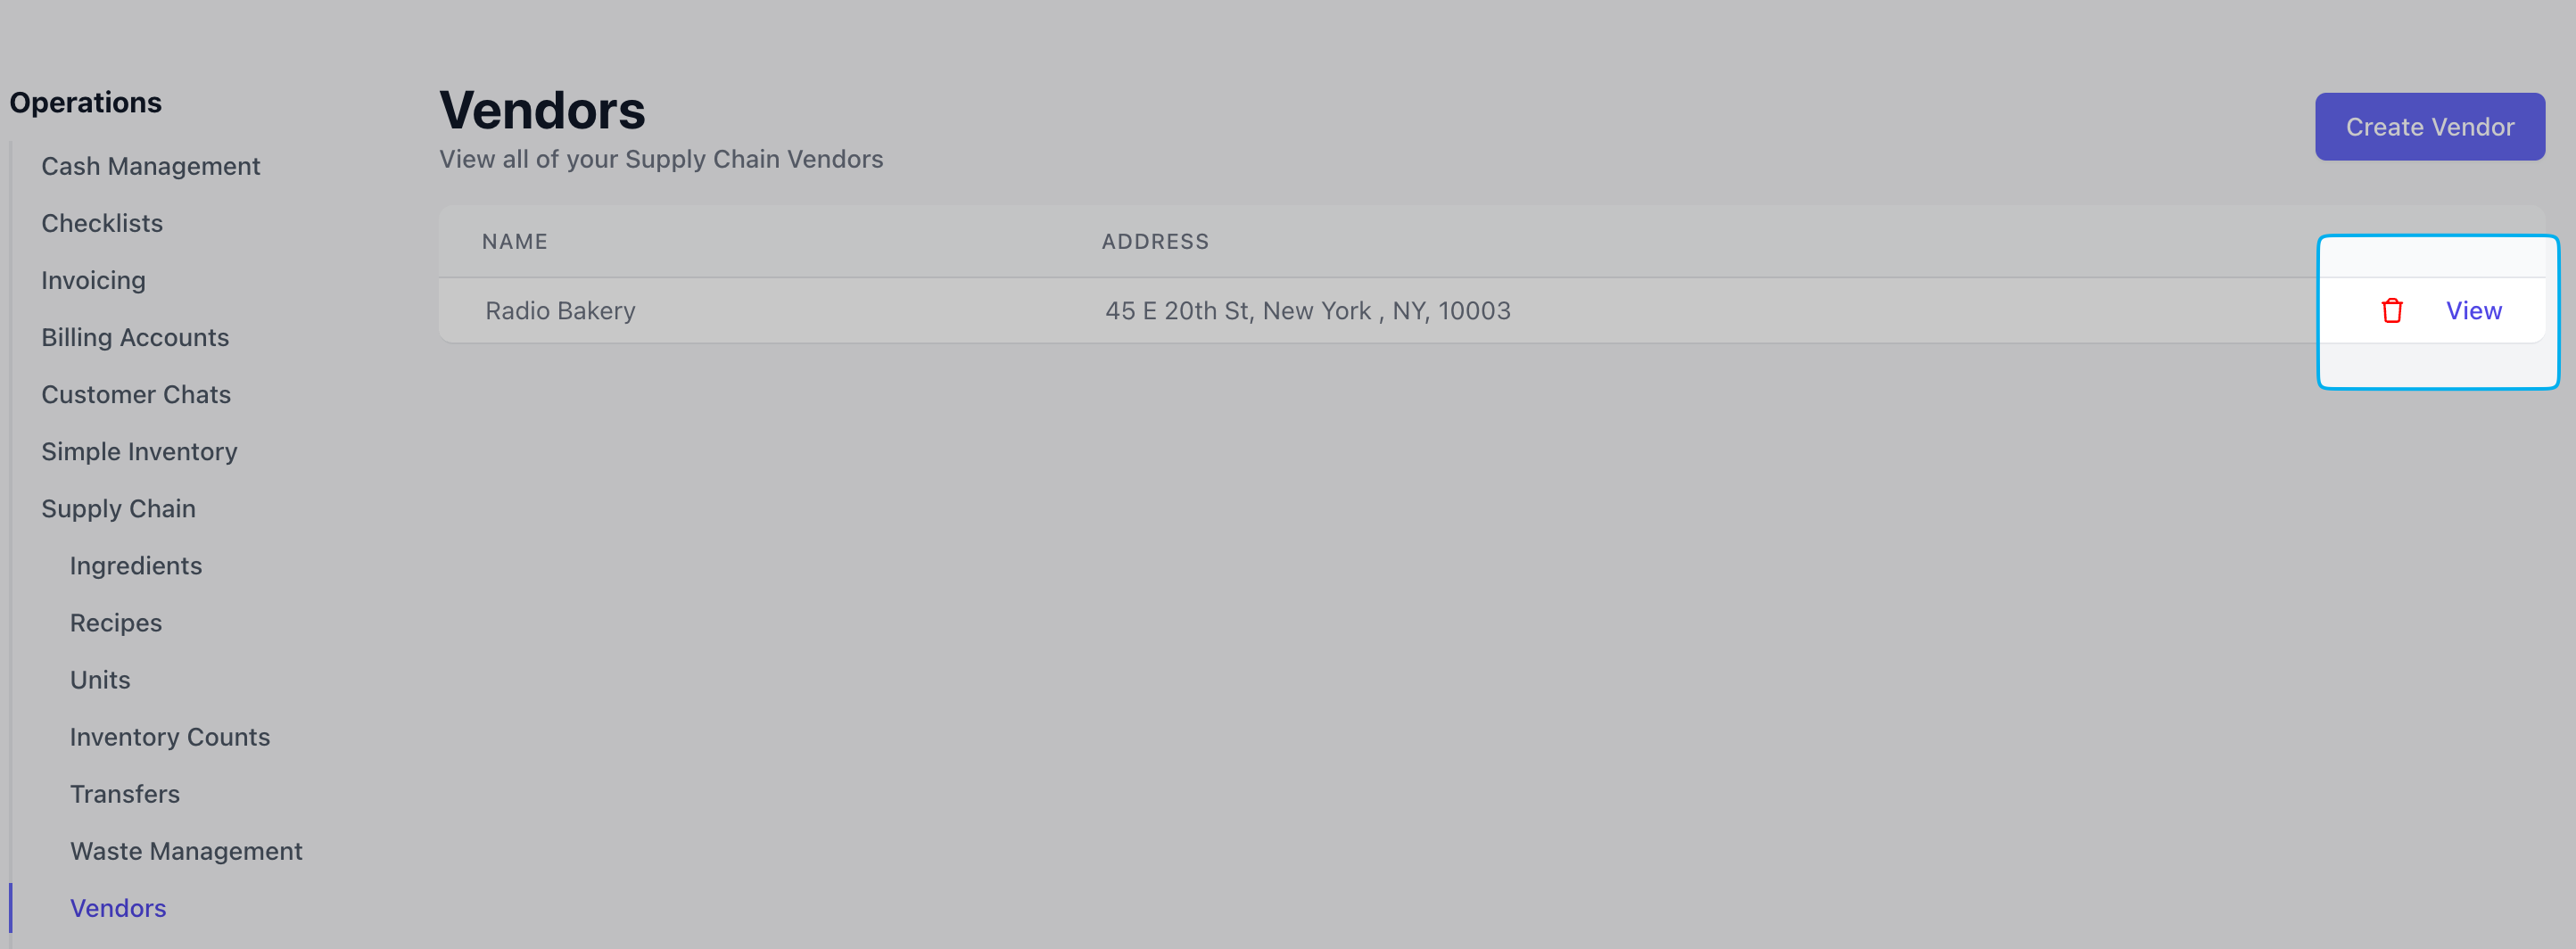
Add Vendor Contacts
Add Vendor Contacts
1
Click Add Contact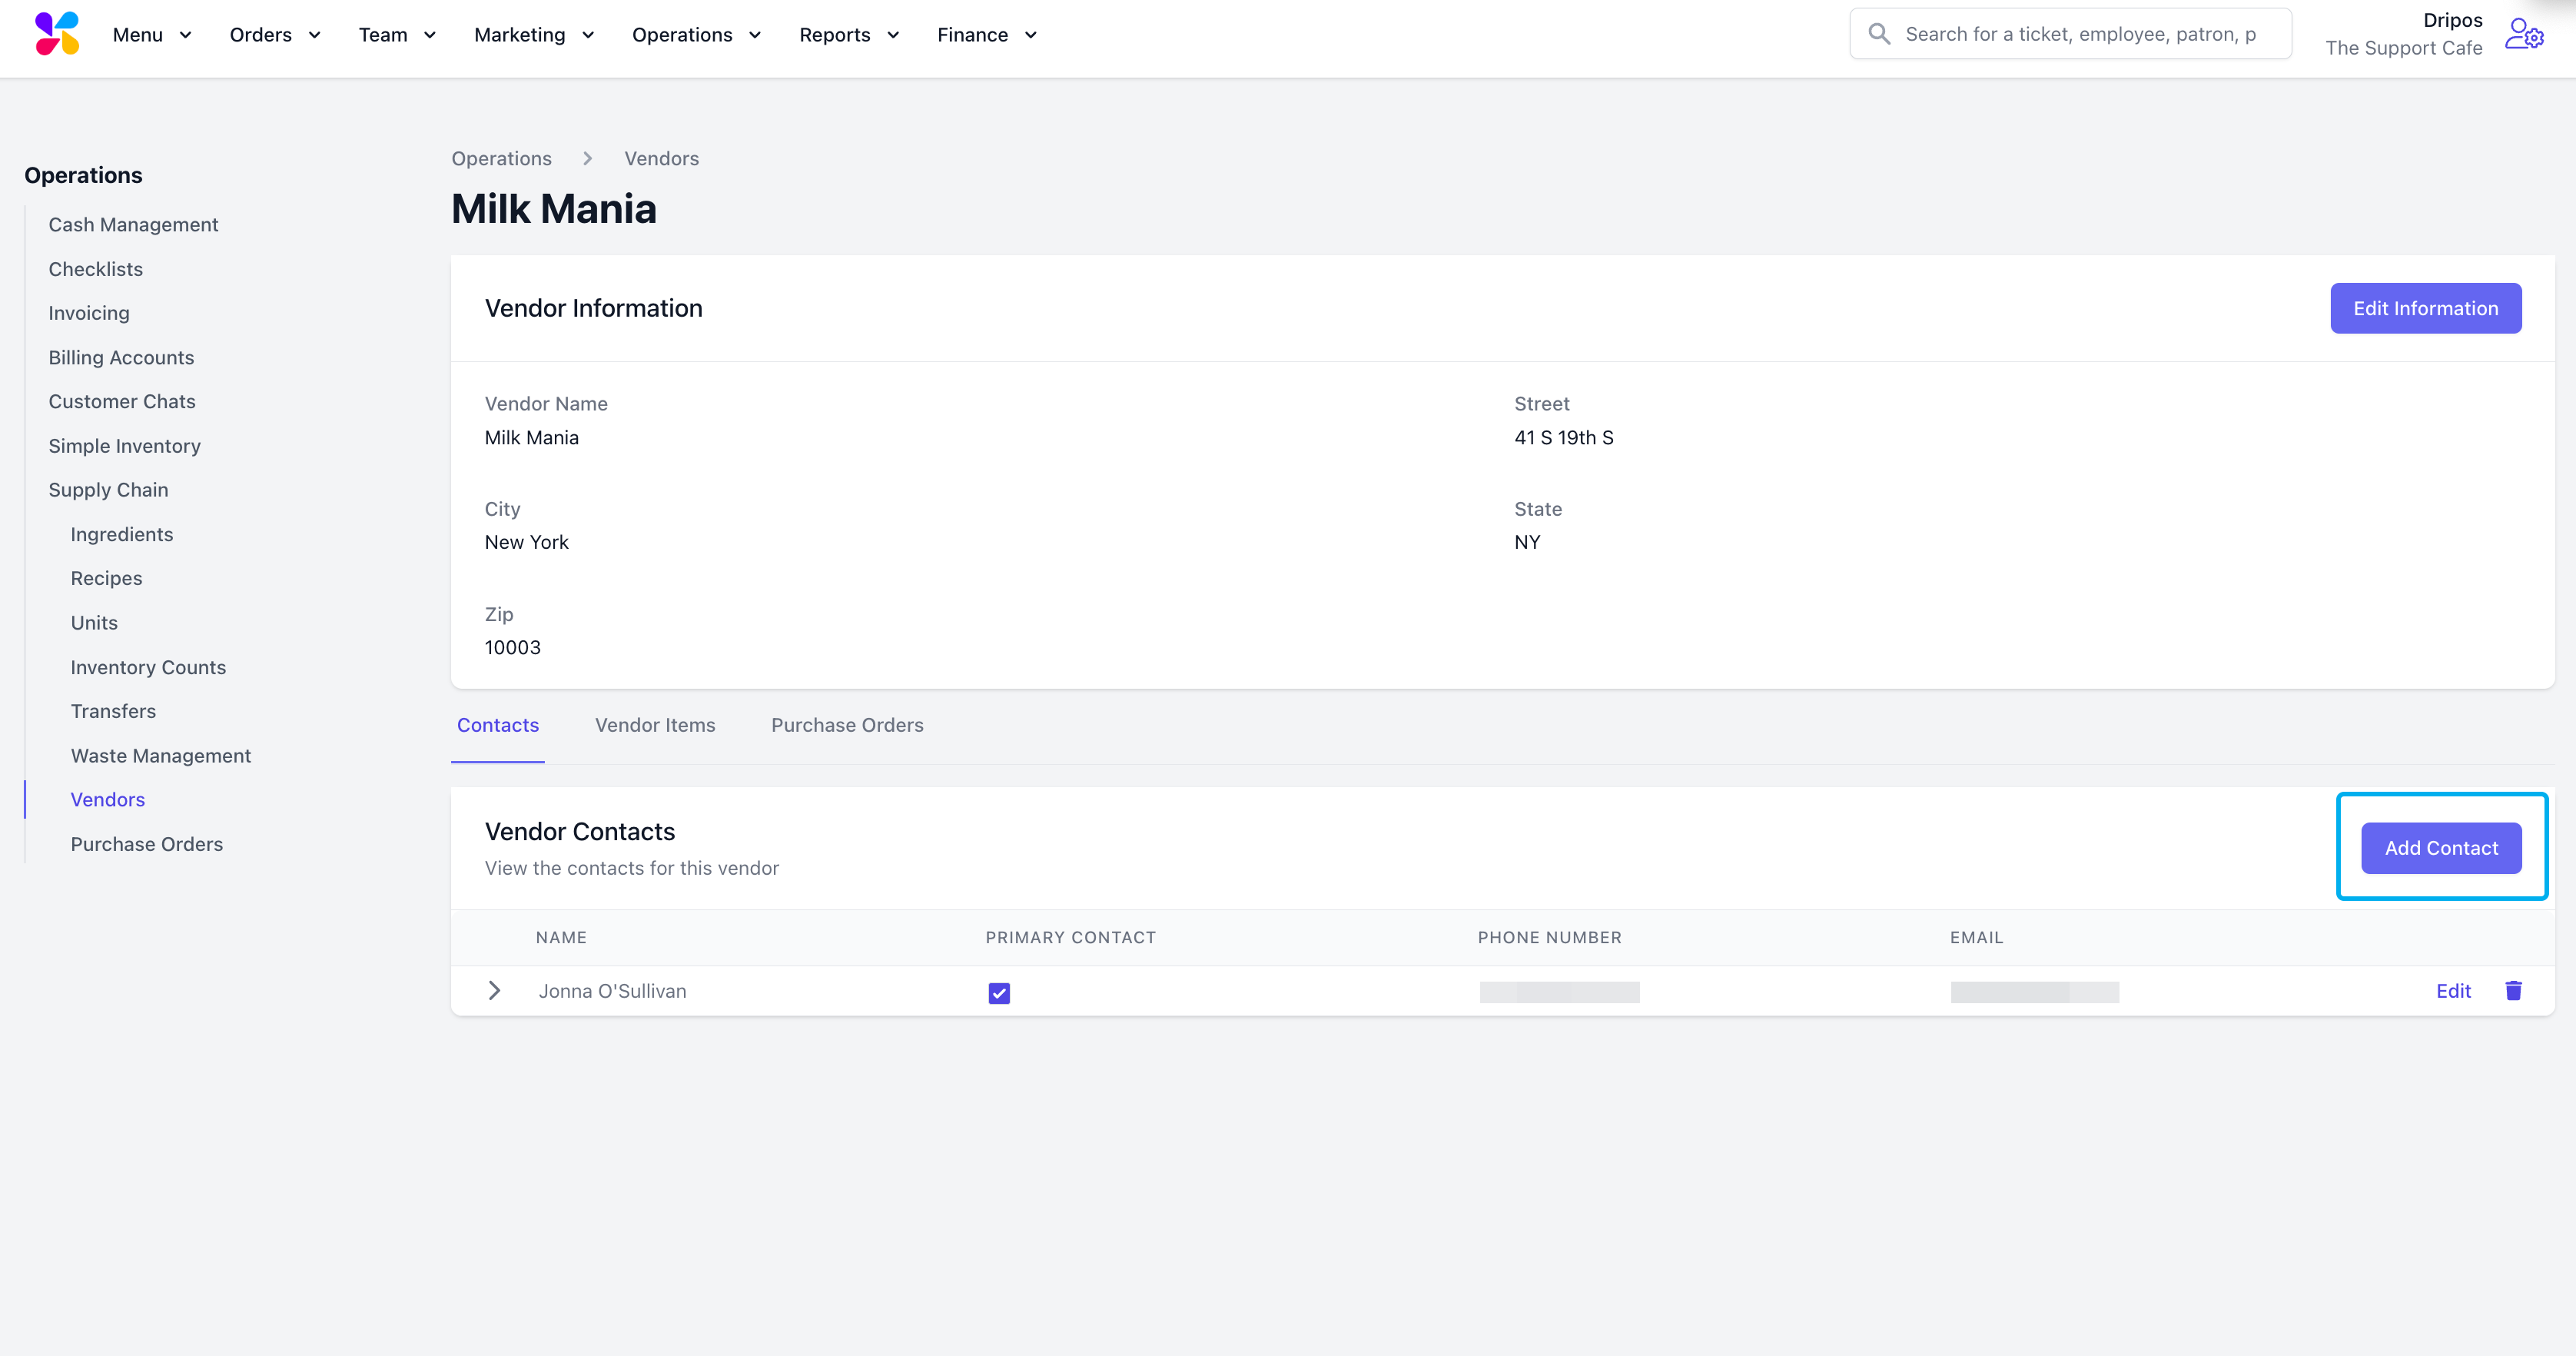
2
Add contact information > press Save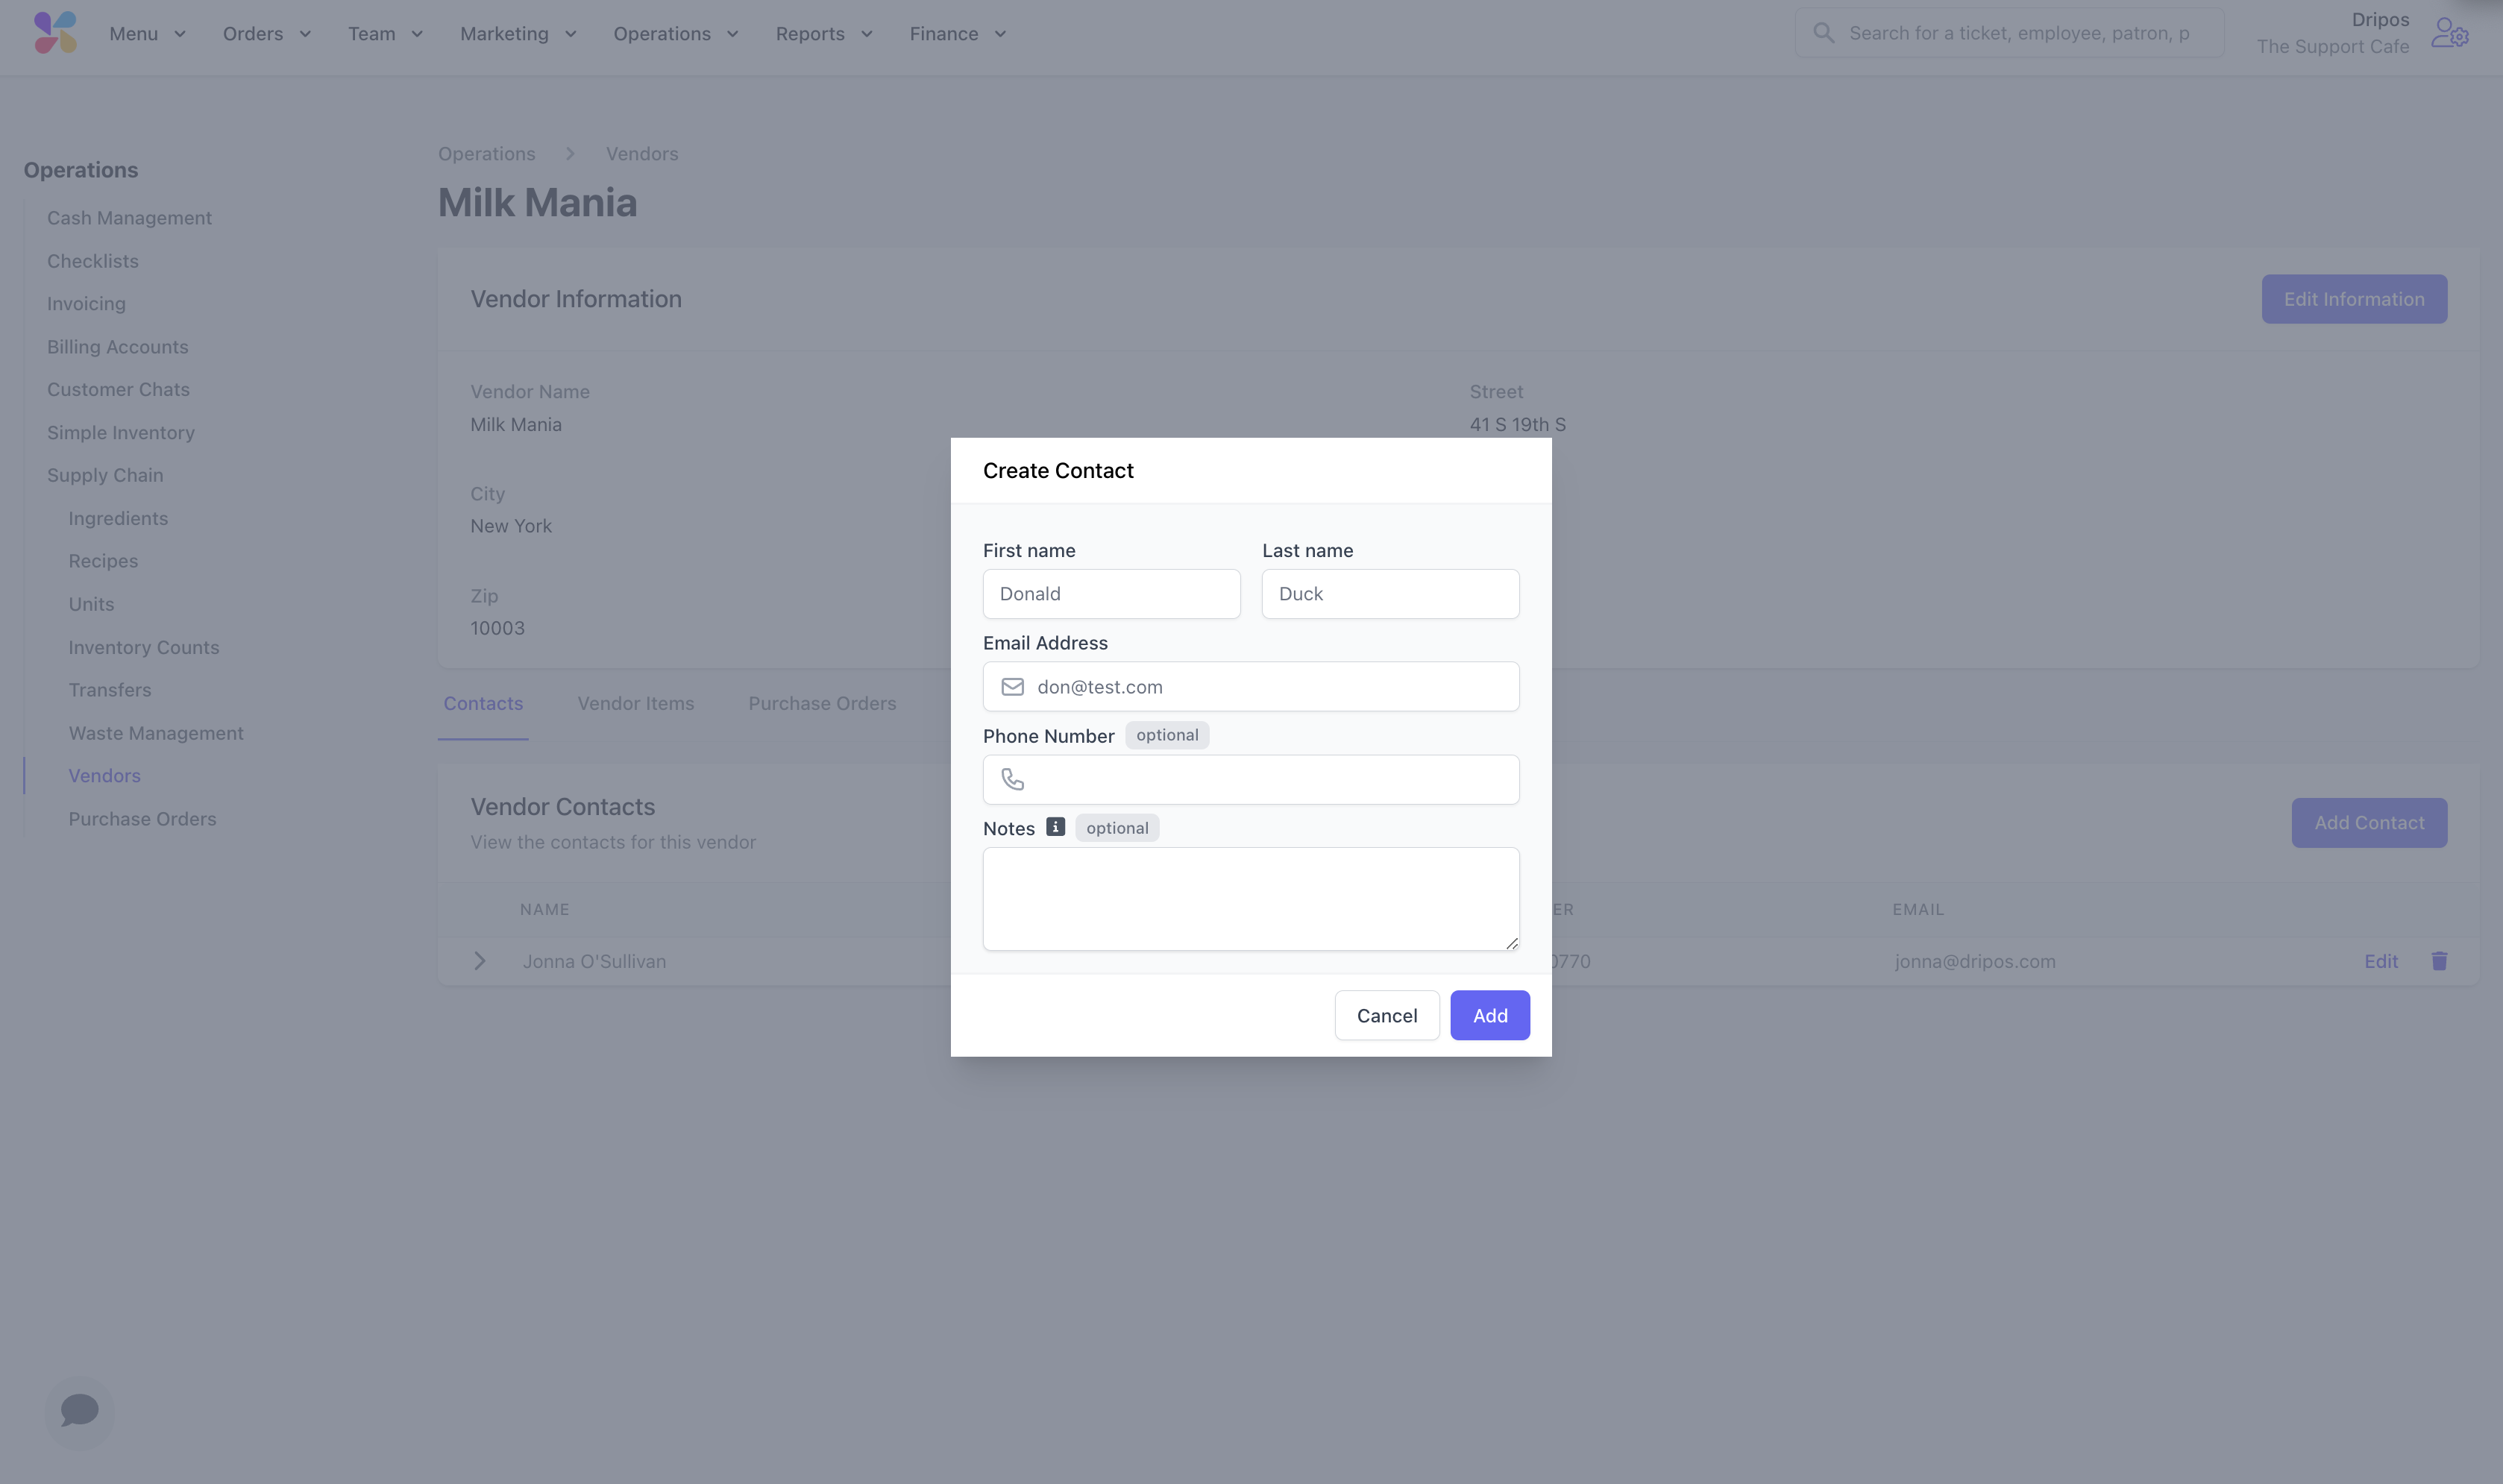
Add Vendor Items
Add Vendor Items
Determine which supply chain ingredients are supplied from a vendor.
1
Navigate to the Vendor Items tab > Create Vendor Item
2
Complete the following fields and click Add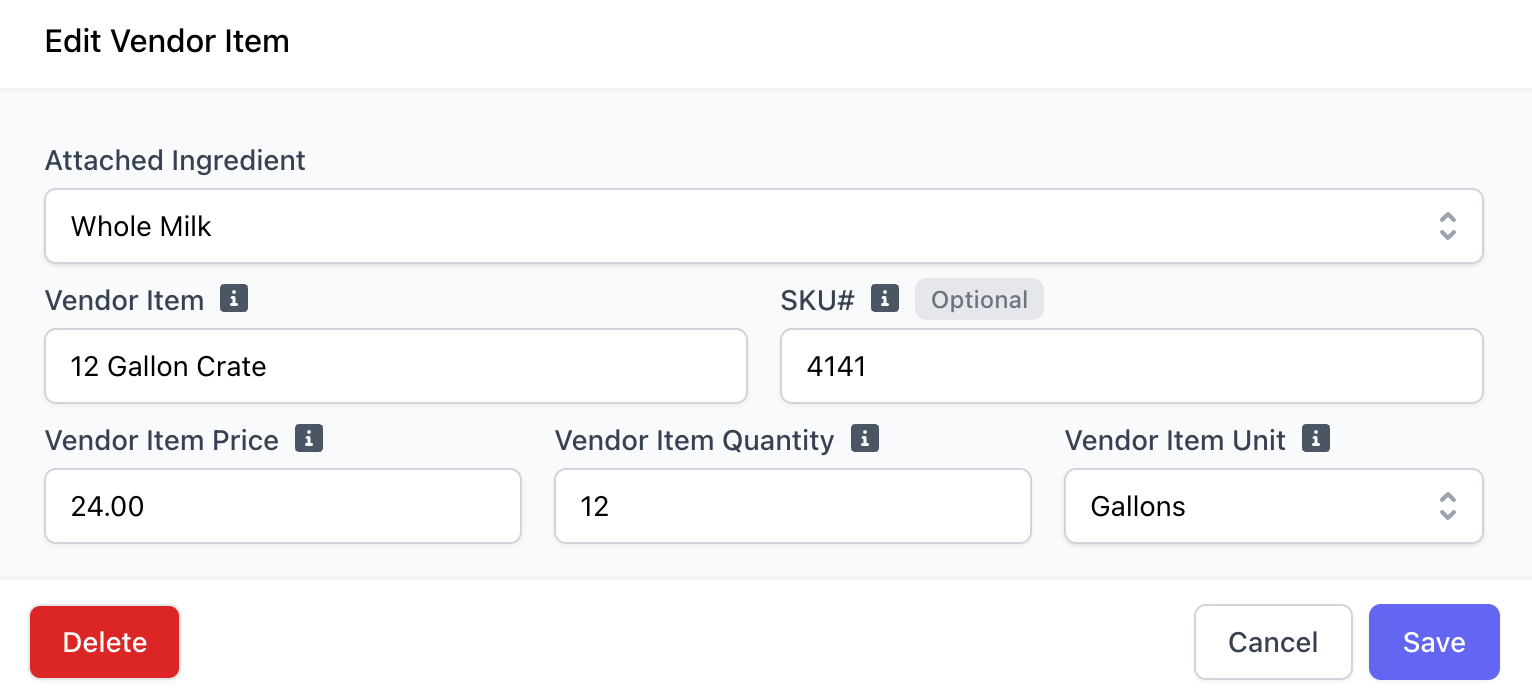
Attached Ingredient: Select the ingredient from your Inventory to attach to your vendor Vendor Item: Enter the name that the vendor displays on their price list SKU#: Enter the product code that the vendor displays on their price list Vendor Item Price: Enter the cost of the vendor item Vendor Item Quantity and Unit: Enter the number of units contained in one case. For example, a shipment of 12 gallons of milk would have a case count of 12 and the unit as gallons.
Create Purchase Orders
Create Purchase Orders
Create and view past purchase orders with a selected vendor.⭐ When a purchase order is created in Dripos, the stock of the ingredients purchase automatically increases.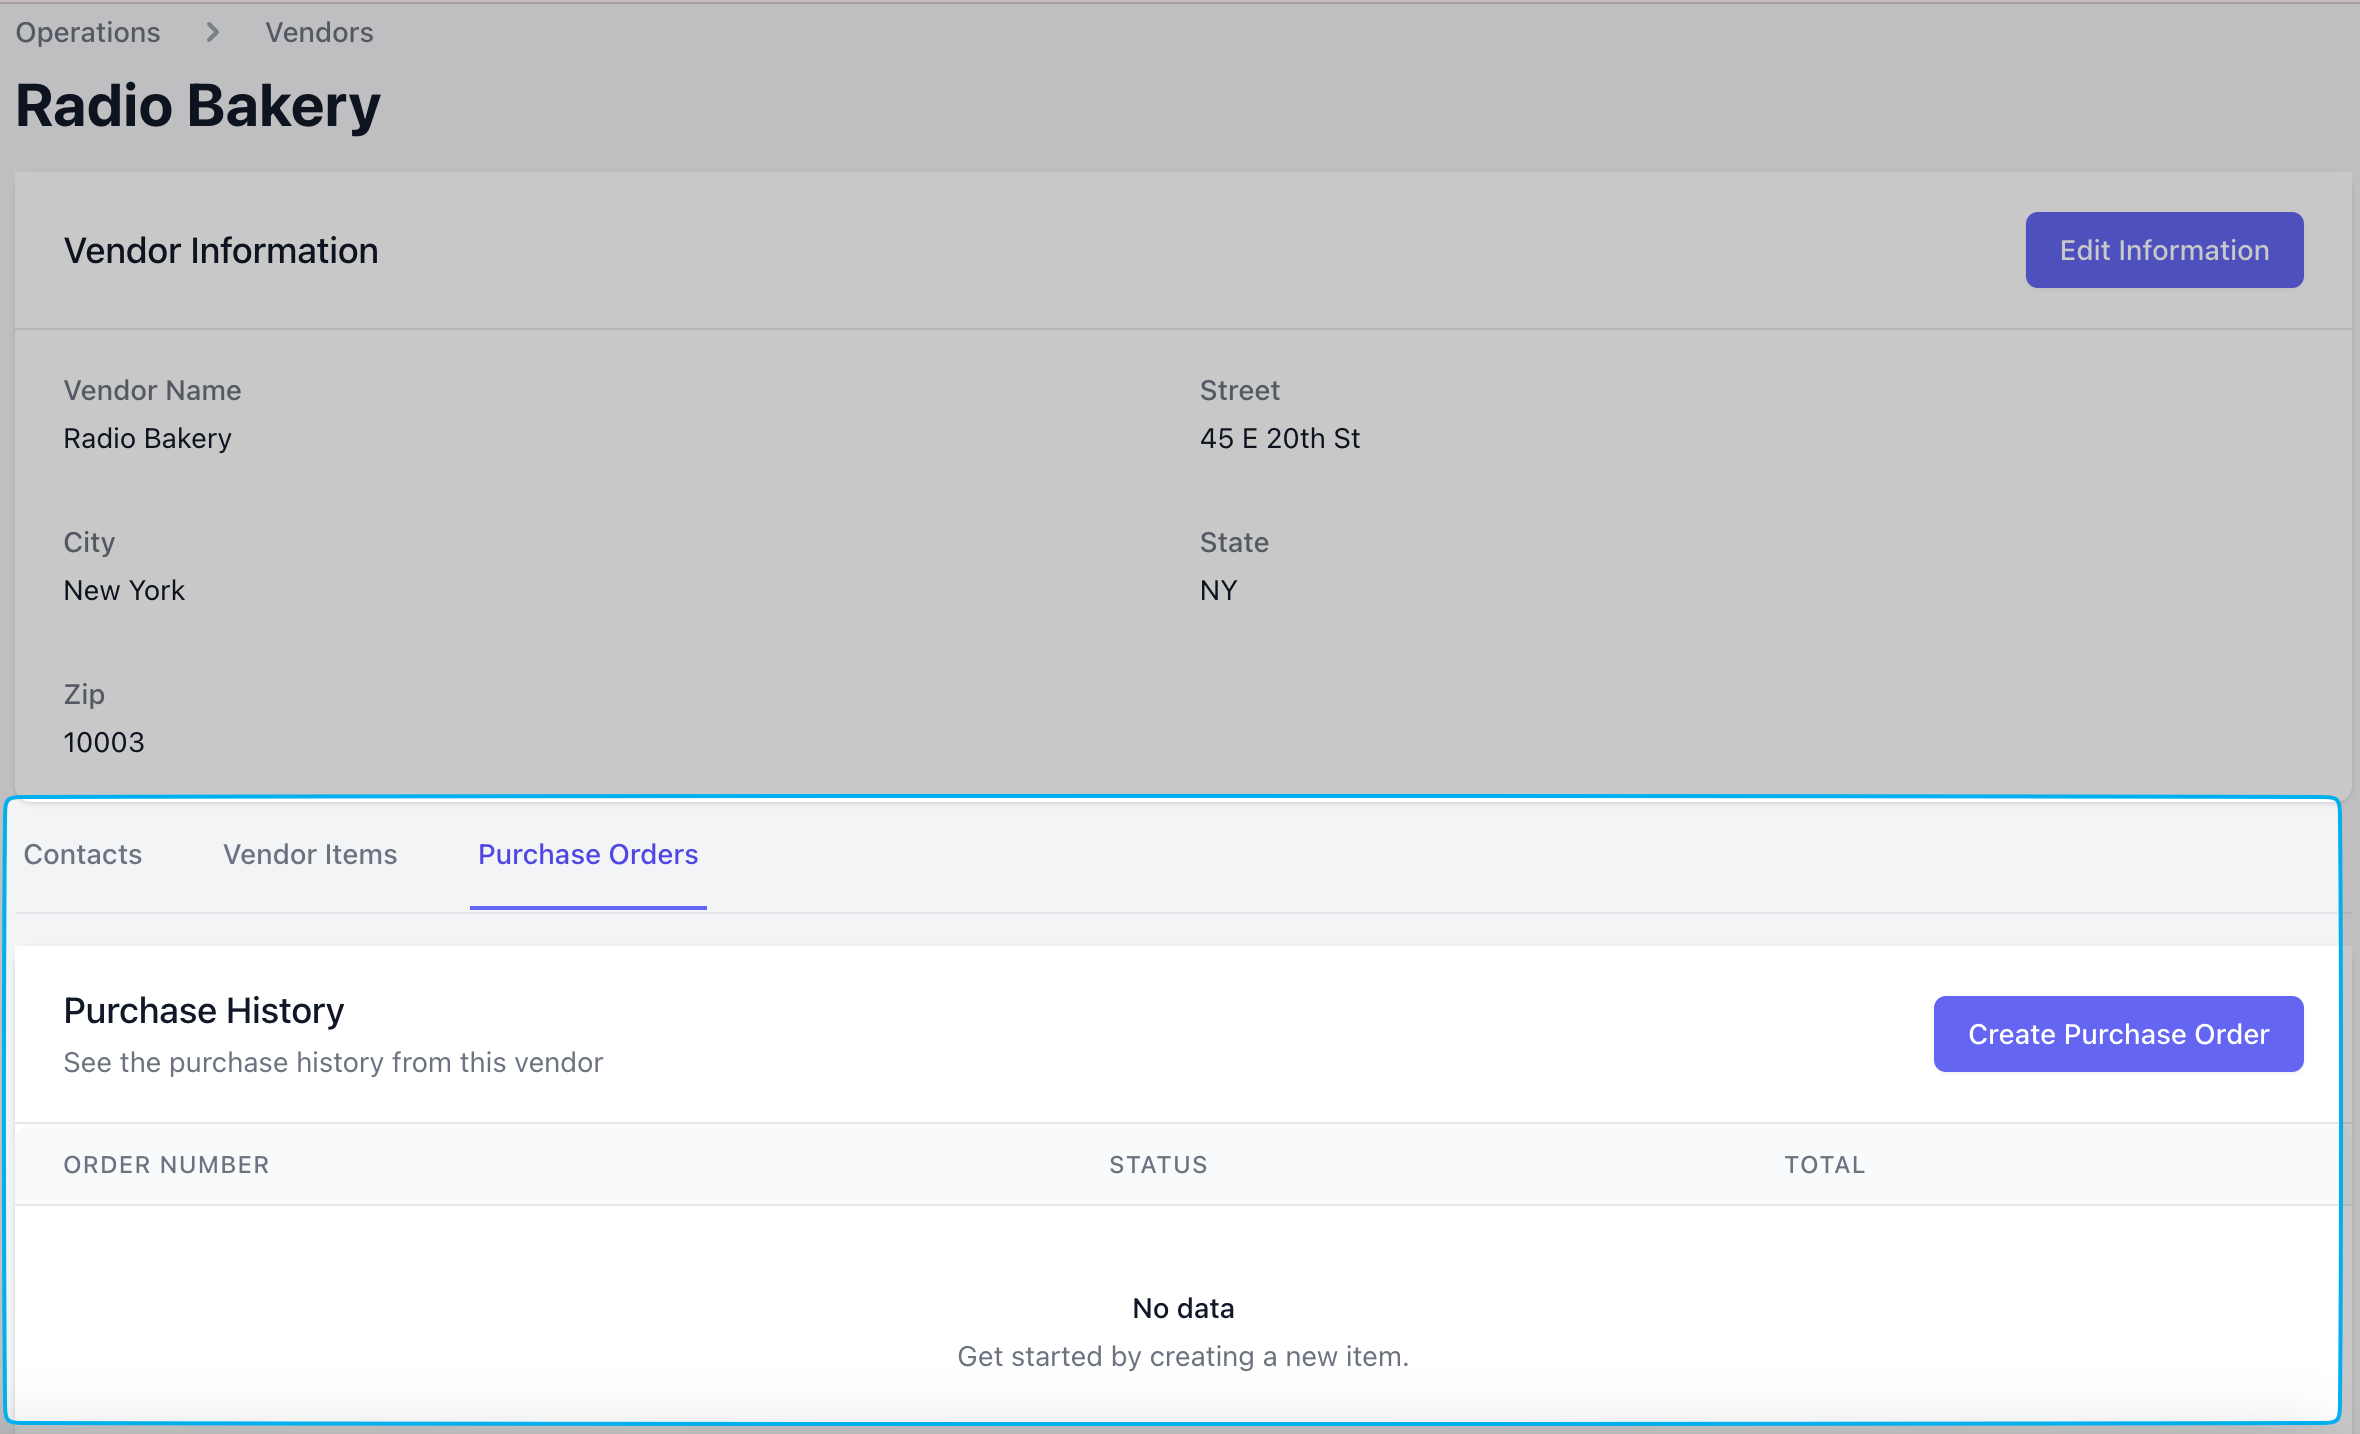
1
On the Dashboard, navigate to Menu > Supply Chain > Purchase Orders > Create Purchase Order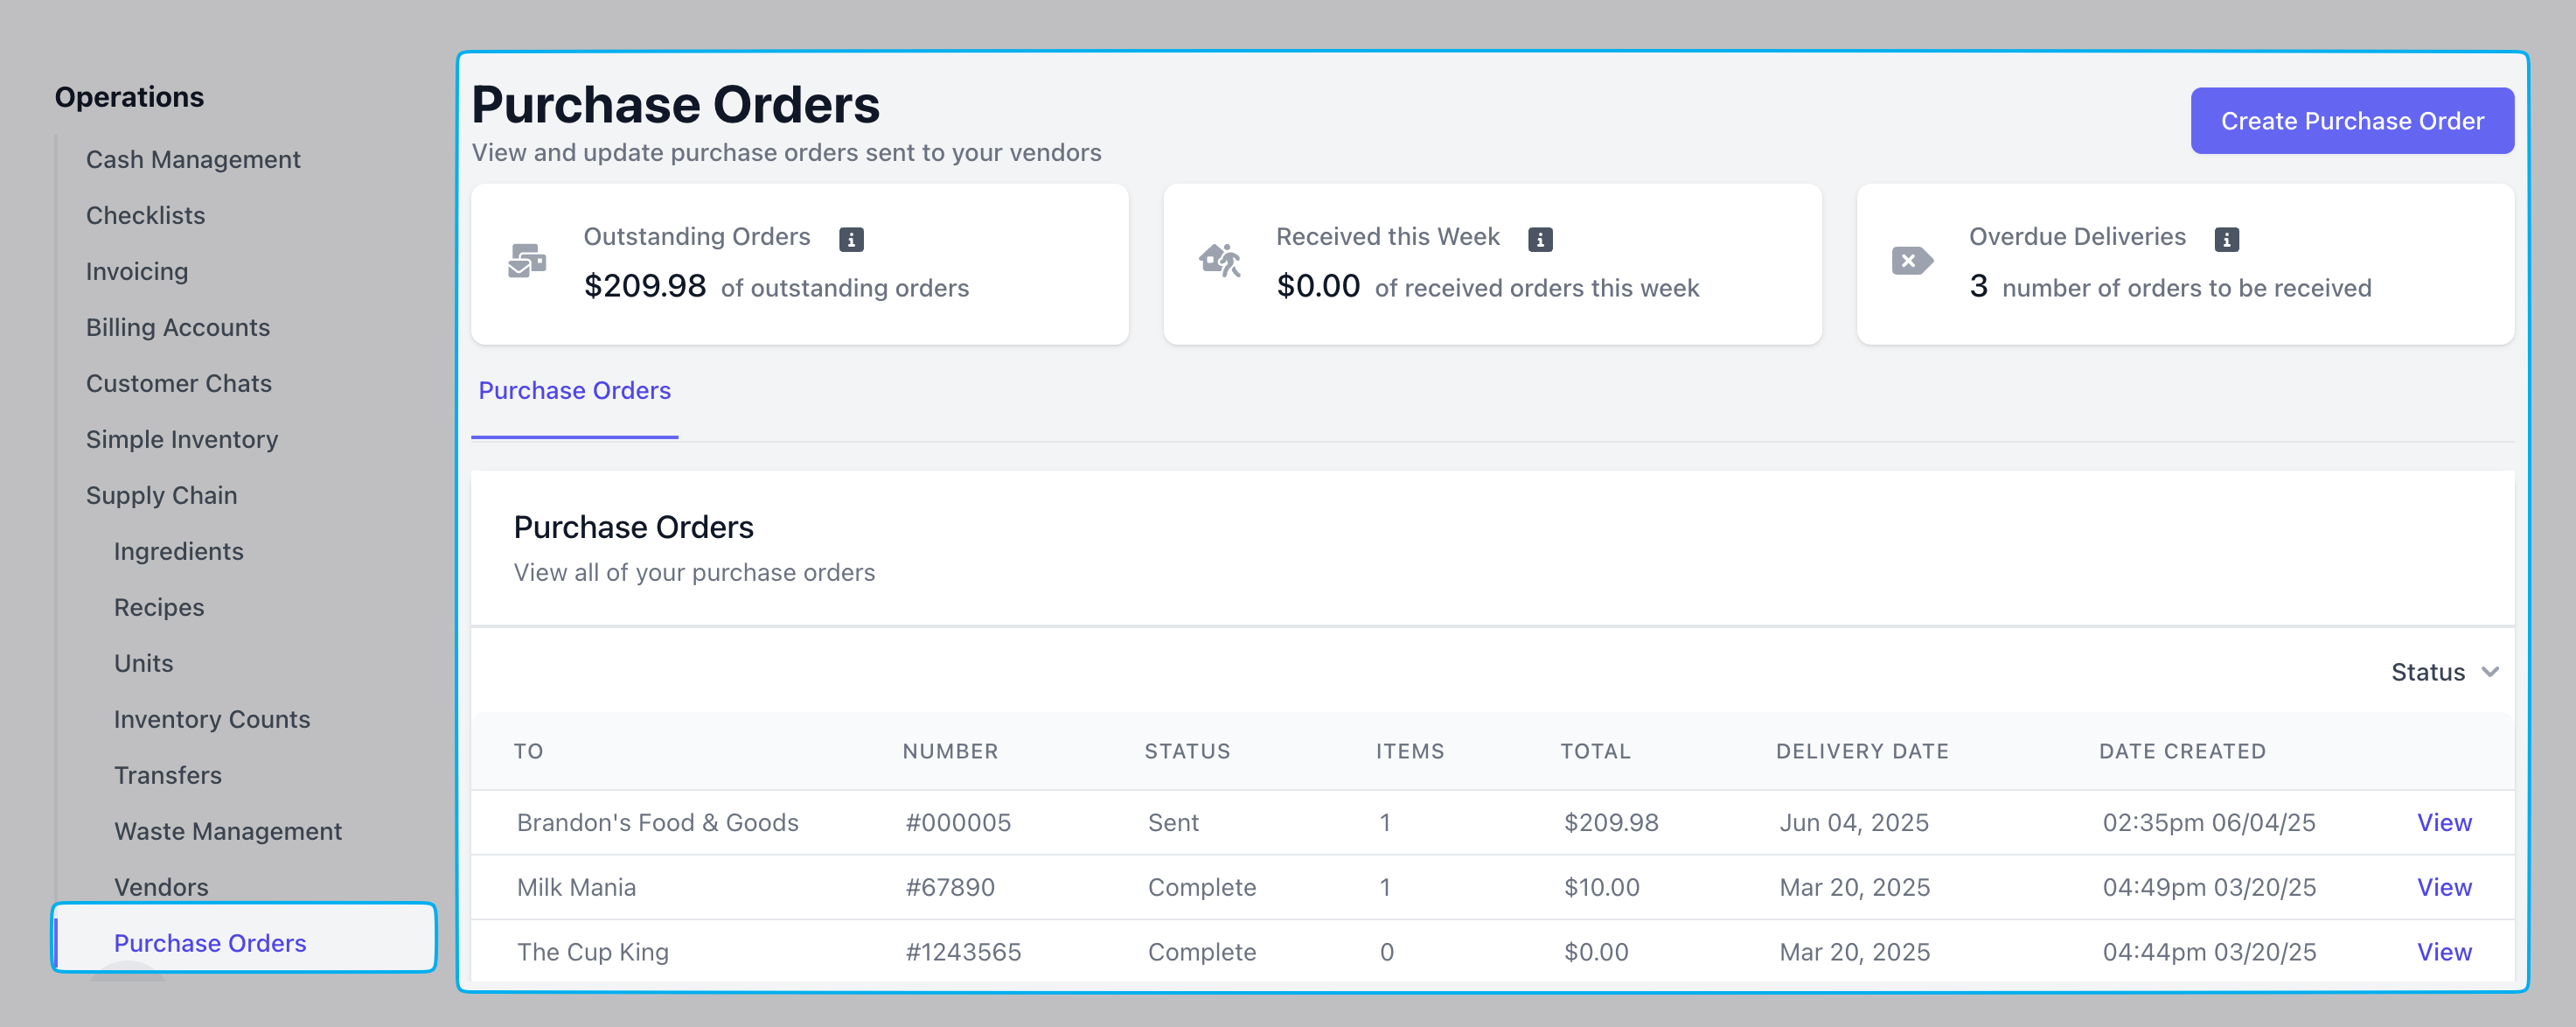
Outstanding Orders
The total value of all purchase orders that have been sent but not yet delivered.
Received this Week
The total number of orders received in the past 7 days.
Orders to Receive
The total number of orders where the delivery date has passed but have not been marked as received in Dripos.
2
Complete the following fields and Create Purchase Order once complete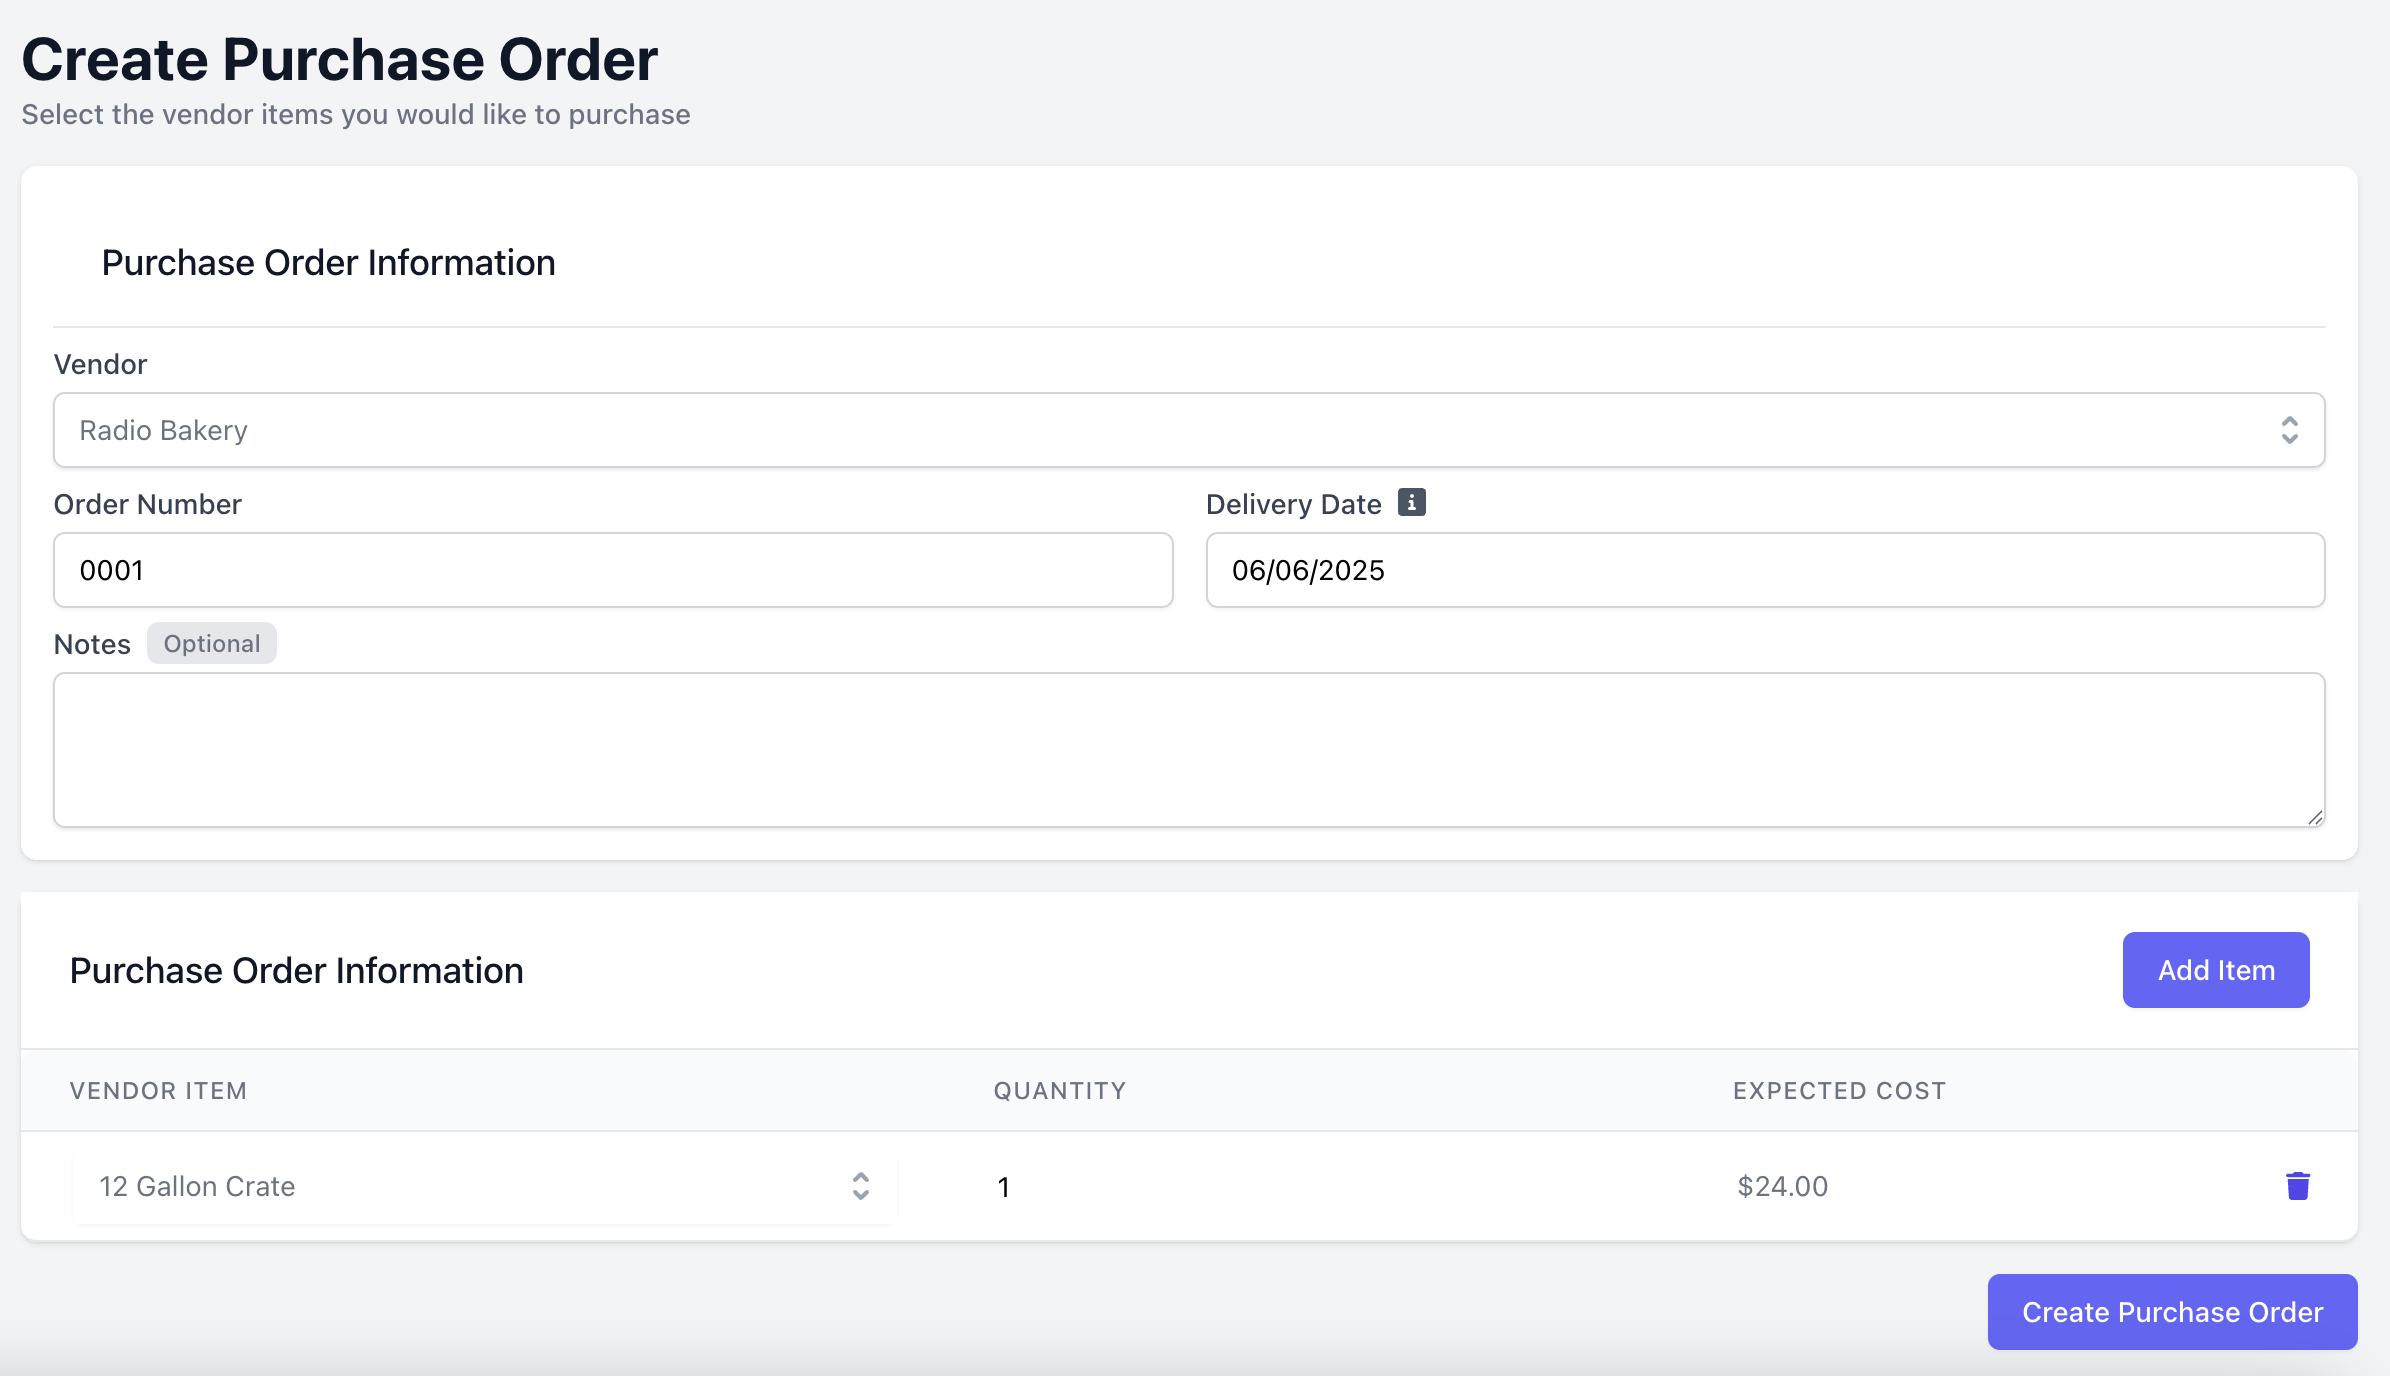
Vendor: Select the vendor you’re purchasing from Order Number: Enter a number to label this purchase order Delivery Date: Specify the expected delivery date for this purchase order. This helps track average vendor delays. Notes (Optional): Add any additional notes related to this purchase order Vendor Items: Click Add Item for each ingredients to include in this purchase order and their respective quantity
3
Add a vendor contact as a recipient for the purchase order > click Send Purchase Order to email the vendor contact your order for fulfillment.
See a preview of the order to send to the vendor contact under Preview: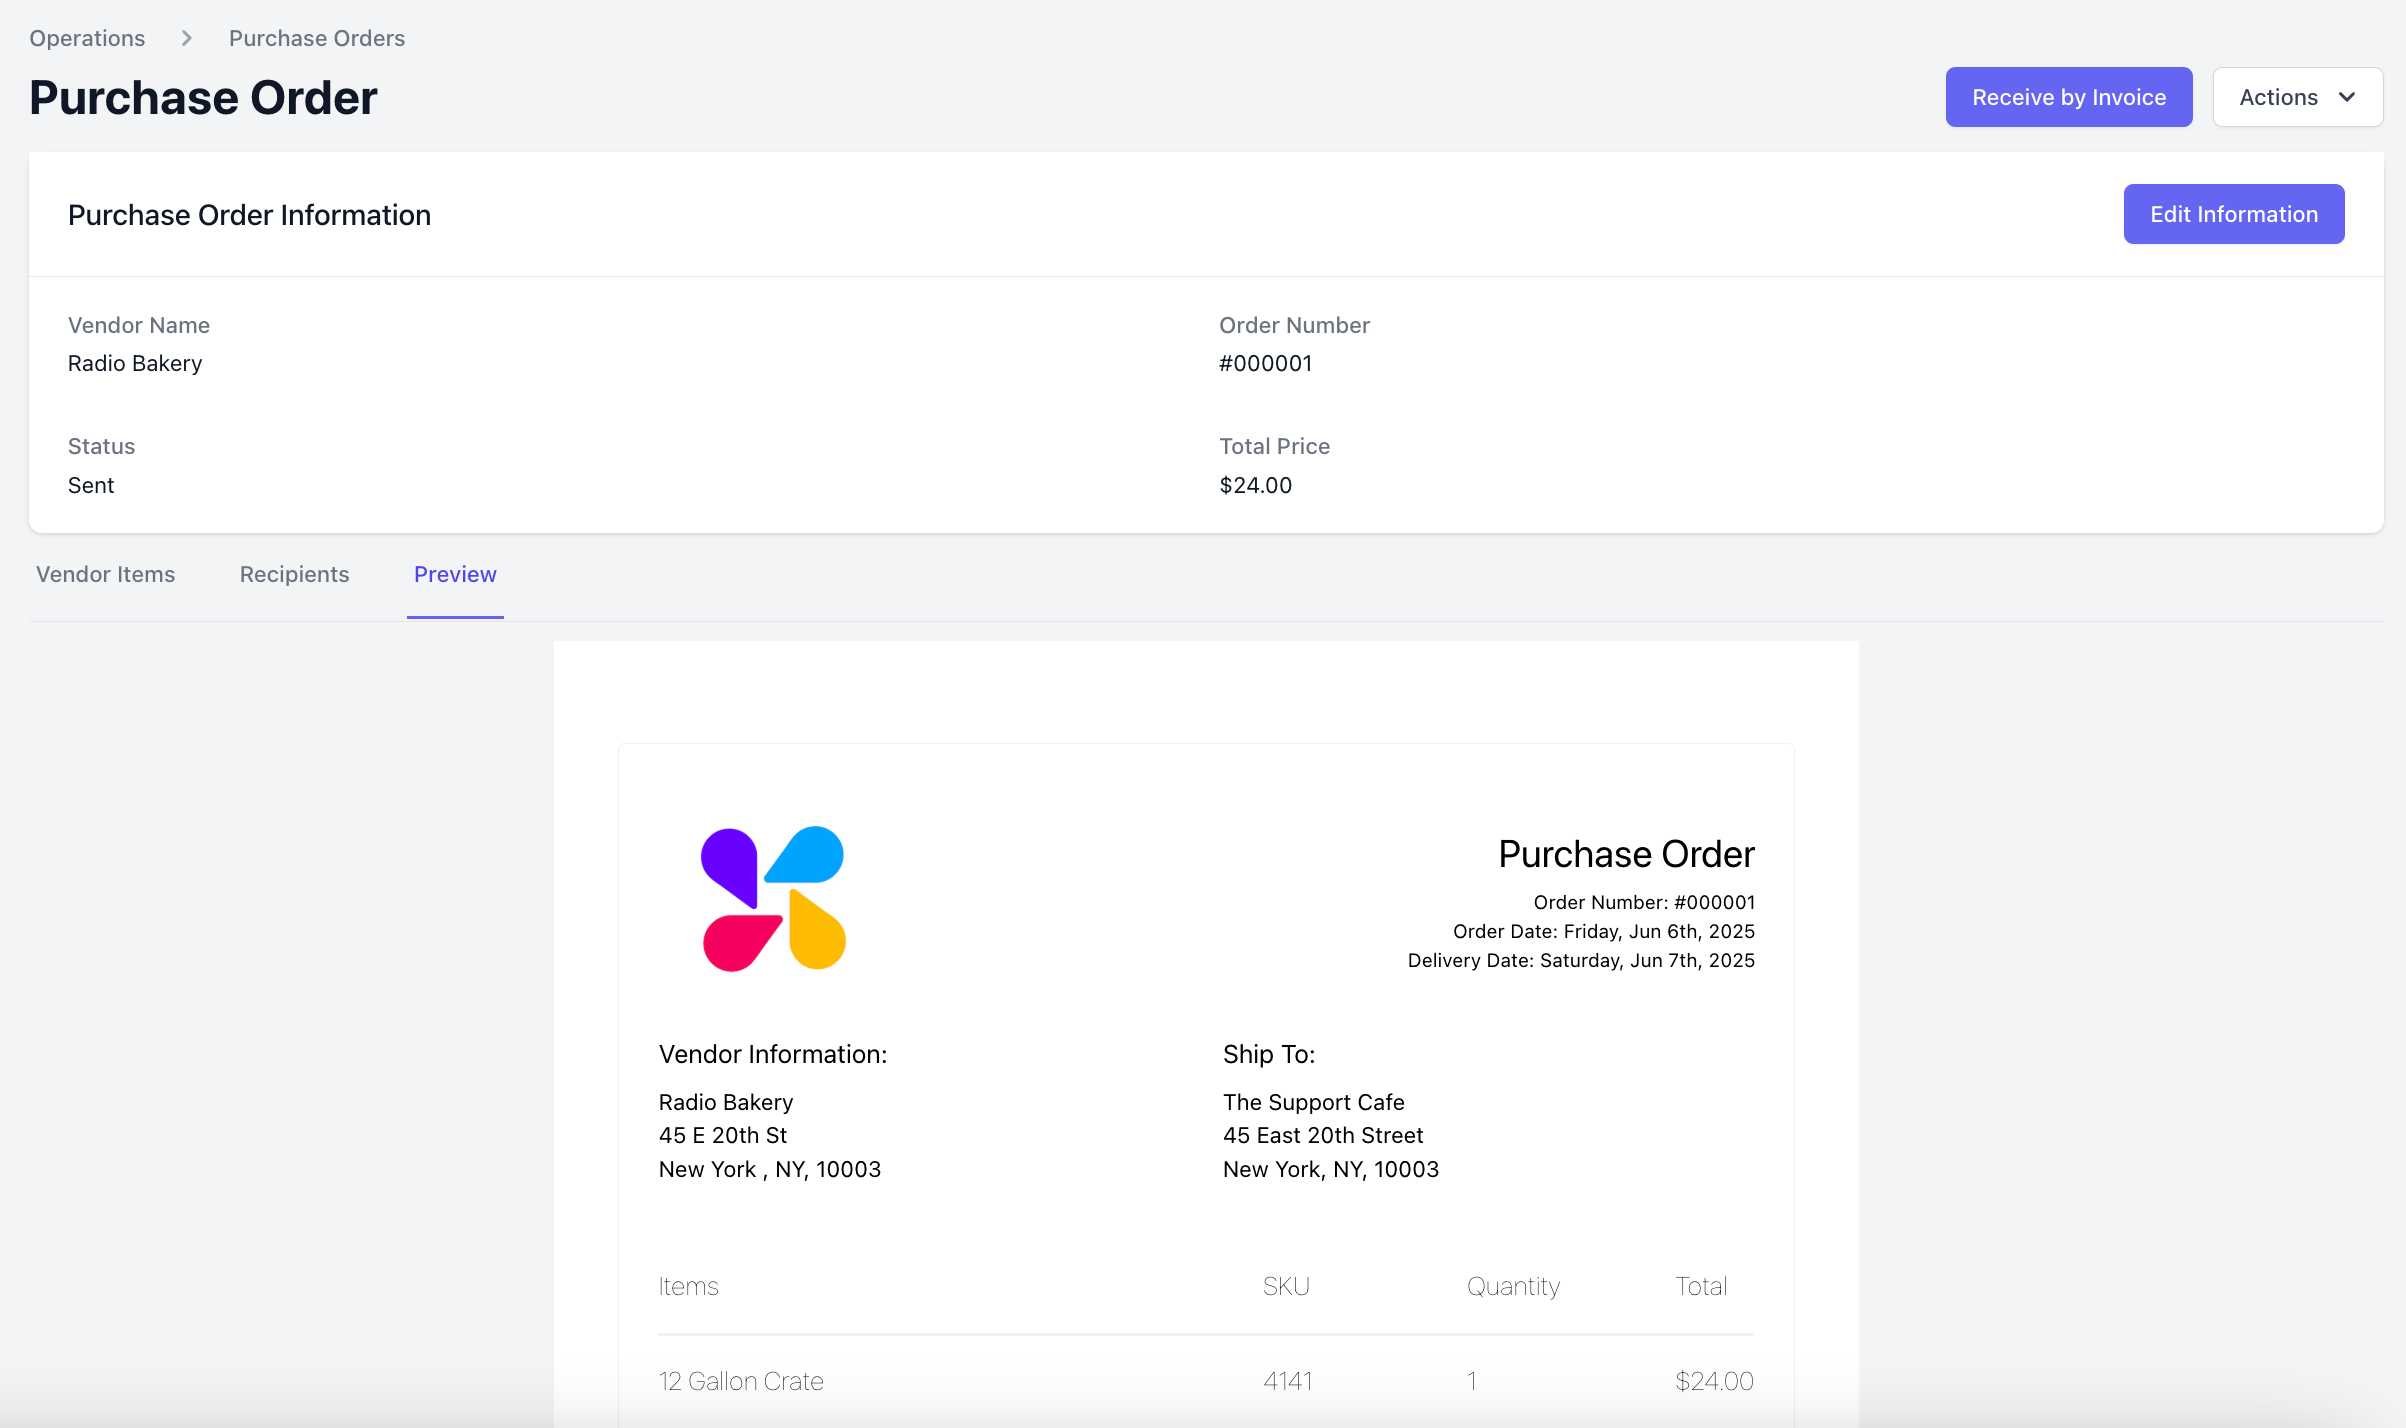
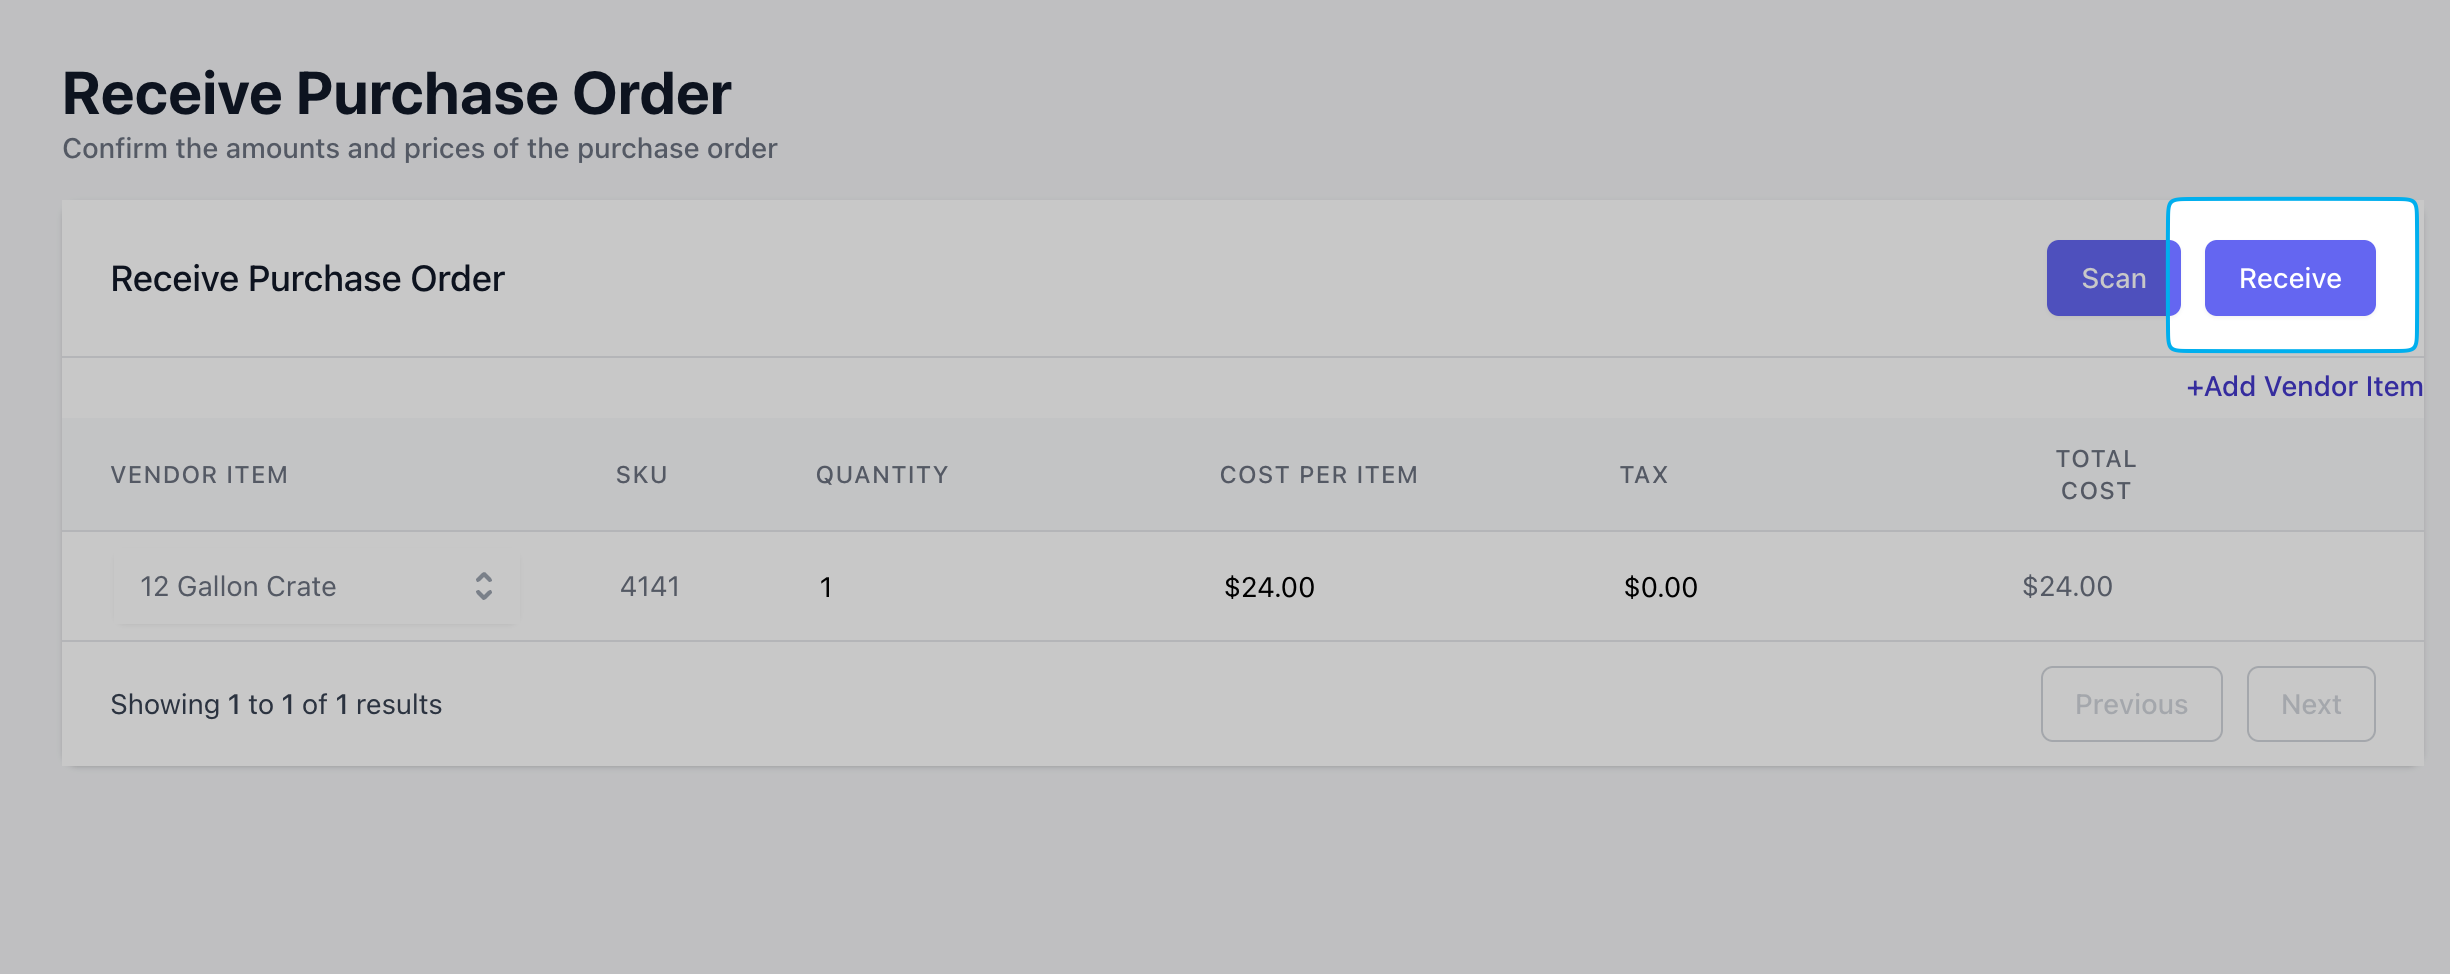
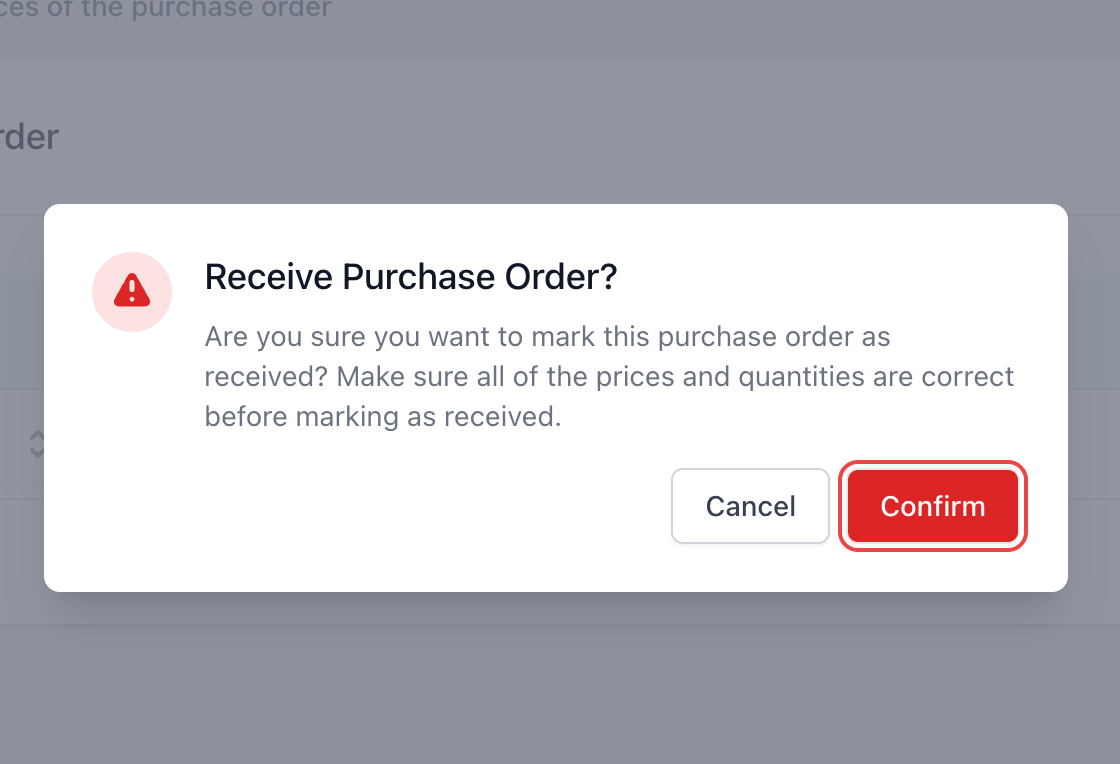
4
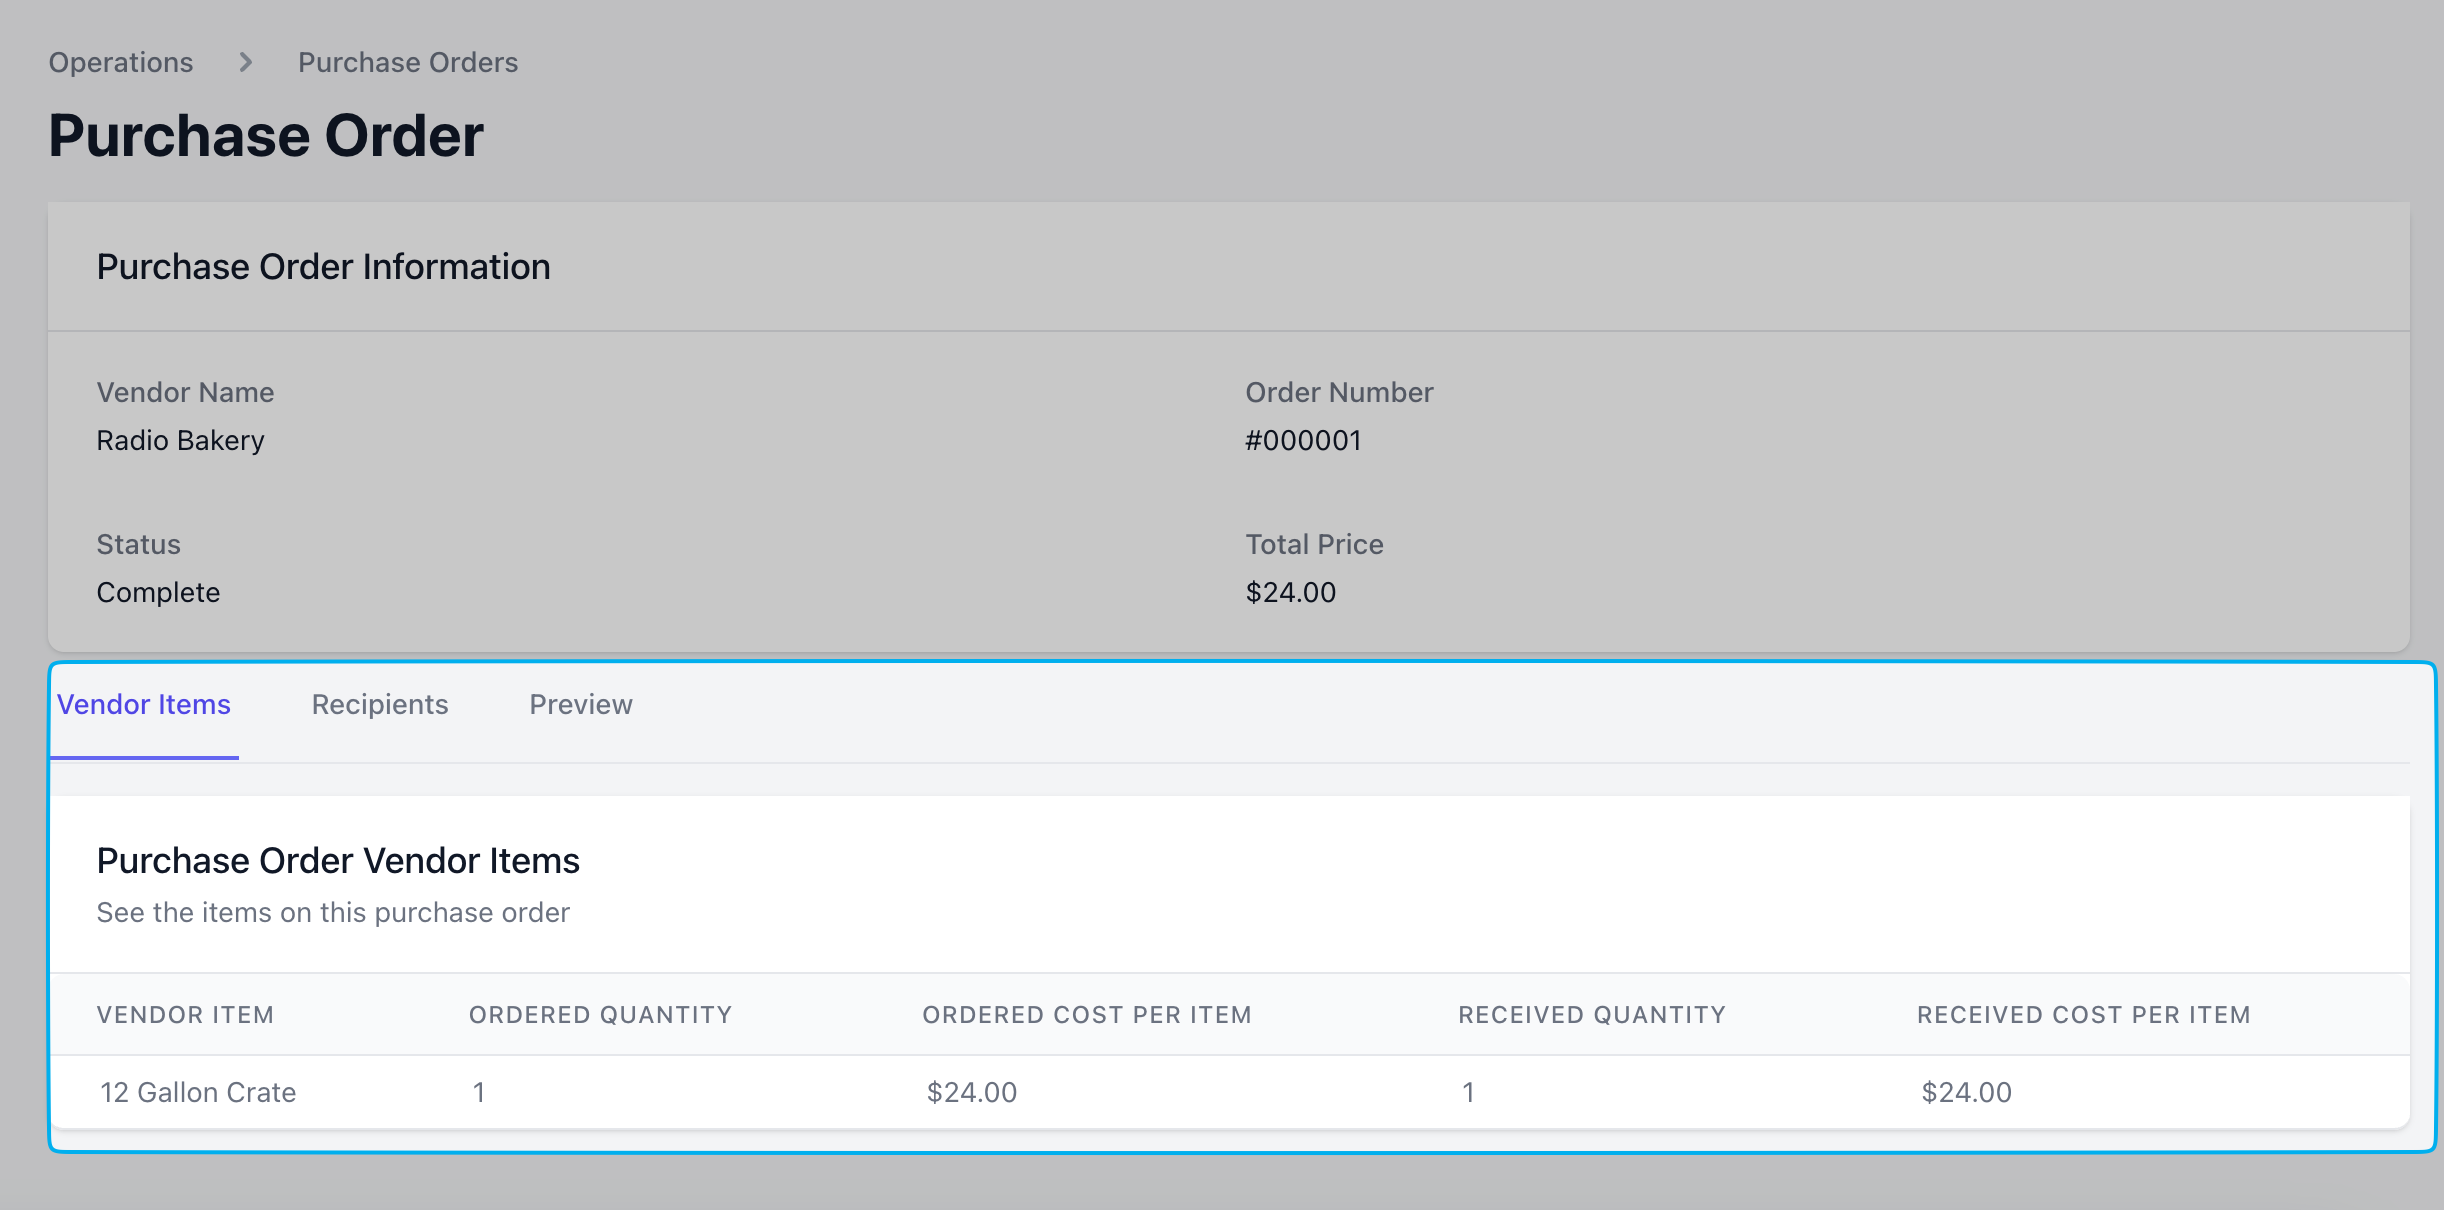
Once the goods are received, mark the purchase order as received to increase the stock of your ingredients accordingly.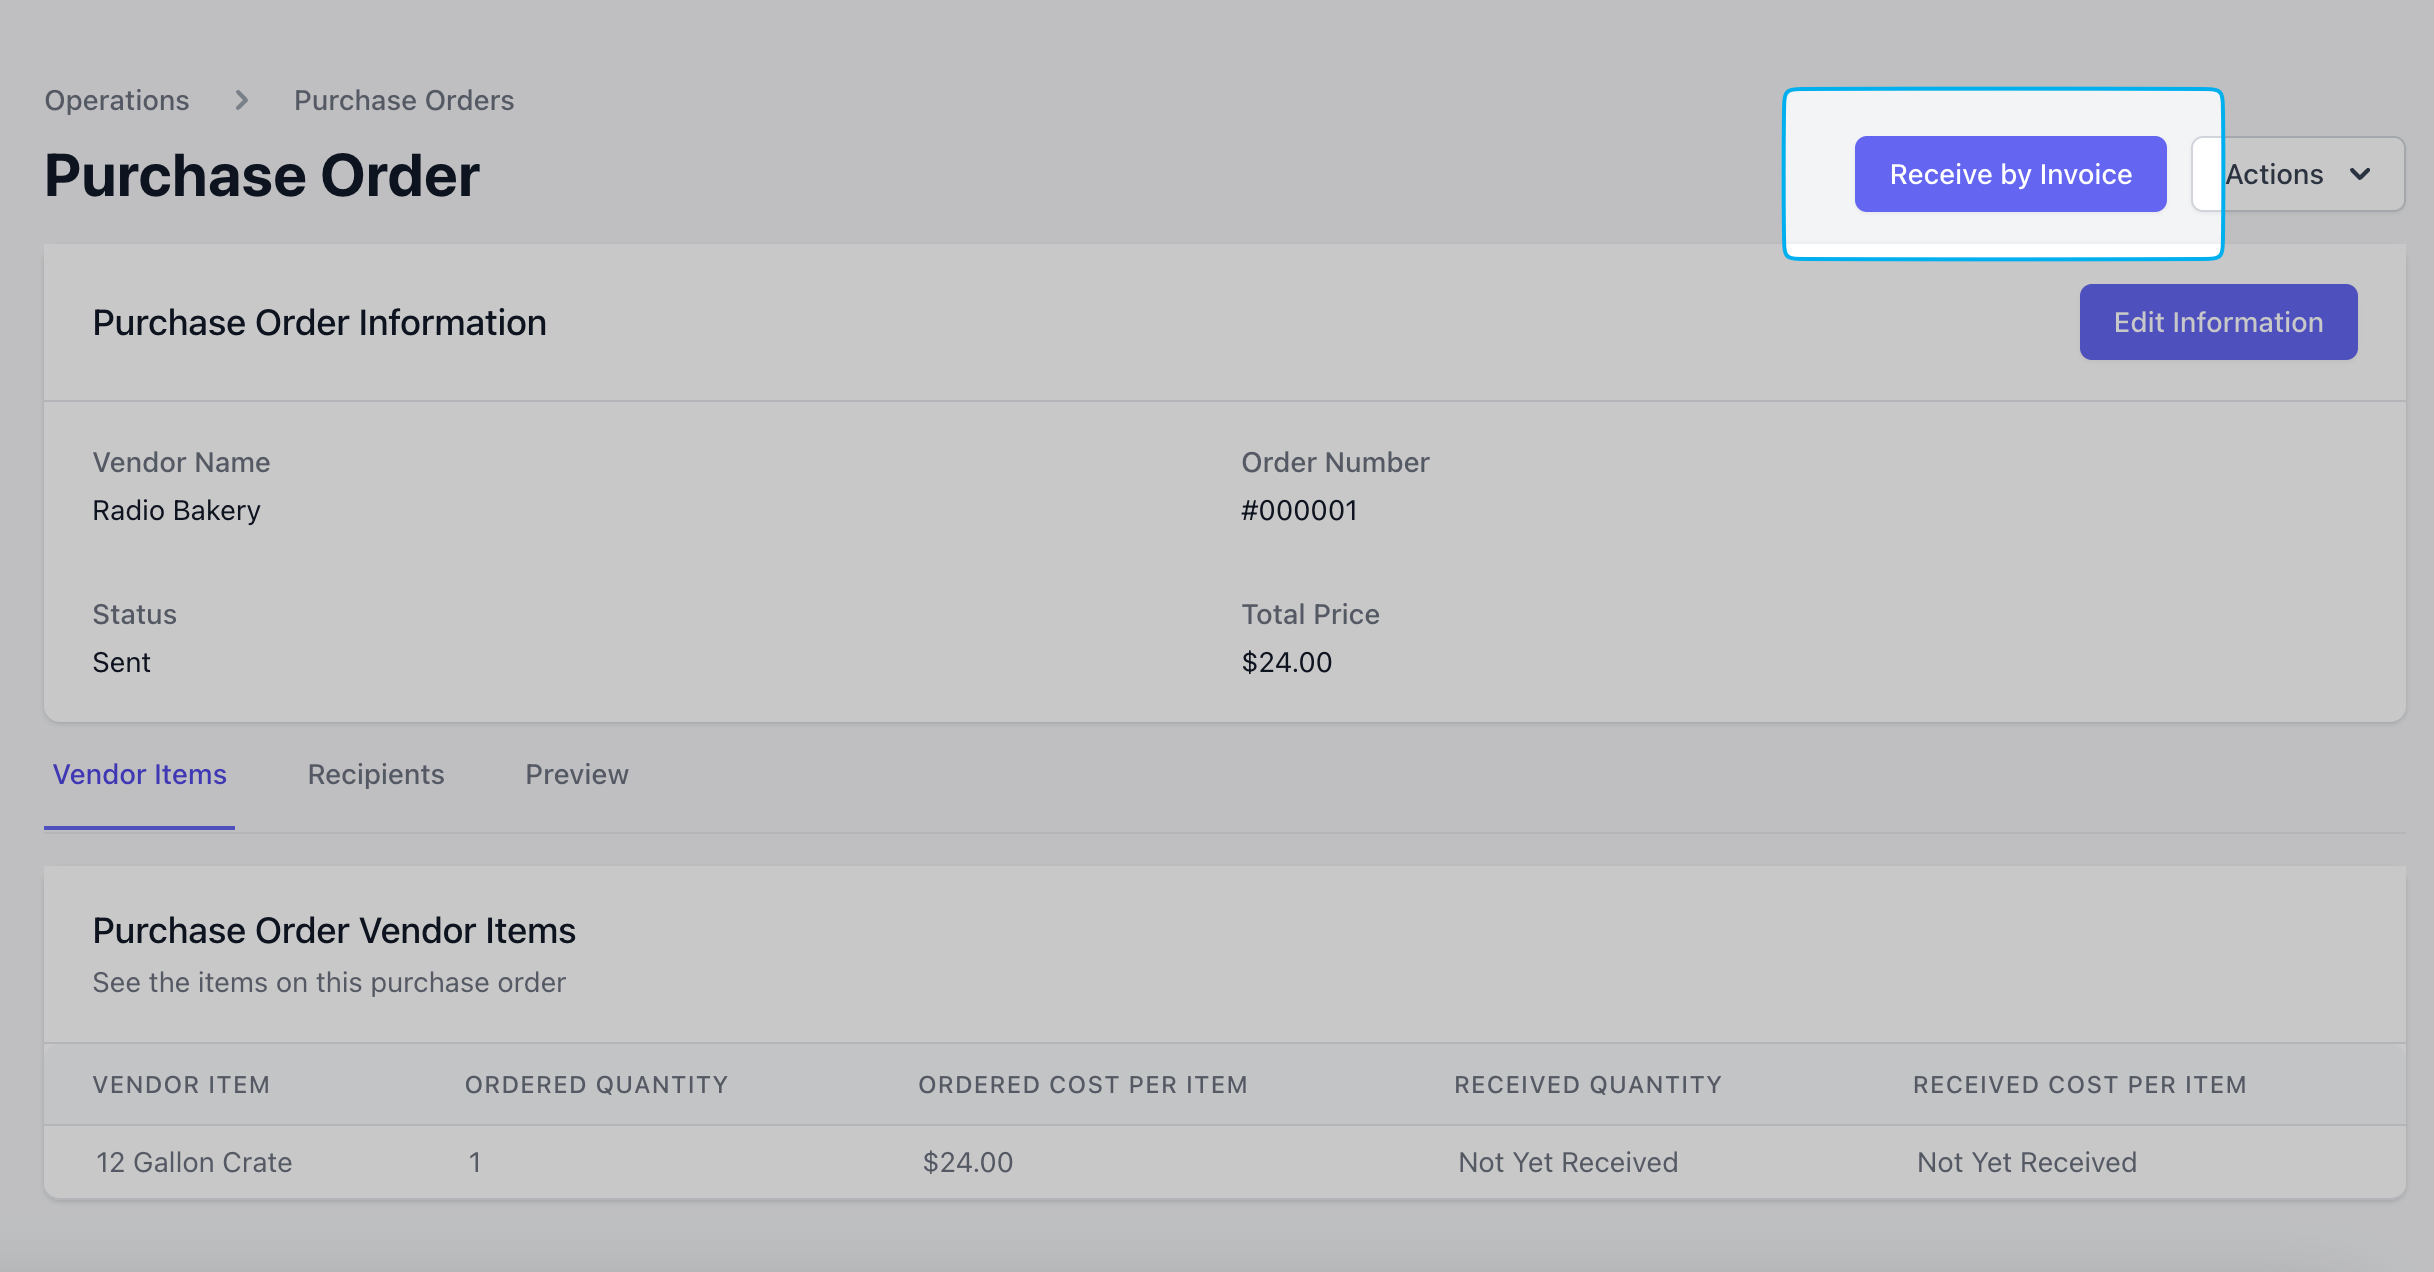
5
See your received items listed within the Vendor Items tab of the purchase order, and additionally see the purchase order in the activity log of the ingredient that was fulfilled.