View Invoices
Learn how to view, edit, and manage invoices through different actionsHow to View & Edit Existing Invoices
How to View & Edit Existing Invoices
1
Log in to the Dashboard and navigate to Orders > Invoicing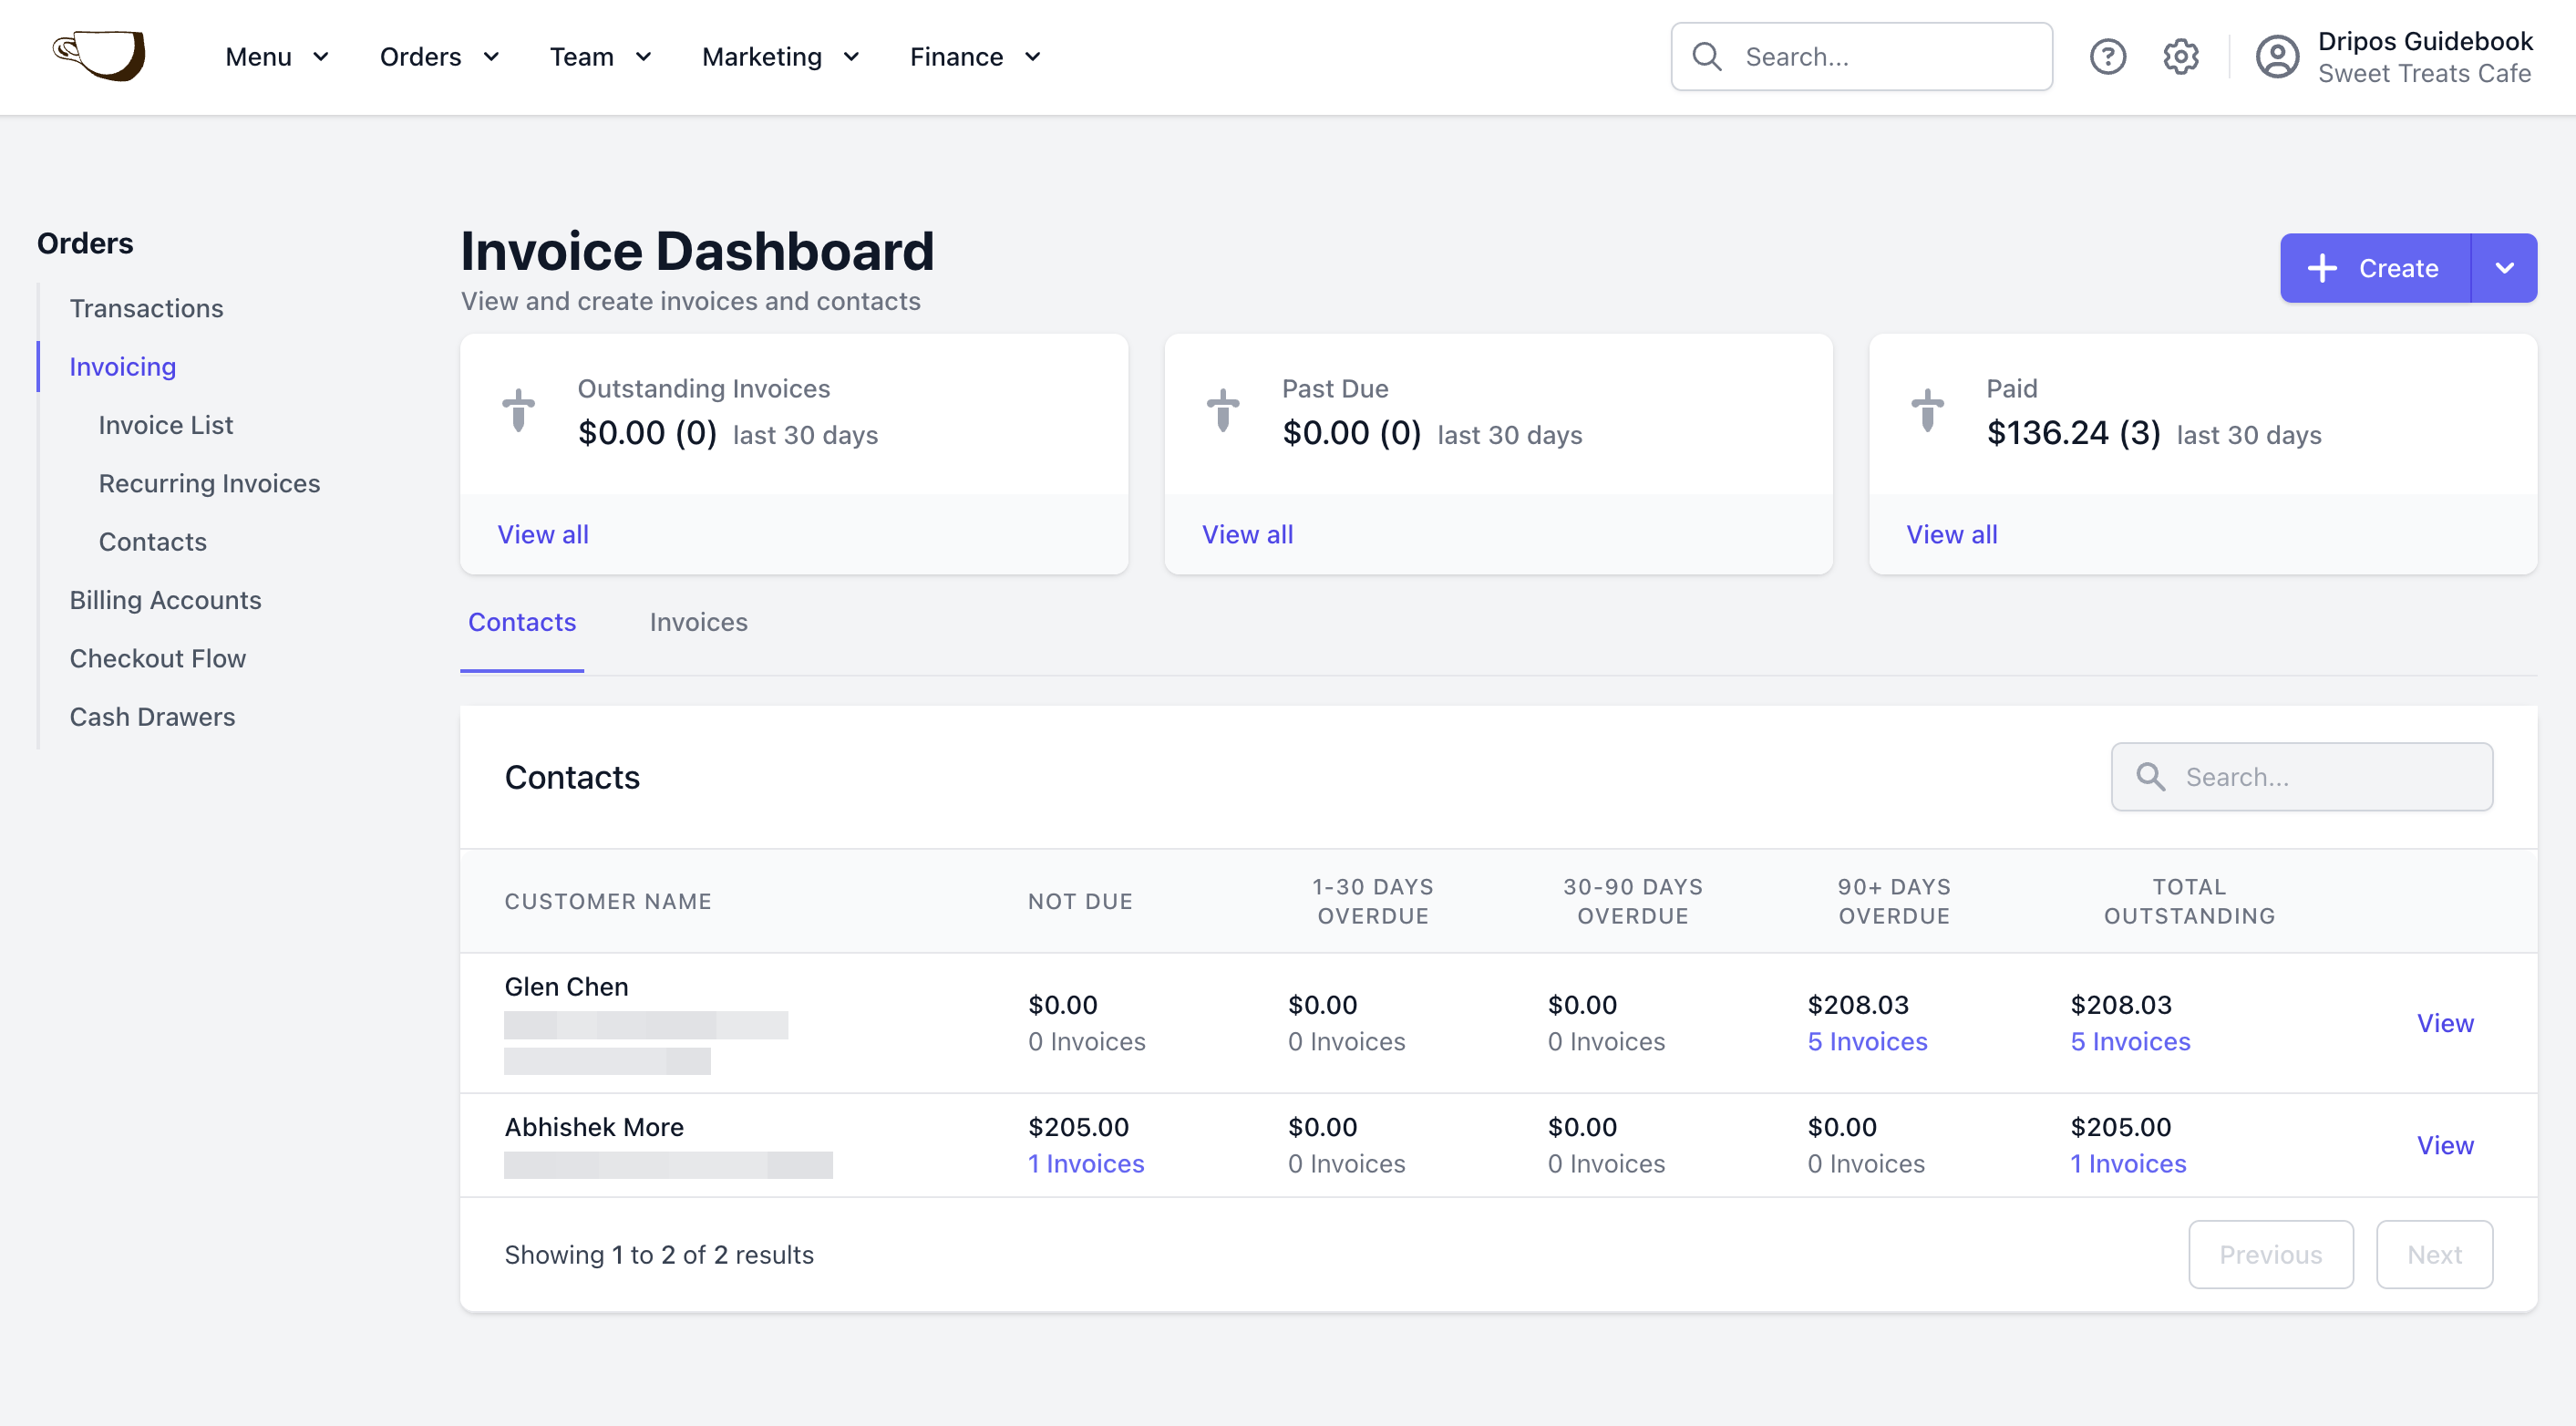
2
On this page, you can View all for Outstanding, Past Due, and Paid invoices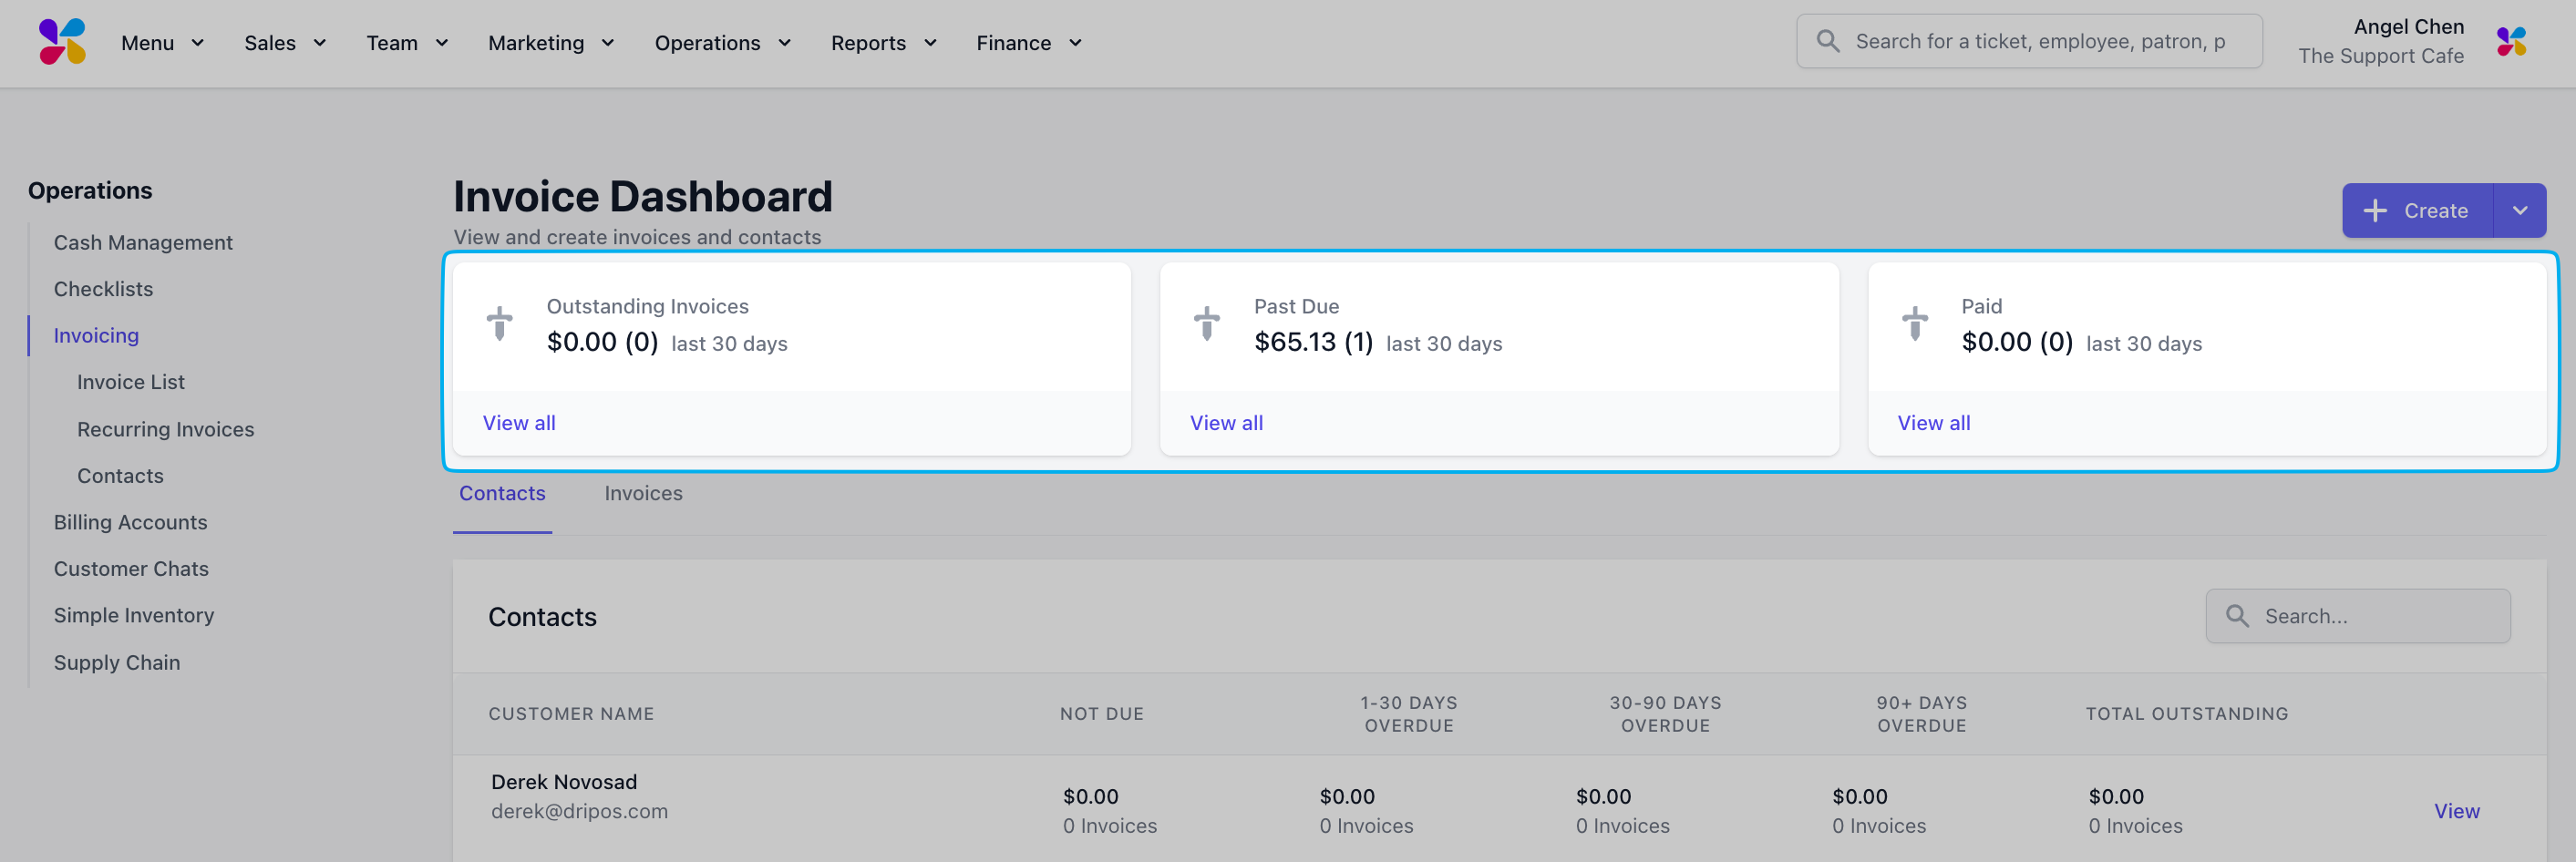
3
Navigate to Invoice List and select the All Invoices, Draft, Outstanding, Past Due, Paid, or Quotes tab to View a specific invoice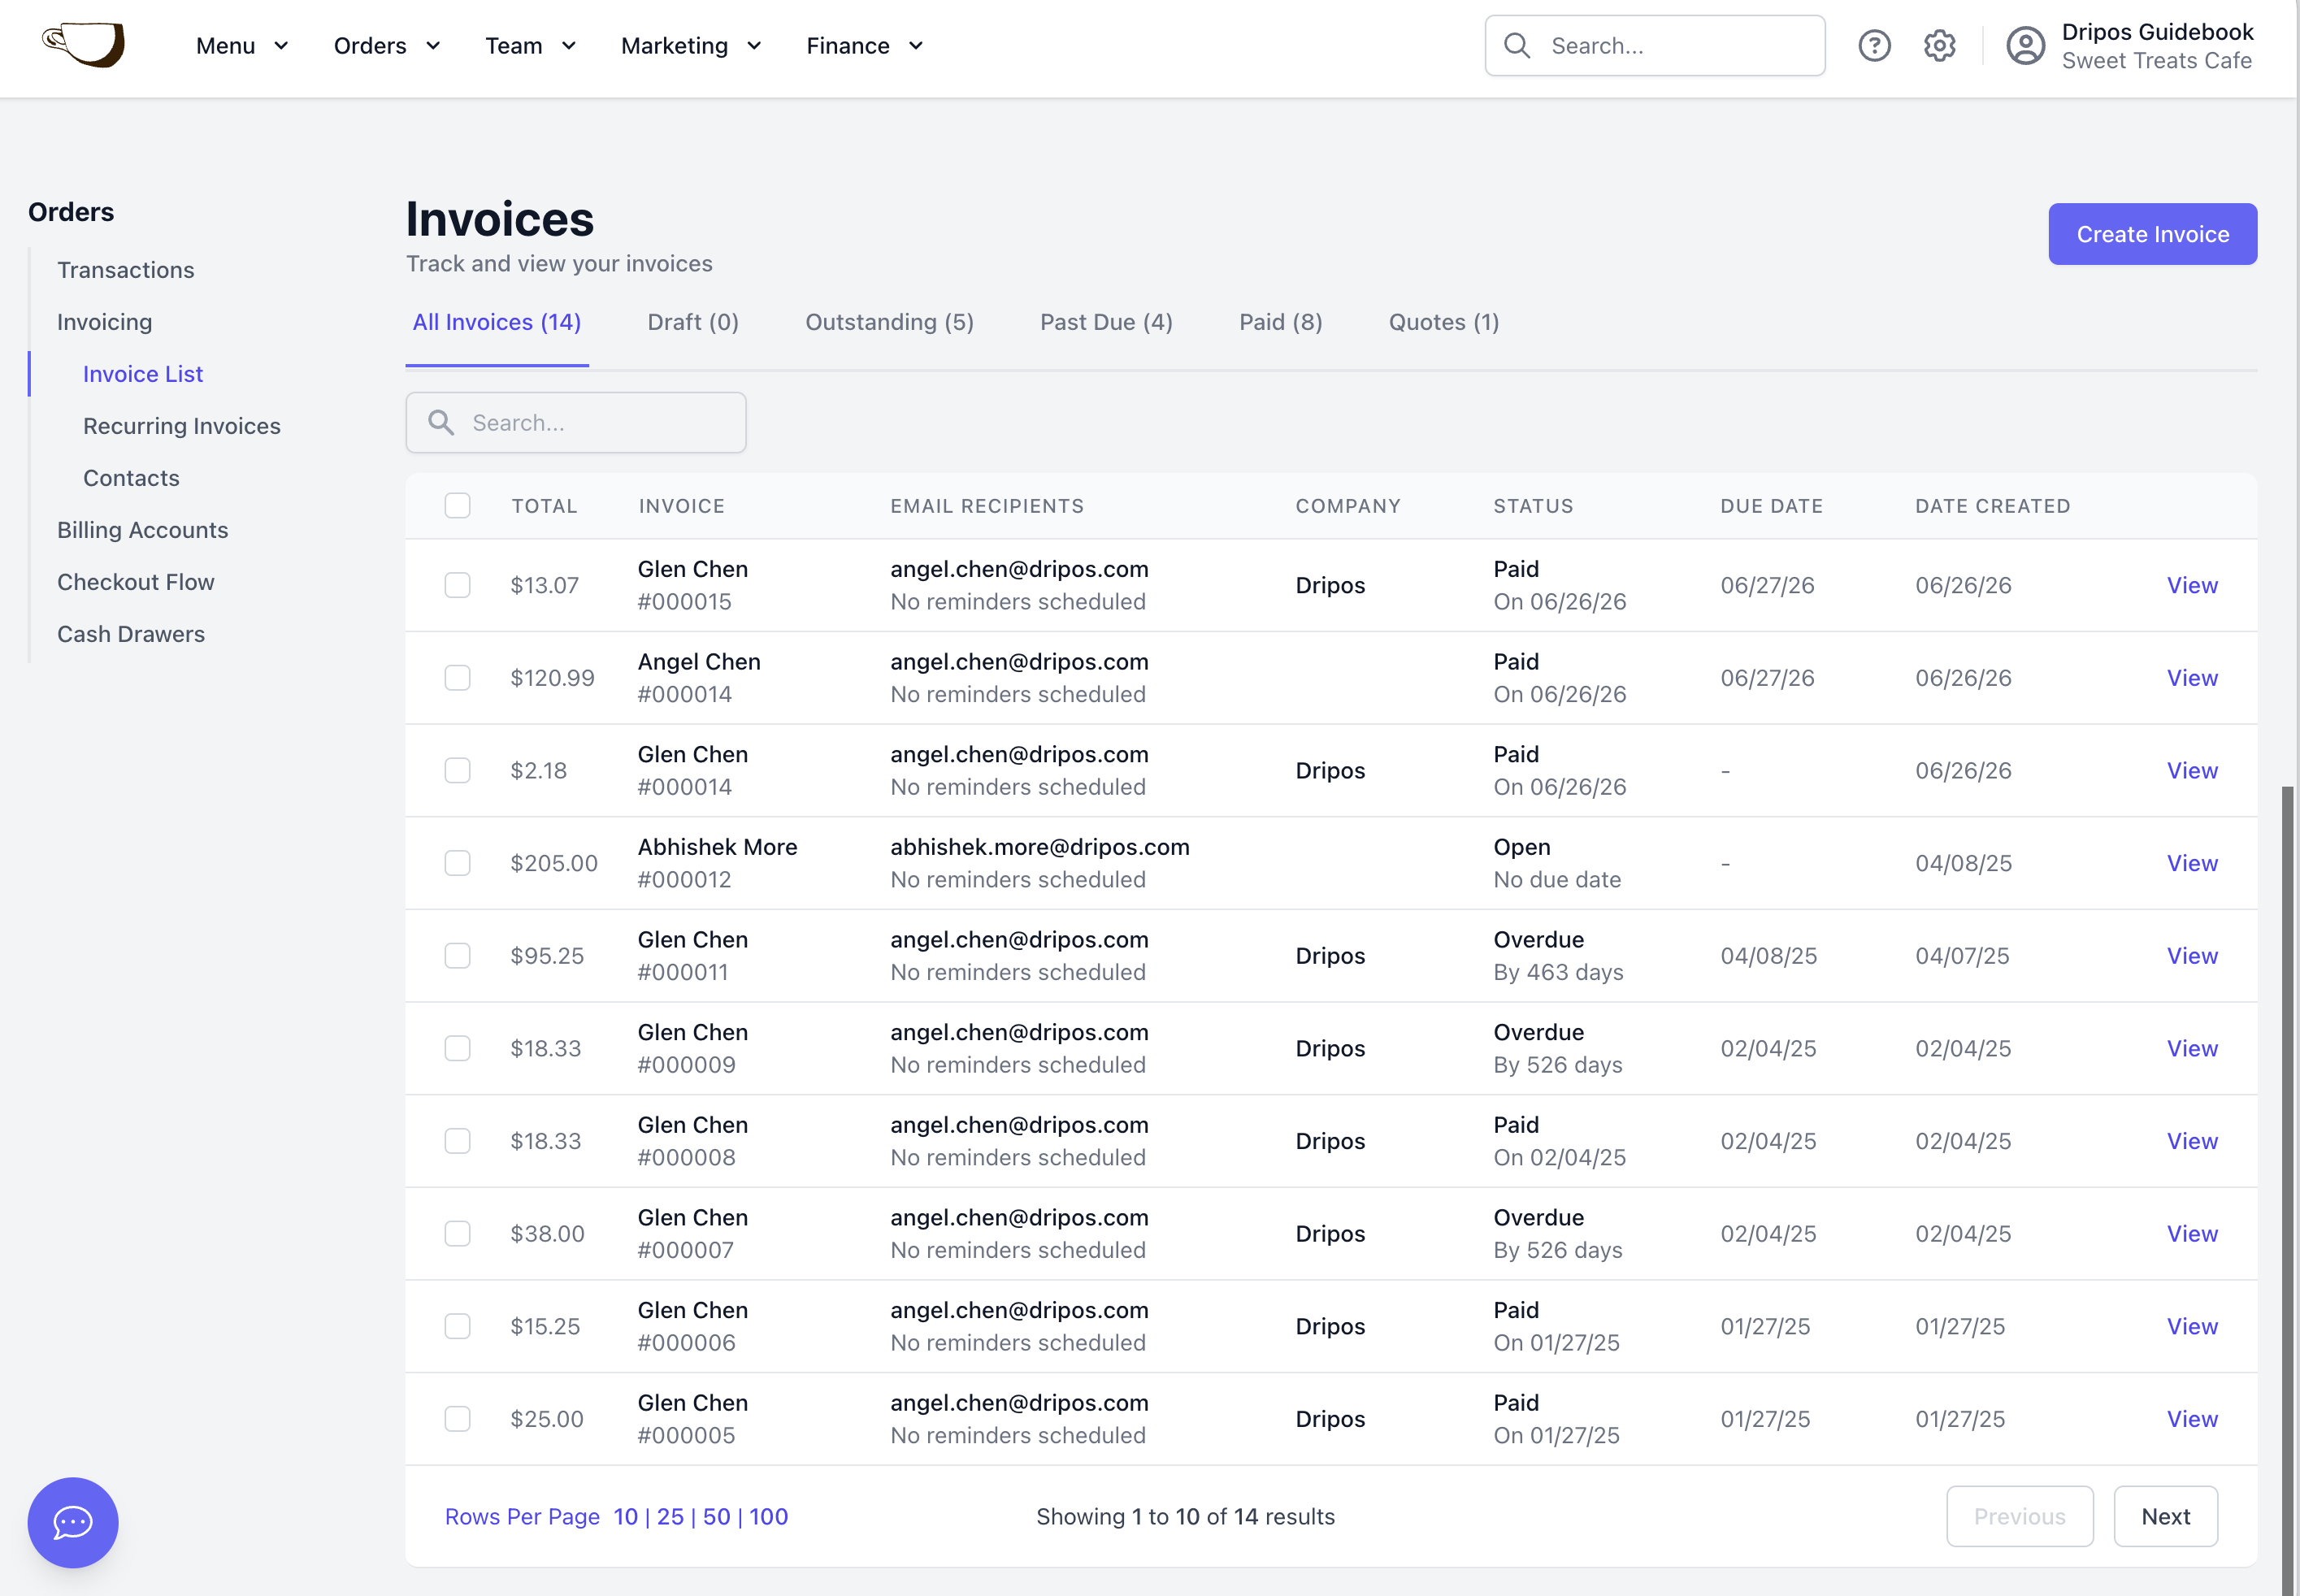
4
Send a reminder or pay off an outstanding invoice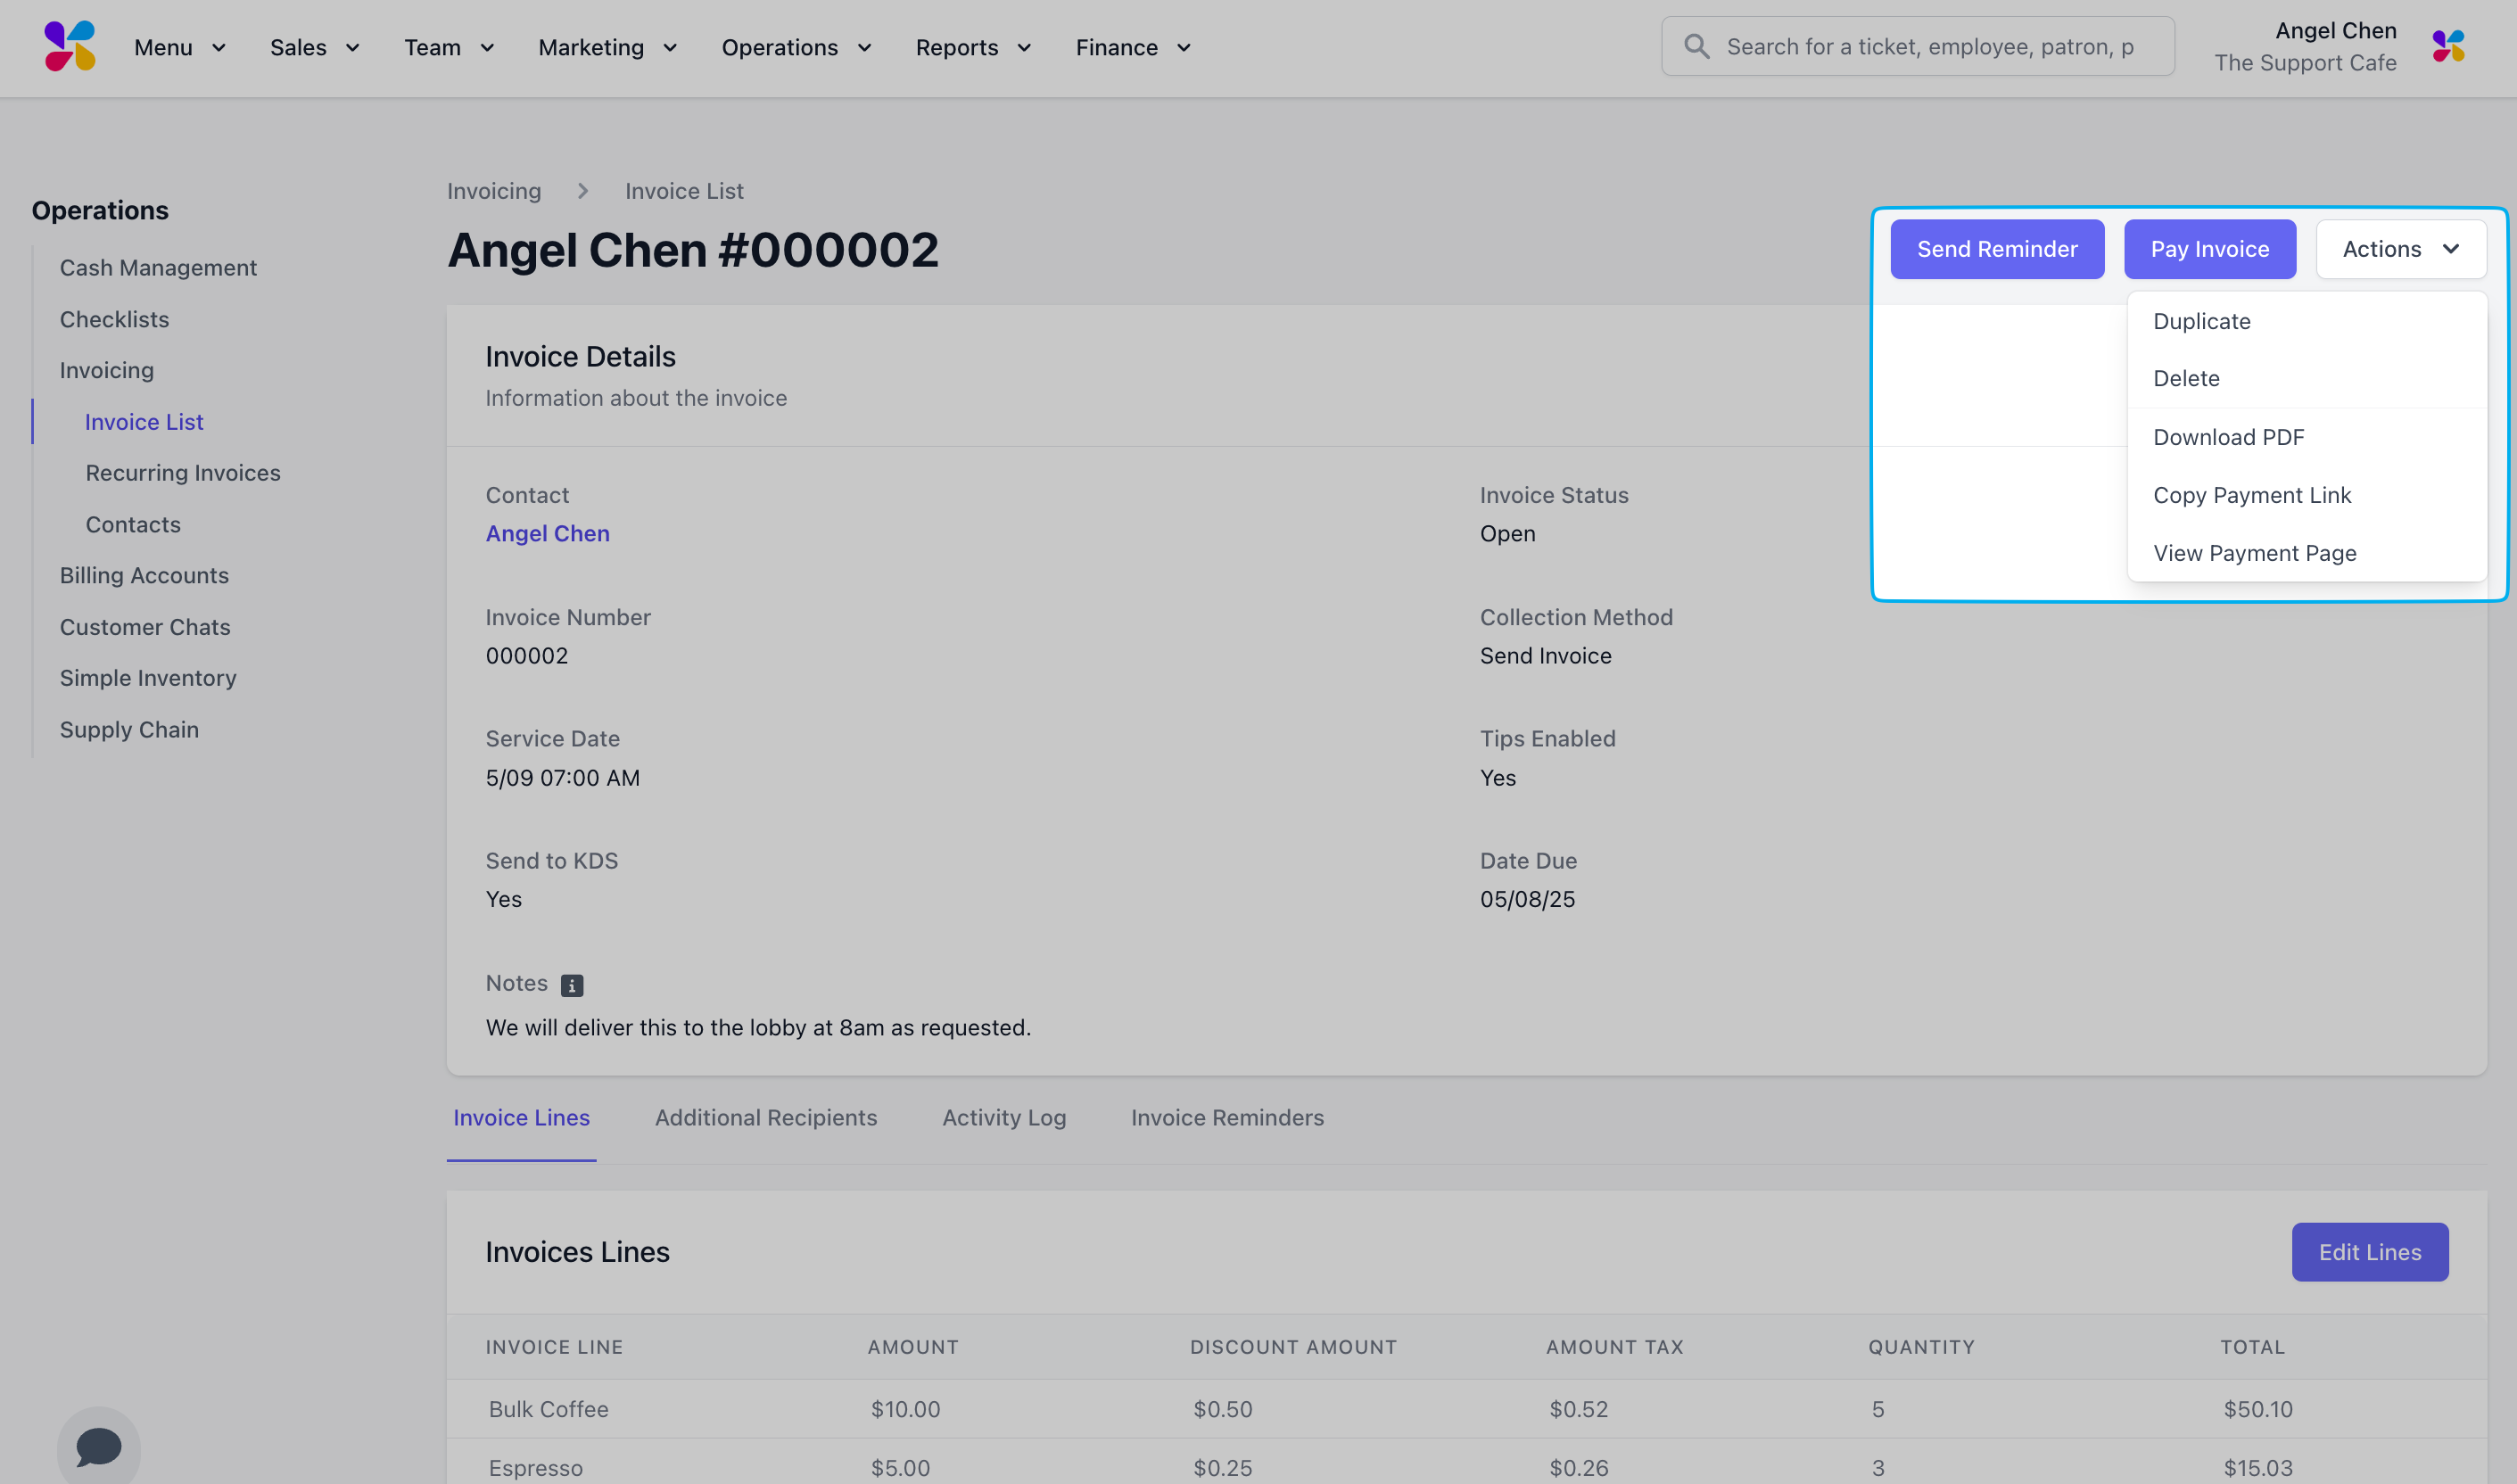
Send Reminder: Send an email reminder to the contact and any additional recipients
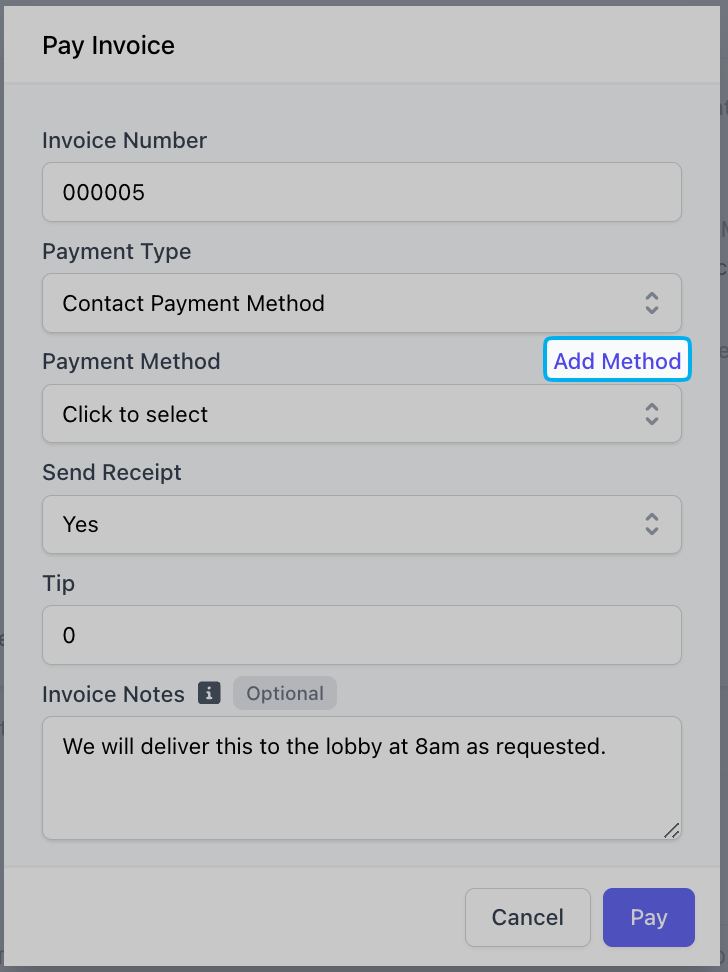
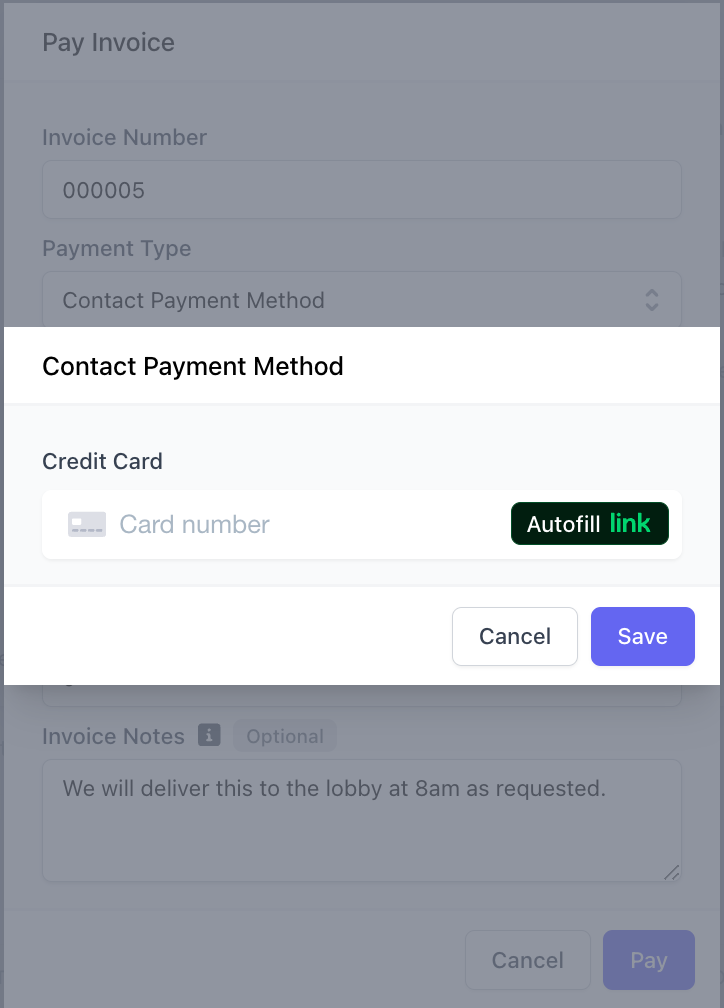
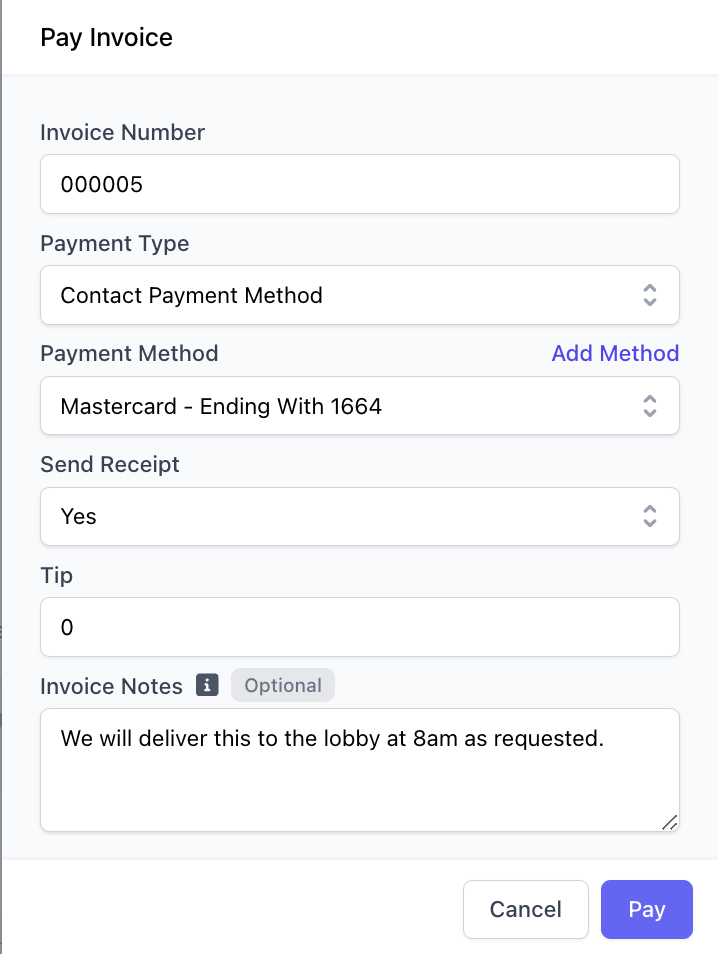
Pay Invoice: Pay the invoice via Contact Payment Method, Check, or Cash.
Use Add Method to add and use a credit card for payment.
5
Click the Actions dropdown in the top right corner for more options
Duplicate: Recreate the invoice as a new invoice with the same recipient and invoice lines
Delete: Delete the invoice
Download PDF: Download the invoice as a PDF
Copy Payment Link: Copy the payment link sent to the invoice contact
View Payment Page: Visit the payment page used by the invoice contact to pay the outstanding balance
6
Edit the invoice information or line items.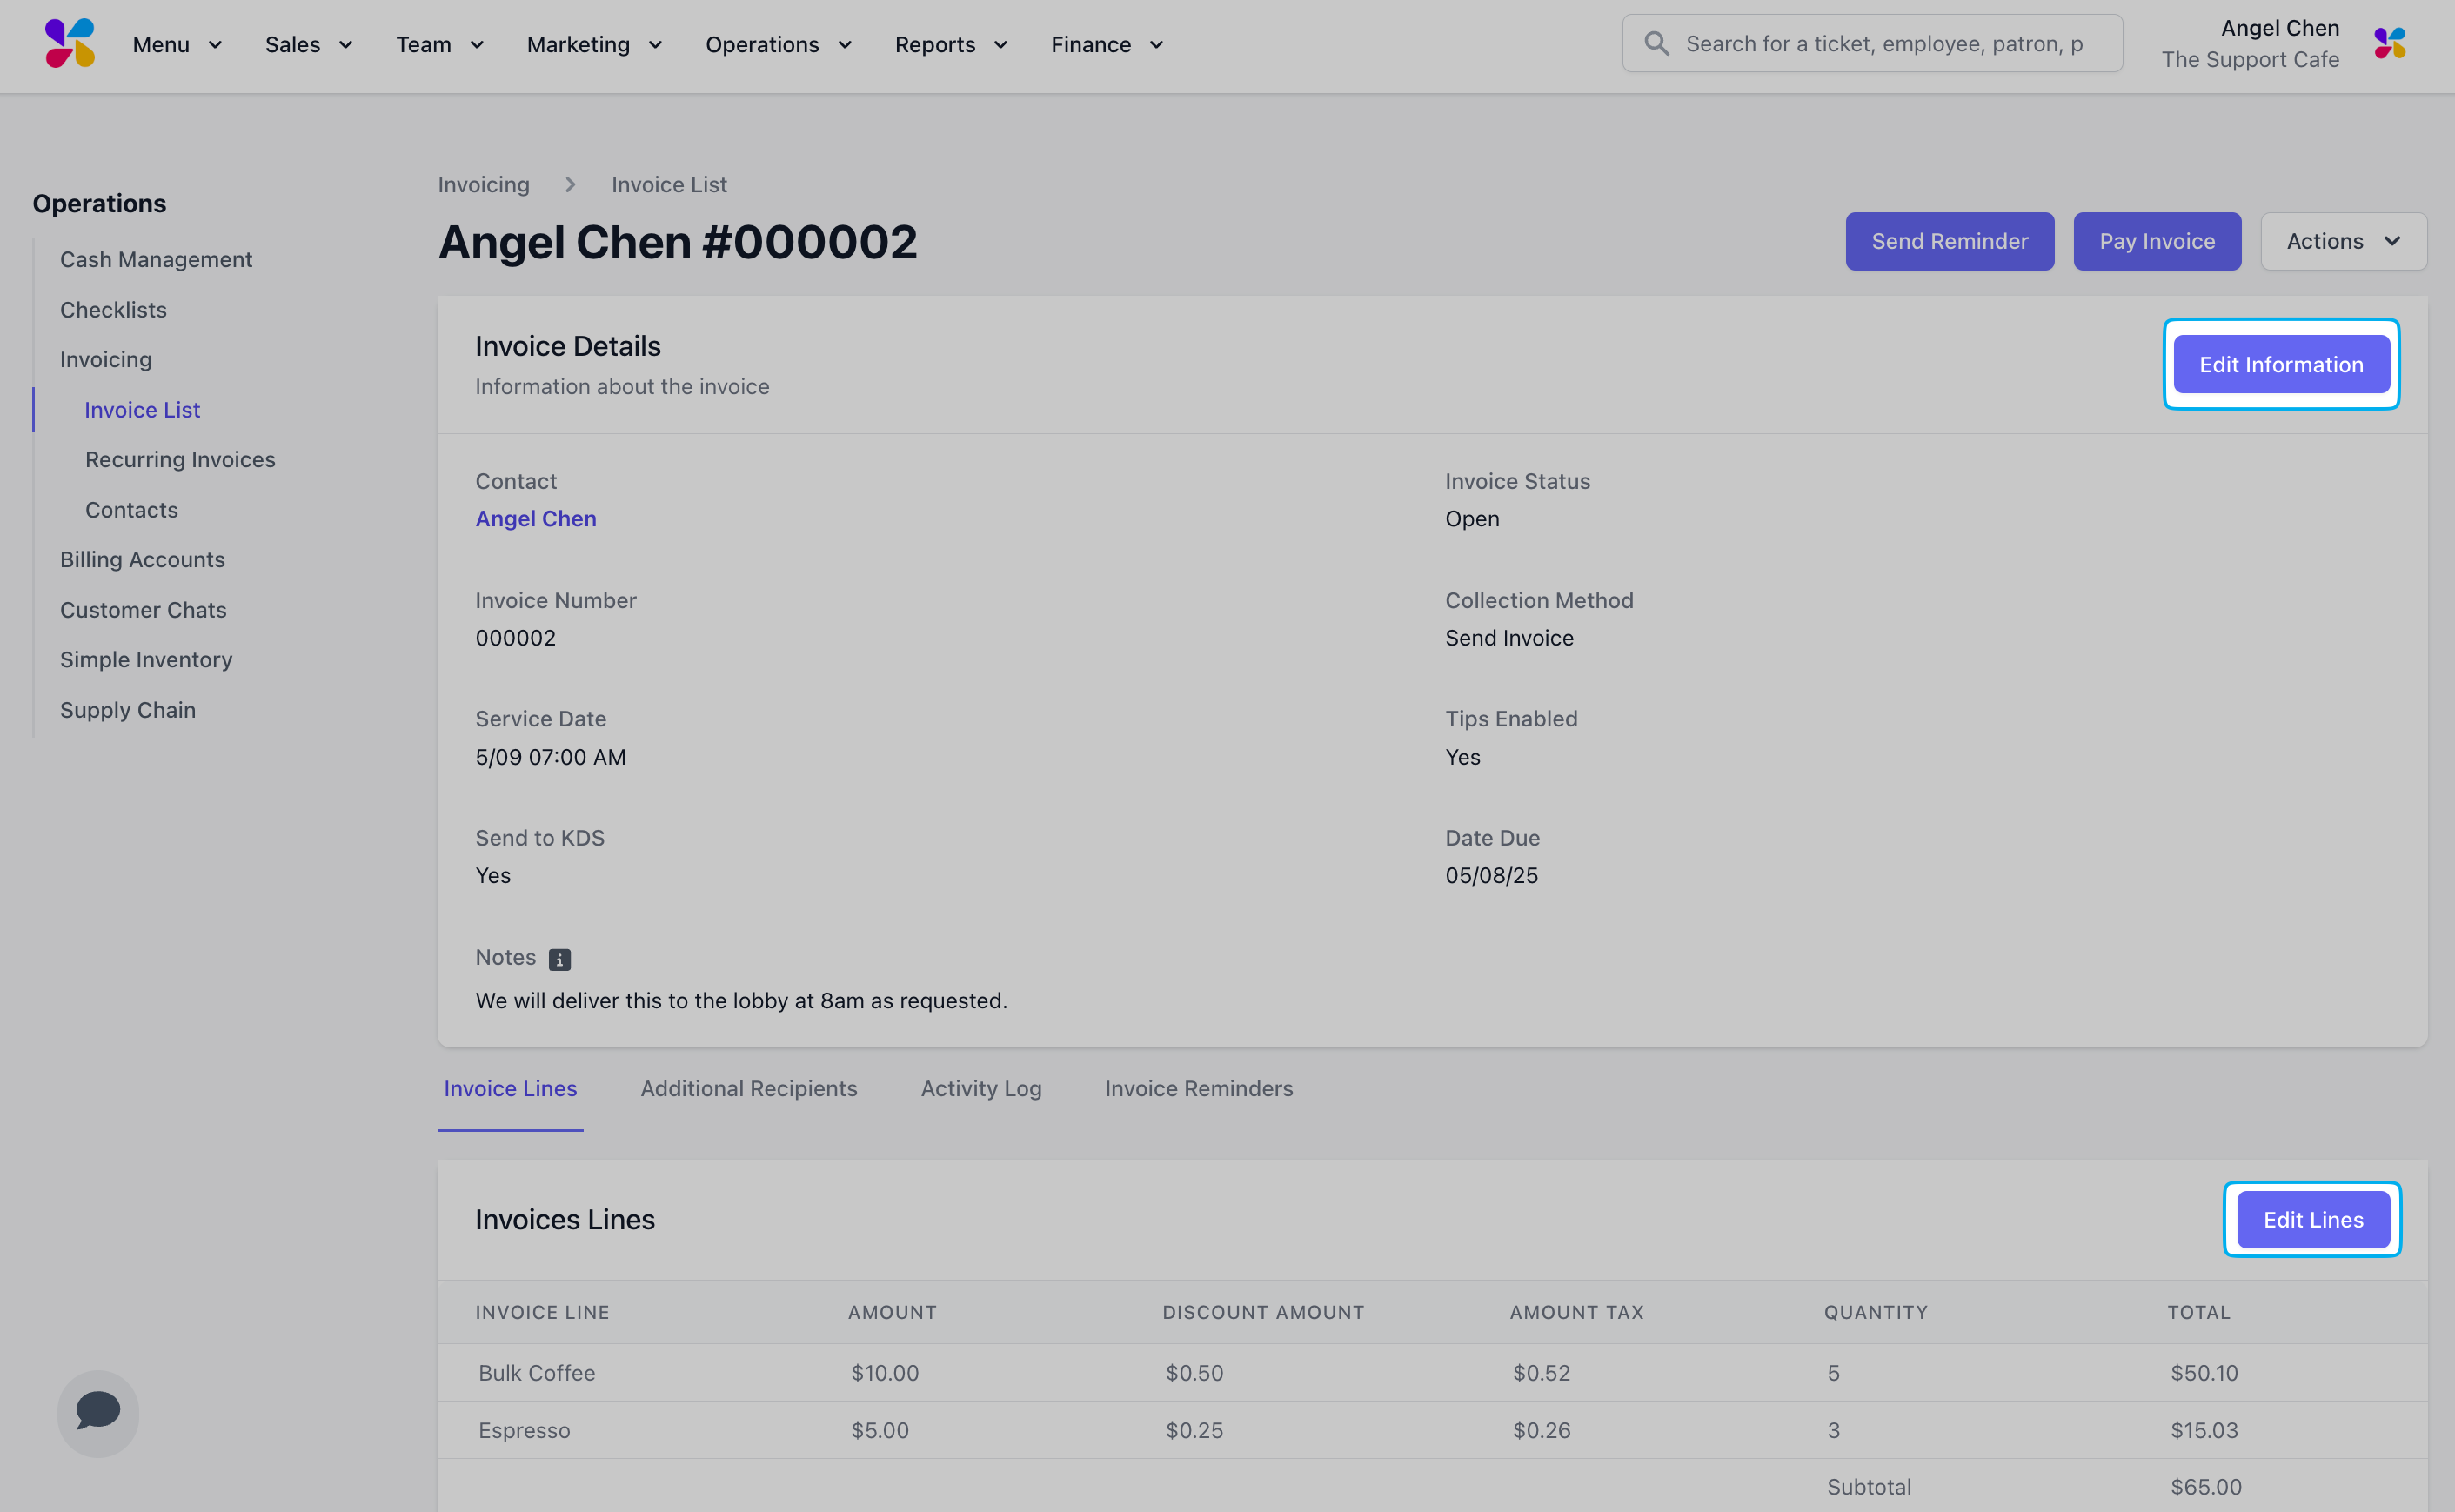
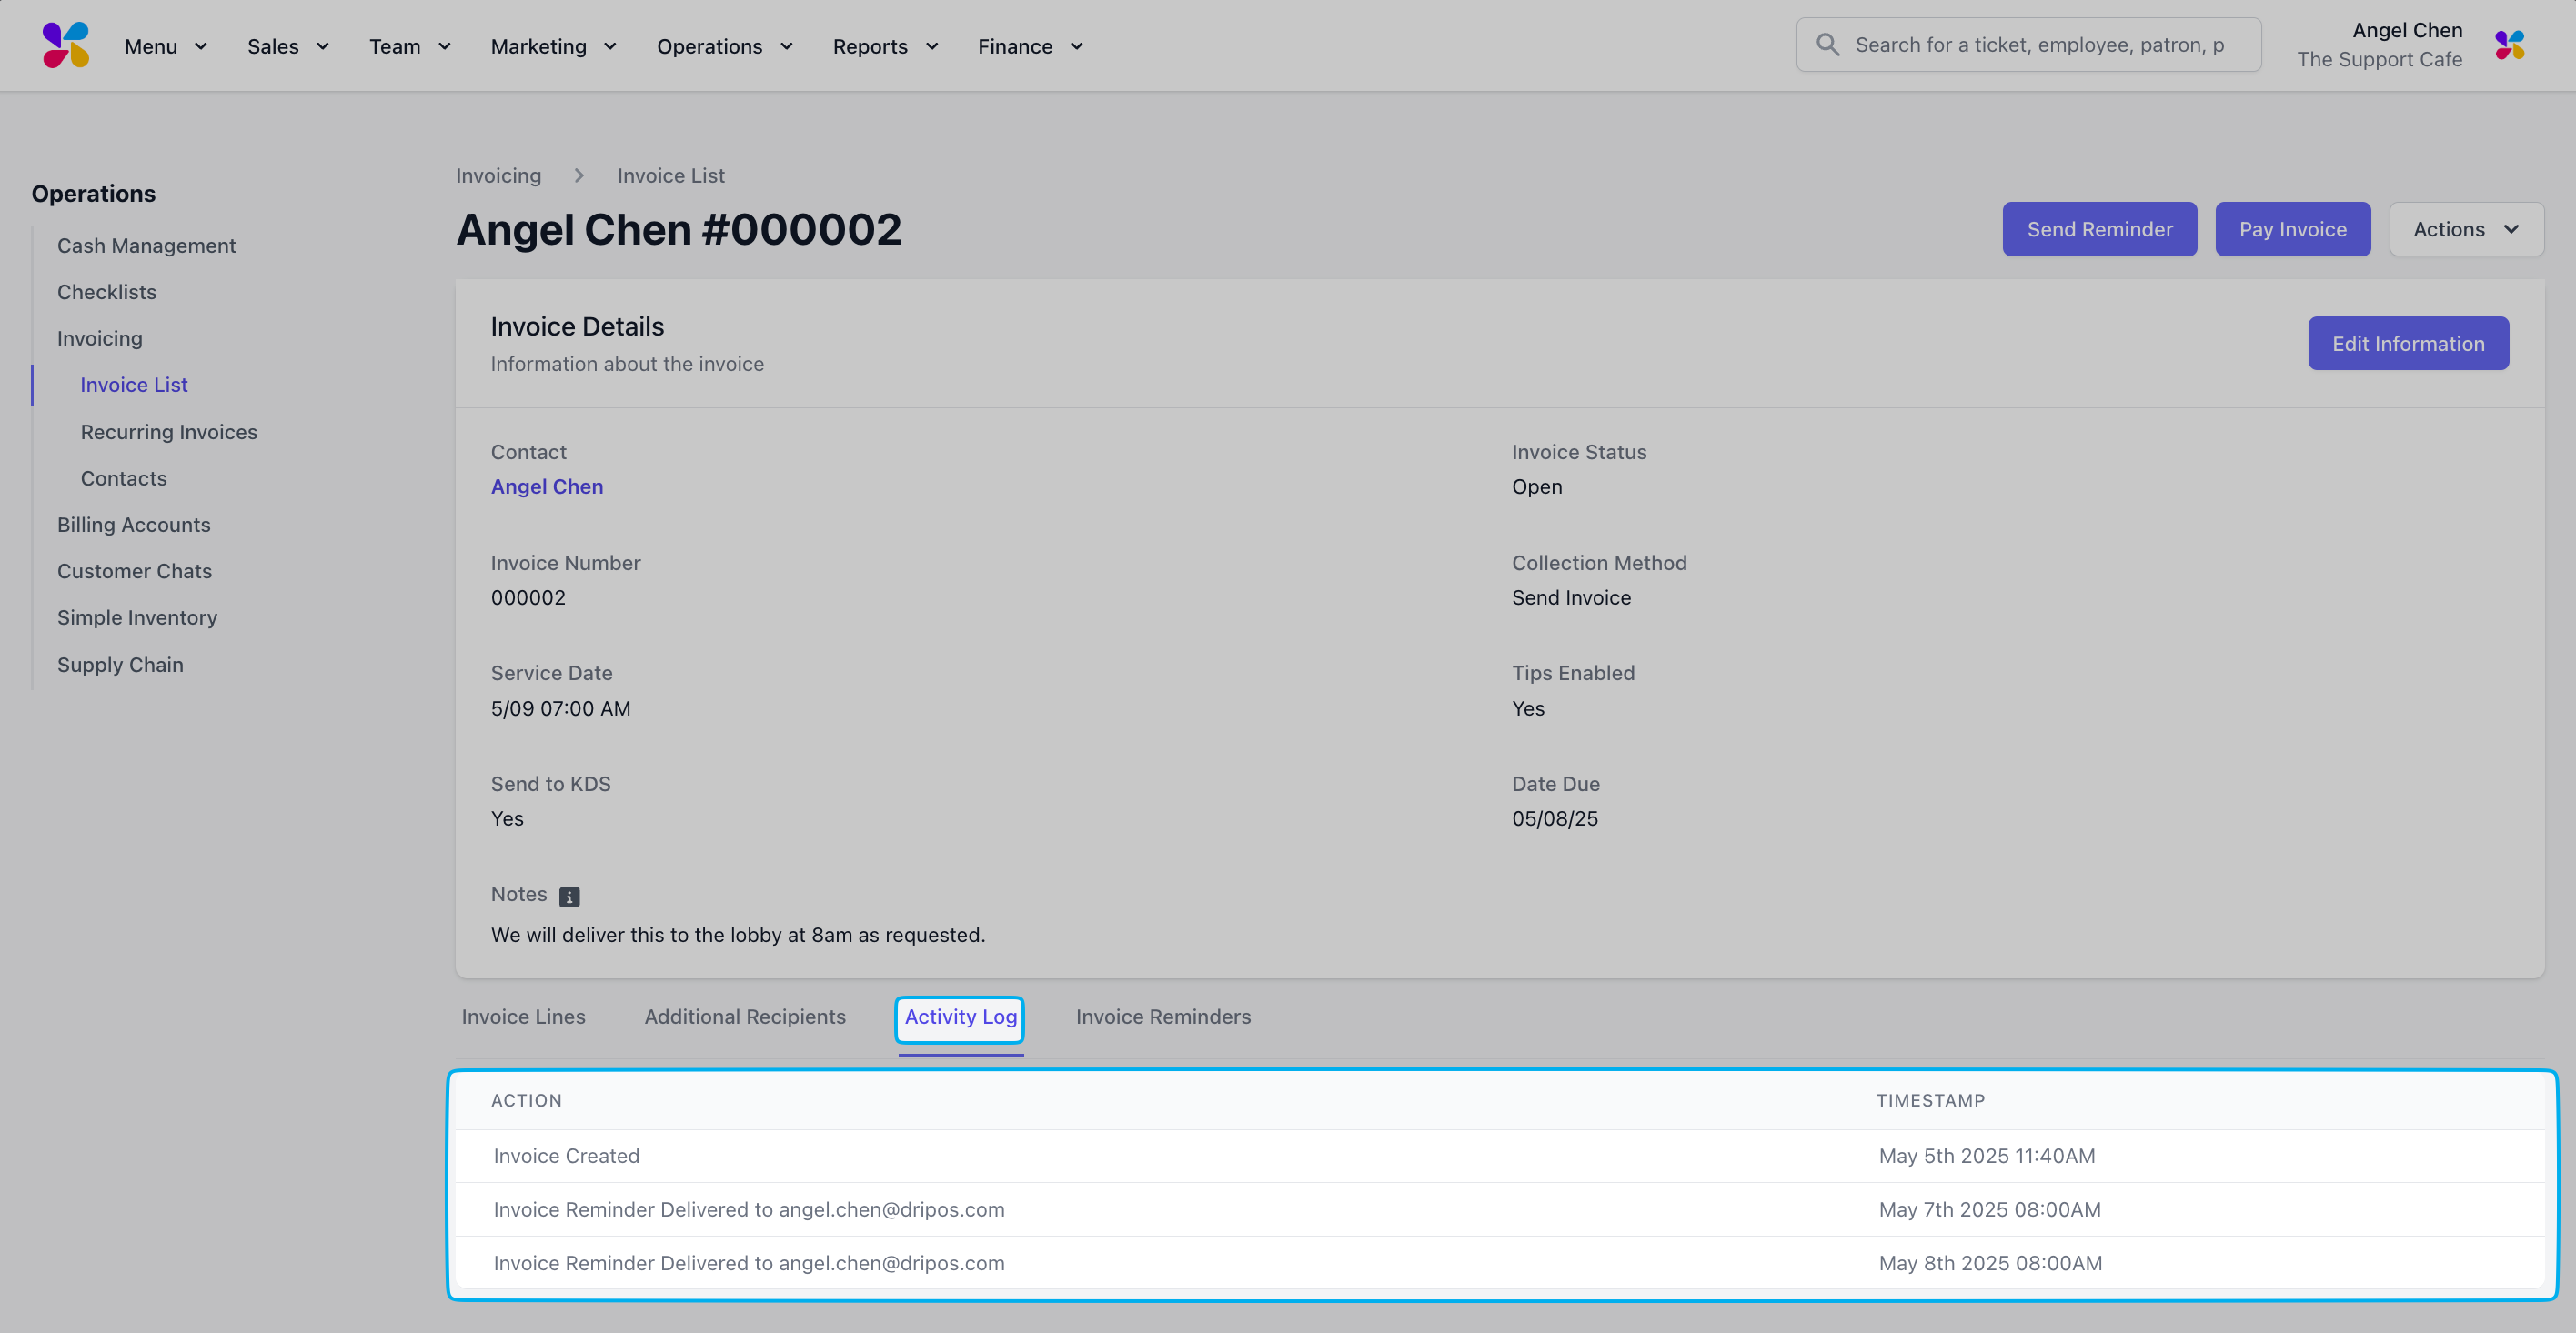
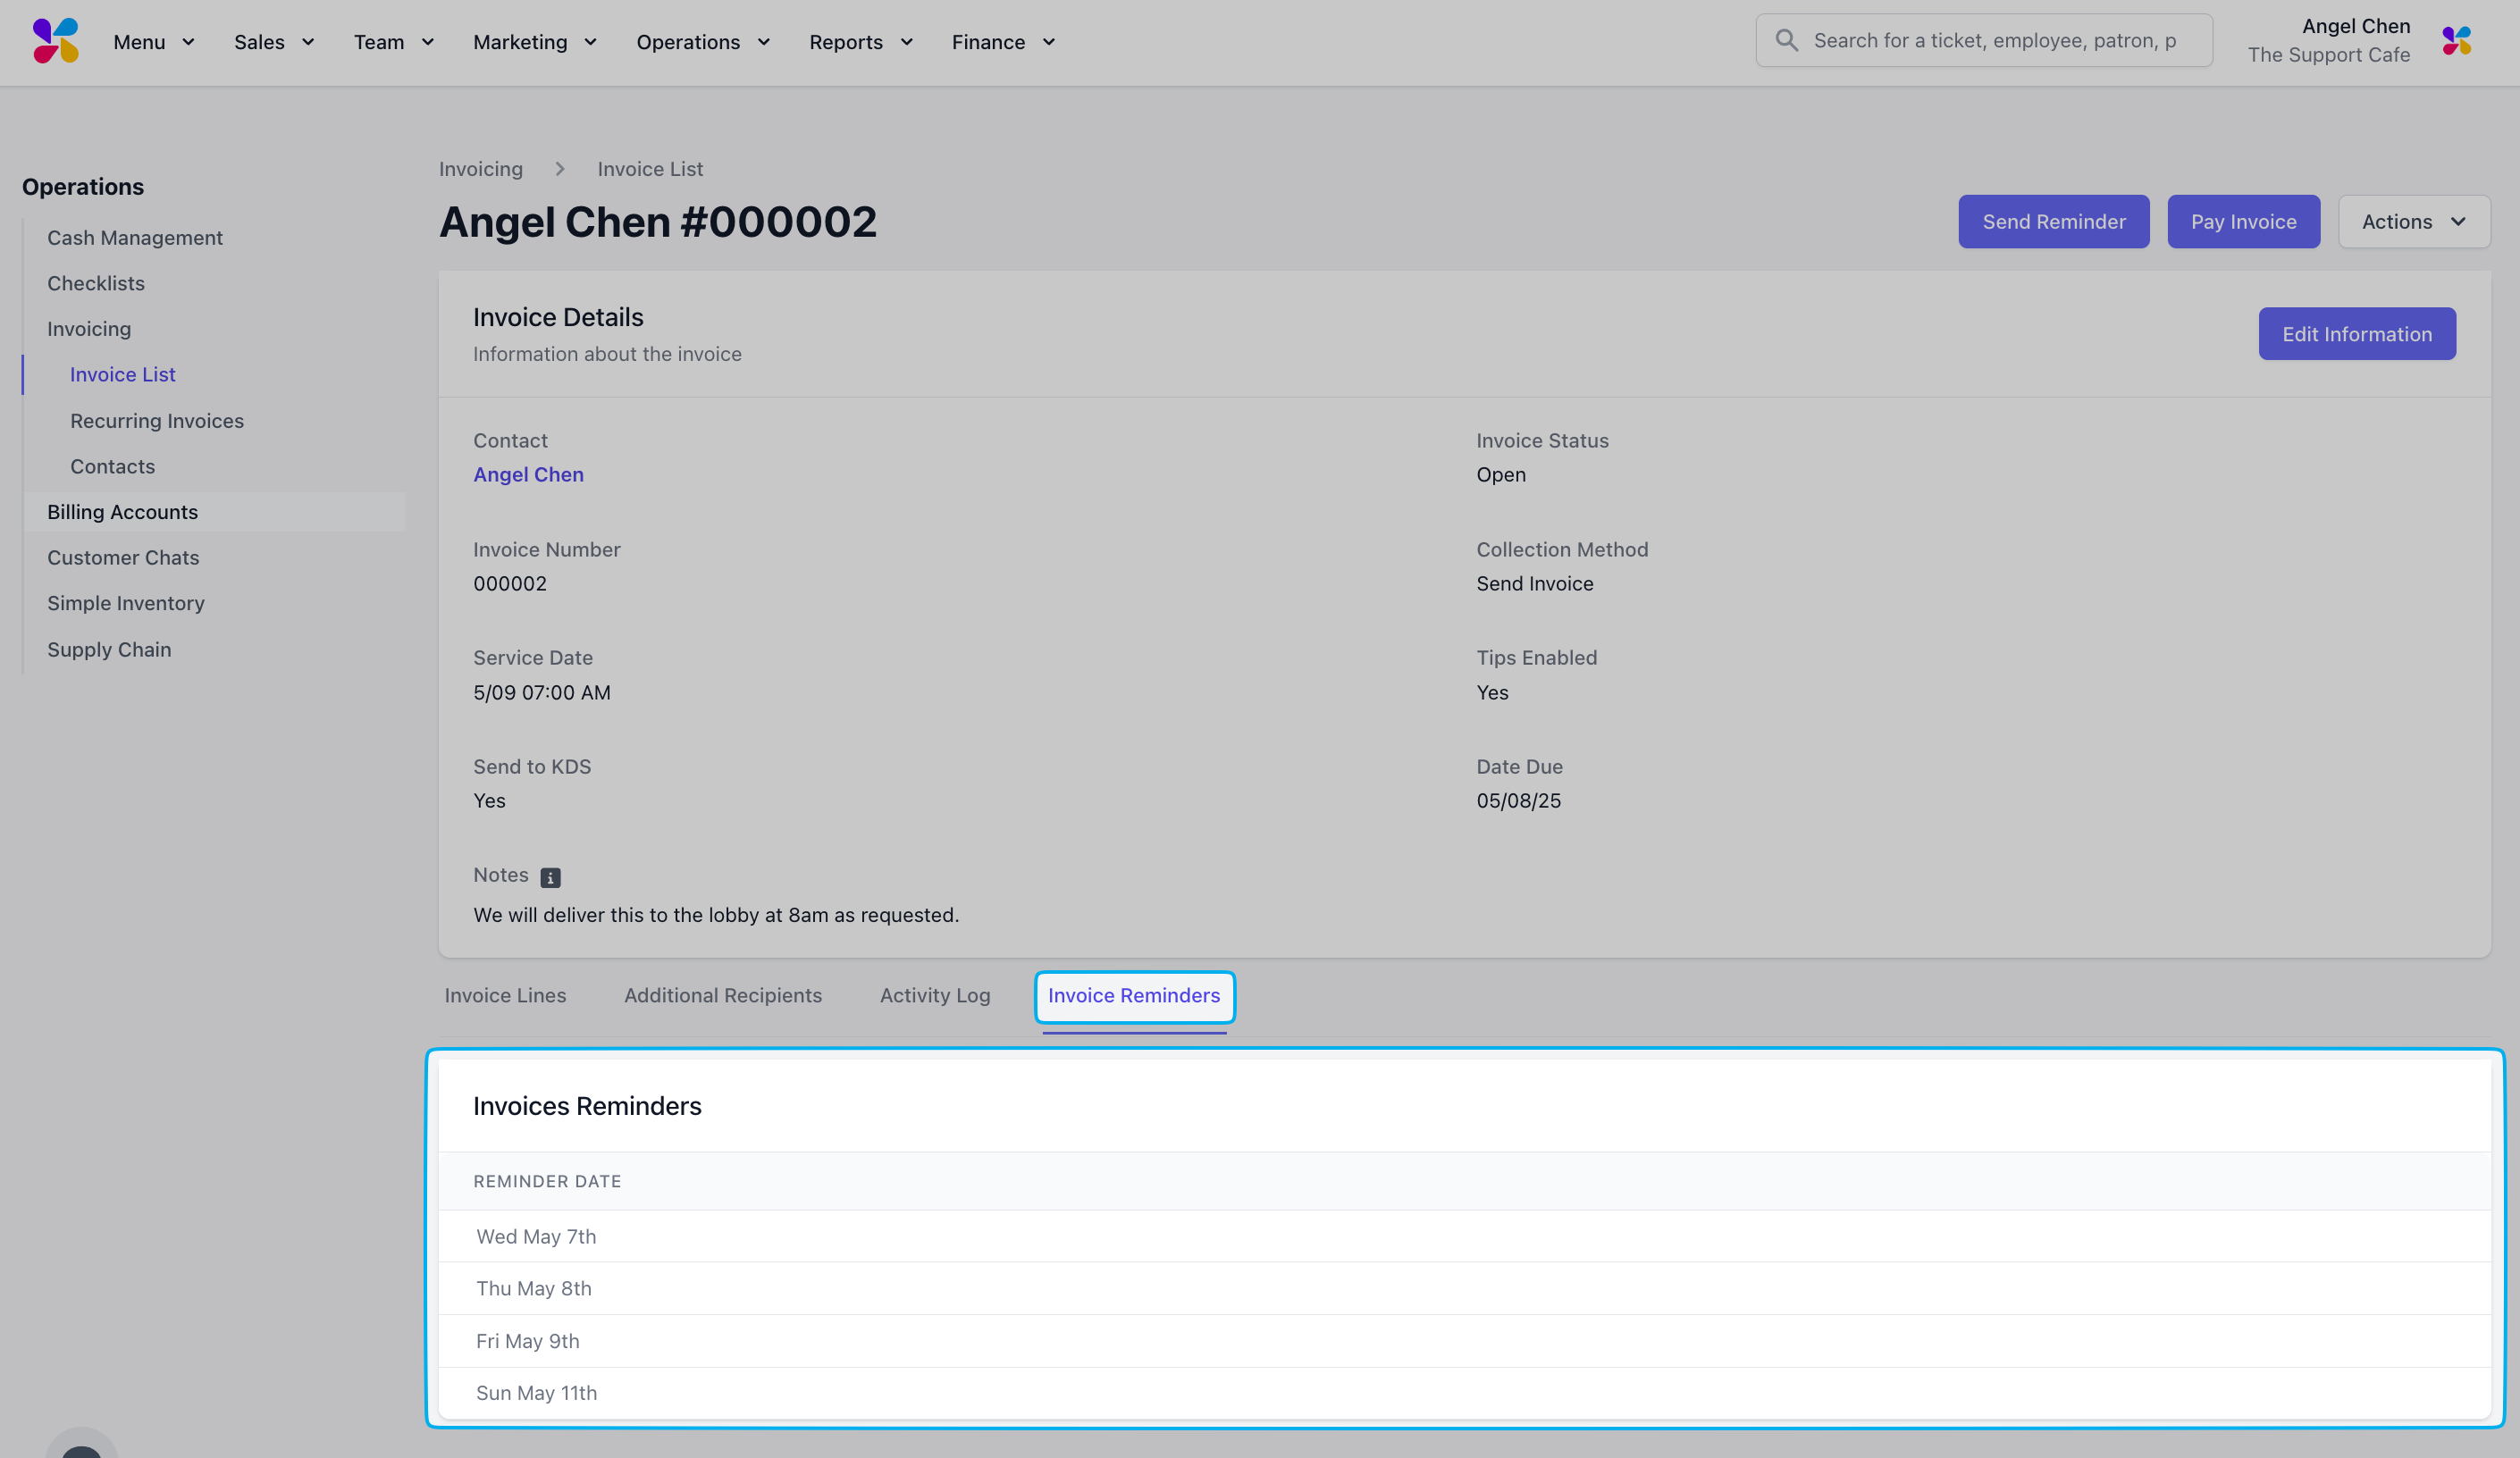
7
Use the tabs at the bottom to view Additional Recipients, Activity Log, and Invoice Reminders
Refund Invoices
Issue refunds to invoices that have been paidHow to Refund Invoices
How to Refund Invoices
1
Log in to the Dashboard and navigate to Orders > Invoicing
2
Navigate to Invoice List and View a paid invoice
3
Select the Refund Invoice button in the top right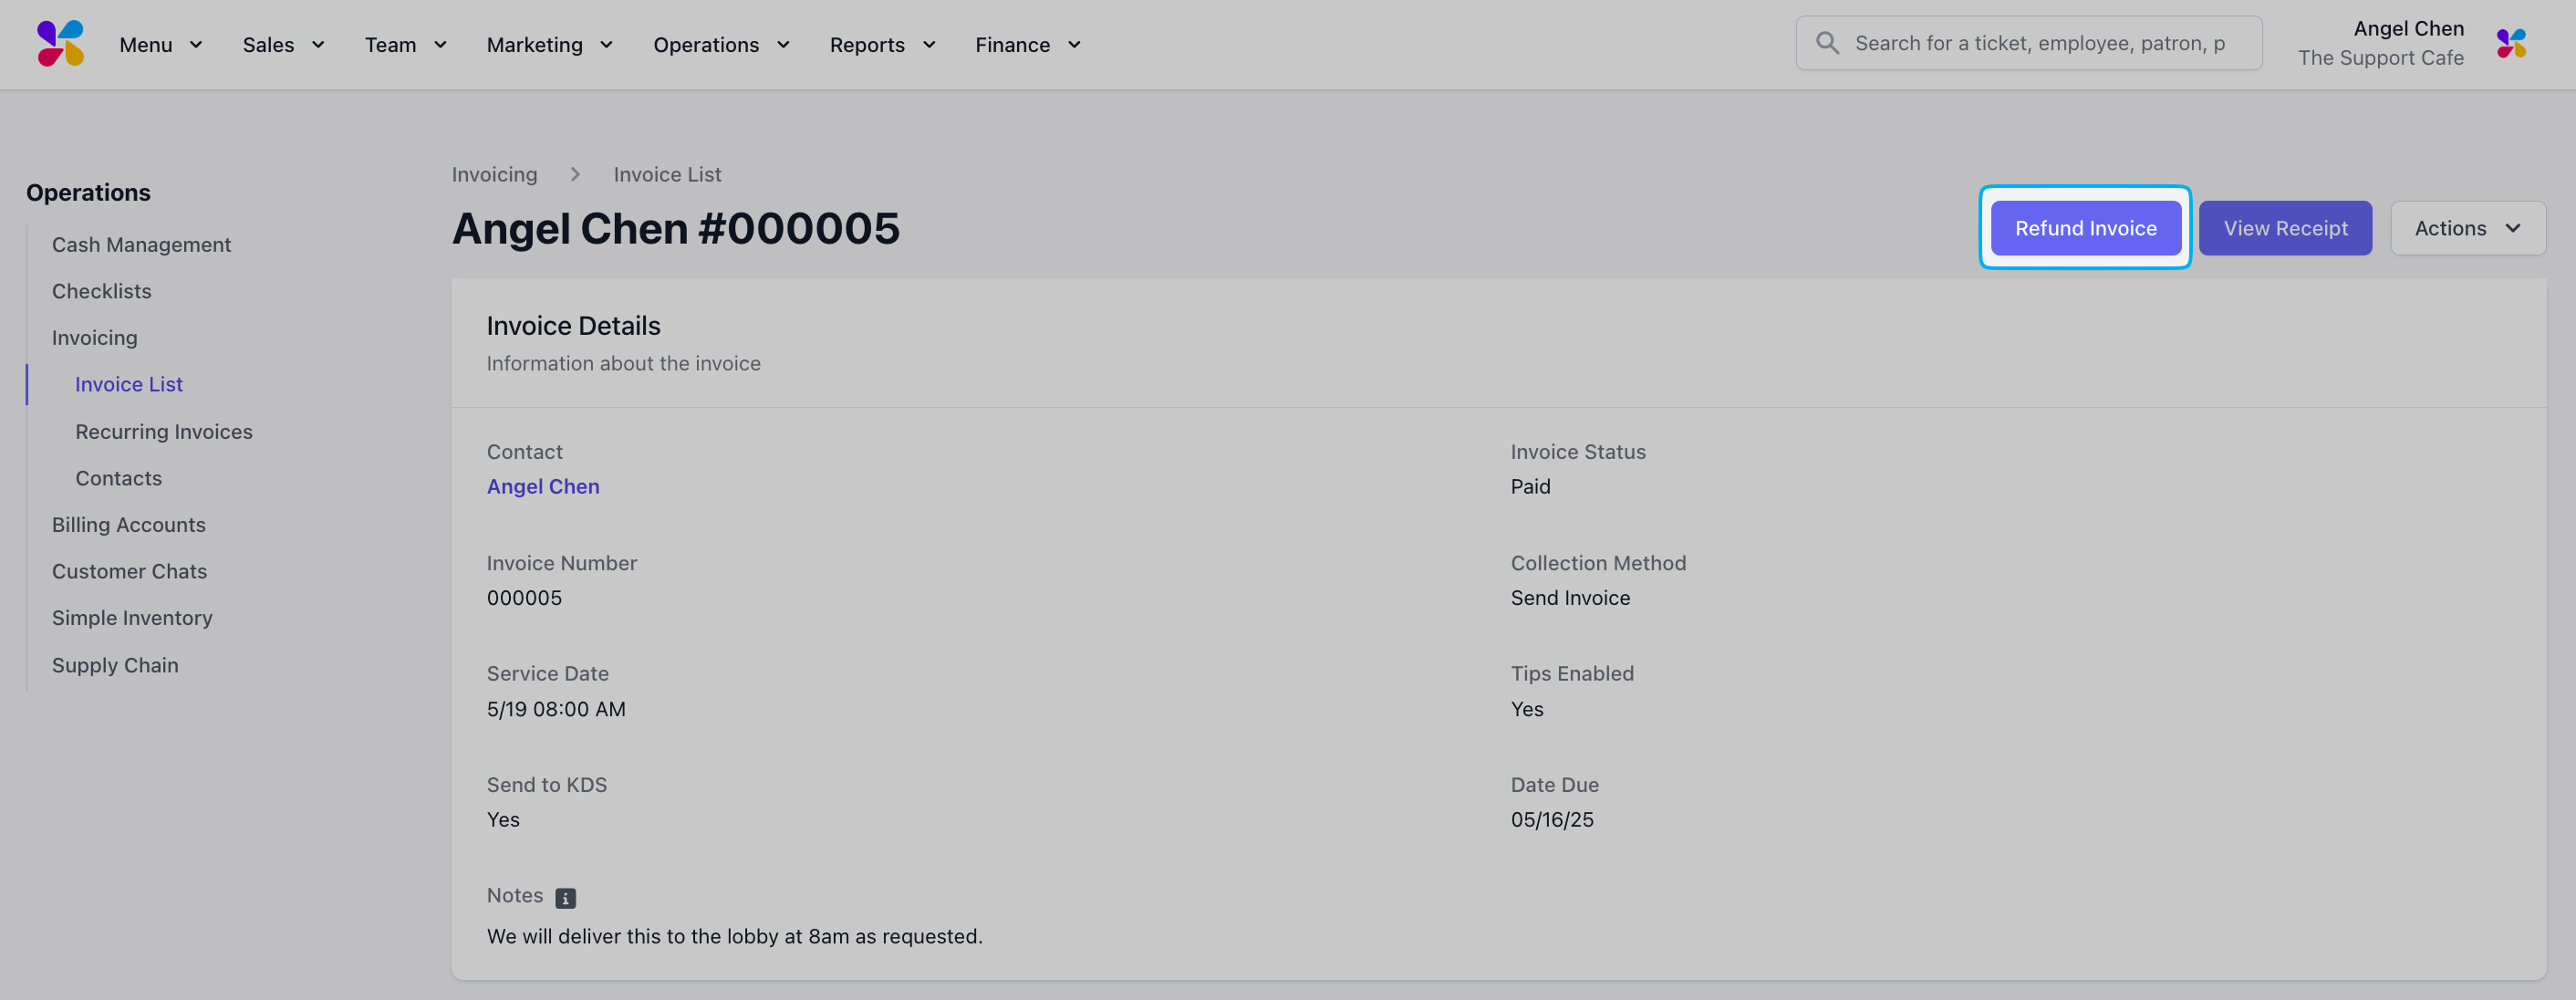
4
Select the refund type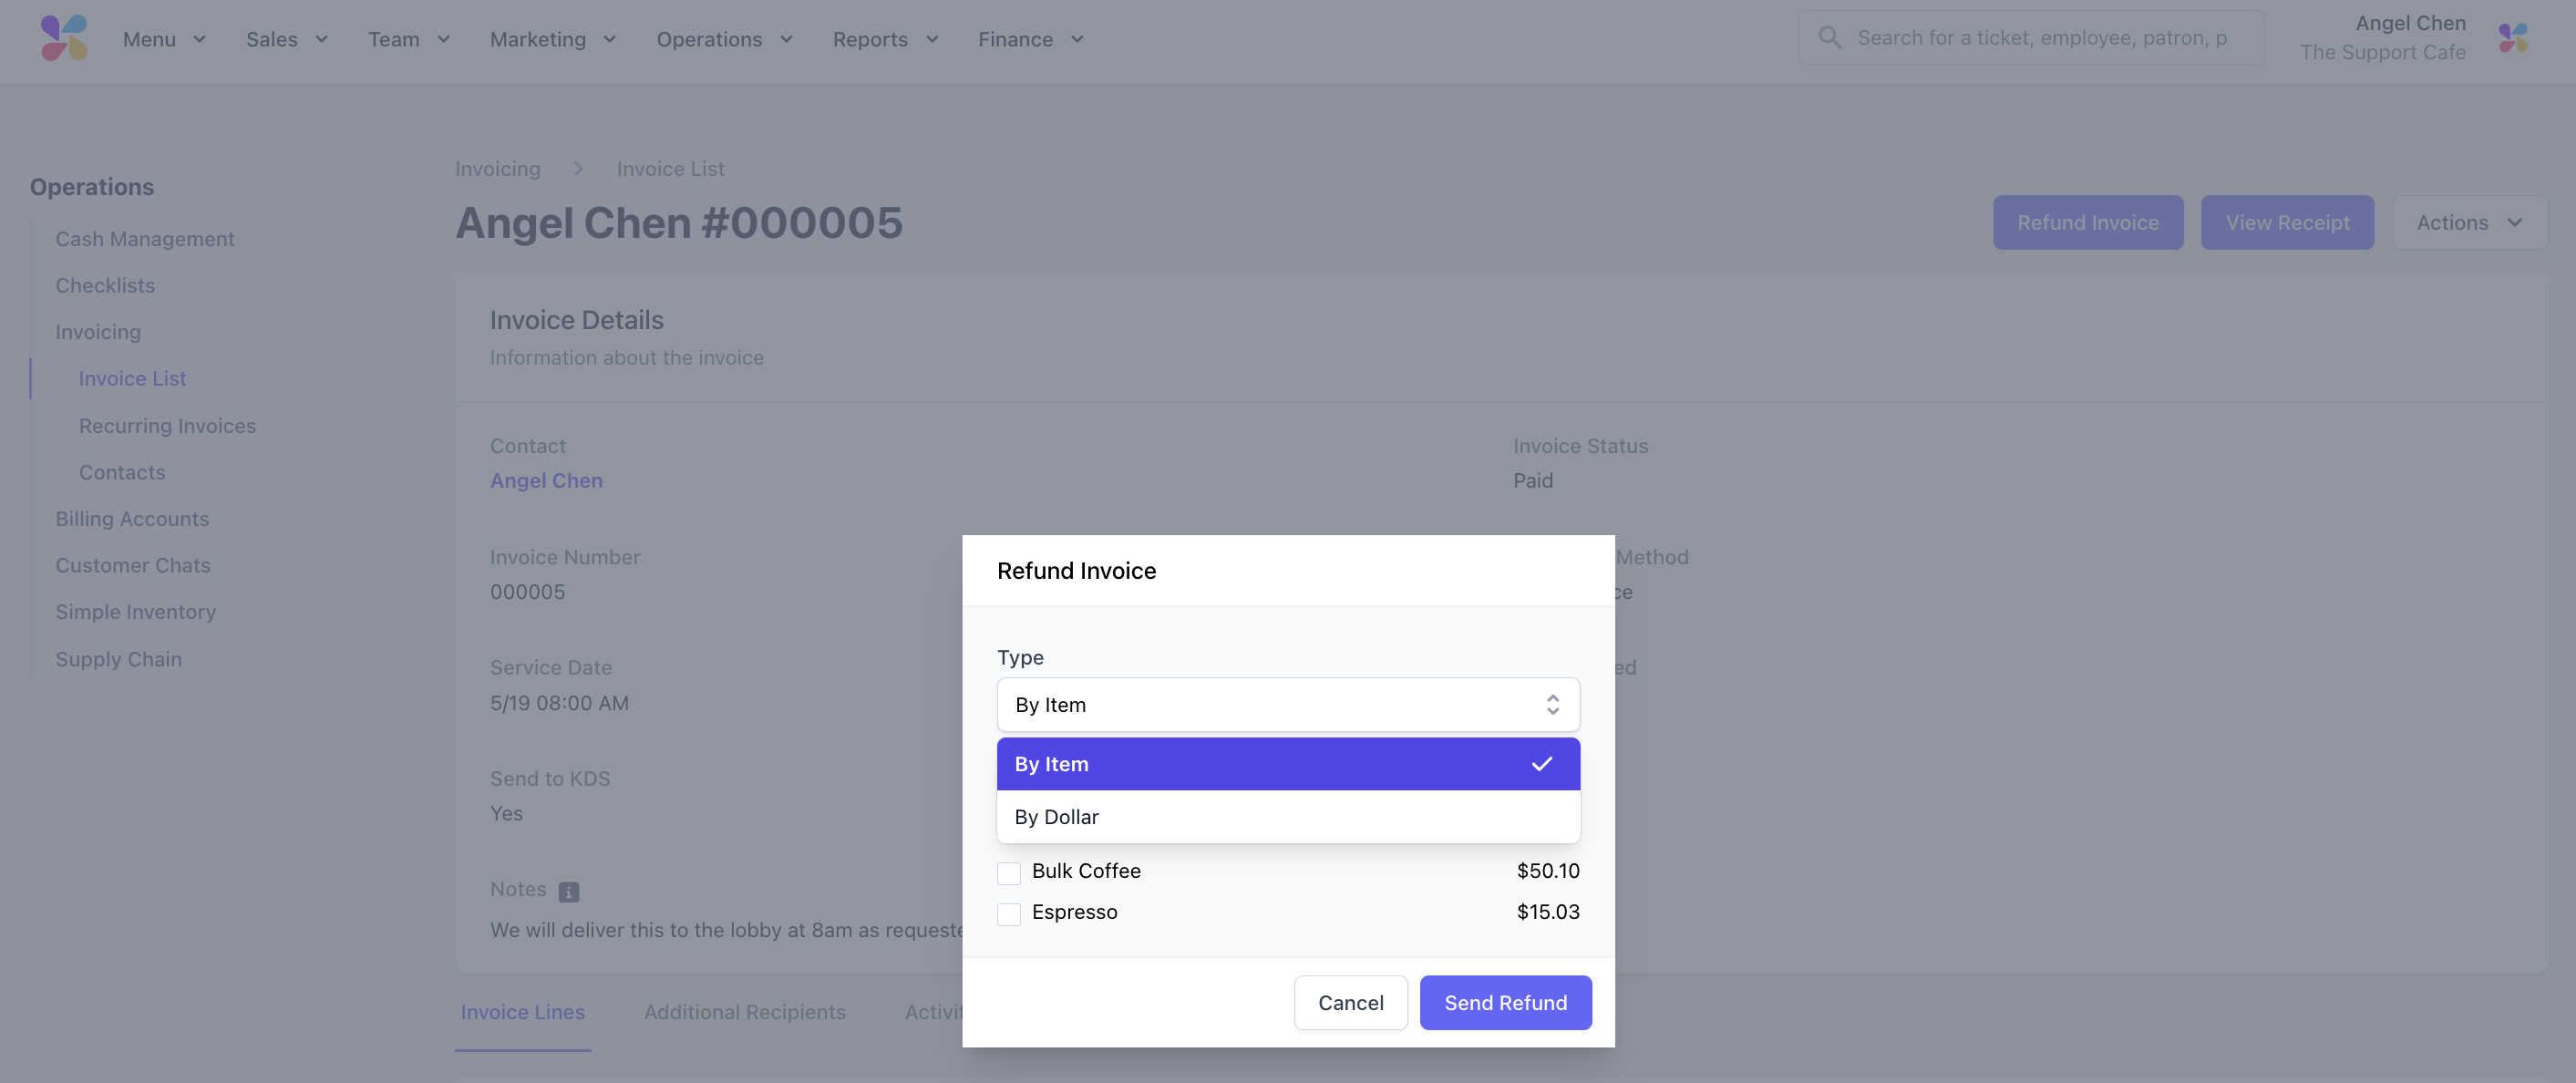
By Item: Refund the selected line items
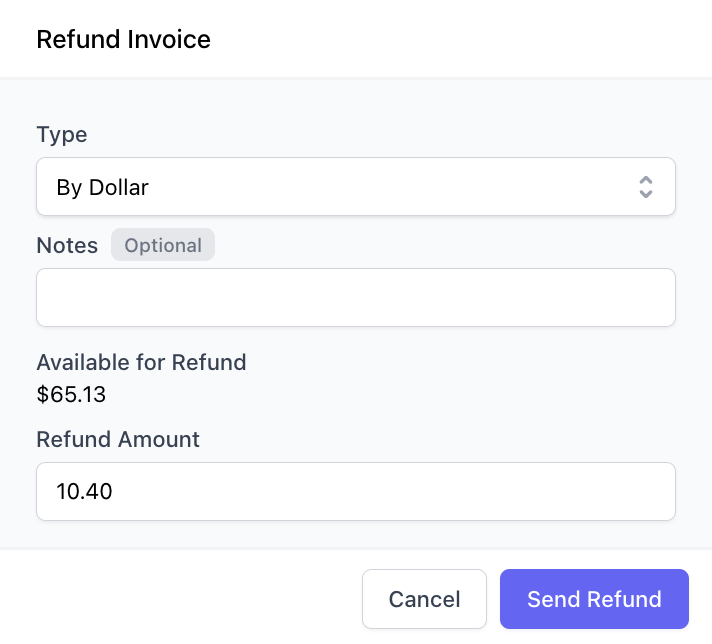
By Dollar: Refund a specific dollar amount
Notes (Optional): Include any notes for the refund
5
Review the Invoice Lines to check the Refunded amount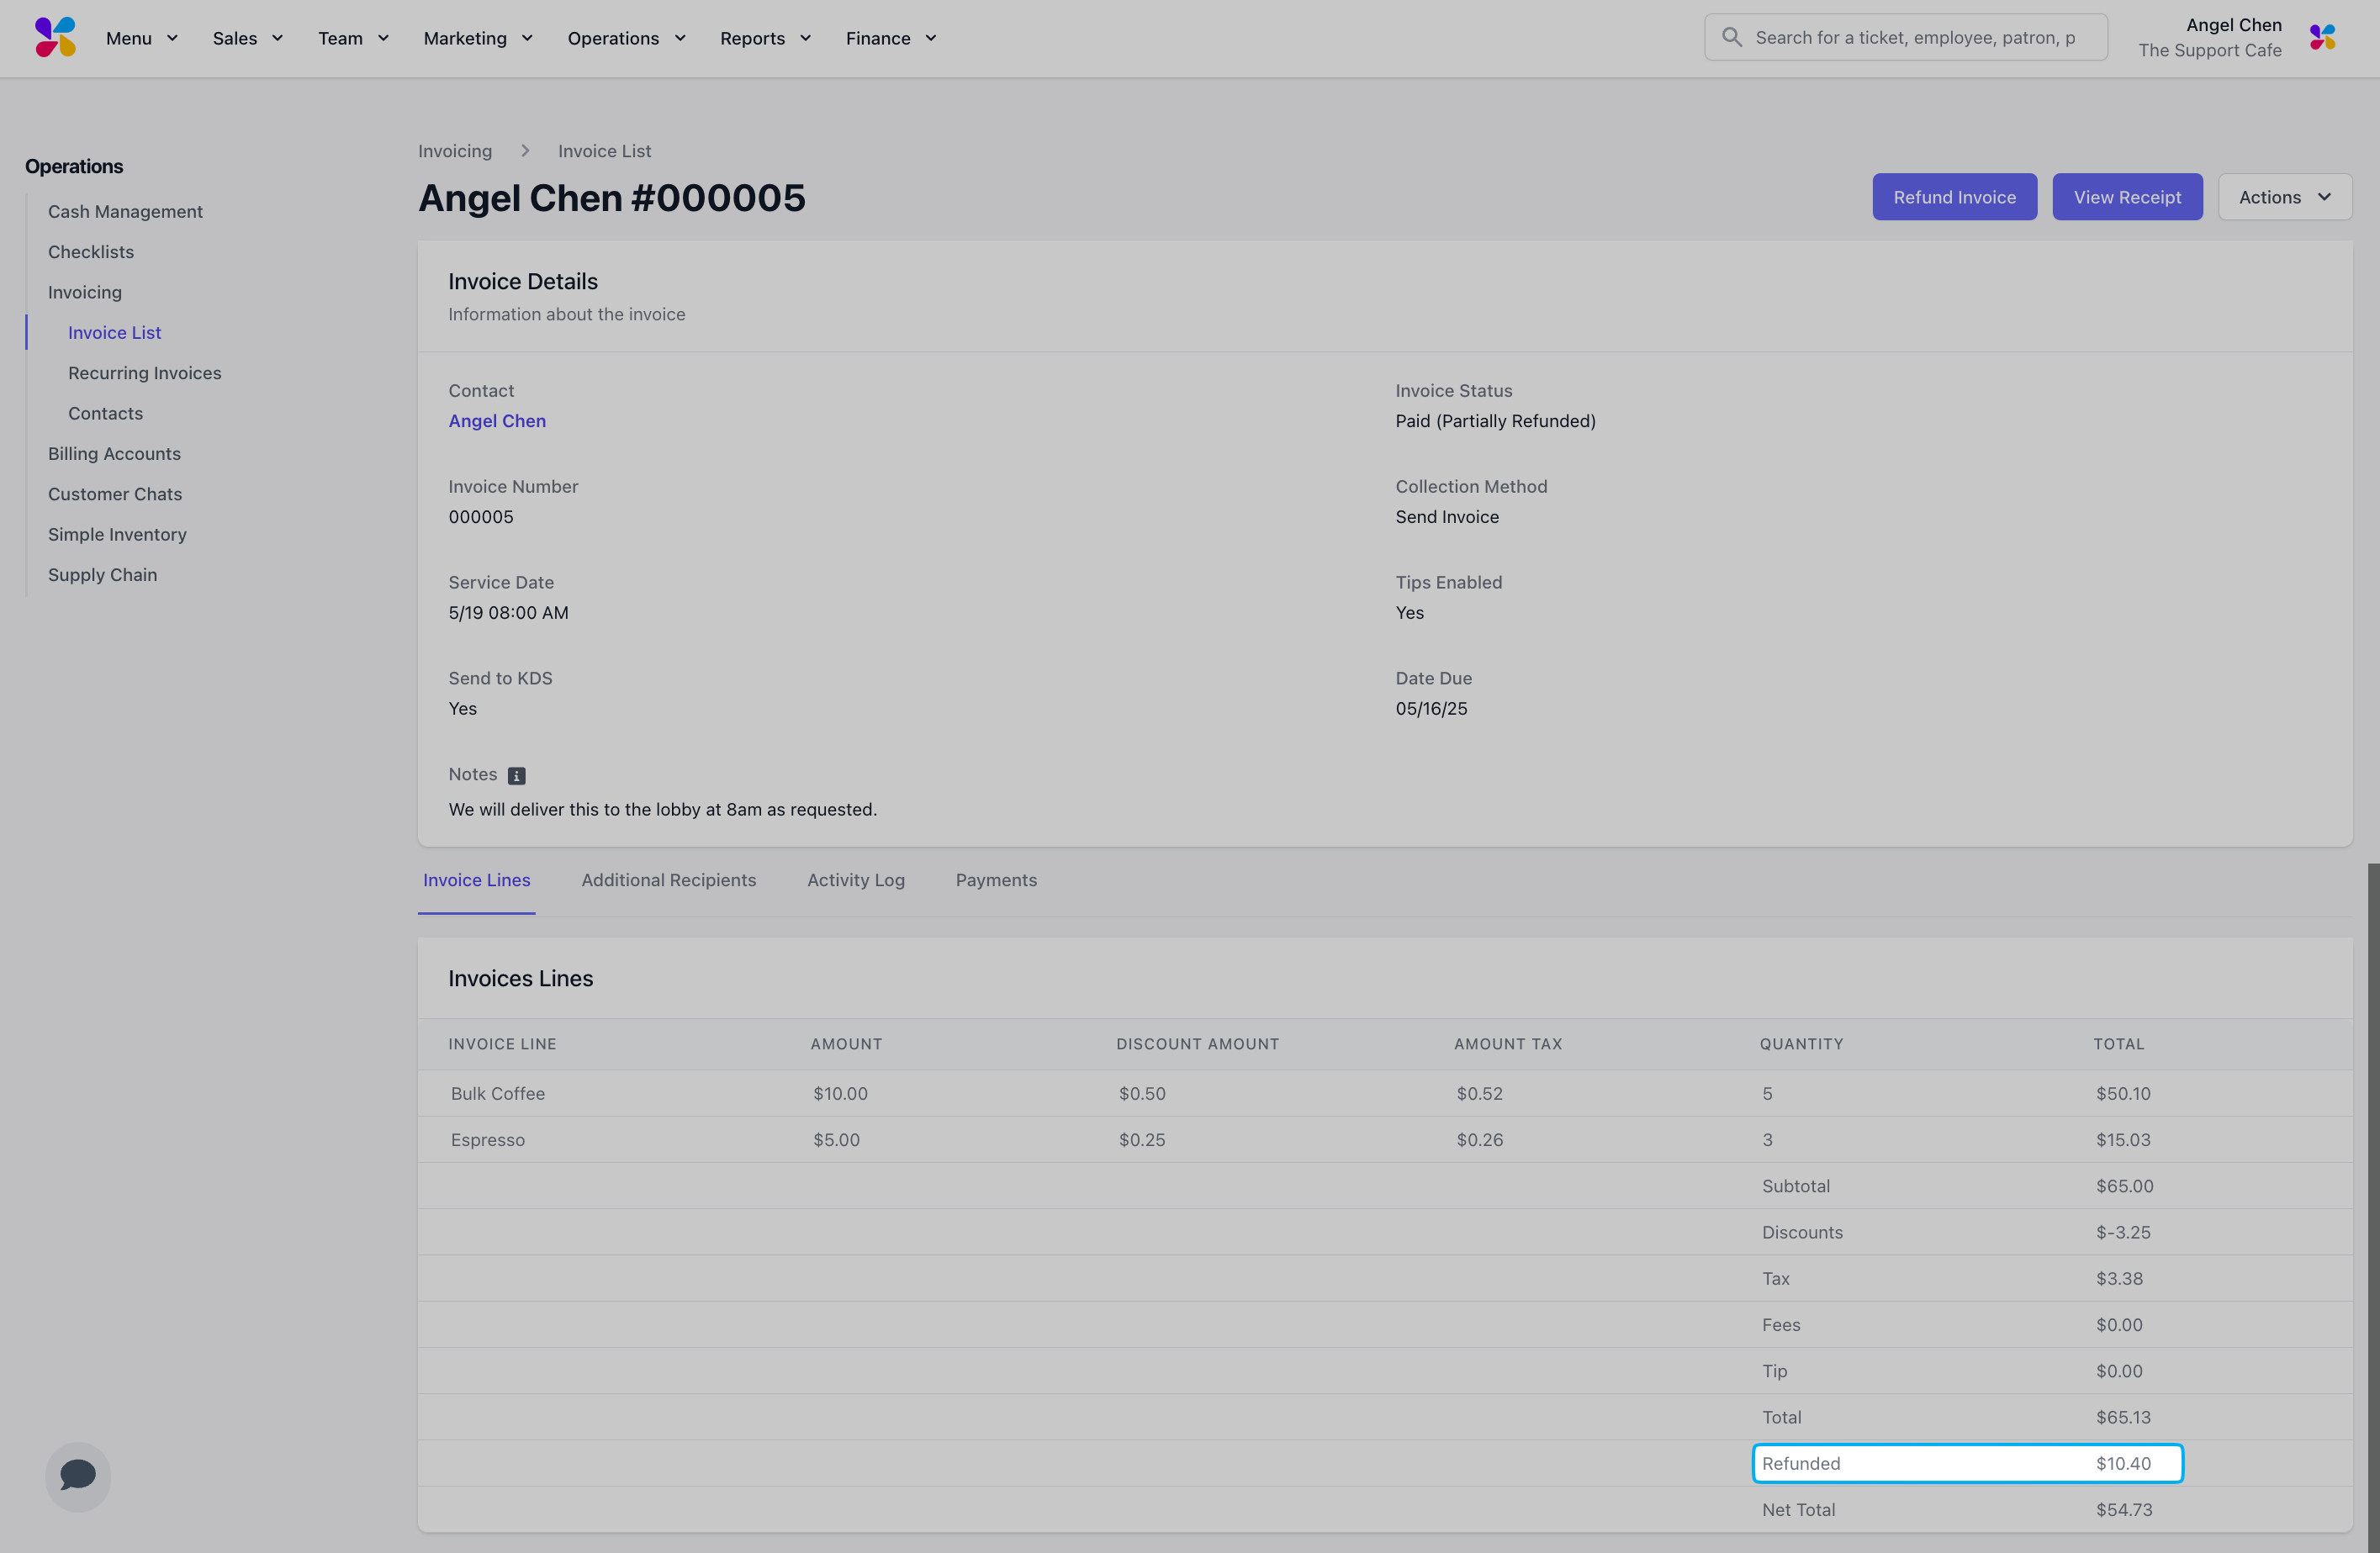
Invoicing Reports
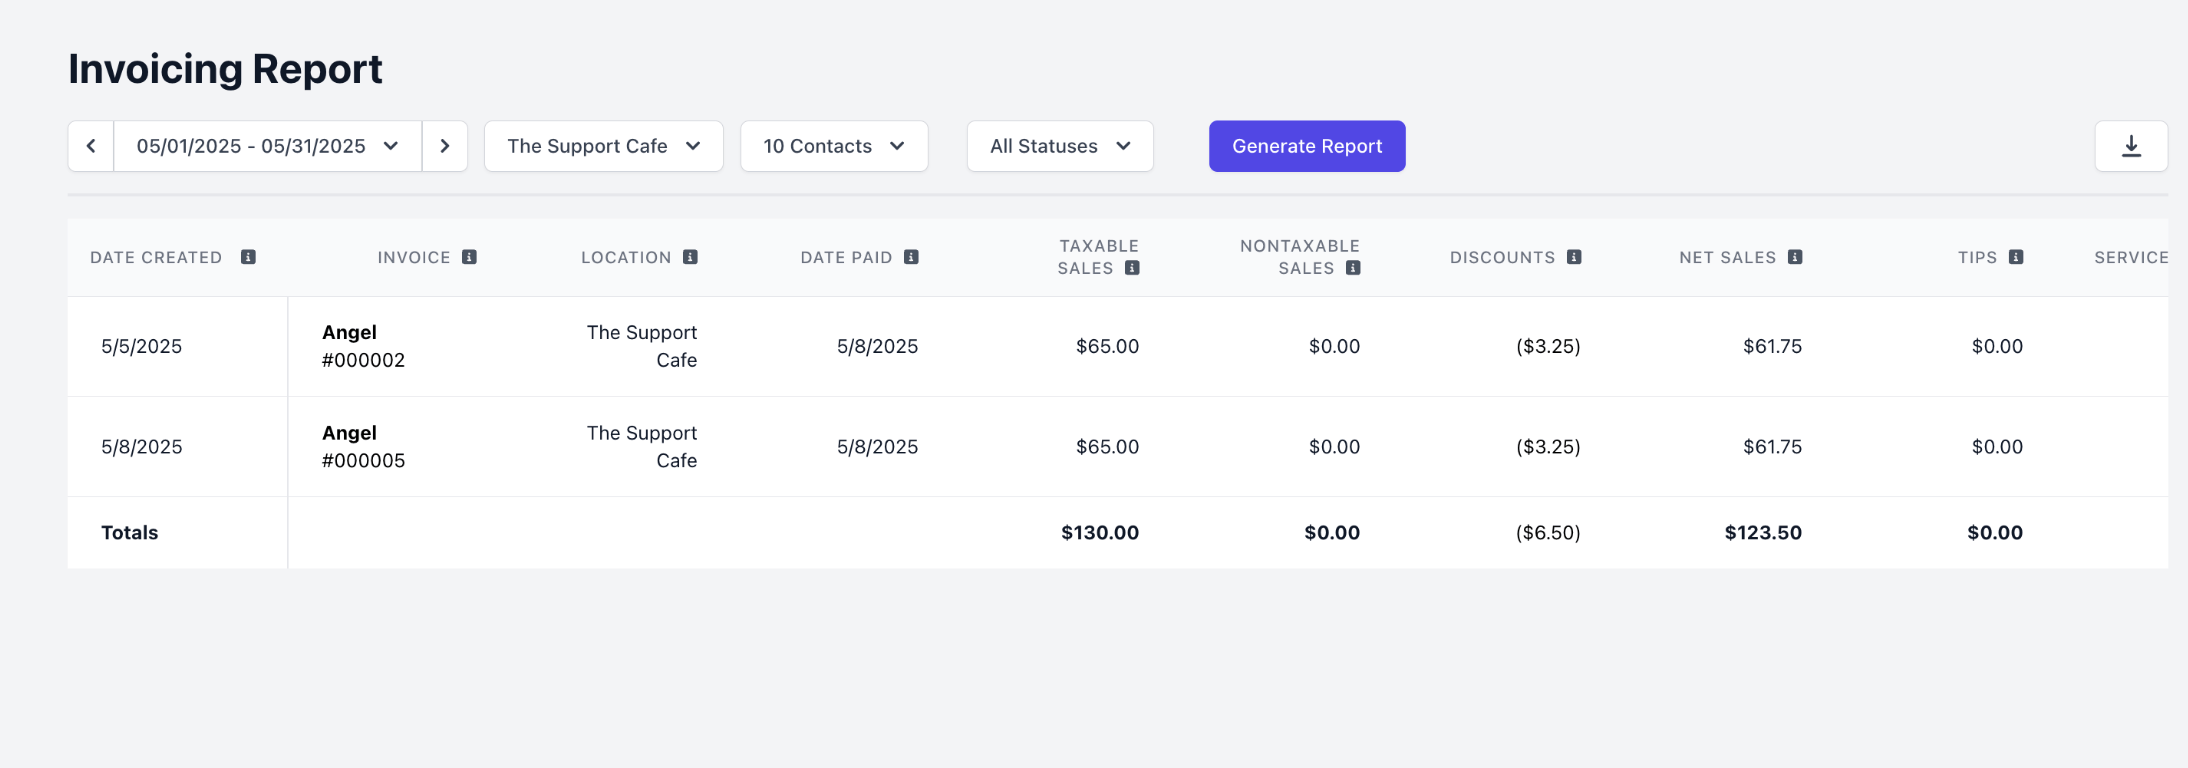
Understand your invoicing revenues and payment patterns1
Log in to the Dashboard and navigate to Reports > Invoicing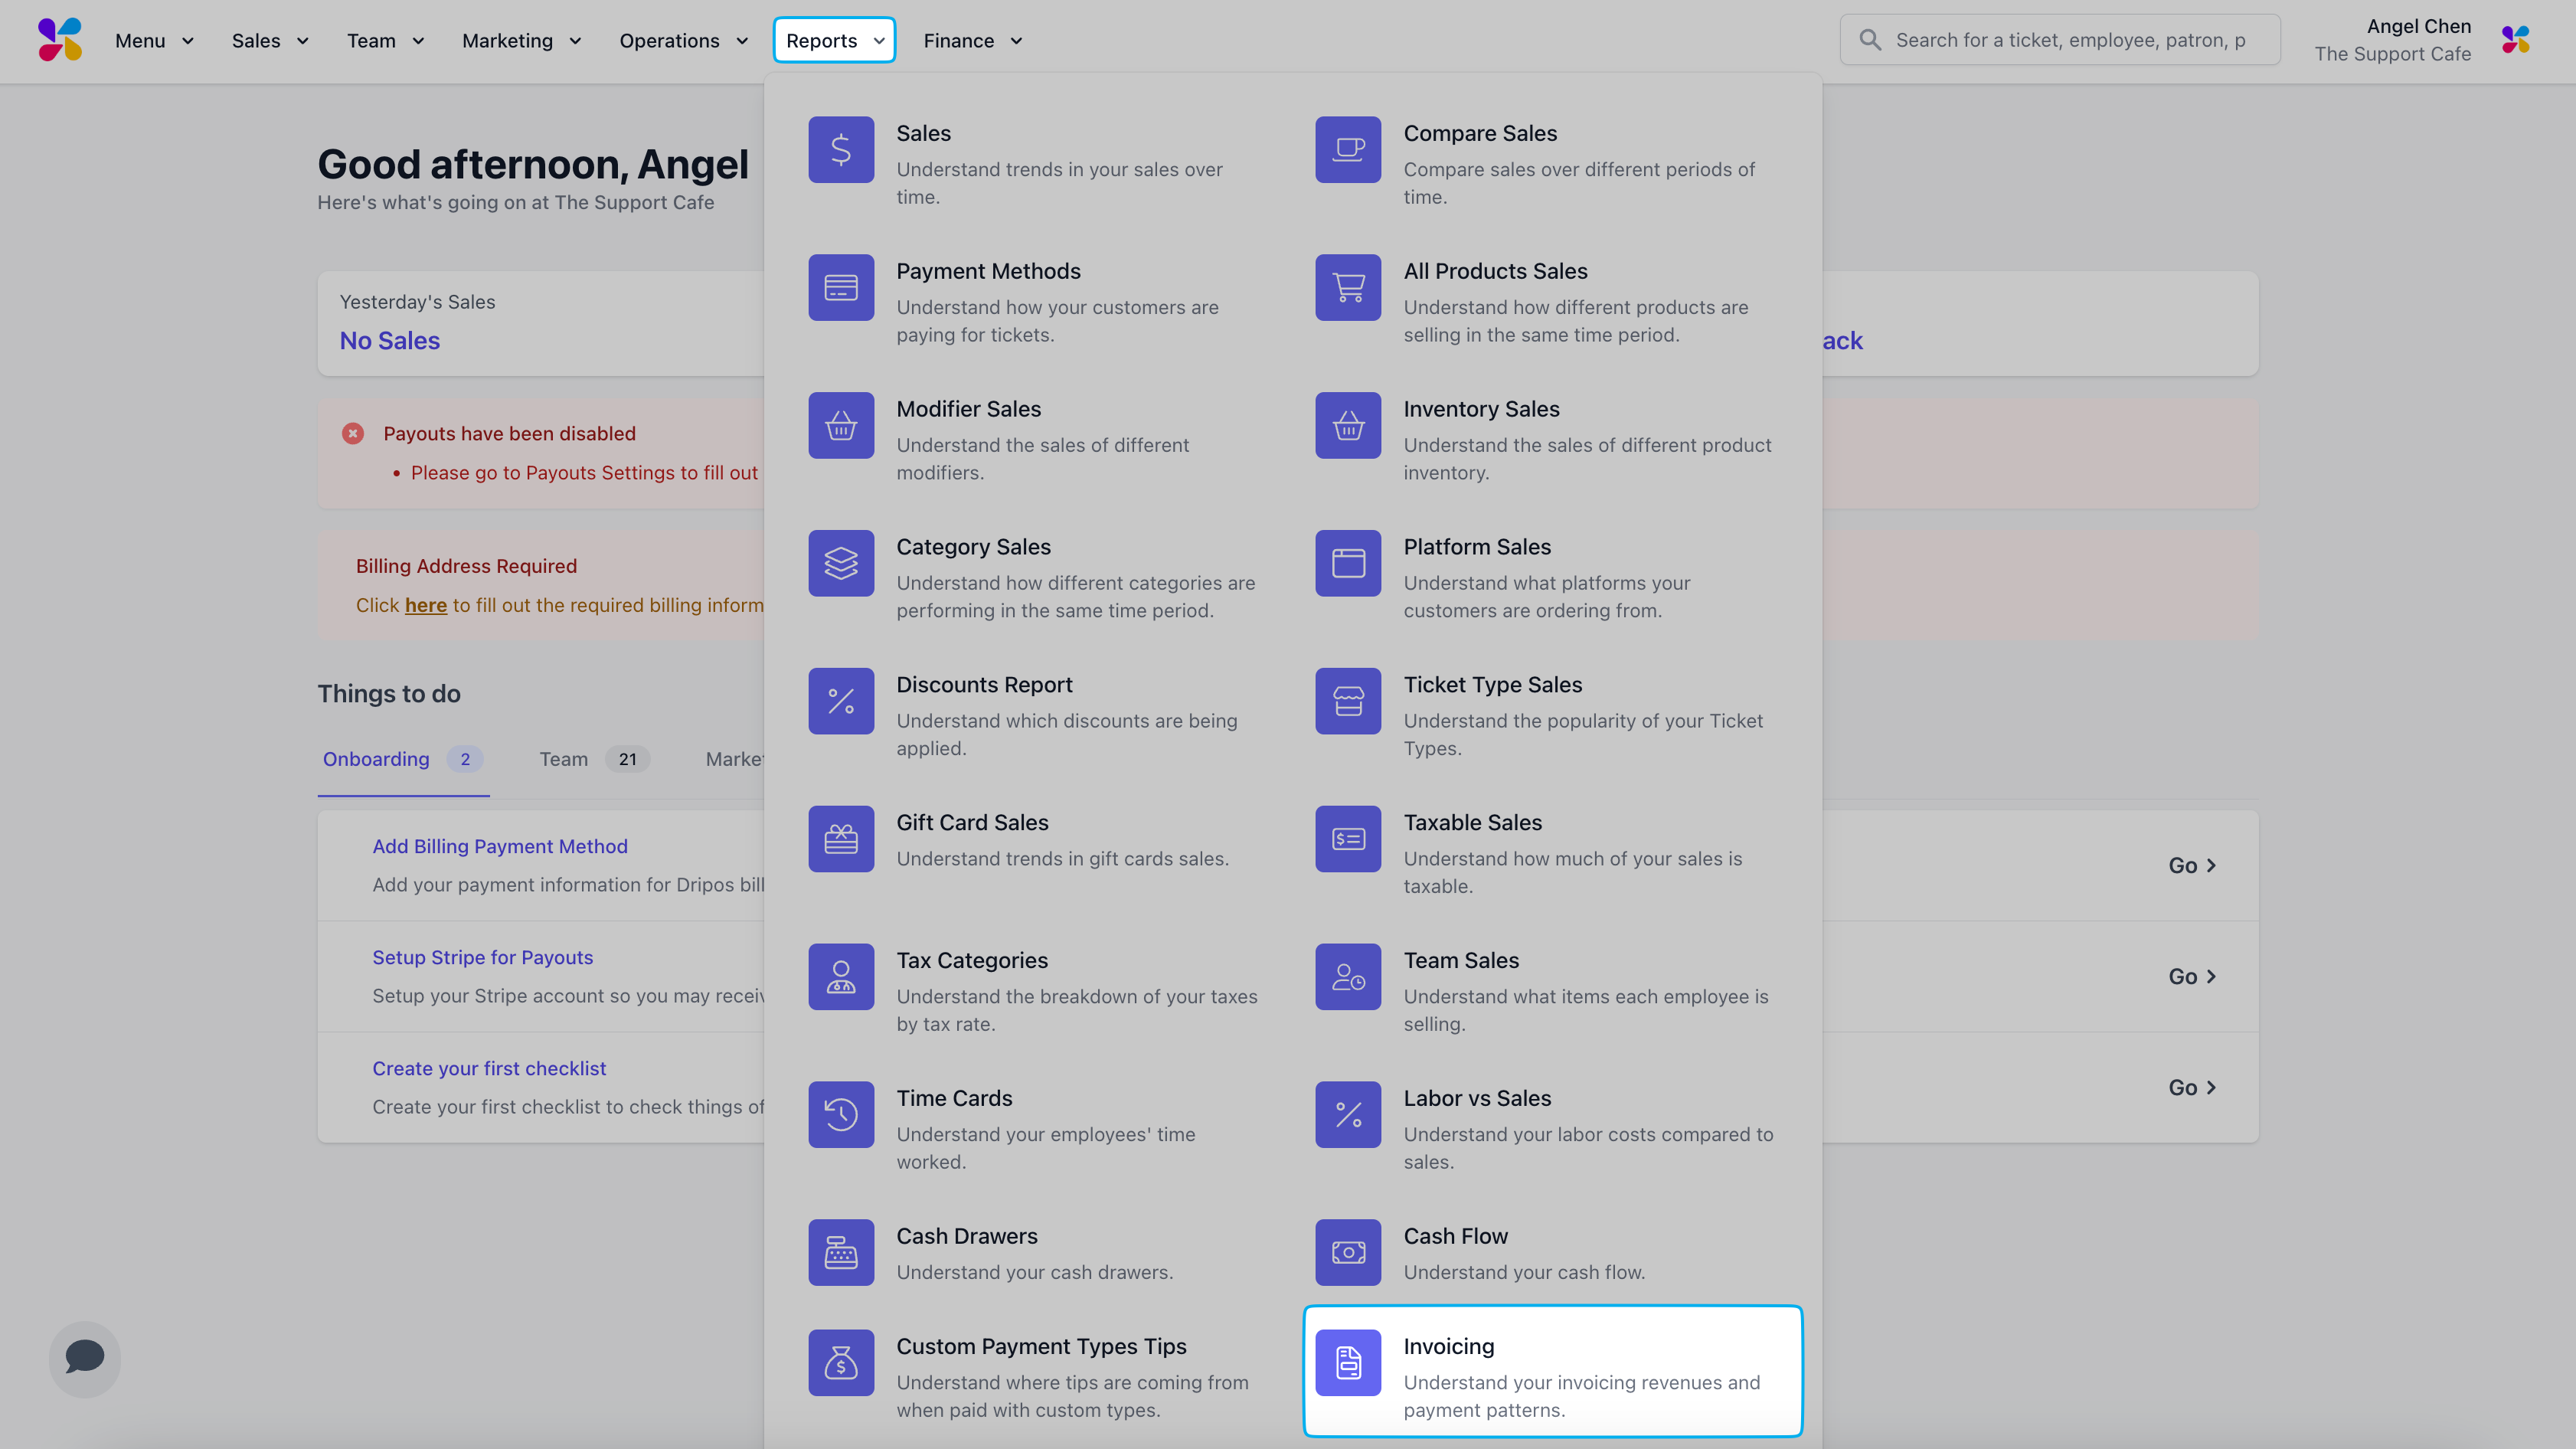
2
Filter by your desired time period, location, contacts, and invoice statuses and click Generate Report