Create Store Bank Templates on the Web Dashboard
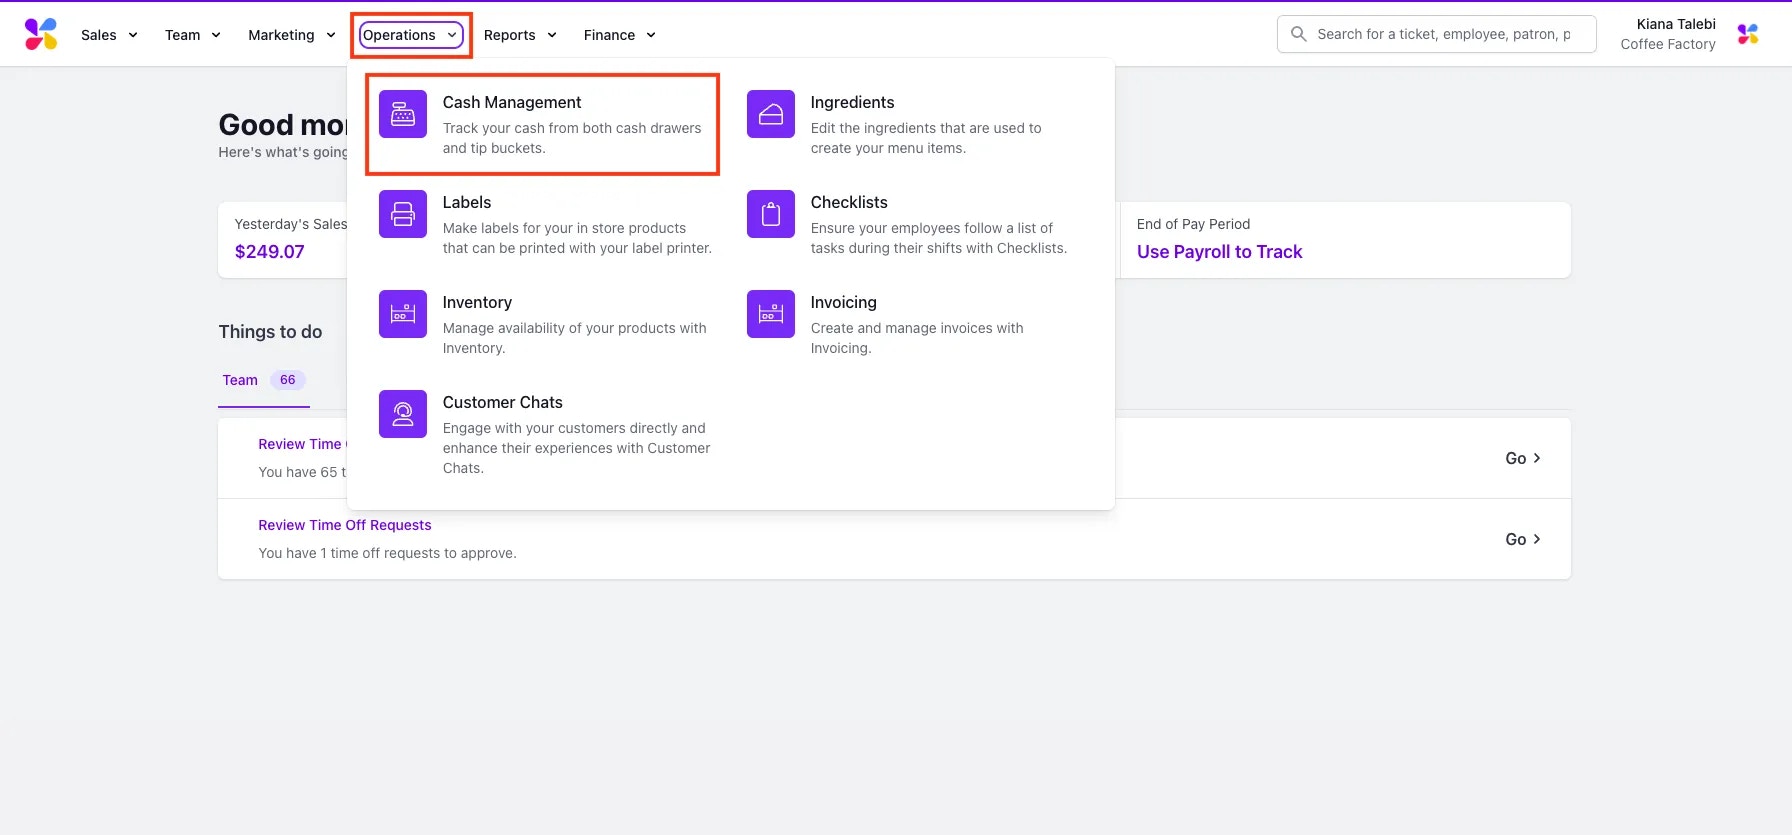
Prior to utilizing store banks, you will need to create at least one store bank template. These templates consist of predefined sets of drawers that you would like grouped together within your store. We recommend that you put all of your drawers in one store bank template. Once you have created a template, you can then open up a store bank using that specific template on the POS.- Log on to the Web Dashboard. Once signed in, select Orders > Cash Drawers:
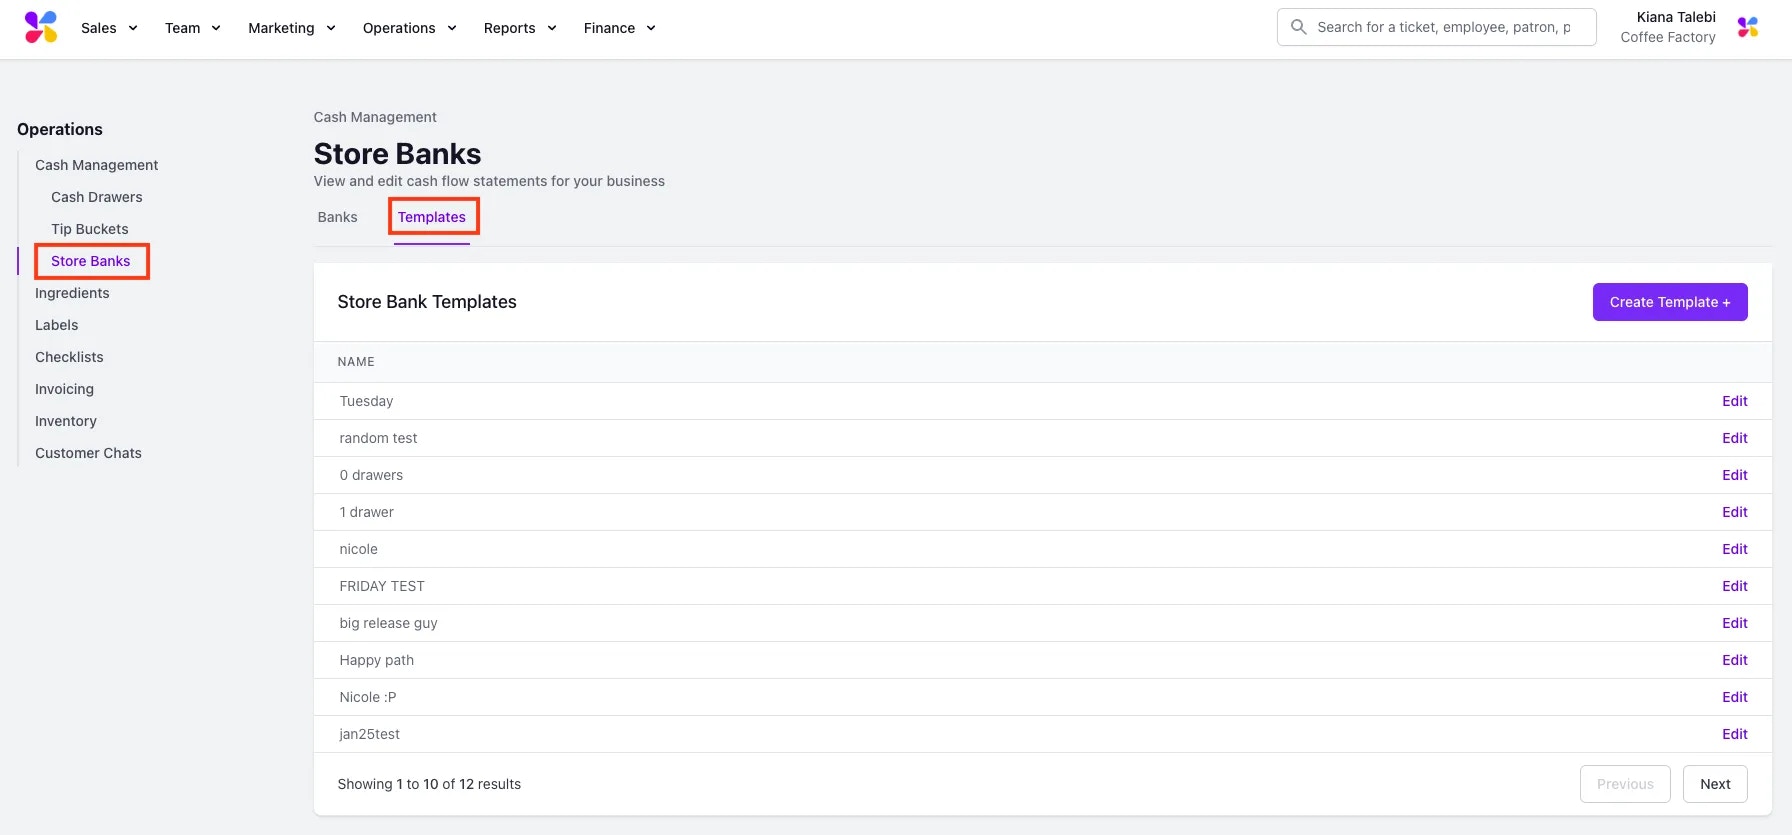
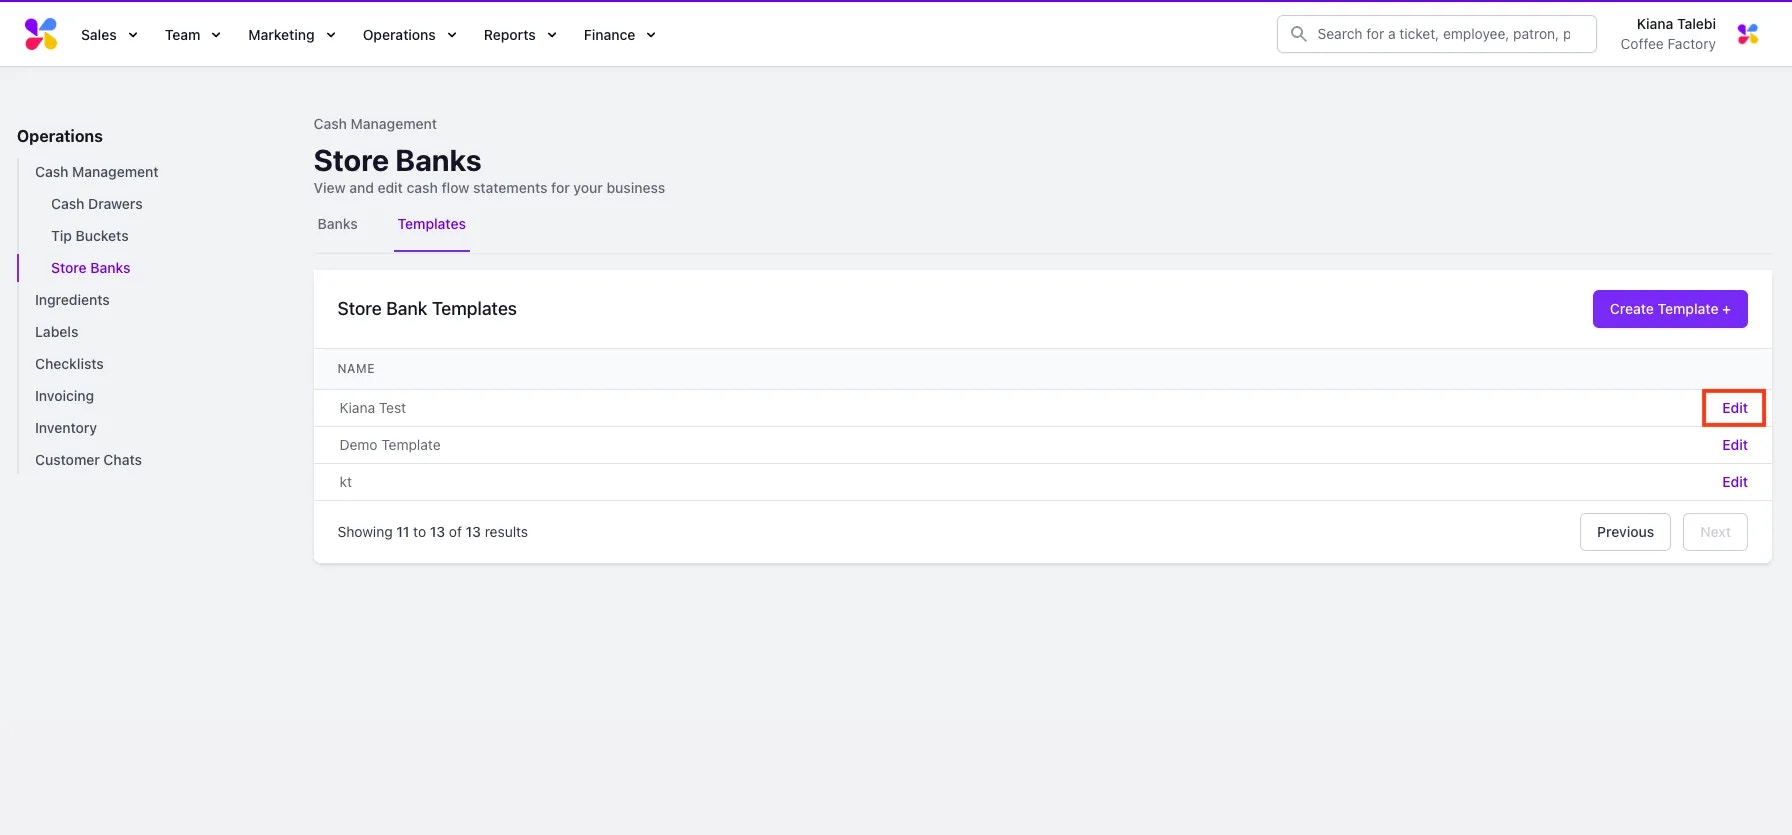
- Click on the Store Banks tab on the left sidebar. Once on this page, click on the Templates tab:
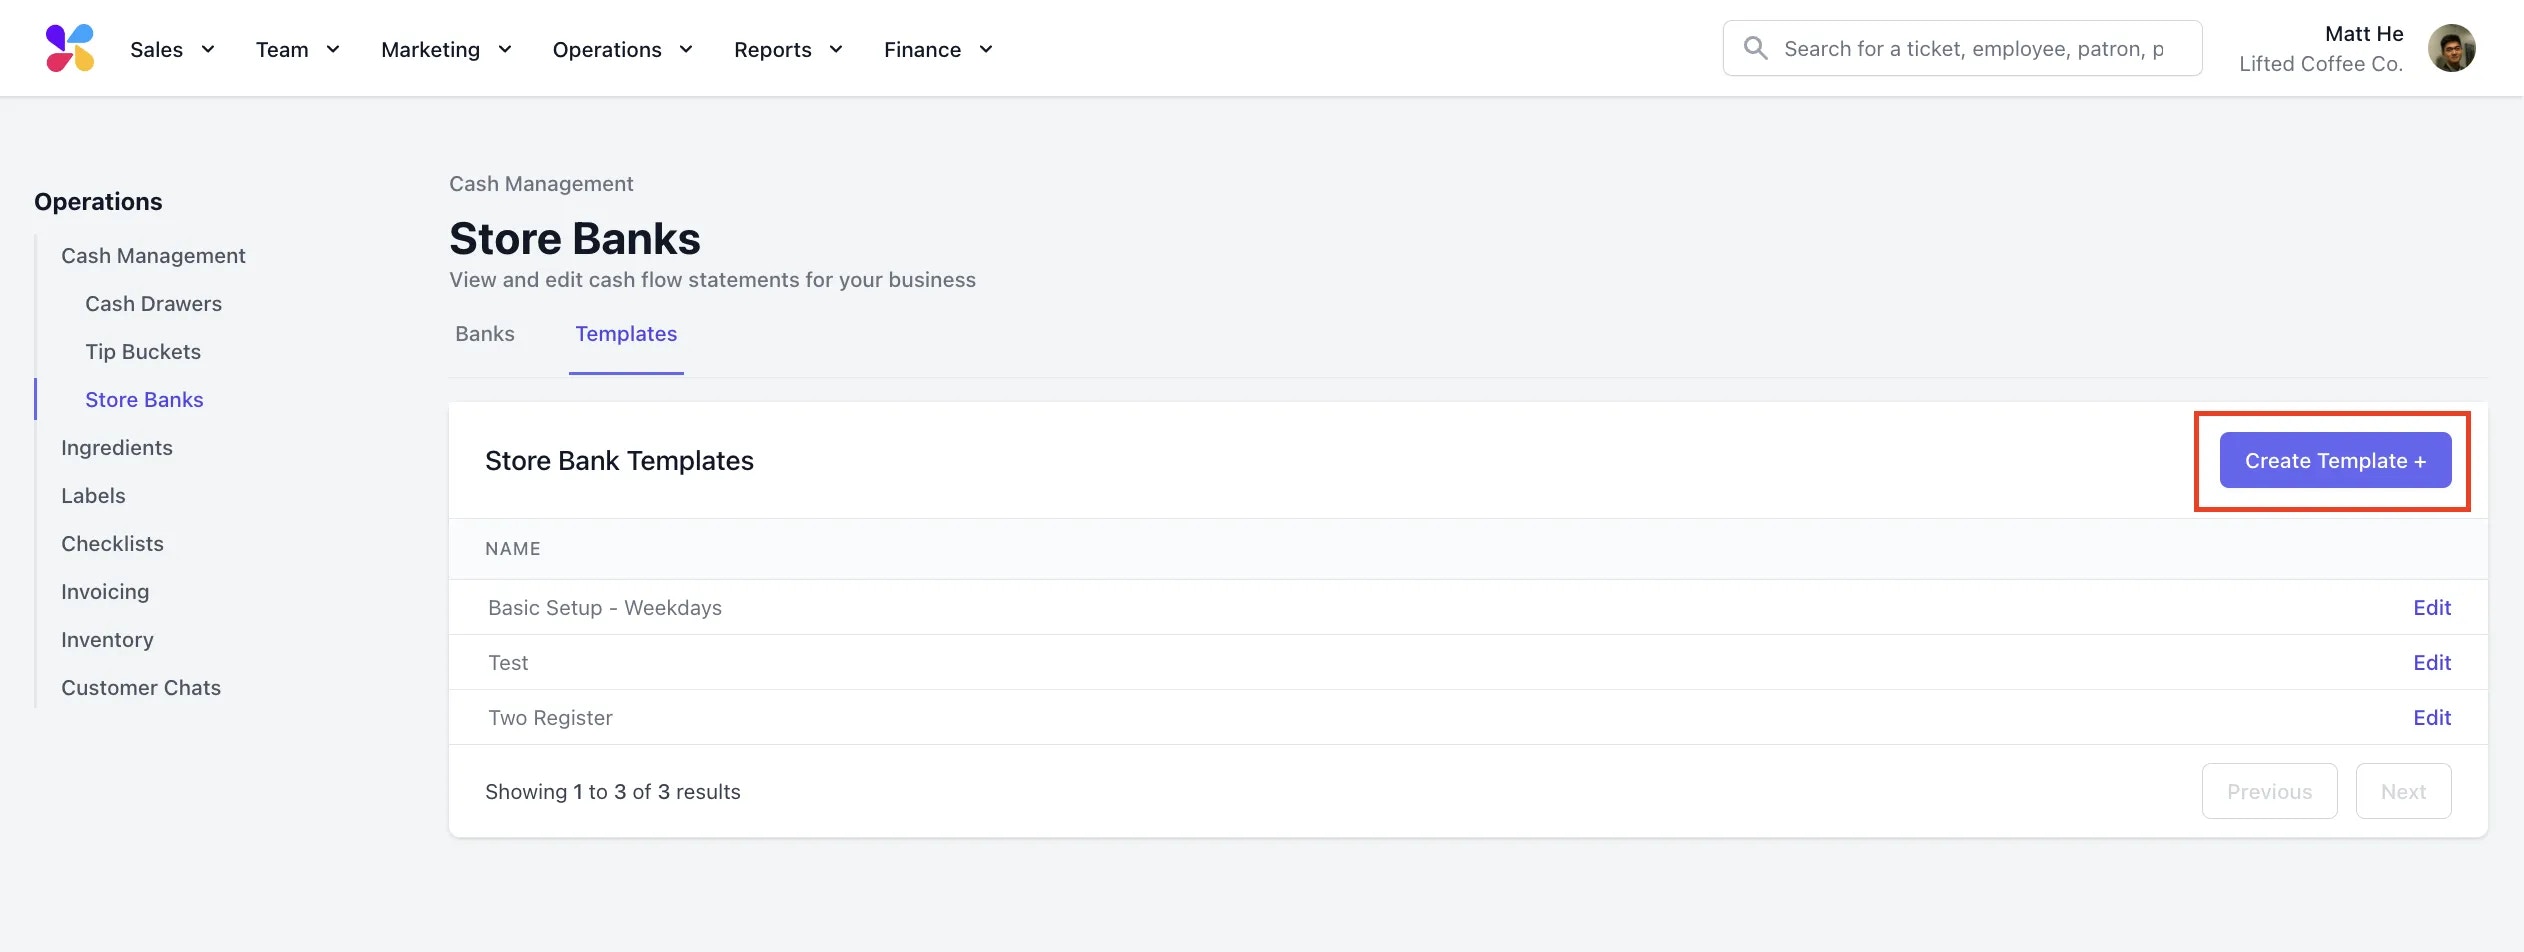
- Click on the Create Template + button:
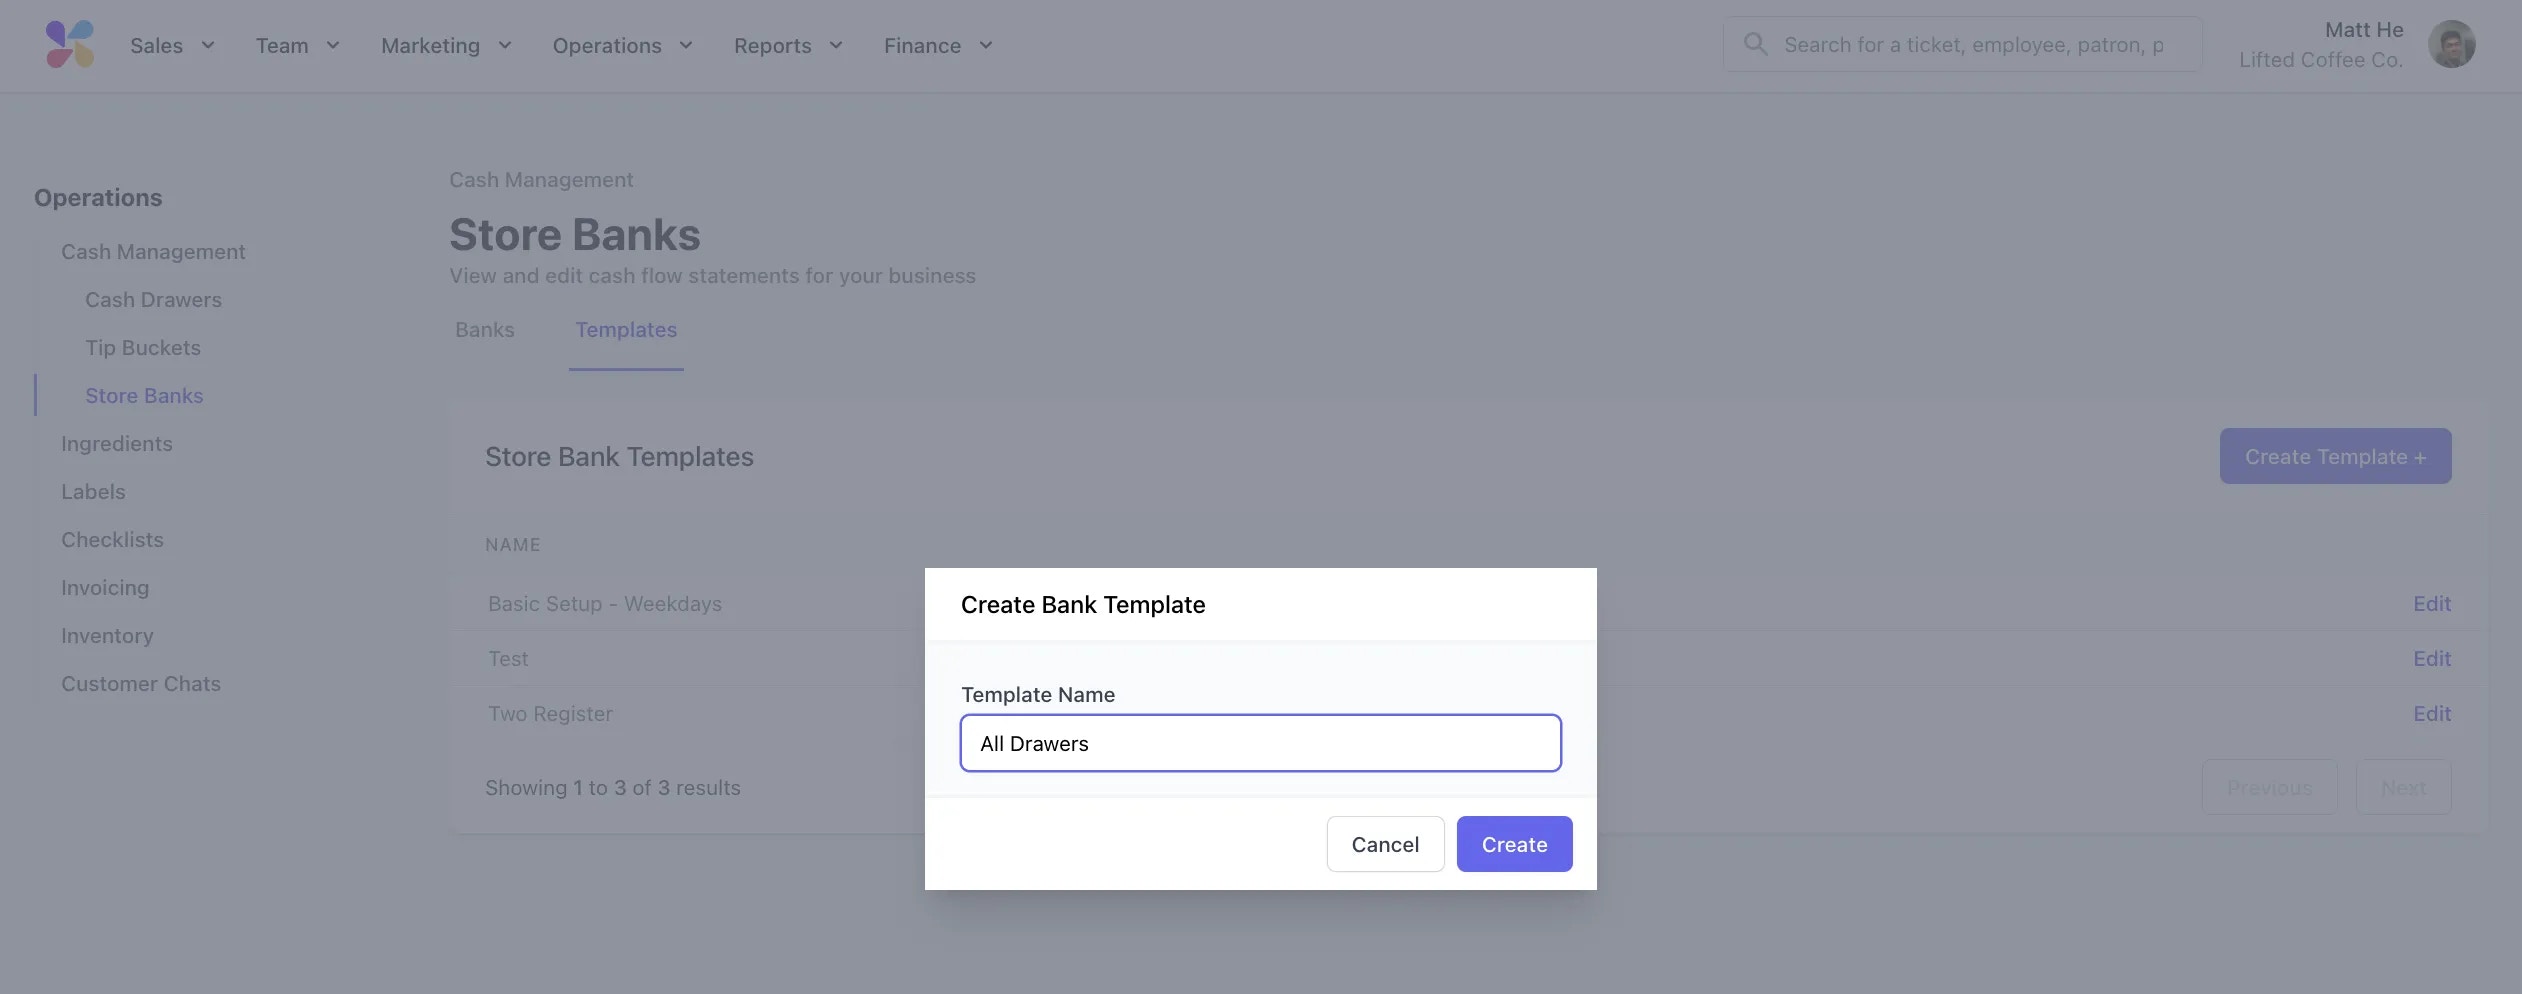
- This will prompt a pop-up to appear. Here, enter the template’s Name > click Create:
- Next, click Edit next to the template you created:
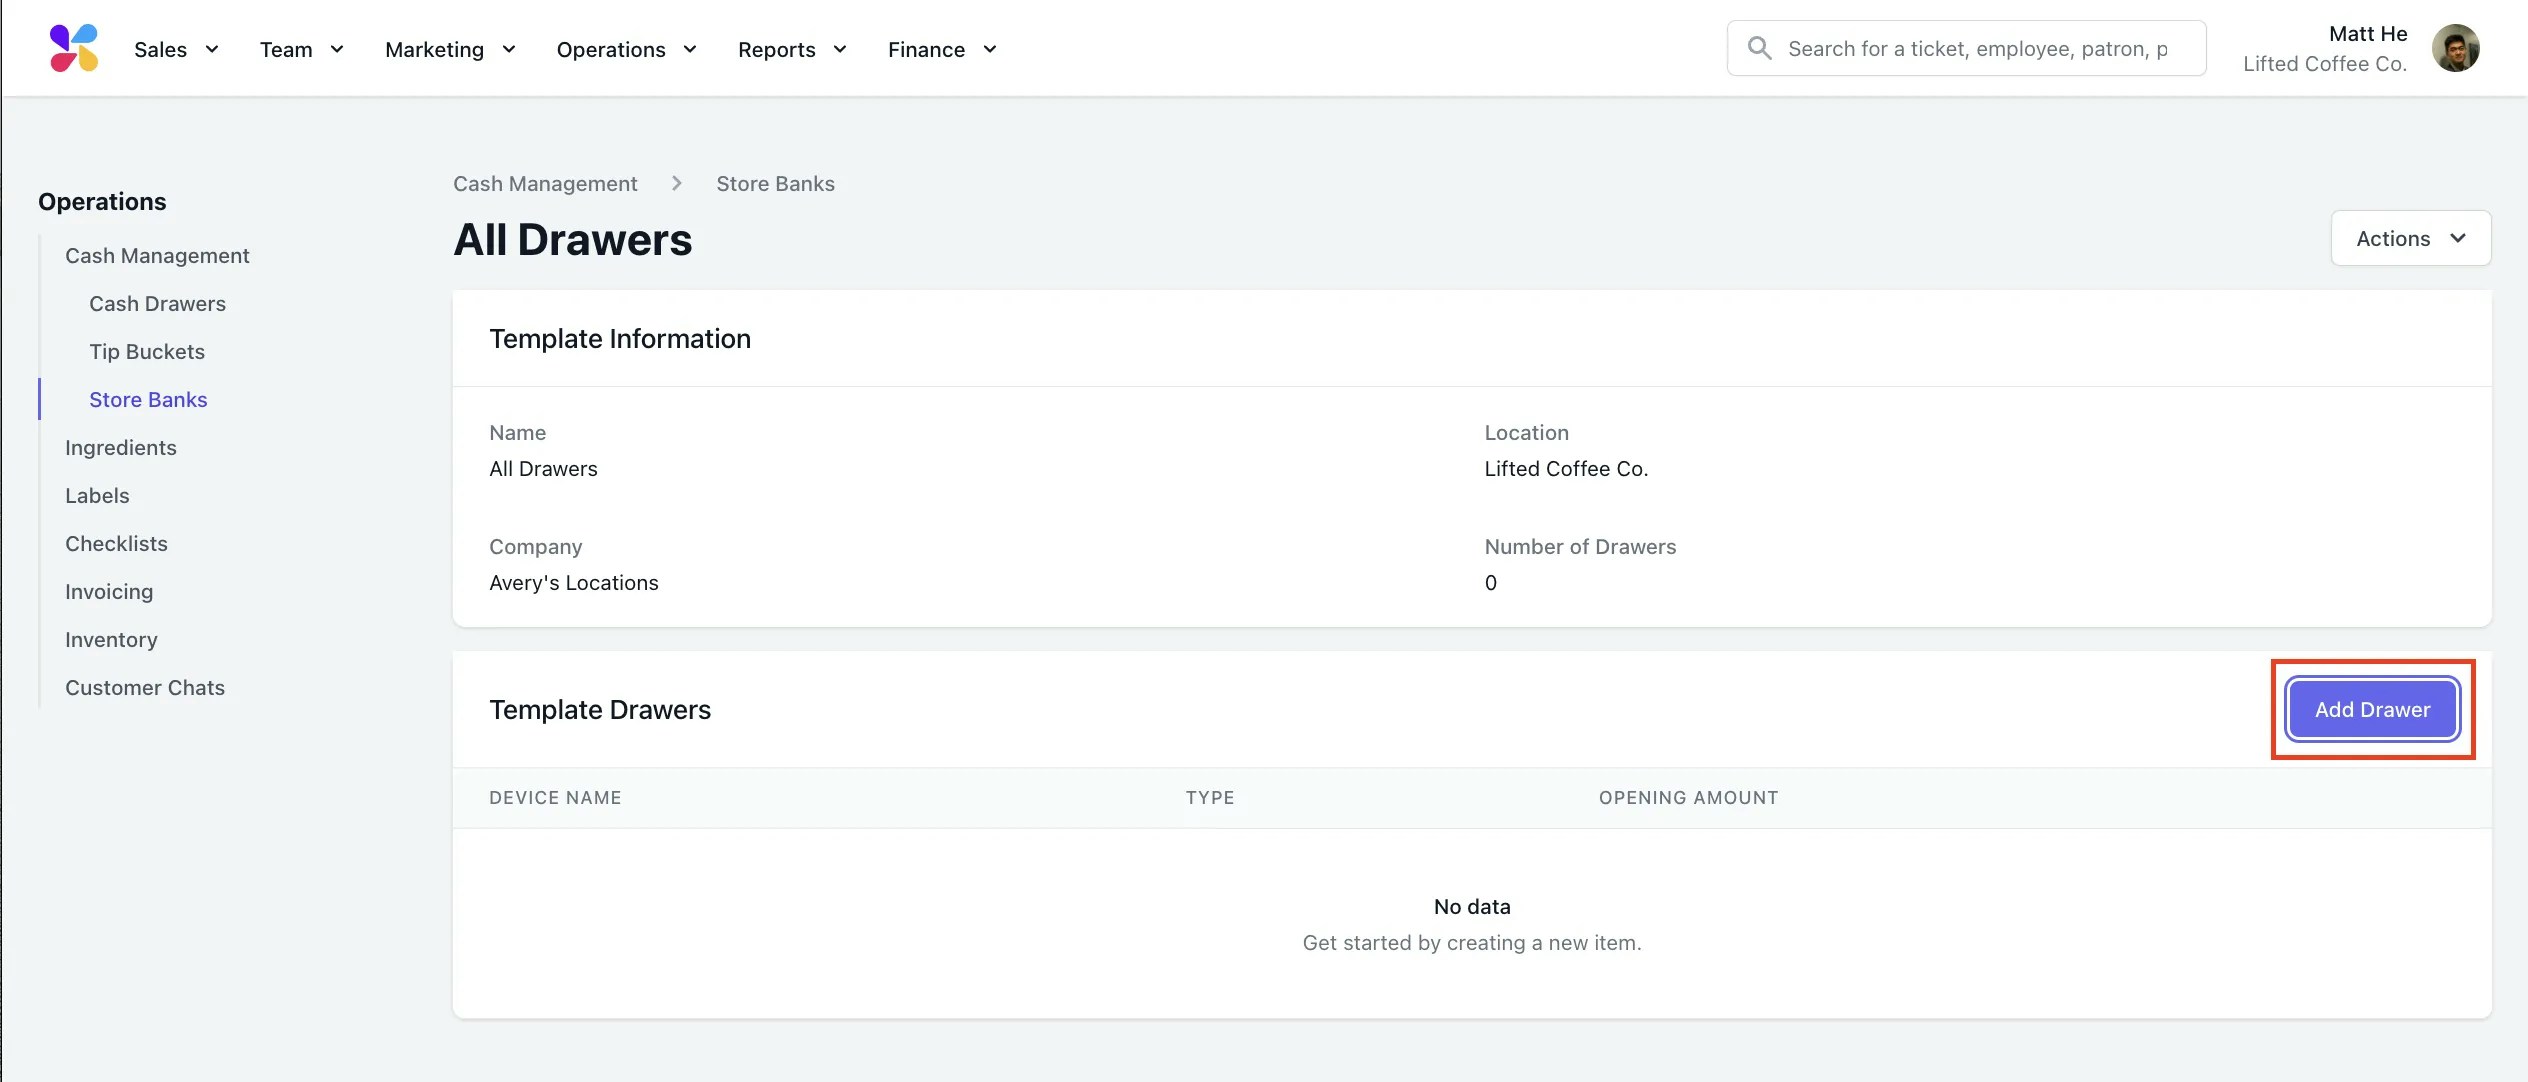
- Once on the template’s page, click on the Add Drawer button:
- This will prompt a pop-up to appear. For each drawer you would like tracked in the store bank, select the Device from the dropdown, and enter input their corresponding Opening amounts, assuming that they remain consistent on a daily basis:
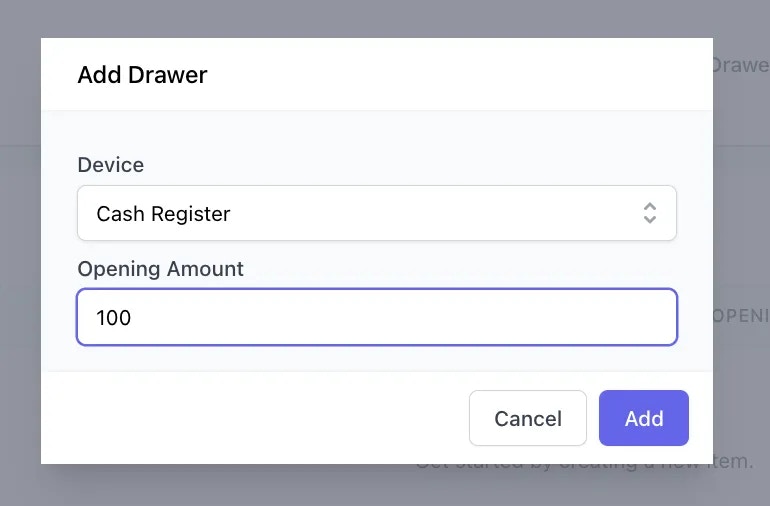
- Once you have provided the necessary information for each drawer added to the store bank, click Add:
Opening a Store Bank on the POS
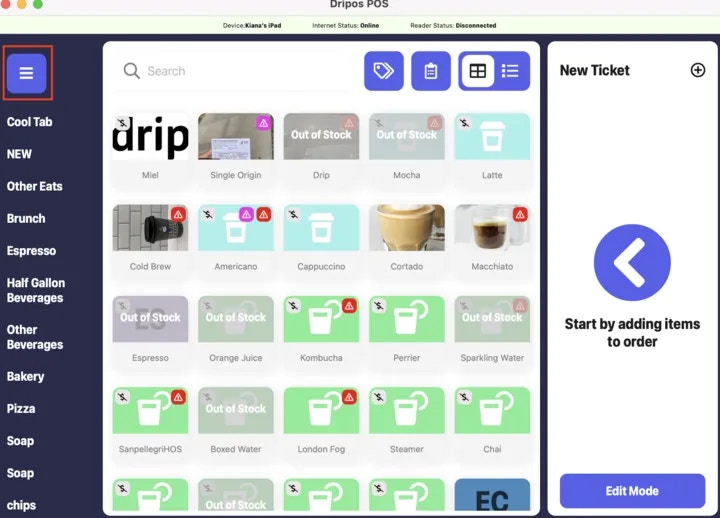
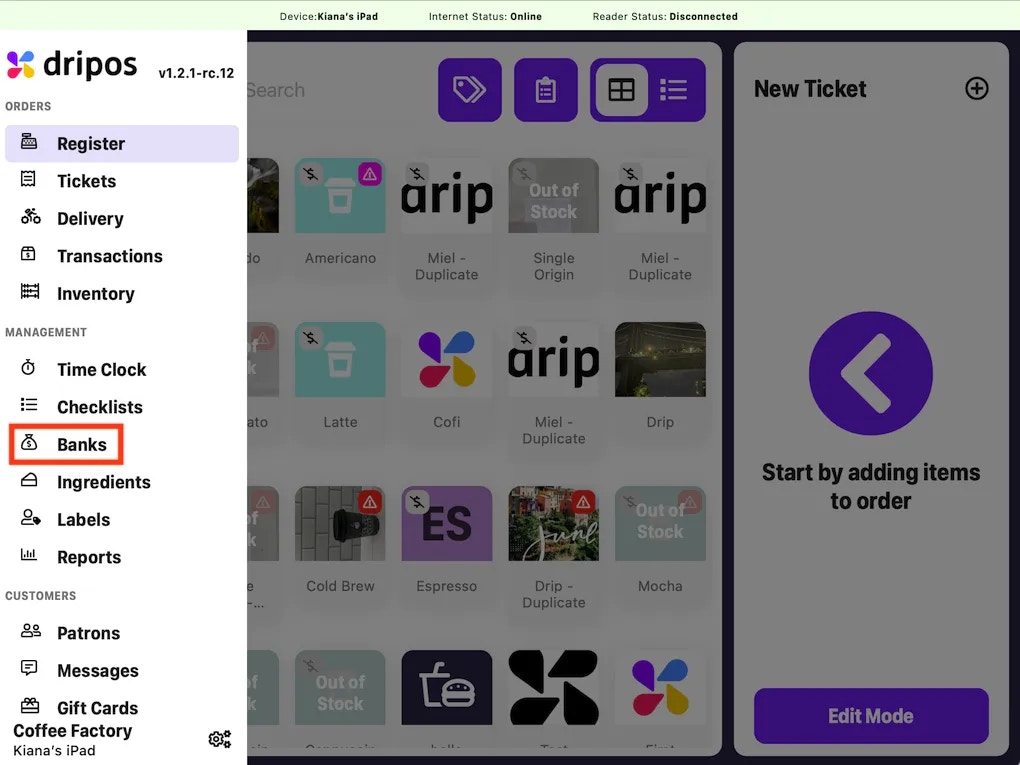
First, ensure that you have the Store Banks setting toggle enabled on the Point of Sale. To learn how to do this, click here.- To open a new bank, log on to the Point of Sale. Once signed in, click on the 3 line icon at the top left of the screen > click on the Banks tab:
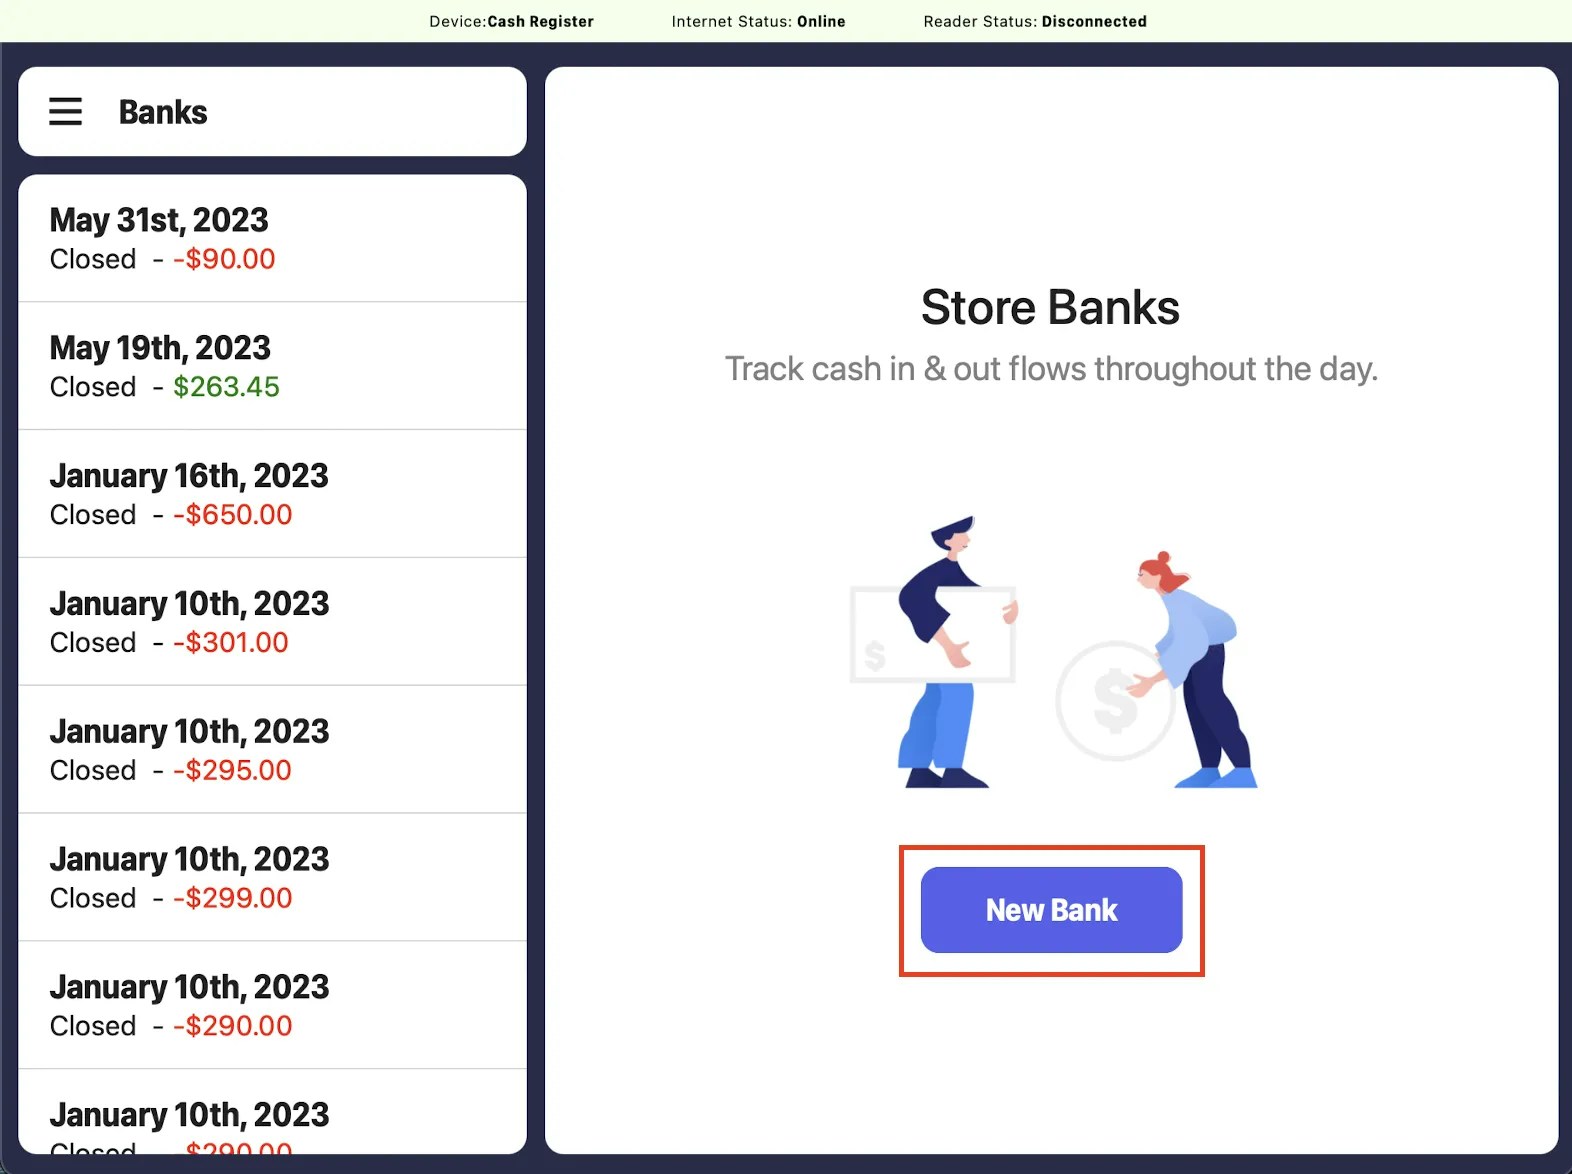
- Click on the New Bank button in the middle of the page:
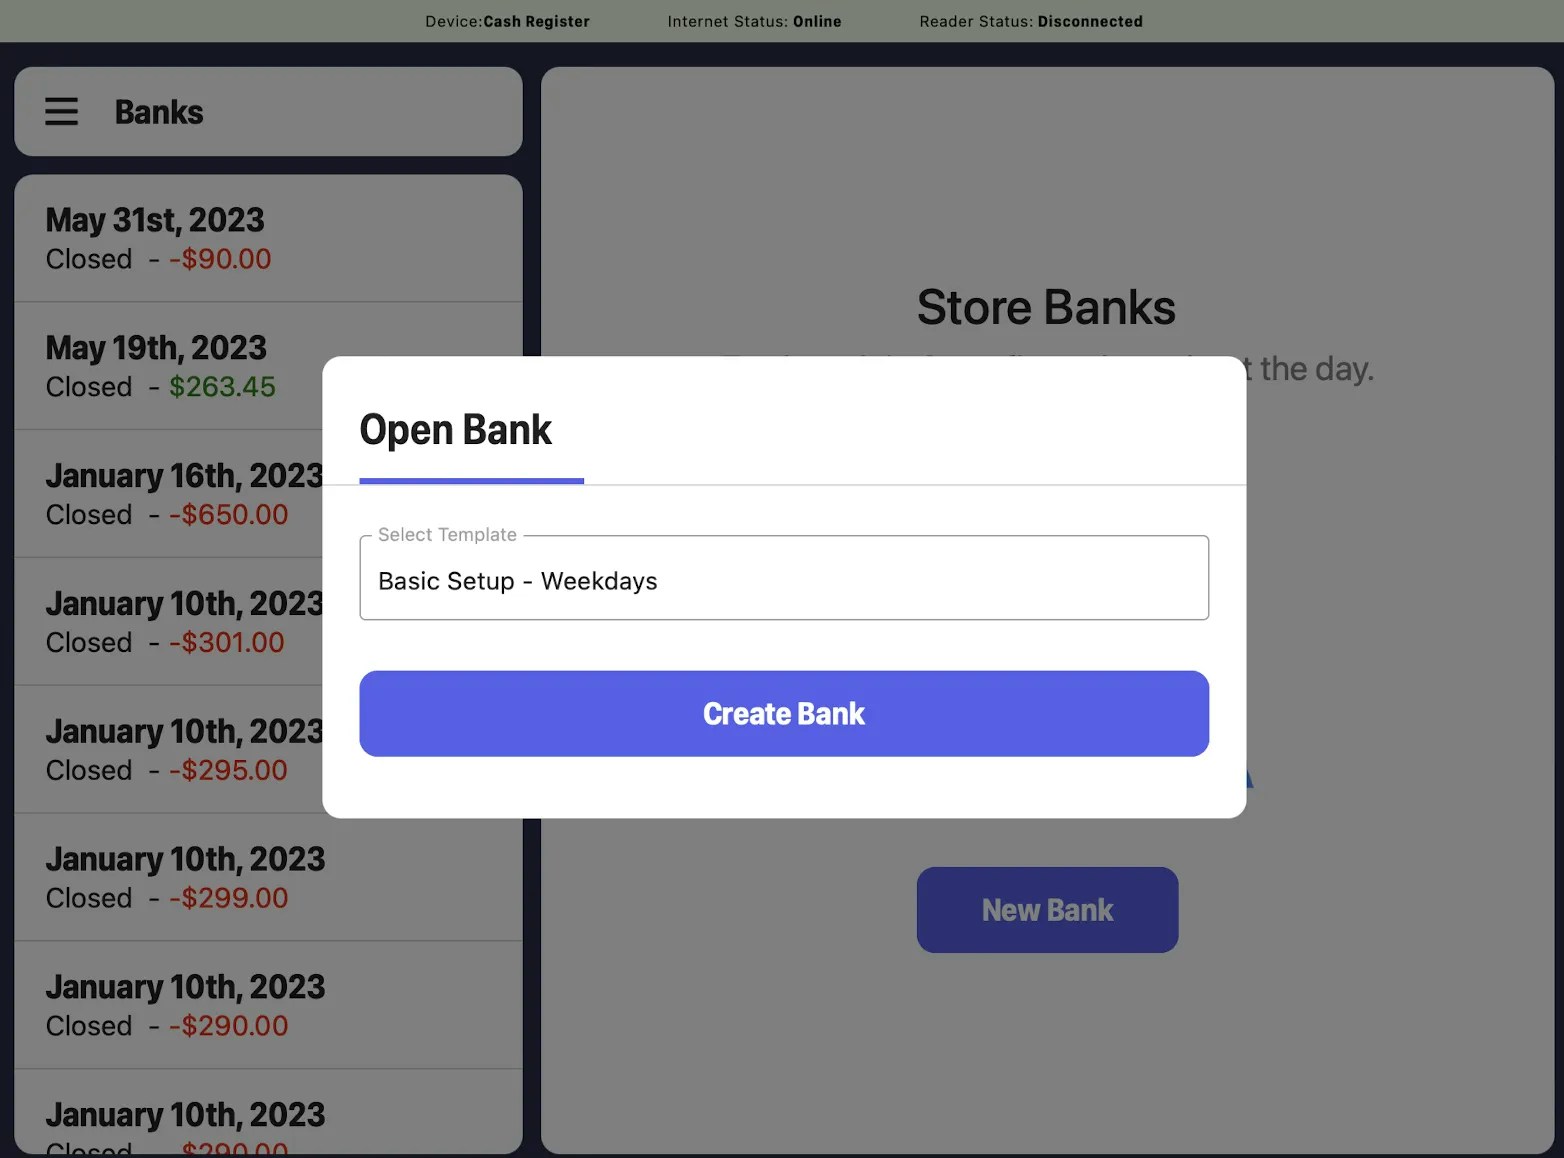
- This will prompt a pop-up to appear where you will need to select one of your pre-created Templates. Once you have selected a template, click Create Bank:
- You will then be redirected to that store bank’s page. Here, you will need to open each individual cash drawer that is displayed under the To Do section:
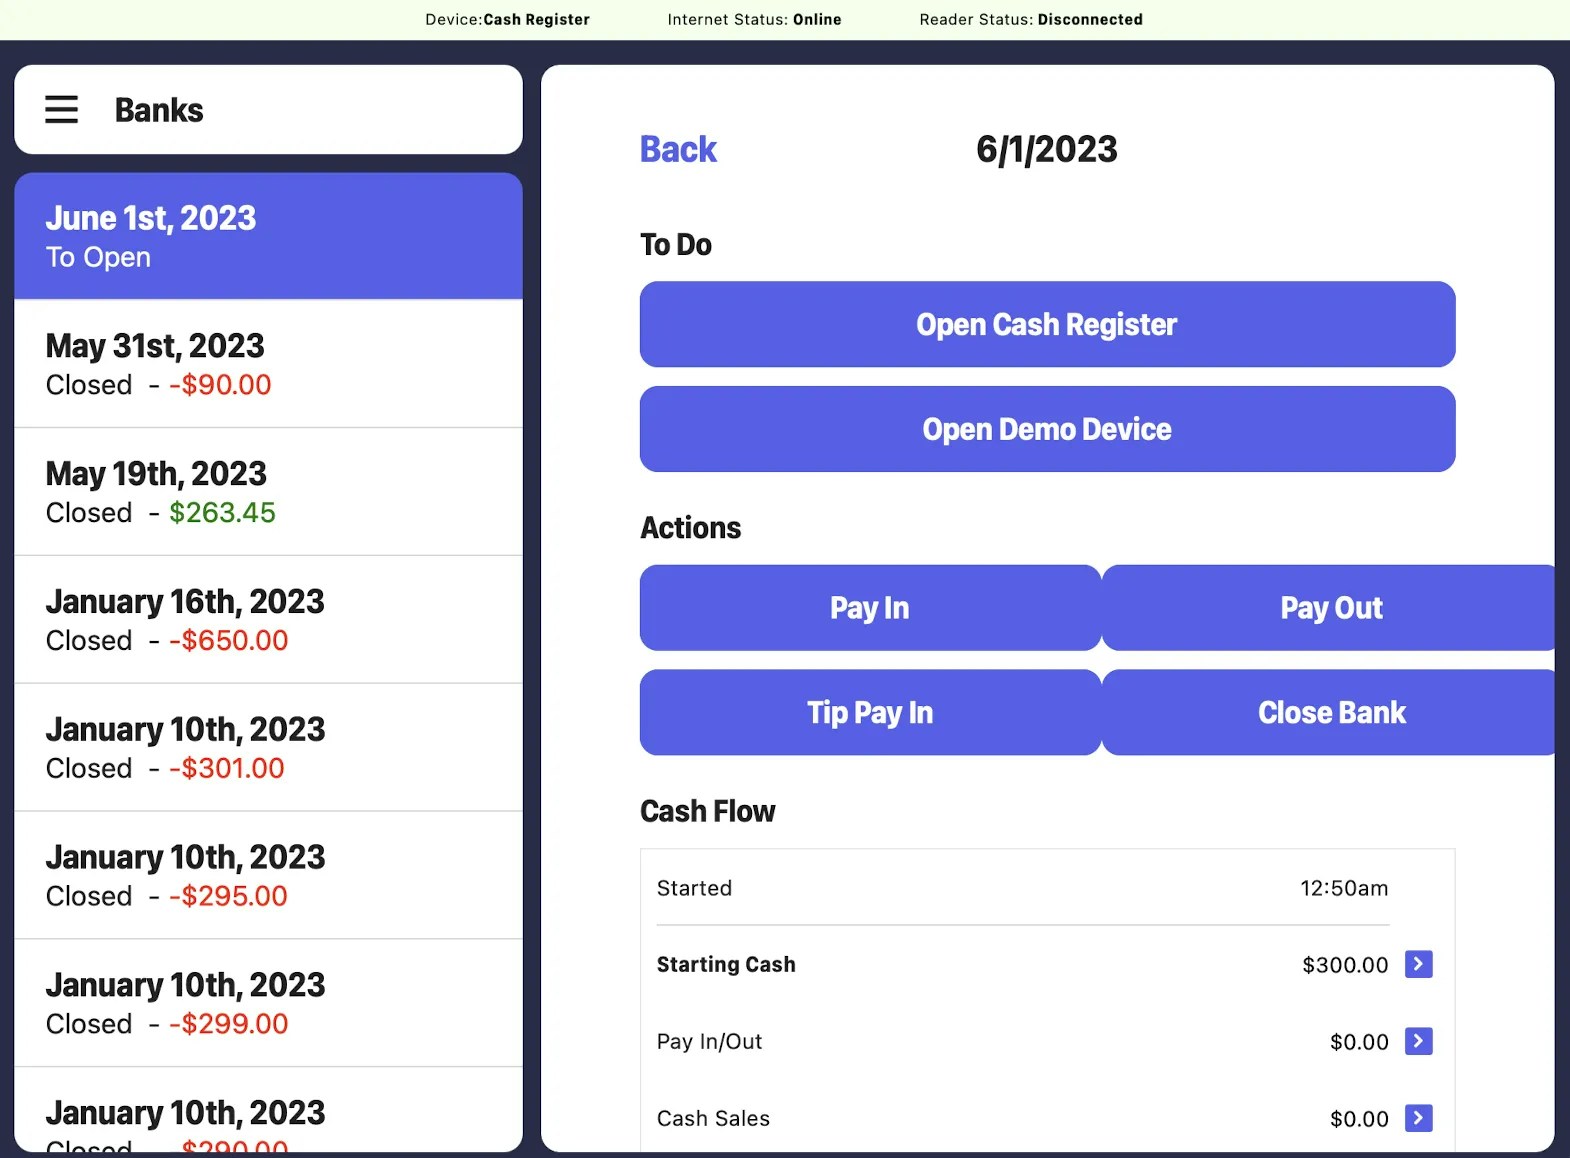
- For each drawer listed, you will need to click on the Open Device button:

- Once a drawer is opened, it will be displayed at the very bottom of the store bank’s page. To expand a listed drawer, click on the caret icon to its right:
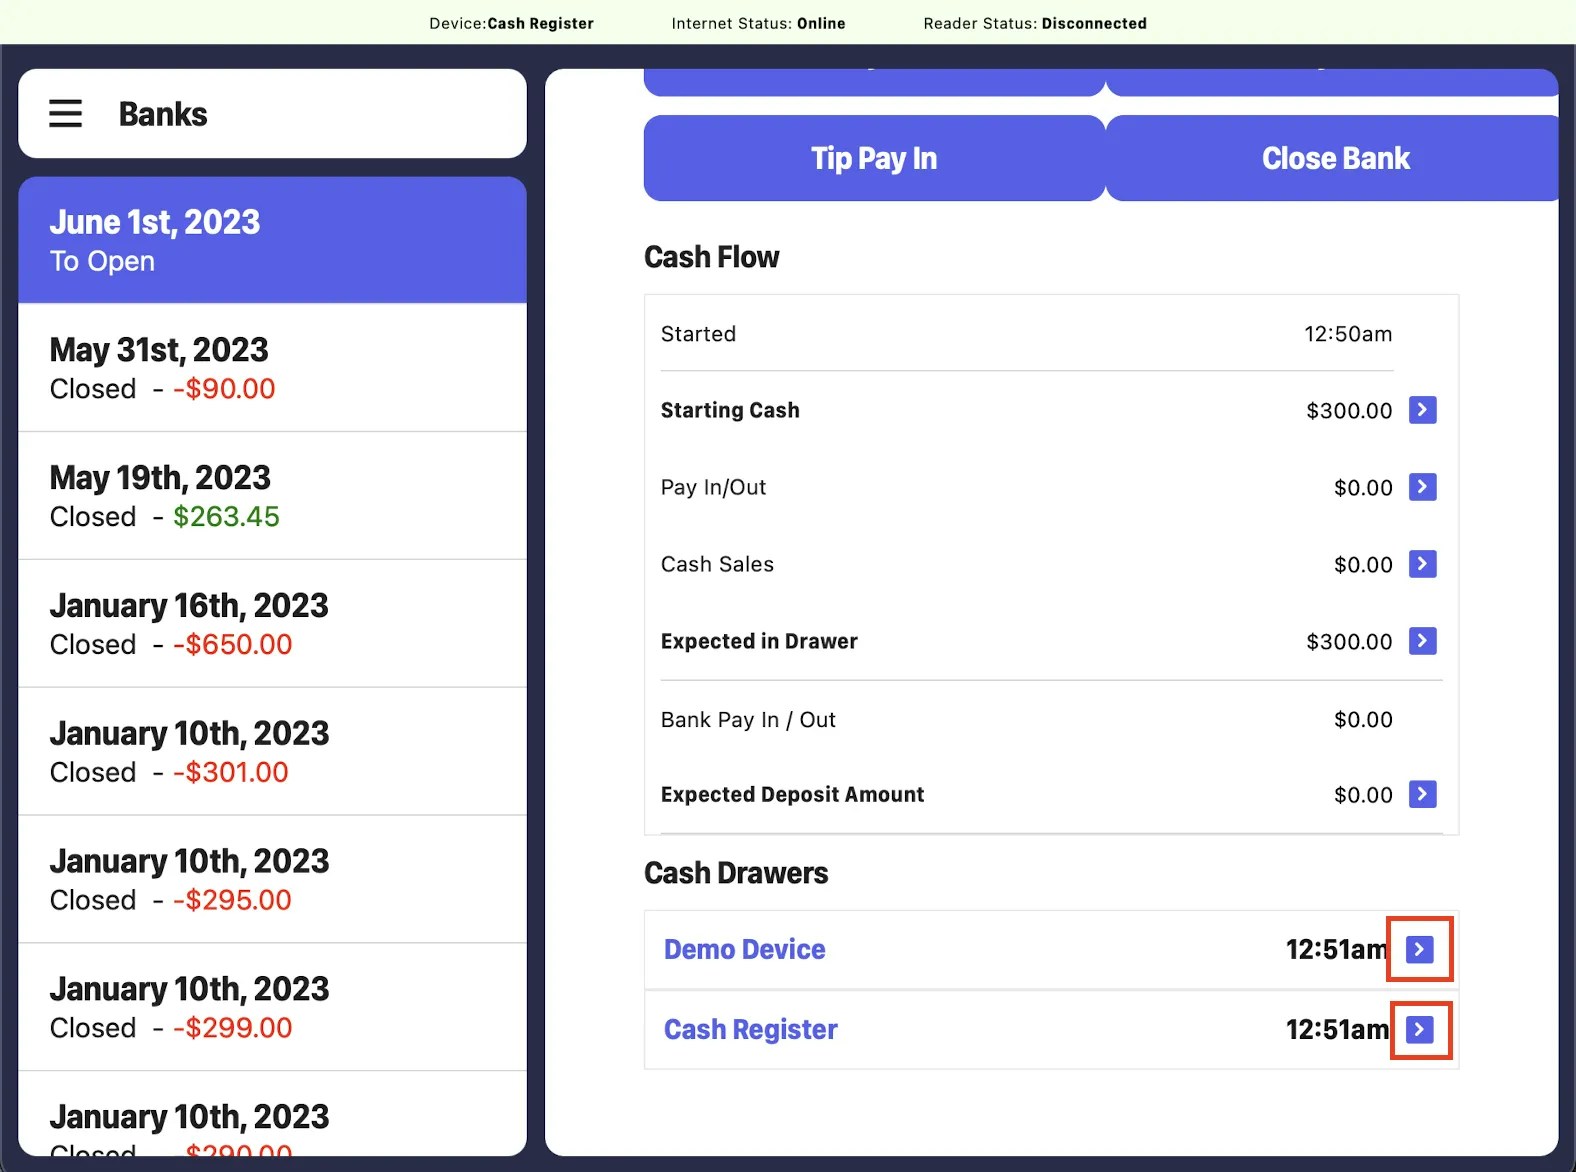
- Here, you can input device specific Pay Ins and Pay-Outs:

Make Store Bank Pay-Ins and Pay-Outs on the POS
Like cash drawers, store banks also have the capability to track Pay-Ins and Pay-Outs. We recommend utilizing these on a bank level only after closing individual cash drawer to ensure that the bank closing amounts align with their expected in drawer amounts.- Log on to the Point of Sale. Once signed in, click on the 3 line icon at the top left of the screen > click on the Banks tab:
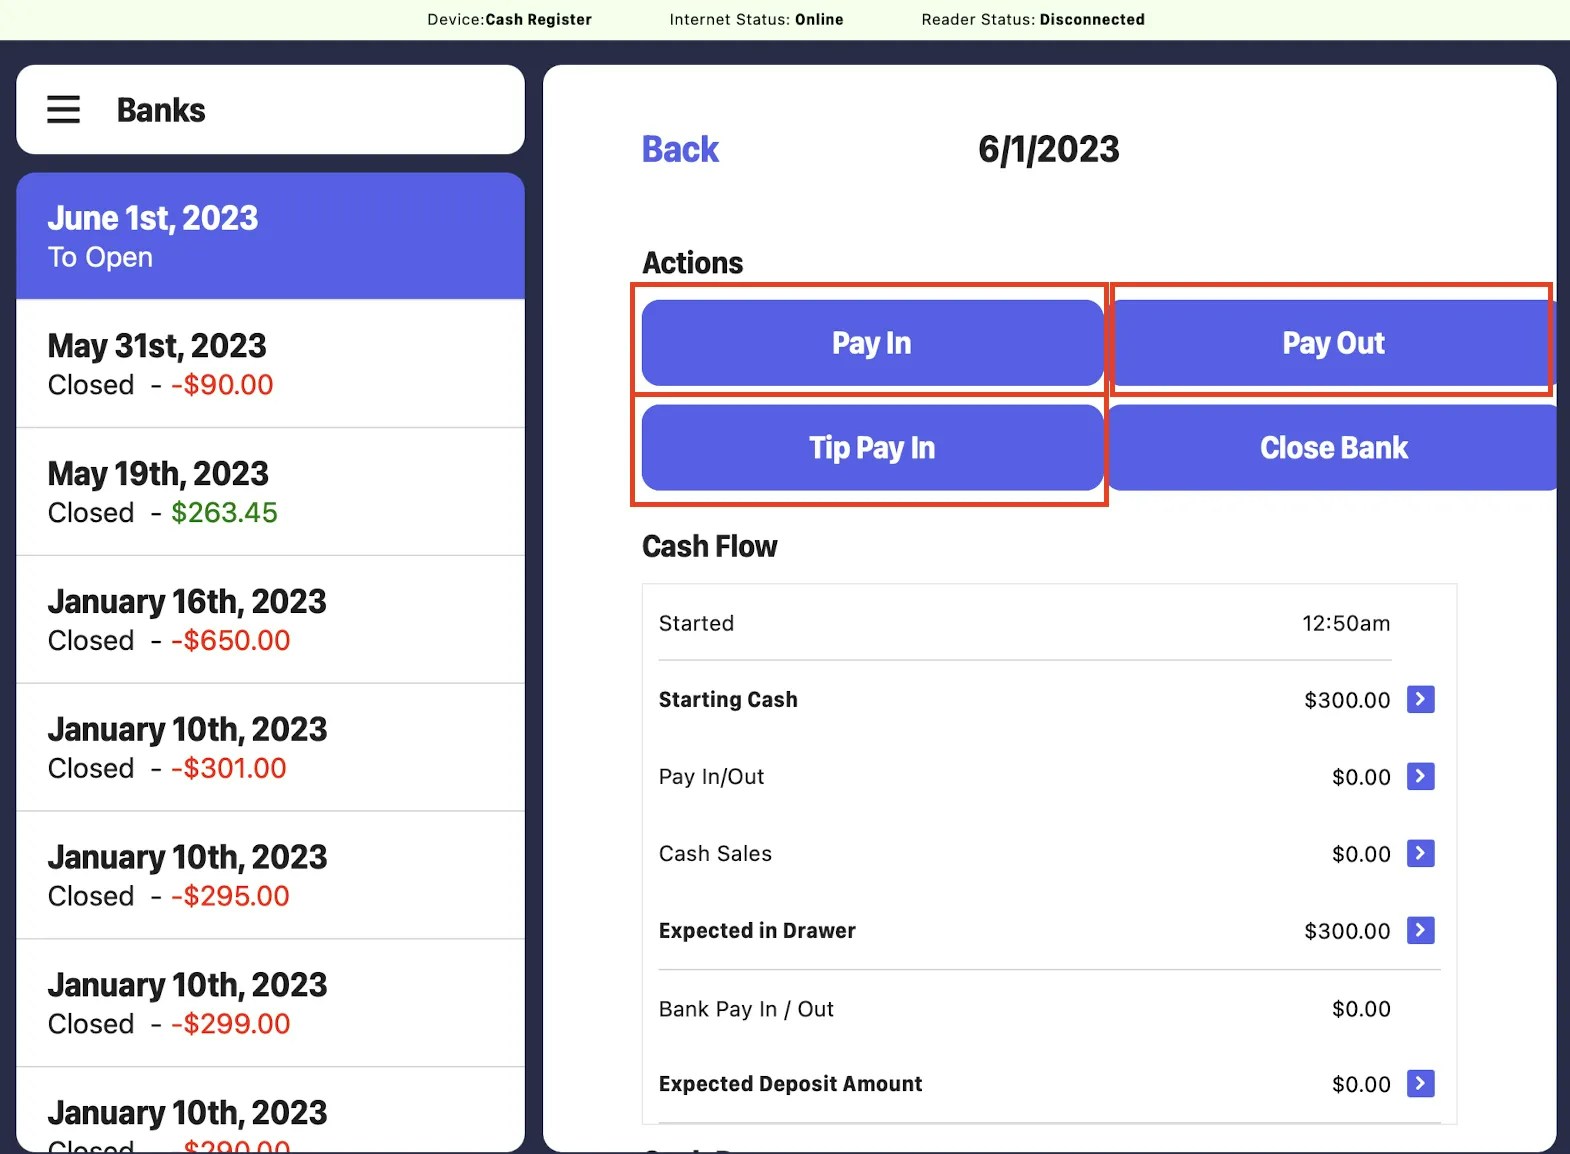
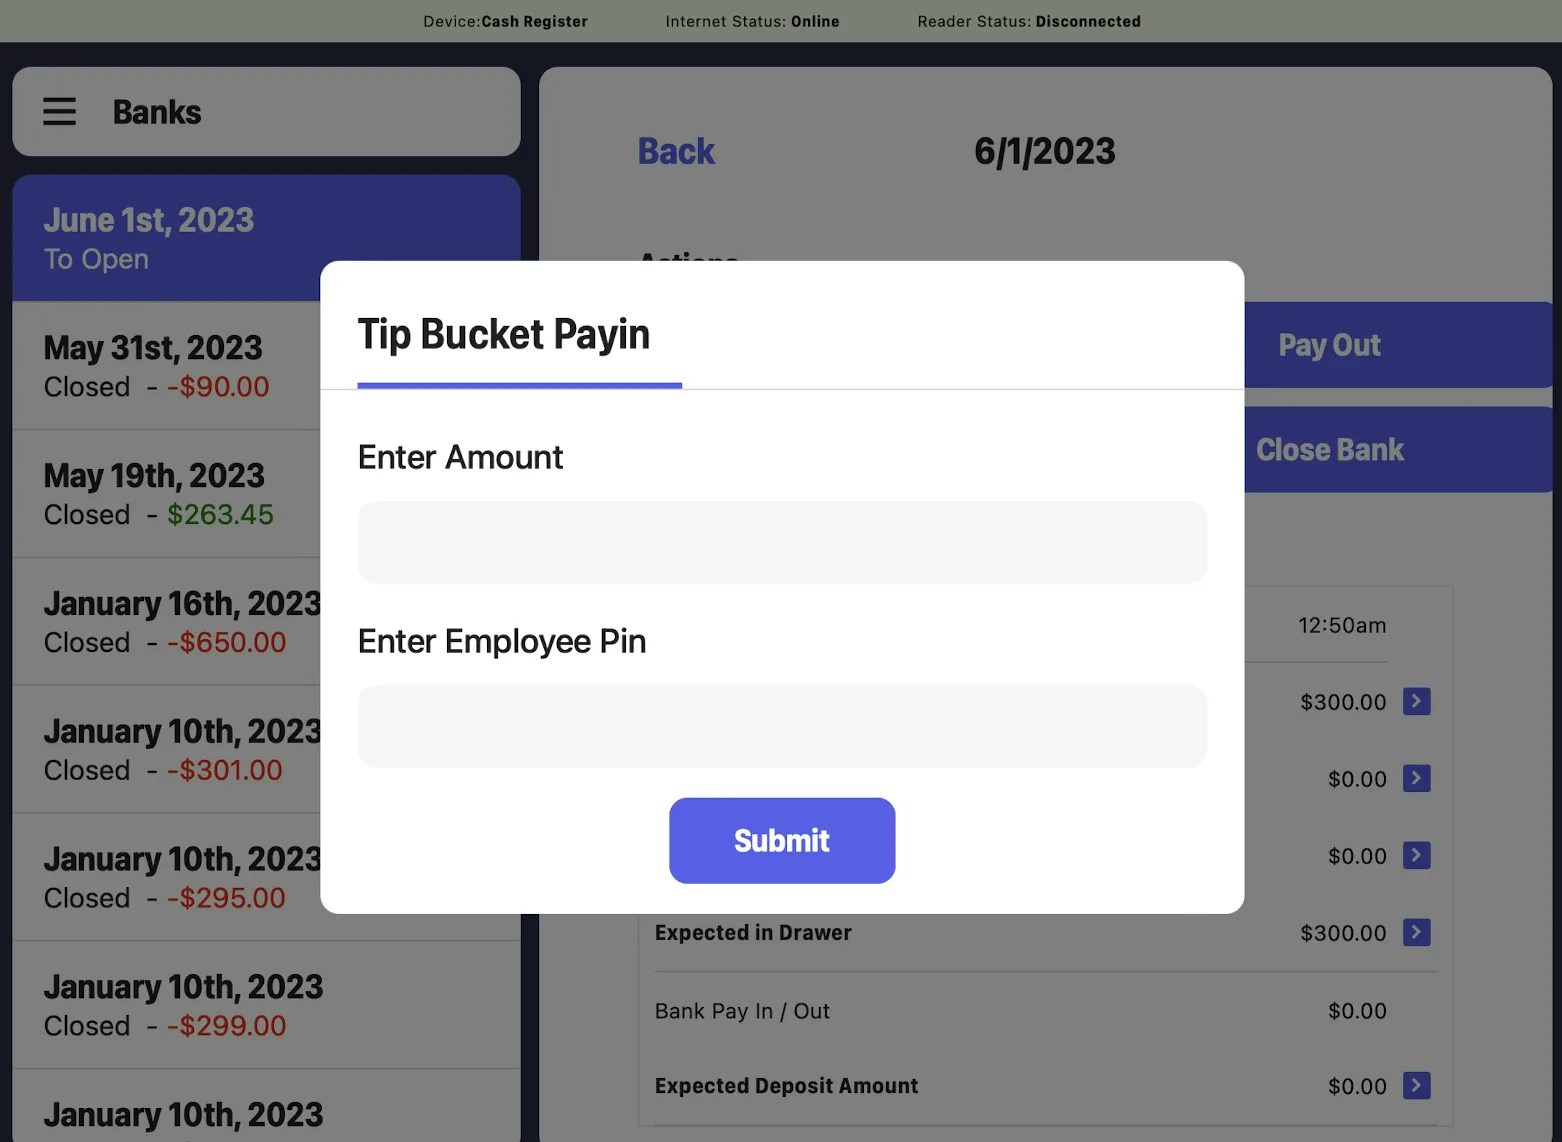
- Click into an individual store bank listed in the left sidebar > click on either the Pay In, Tip Pay In, or Pay Out button:
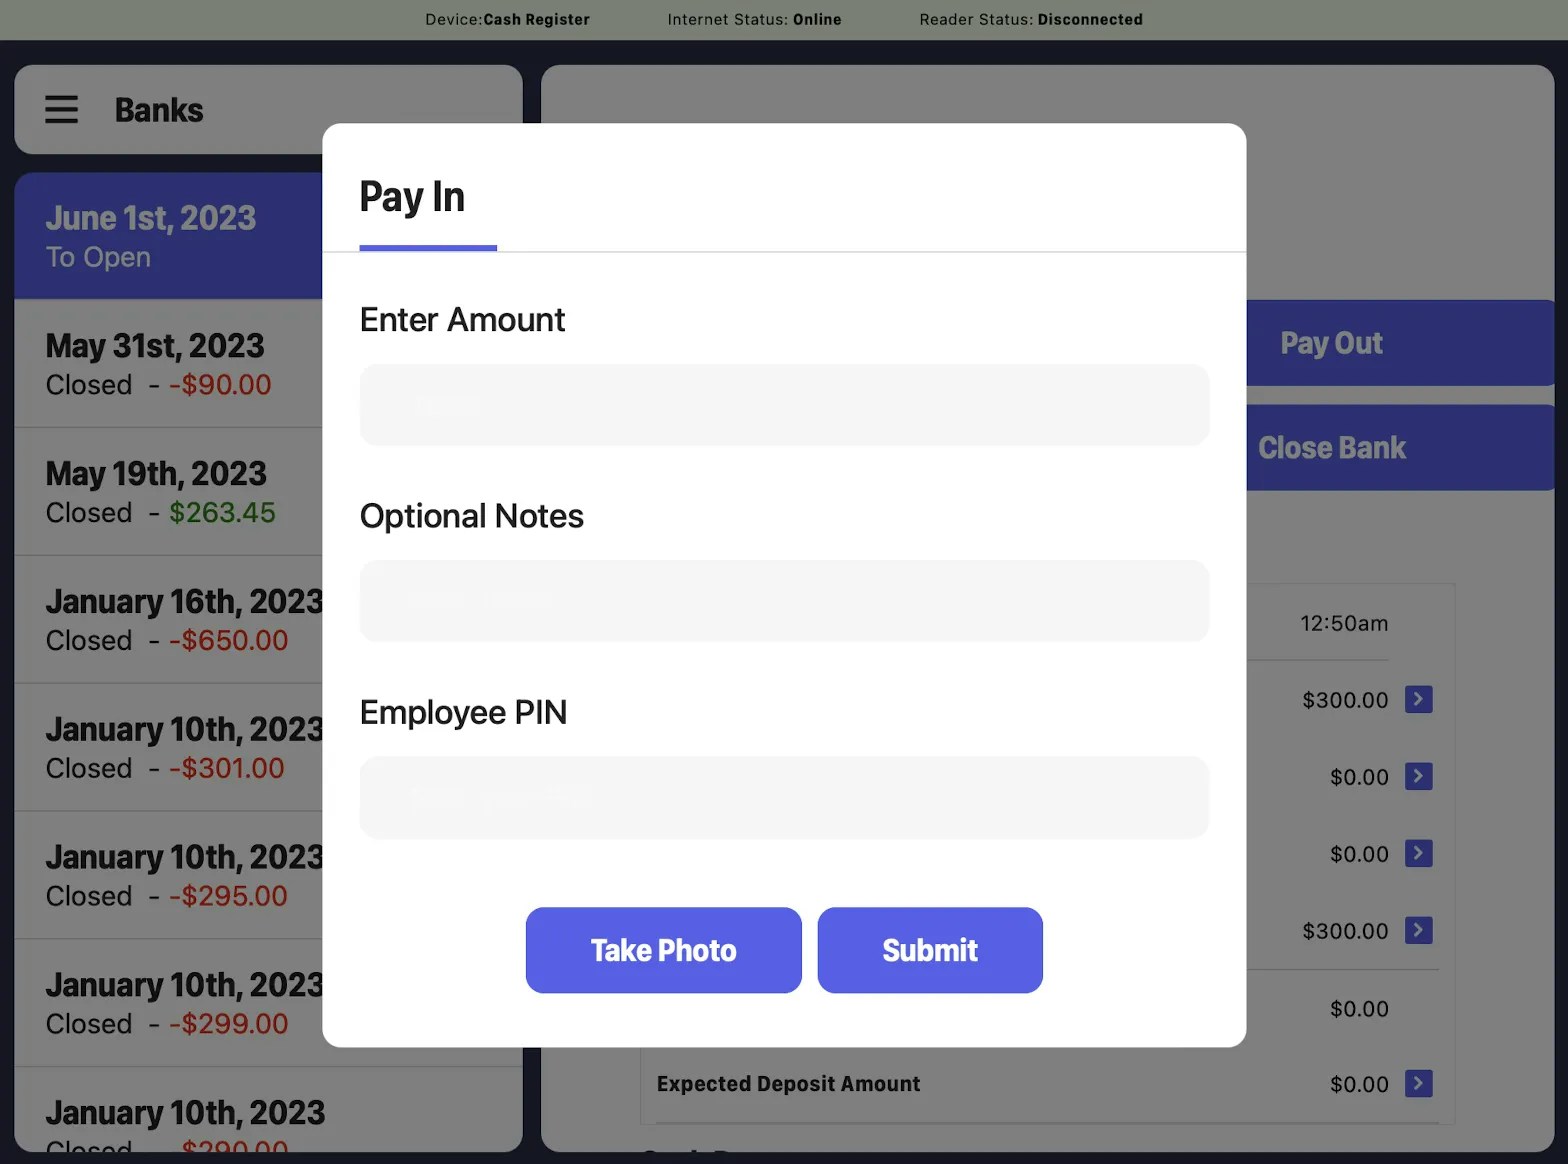
- This will prompt a pop-up to appear where you can enter the Amount, any optional notes, and a photo. Once you are done, click Submit:
Closing a Store Bank on the POS
Store banks should be closed at the end of each day.- To close a bank, log on to the Point of Sale. Once signed in, click on the 3 line icon at the top left of the screen > click on the Banks tab:
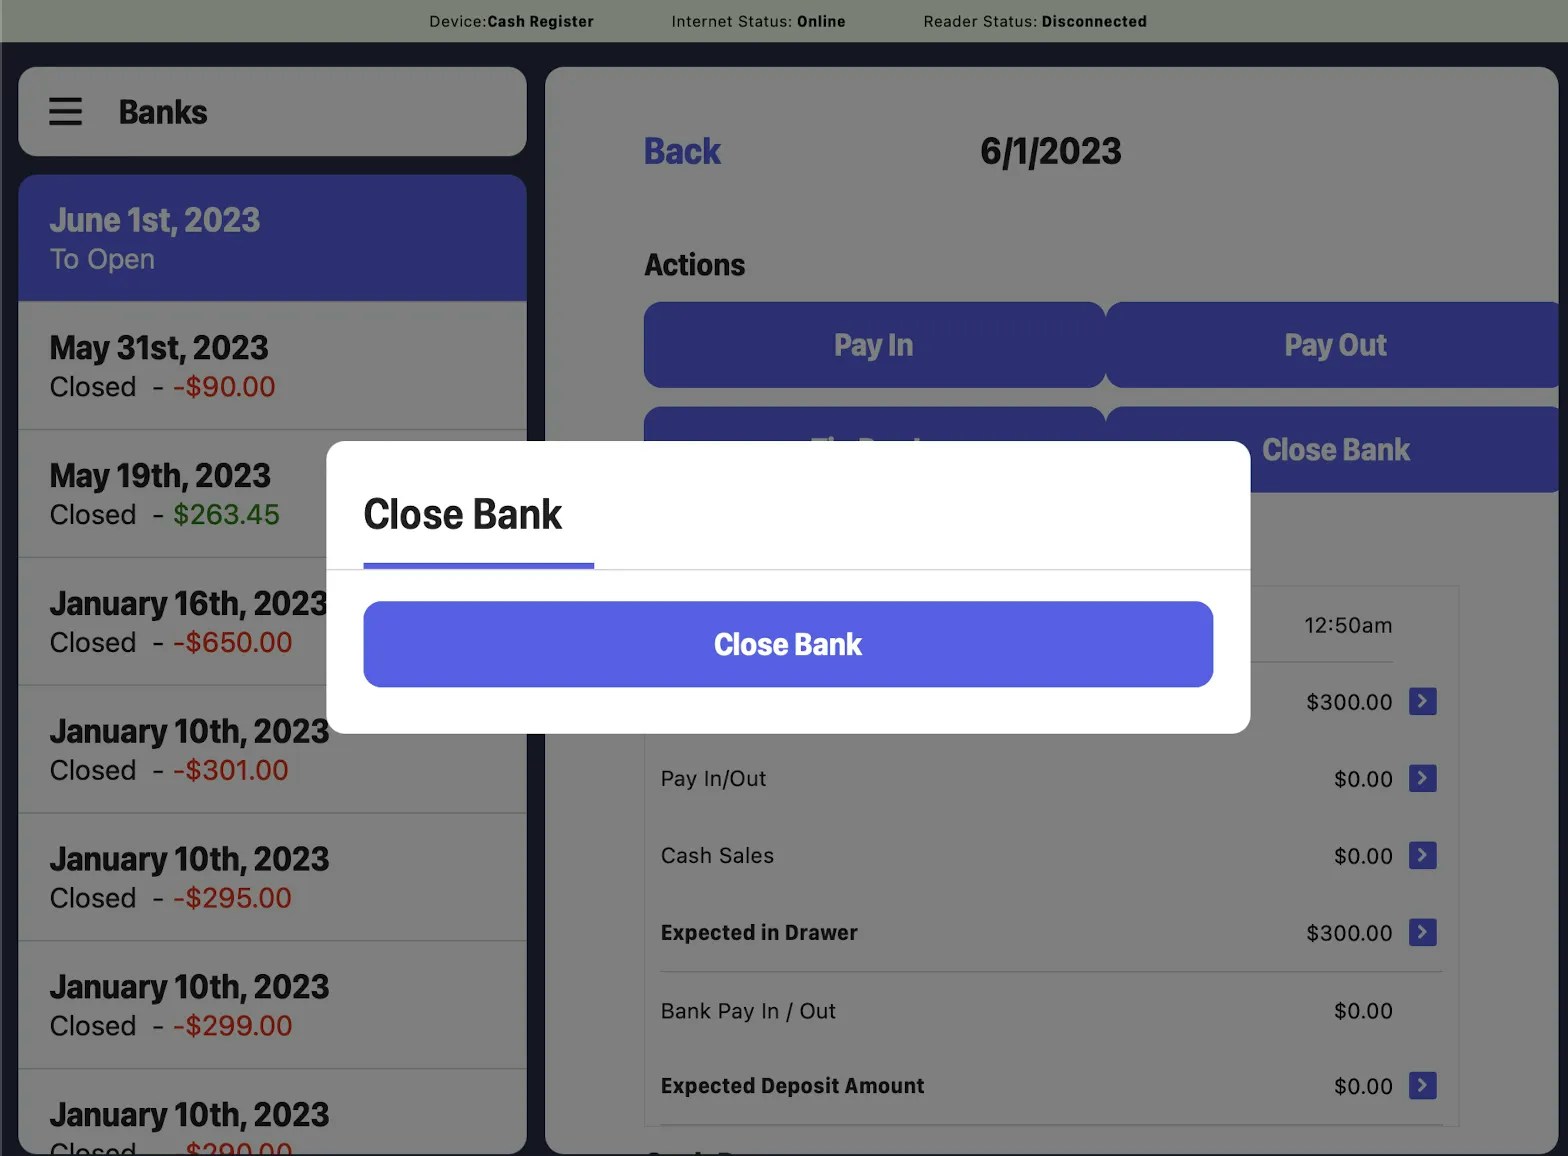
- Click on the individual store bank you want to close > click the Close Bank button:
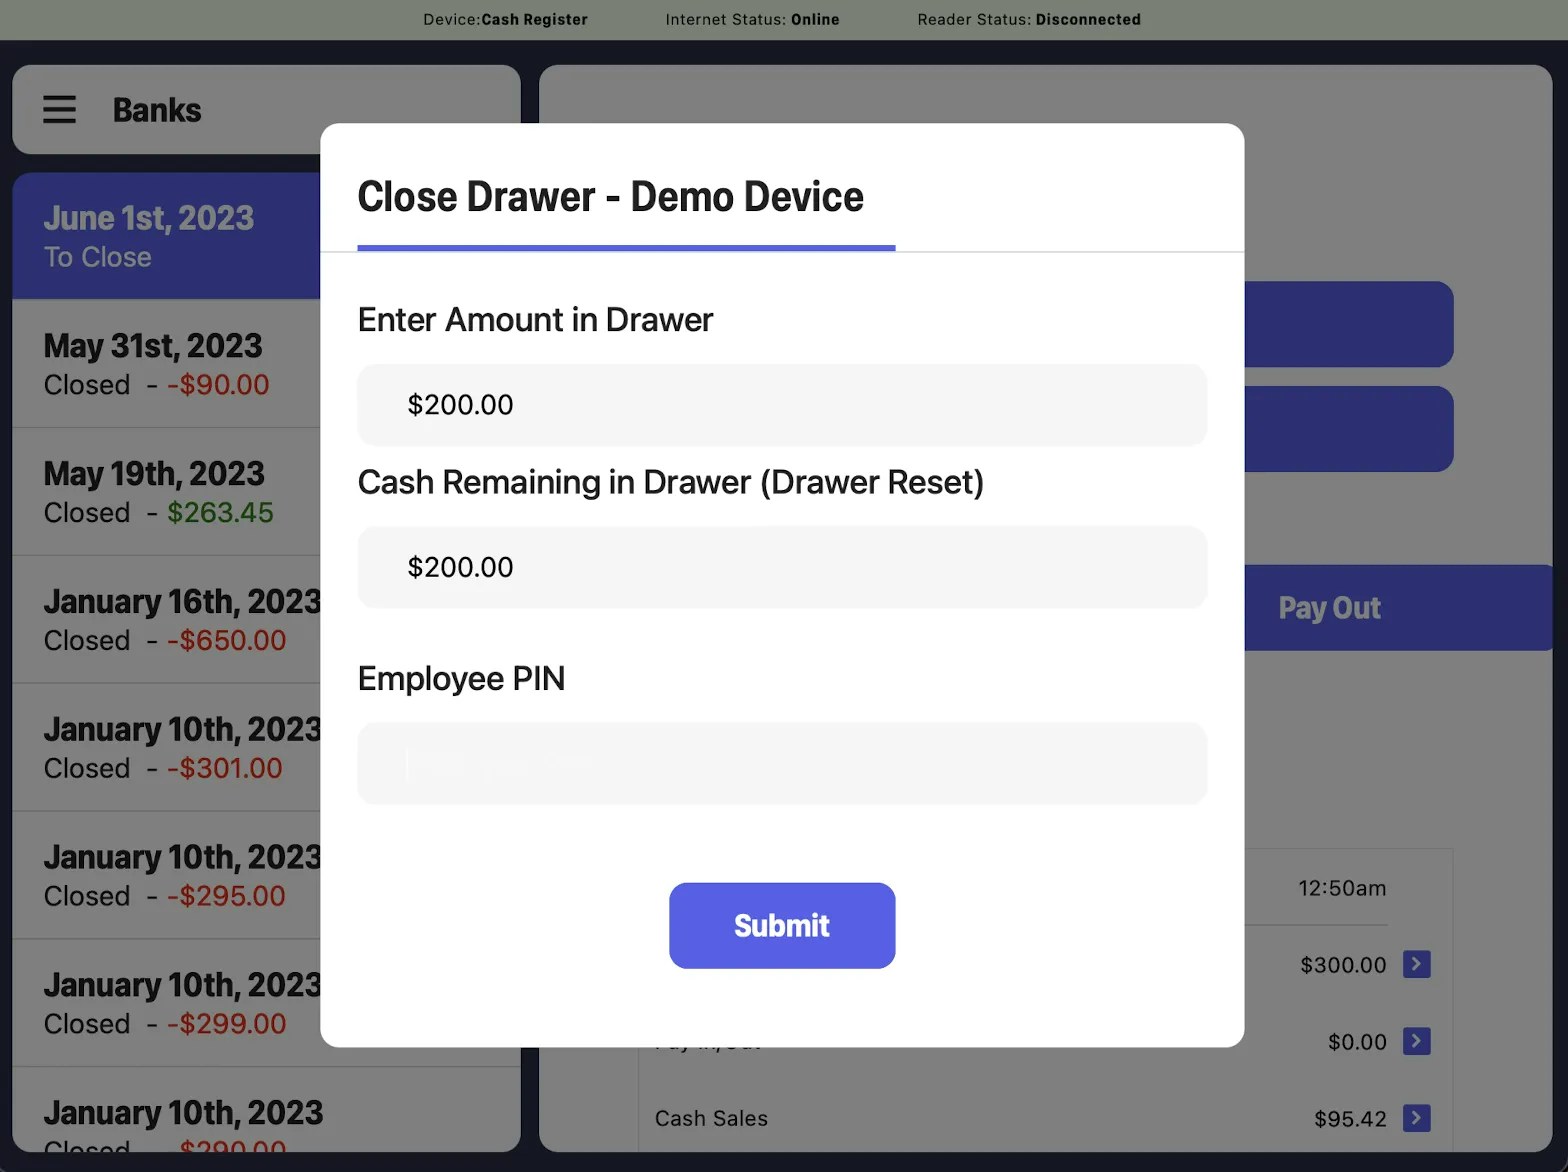
- Close each drawer by clicking on the Close [Device] button:

- This will prompt a pop-up to appear where you will need to input both the Close Amount and Cash Remaining in Drawer Amount, which will be the starting cash amount on the next day. Once you have finished, click Submit:
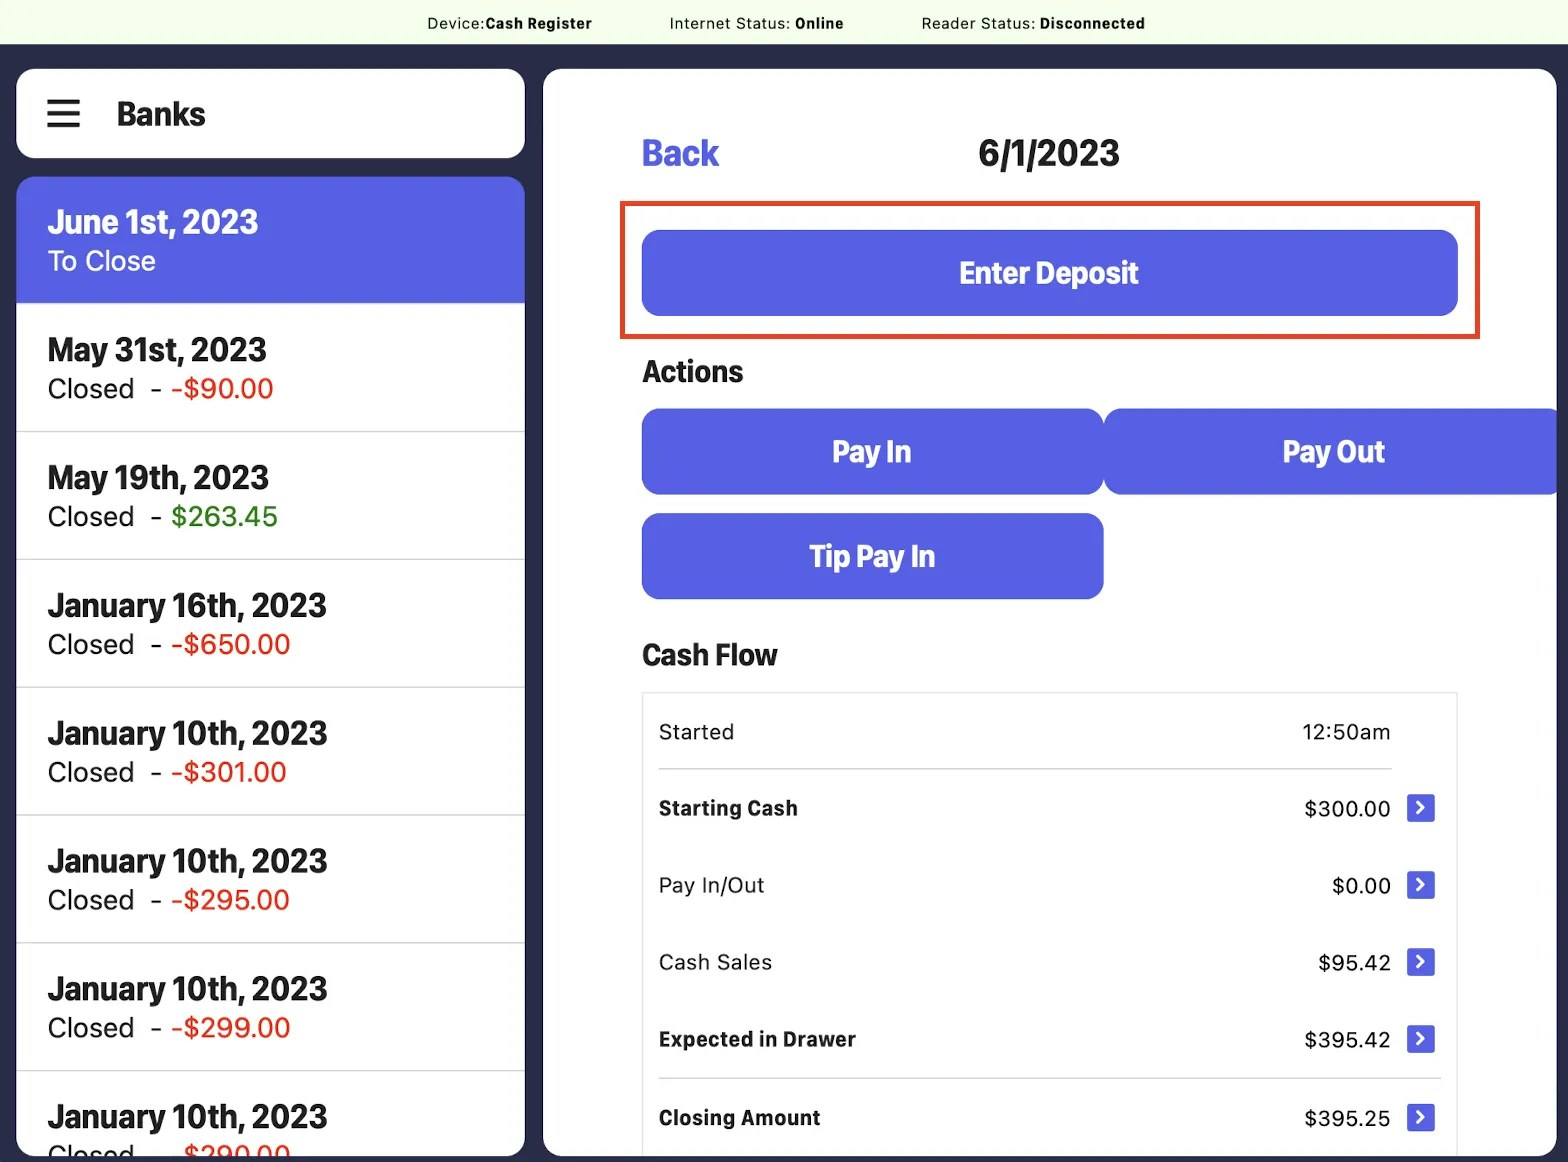
- From here, combine the deposit amounts of each drawer to calculate the total bank deposit amount.
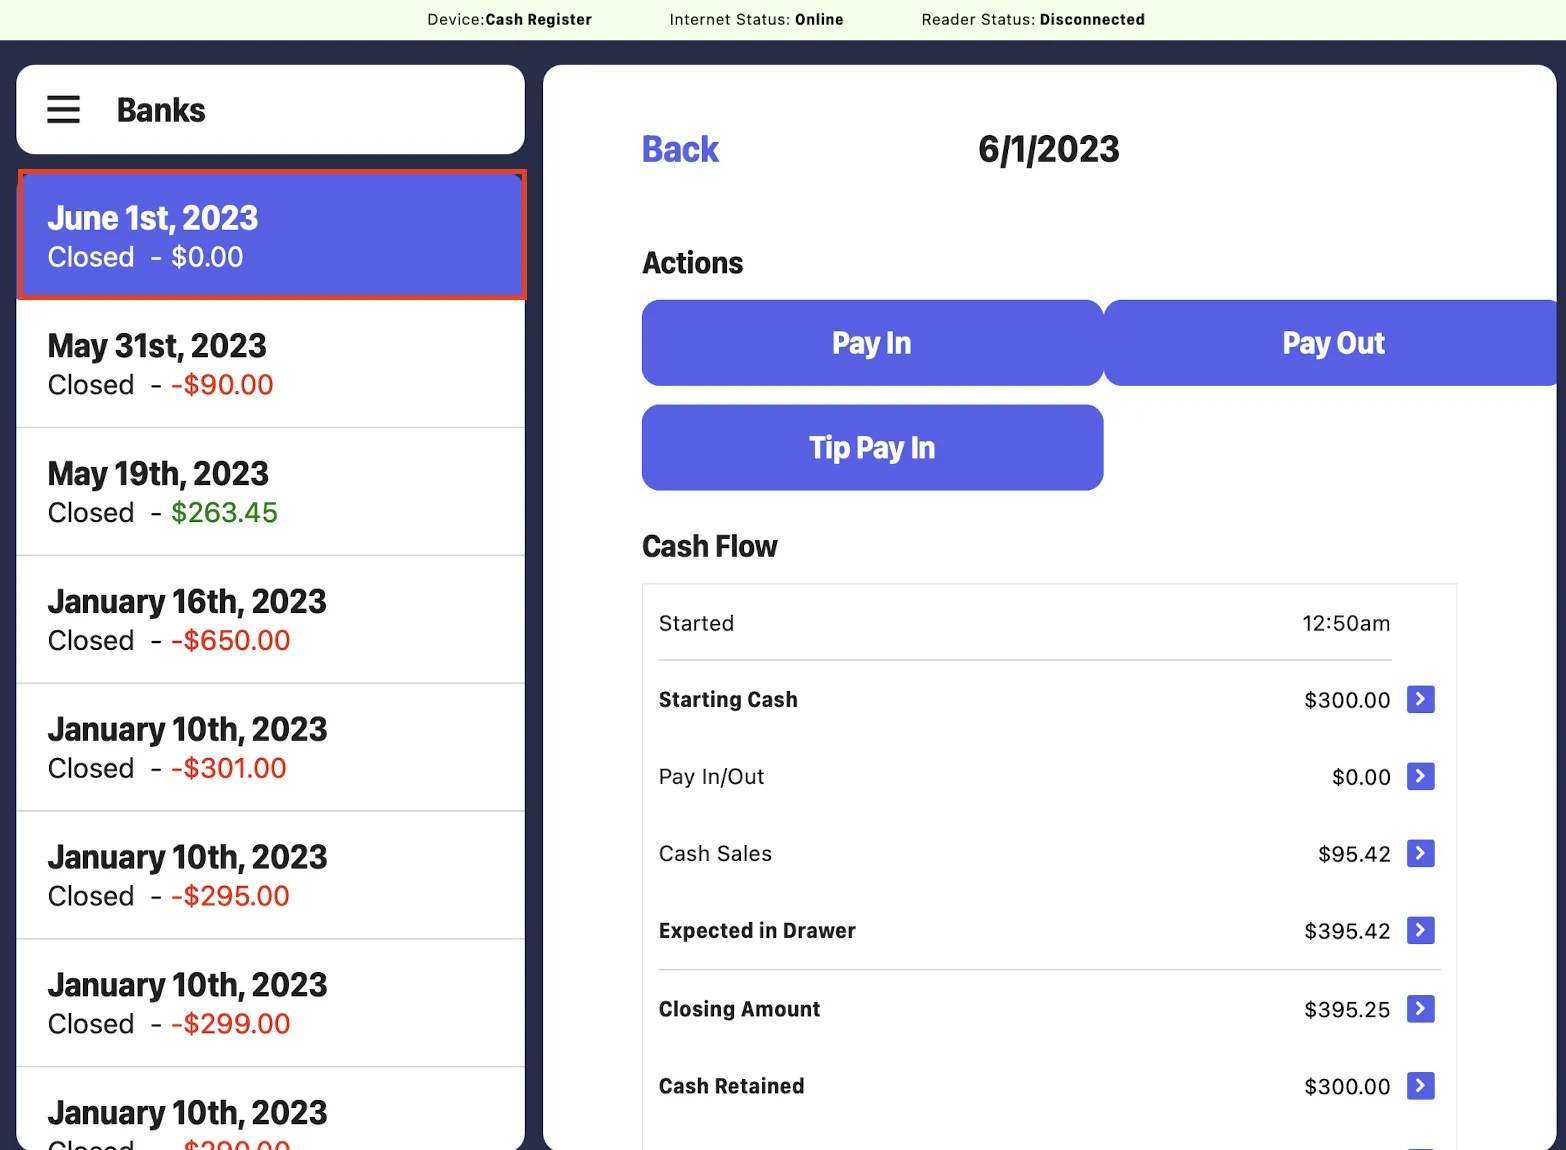
- Next, click Enter Deposit and input the total bank deposit amount you calculated into the field. Once you are done, click Submit:
Auditing Store Banks on the Web Dashboard
- Log on to the Web Dashboard. Once signed in, select Orders > Cash Drawers:
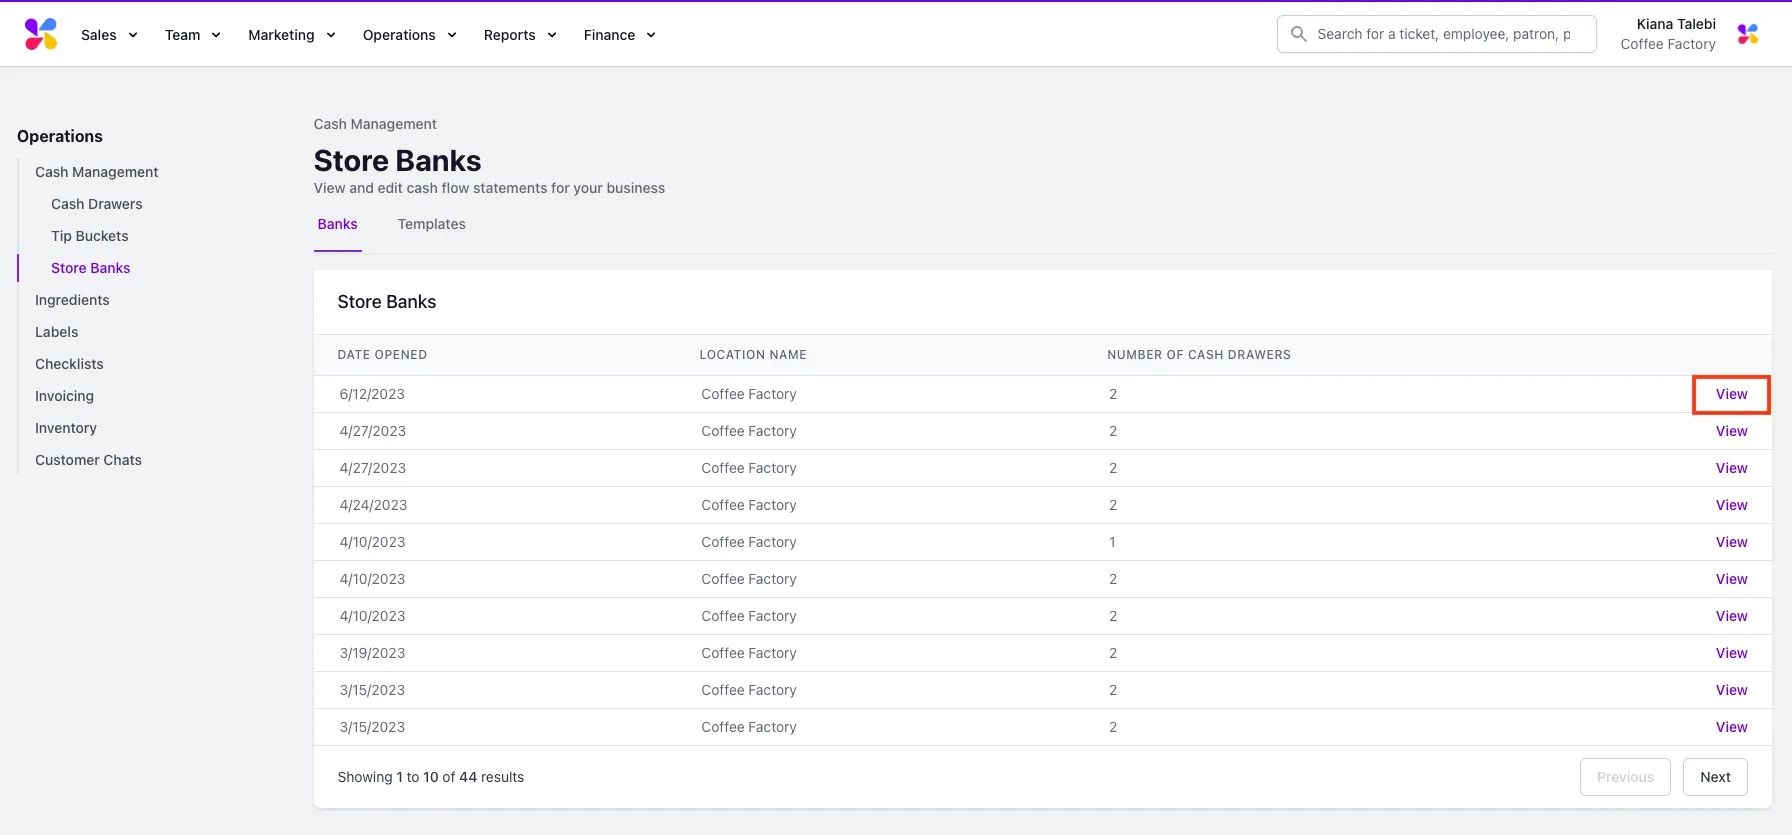
- Click on the Store Banks tab on the left sidebar. Once on this page, click on the Banks tab:

- Locate the store bank you wish to audit > click View:
- On the individual store bank’s page, each attached drawer will be presented in its own row. The values of each drawer are added together, resulting in the total value of the bank being displayed in the bottom row:
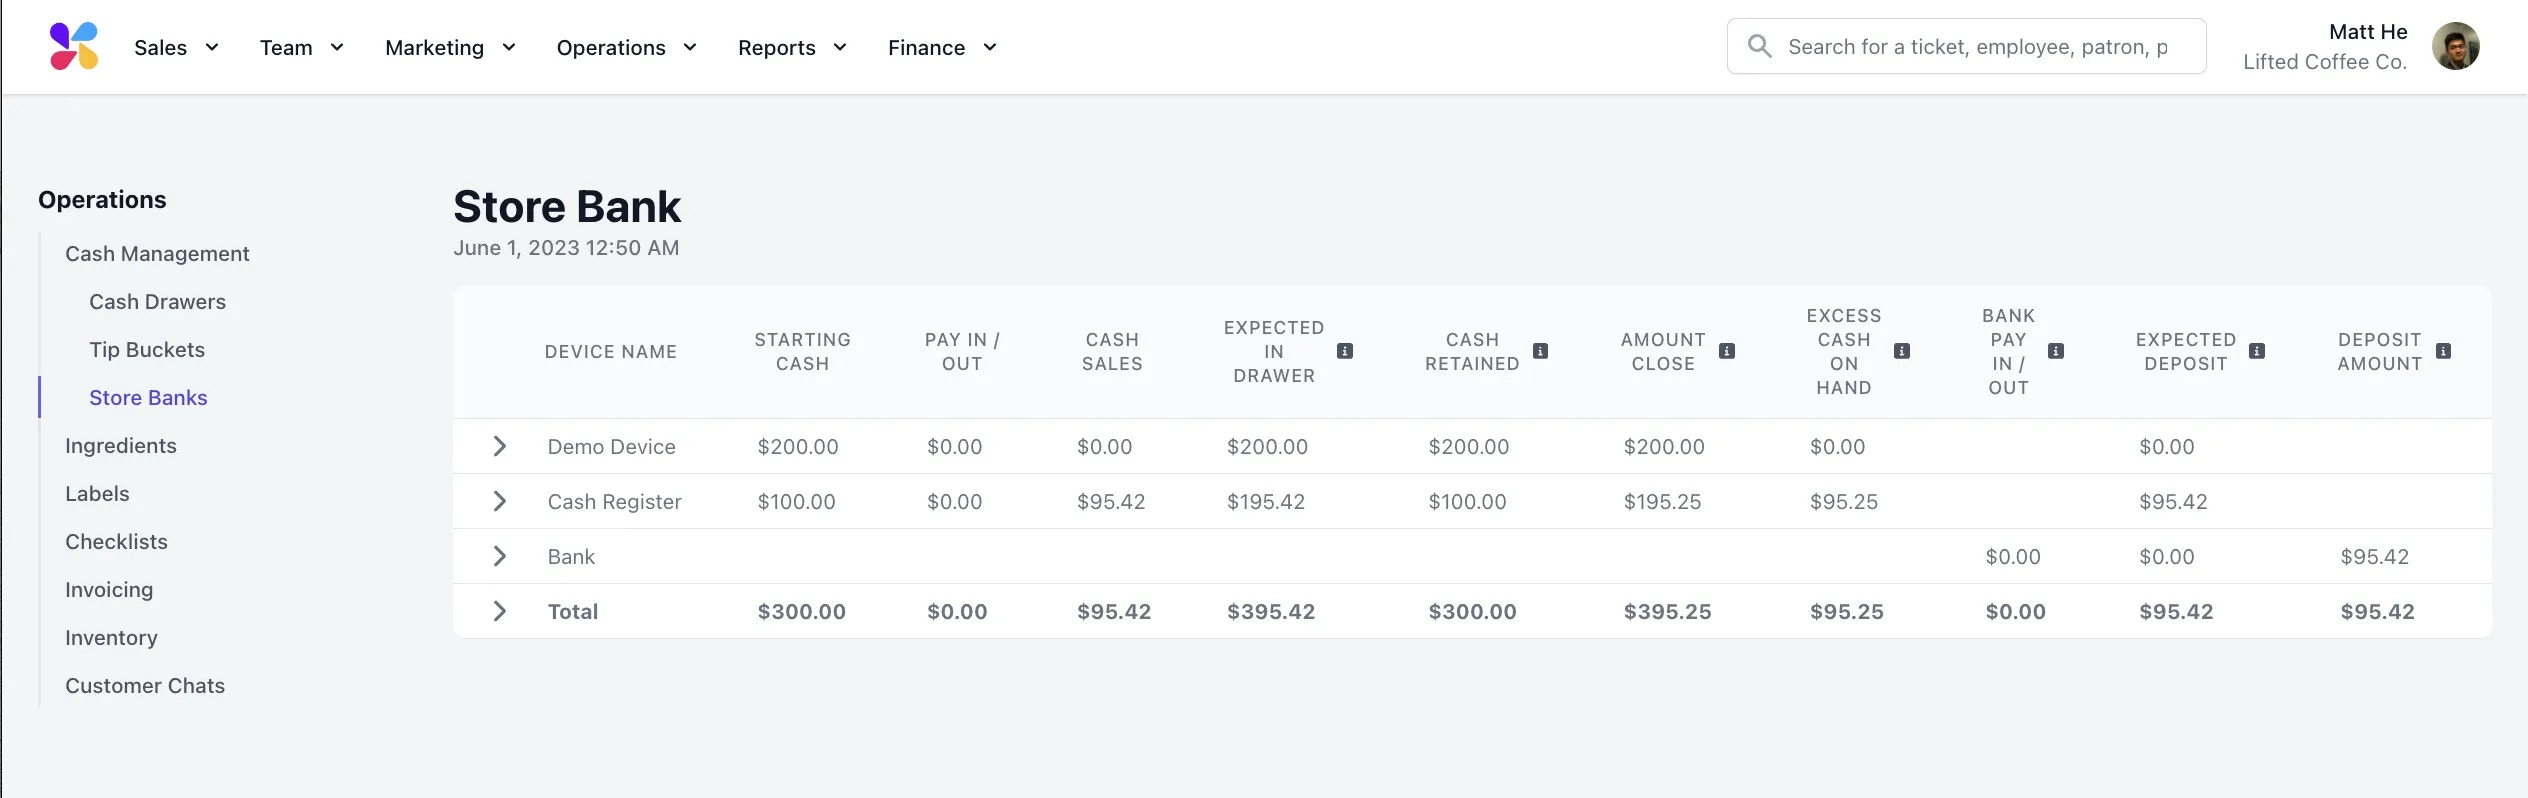
- The store bank’s page will also feature the following information:
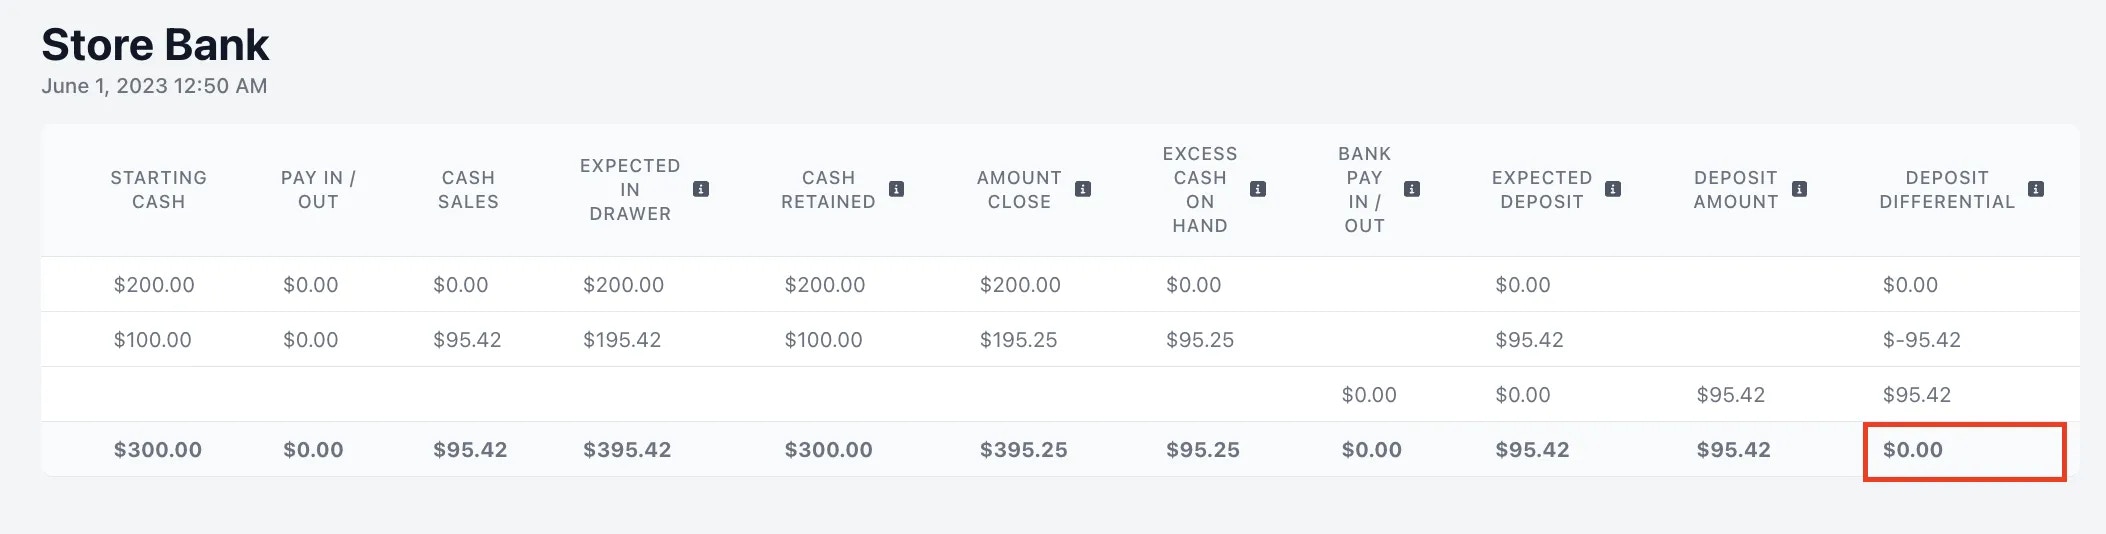
Device Name: This is the name of the specific POS device that a cash drawer associated with the store bank was opened on. Starting Cash: This is the amount of cash that was in the drawer when it was first opened. Pay In/Out: This is the total amount of cash Pay Ins and Pay-Outs that were recorded on the corresponding cash drawer. Cash Sales: This is the total amount of cash that was collected on the corresponding cash drawer from the time it was opened to the time it was closed. Expected in Drawer: This represents the total amount of cash that is expected to be in the corresponding drawer once it has been closed. This value is equal to the sum of the opening amount, any Pay In events, and cash sales, minus any Pay Out events. Cash Retained: This represents the amount of cash that was left in the corresponding drawer after it was closed. Amount Close: This represents the actual closing amount of cash recorded when the drawer was closed. Excess Cash on Hand: This value represents any extra cash that was in the drawer when it was closed. This value is equal to the closing amount minus the cash retained amount. Bank Pay In/Out: This represents the total sum of all Pay In and Pay Out events made to the bank. Expected Deposit: This is equal to expected in bank amount minus the cash retained amount. Deposit Amount: This represents the deposit that an employee entered when they closed the bank. Deposit Differential: This is the difference between the deposit amount and the expected deposit.When conducting a bank audit, the key figure to focus on is the Deposit Differential. This value indicates the variance between the expected deposit amount and the actual deposit amount in the bank:
You have the ability to edit all drawer events directly on the respective drawers to rectify any mistakes.