Create Team Chats
Easily create team chats with all employees or a selected group.Create Team Chats from the Dashboard
Create Team Chats from the Dashboard
View your Team Messages and start a New Message on the Dashboard by navigating to Team > Team Messaging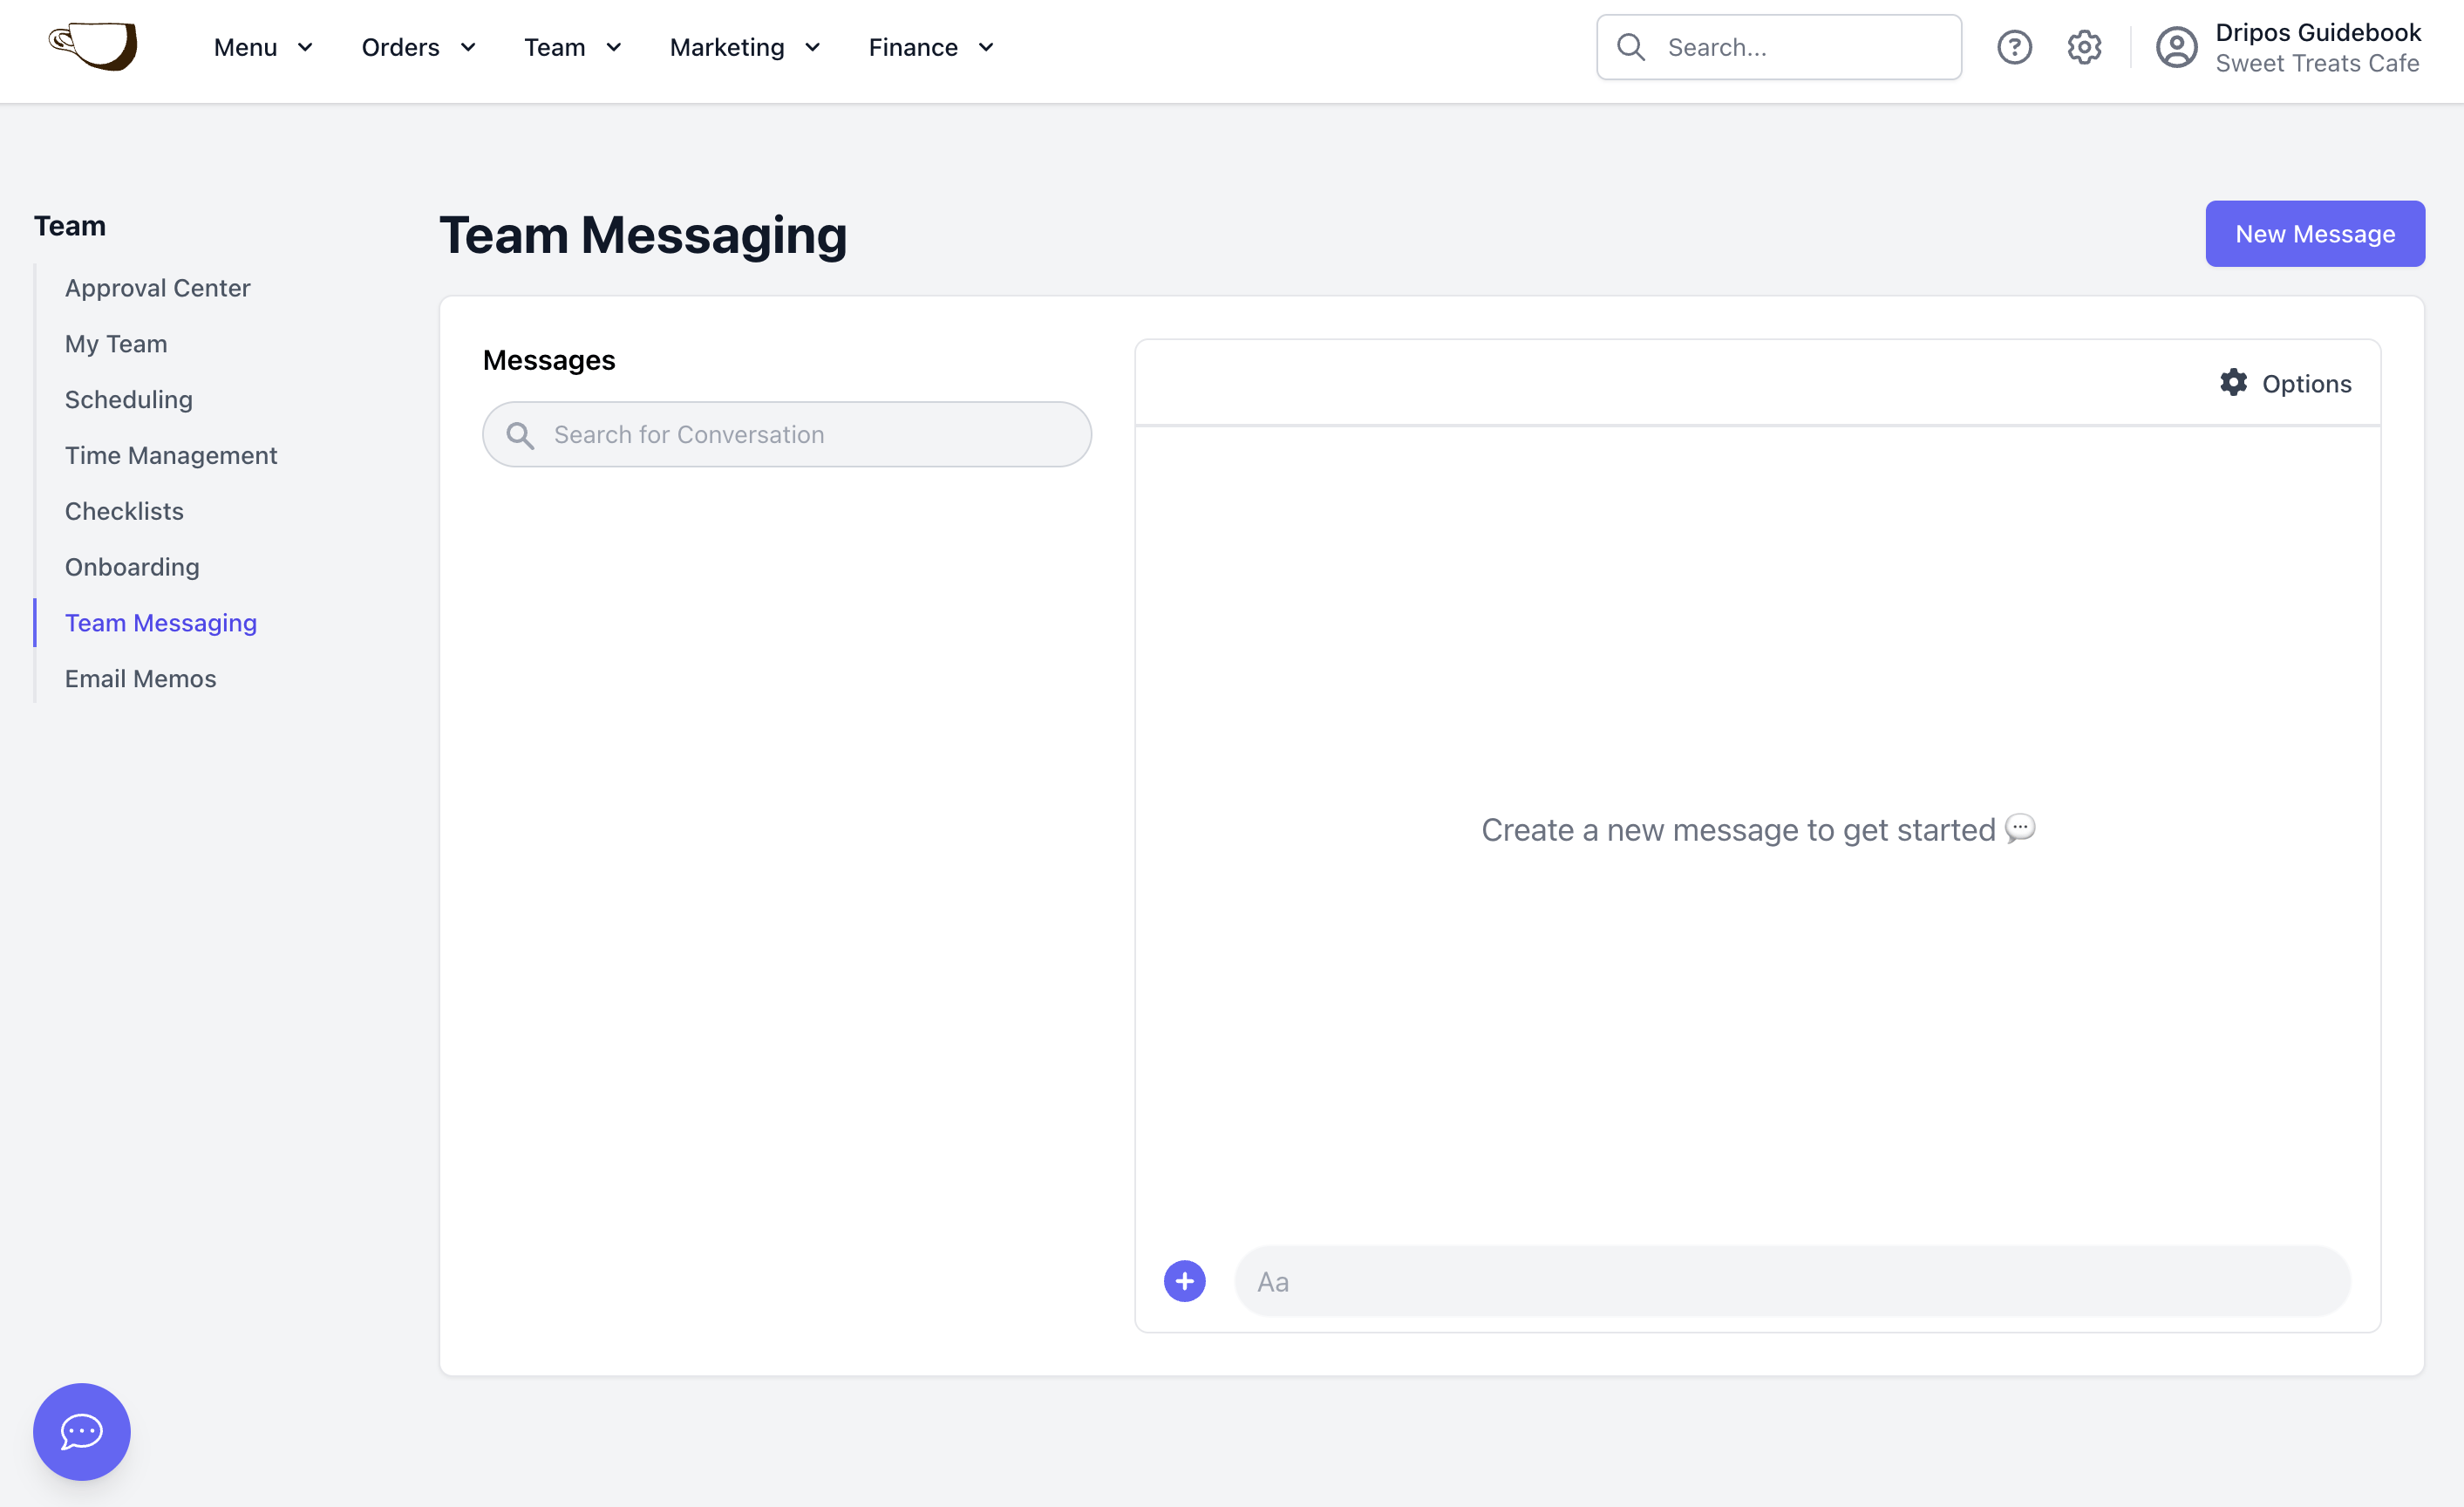
Create Team Chats from the Hub App
Create Team Chats from the Hub App
Create Team Chats with Auto Rules
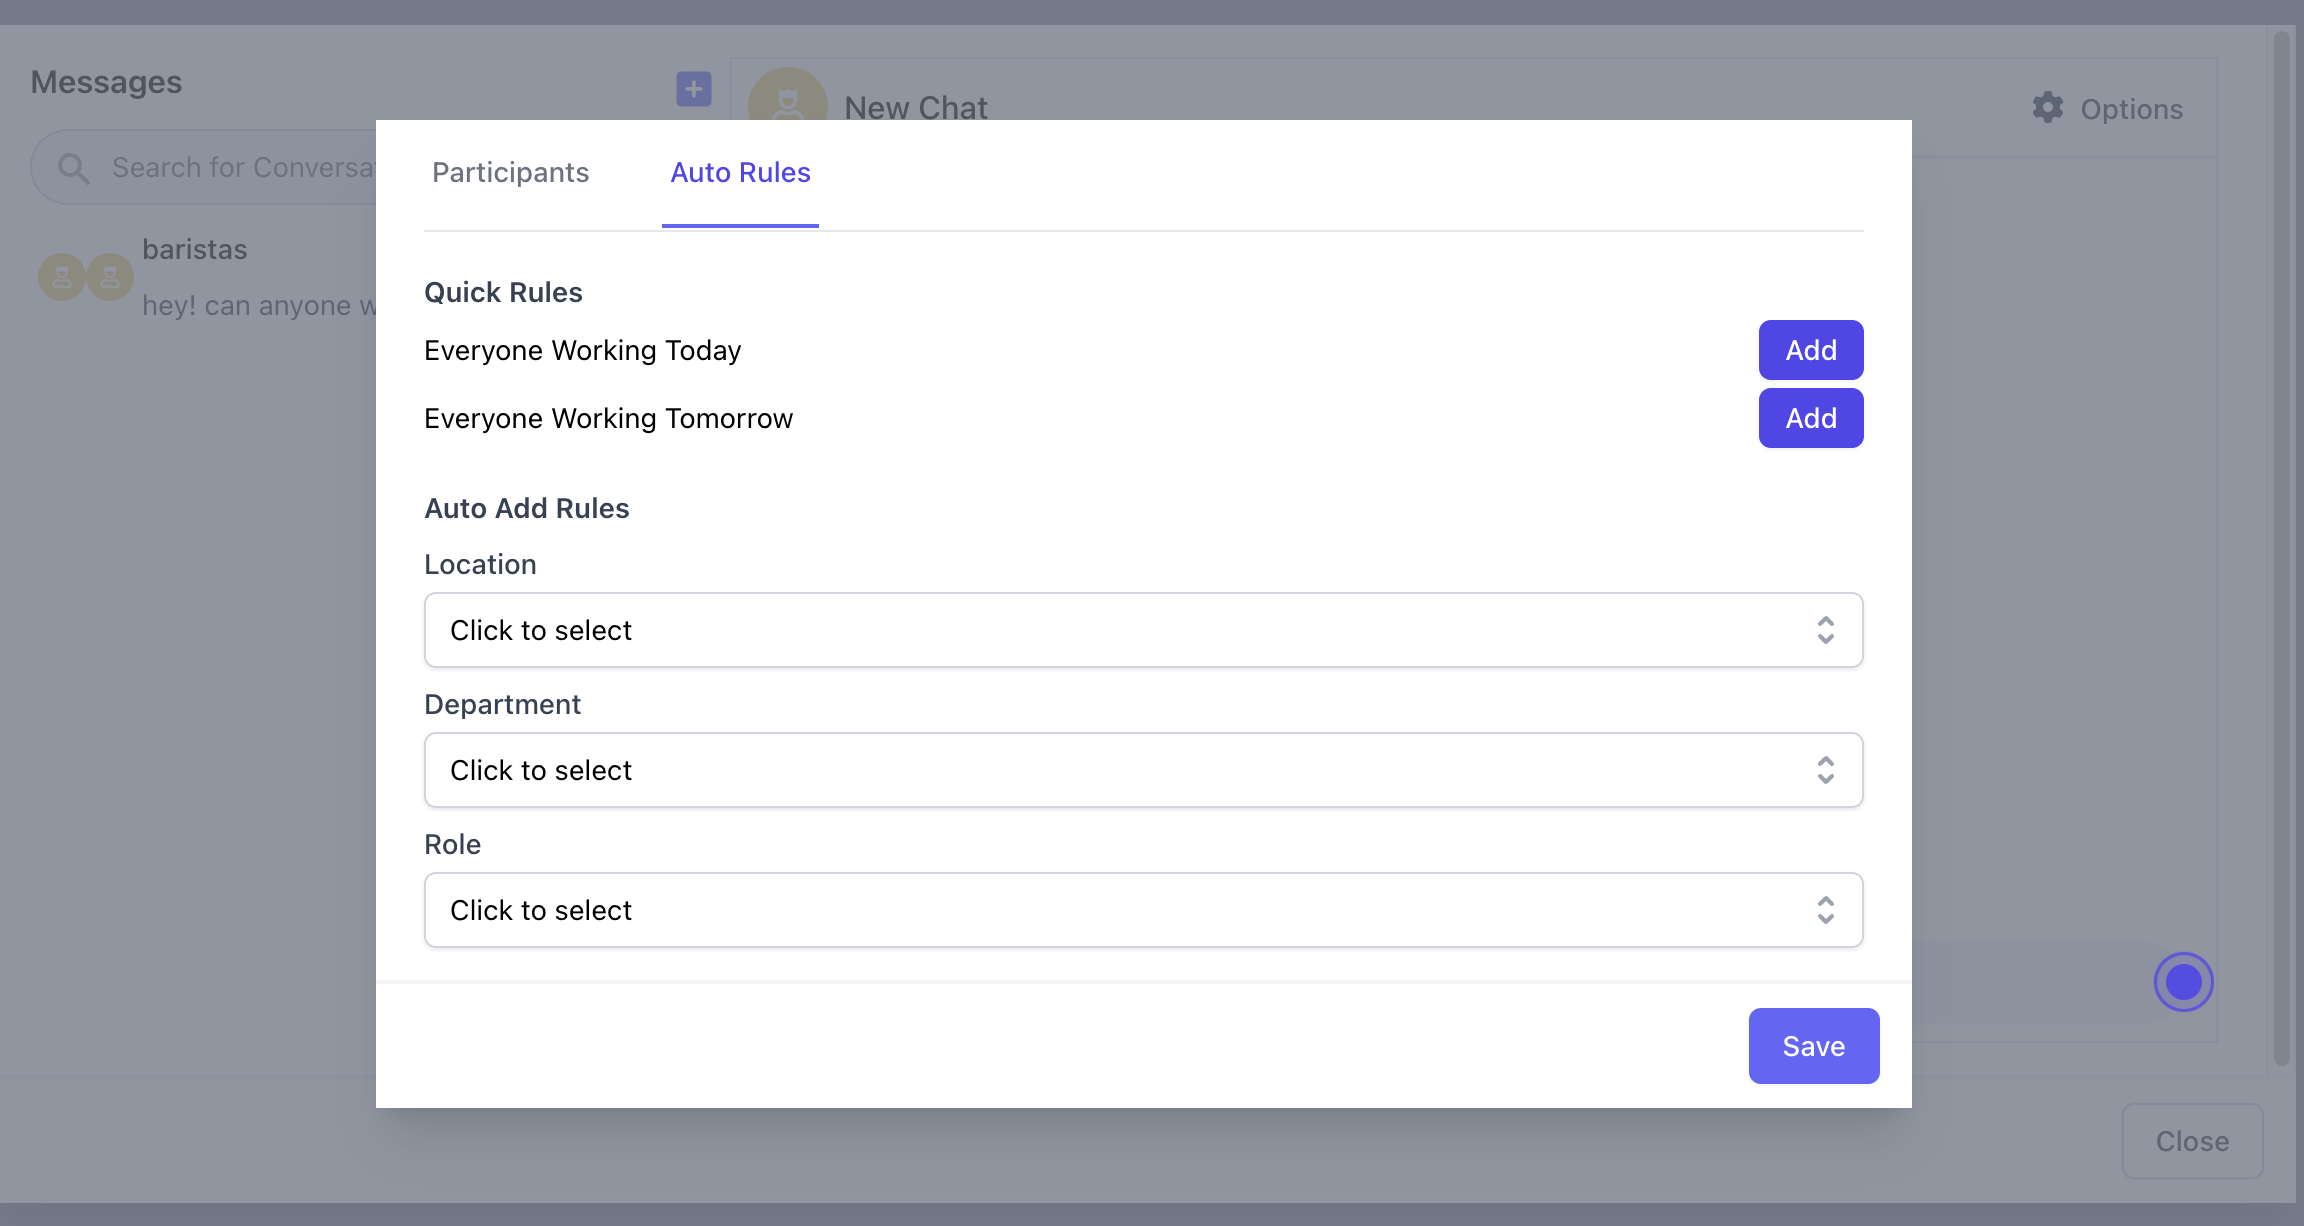
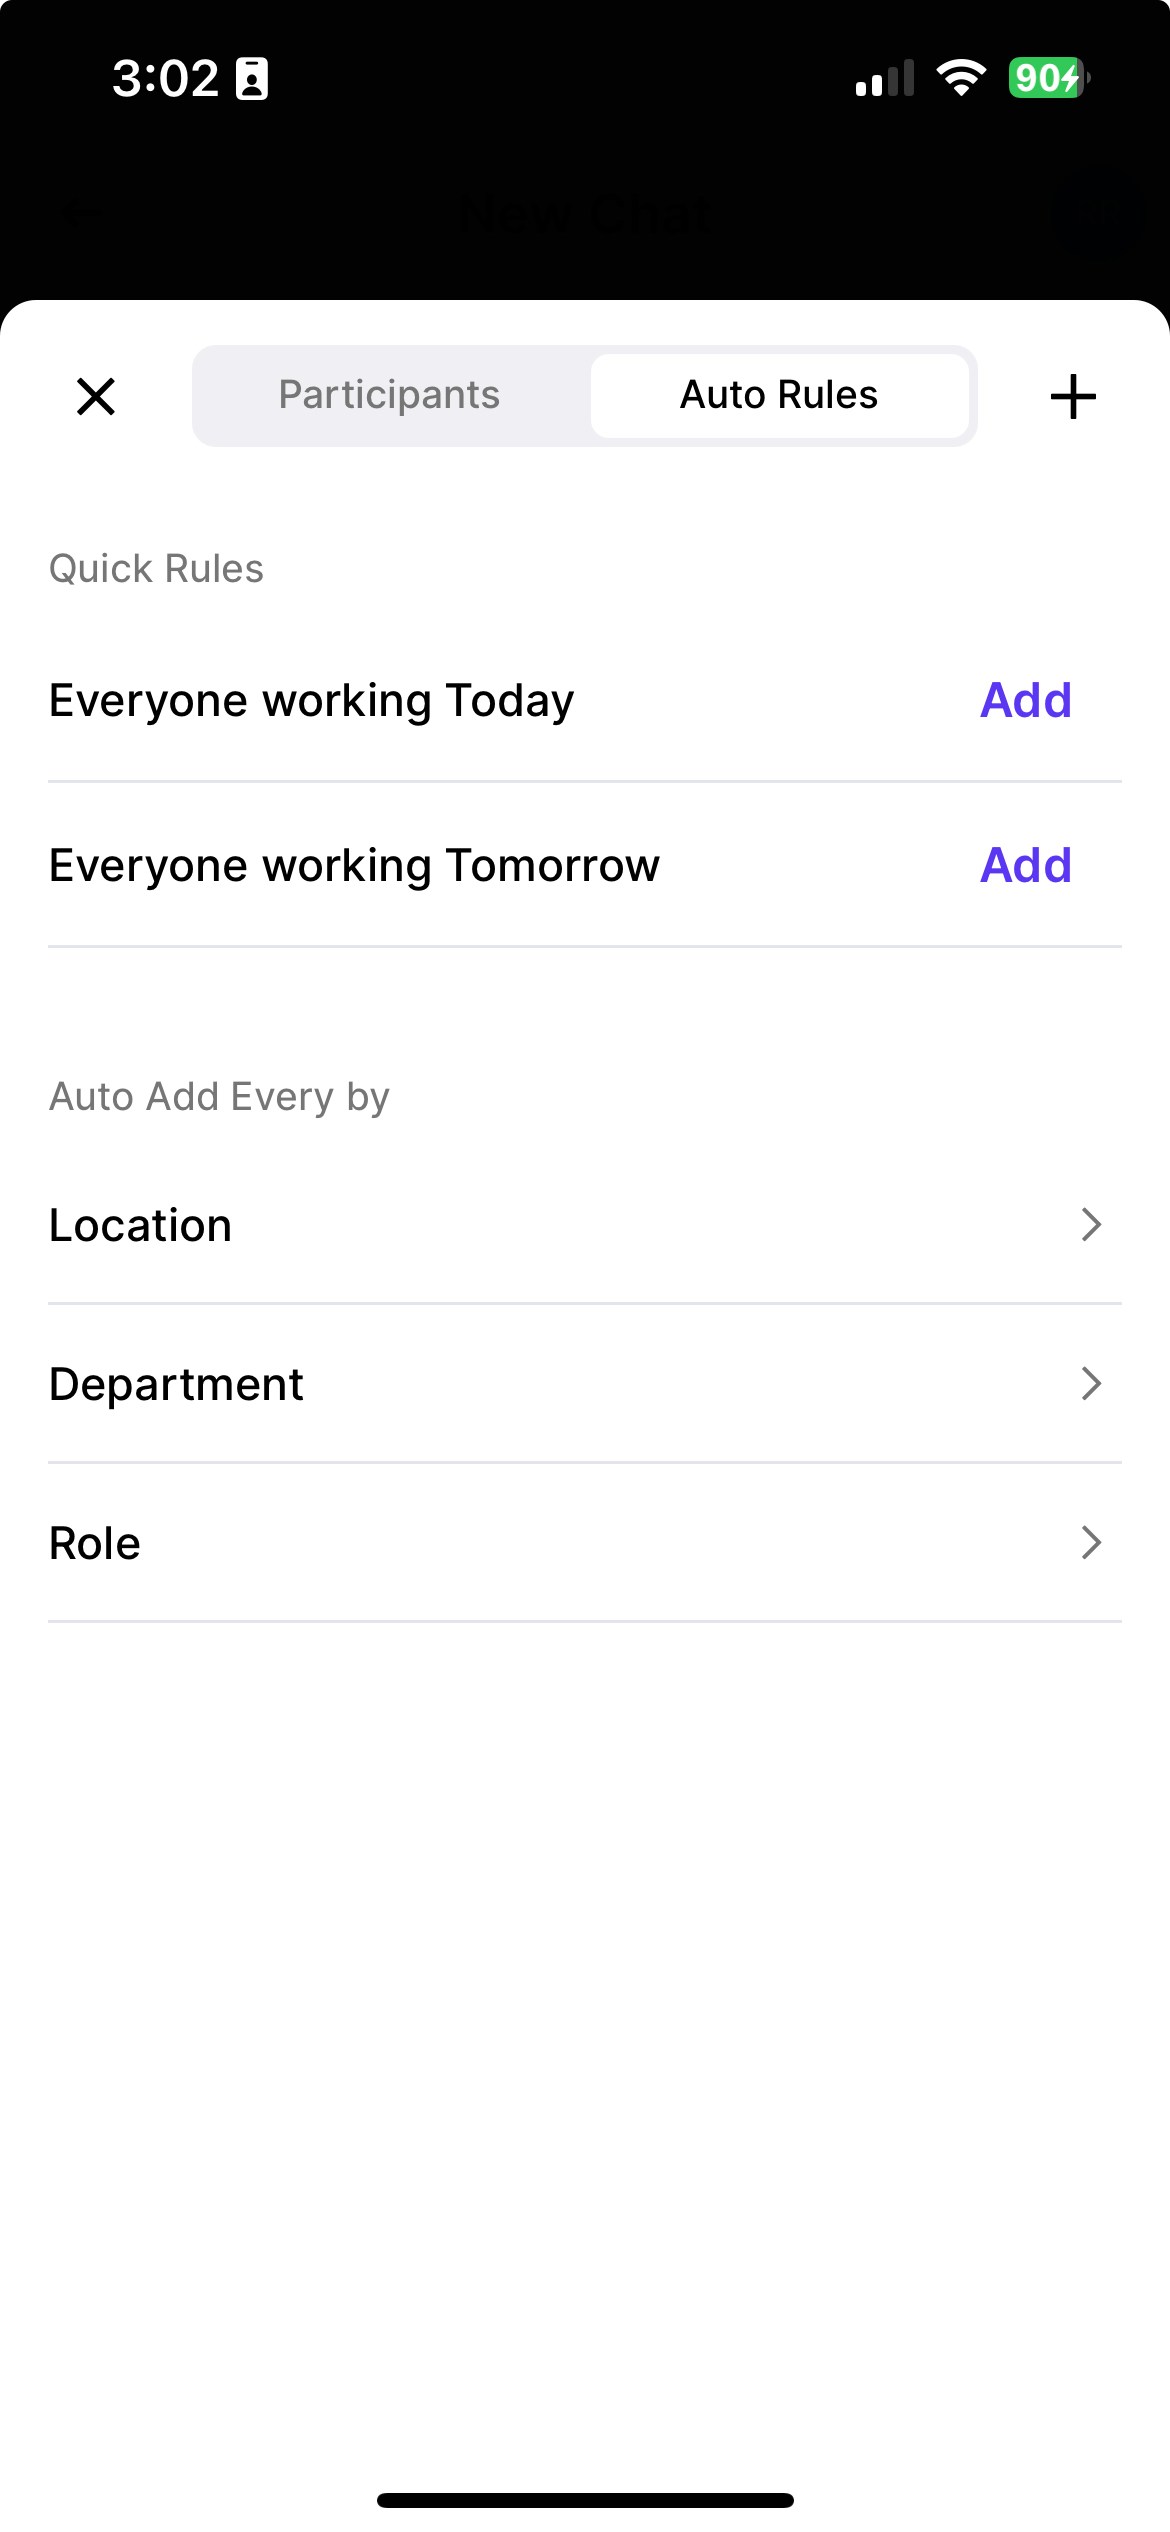
Create team chats and autopopulate the chats with employees that meet the selected criteriaQuick Rules: Click Add to include employees in this chat who work either today or tomorrow
Auto Add Rules: Add employees to chat if they work at a specific location, are in a department, or are of a certain role
- Dashboard
- Hub App
Send Images and Files in Chats
Images and files may be sent in chats for all to view- Dashboard
- Hub App
Remove Employees from Chats
The individual who created the chat has the ability to remove participants from the chat- Dashboard
- Hub App
Remove Employees from Chats on the Dashboard
1
In the chat, press the Settings (⚙️) button > View Employees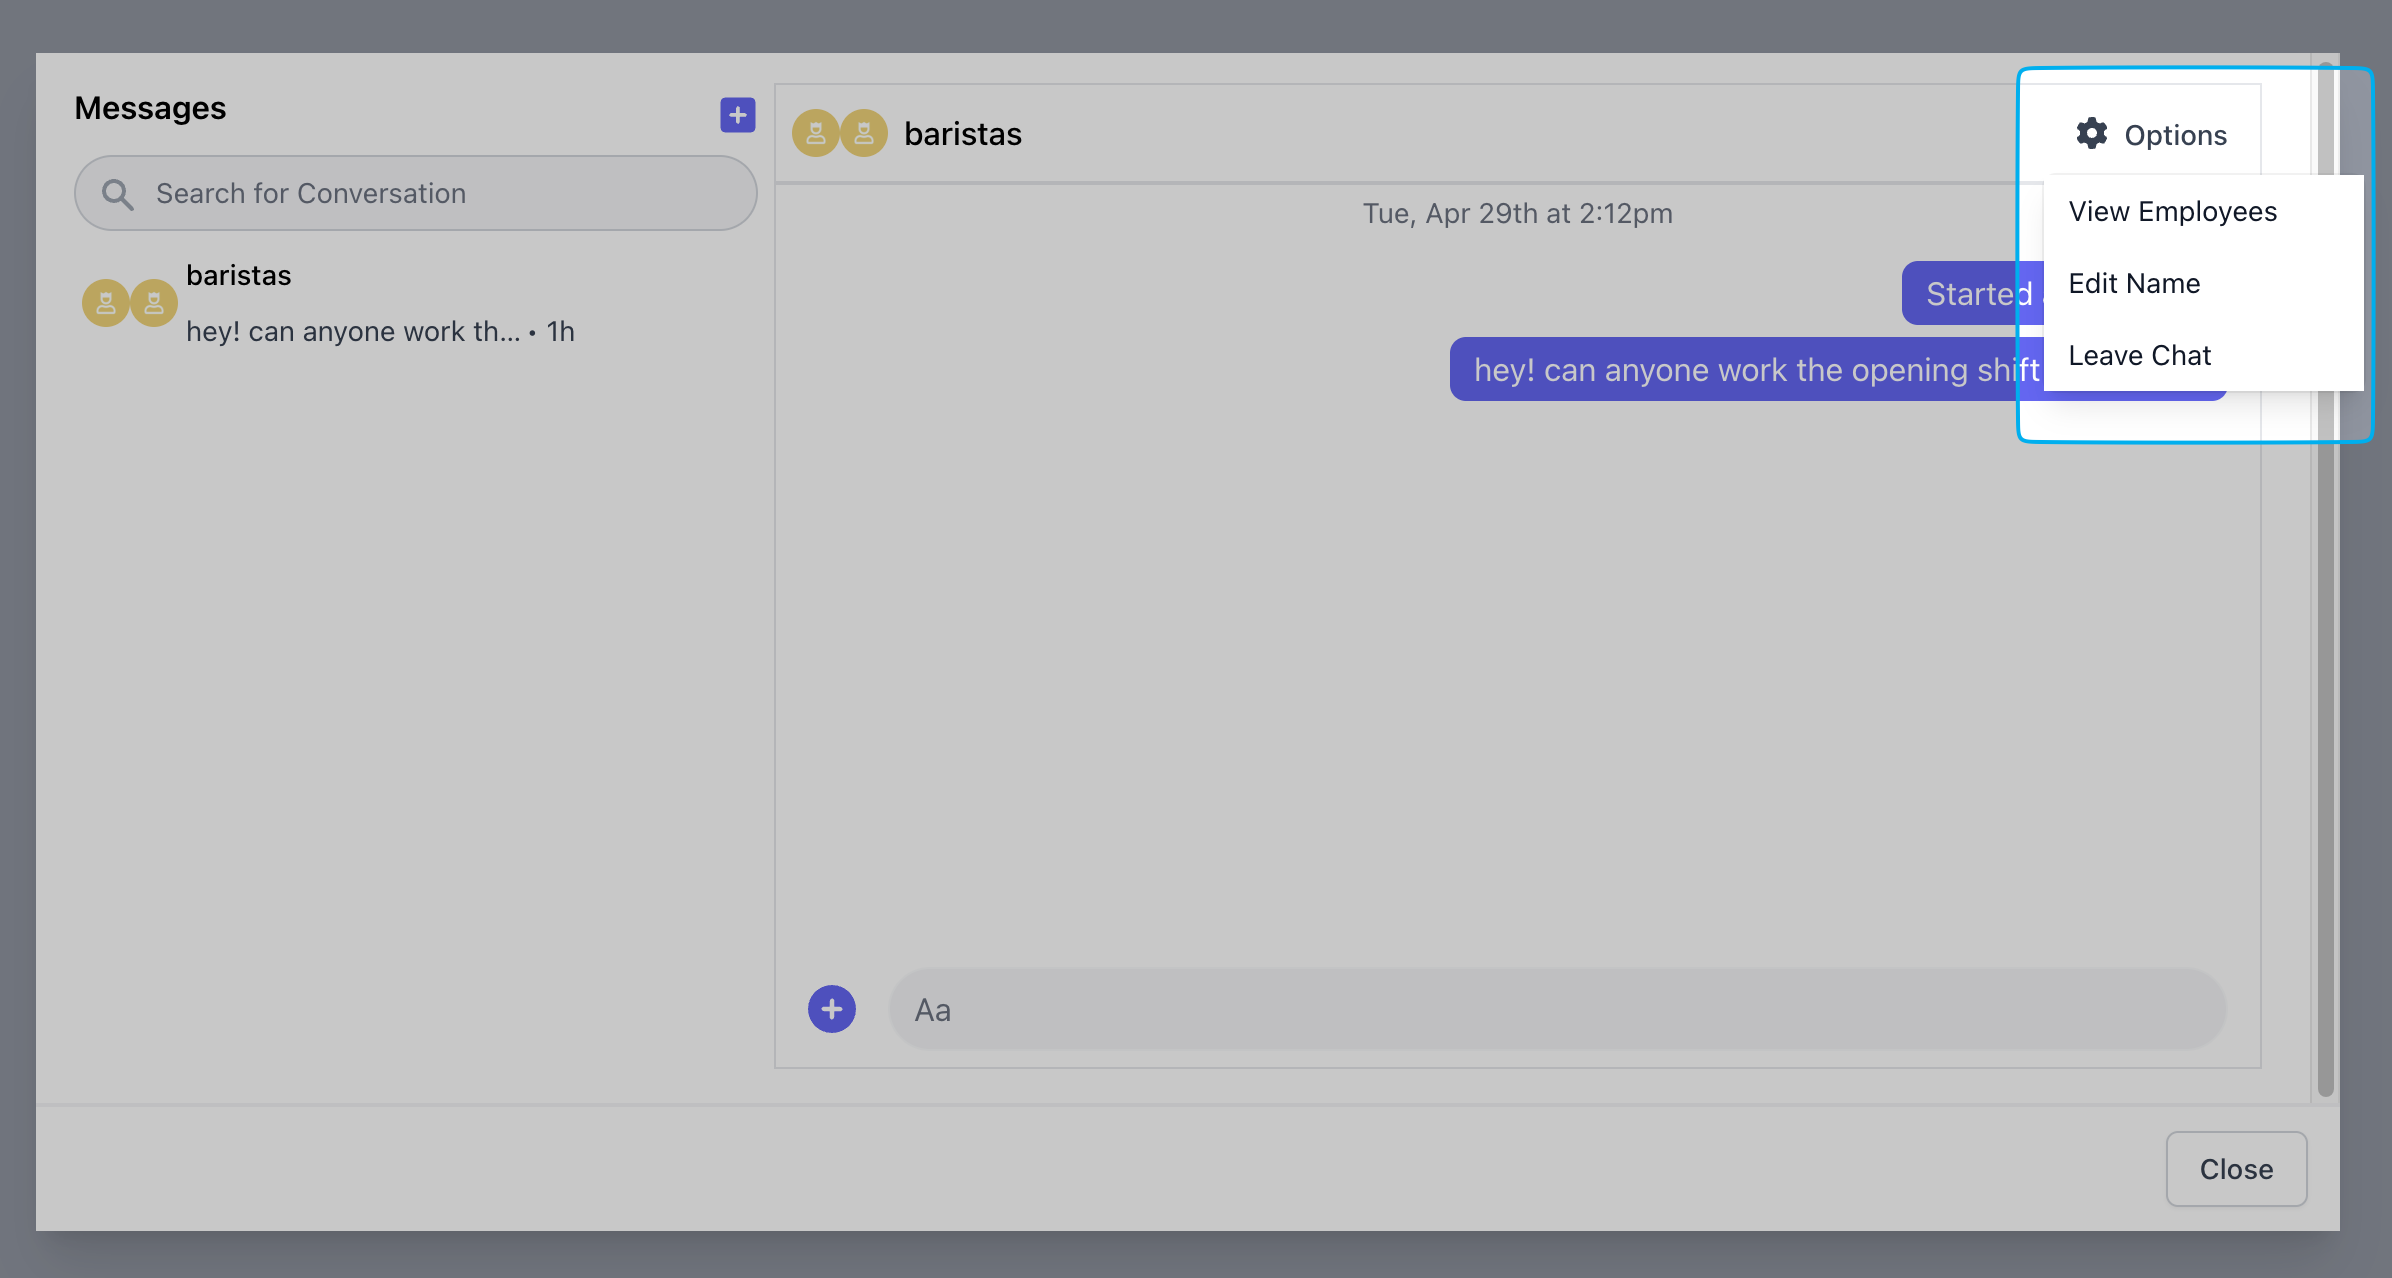
2
Click Remove next to an employee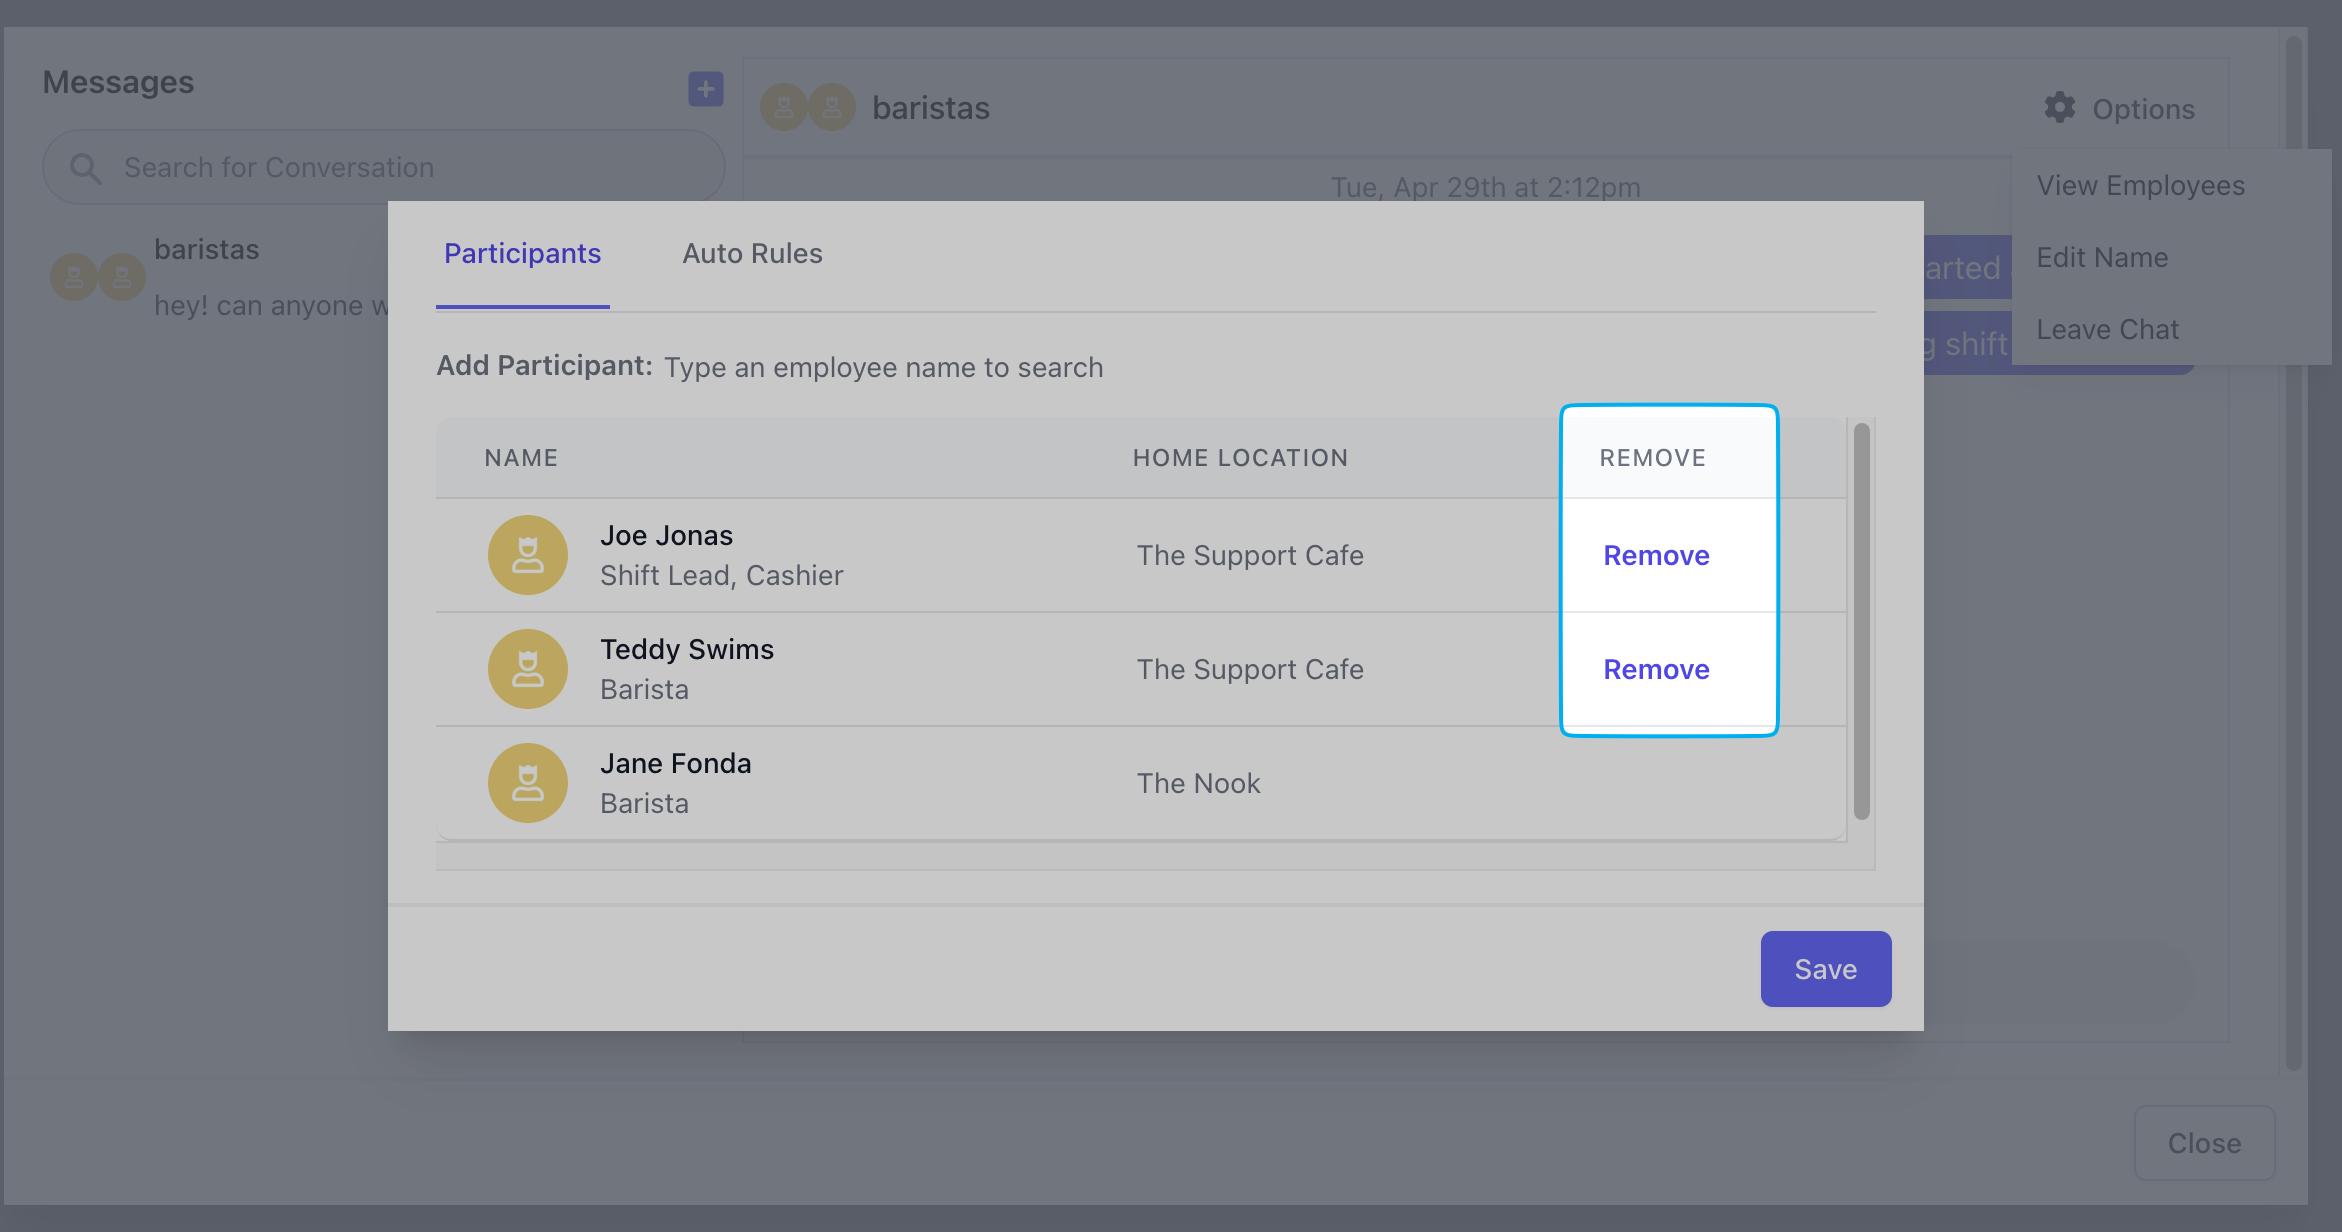
Leave Team Chats
- Dashboard
- Hub App
Leave Team Chats from the Dashboard
1
In the chat, press the Settings (⚙️) button
2
Click Leave Chat