Default Documents
Right now, there are two different types of default documents pre-populated for your use in Dripos onboarding. These are a federal I-9 form and a federal W-4 form. These are documents commonly needed to be filled out by employees when hired, and retained by employers. See ucis.gov for information and guidelines regarding federal I-9 forms and irs.gov for federal W-4 forms. These documents are not able to be edited, only filled out by employers and employees. Find them under Team > Onboarding > Company Documents > Default:Note: Since these default documents contain sensitive information, reviewers of these documents will need specific permissions to be able to fill out the employer portions of these documents as well as view them. This permission is called ‘Onboarding Document Review’ and can be found in the permissions tab of any given role in the ‘Teams’ section. Read more about permissions here.
Custom Documents
Custom documents are documents specific to your business. You can upload them to Dripos and edit them to require employee signatures, acknowledgement, and more. Learn how to create and manage custom company documents below.Creating Custom Documents
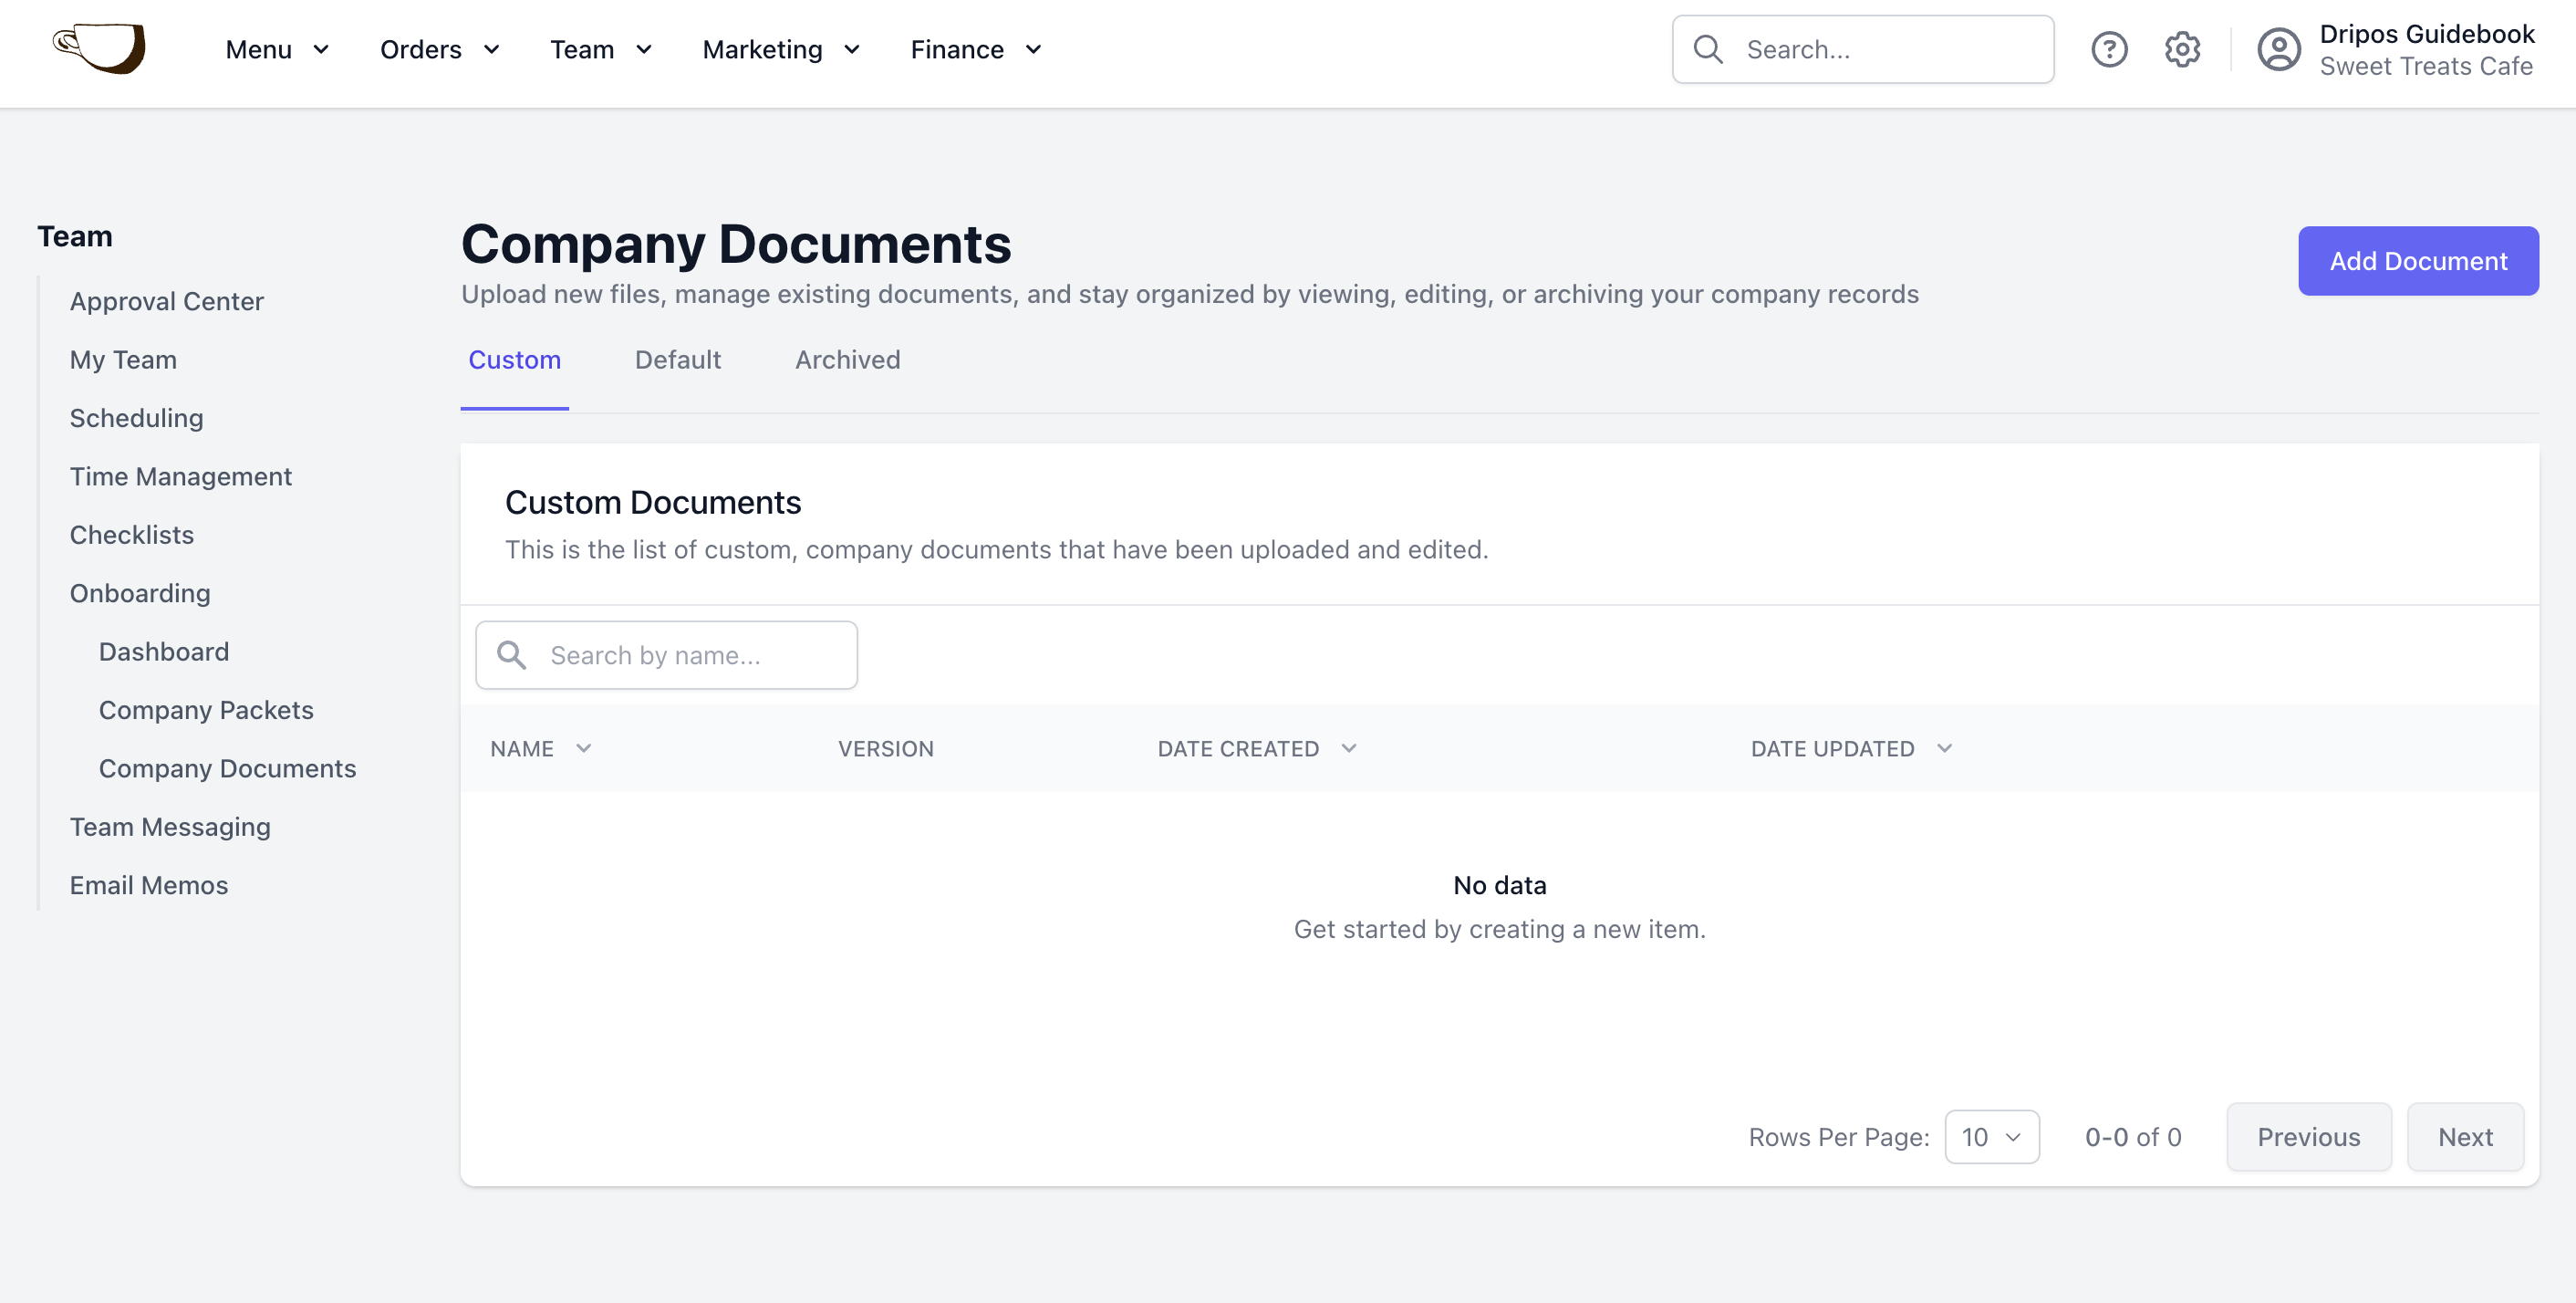
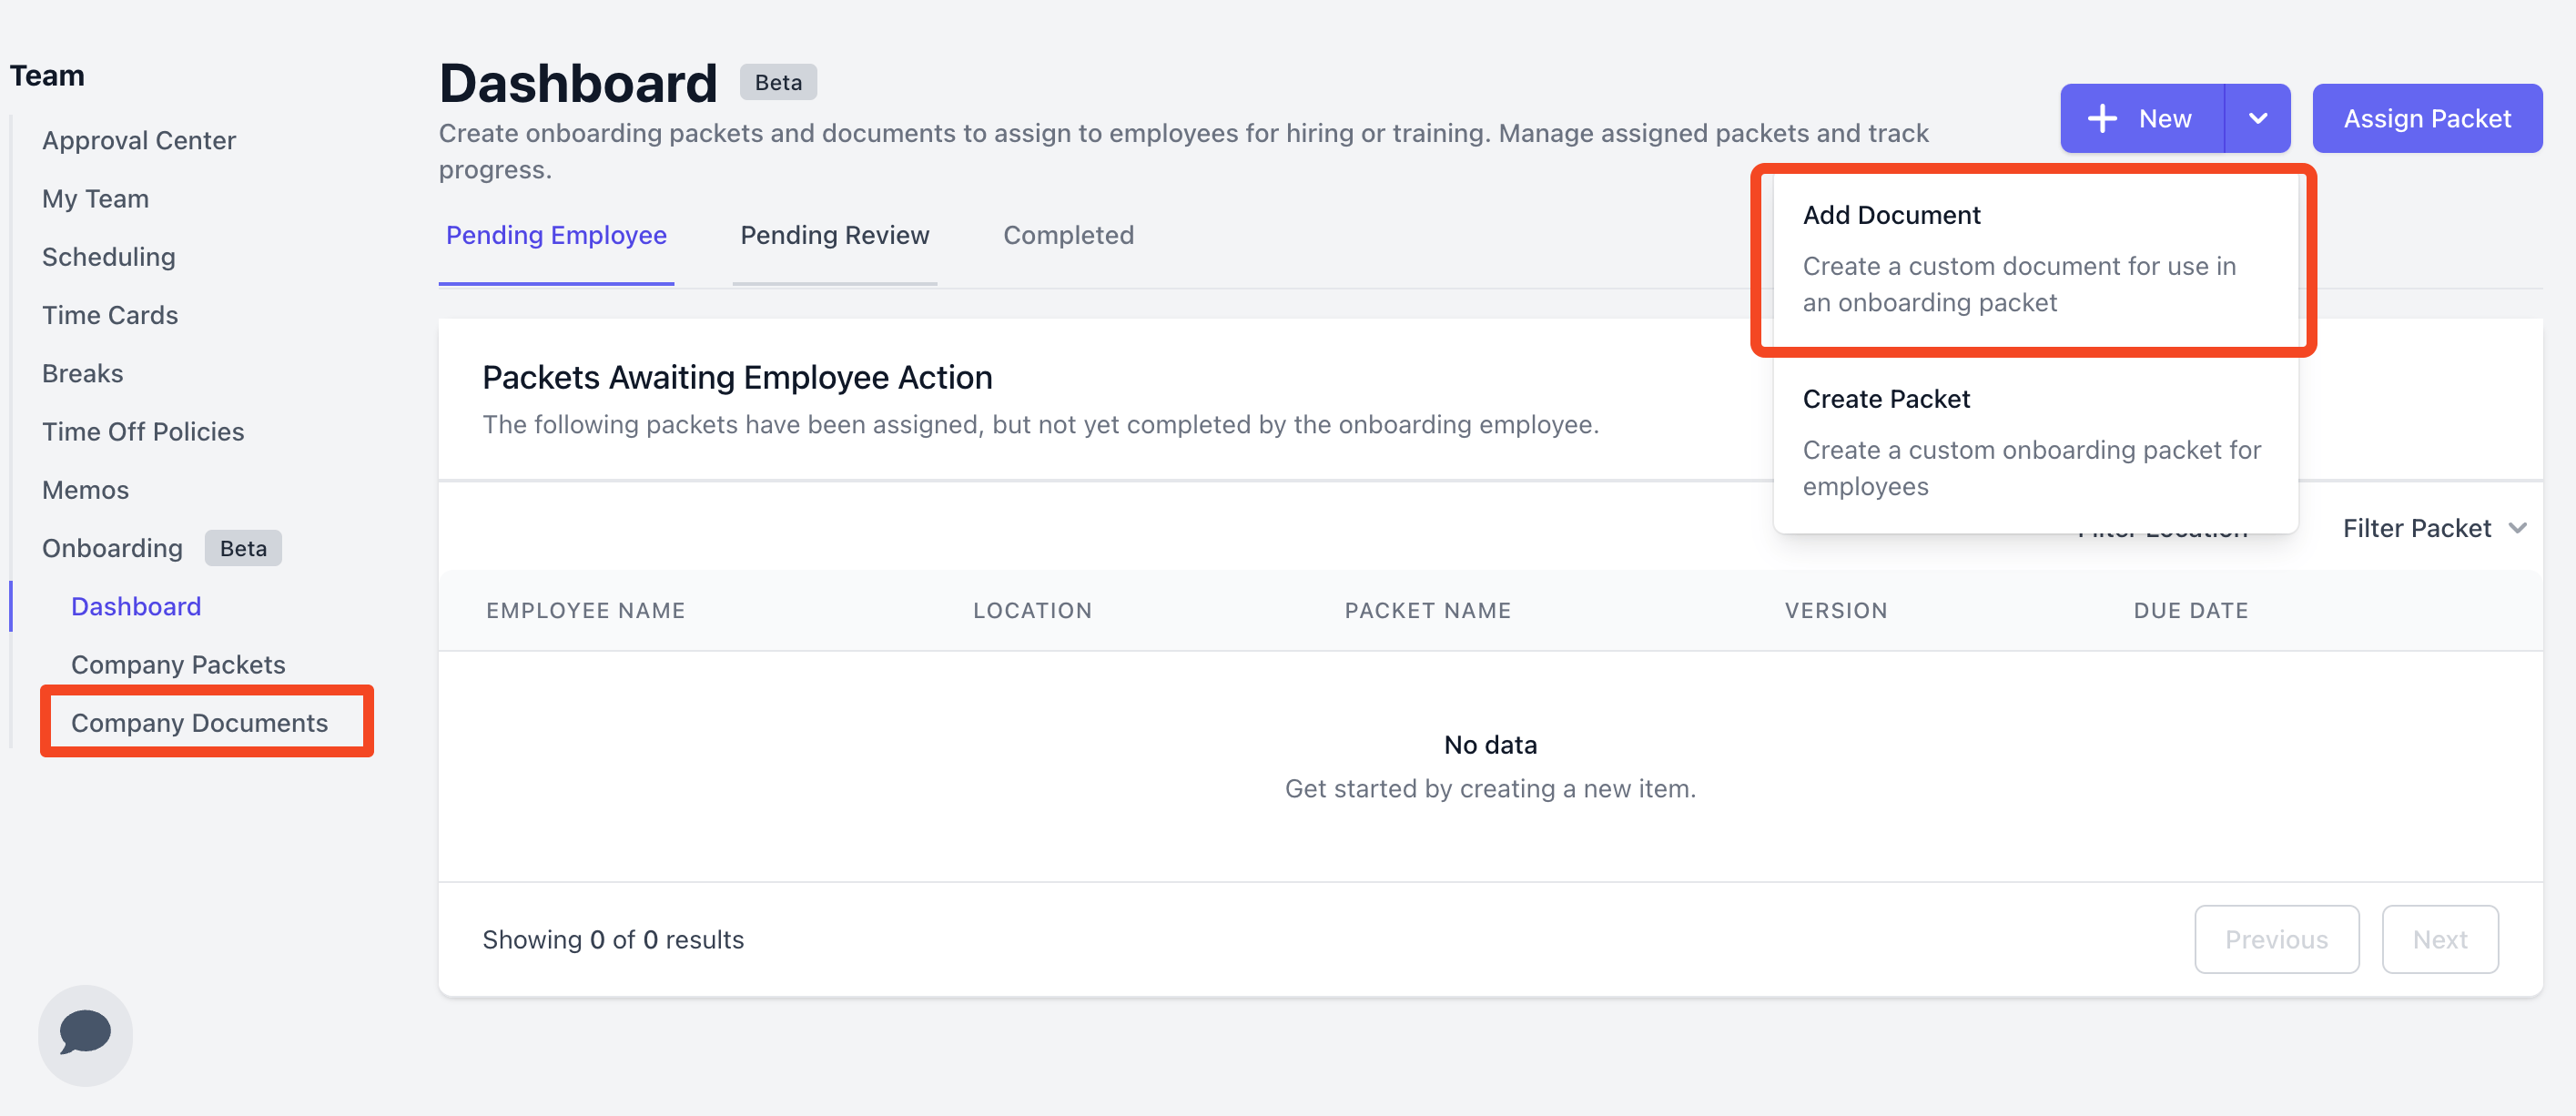
To create a custom document:- Go to Team > Onboarding. You can either press +New > Add Document, or navigate to the Company Documents tab.
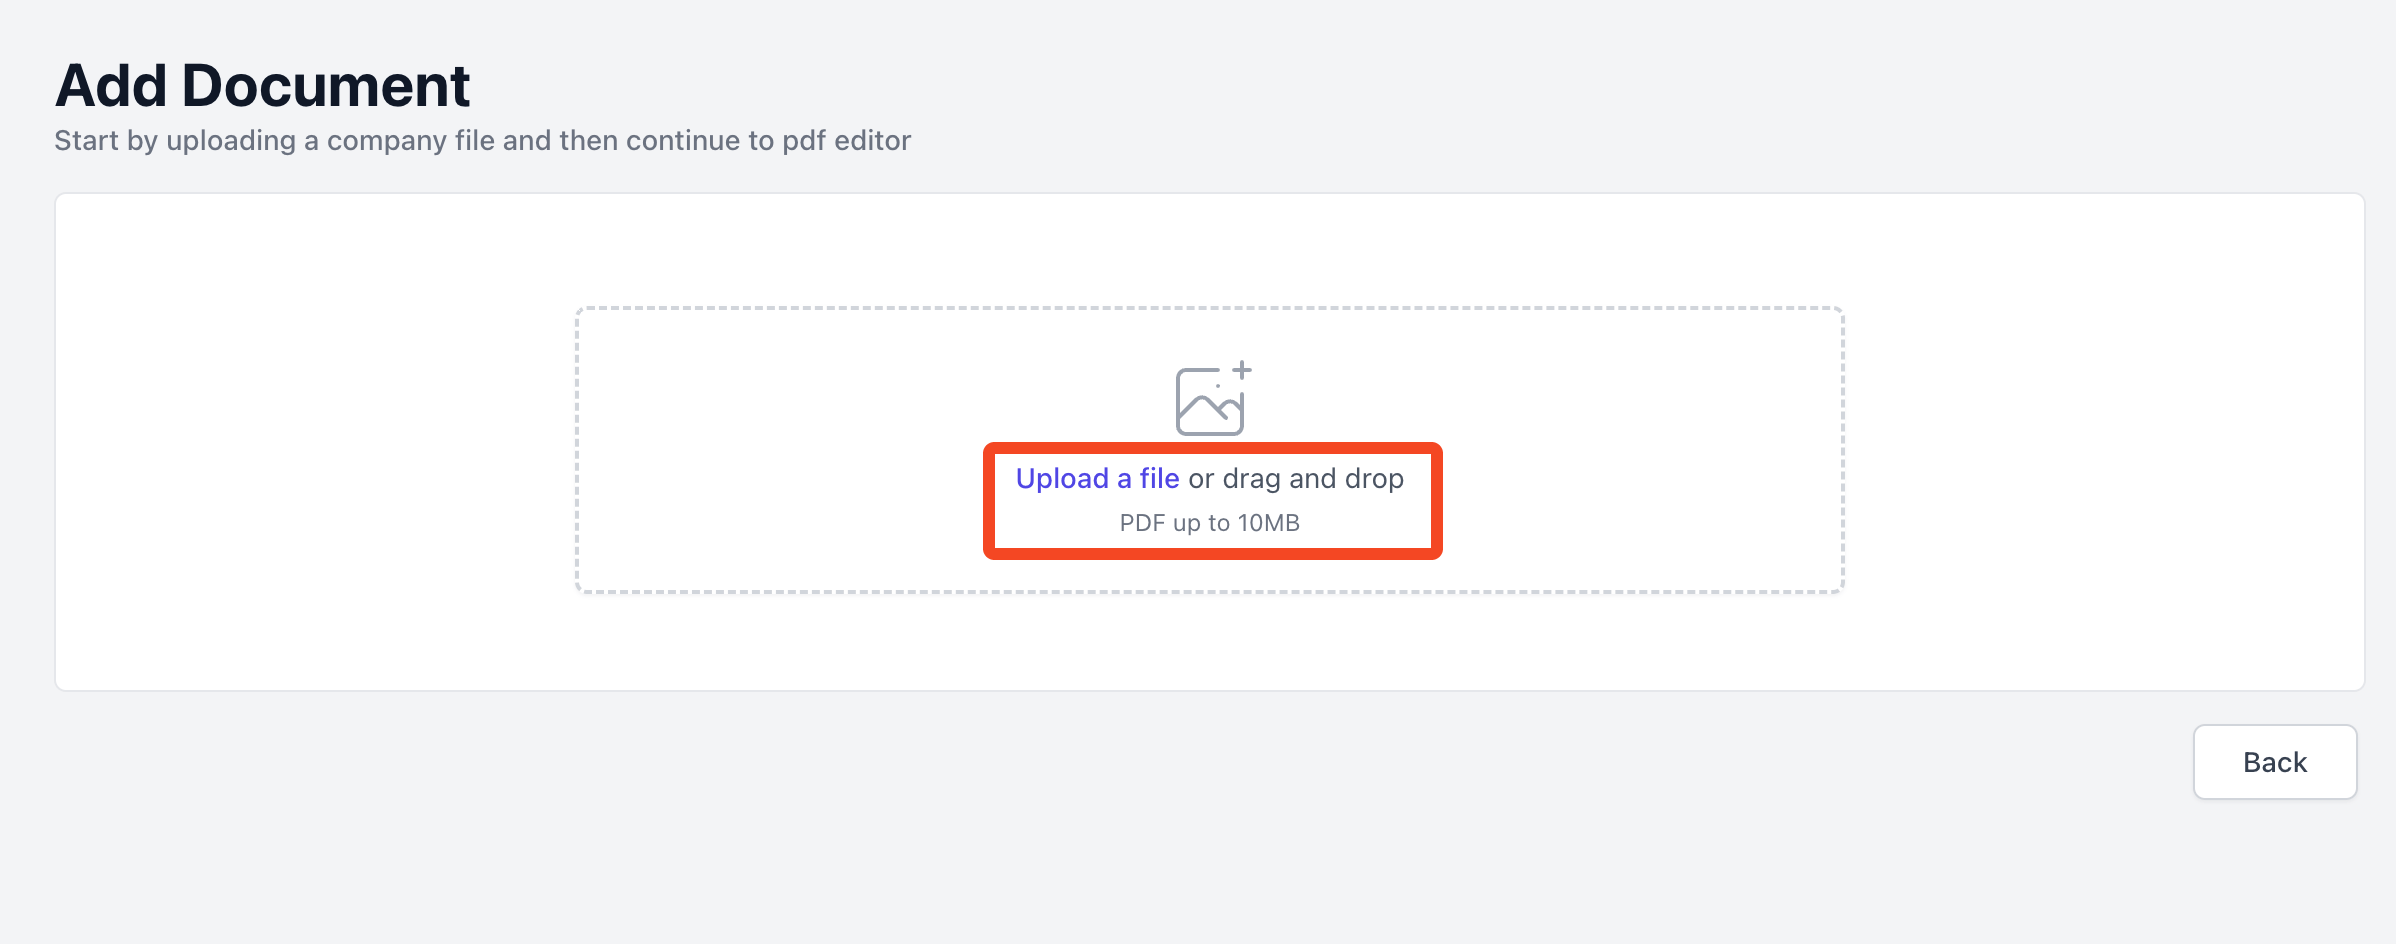
- This will take you to the document creation flow. Click the upload box to select an existing .pdf from your computer, or drag and drop a file:
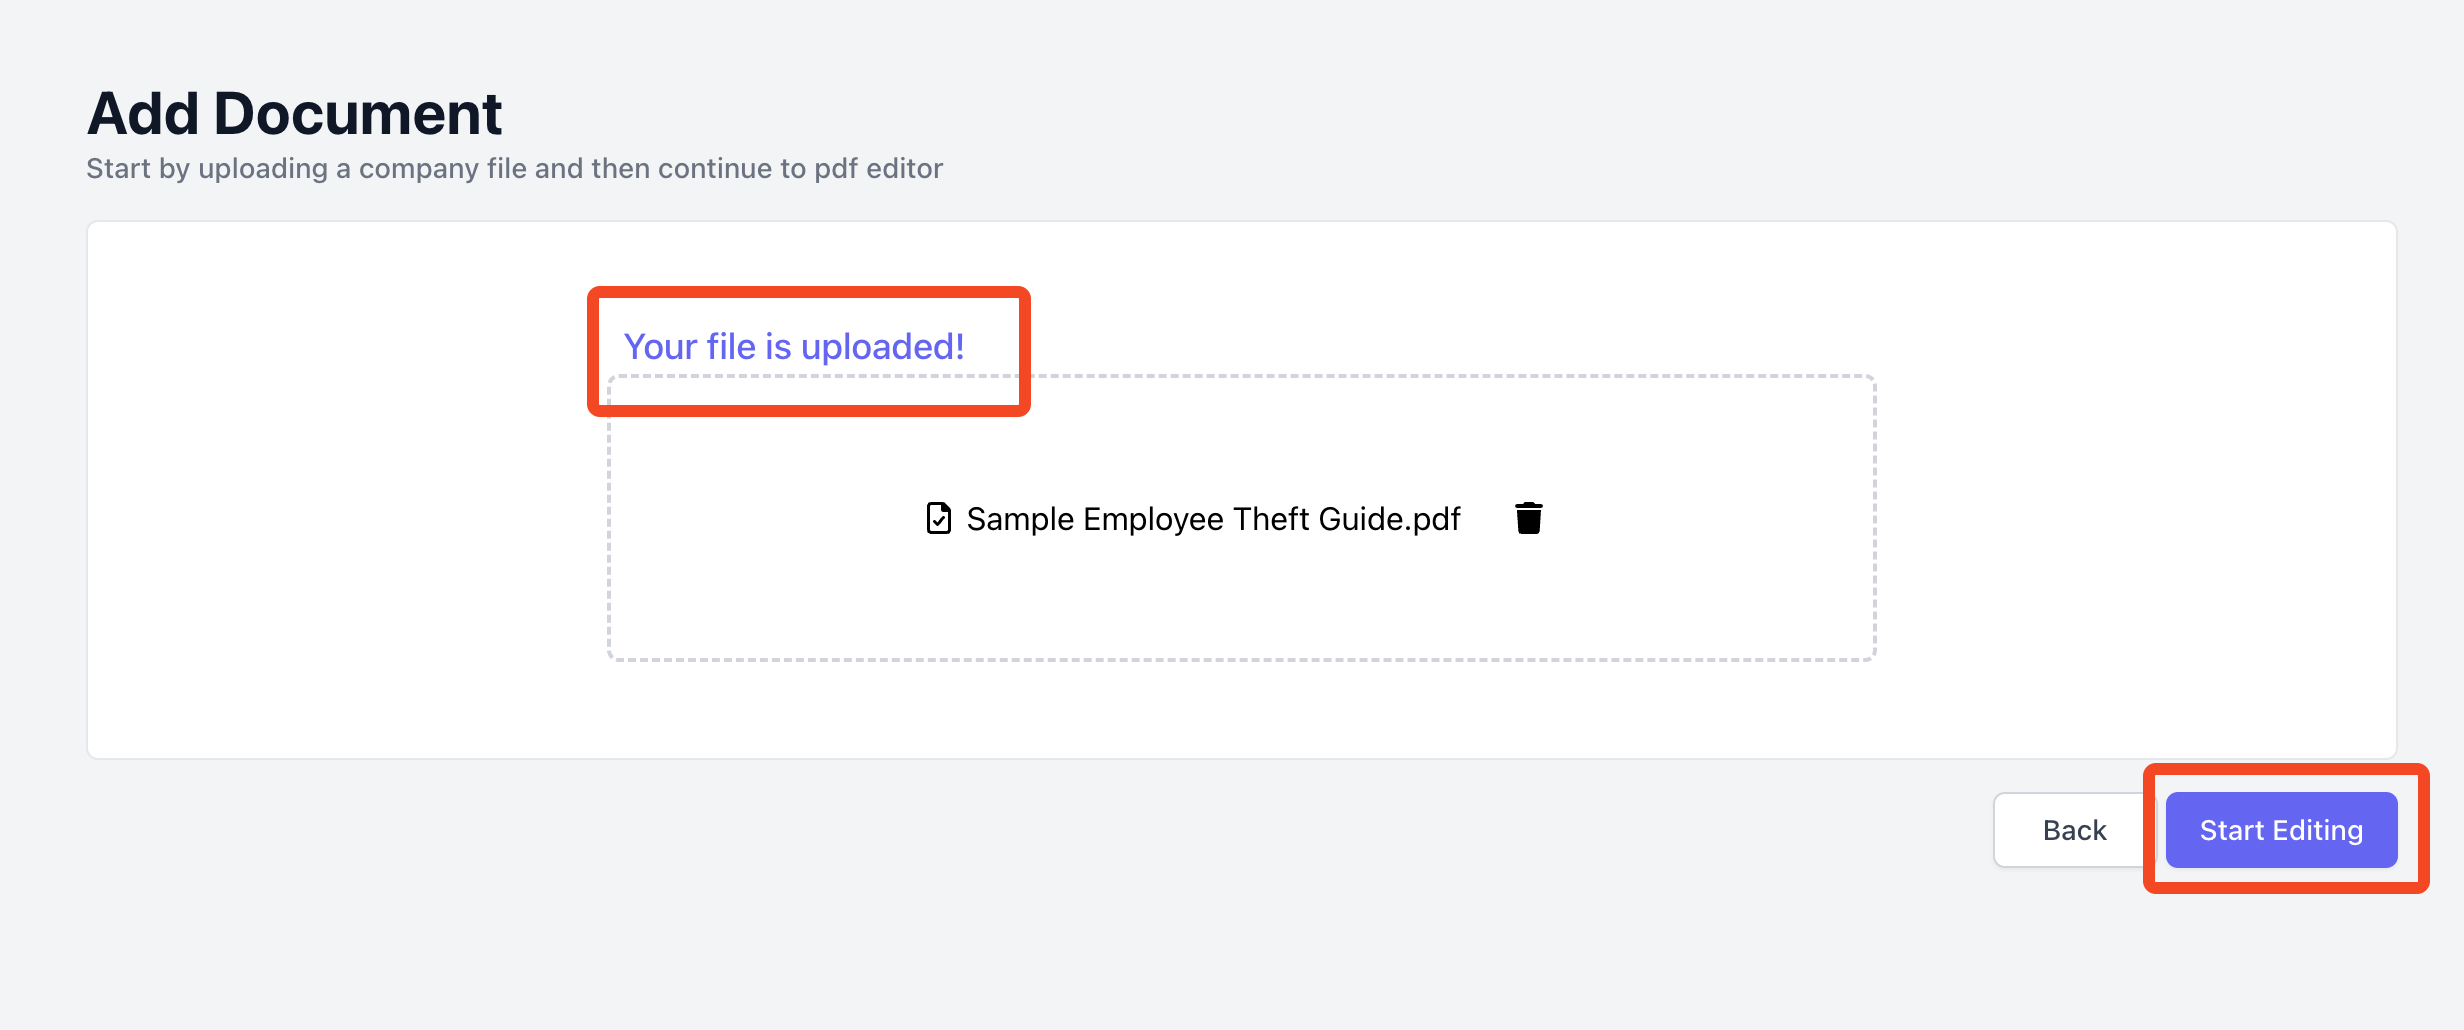
- Once your file has successfully been uploaded, you’ll see a confirmation. Press Start Editing to configure your document.
- You’ll be brought to the pdf editor. Here, you can configure your document:
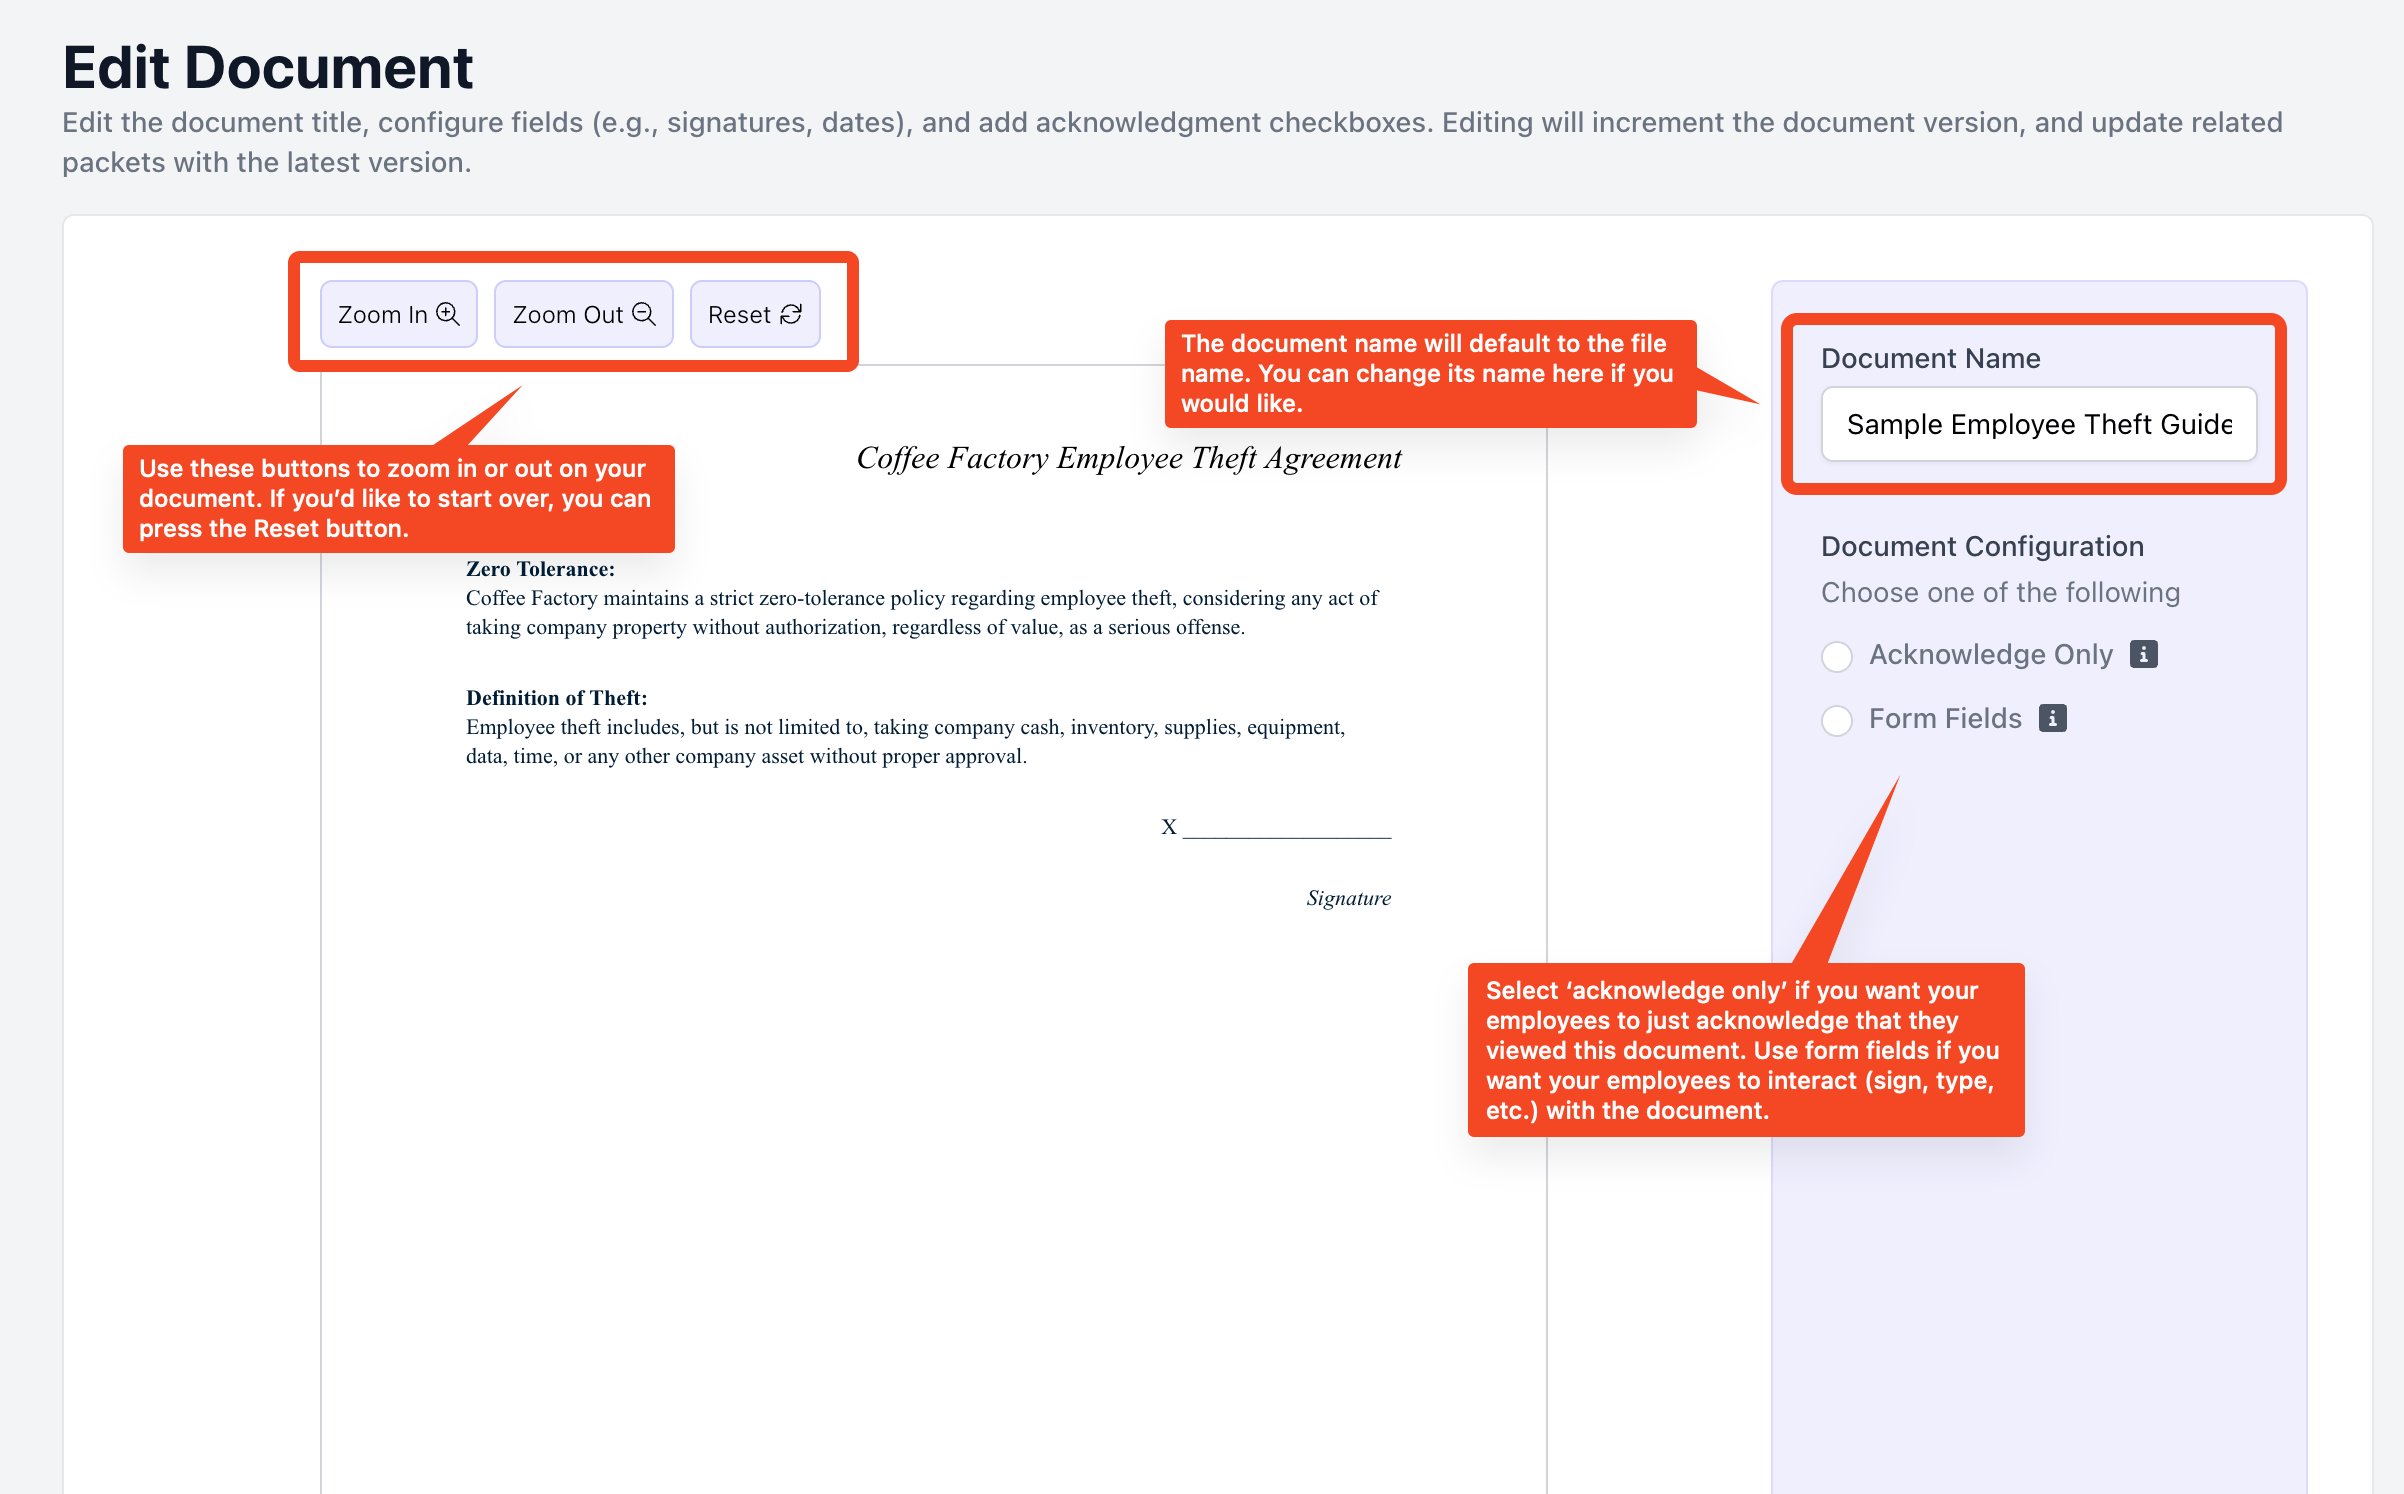
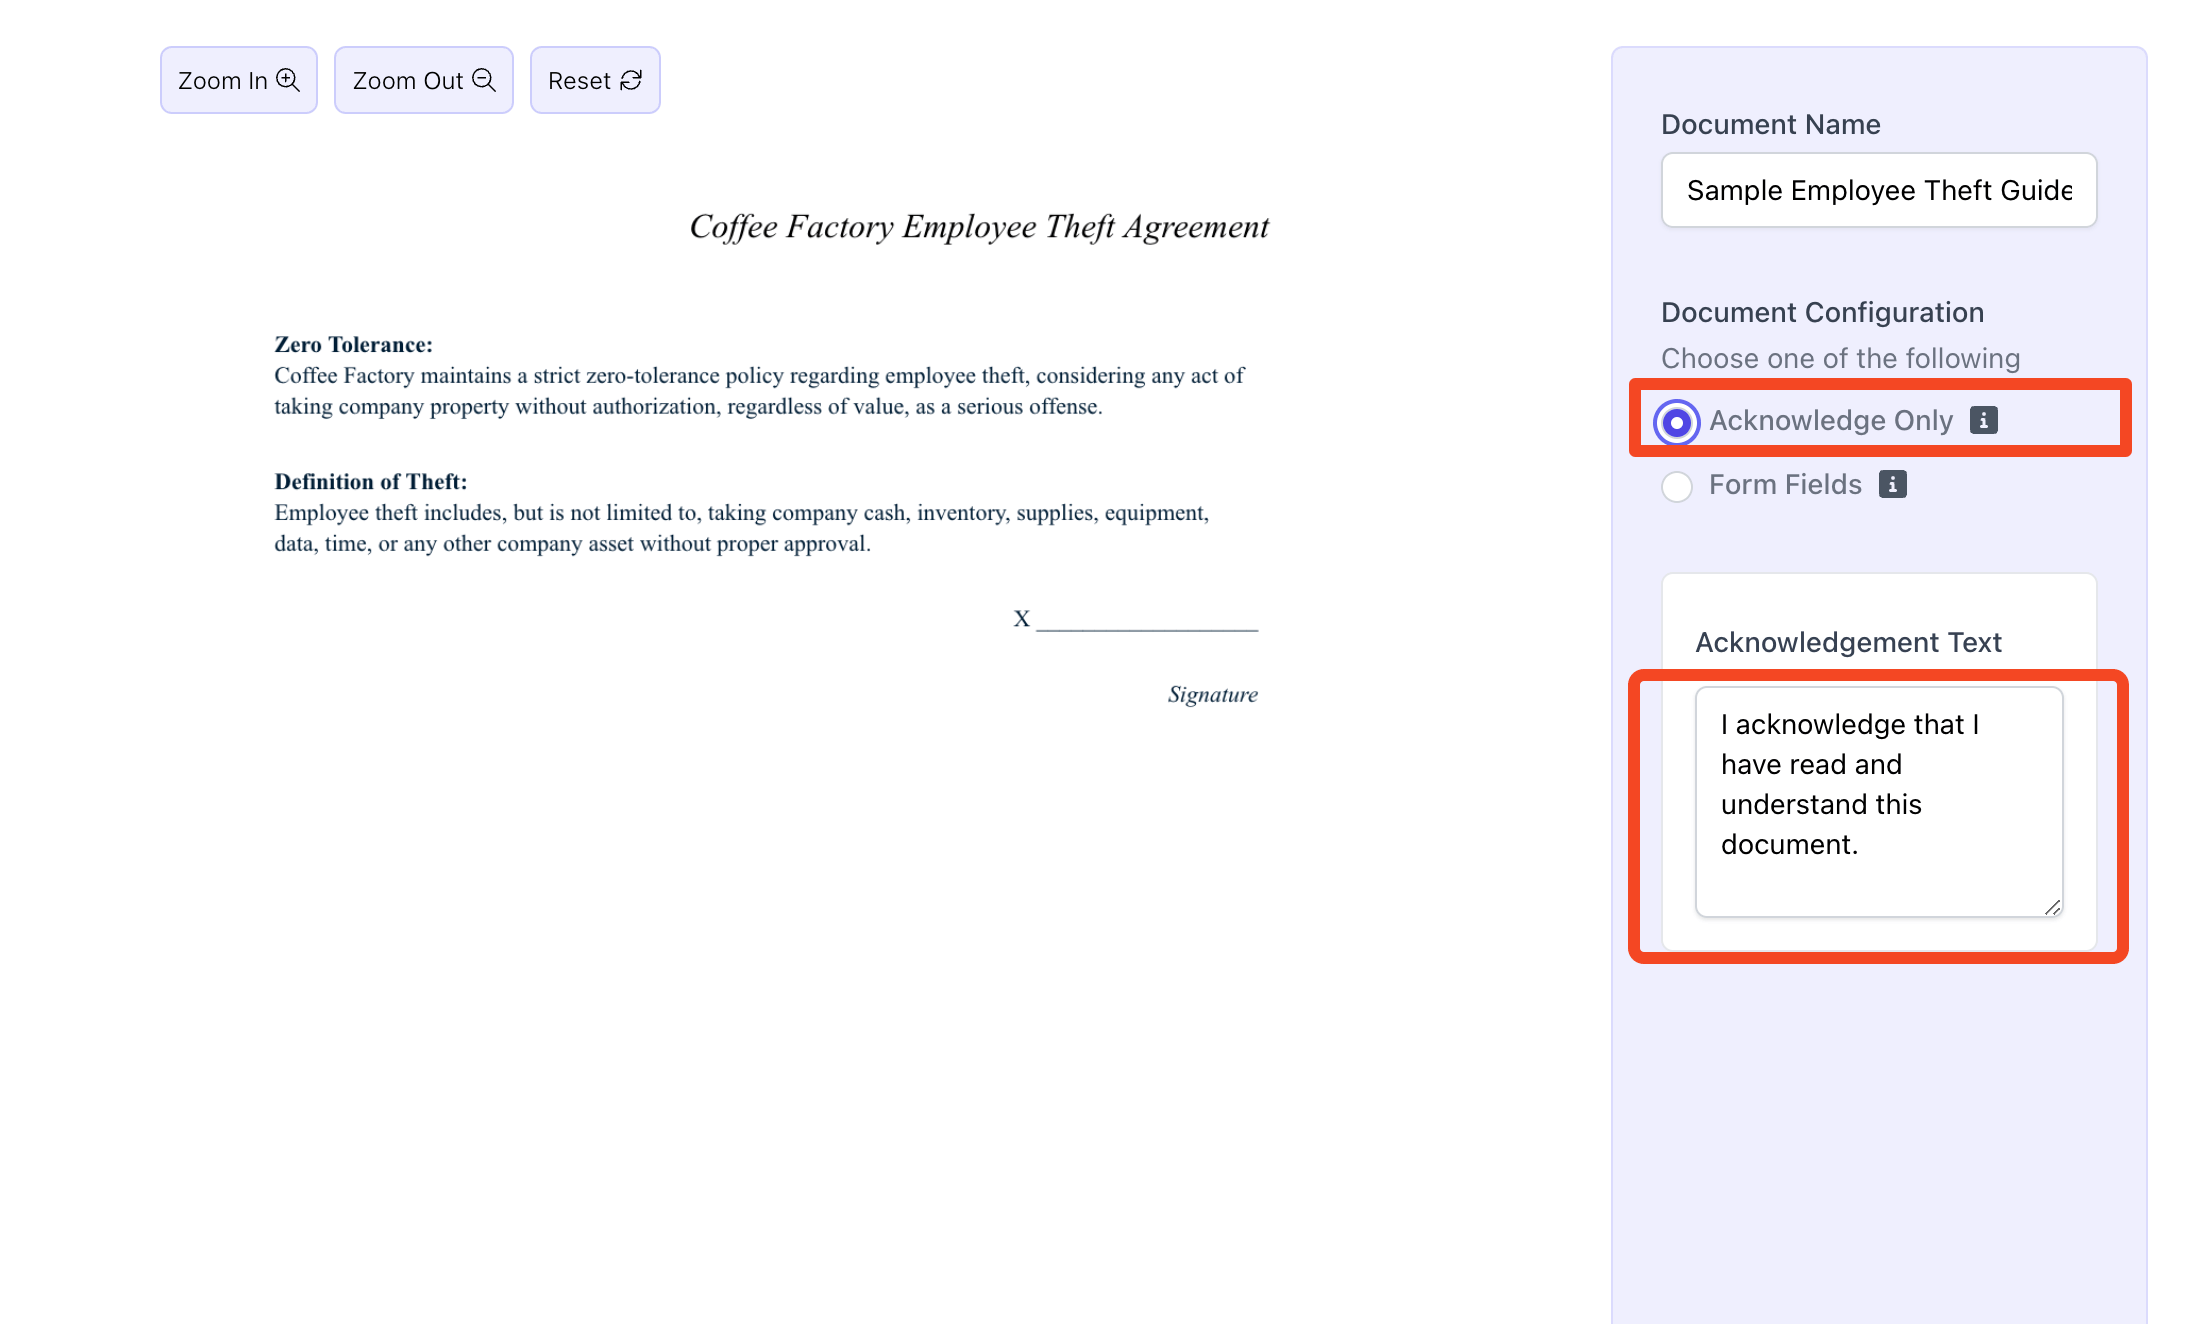
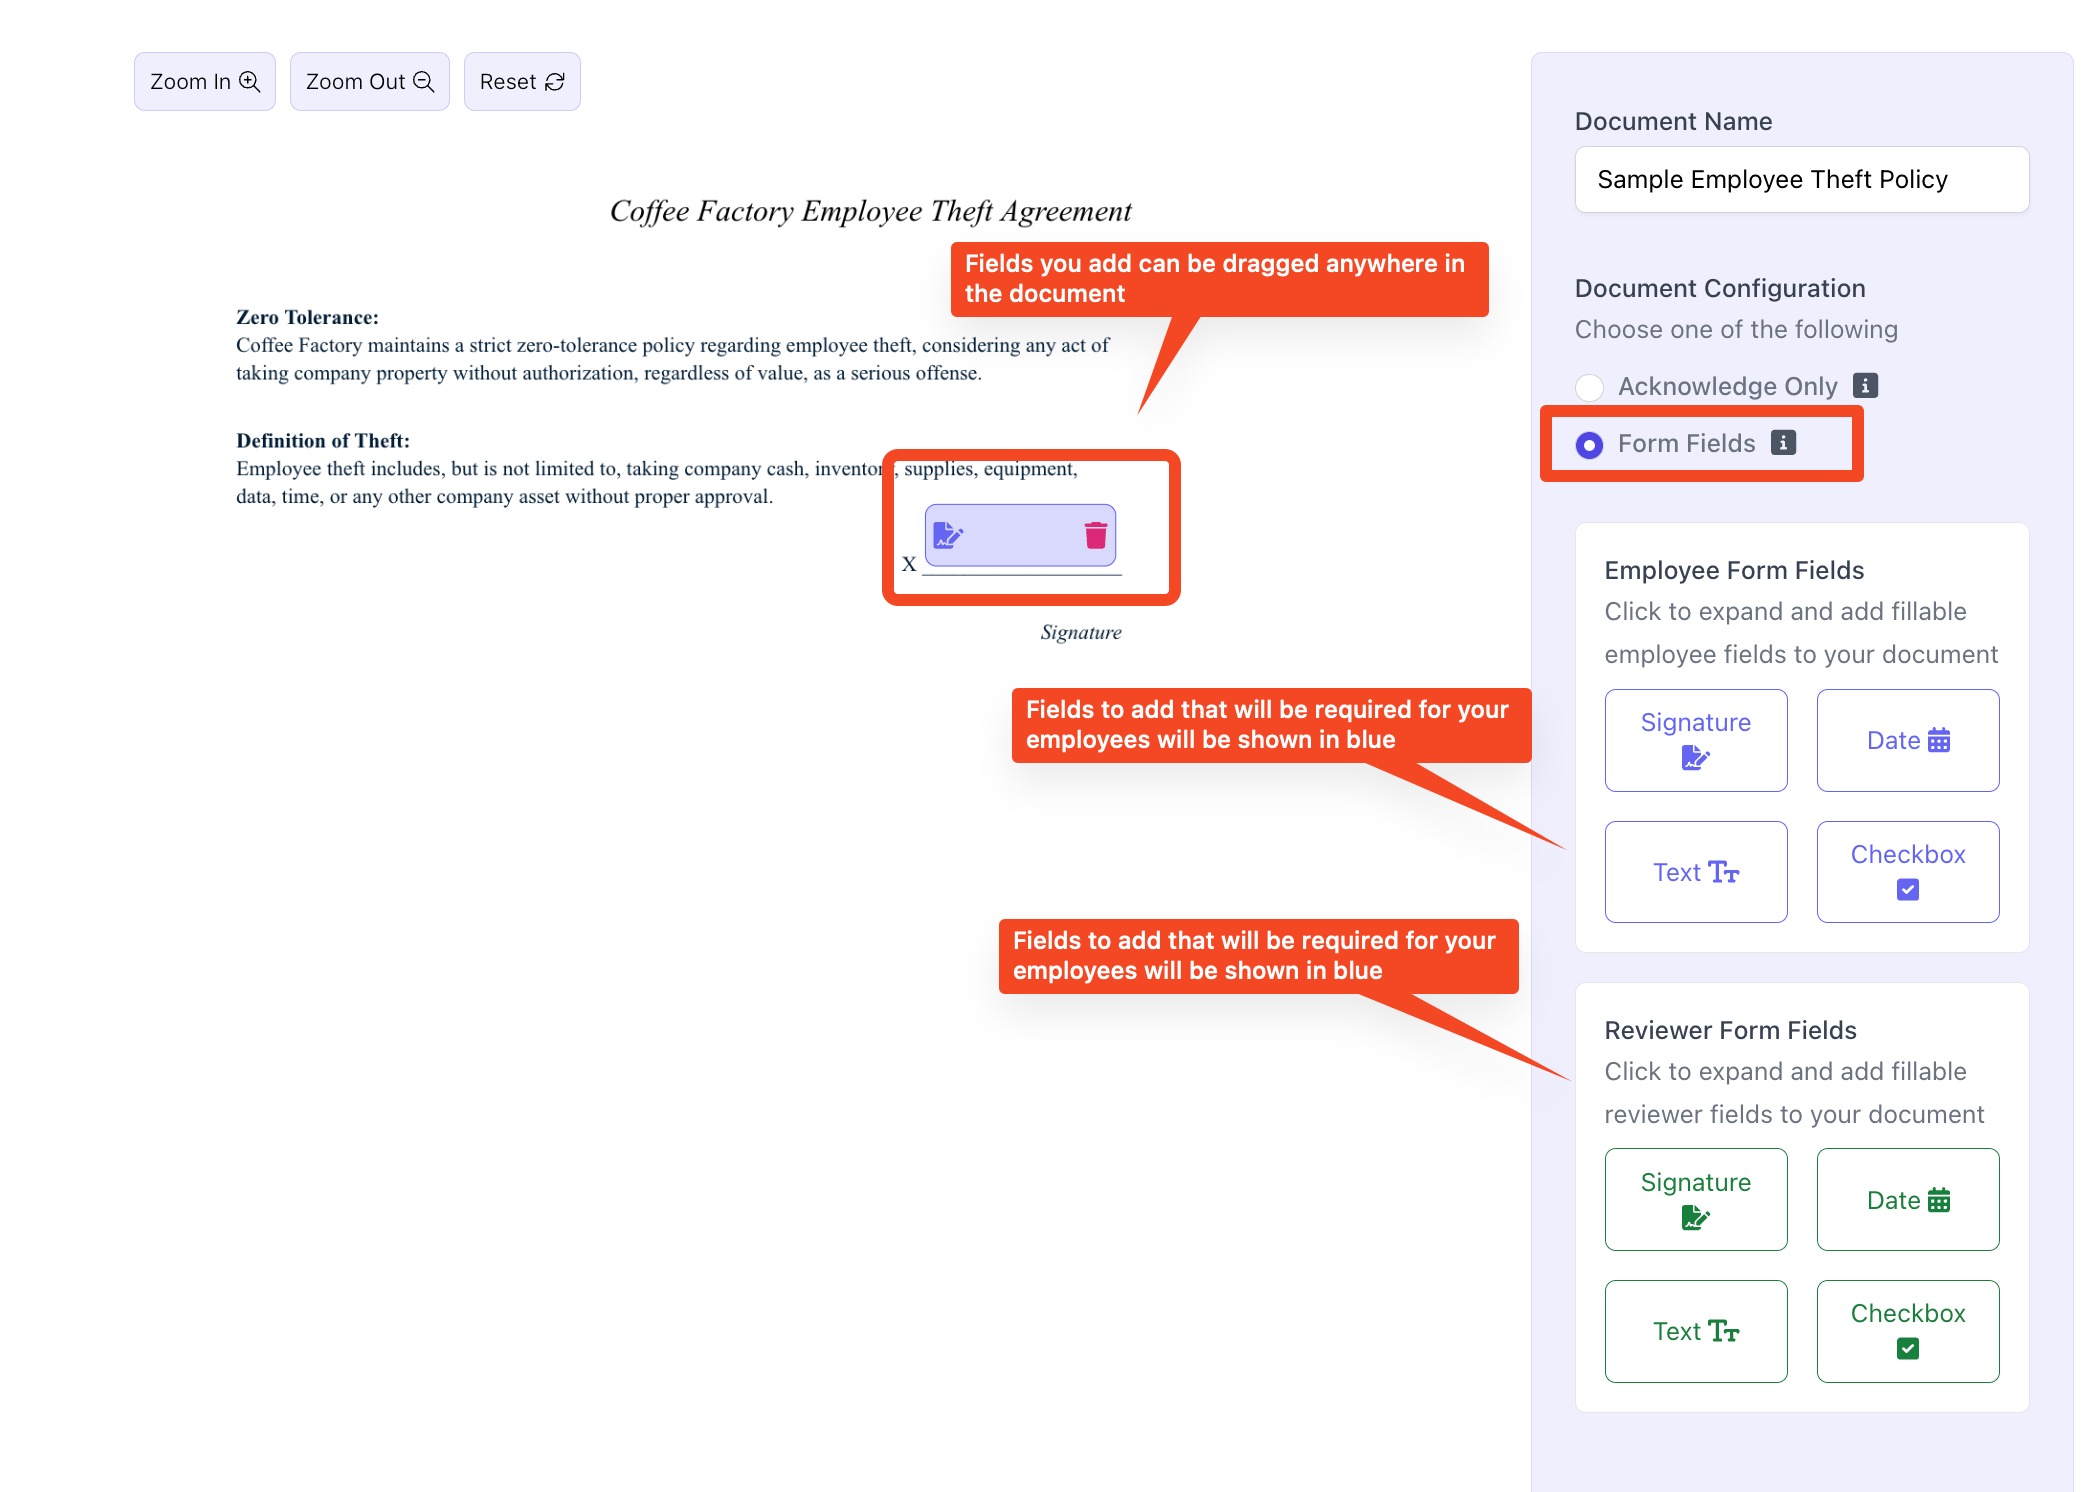
-
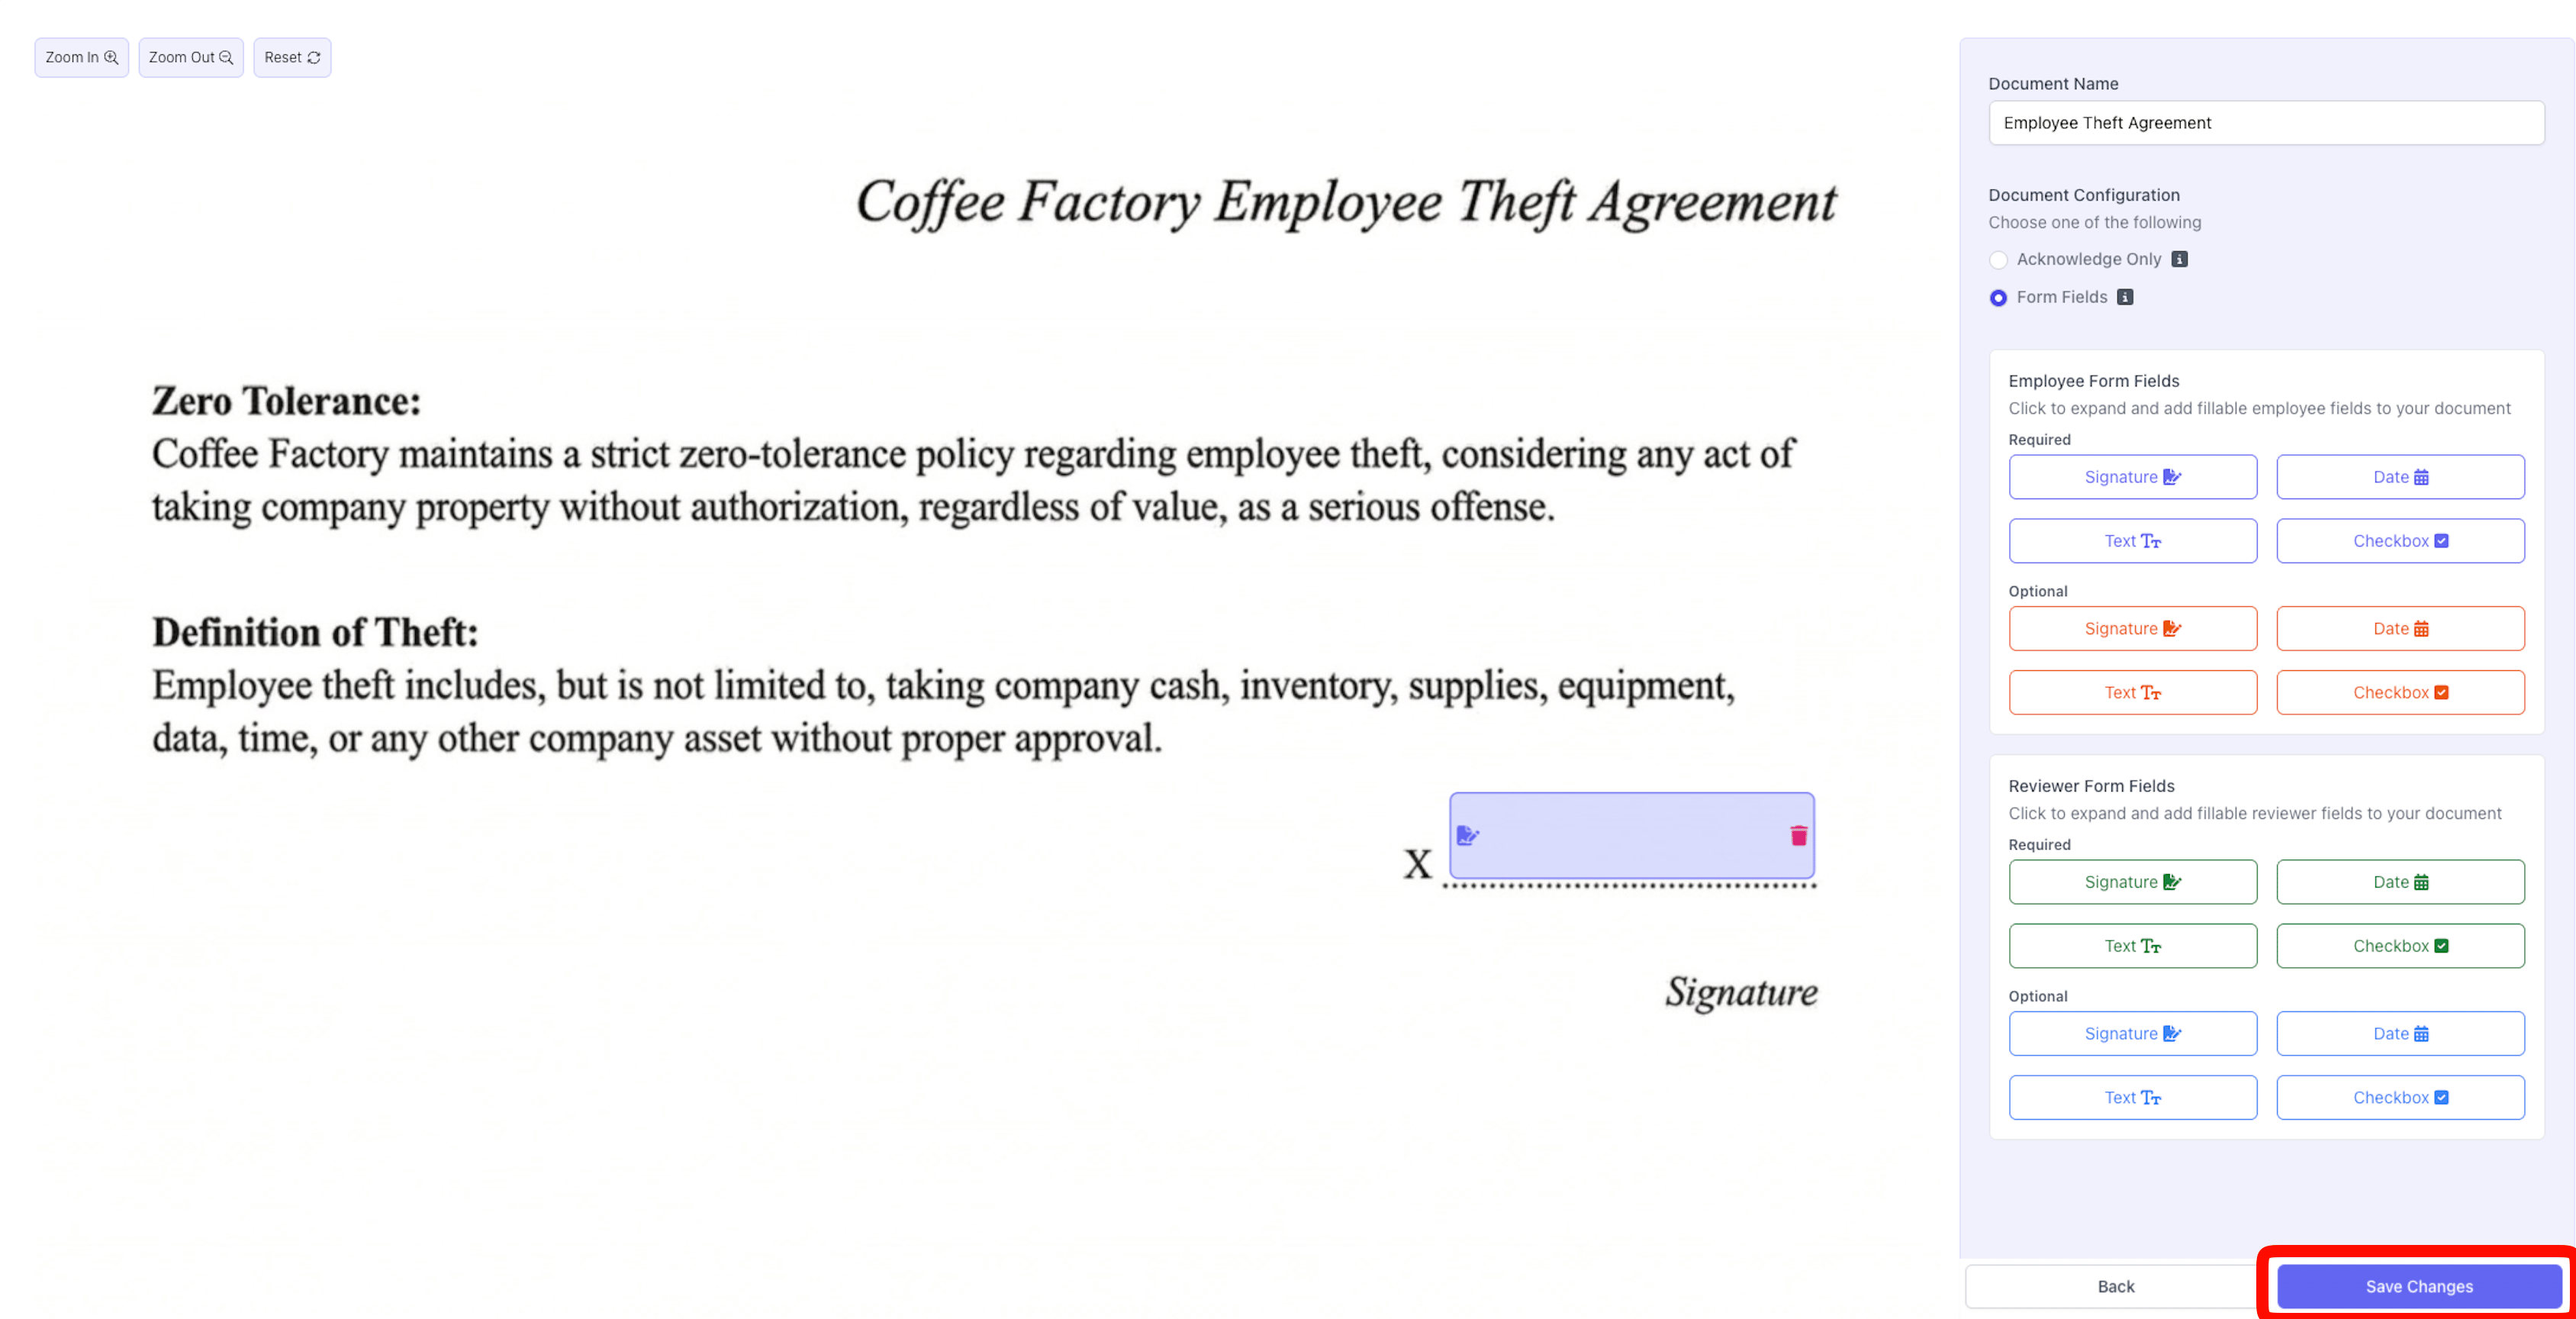
Once you’ve configured your document as you see fit, press Save Changes to finalize.
- Your document will then be successfully created, and can be found under the Company Documents tab.
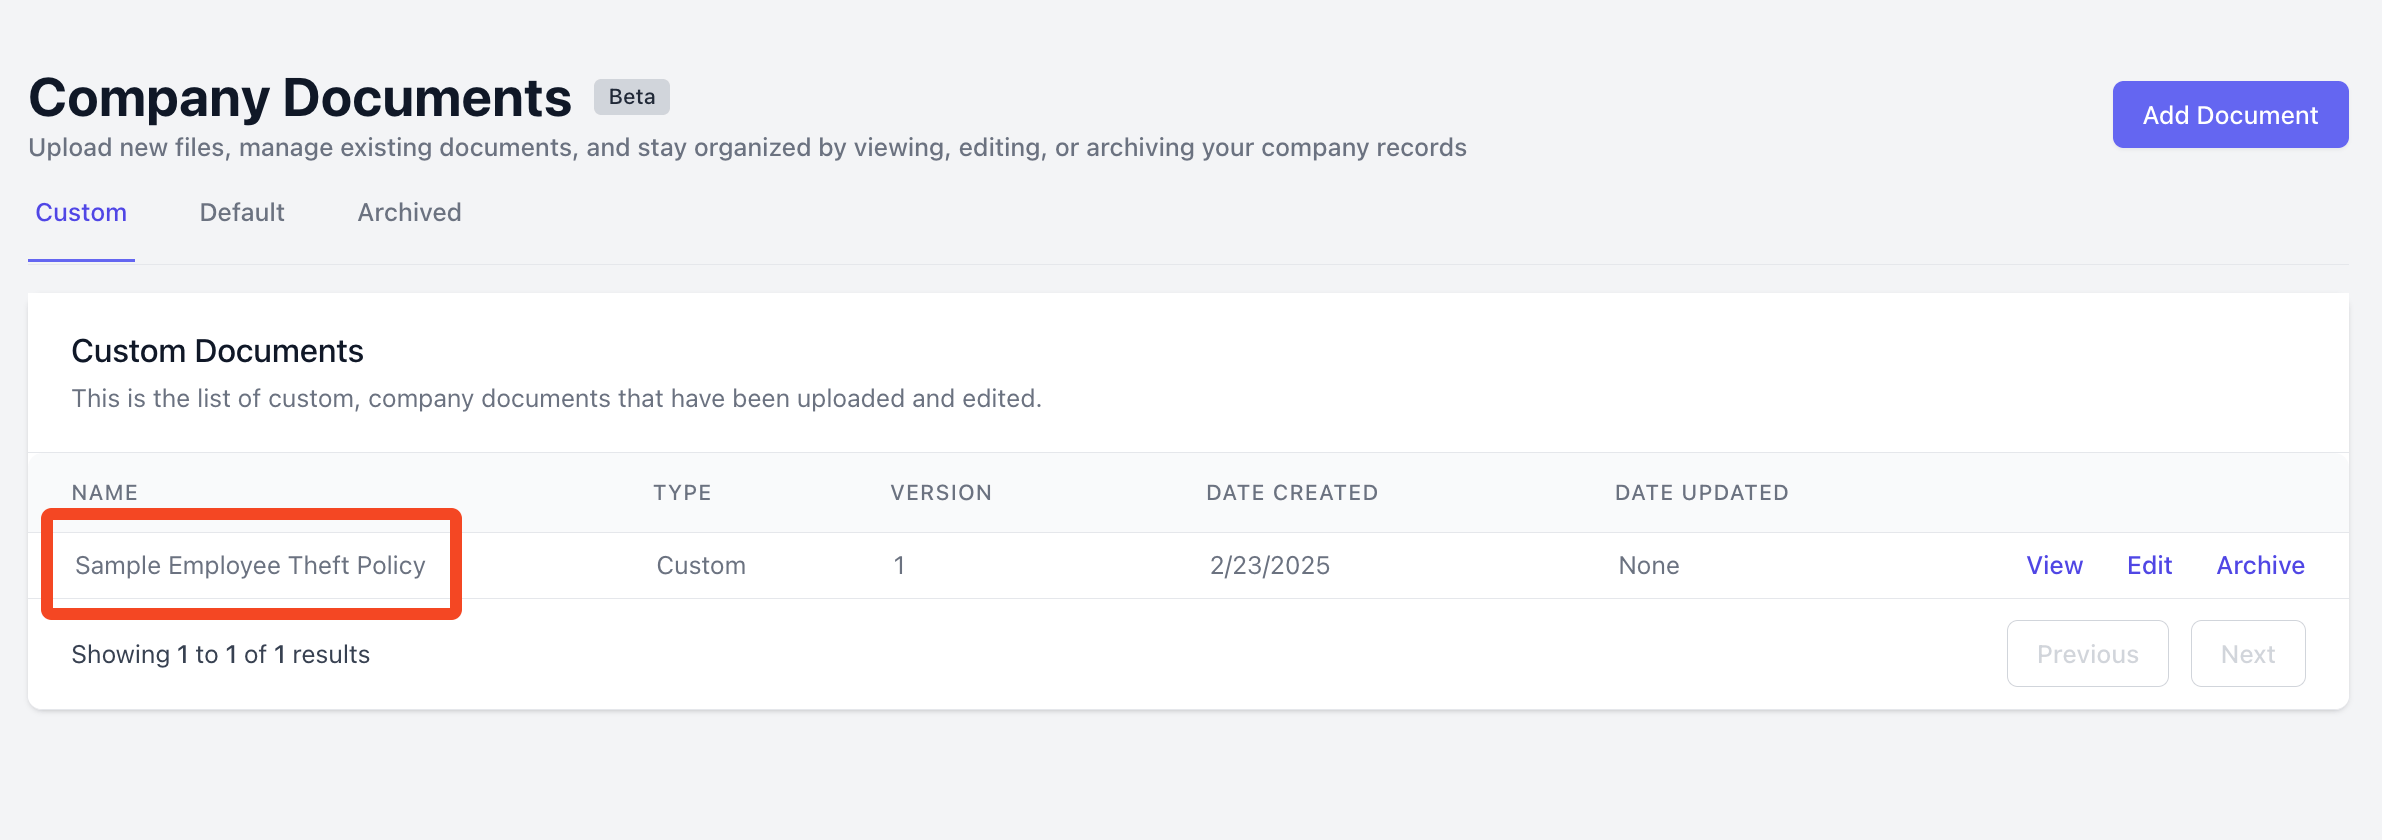
Managing Custom Documents
Once custom documents are created, you may need to make an edit or change to a document. You can do this from the Team > Onboarding > Company Documents. To manage a company document, use the View, Edit, or Archive buttons.- The View button will automatically download the document and open it in a new tab.
- The Edit button will take you back to the PDF editor so you can make changes. If you make changes to a document, its Version number will change to indicate that this document has been iterated on.
- The Archive button will move the document to the Archived tab, and this document will no longer be able to be included in onboarding packets.