Create Time Off Policies
All Dripos locations start with an unpaid “Basic Time Off” policy that employees are automatically enrolled in. You can create additional paid and unpaid time off policies on the Web Dashboard.1
Log in to the Web Dashboard and navigate to Team > Time Management > Time Off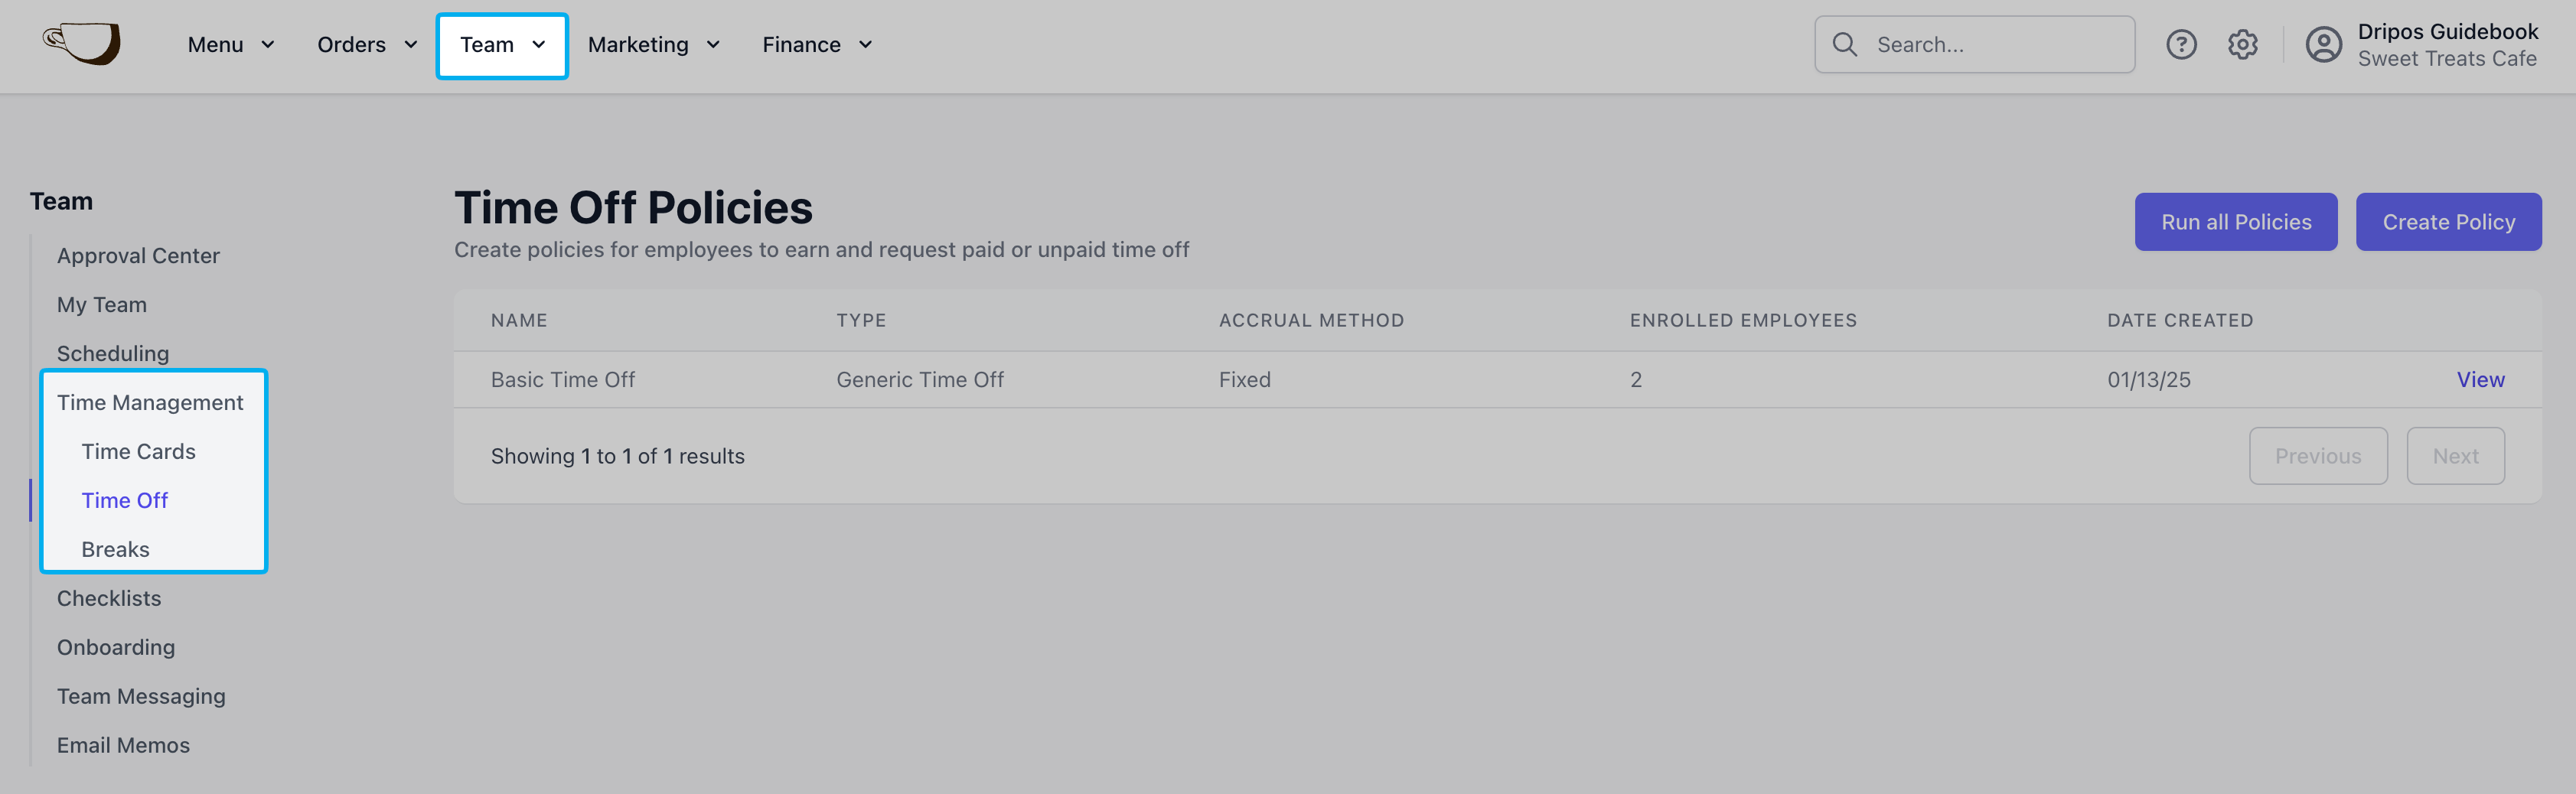
2
Click Create Policy in the top right corner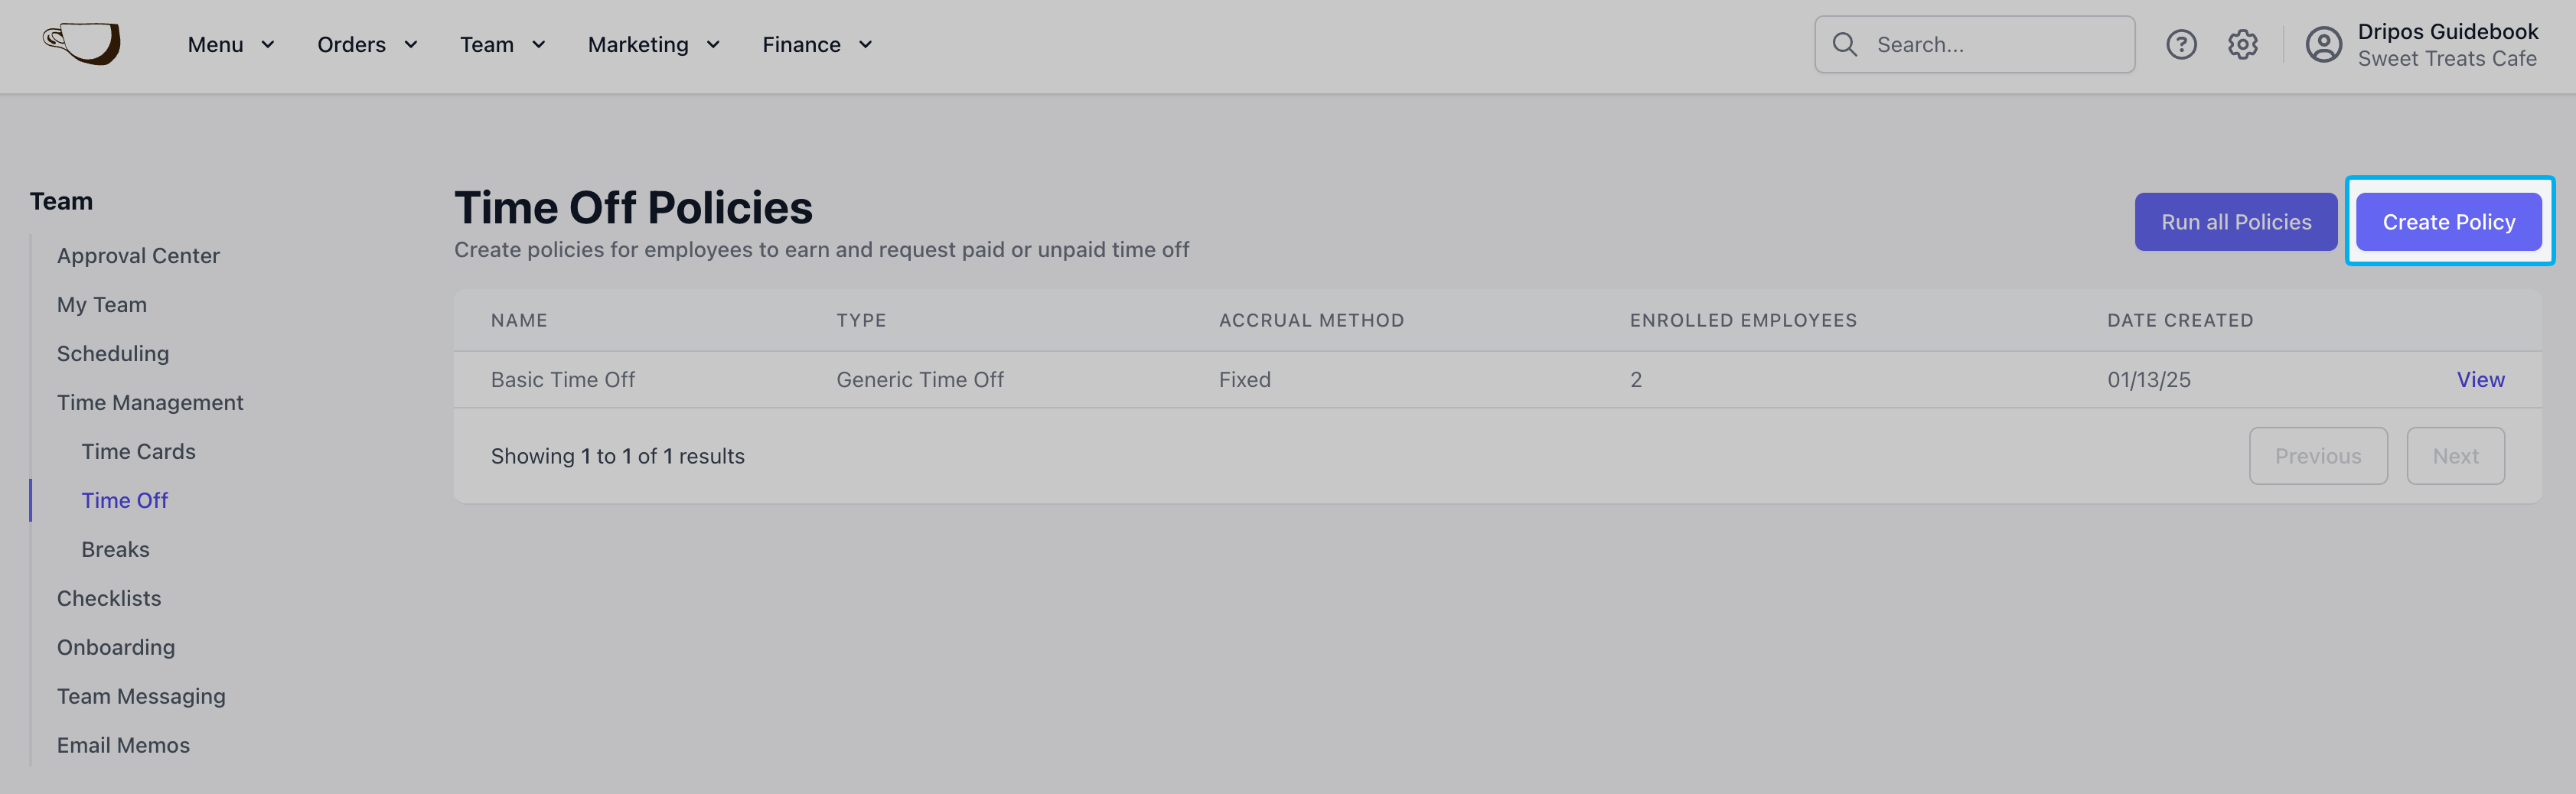
3
Set Up Policy Details
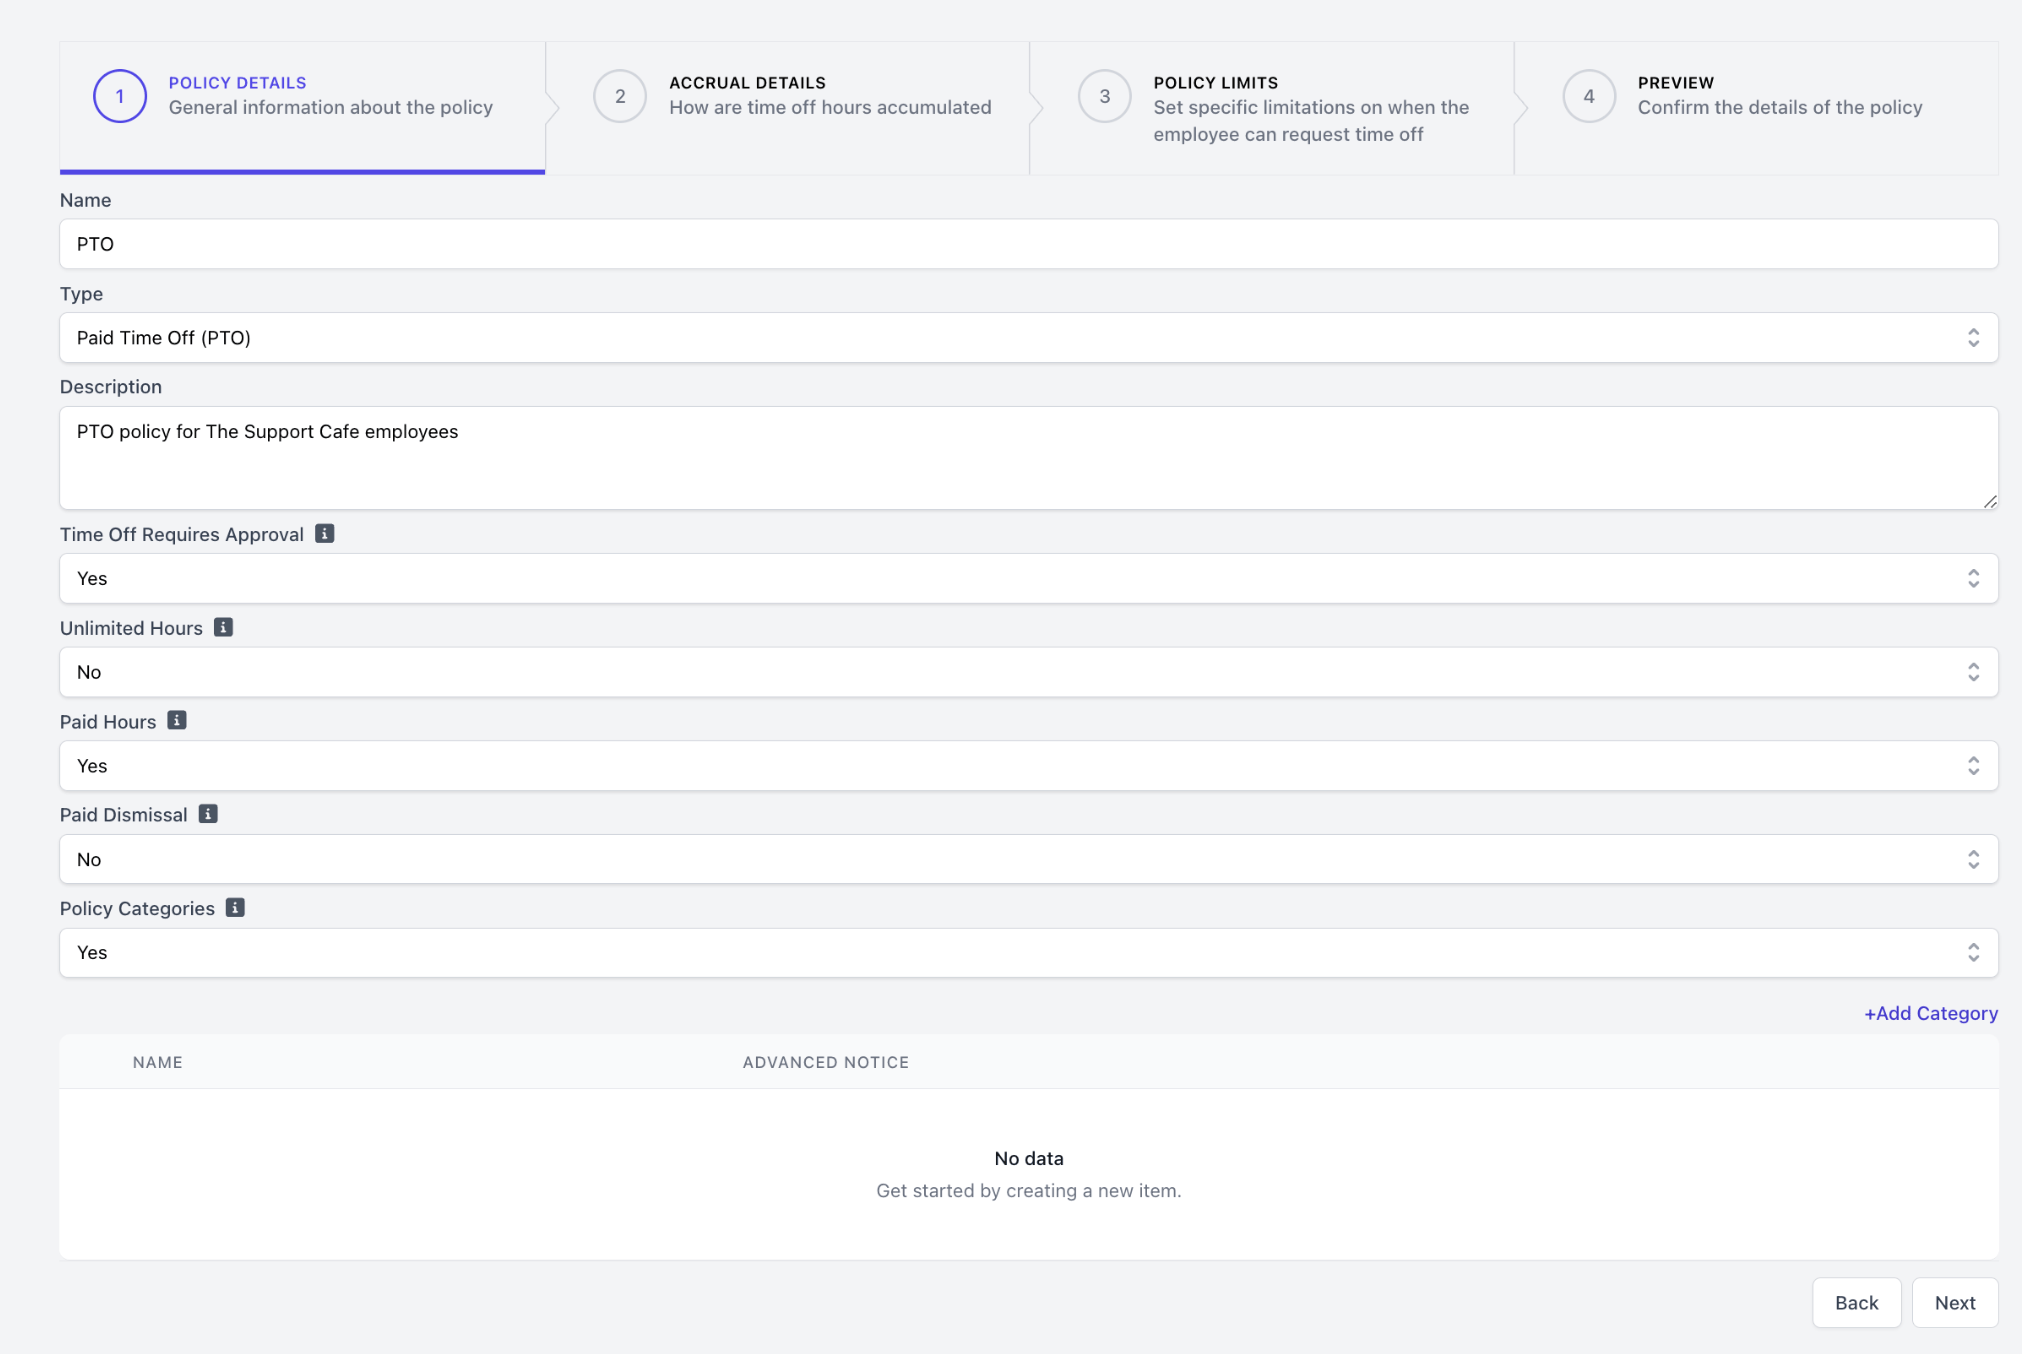
Policy Detail Selections
Policy Detail Selections
Type: Generic Time Off, Paid Time Off (PTO), Parental Leave, Sick Leave, Vacation, Personal Time, or Holiday.Description (Optional): Input a description for the time off policy.Time Off Requires Approval: If set to Yes, Time Off Requests will need to be approved by a manager in the Approval Center. Learn more about approving Time Off Requests here.Unlimited Hours: If set to Yes, there is no limit on the number of hours an employee can request under this policy.Paid Hours: If set to Yes, employees will be paid for hours they take off under this policy.Paid Dismissal: If set to Yes, employees will be paid out any accrued time off hours upon dismissal.Policy Categories: If set to Yes, employees will need to select the category under this policy they would like to request time off from.Notice Needed: If Policy Categories is set to Yes, use the +Add Category button to input a Name and Notice Needed (in days).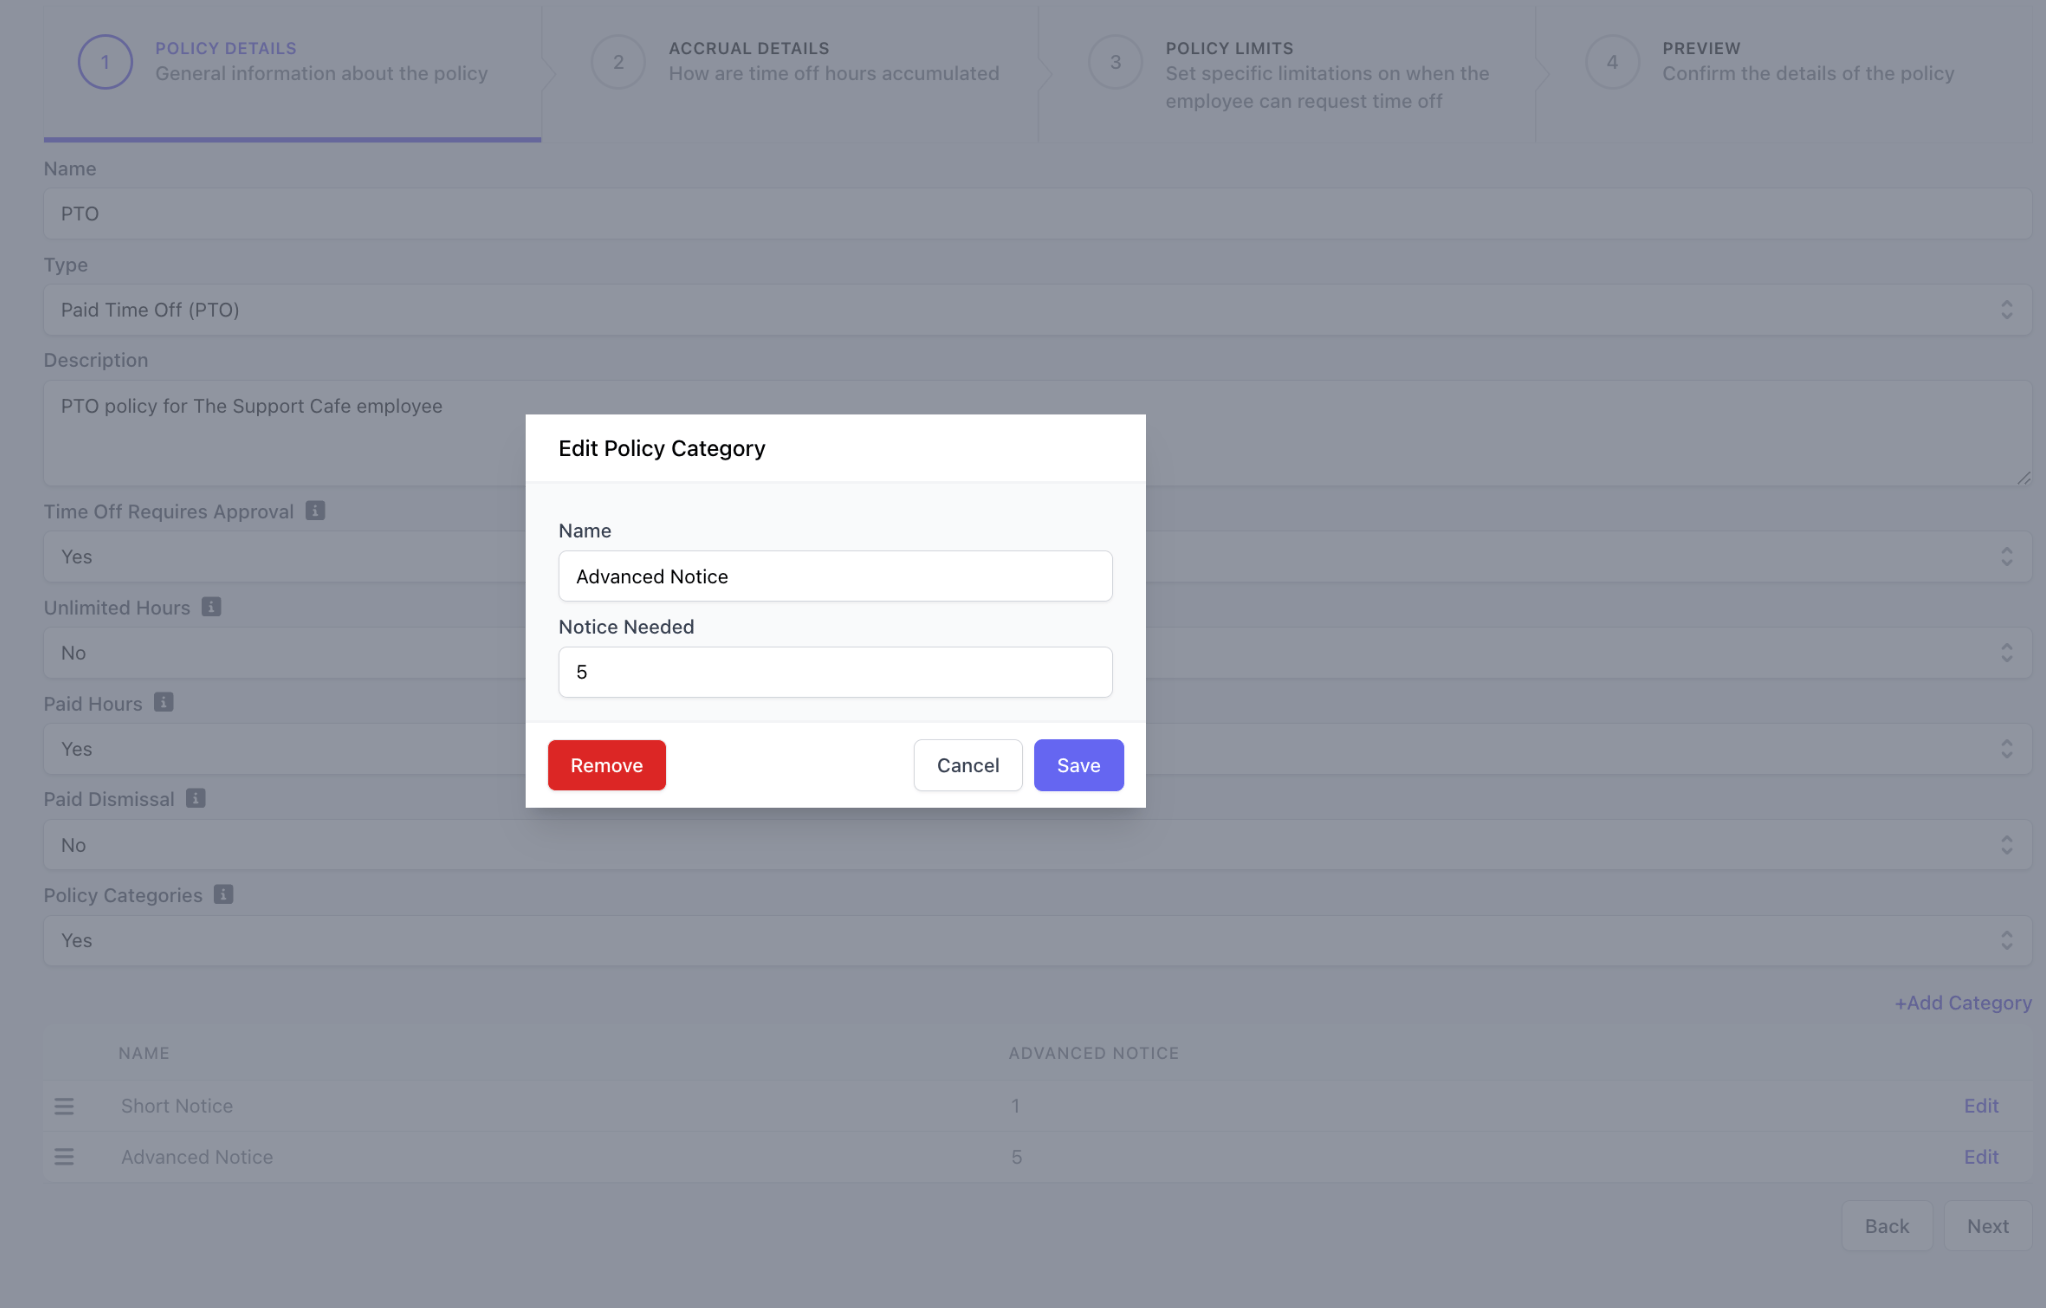
4
Set Up Accrual Details
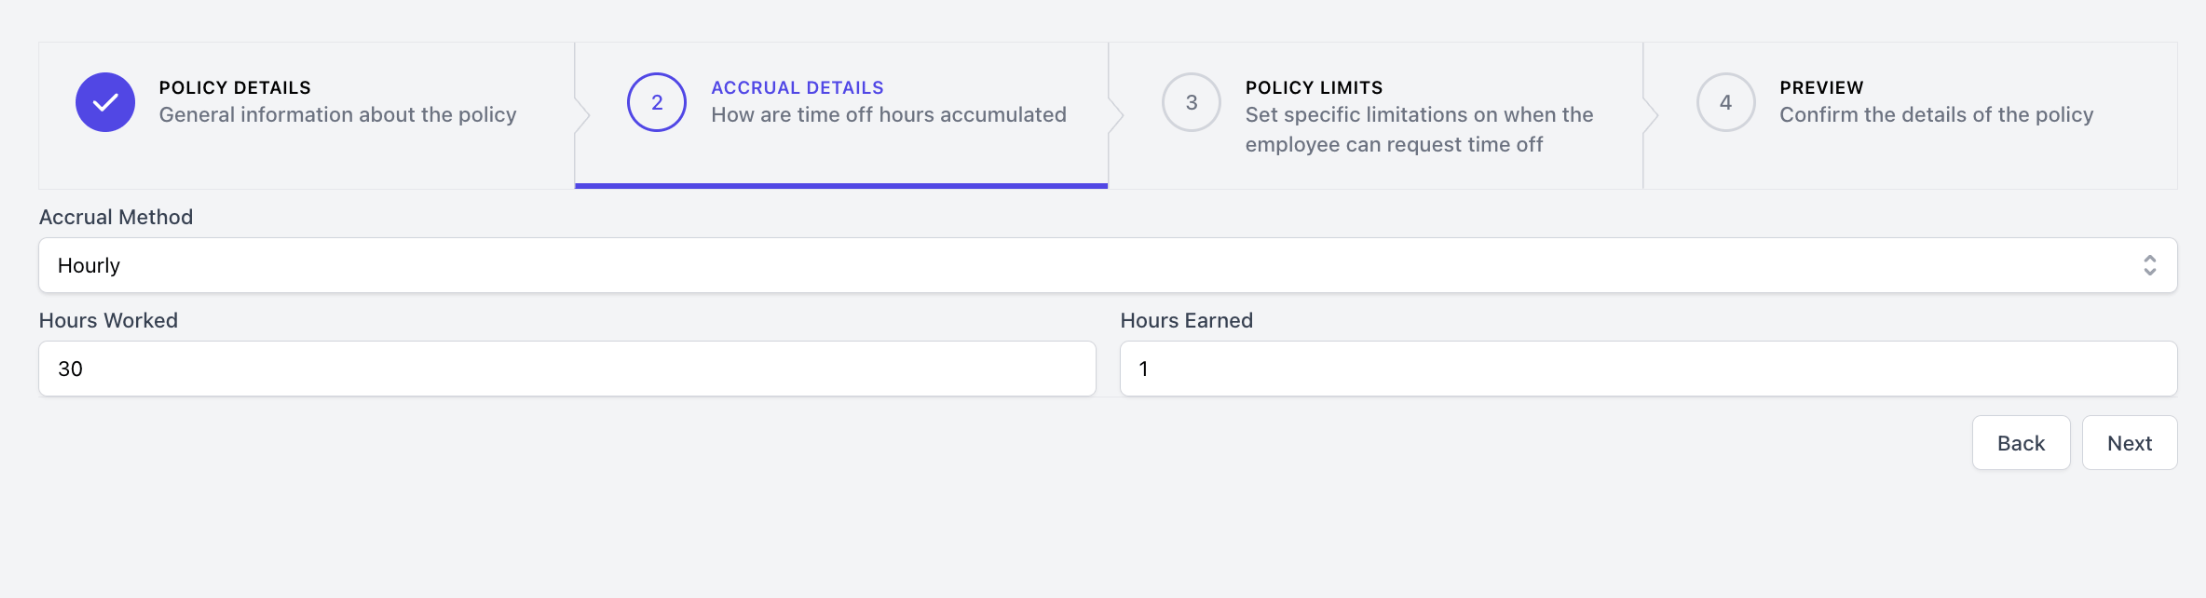
Select the applicable Accrual Method for the policy.
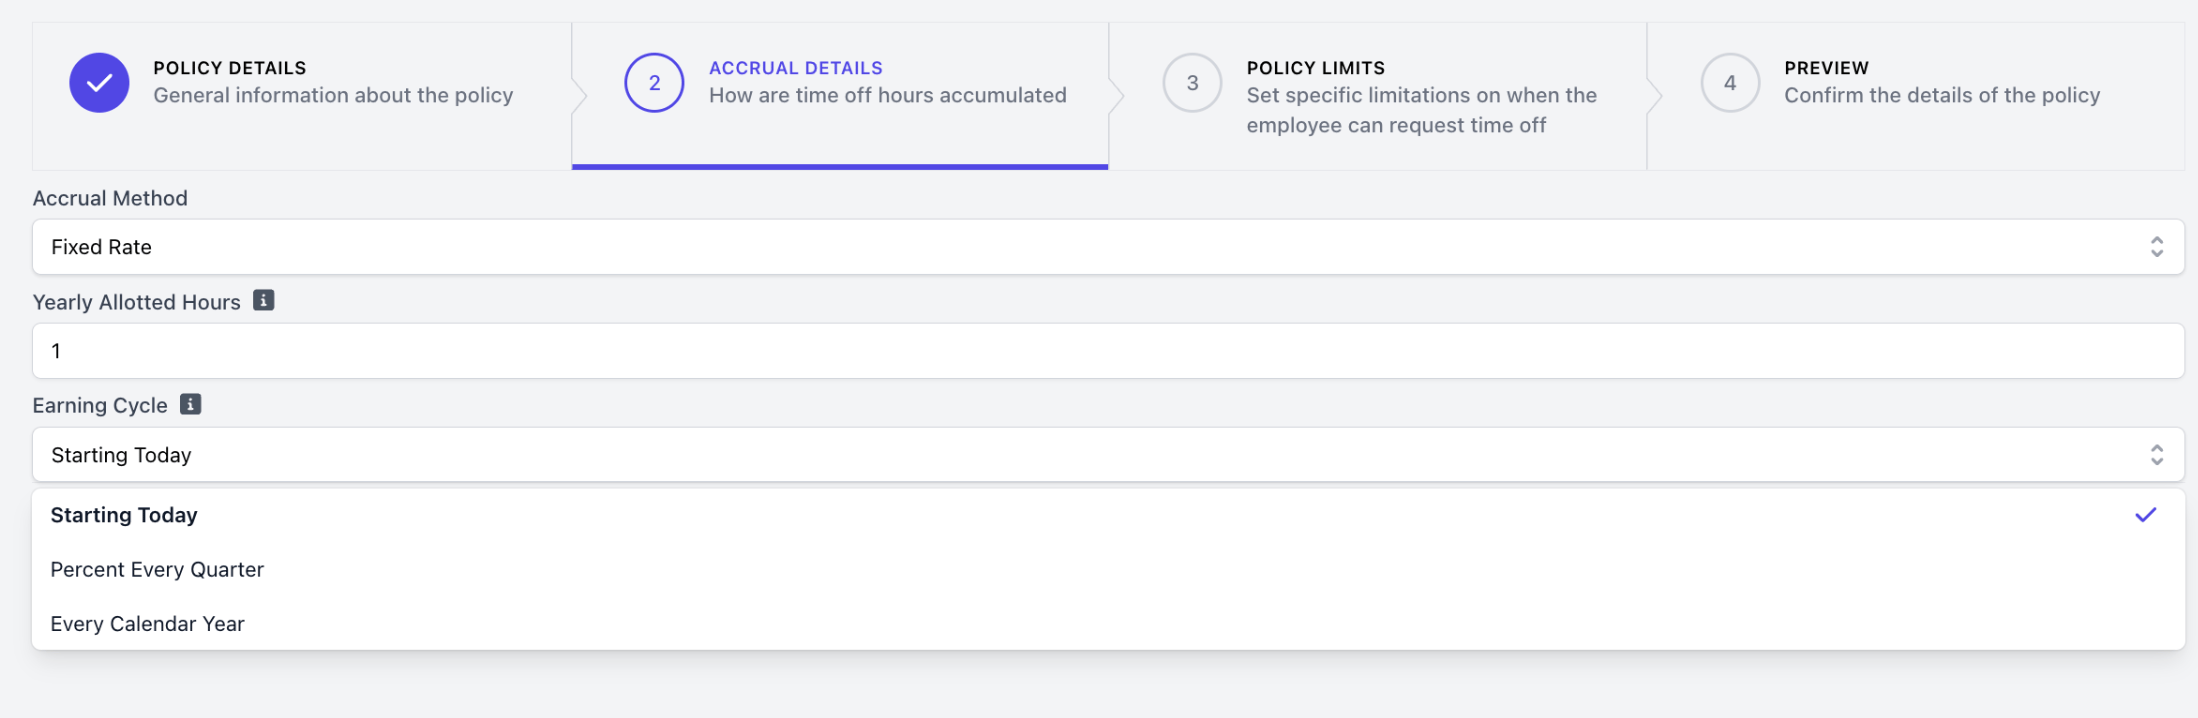
Fixed Rate
Fixed Rate
Hourly Rate
Hourly Rate
5
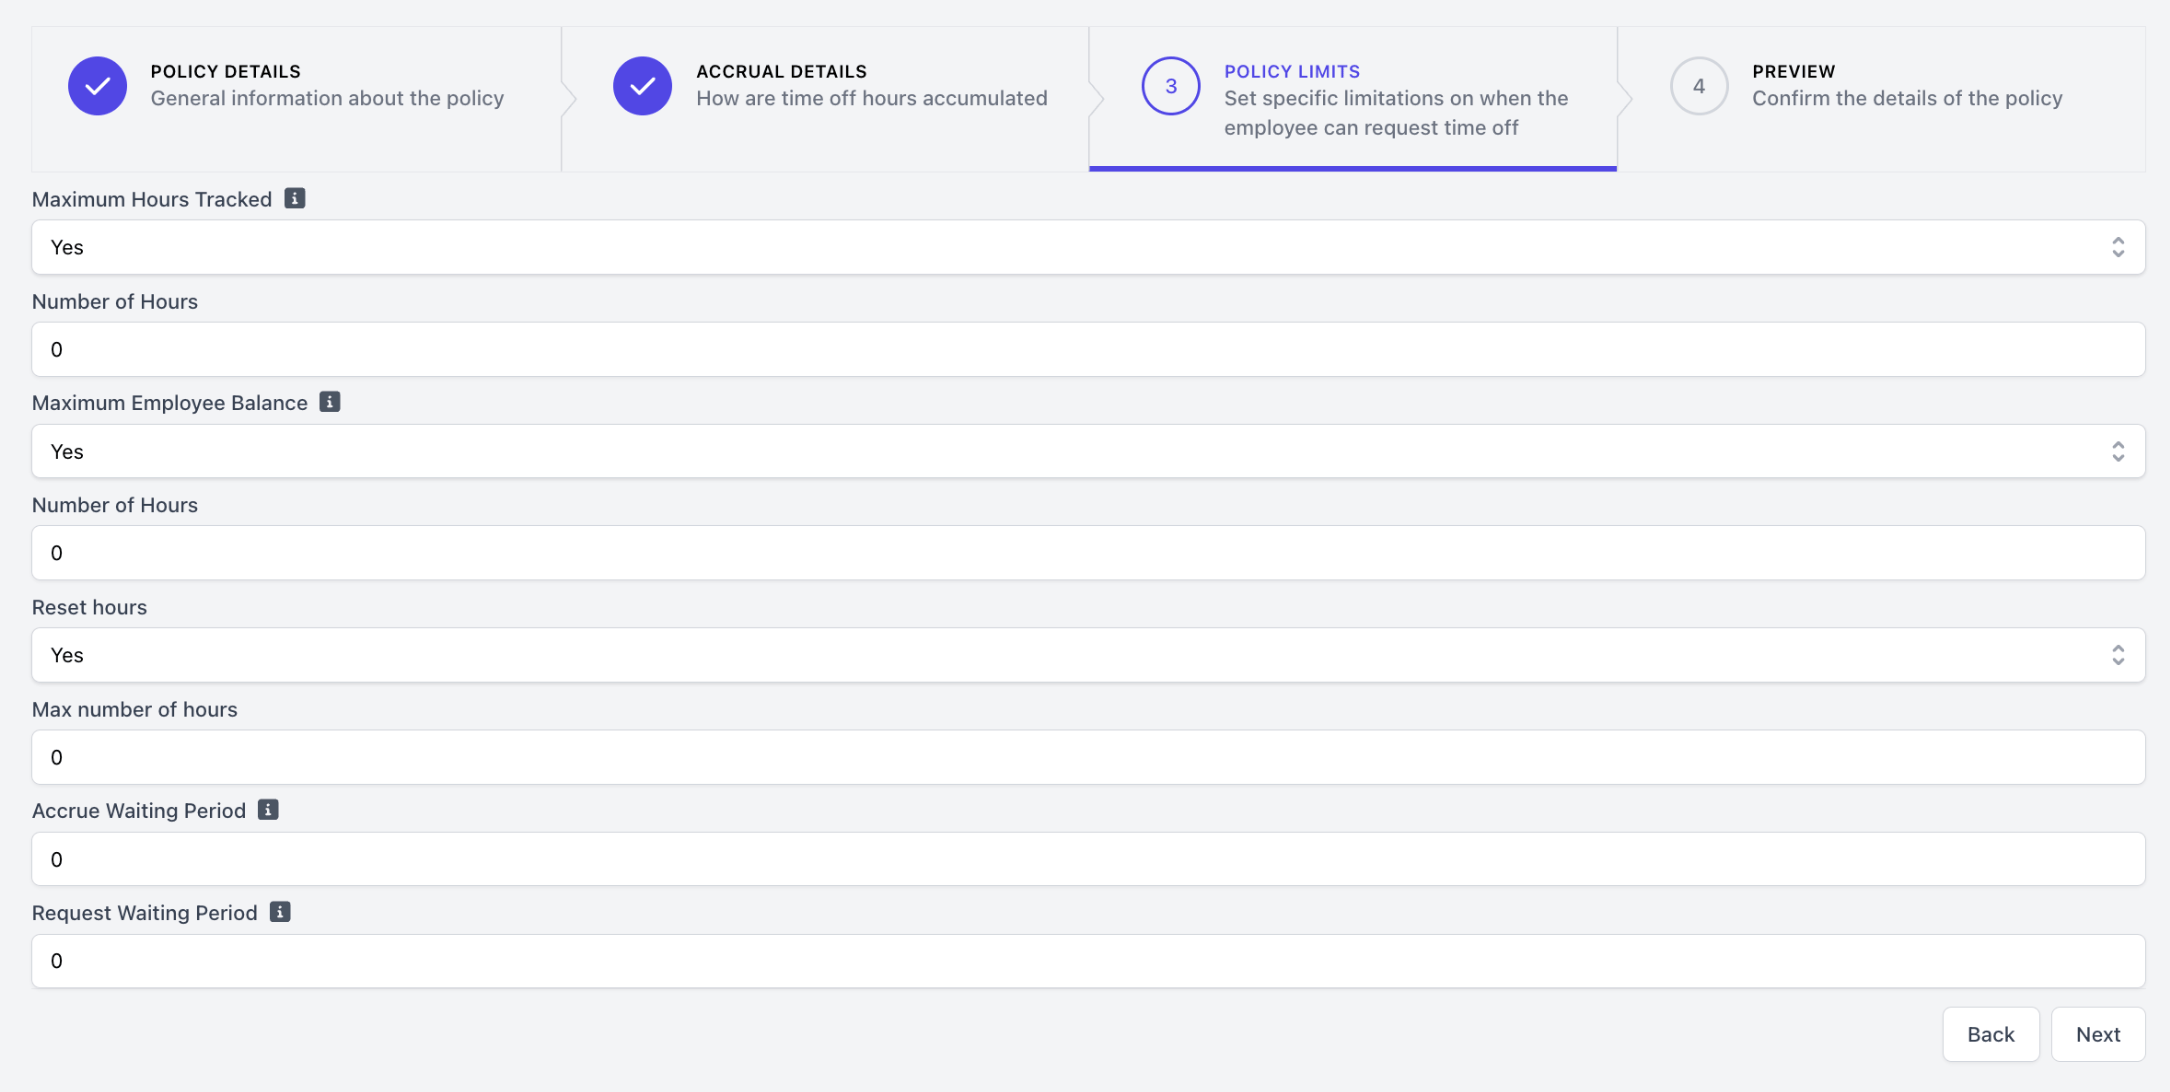
Set Up Policy Limits
Determine specific limitations for the policy.
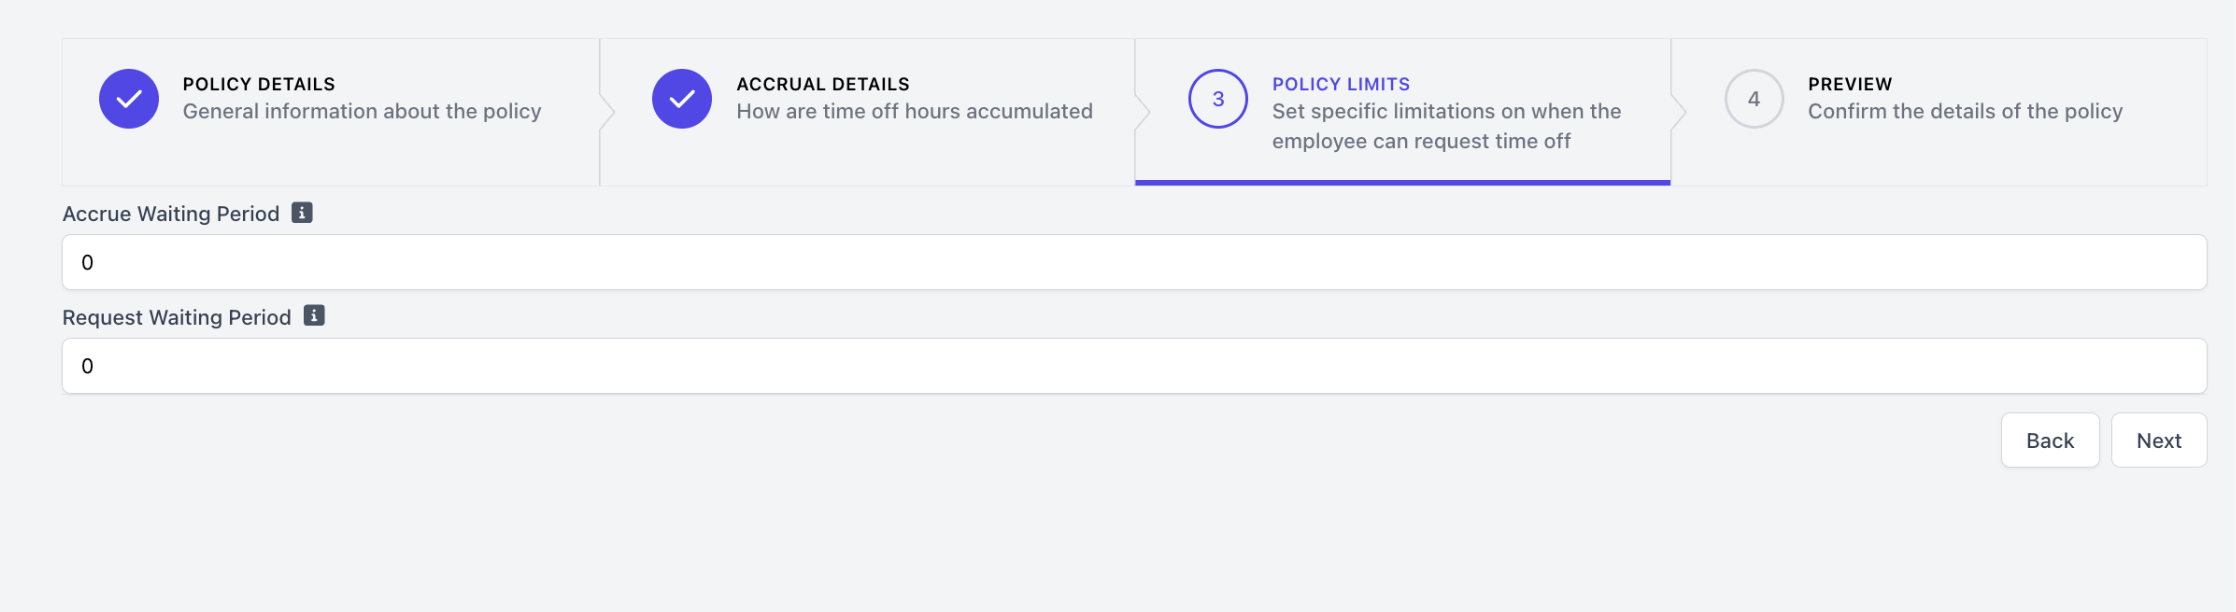
Fixed Rate
Fixed Rate
Hourly Rate
Hourly Rate
6
Save the Time Off Policy
Confirm the details of the policy before clicking Submit.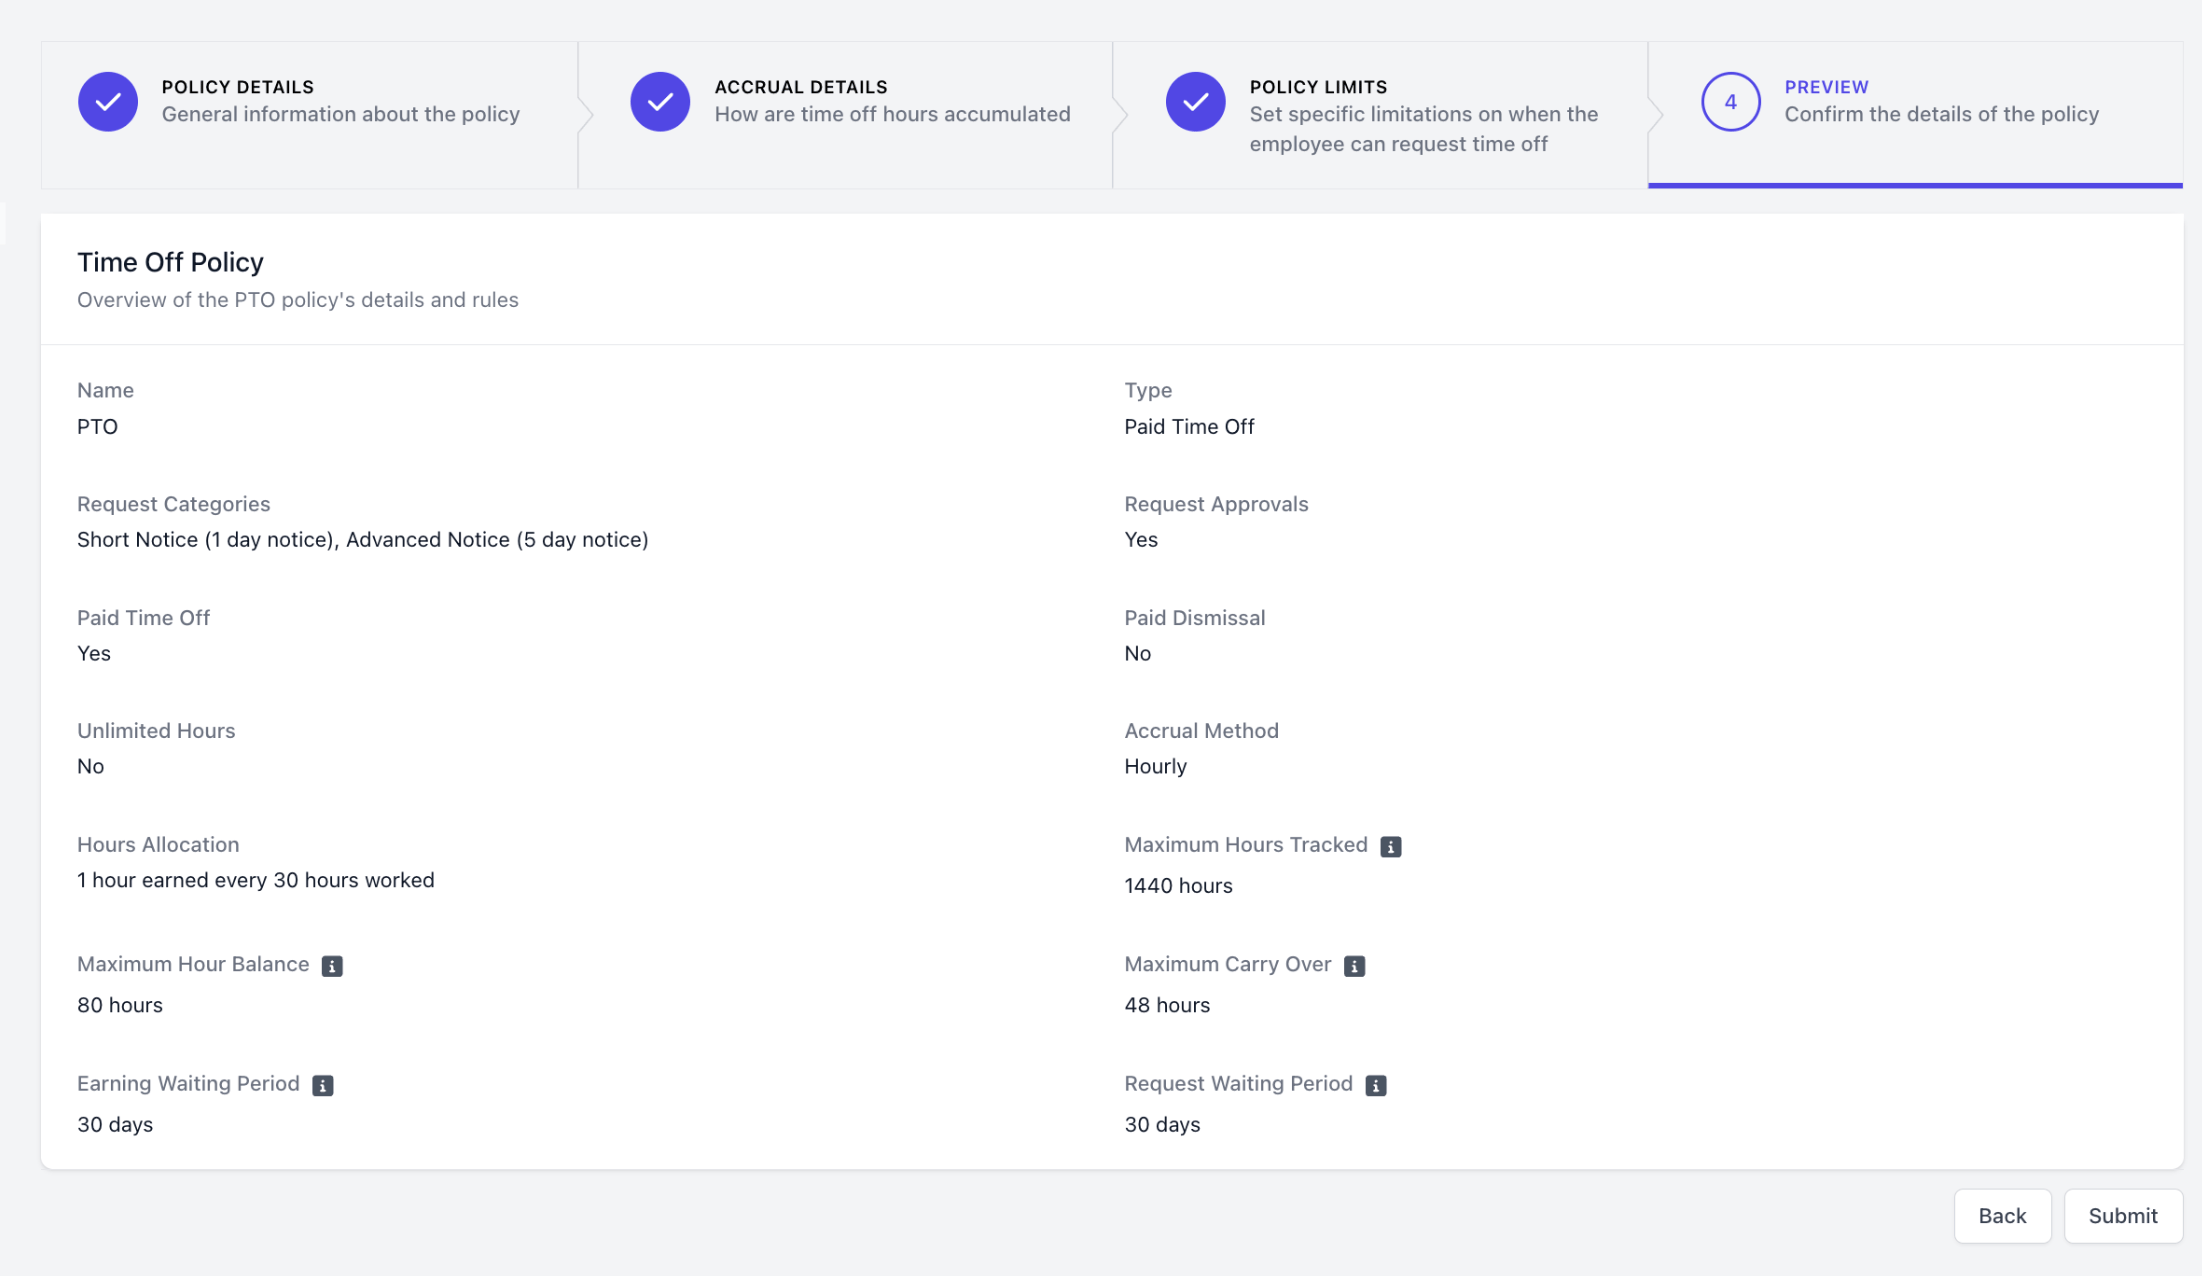
7
Edit Time Off Policy
Time off policies can be updated by clicking Edit Information on the Time Off Policy information page.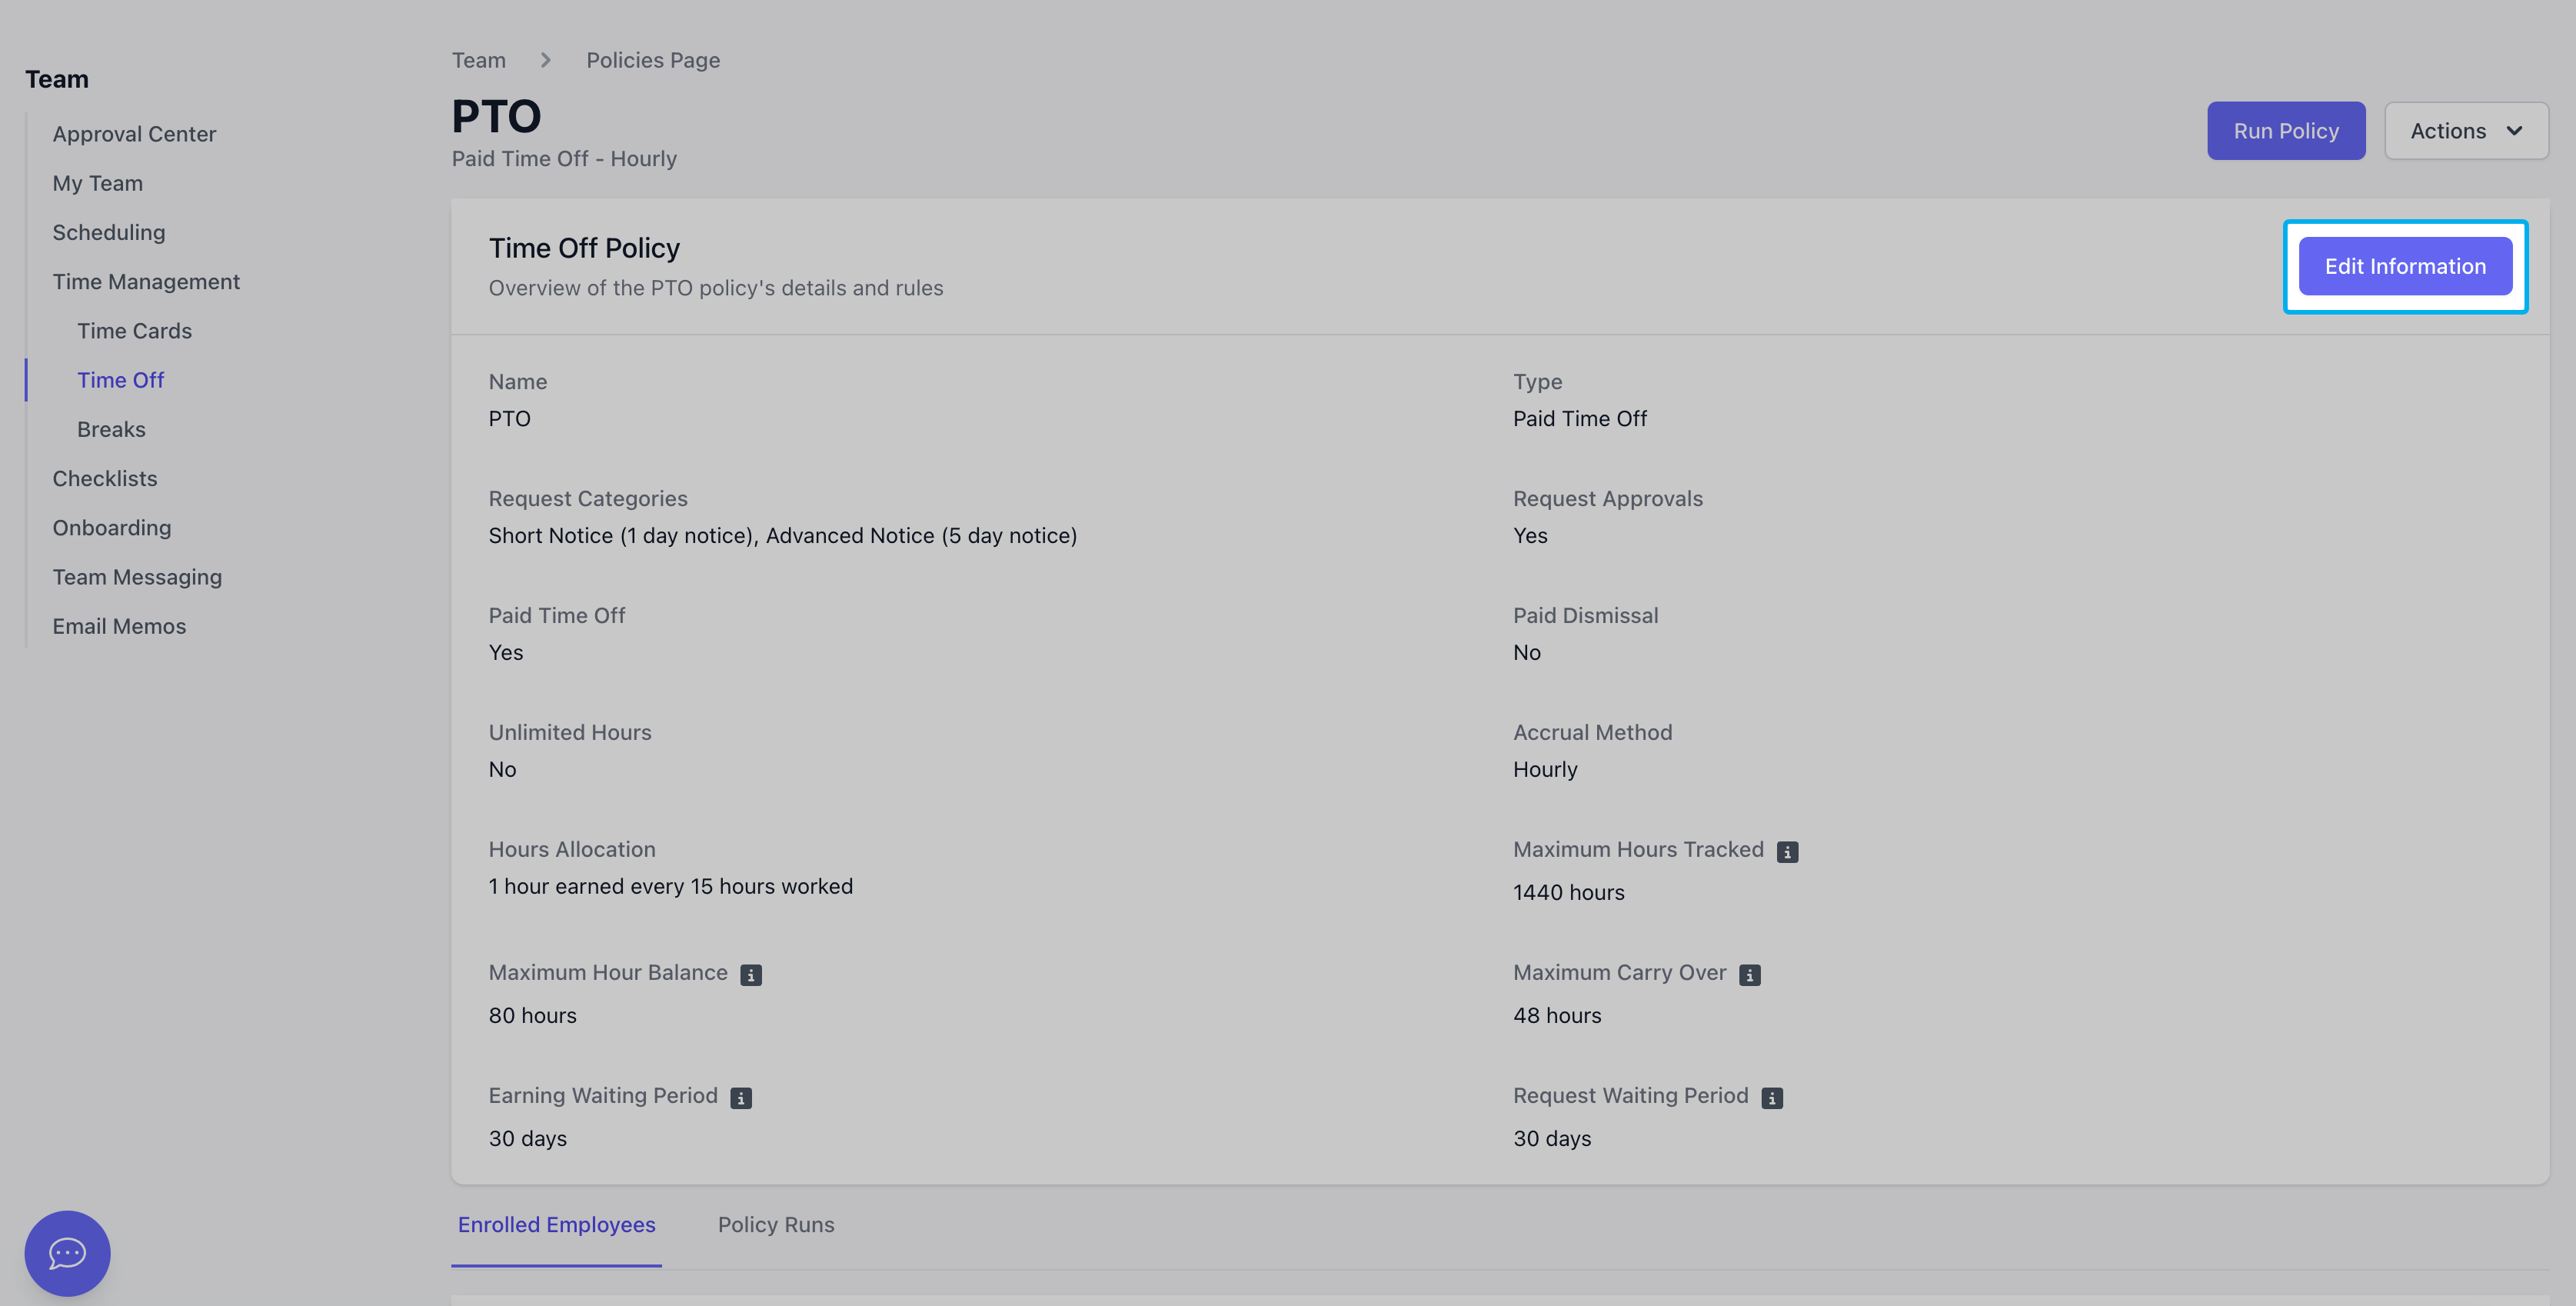
Enroll Employees in Time Off Policies
After creating Time Off Policies, enroll employees to start accruing hours under applicable policies.1
Log in to the Web Dashboard and navigate to Team > Time Off Policies
2
Click View for the policy to enroll employees in.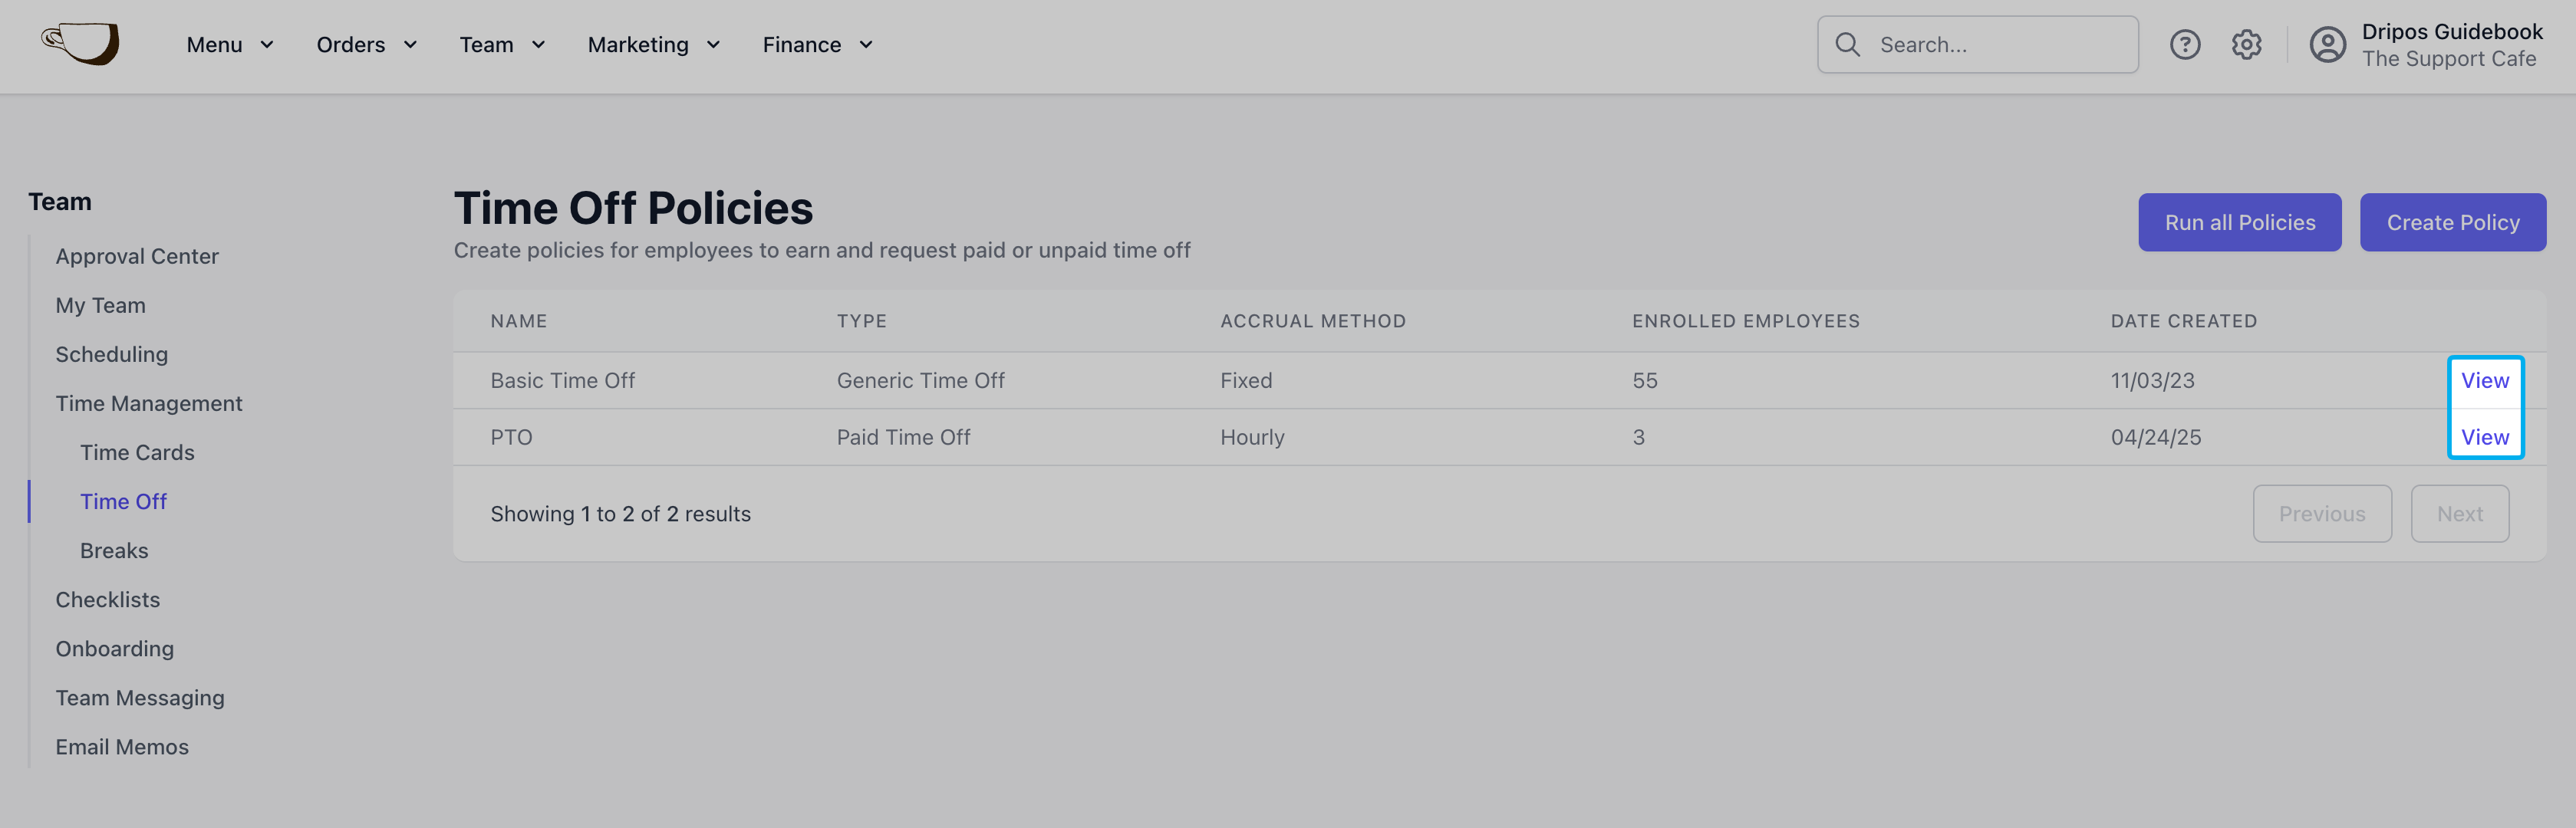
3
Navigate to the Enroll Employees tab and click the Enroll Employee button.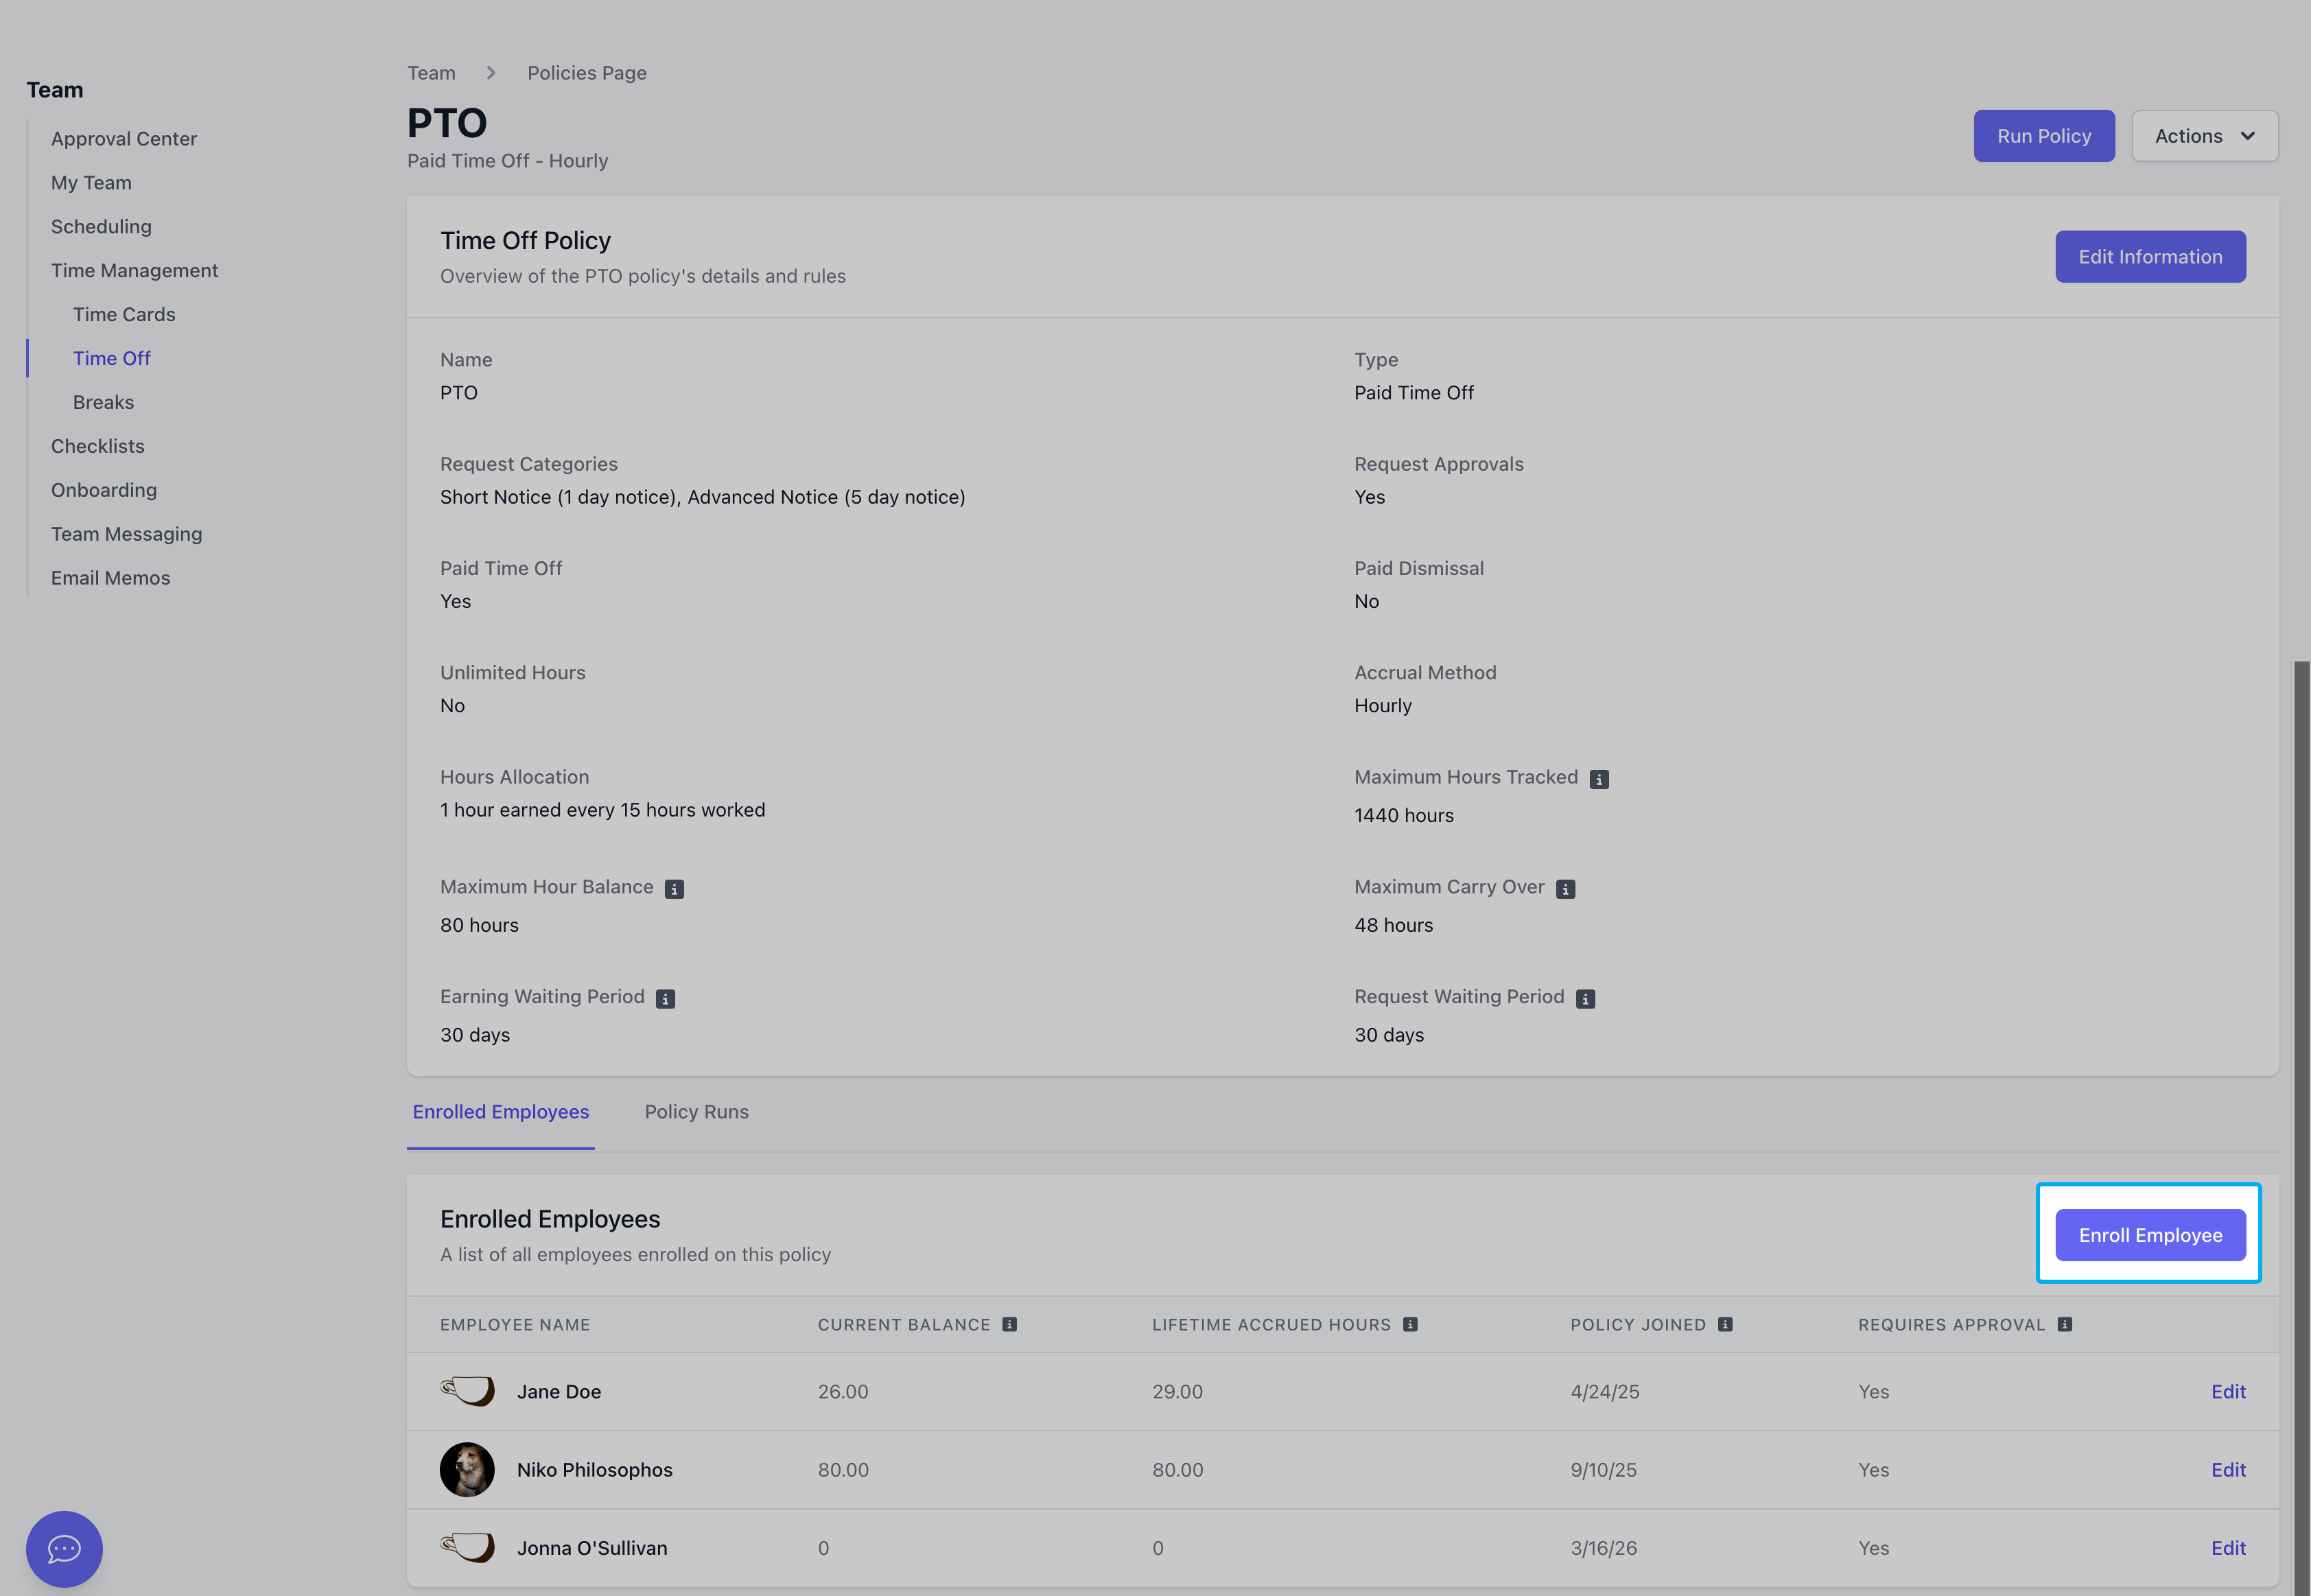
4
Enroll Employees
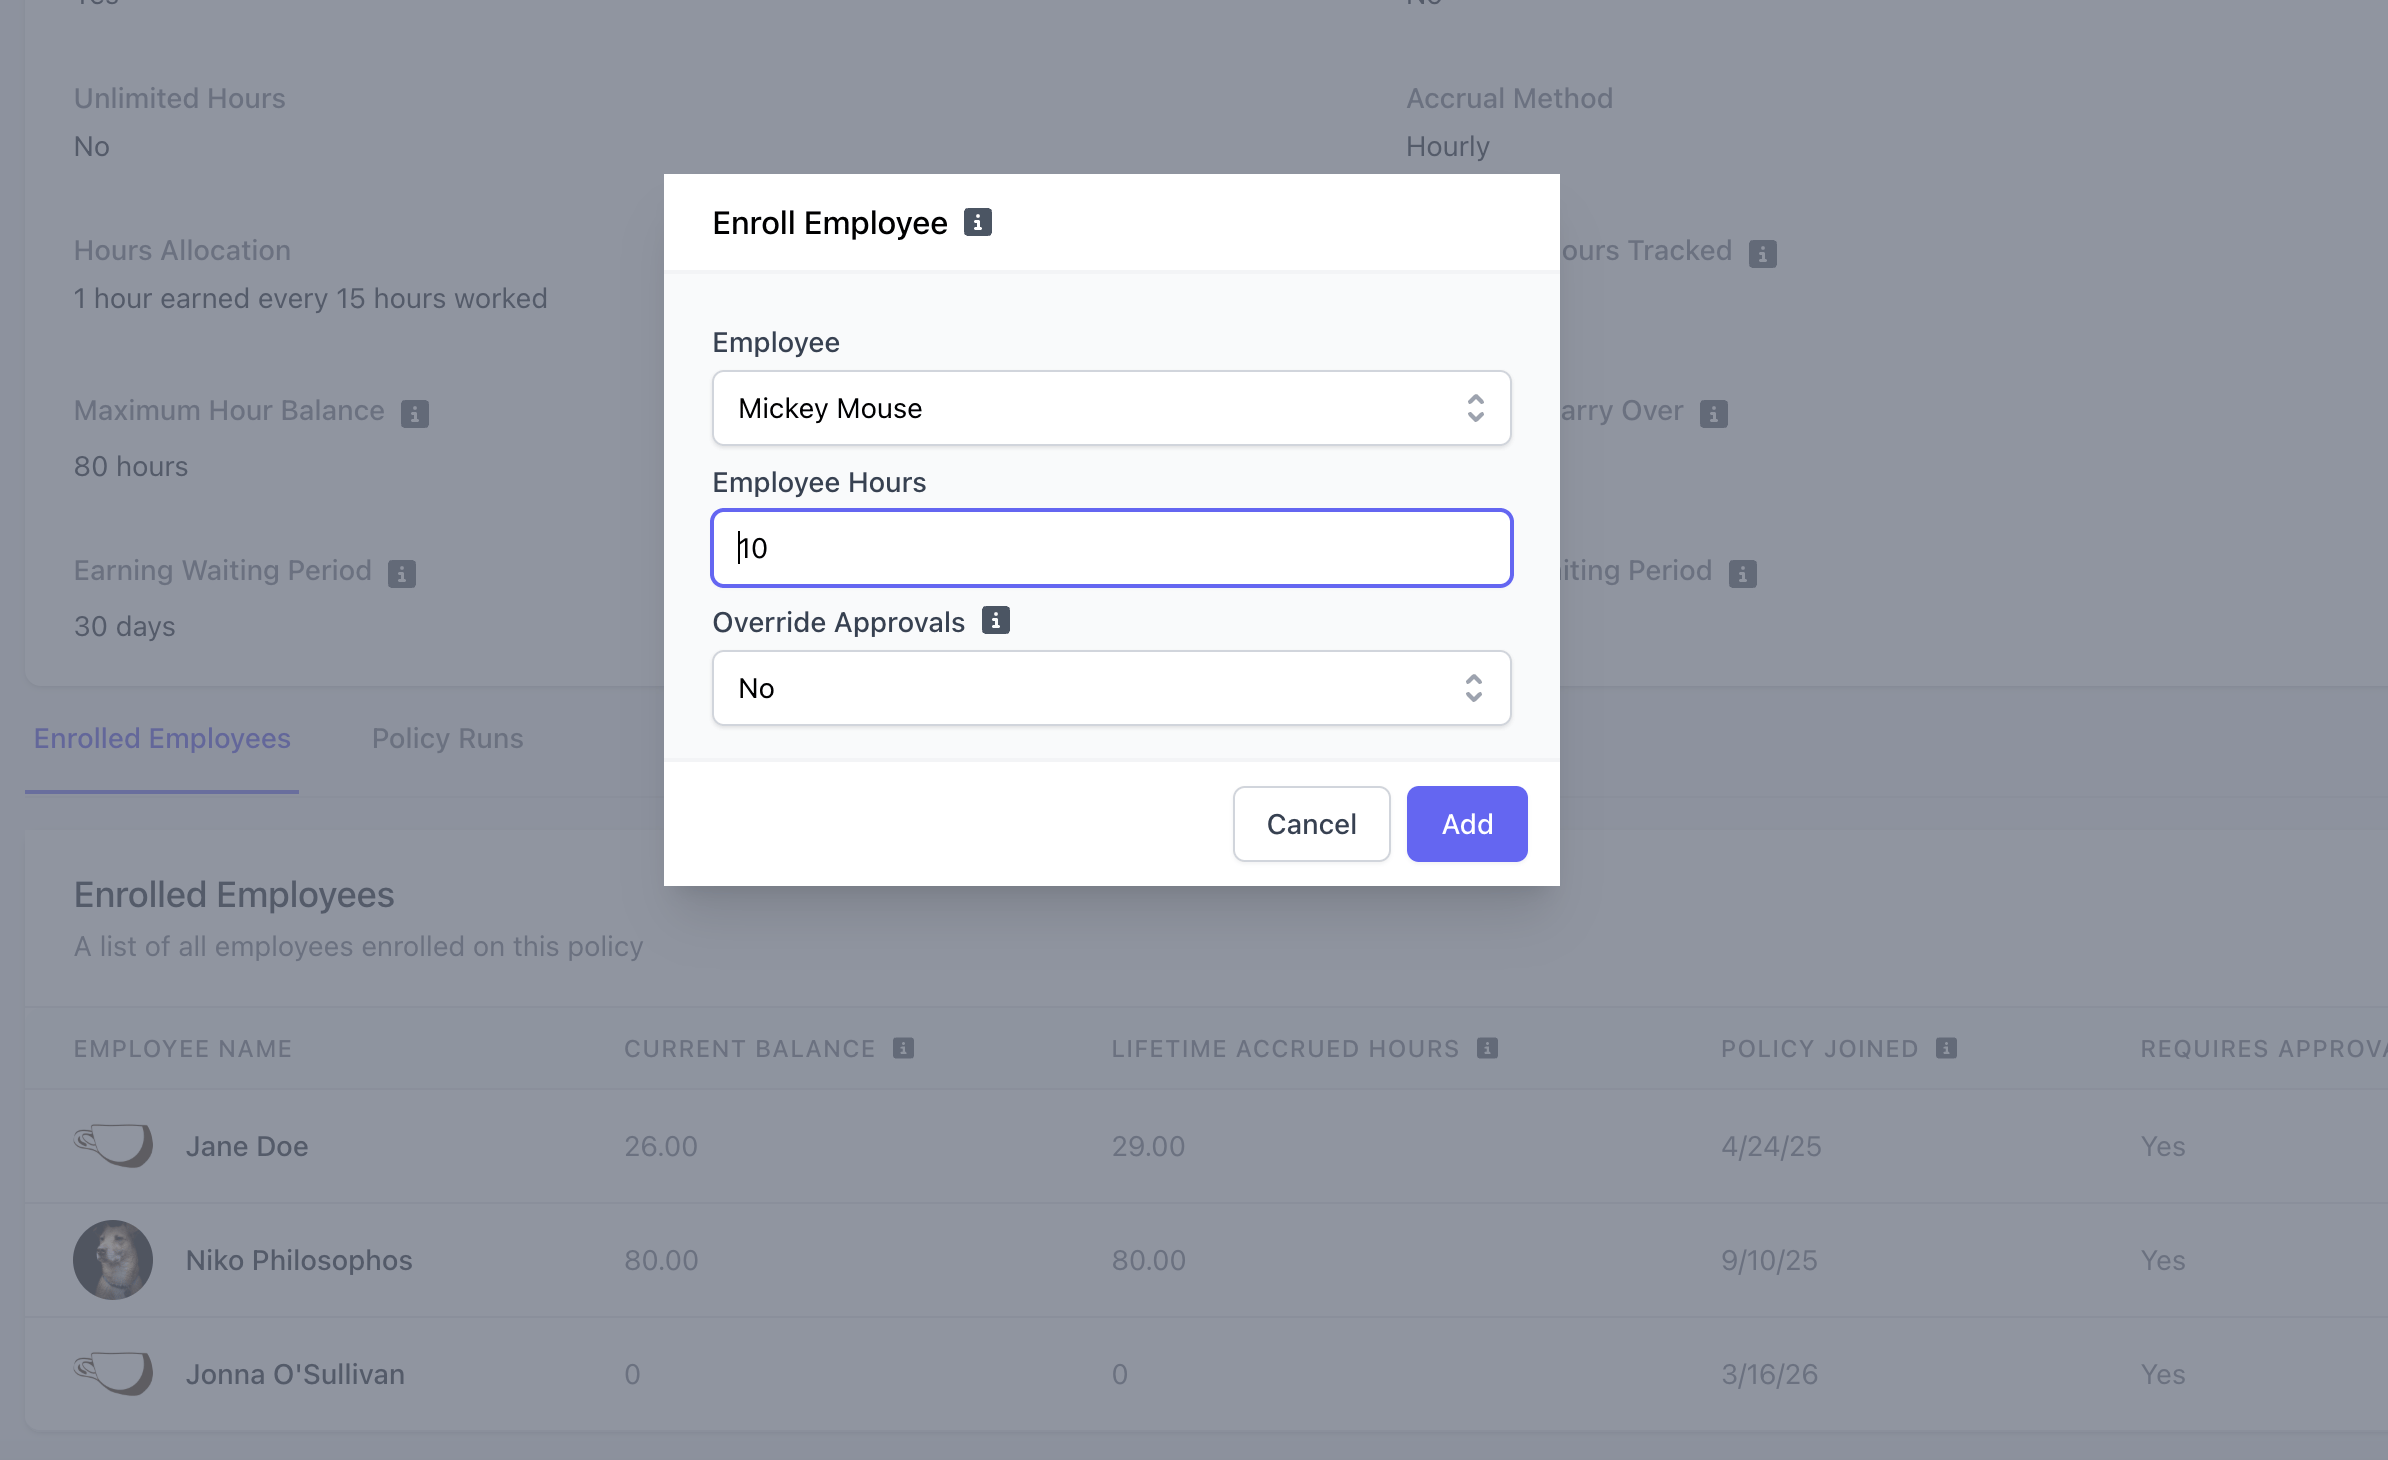
5
Click Add and enroll other employees as needed.
Run a Time Off Policy
If your shop is not using Dripos payroll, time off policies must be ran manually before totaling payroll. For policies with an Hourly Rate accrual method, running the time off policy calculates the hours accrued by employees based on existing time cards and adds to their current balance.1
Log in to the Web Dashboard and navigate to Team > Time Off Policies
2
Click the Run all Policies button.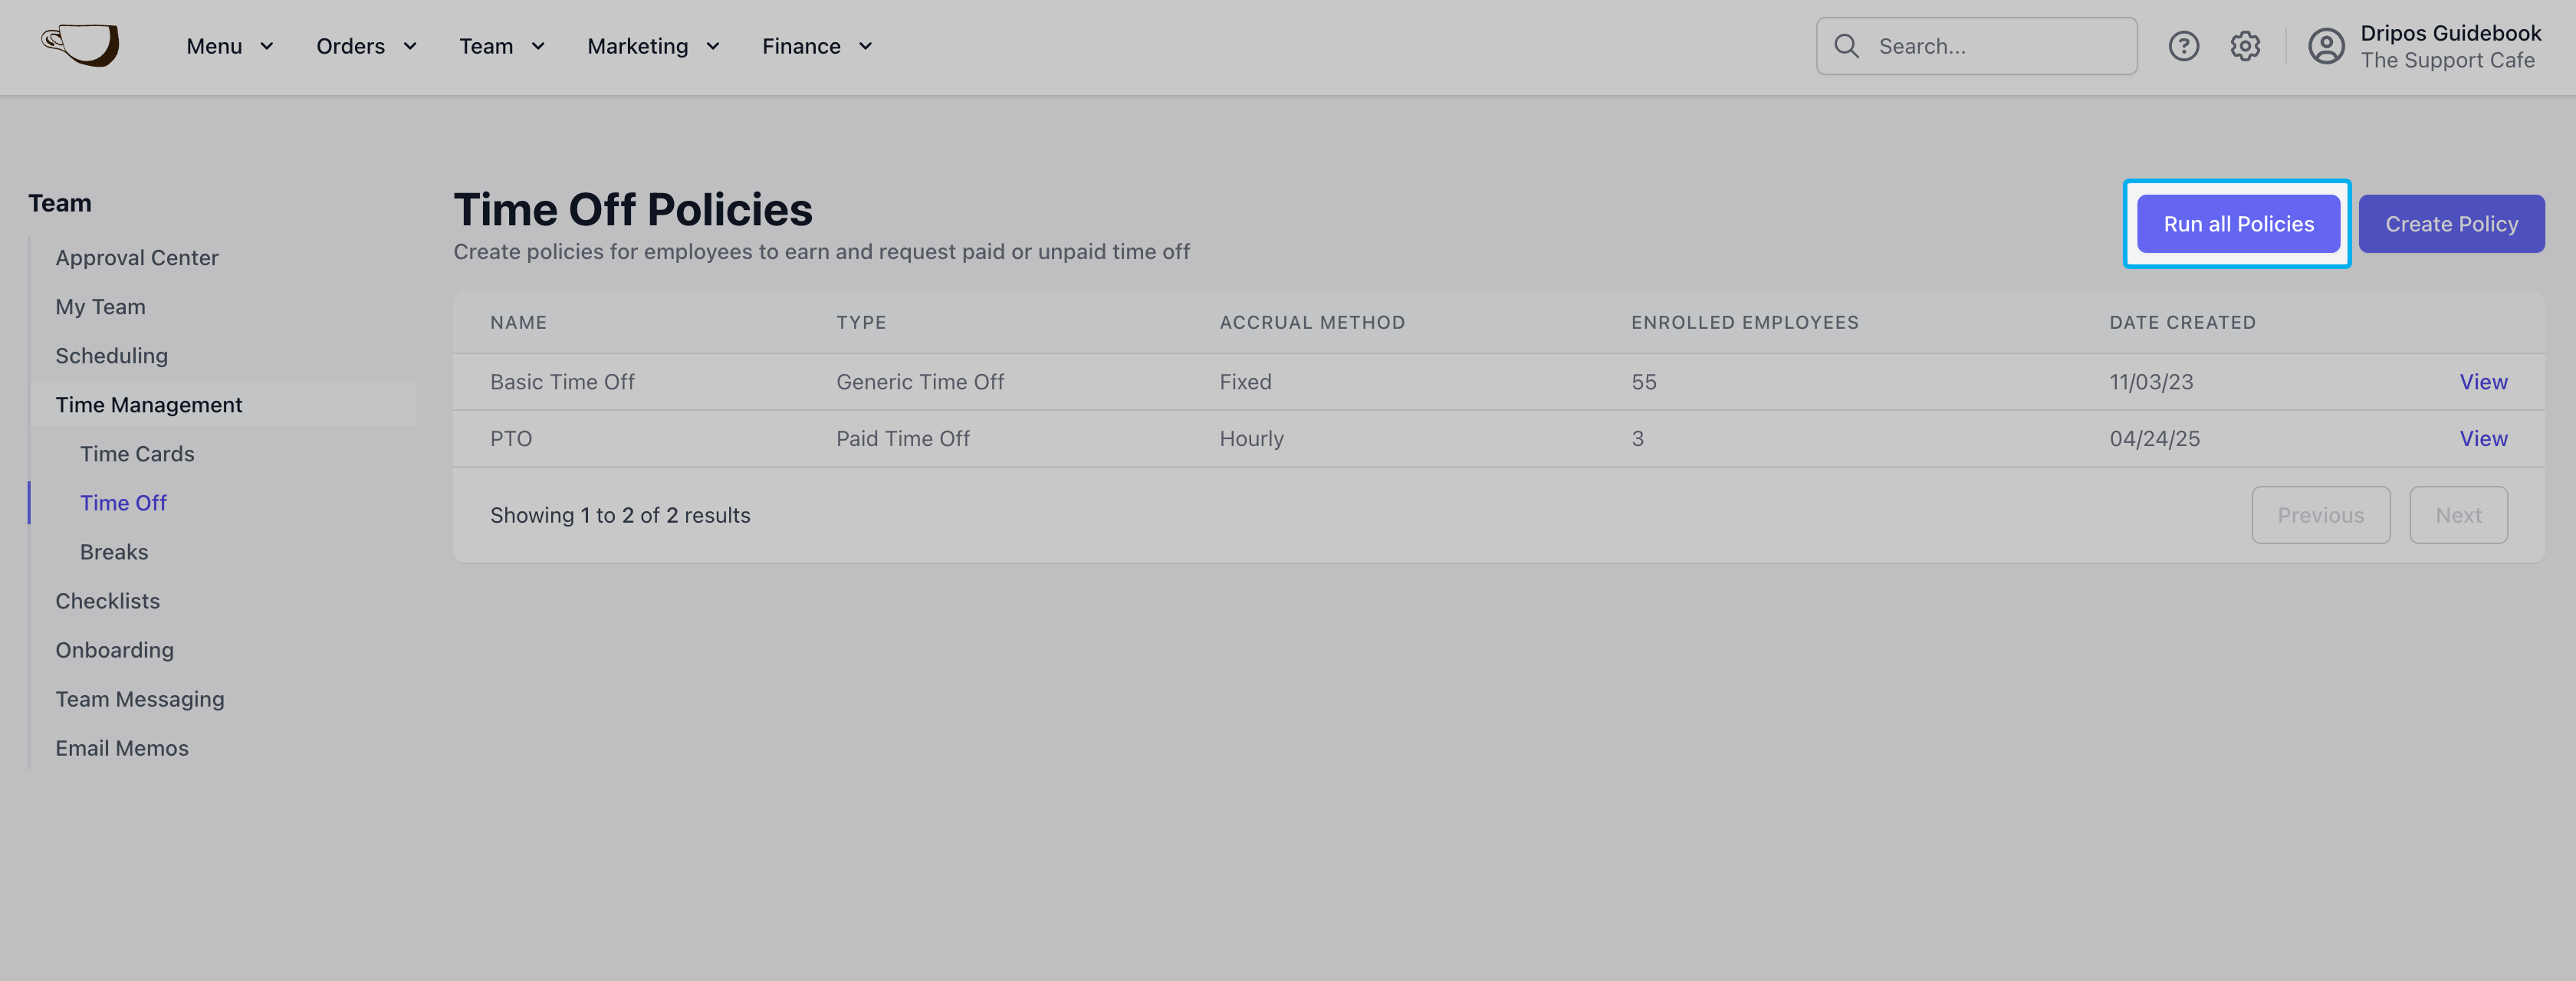
3
Review the total Hours Worked, Hours Earned, and Hours Balance for each time off policy.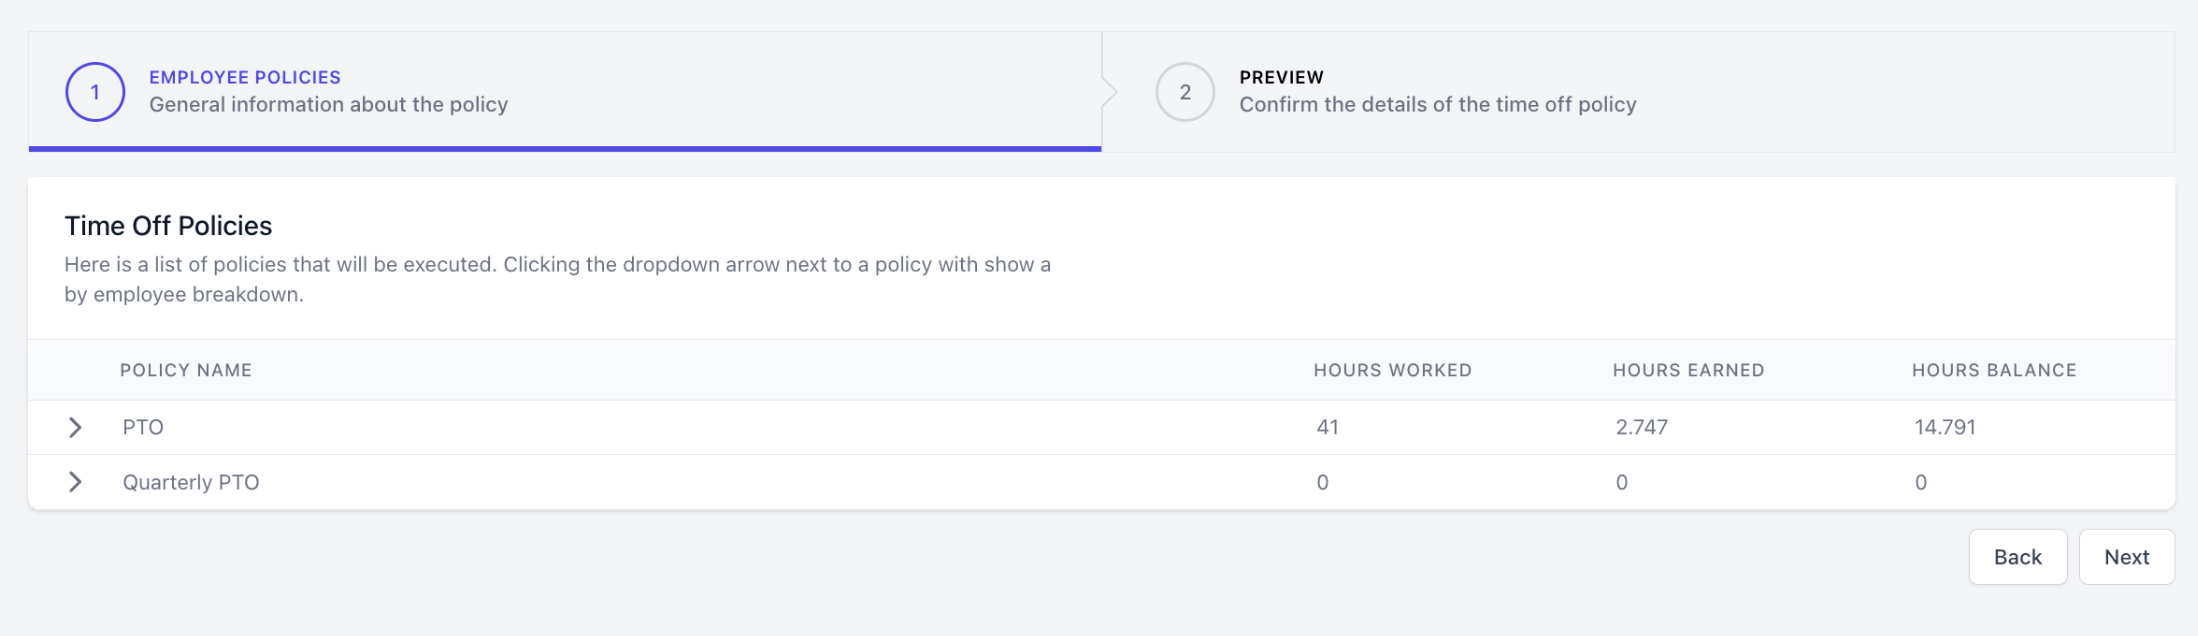
4
After confirming, click Next to review the Hours Tracked and Total Earned. After reviewing, click Submit.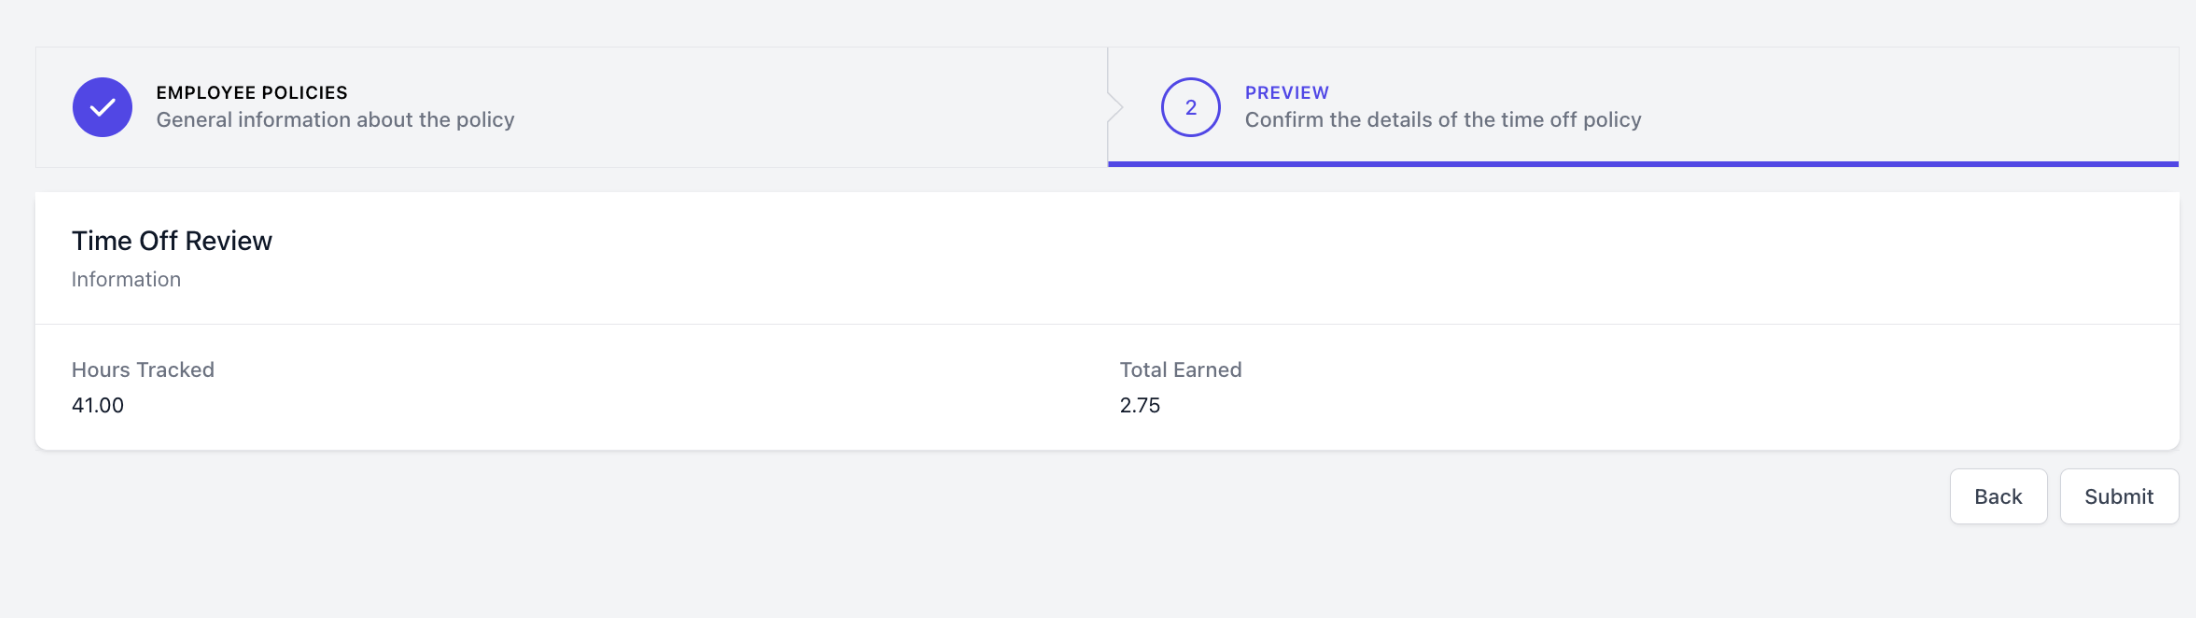
Review Time Off Settings
Update relevant time off settings in the Dashboard.Time Off Request Notice
Time Off Request Notice
Require advanced notice for time off requests.
1
Log in to the Web Dashboard and click on the Dripos icon in the top right corner to access Settings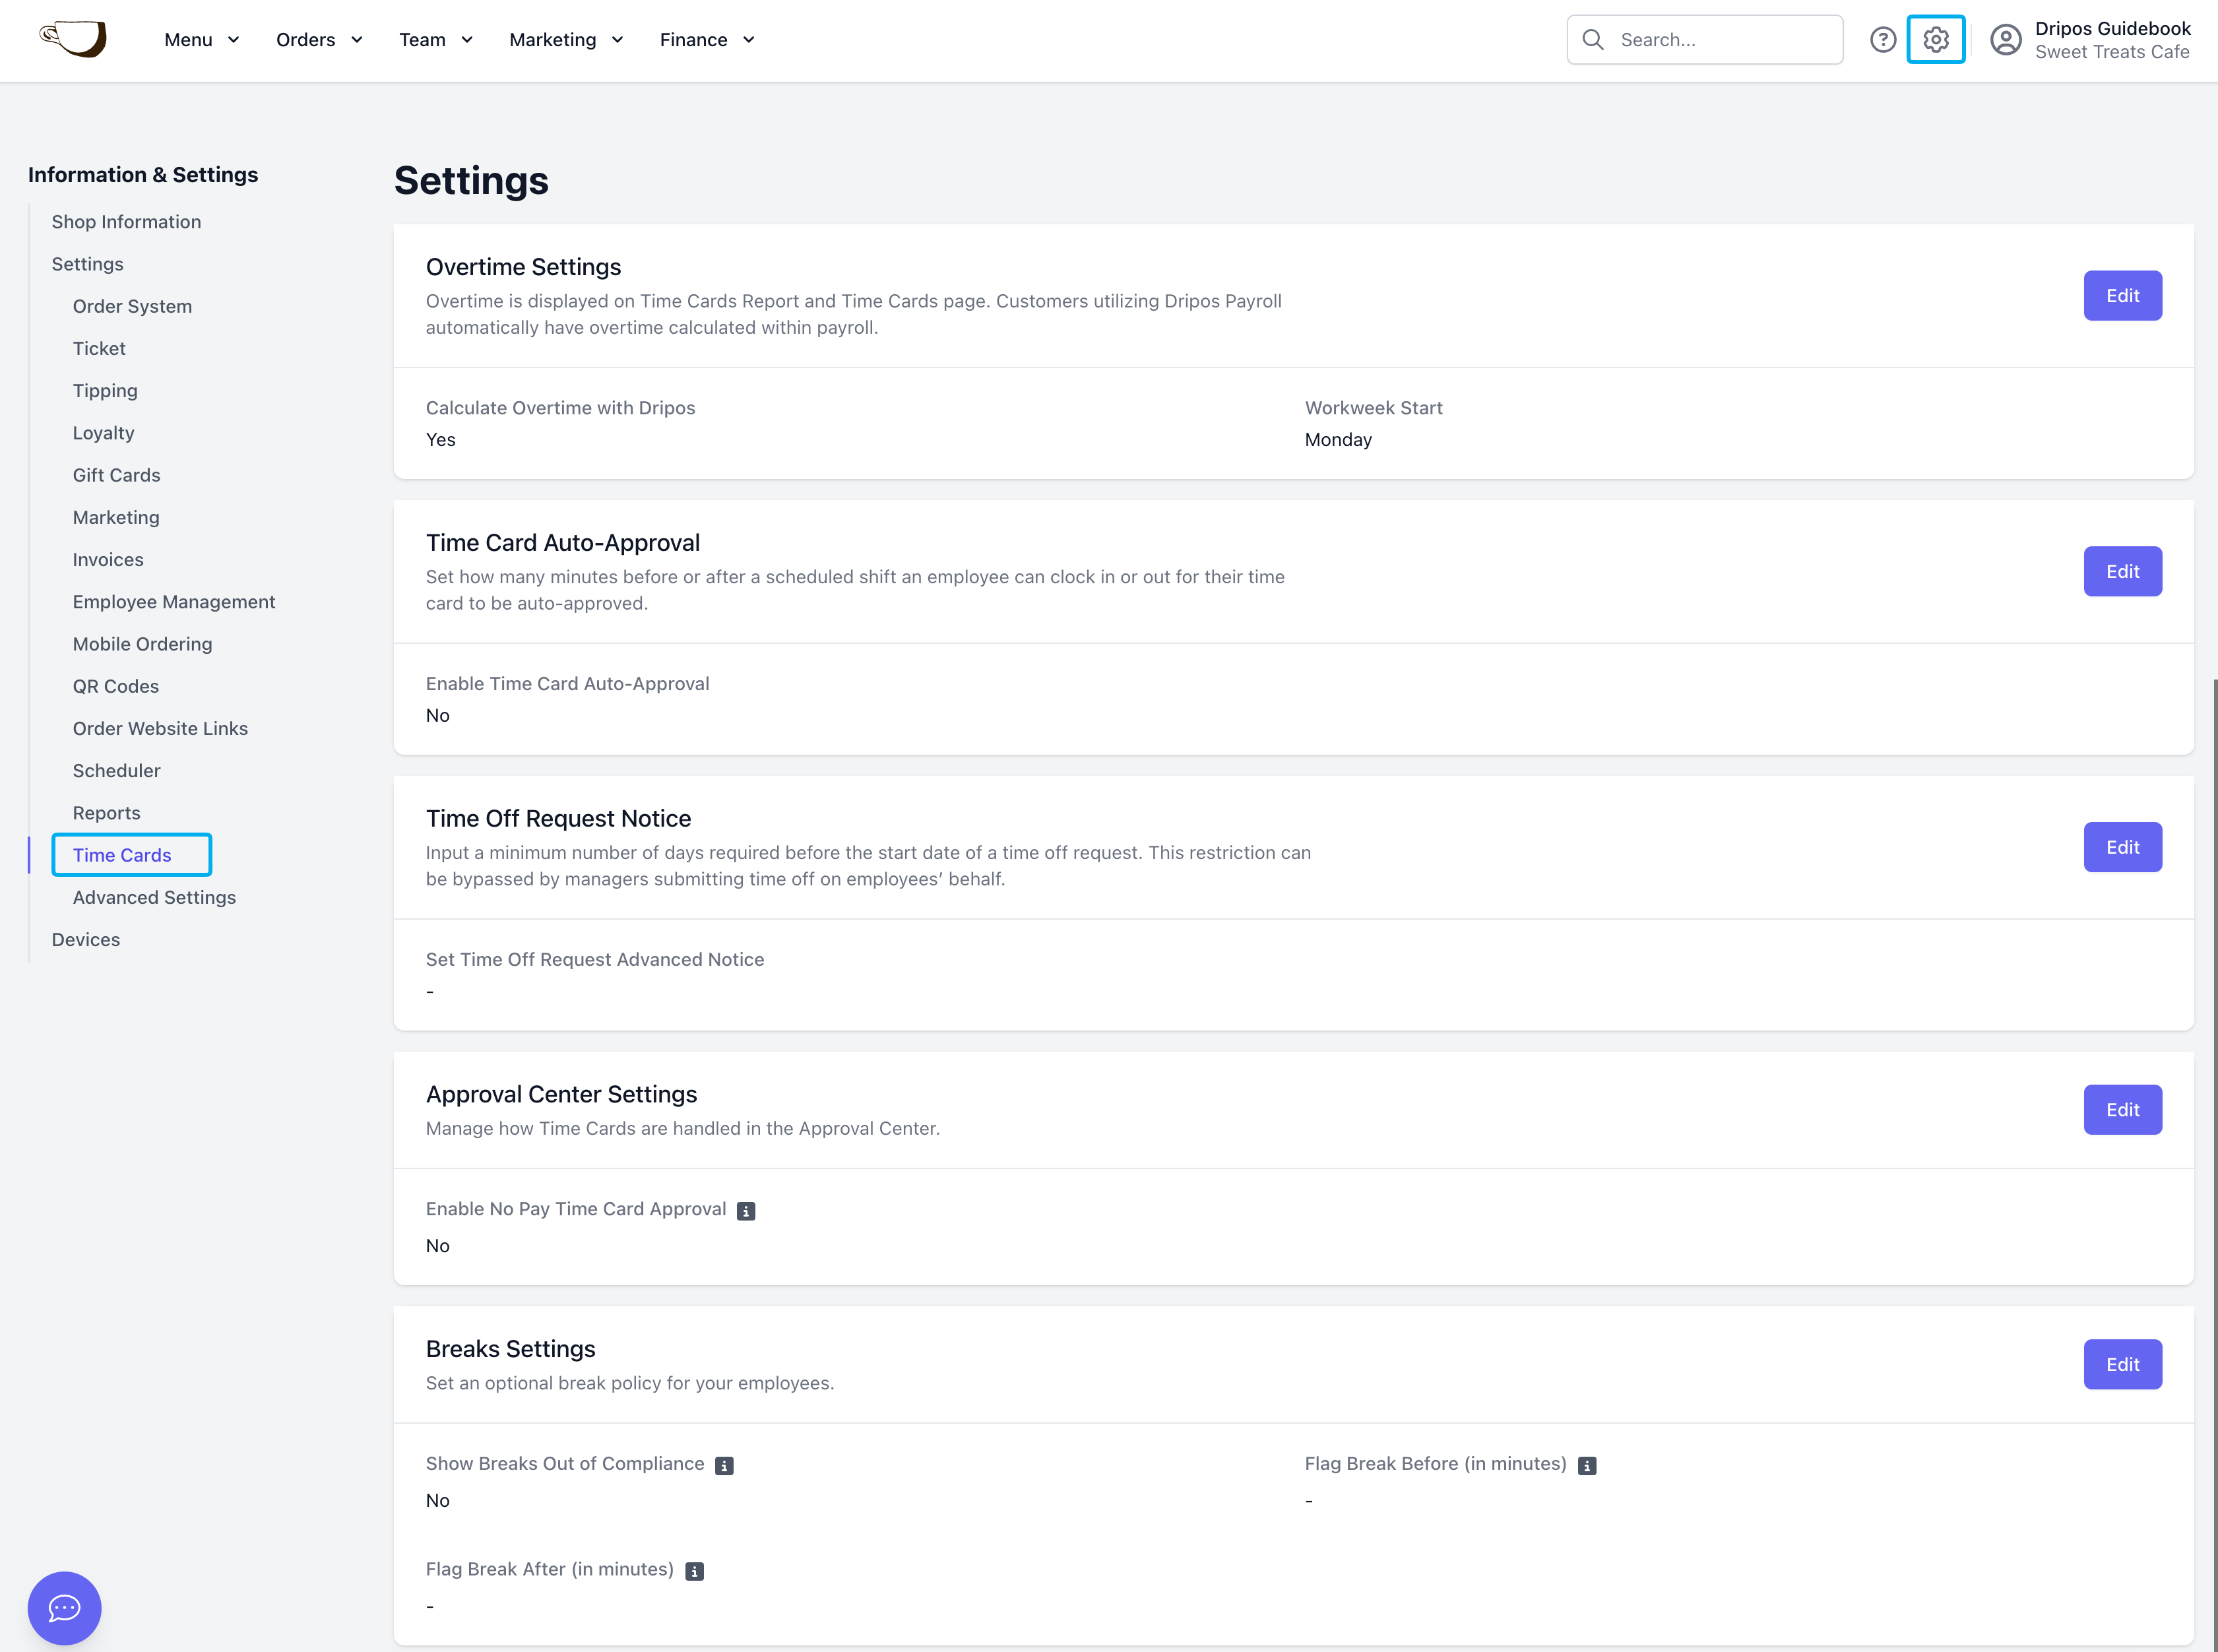
2
Navigate to the Time Cards tab and click Edit next to Time Off Request Notice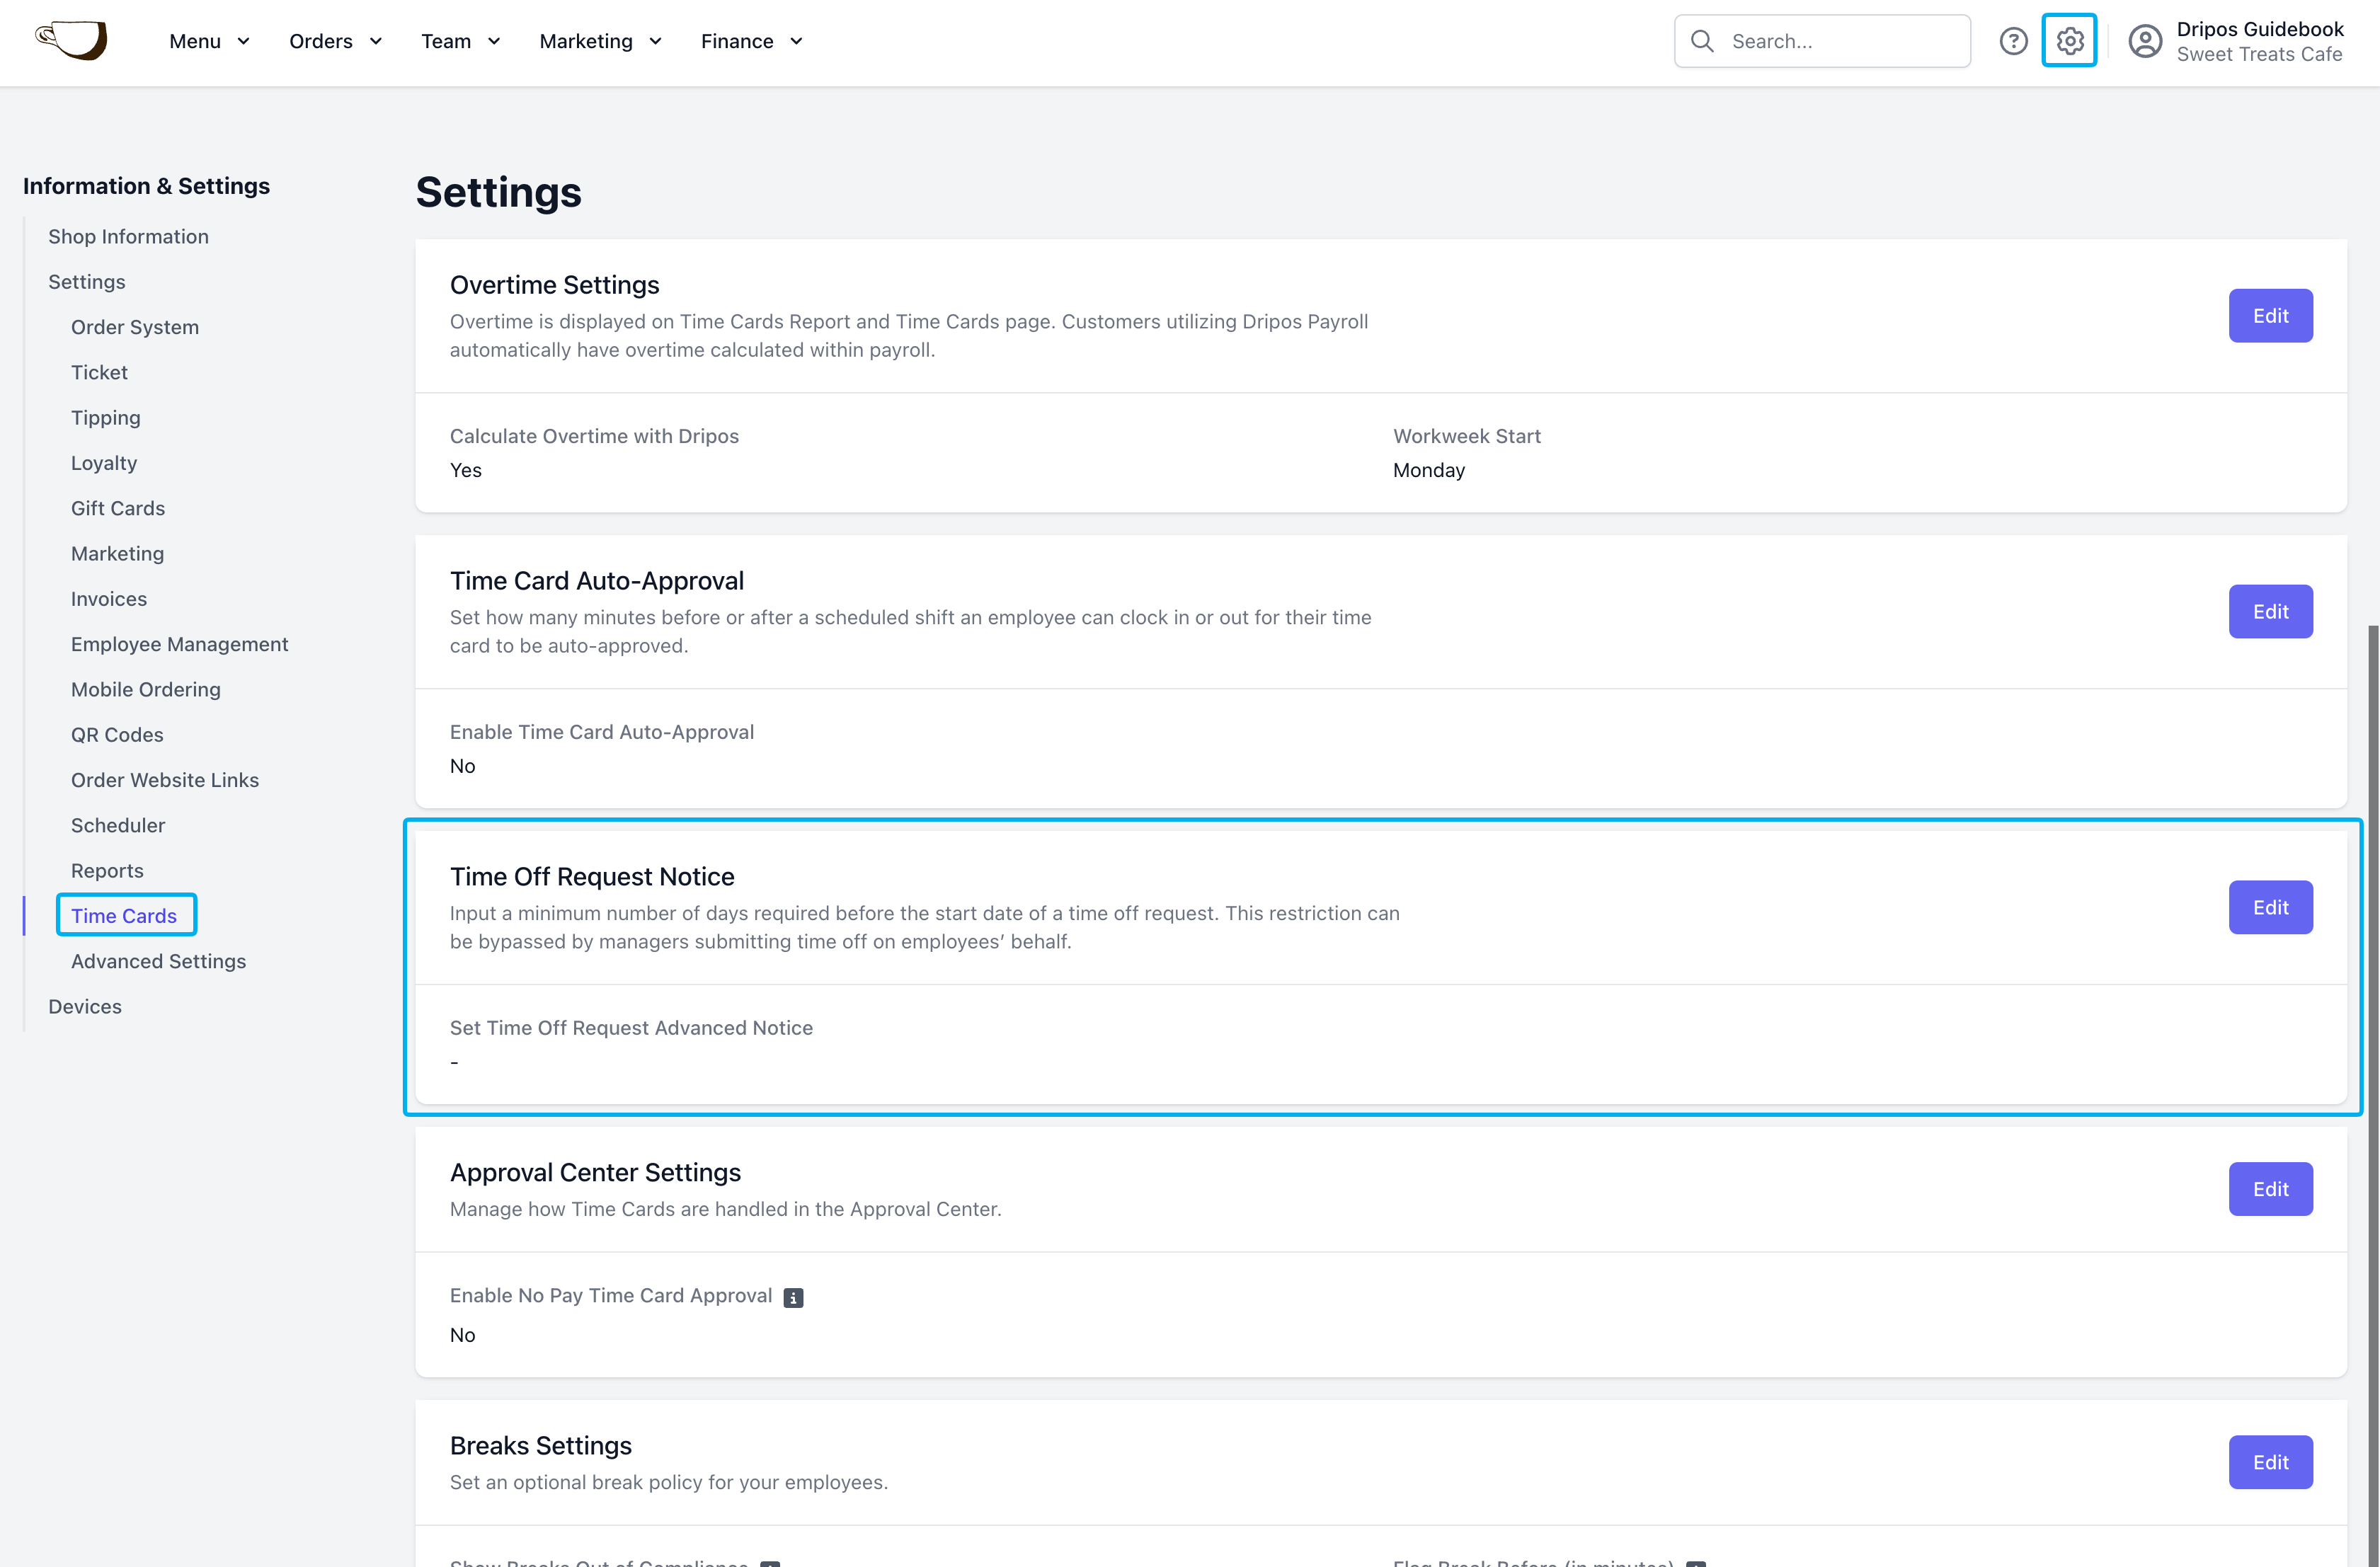
3
Input the minimum number of days notice required before the start date of a time off request and Save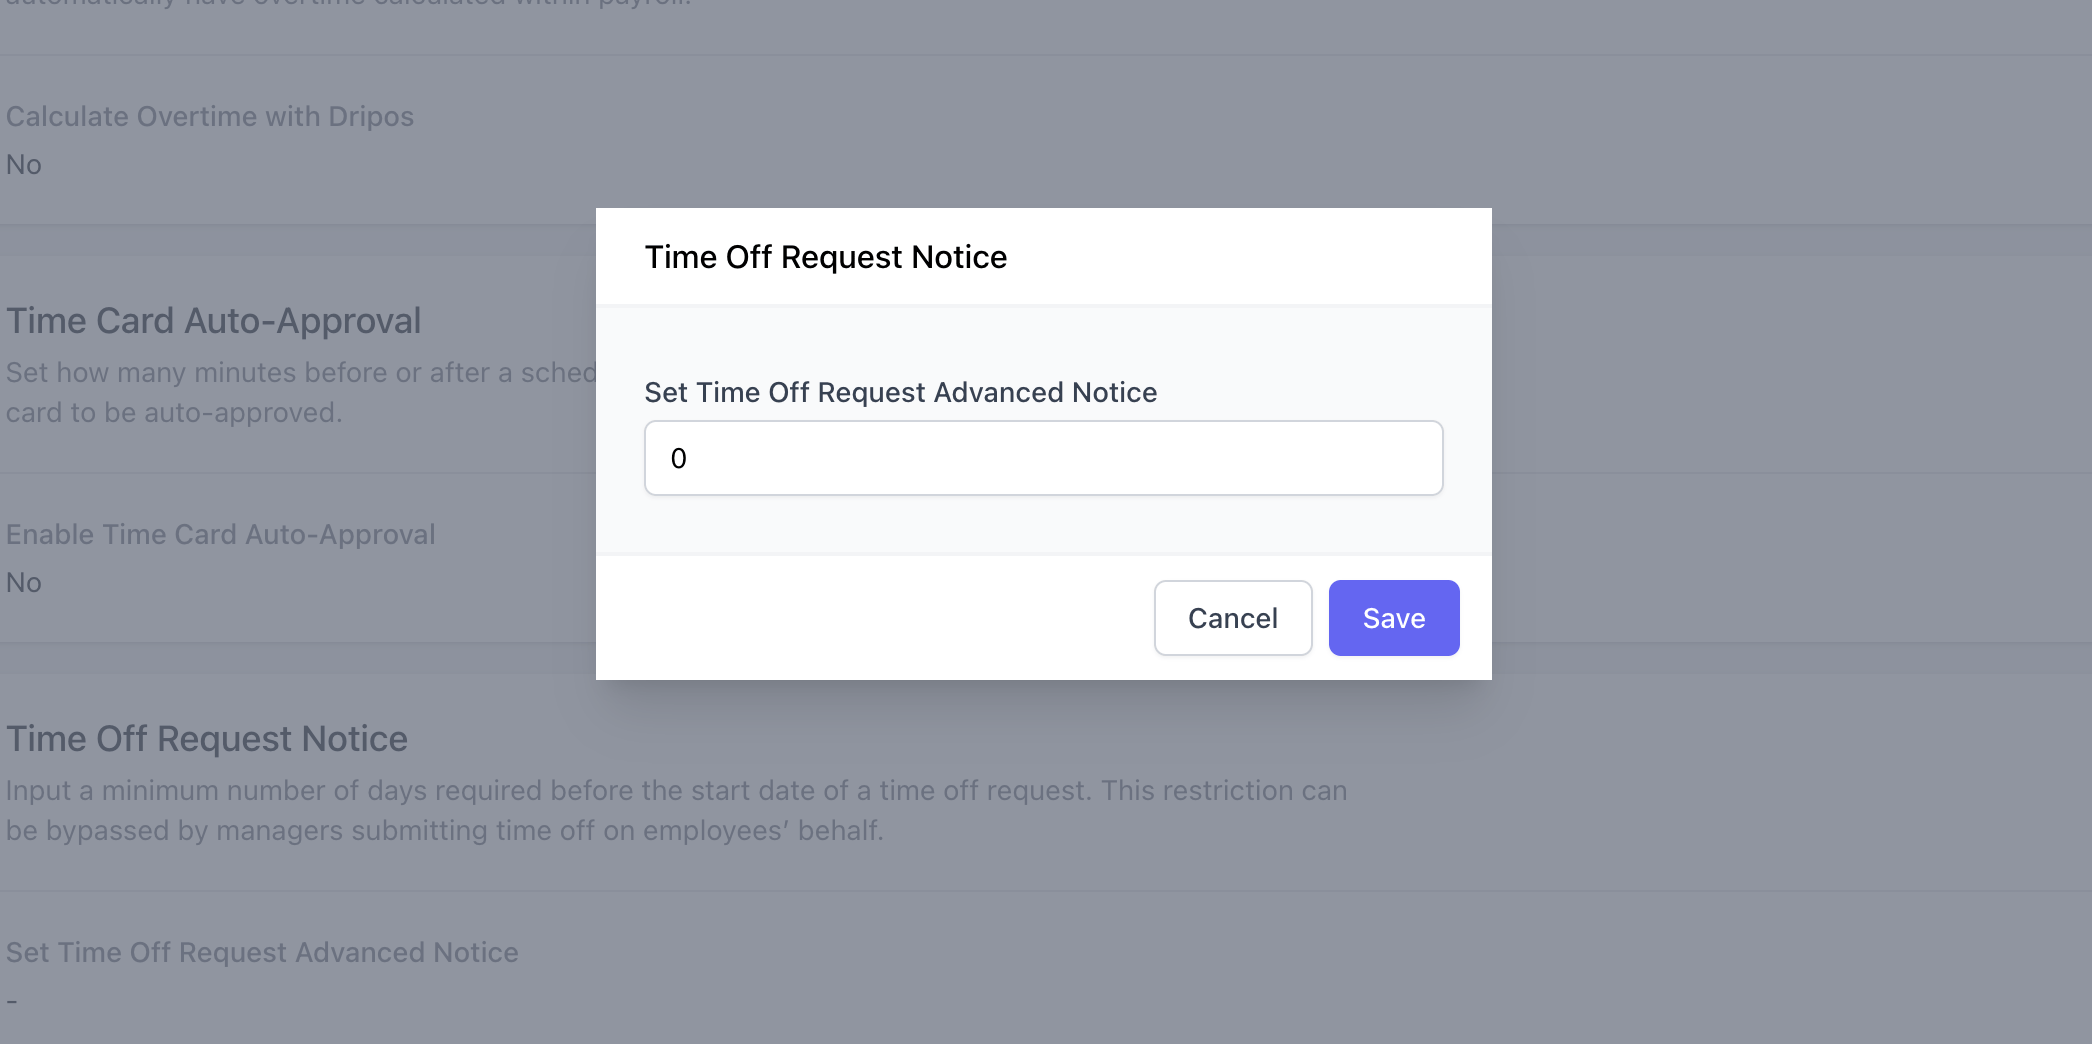
Role-Based Permissions
Role-Based Permissions
Ensure applicable roles have permissions to review time off requests.
1
Log in to the Web Dashboard and navigate to Team > My Team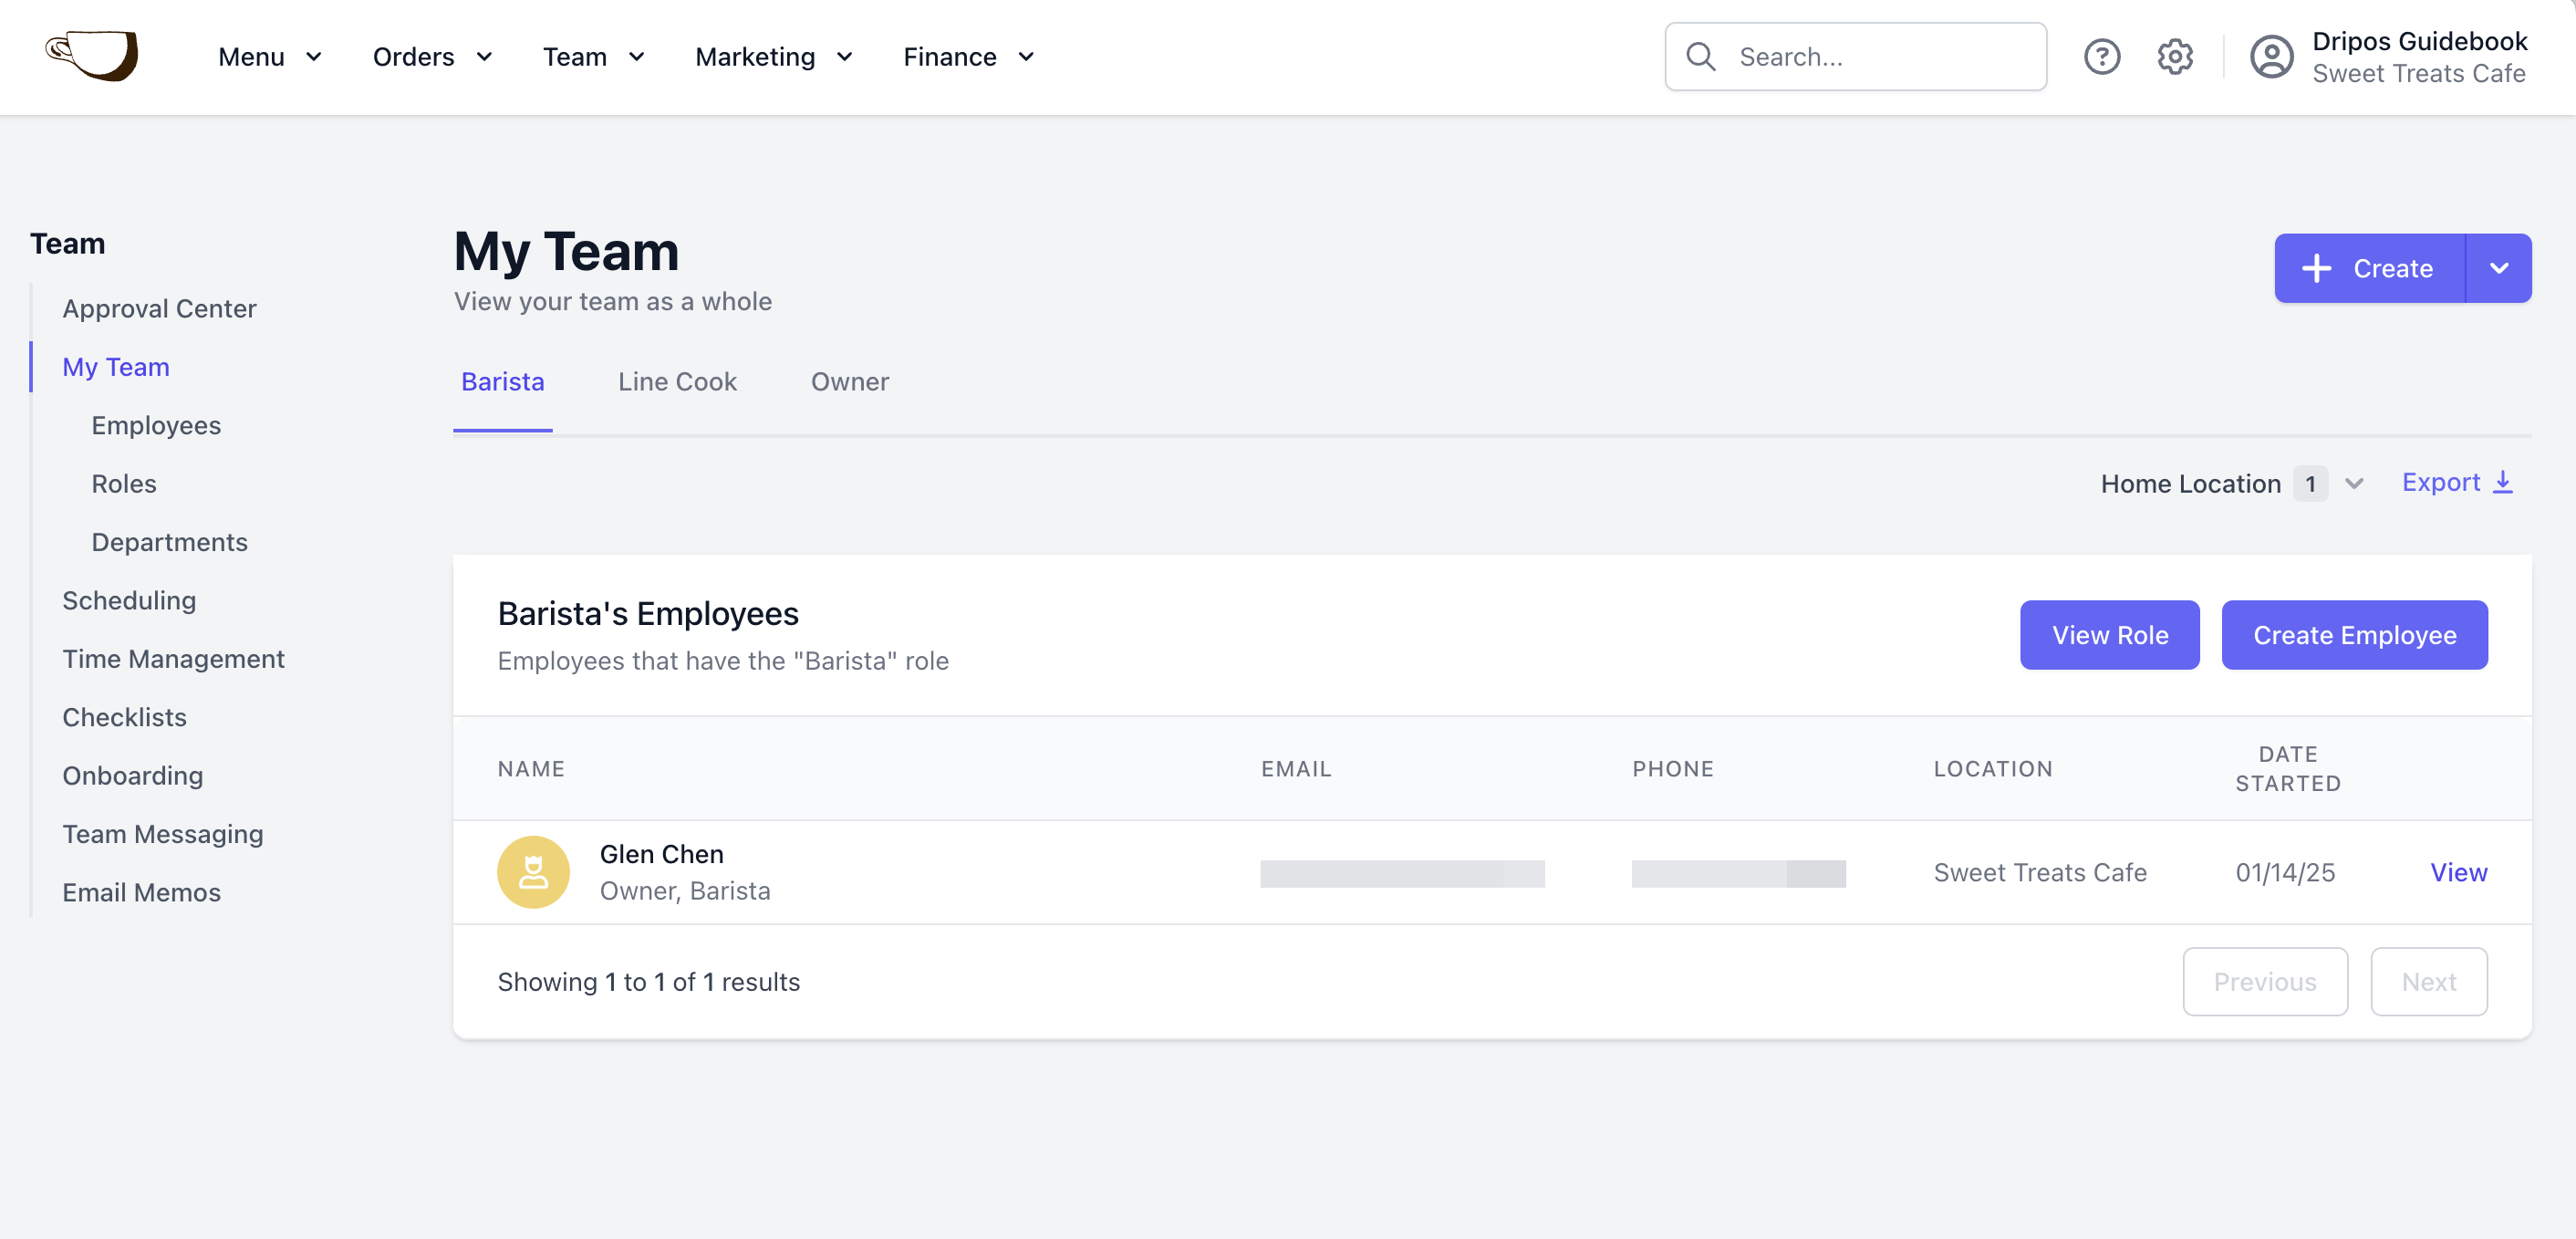
2
Navigate to Roles and View the applicable role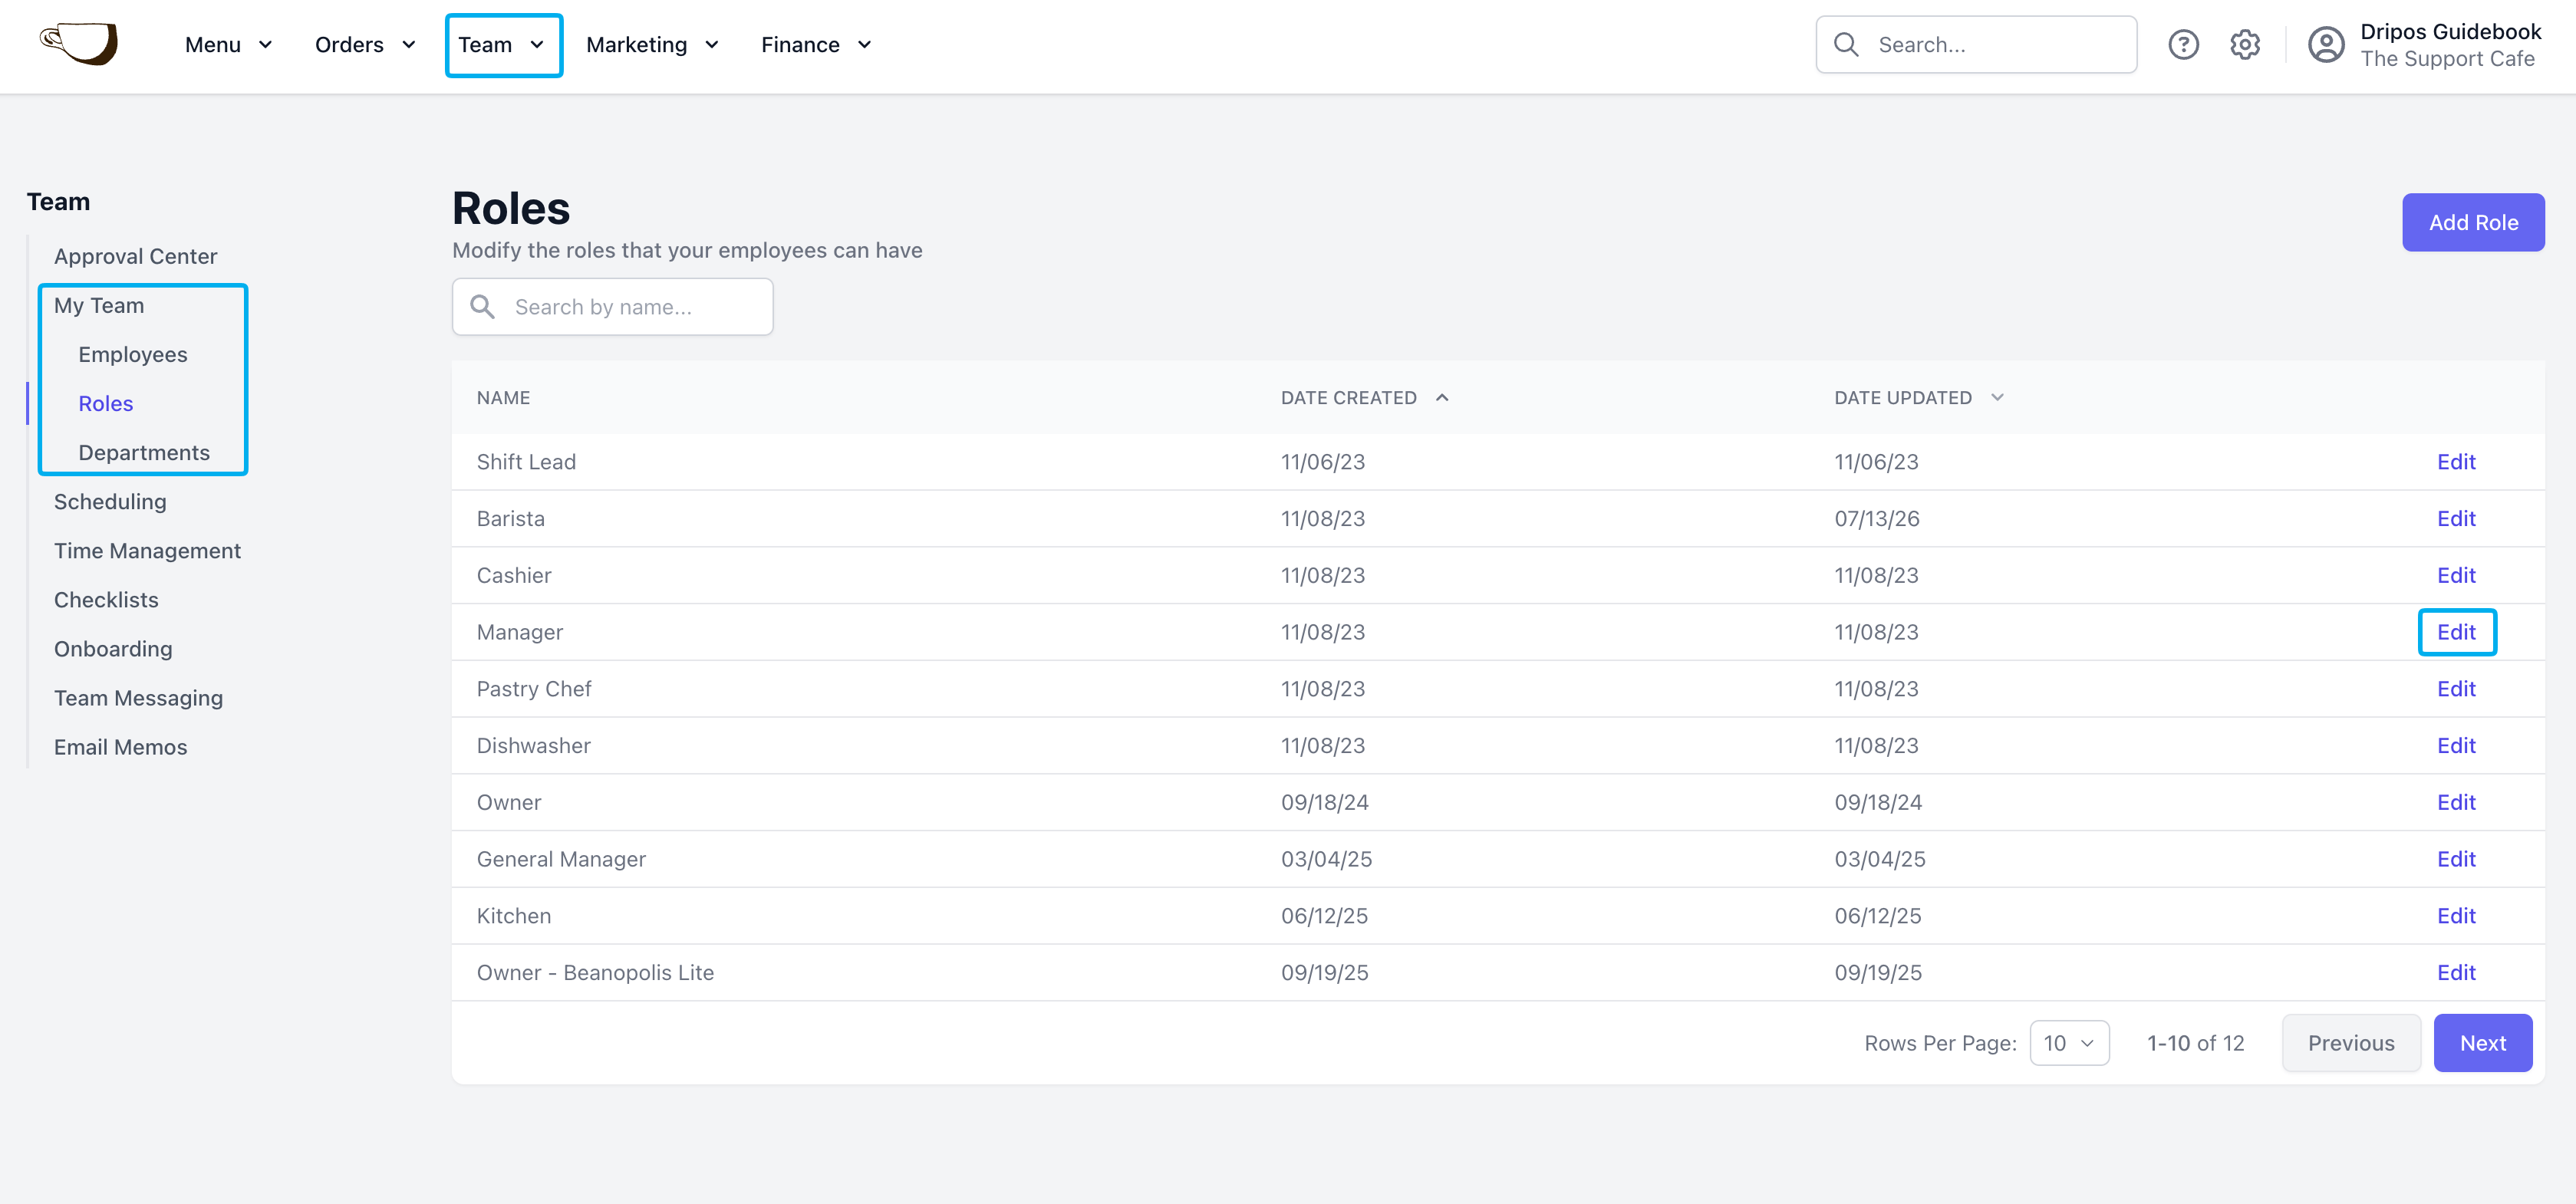
3
Navigate to the Permissions tab and click Edit next to Team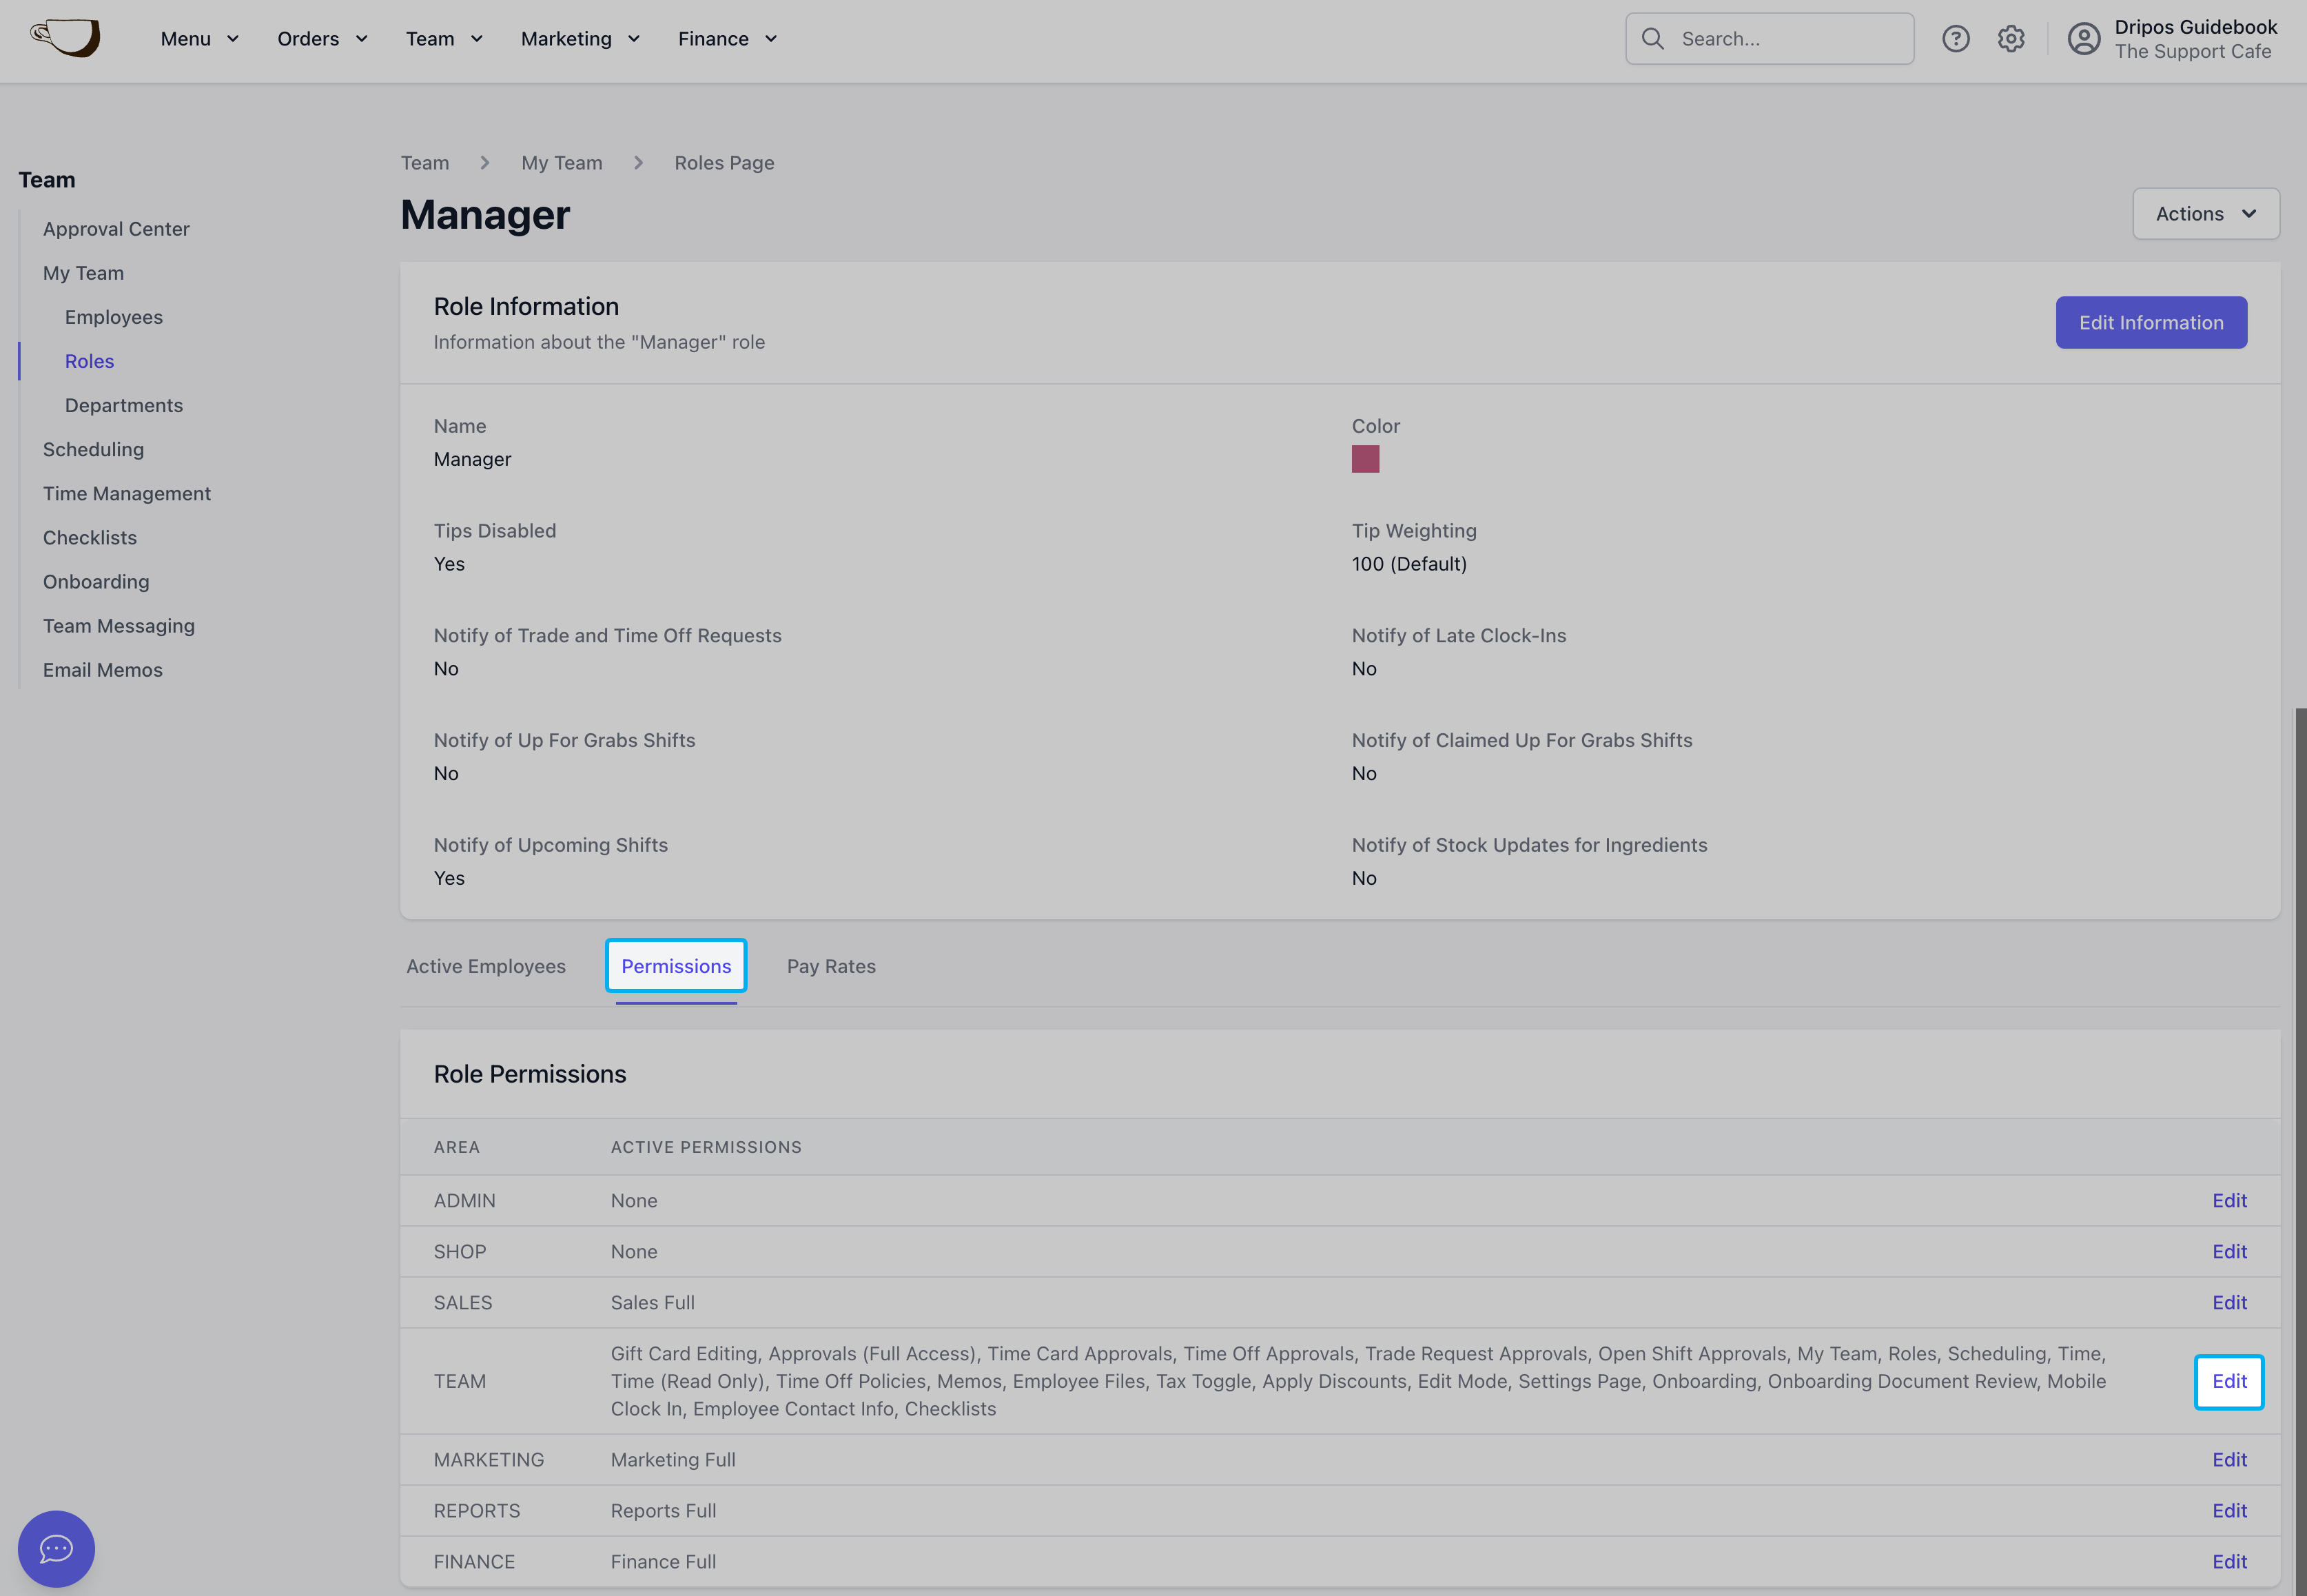
4
Ensure the role has either Team Full, Approvals (Full Access) or Time Off Approvals turned on and Save.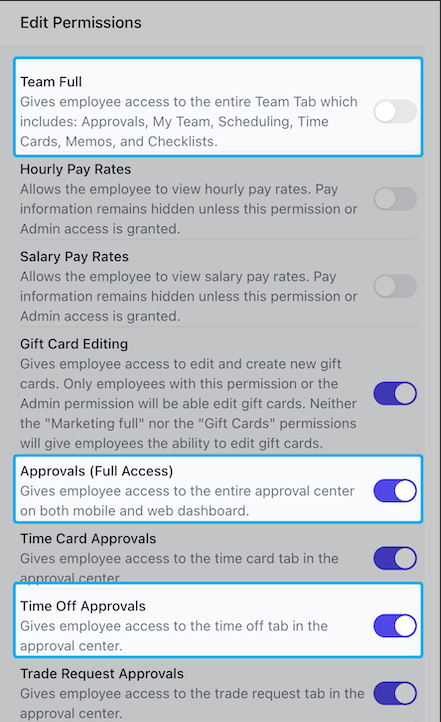
Time Off Policies should be turned on only if this role should be able to to create and edit time off policies.