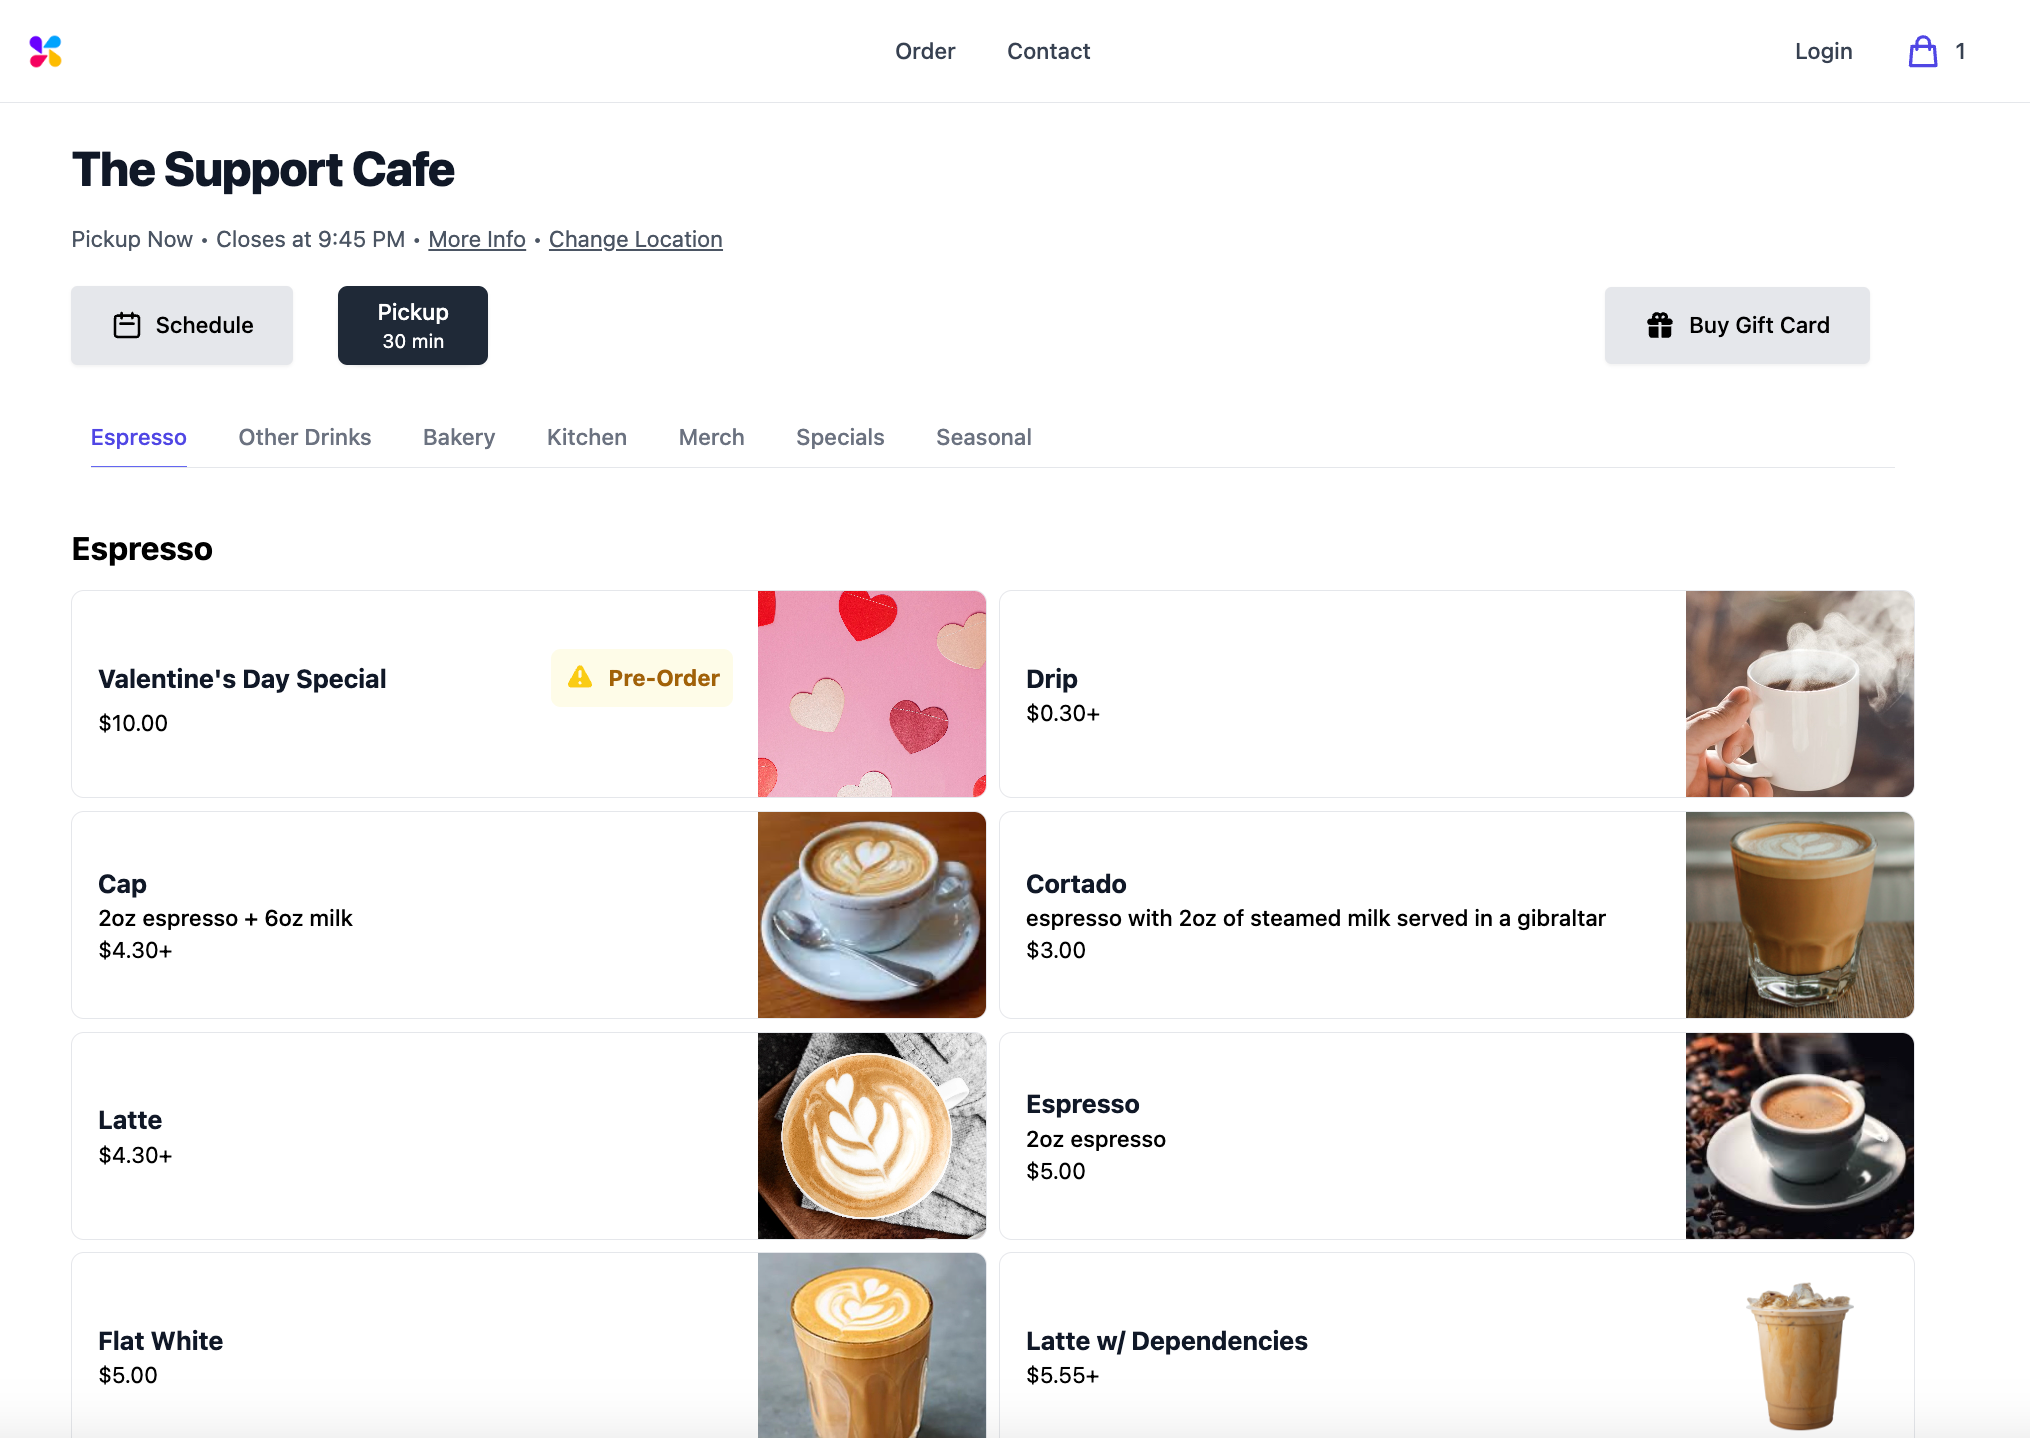
The Dripos edit mode feature enables you to efficiently make modifications to your menu directly from the Point of Sale register. It is particularly handy when adding new products or disabling mobile ordering for specific products or modifiers.

In addition, edit mode allows you to easily rearrange the order of your products. Any changes made to the order of your products will be automatically reflected across all your order platforms, ensuring consistency throughout.

Enter Edit Mode on the POS

  1. Log on to the Point of Sale. Once signed in, click on the 3 line icon at the top left of the screen > Register:
  1. Click on the Edit Mode button in the bottom right corner:
  1. Once you have entered edit mode, you can: add new products, edit products, edit modifiers, disable mobile ordering for products and modifiers, and rearrange the order of your products.

  2. Once you are ready to get out of edit mode, click Exit in the bottom right corner:


Editing

Add New Products in Edit Mode on the POS

  1. Log on to the Point of Sale. Once signed in, click on the 3 line icon at the top left of the screen > Register:
  1. Click on the Edit Mode button in the bottom right corner:
  1. Click the Add New Product button:
  1. Once on this page, you will need to fill in the following fields:

Product Name: Input what you would like the product to be named.

Product Category: Select from the dropdown which category you would like the product to be in.

Product Description (Optional): Here, you have the option to include a short description of your product.

Mobile Enabled: If this toggle is turned on, customers will be able to order this product on your mobile ordering app and website.

Kiosk Enabled: If this toggle is turned on, customers will be able to order this product on kiosks.

Point of Sale Enabled: If this toggle is turned on, the product will be displayed on your POS for your customers to order in-person.

Third Party Enabled: If this toggle is turned on, the product will be displayed on your connected third party order websites for your customers to order.

One Click: If this toggle is turned on, clicking on this product on the POS will add it directly to the cart without opening the modifiers screen.

Is Alcohol: If this toggle is turned on, the product will be tagged as alcohol.

Auto Complete Product: If this toggle is turned on, the product will be automatically completed upon purchase, and will never appear on the ticket screen.

This setting only applies to orders placed on the register.

Require Advanced Notice: If this toggle is turned on, the product will require advanced notice when ordering.

  1. Once you have finished filling in the required fields on this page, click Next:
  1. You will then be taken to the pricing information page, where you will need to fill in the following information:

Product Pricing: Select from the dropdown which pricing type you would like to have for the product. This will determine how the price of the product will be calculated:

There are four different pricing type options that you can select from:

1. Fixed Pricing: If selected, the price of the product will be a fixed rate.

2. Sized Pricing: If selected, you will need to select which of your existing size options you would like this product’s price based on.

3. Variable Pricing: If selected, the price will be selected at checkout on the POS. Additionally, you will also need to set a base price for this product.

This pricing type should not be selected for products that have mobile enabled set to yes.

4. Weight Pricing: If selected, the price of the product will depend on its weight.

Base Price: If you select this option, you will be prompted to input a base price. The total cost of the product will be this price plus the weighted price.

Price Per Unit Weight: If selected, you will be prompted to input the price per unit of weight. The total cost of the product will be this price times the weight of the item plus the base price.

Tax Rates: Select which of your already existing tax rates you would like to apply to this product from the list below

If no tax rate is selected here, the product will not be taxed.

  1. Once you have finished filling in these fields, click Next:
  1. You will then be taken to the logo page, where you will need to select a logo for the product from any of the presets listed, or upload an image from your device by clicking on the Tab to change image + button:
  1. At the bottom of this page, you also have the option to select an icon that will display next to the product on the POS register:
  1. Once you have finished making your selections, click Create:

The product will then automatically be added to your menu and will be available to purchase on all of its enabled platforms.

  1. Once the product has been added, you can click on it again to edit its Name, Category, Image, Mobile Ordering settings, Kiosk settings, and One Tap Add to Cart setting:

If you make any changes to these settings, make sure to click the Save Product button at the top right of the screen to save your changes.

  1. Once the product is good to go, you can get out of edit mode by clicking Exit in the bottom right corner:

Edit Products on the POS

  1. Log on to the Point of Sale. Once signed in, click on the 3 line icon at the top left of the screen > Register:
  1. Click on the Edit Mode button in the bottom right corner:
  1. Click on the product you want to edit.

  2. Once on the product’s page, you will be able to edit the following information:

Product Name: Input what you would like the product to be named.

Category: Select from the dropdown which category you would like the product to be in.

Product Description: Here, you have the option to include a short description of your product.

Product Image: Click the Tap to Change Image + button to change the image that displays next to the product on its enabled order platforms.

Mobile Ordering: If this toggle is turned on, the product will be available for mobile ordering.

Kiosk Ordering: If this toggle is turned on, the product will be available for ordering when the POS is in kiosk mode.

One Tap Add to Cart: If this toggle is turned on, the product will automatically be added to the cart once it is clicked on.

  1. Once you have finished making your desired modifications to the product, click on the Save Product button in the top right corner:

Edit Modifiers on the POS

  1. Log on to the Point of Sale. Once signed in, click on the 3 line icon at the top left of the screen > Register:
  1. Click on the Edit Mode button in the bottom right corner:
  1. Click on the product you wish to edit the modifiers for.

  2. Here, you will be able to edit the following information:

Disable Mobile Ordering for an Entire Modifier: If this toggle is turned off, the modifier will not be displayed under the product on either the Order App or Order Website :

Disable Mobile Ordering for a Modifier Option: To disable mobile ordering for a specific modifier option, click on the pencil icon to the right of any modifier option > turn the Mobile ordering toggle off > click Save:

Edit Modifier Option: To edit the name and/or price of a specific modifer option, click on the pencil icon to the right of any modifier option > enter the new name and/or price > click Save:

Any changes you make will automatically take effect on all of the product’s enabled order platforms.

  1. Once you are have finished, click Save Product in the top right corner:
  1. When you have finished making all of your desired edits, you can get out of edit mode by clicking Exit in the bottom right corner:

View Disabled Products/Modifiers on POS Edit Mode

View Disabled Products

  1. Log on to the Point of Sale. Once signed in, click on the 3 line icon at the top left of the screen > Register:
  1. Click on the Edit Mode button in the bottom right corner:
  1. Select the View Disabled Products button:
  1. Once on this page, you will be able to see all products that are disabled for either mobile or kiosk ordering, as well as any products that are out of stock:

You can filter these products by category by clicking on the Categories dropdown and selecting the category you would like to see. You may only select one category at a time:

Additionally, you can also filter the types of disabled products by clicking on the Show All dropdown and selecting the type of disabled products. You may only select one type at a time:

  1. If you click on a product on this page, you will be be able to make edits or re-enable certain settings for the product:

If you do make any changes to a product’s settings, make sure to click Save Product in the top right corner.


Rearrange the Order of Products in a Category on the POS

  1. Log on to the Point of Sale. Once signed in, click on the 3 line icon at the top left of the screen > Register:
  1. Click on the Edit Mode button in the bottom right corner:
  1. To rearrange the order of products within a category, click and hold down on the product you want to move > drag it to the desired location within the category > click on the blue checkmark at the bottom right of the page to save your changes:

The new location of this product will be reflected on all of your order platforms.

  1. When you have finished rearranging your products, you can get out of edit mode by clicking Exit in the bottom right corner: