Configure Devices
Two tablets are required: A register tablet for taking orders An additional tablet to face customers during checkoutHost Device (Register Tablet)
Host Device (Register Tablet)
Front Facing Device
Front Facing Device
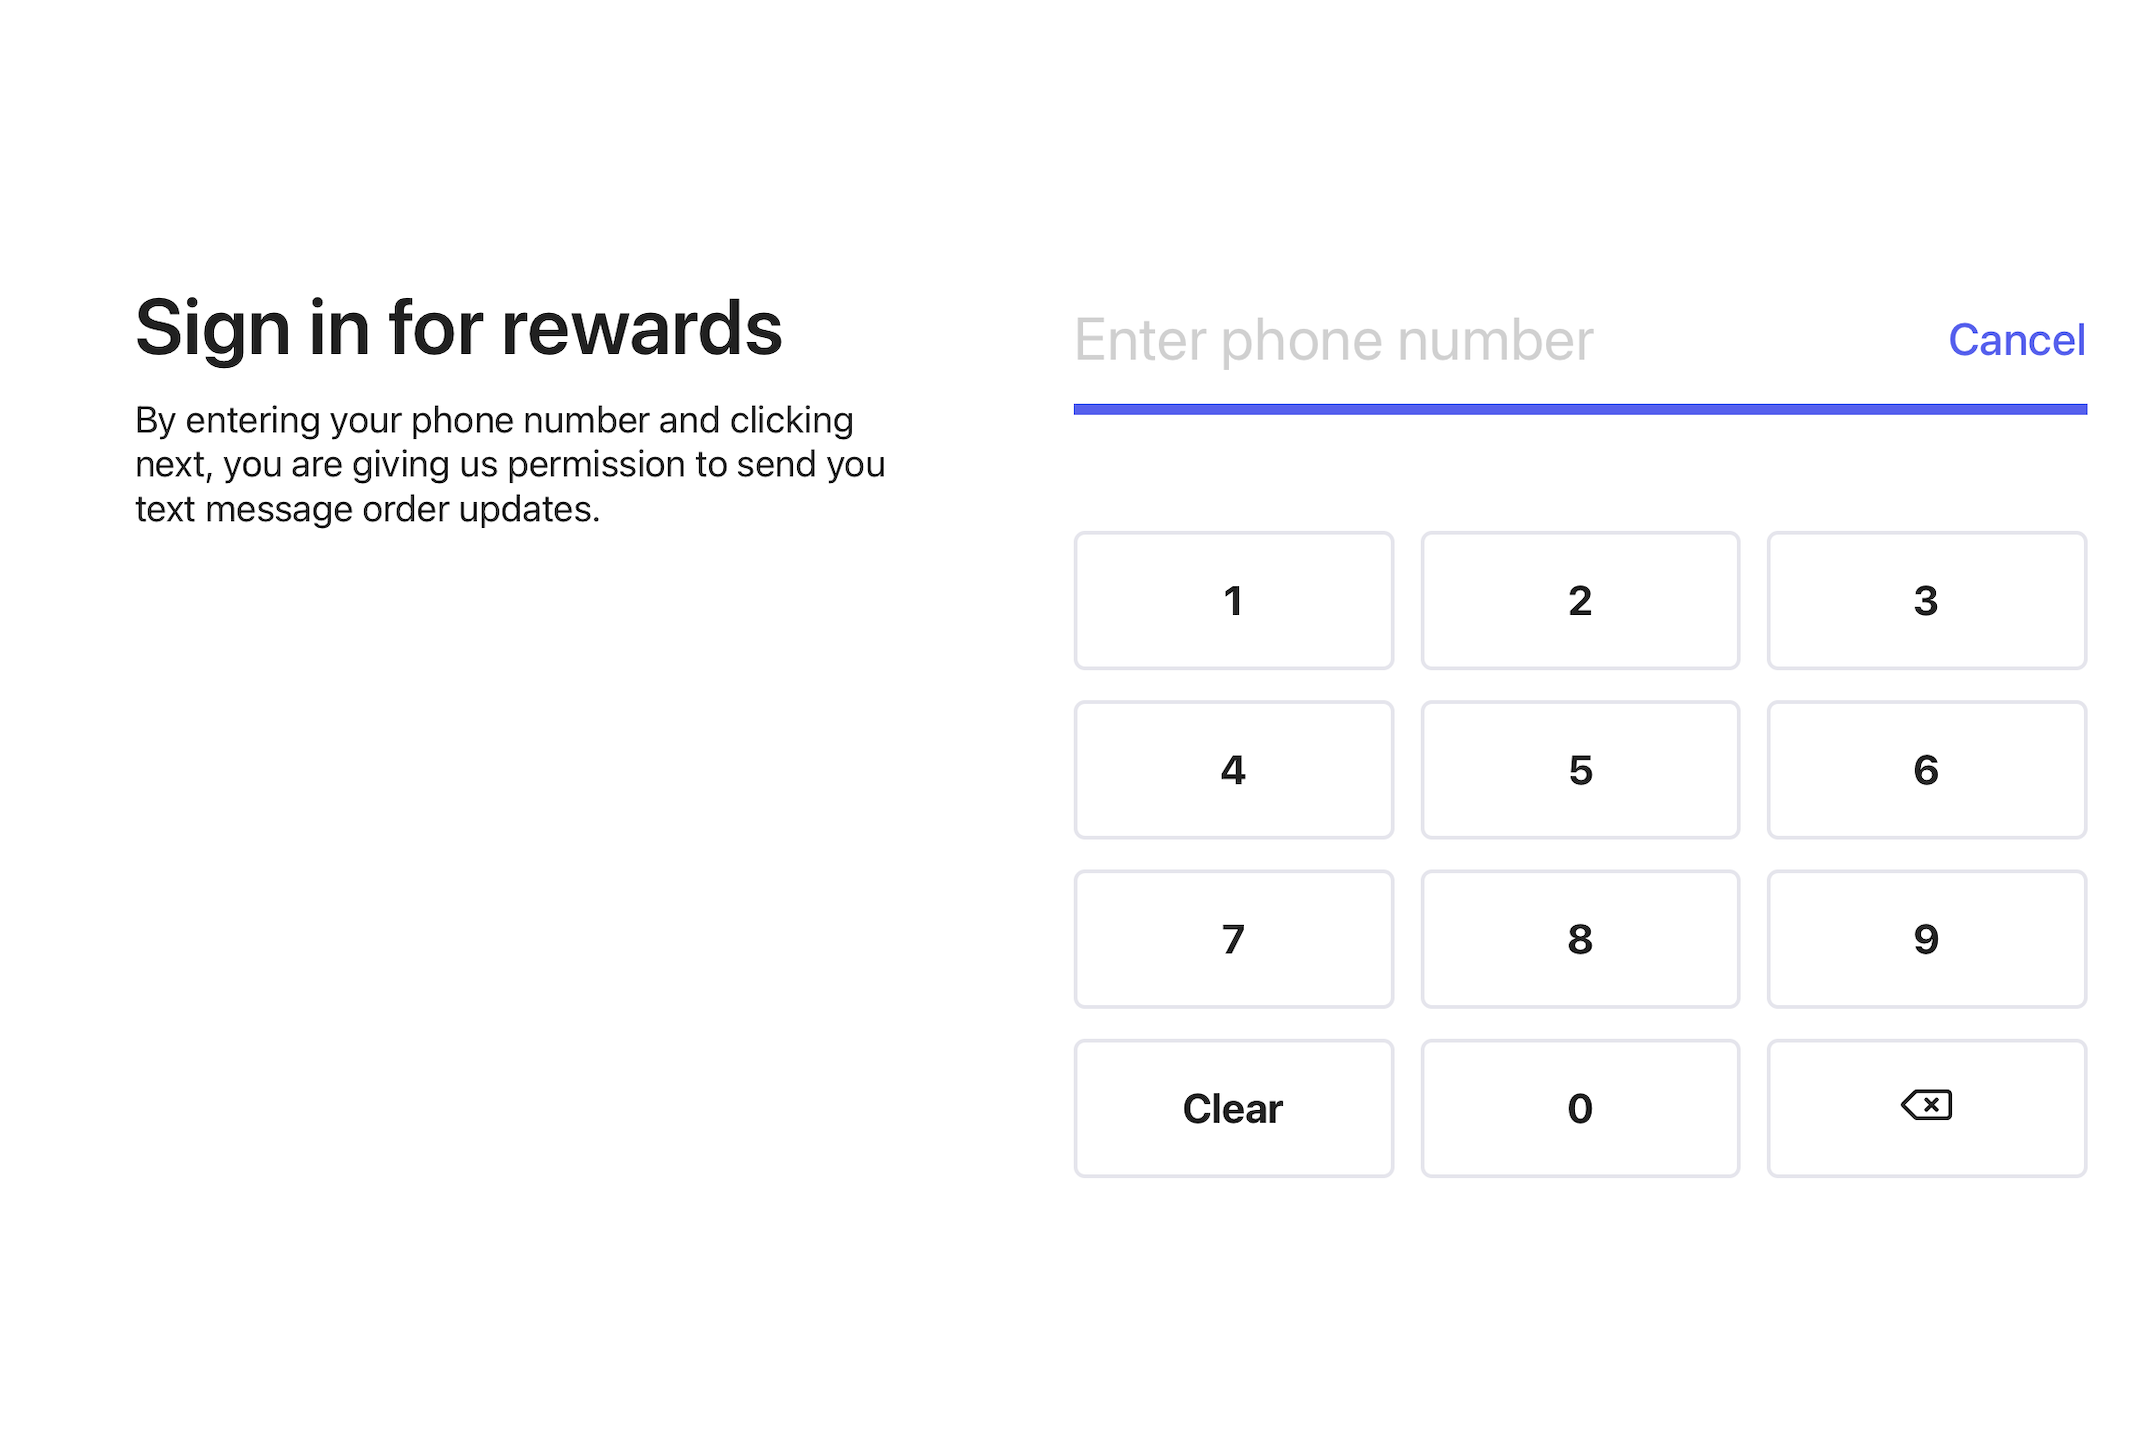
Complete these steps on the customer facing tablet
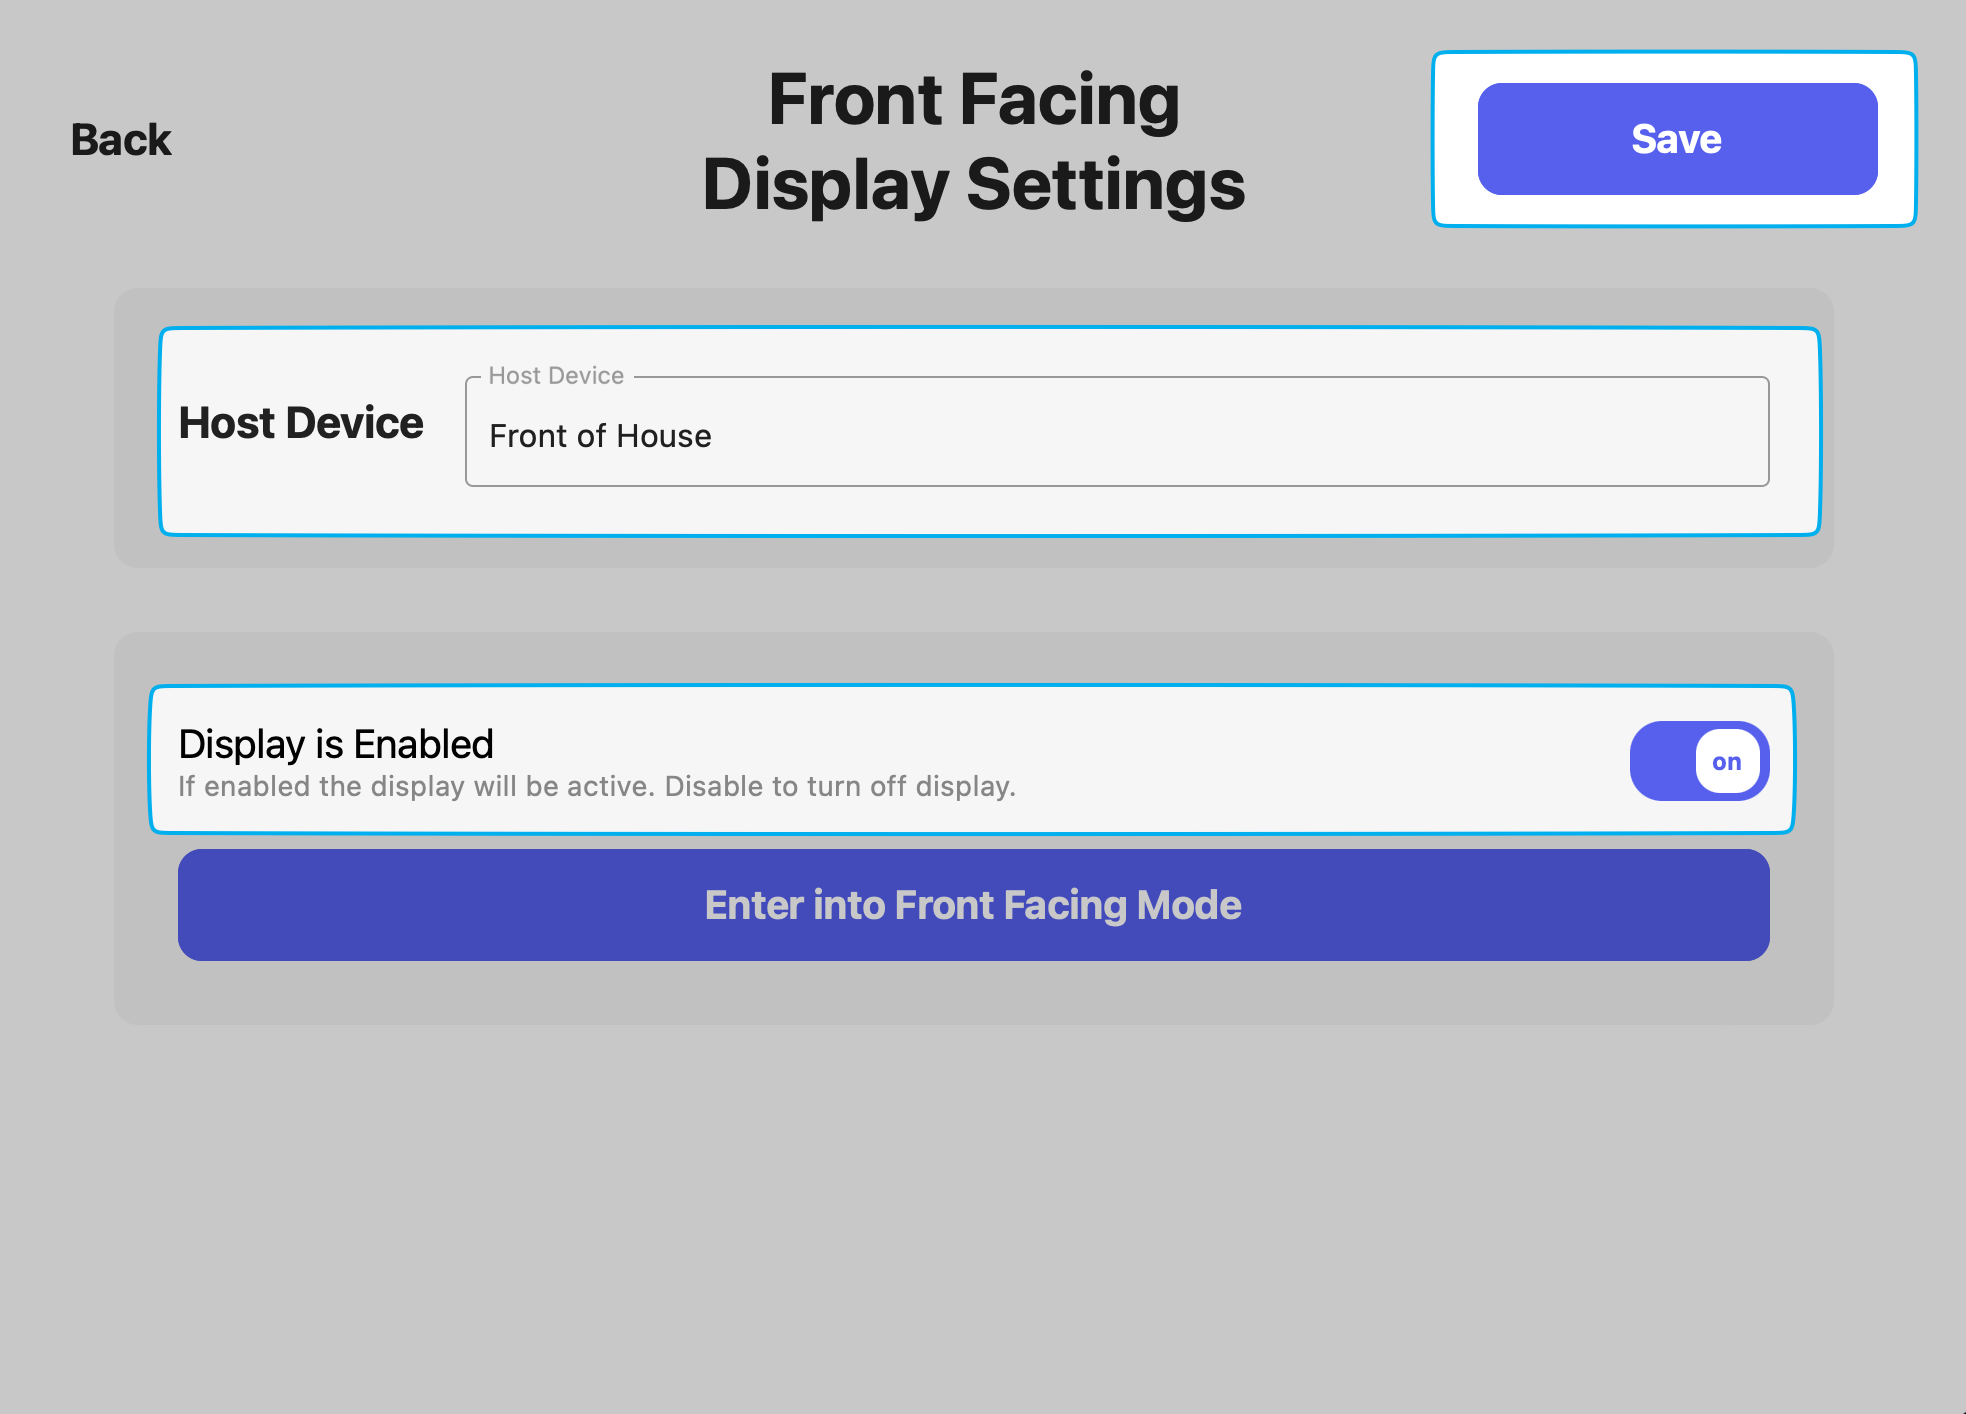
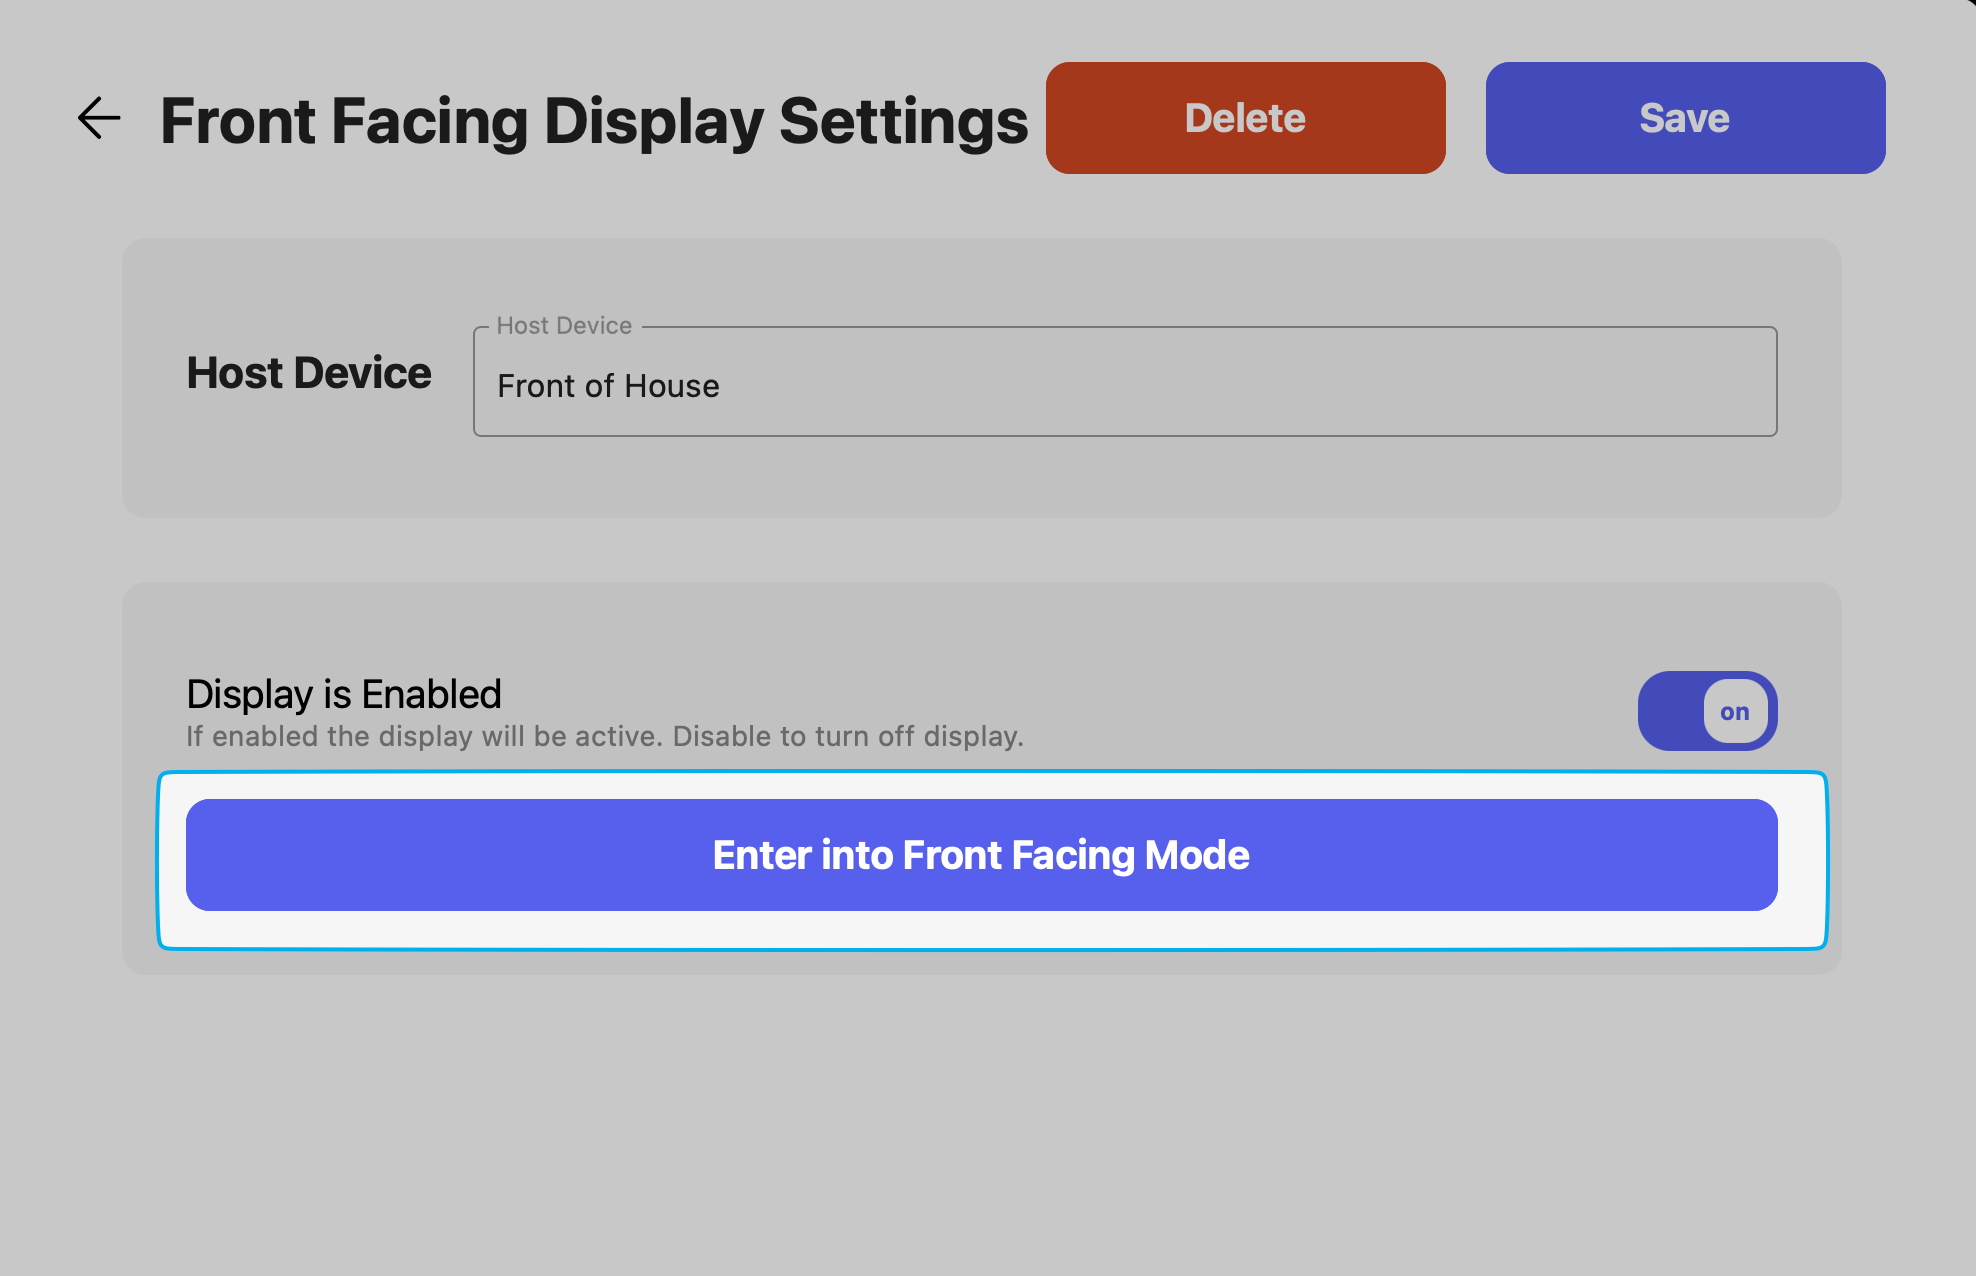
Enter Front Facing Mode
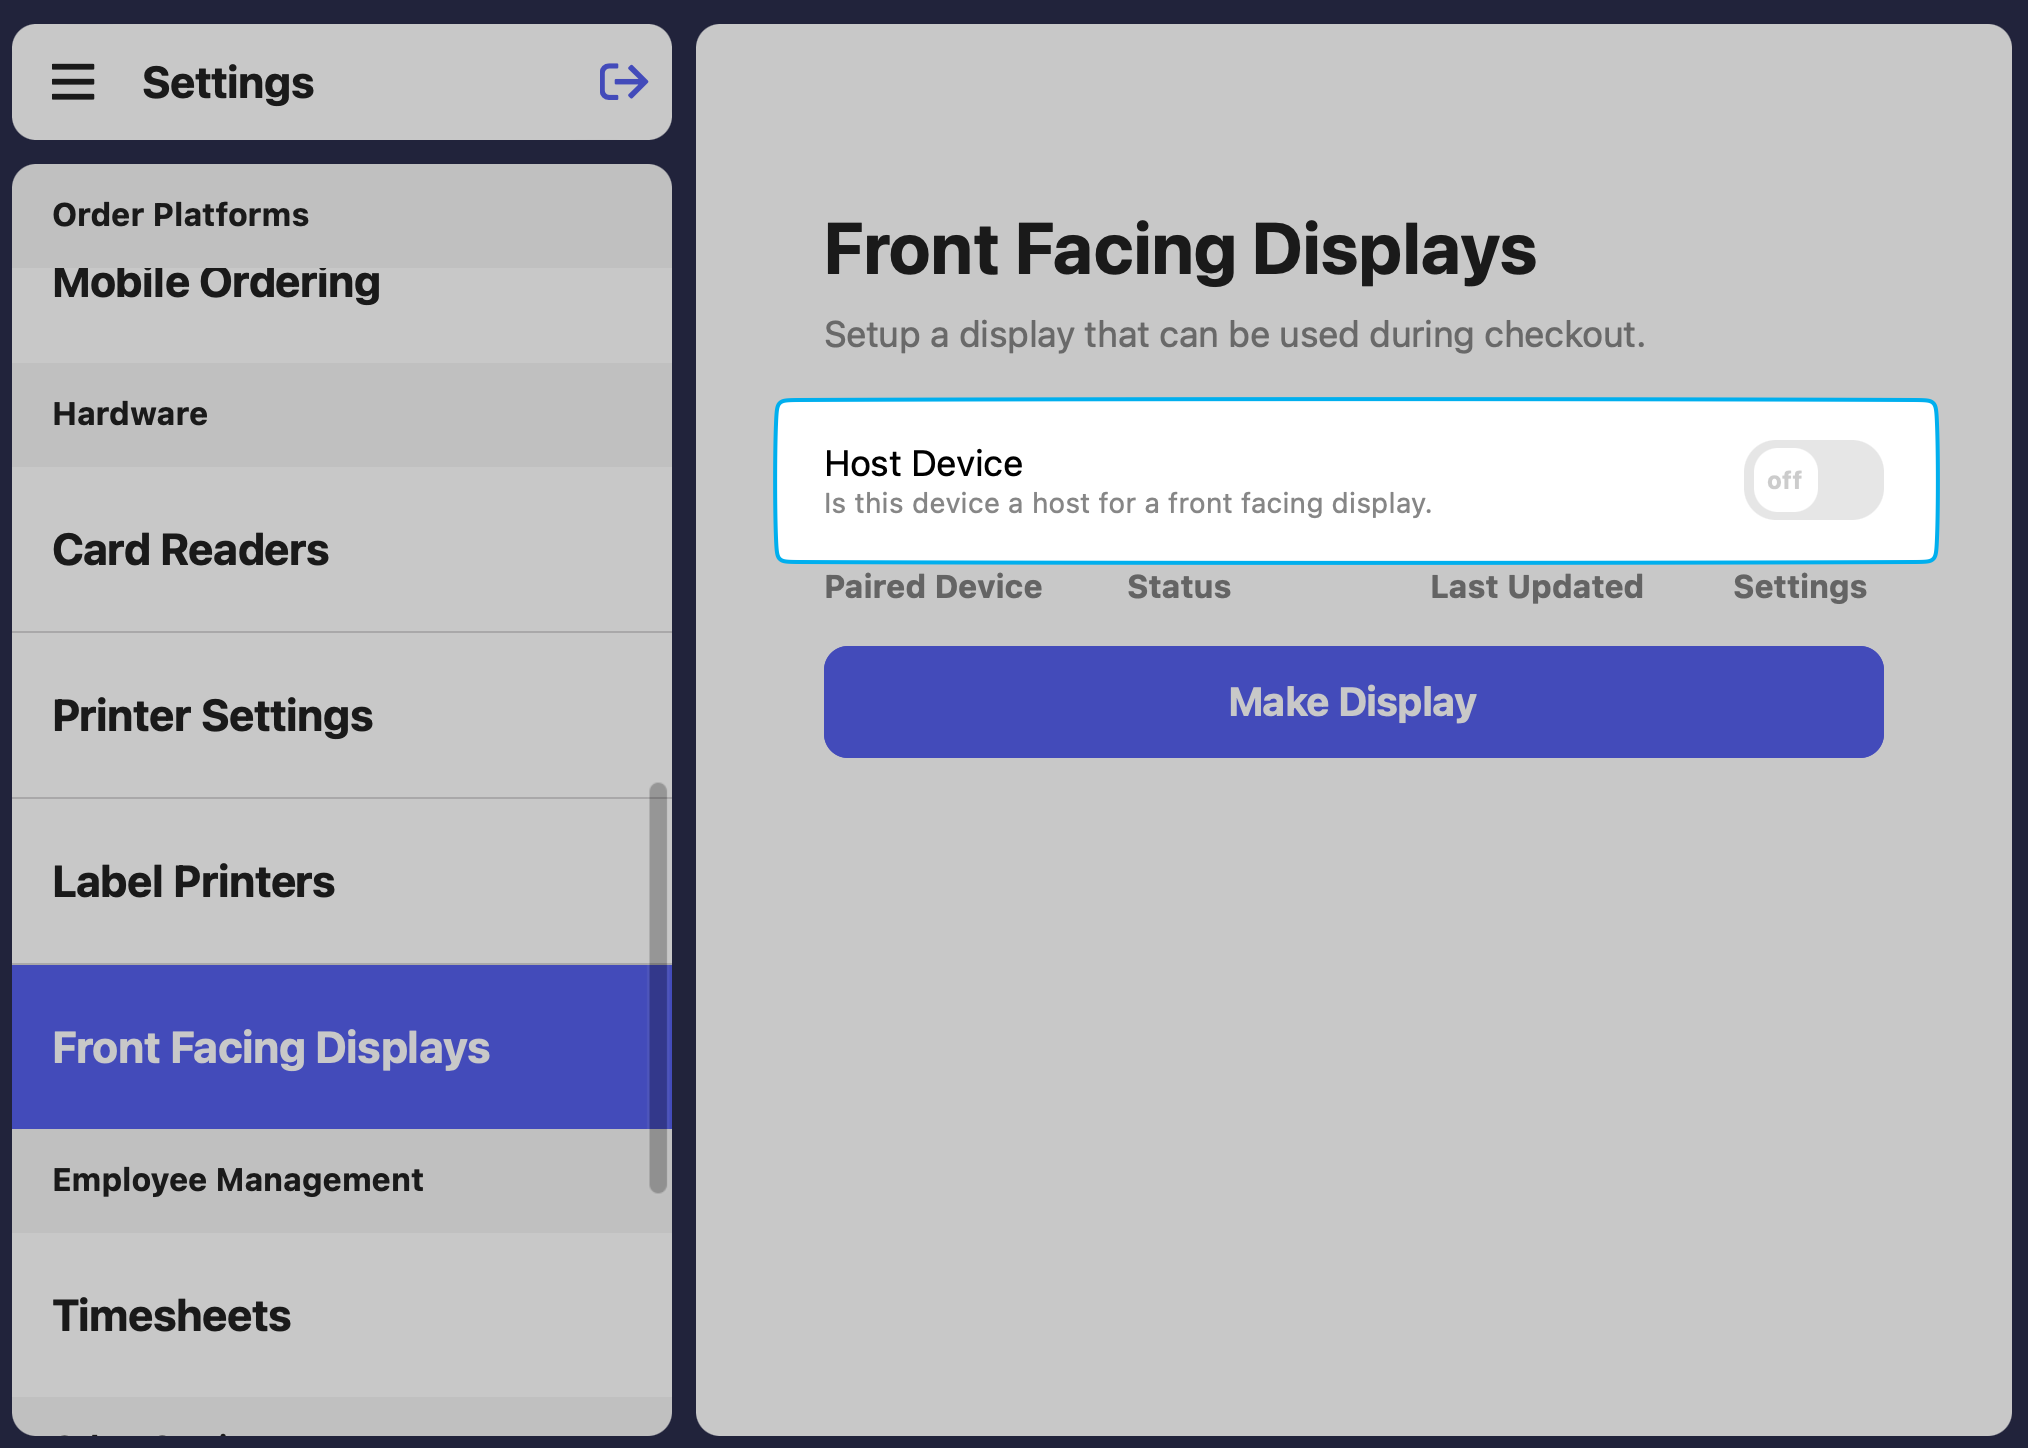
From the customer-facing device:- Press the tribar (≡) at the top left of the screen > press the settings icon (⚙️)
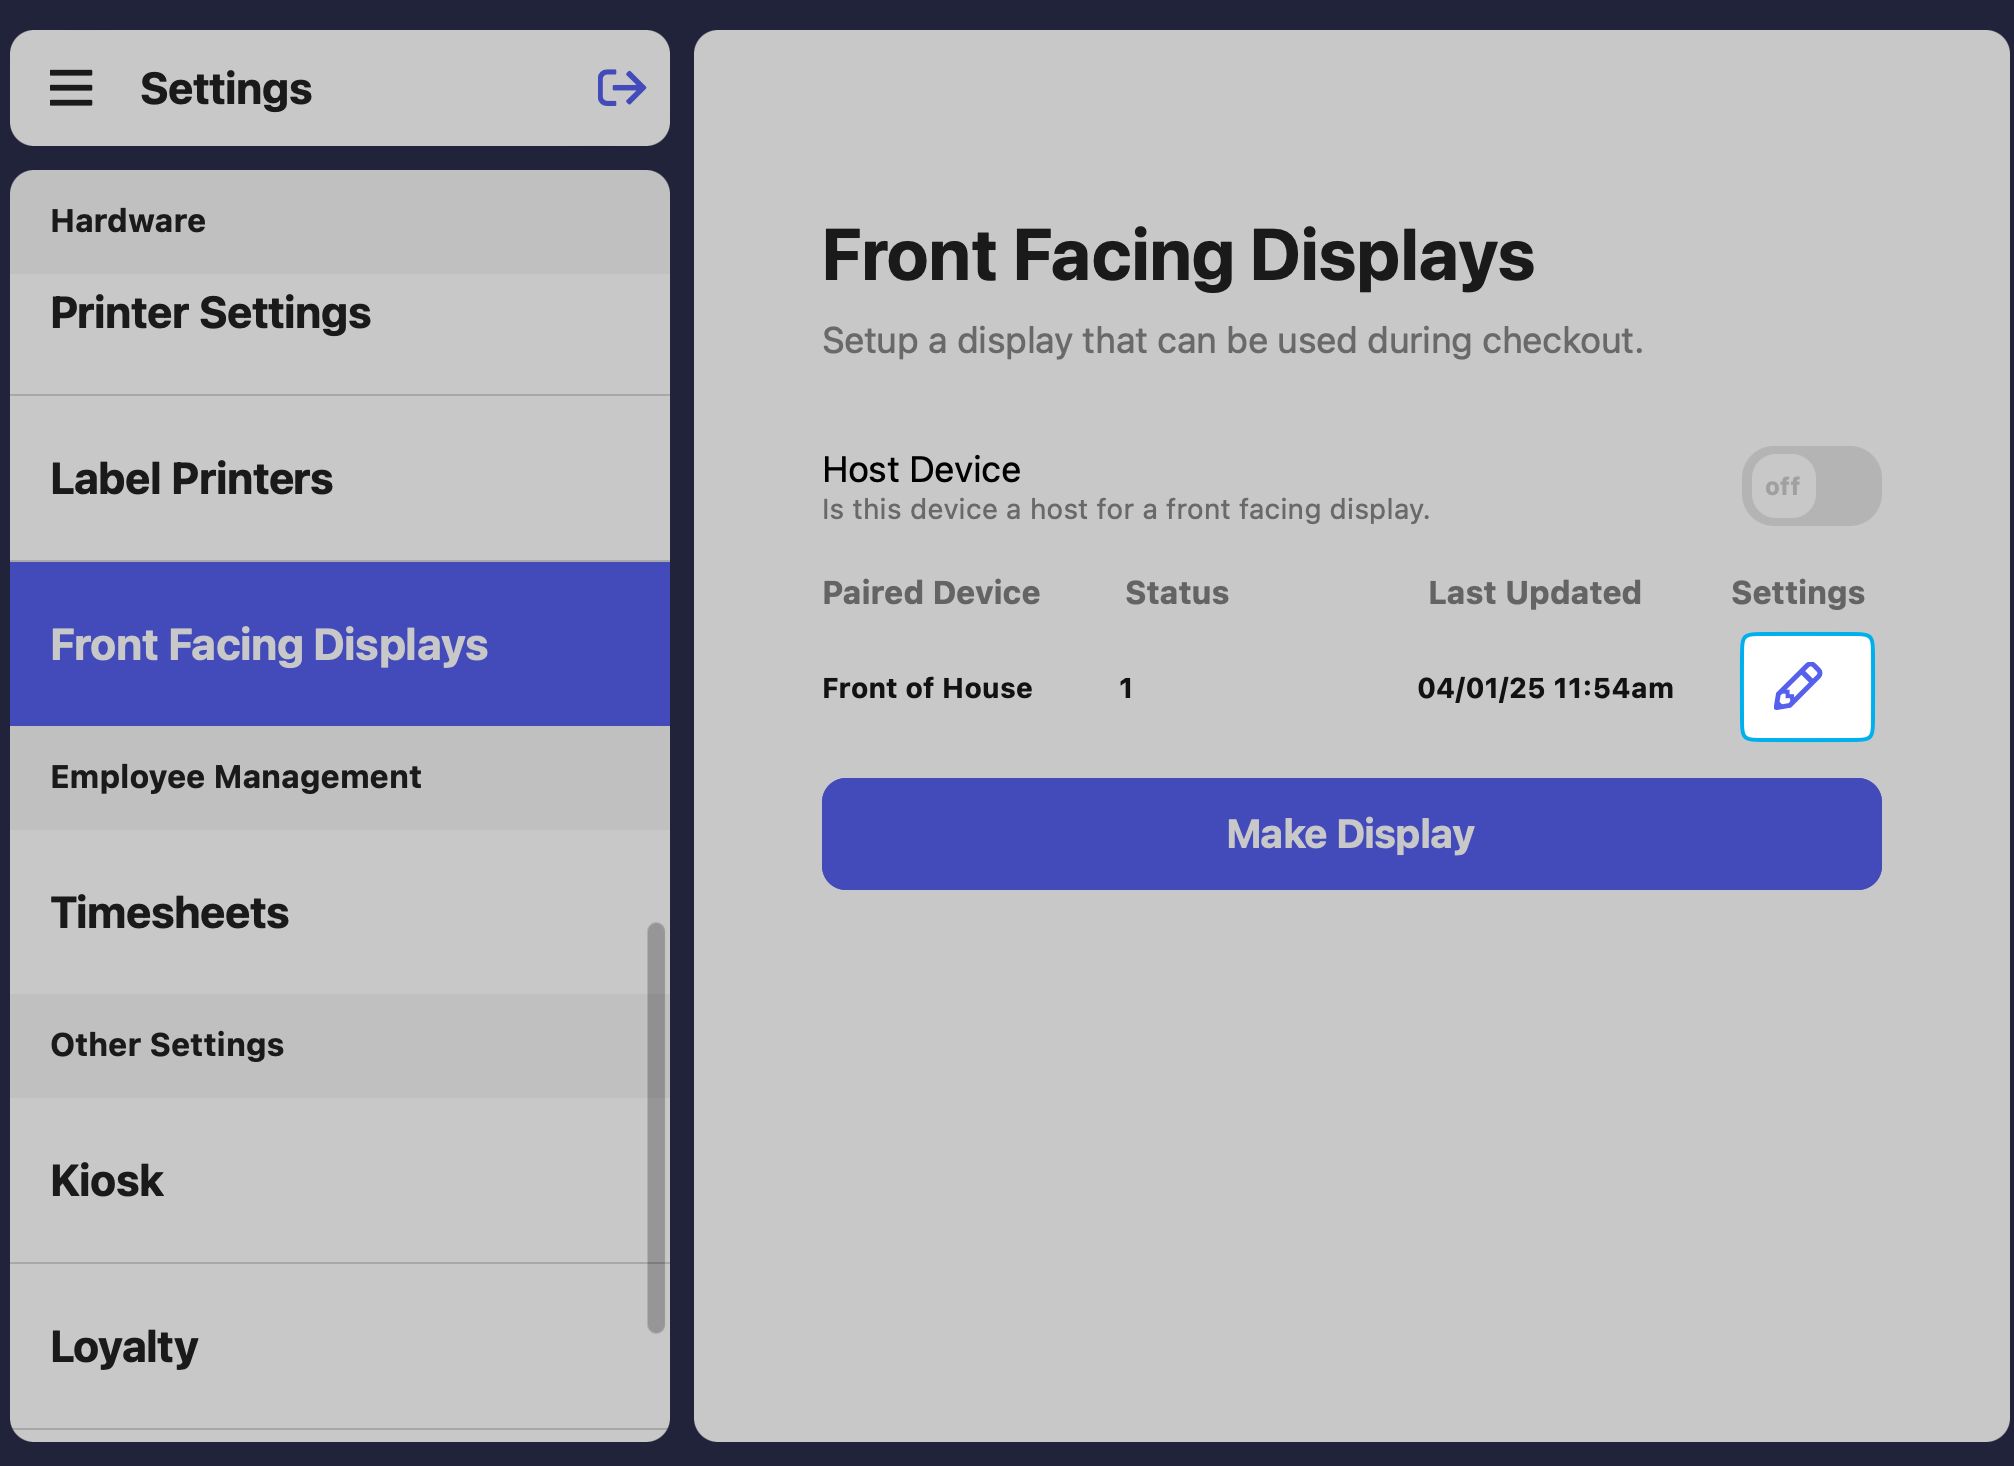
- Press Front Facing Displays
- Press the blue pencil icon