Cash payments are not accepted in Kiosk Mode.
Set Up a Kiosk
Click on the grey Kiosk Order Ticket Type > select the ticket type for kiosk orders (e.g. For here or to-go)
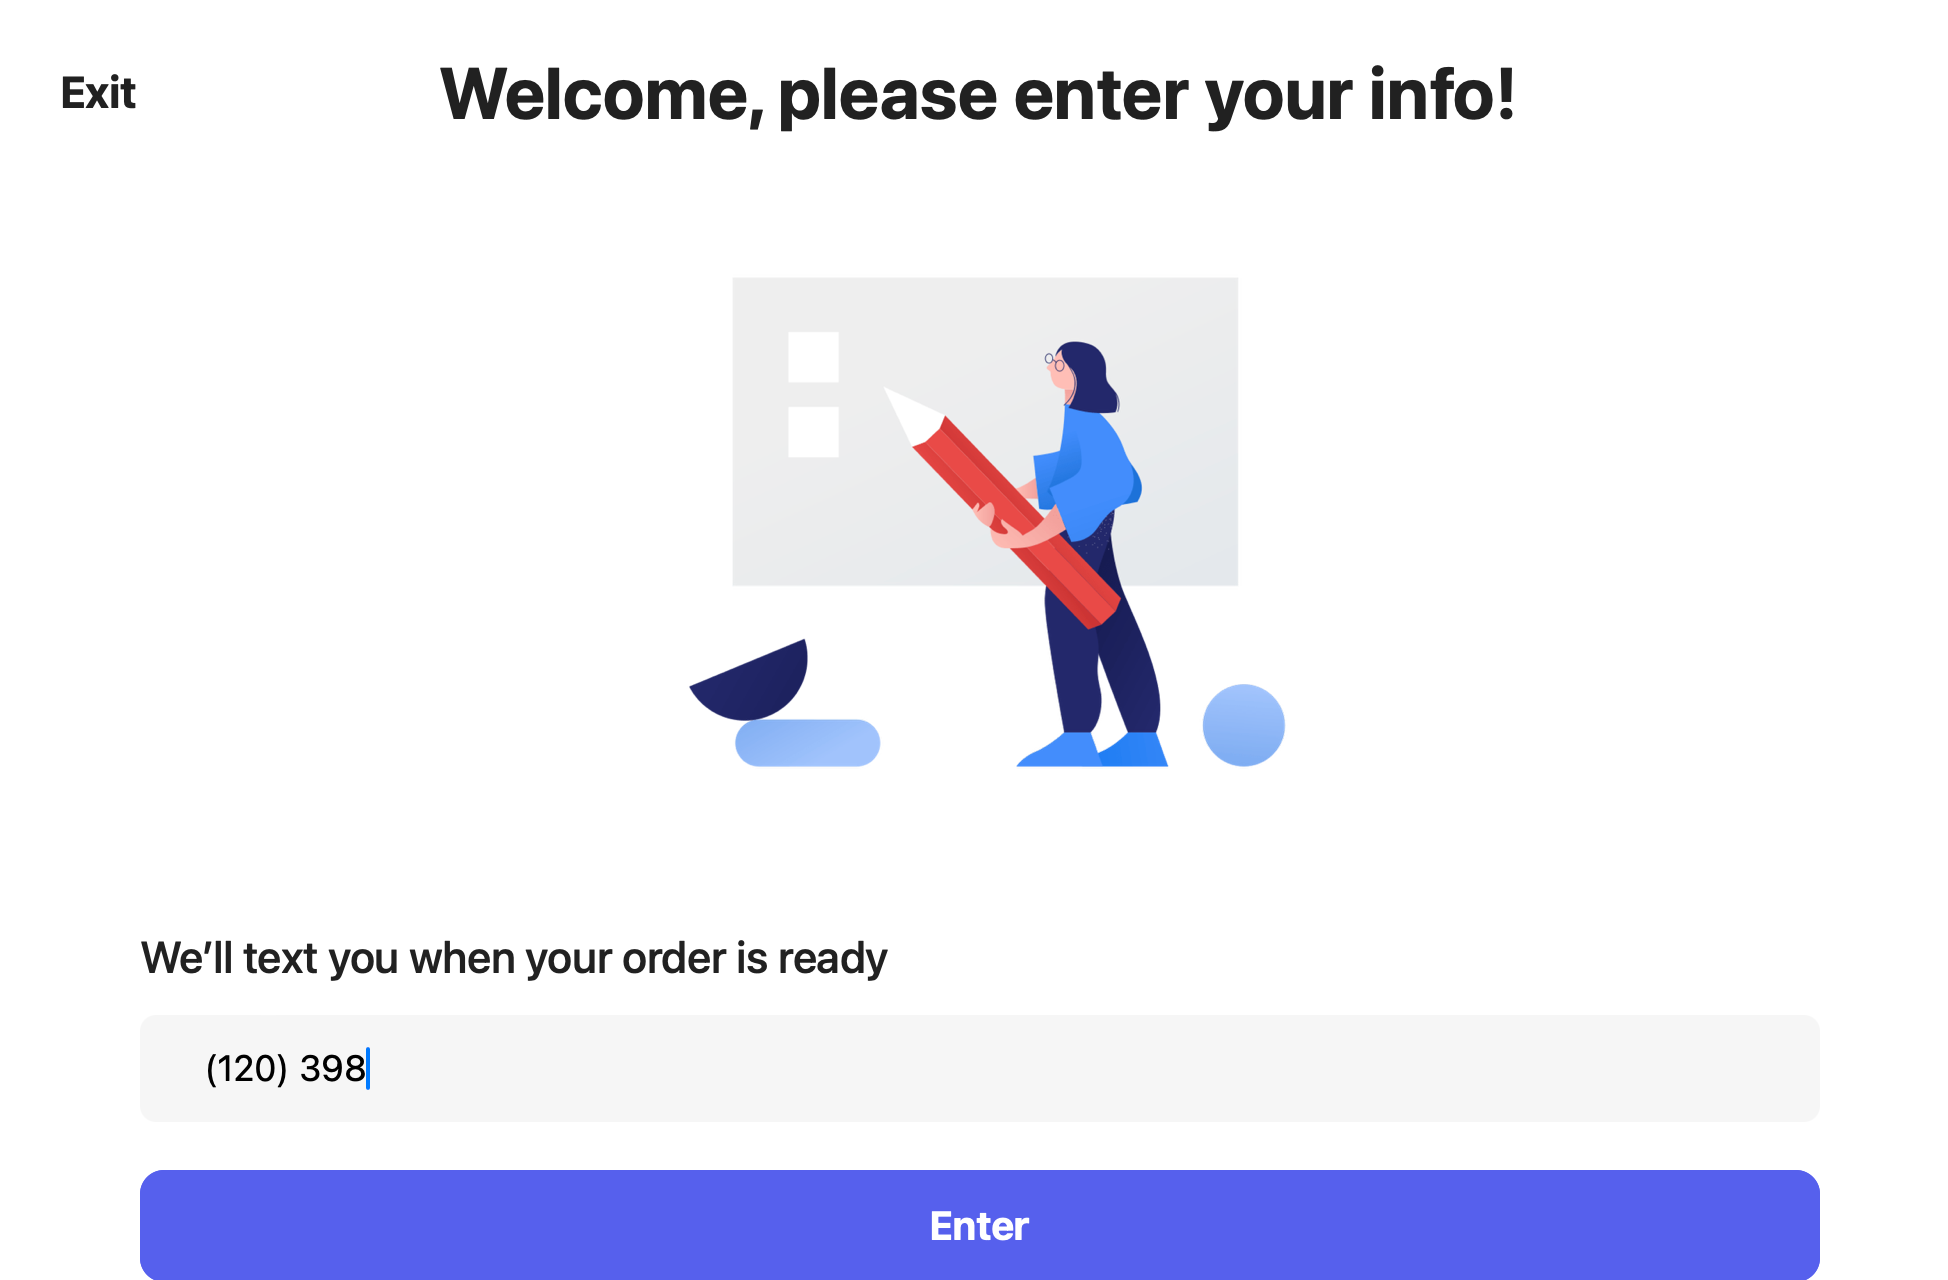
Set your Kiosk Exit Pin
The default Dripos Kiosk Pin is 120398. You may change it to a pin of your choice.
Configure Kiosk Menu
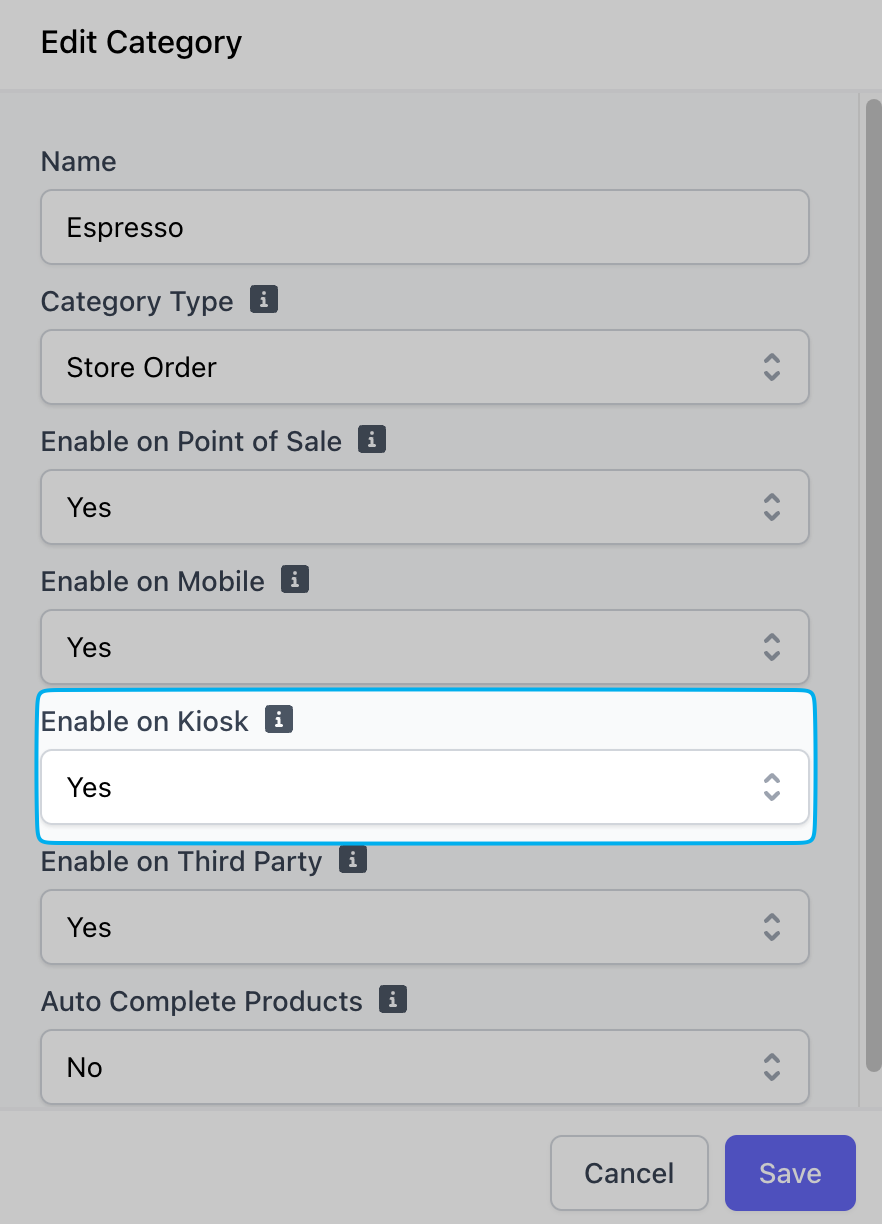
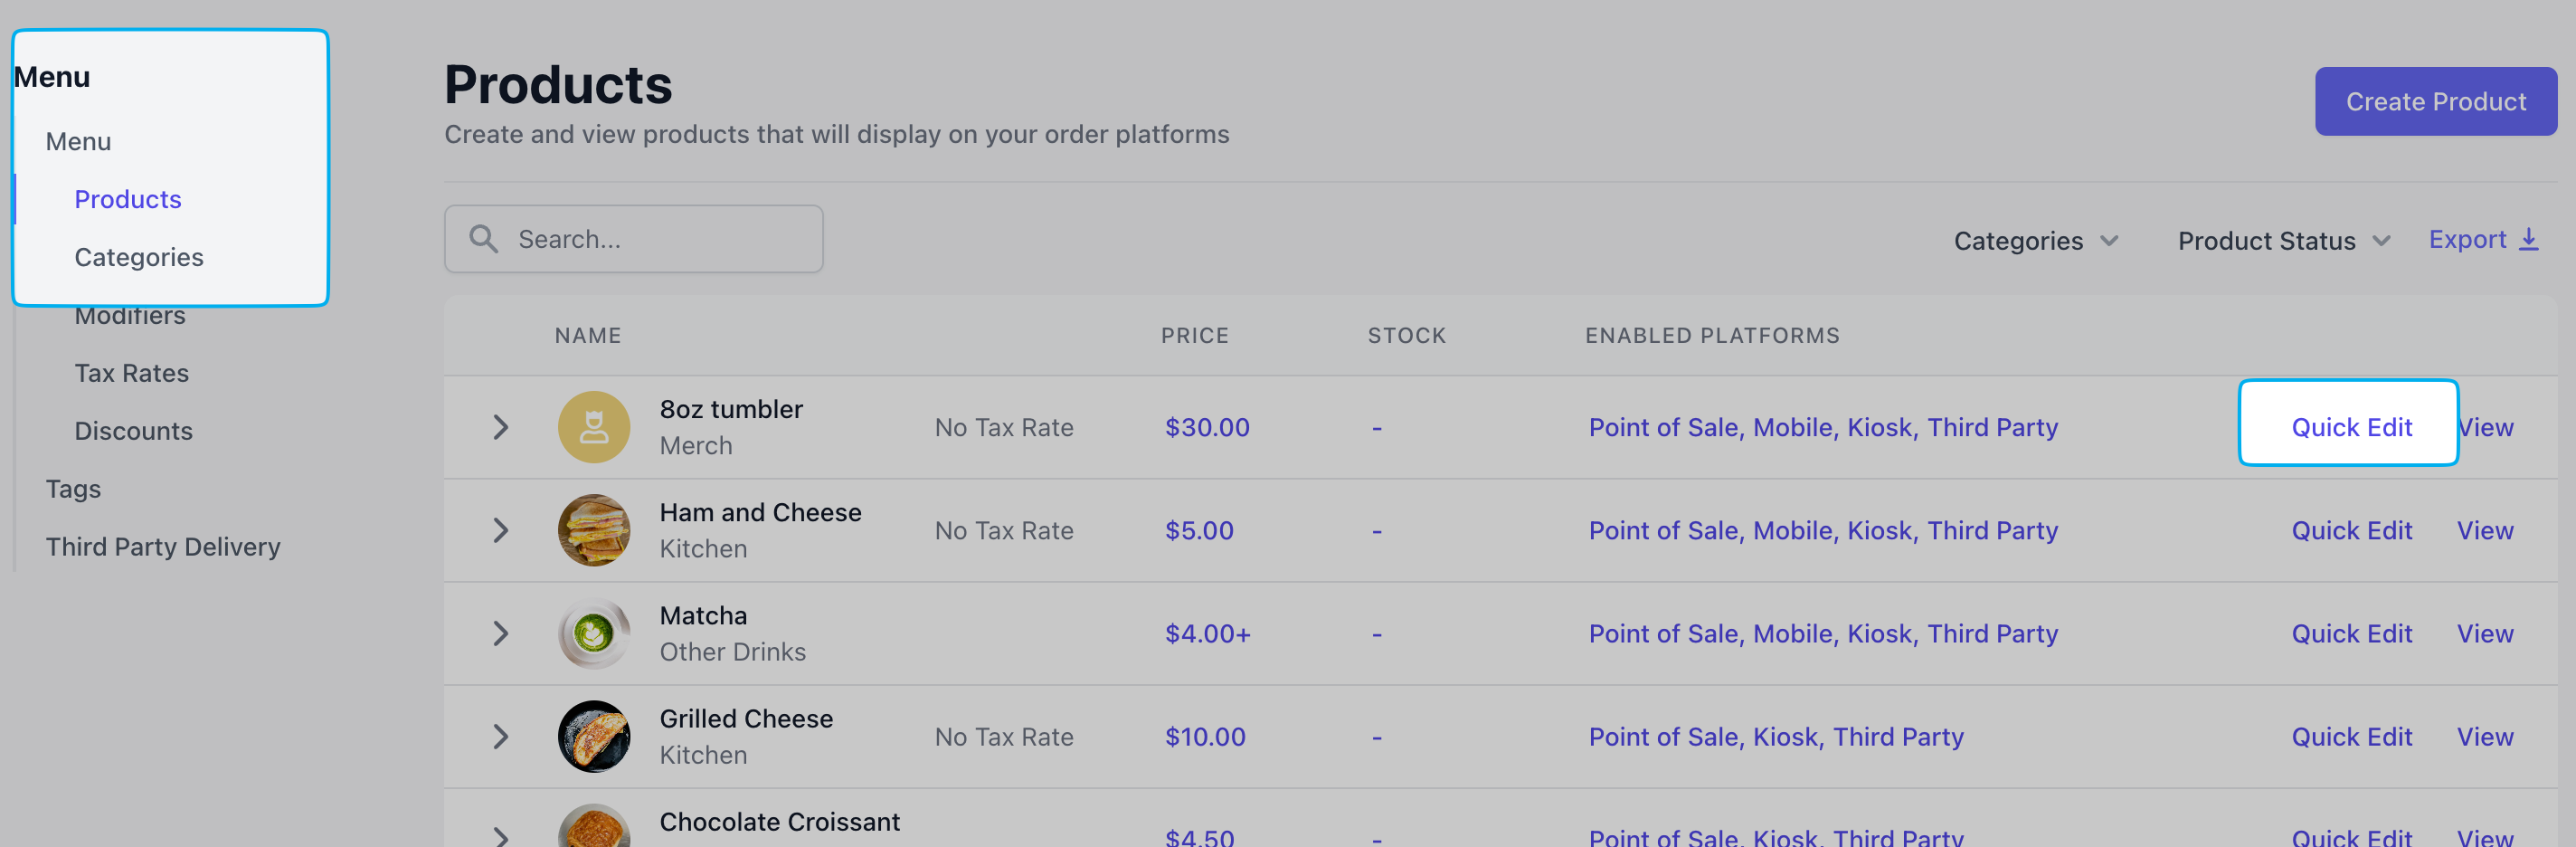
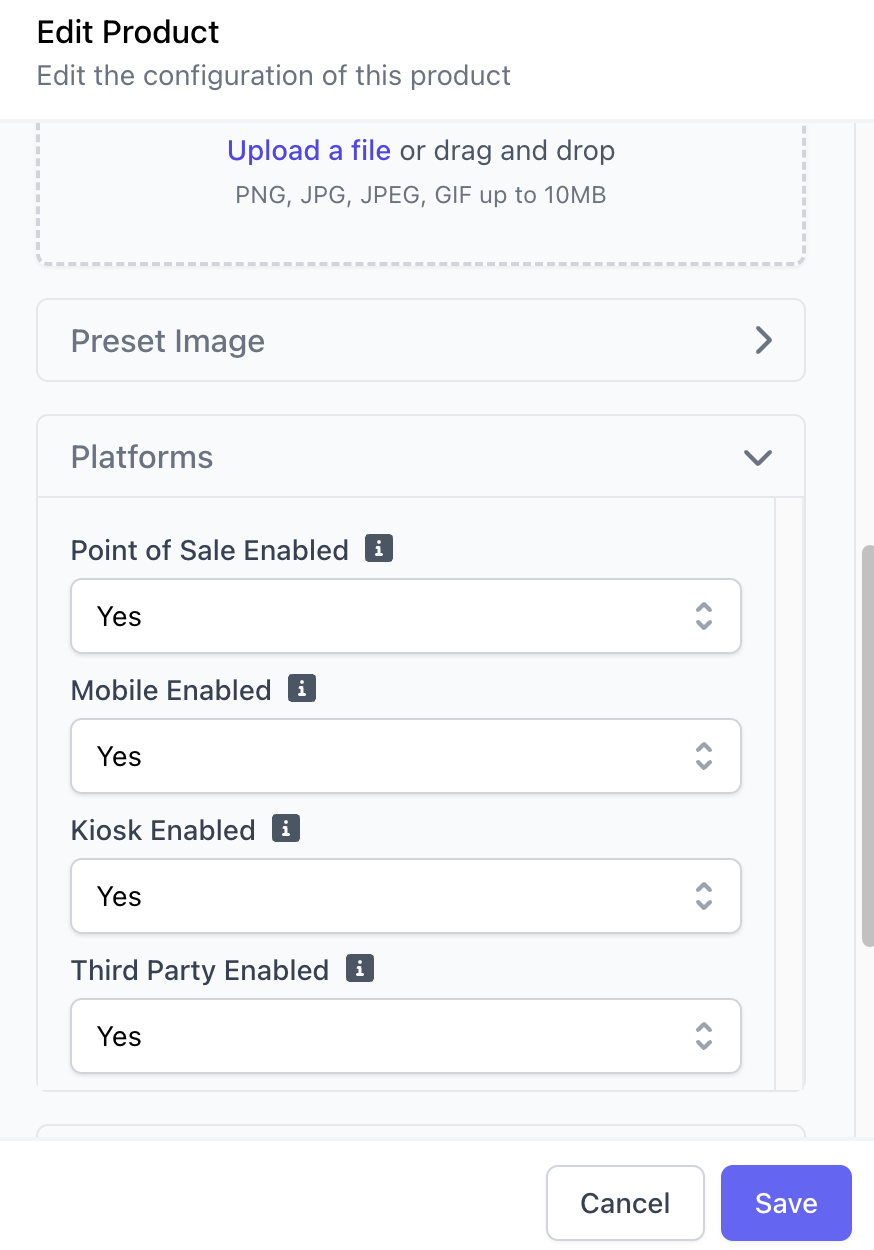
Enable and disable any category and its products for kiosk ordering.Categories
Categories

Kiosk Settings
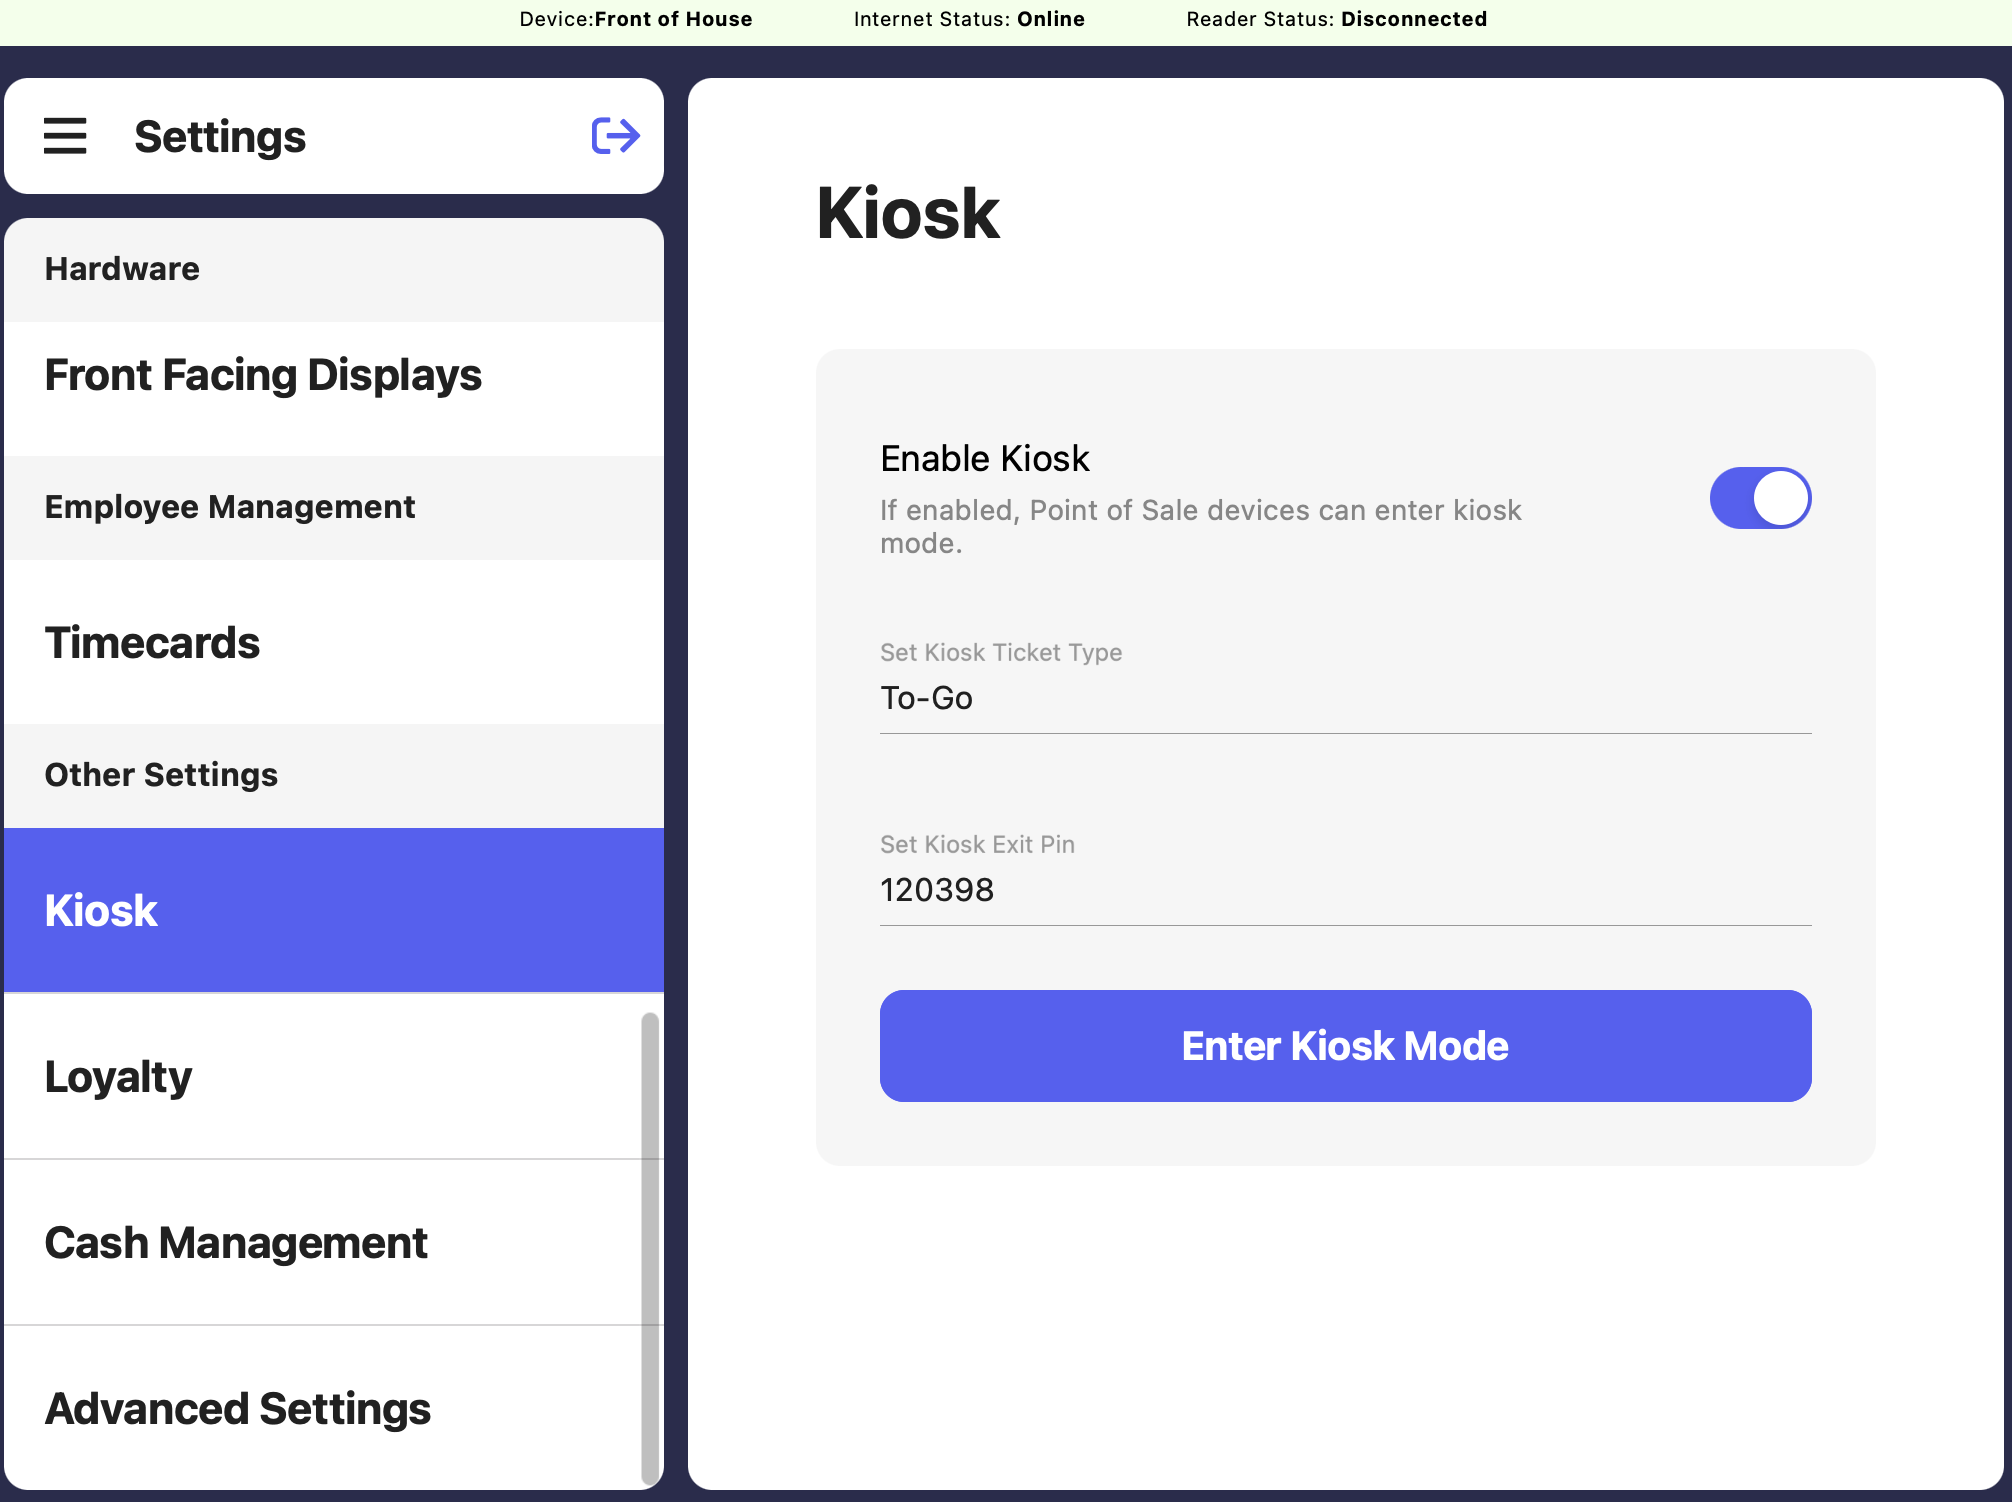
- Enable Kiosk: If enabled POS devices can enter Kiosk mode.
- Set Kiosk Ticket Type: Select a default ticket type created from kiosk devices e.g To GO, For Here, Pay at Window. This must be set before entering kiosk mode.
- Set Kiosk Exit Pin: This pin will be used to move a device out of kiosk mode when entered under ‘order phone number’. The default pin is 120398 for all devices.
- Enter Kiosk Mode: This button will enter the current device into kiosk mode.