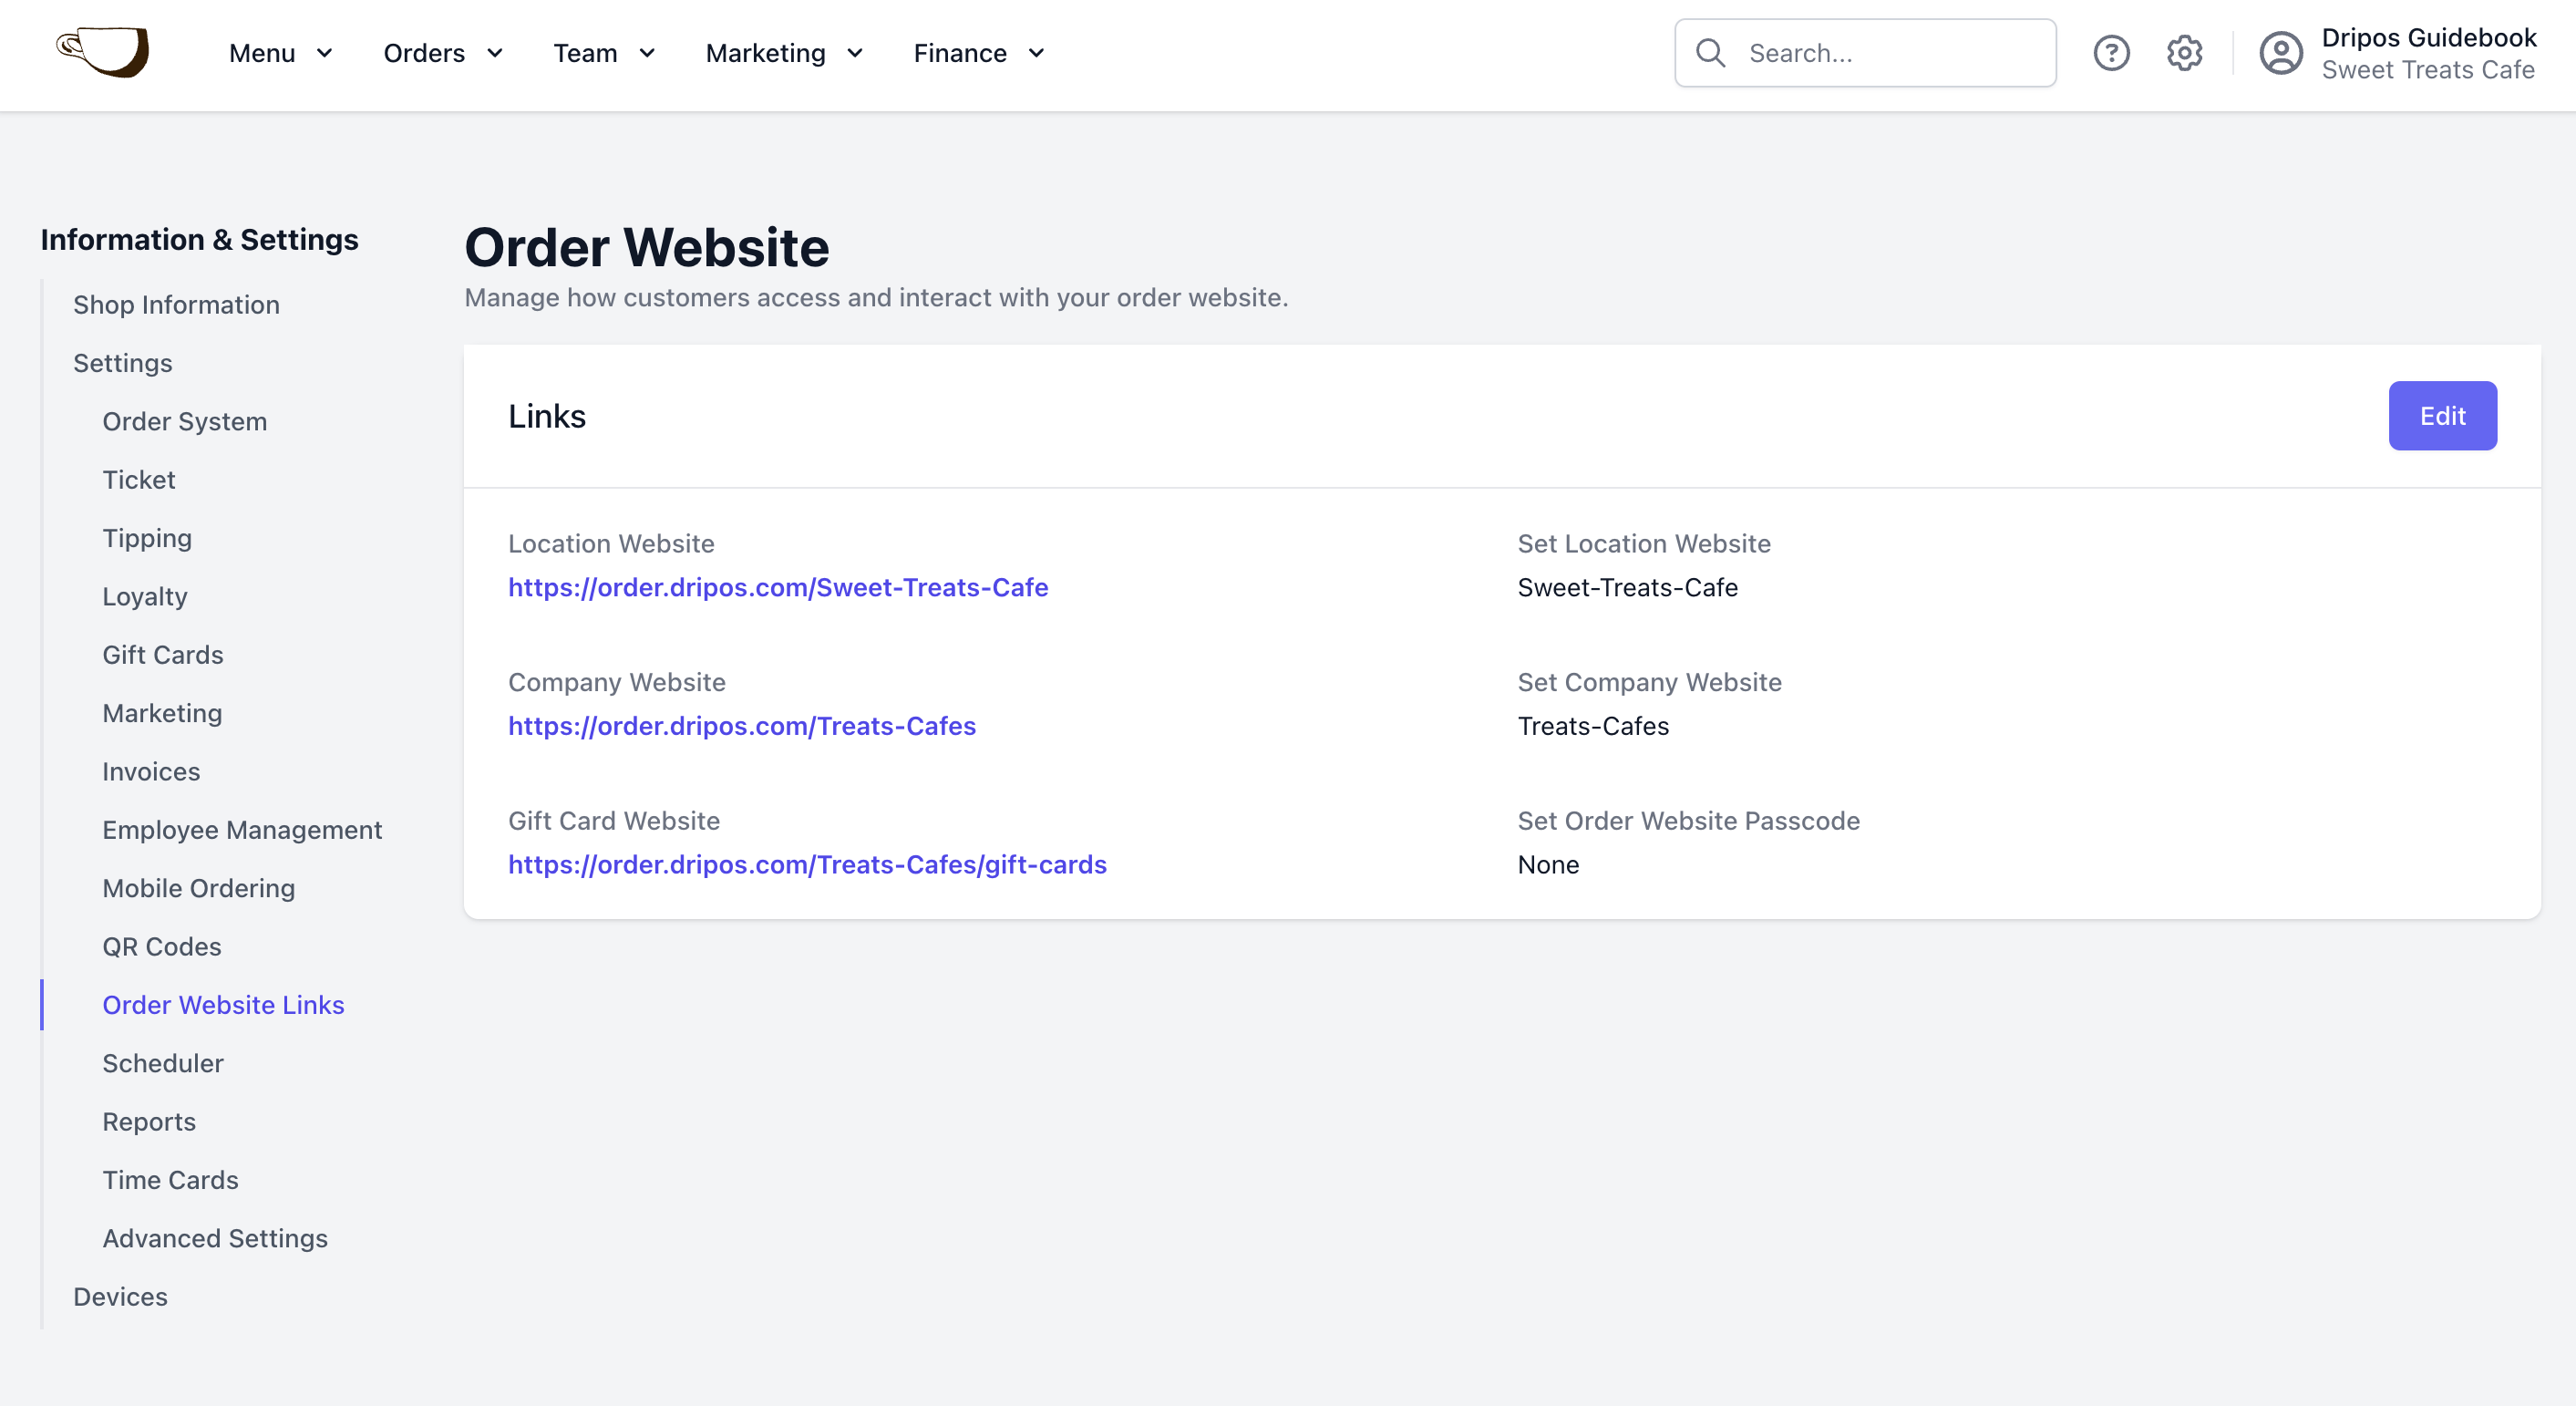
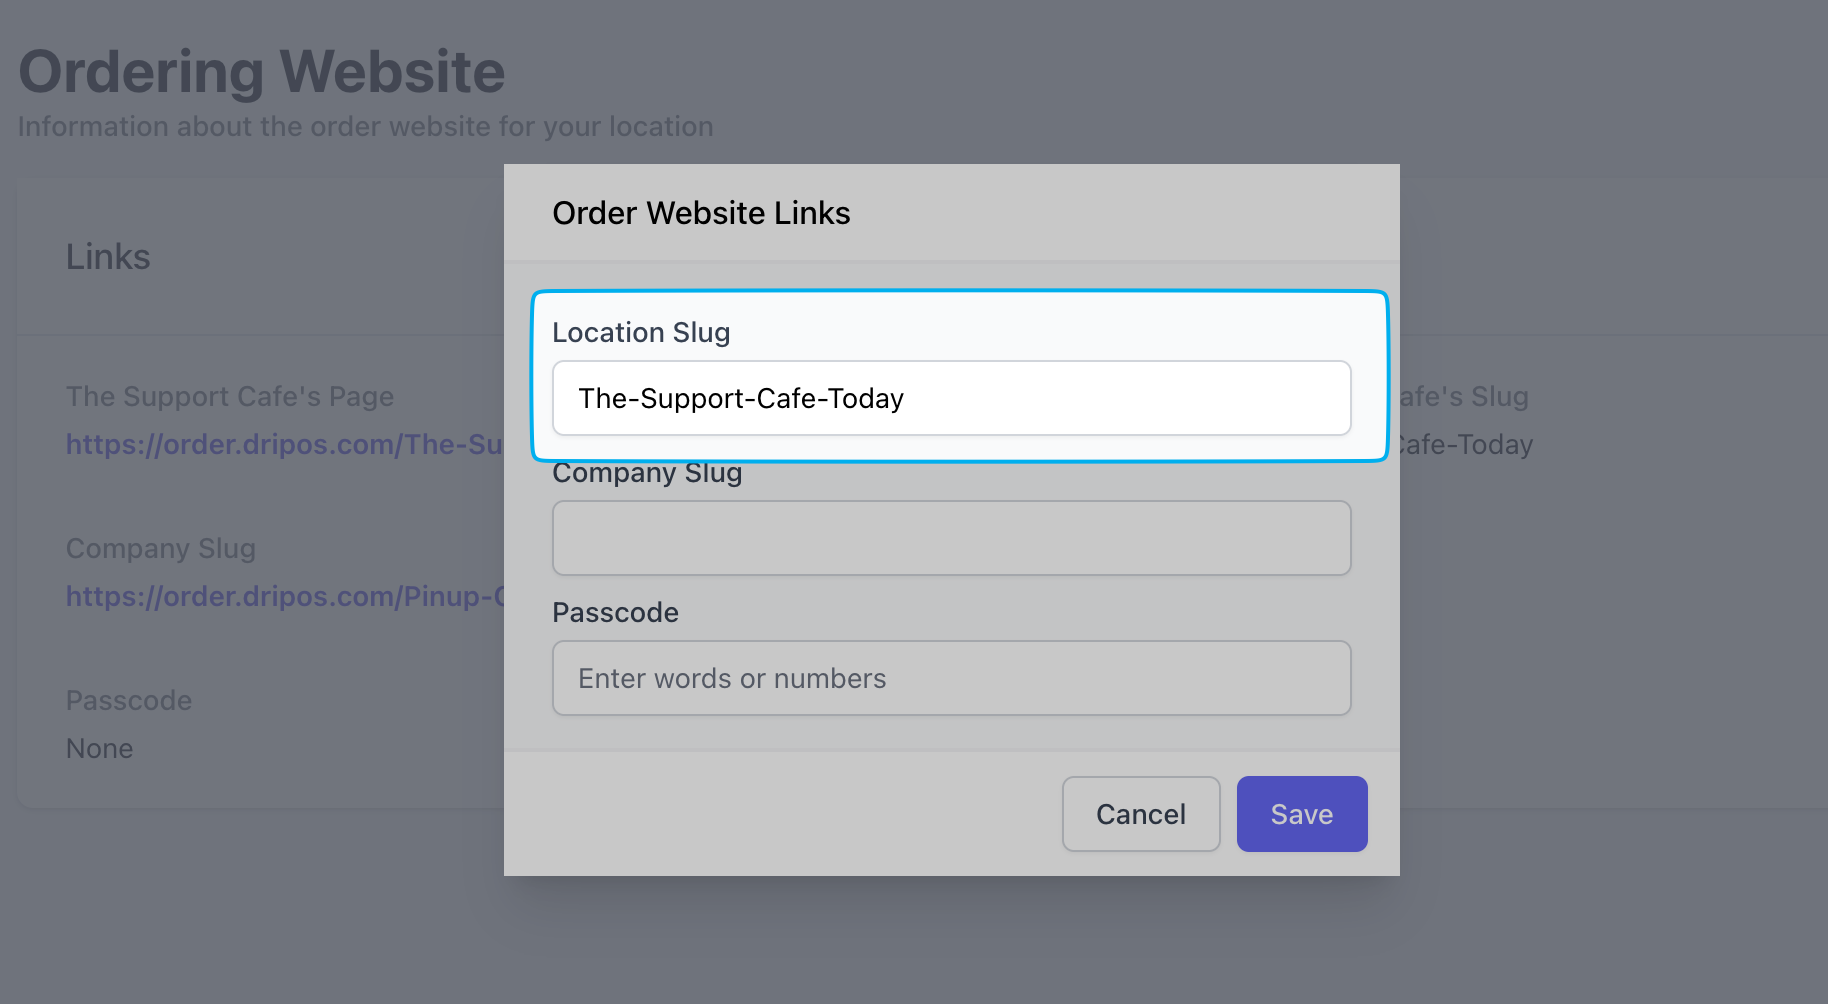
This applies to companies using Dripos for multiple store locations. The company order website is a home page where customers can select a location to order from.
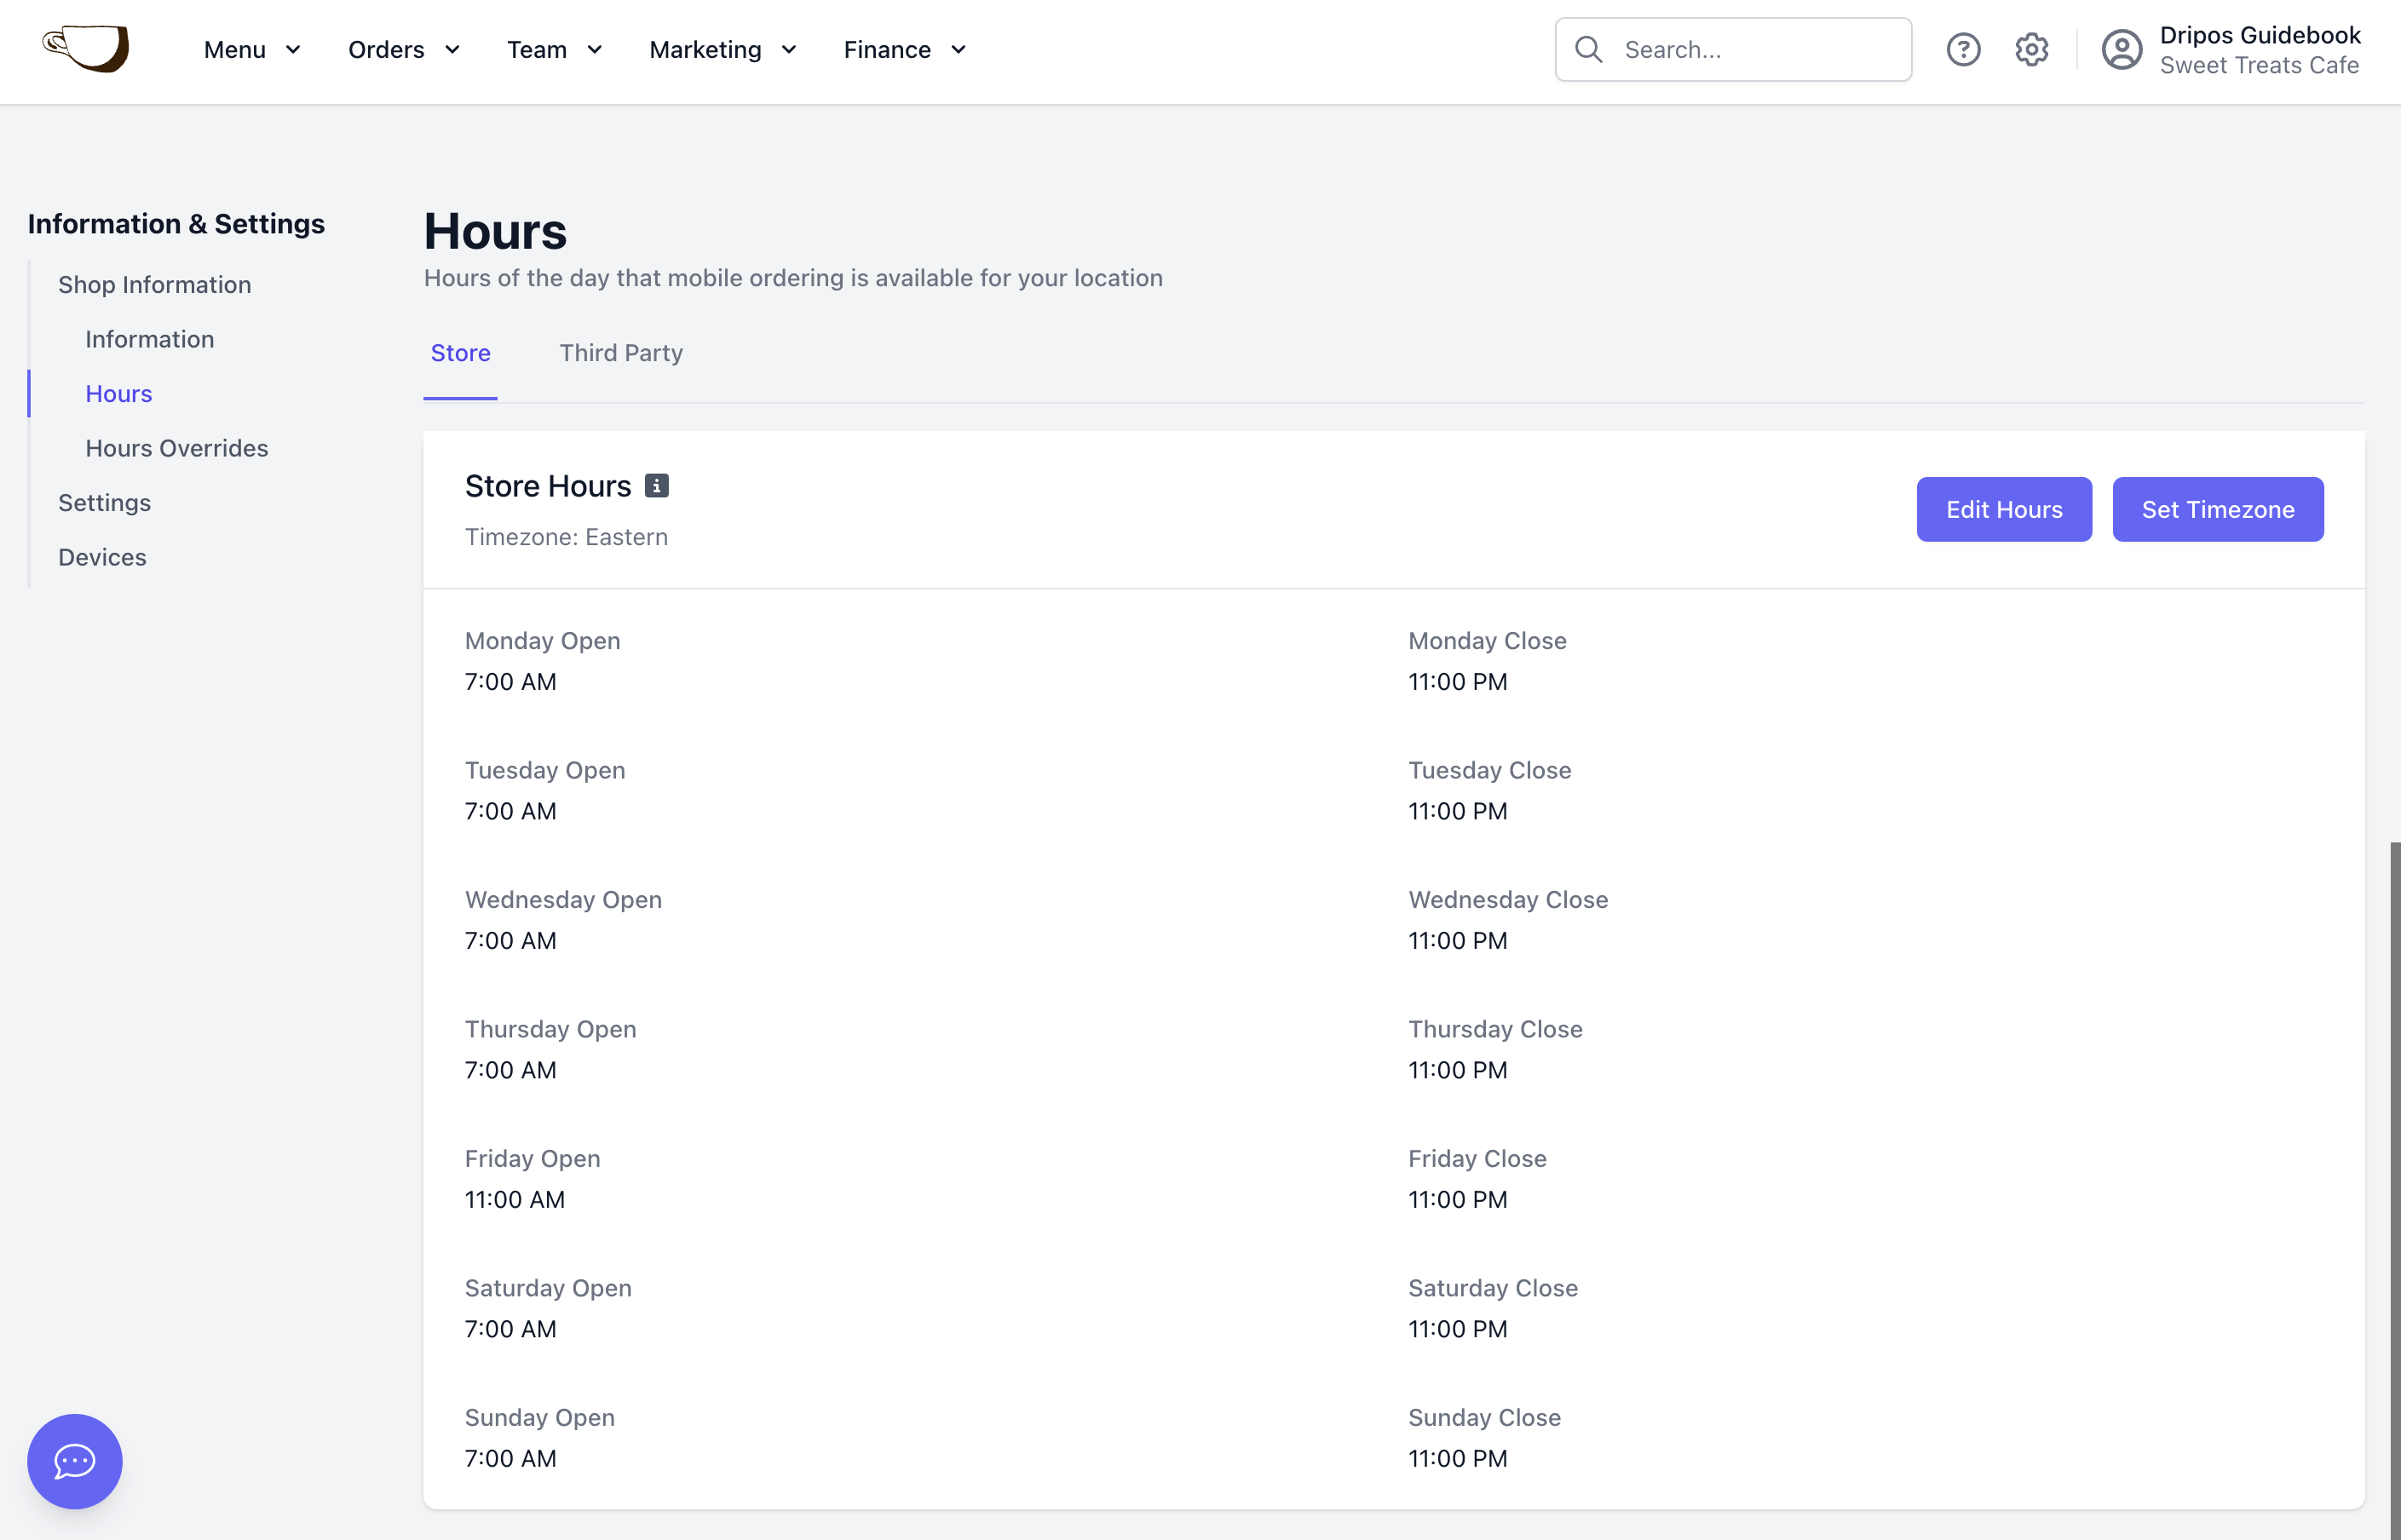
Set store hours to determine when customers can place mobile orders.
Store hours will automatically be set in the timezone of the shop address on file under Shop Information > Hours. To manually set a different timezone, click Set Timezone.
1
On the Dashboard, click the Settings (⚙️) in the upper right corner and navigate to Shop Information > Hours
2
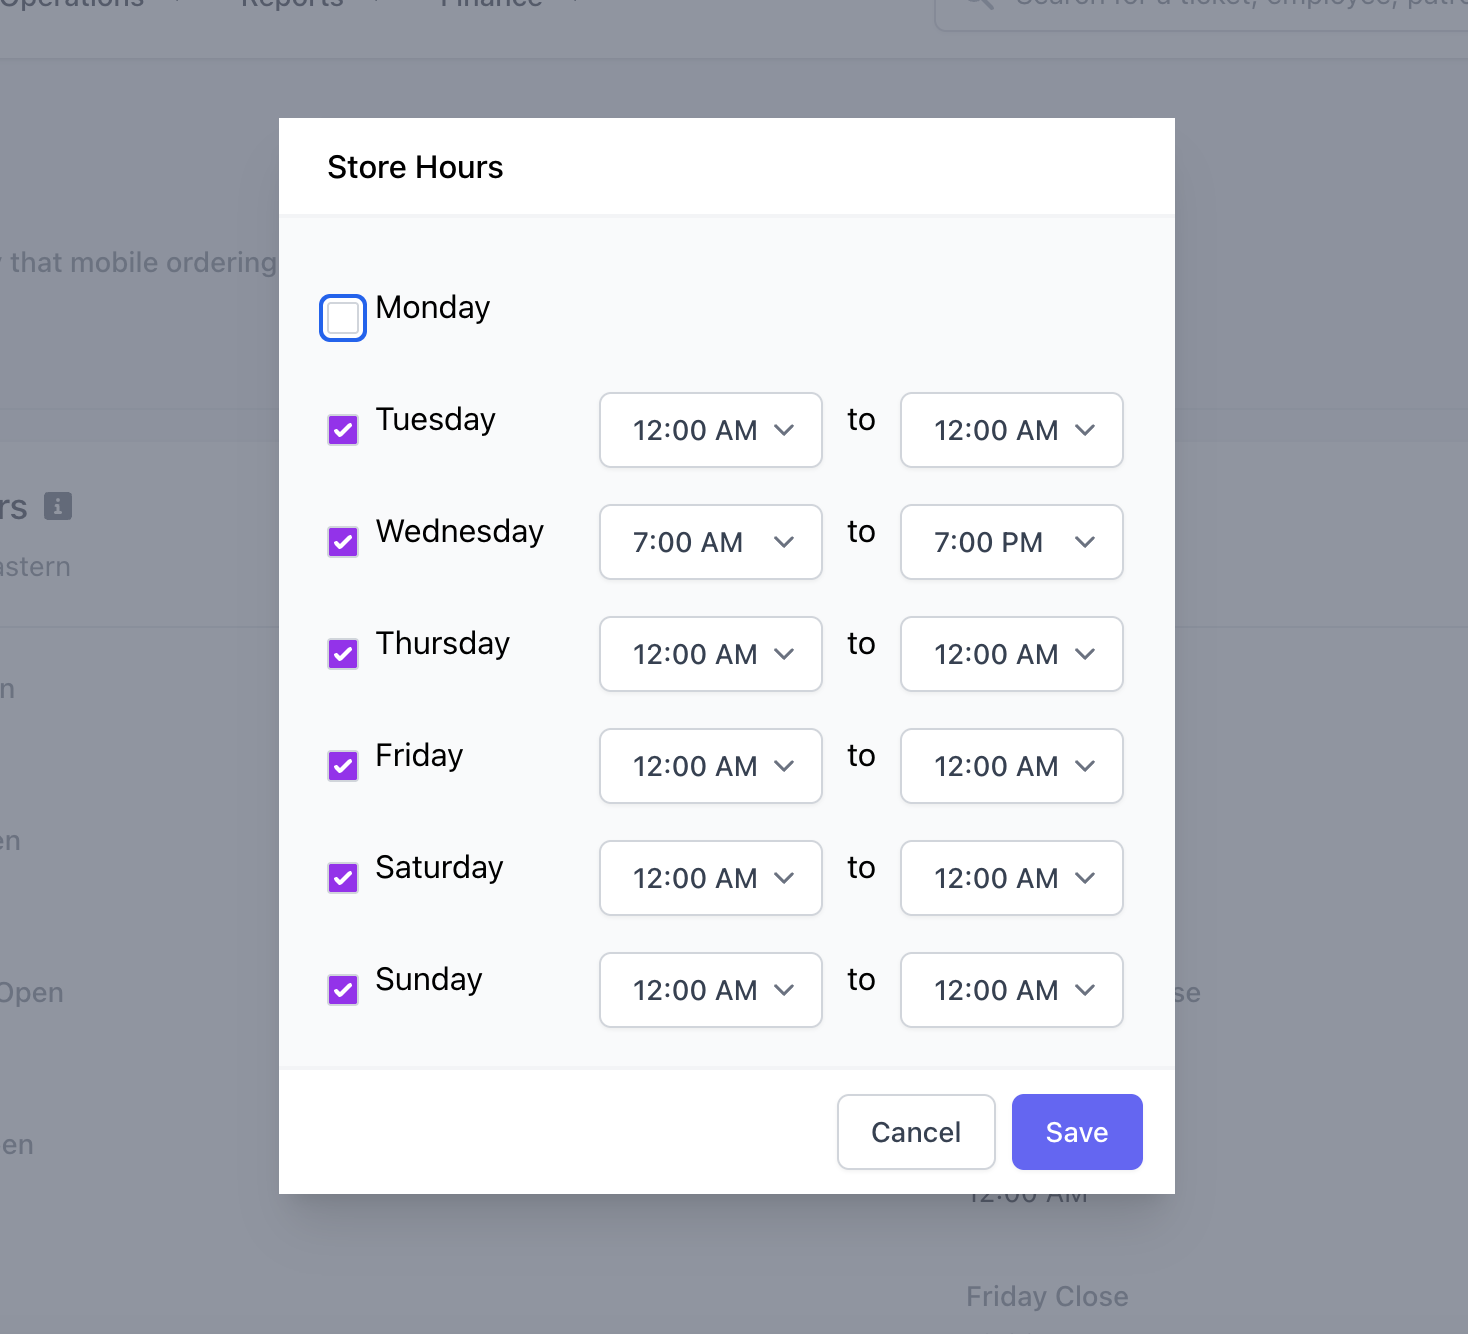
Click Edit and set daily store hours from open to close. Uncheck a day to mark the shop as closed all day and click Save
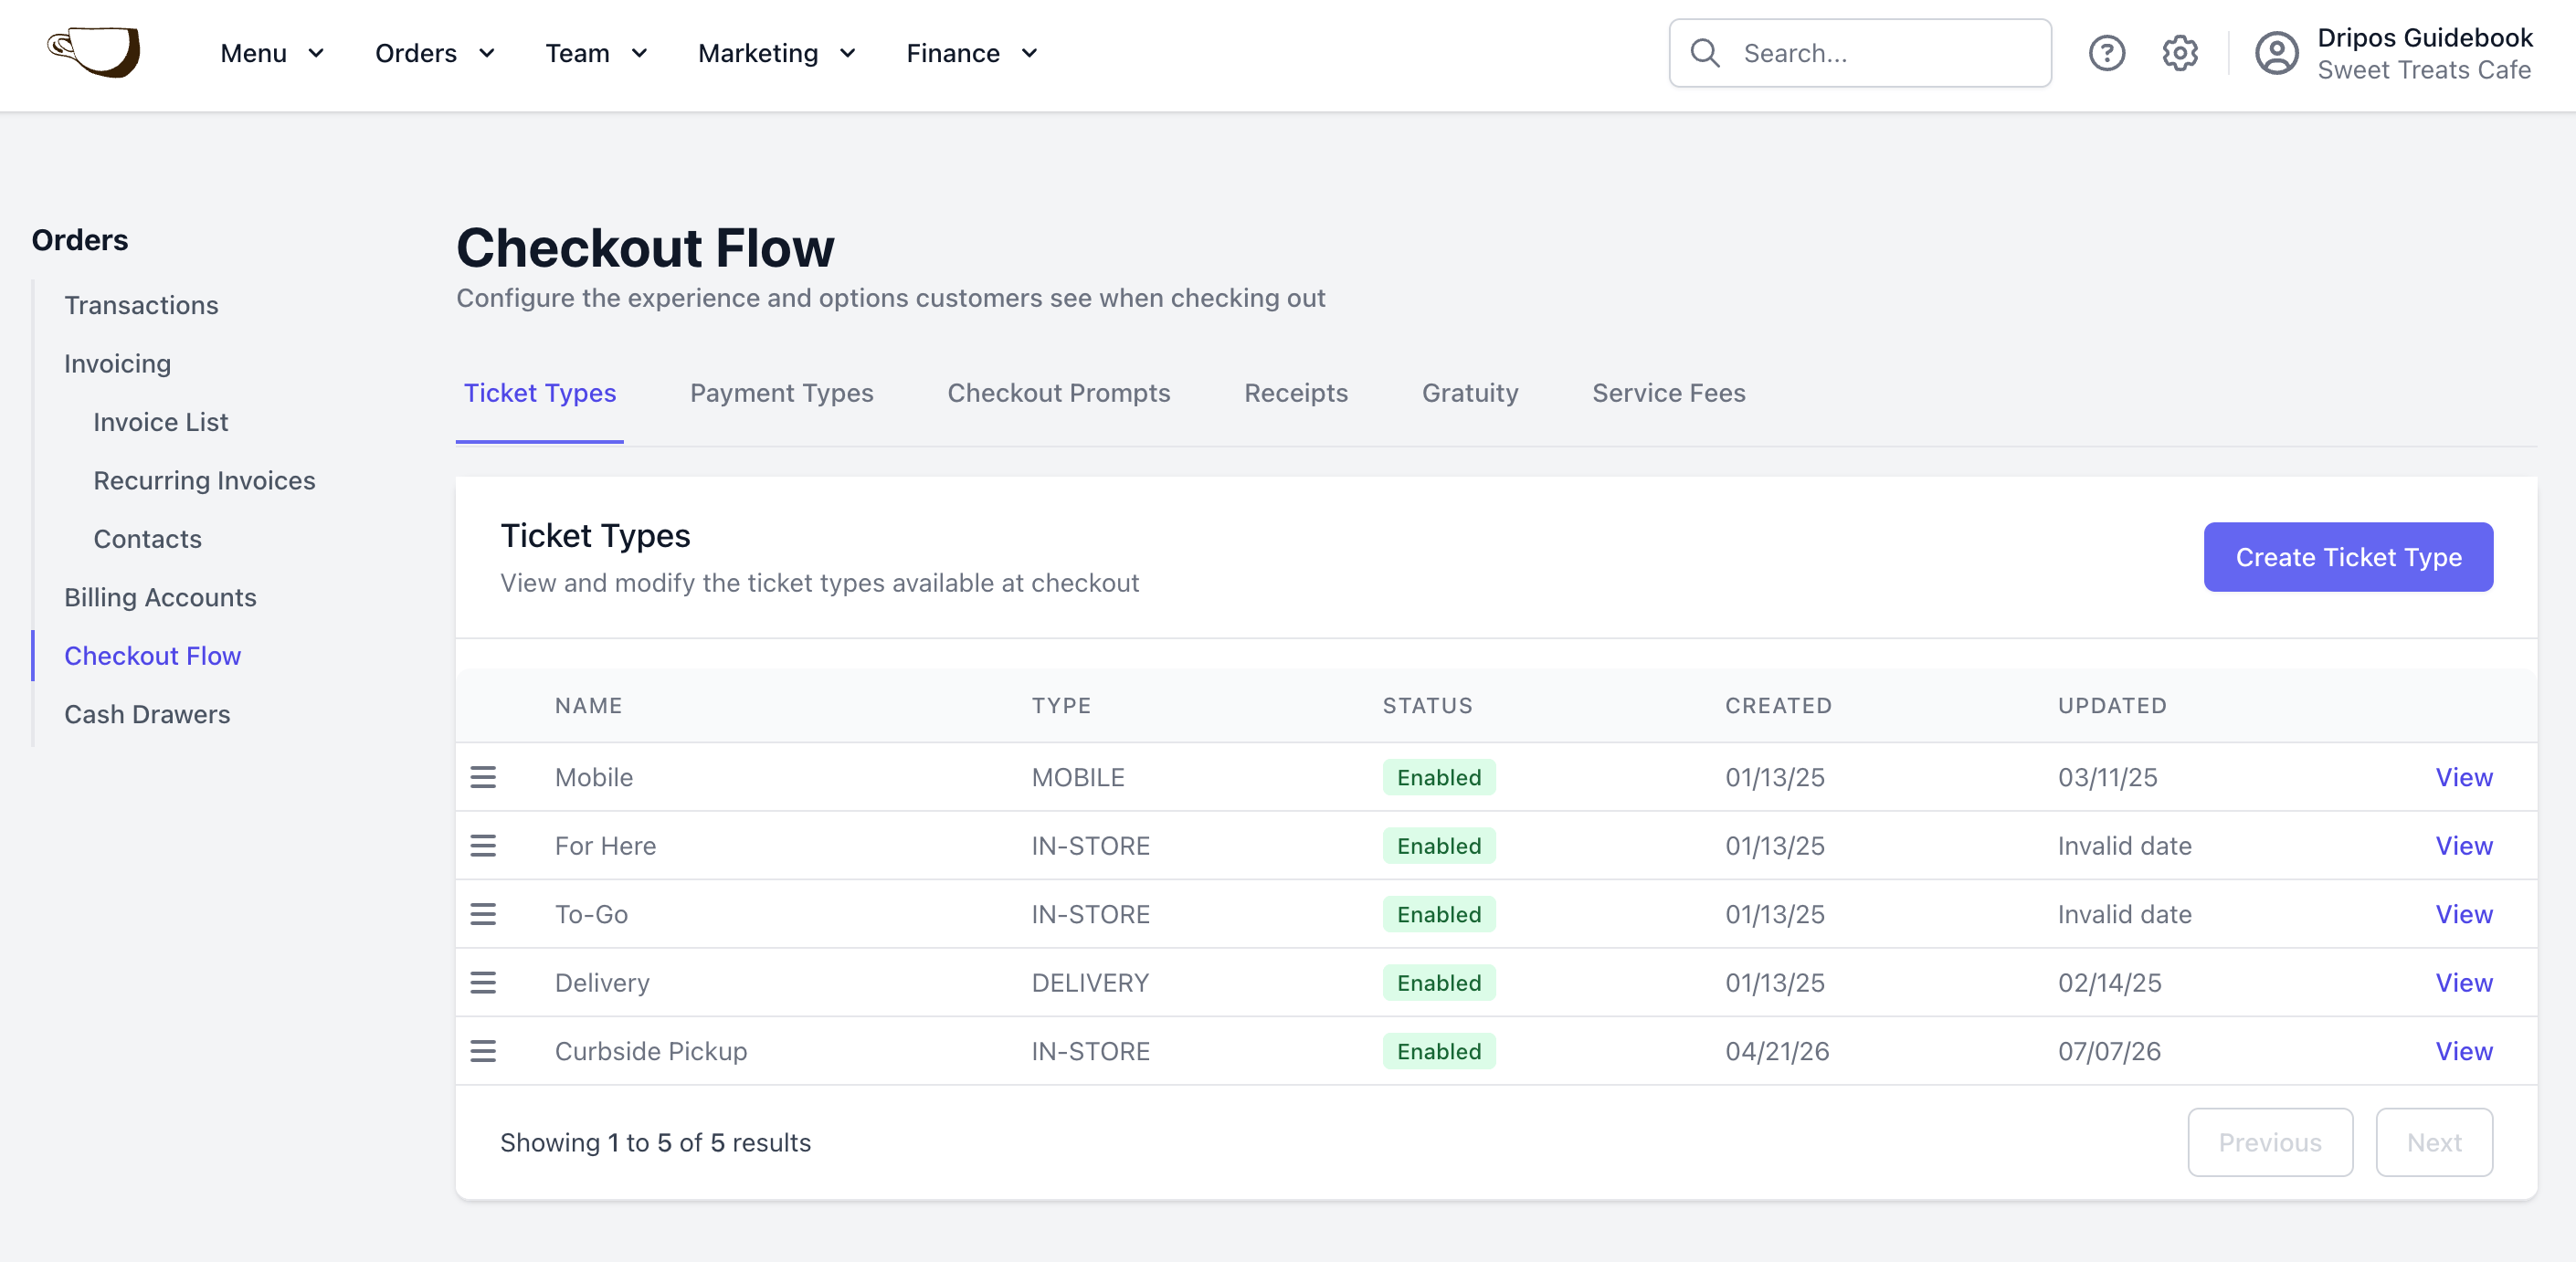
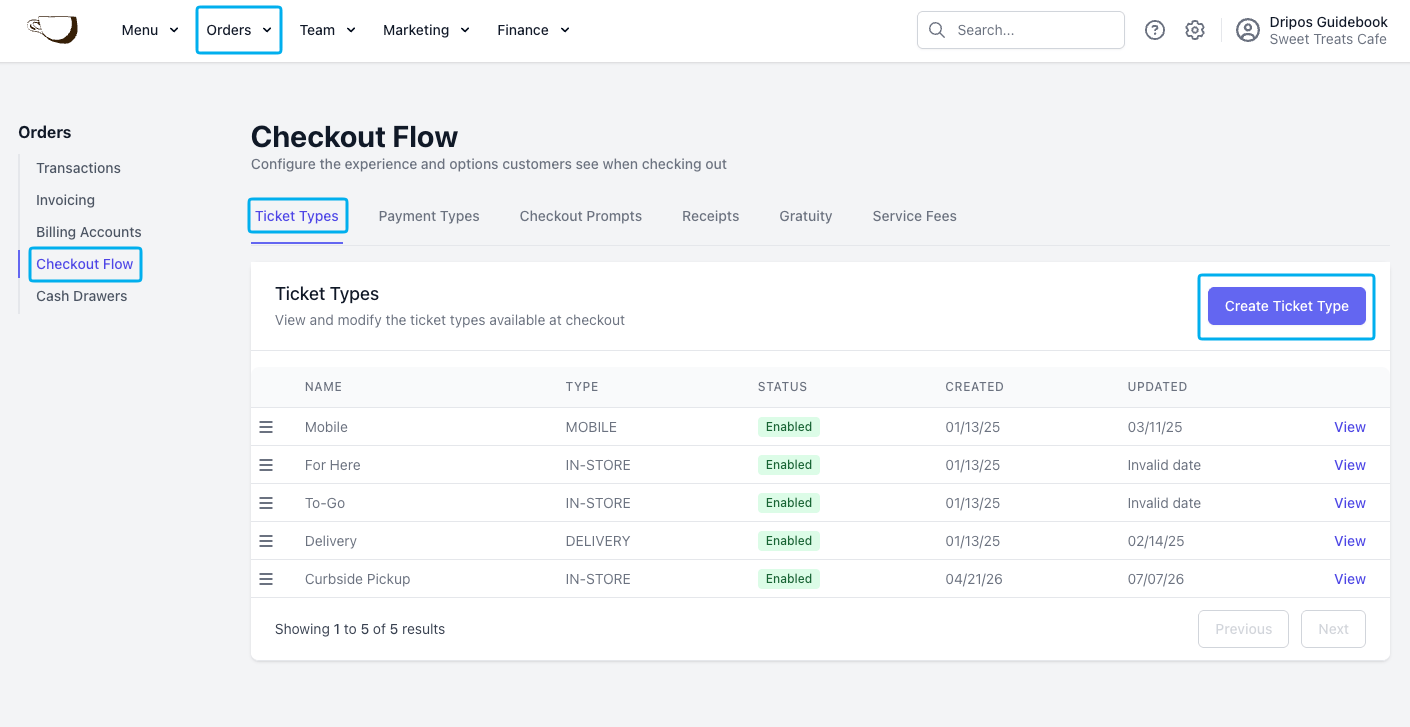
Create new ticket types specifically for mobile checkout. Existing ticket types, such as For Here or To-Go, can also be used at checkout.To create or adjust mobile ticket types, on the Dashboard click Orders > Checkout Flow > Ticket Types
Enable Existing Ticket Types for Mobile Ordering
Any existing ticket types, such as For Here or To-Go, can be enabled for checkout on the mobile ordering platforms:
1
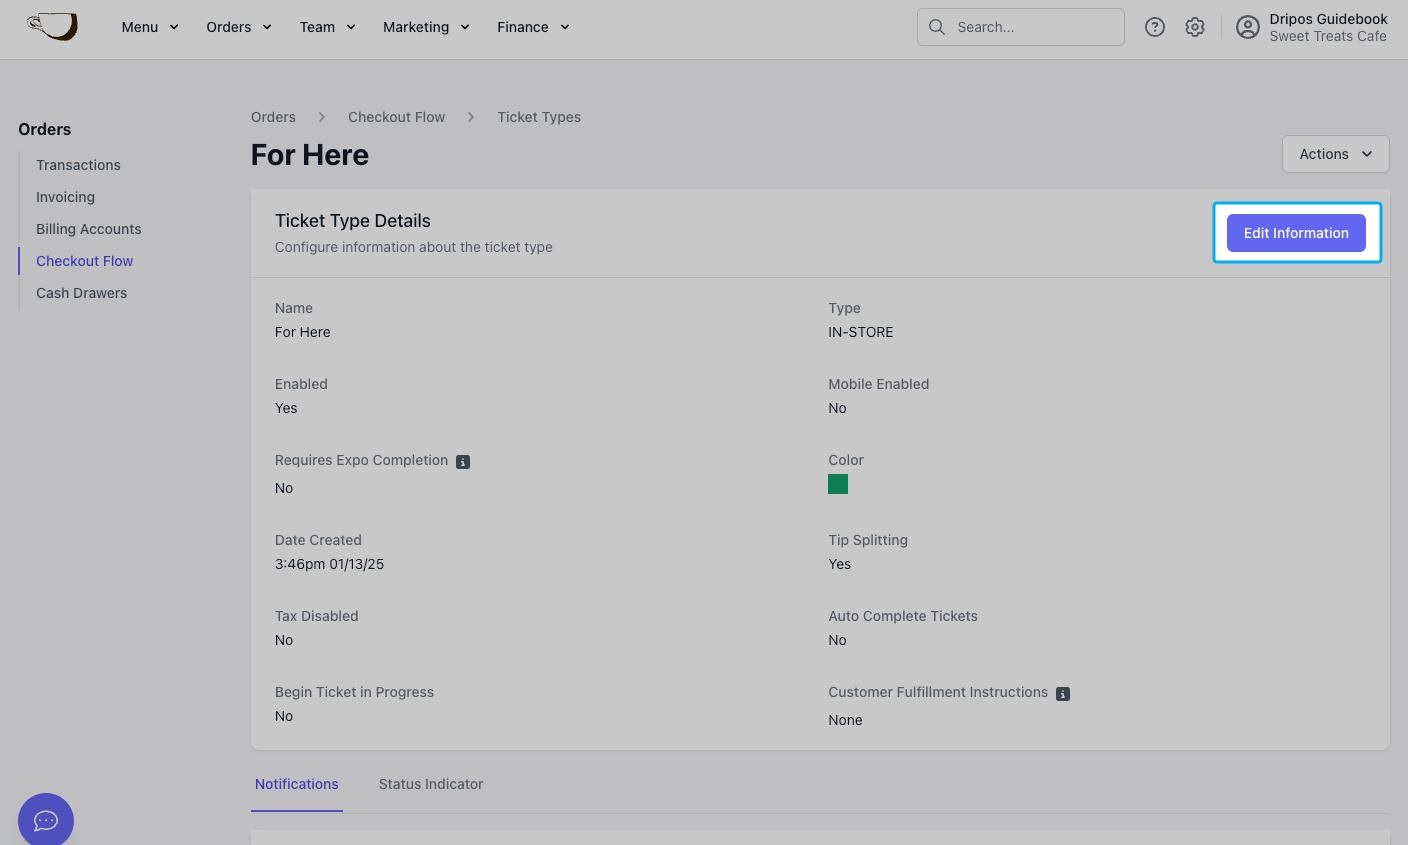
On the Dashboard, click Orders > Checkout Flow > Ticket Types > click View on an existing ticket type > click Edit Information
2
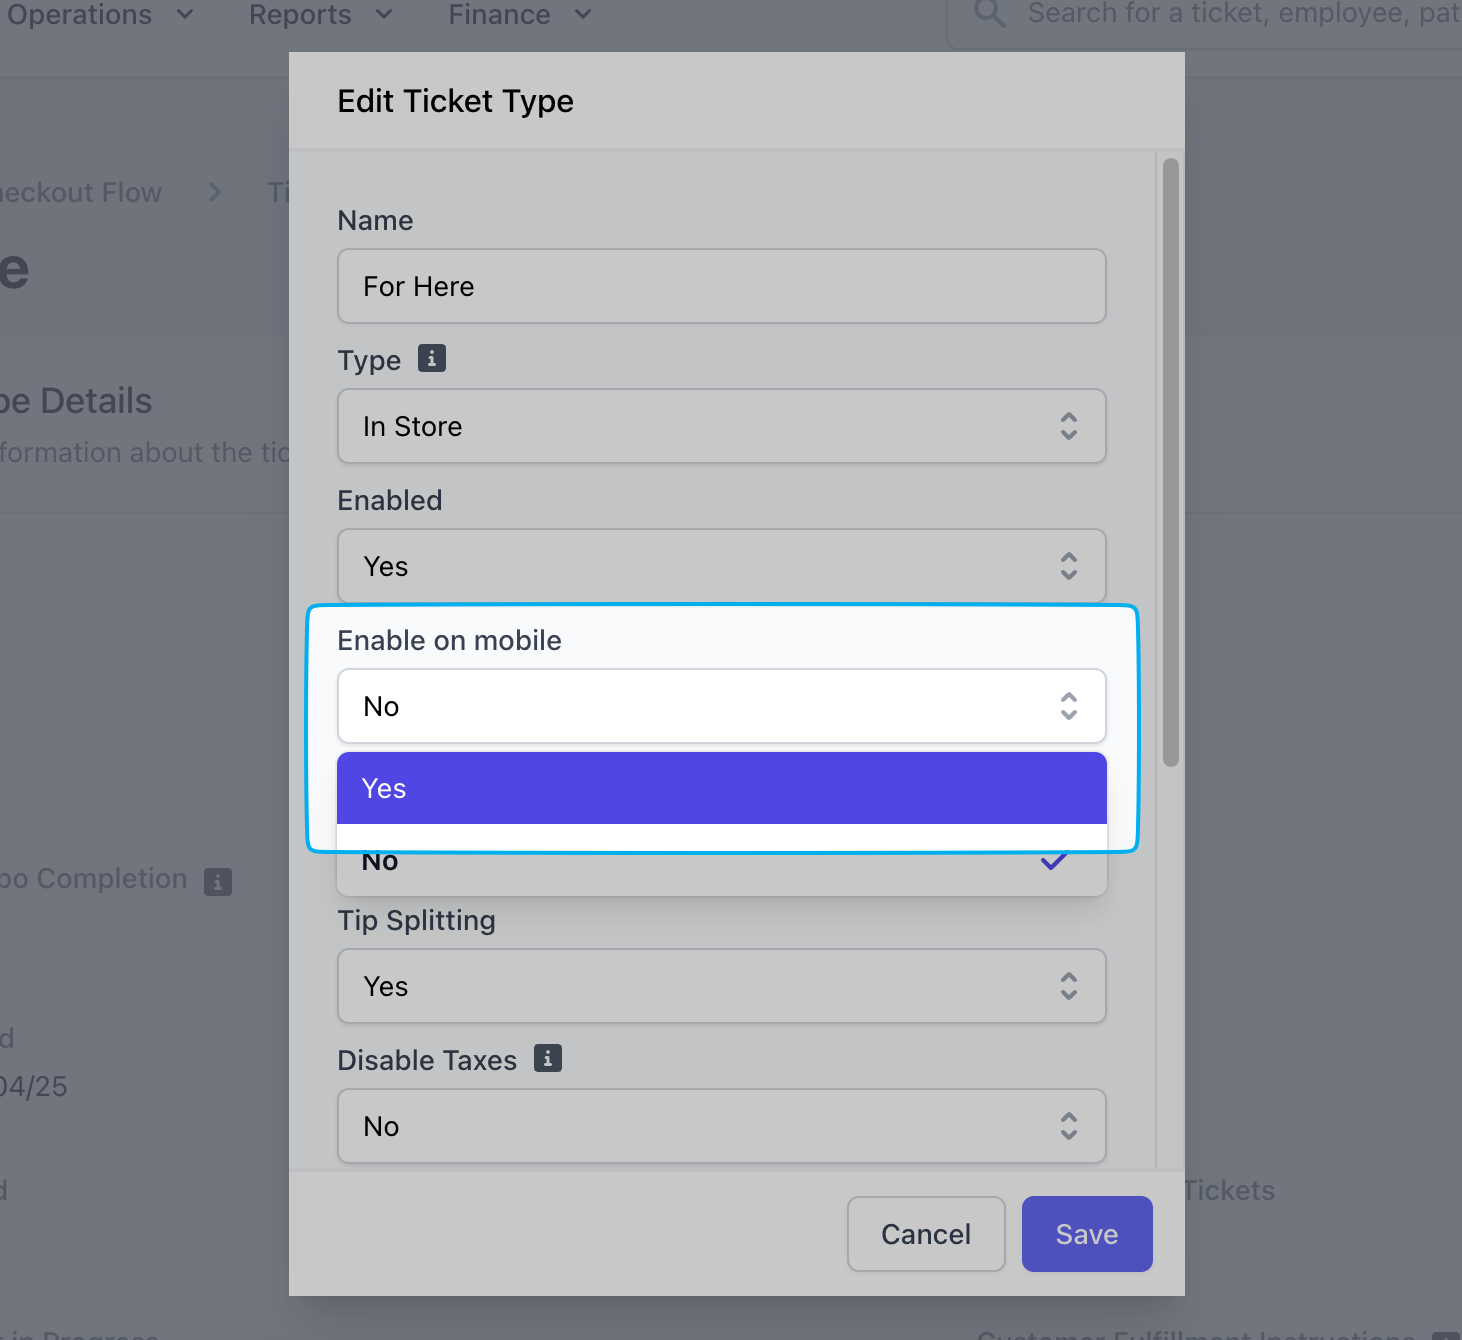
Change Enable on Mobile to Yes > click Save
3
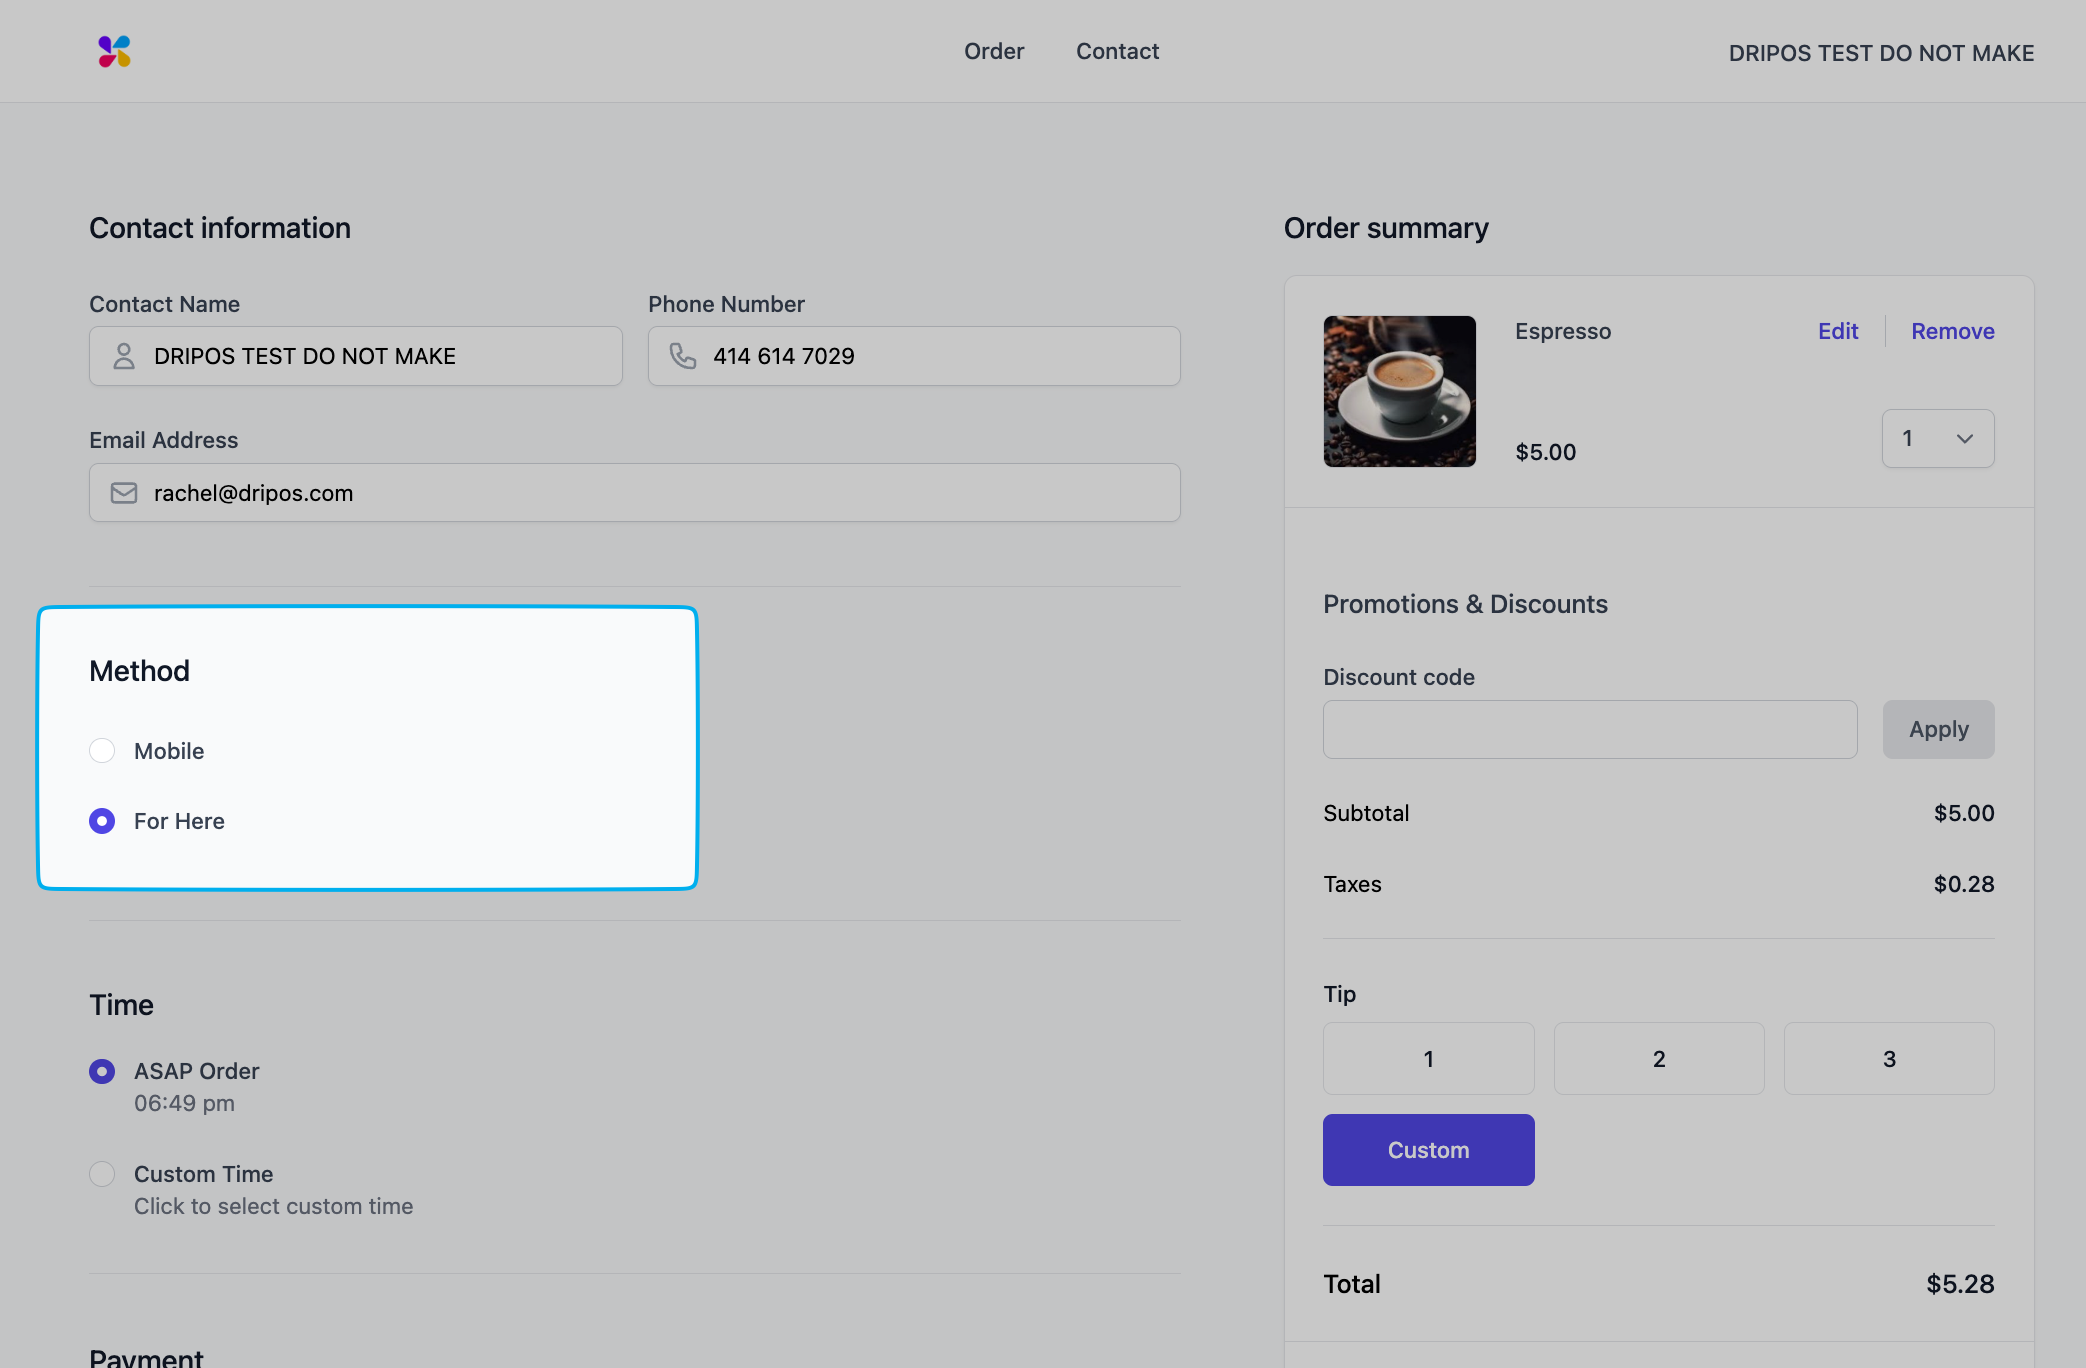
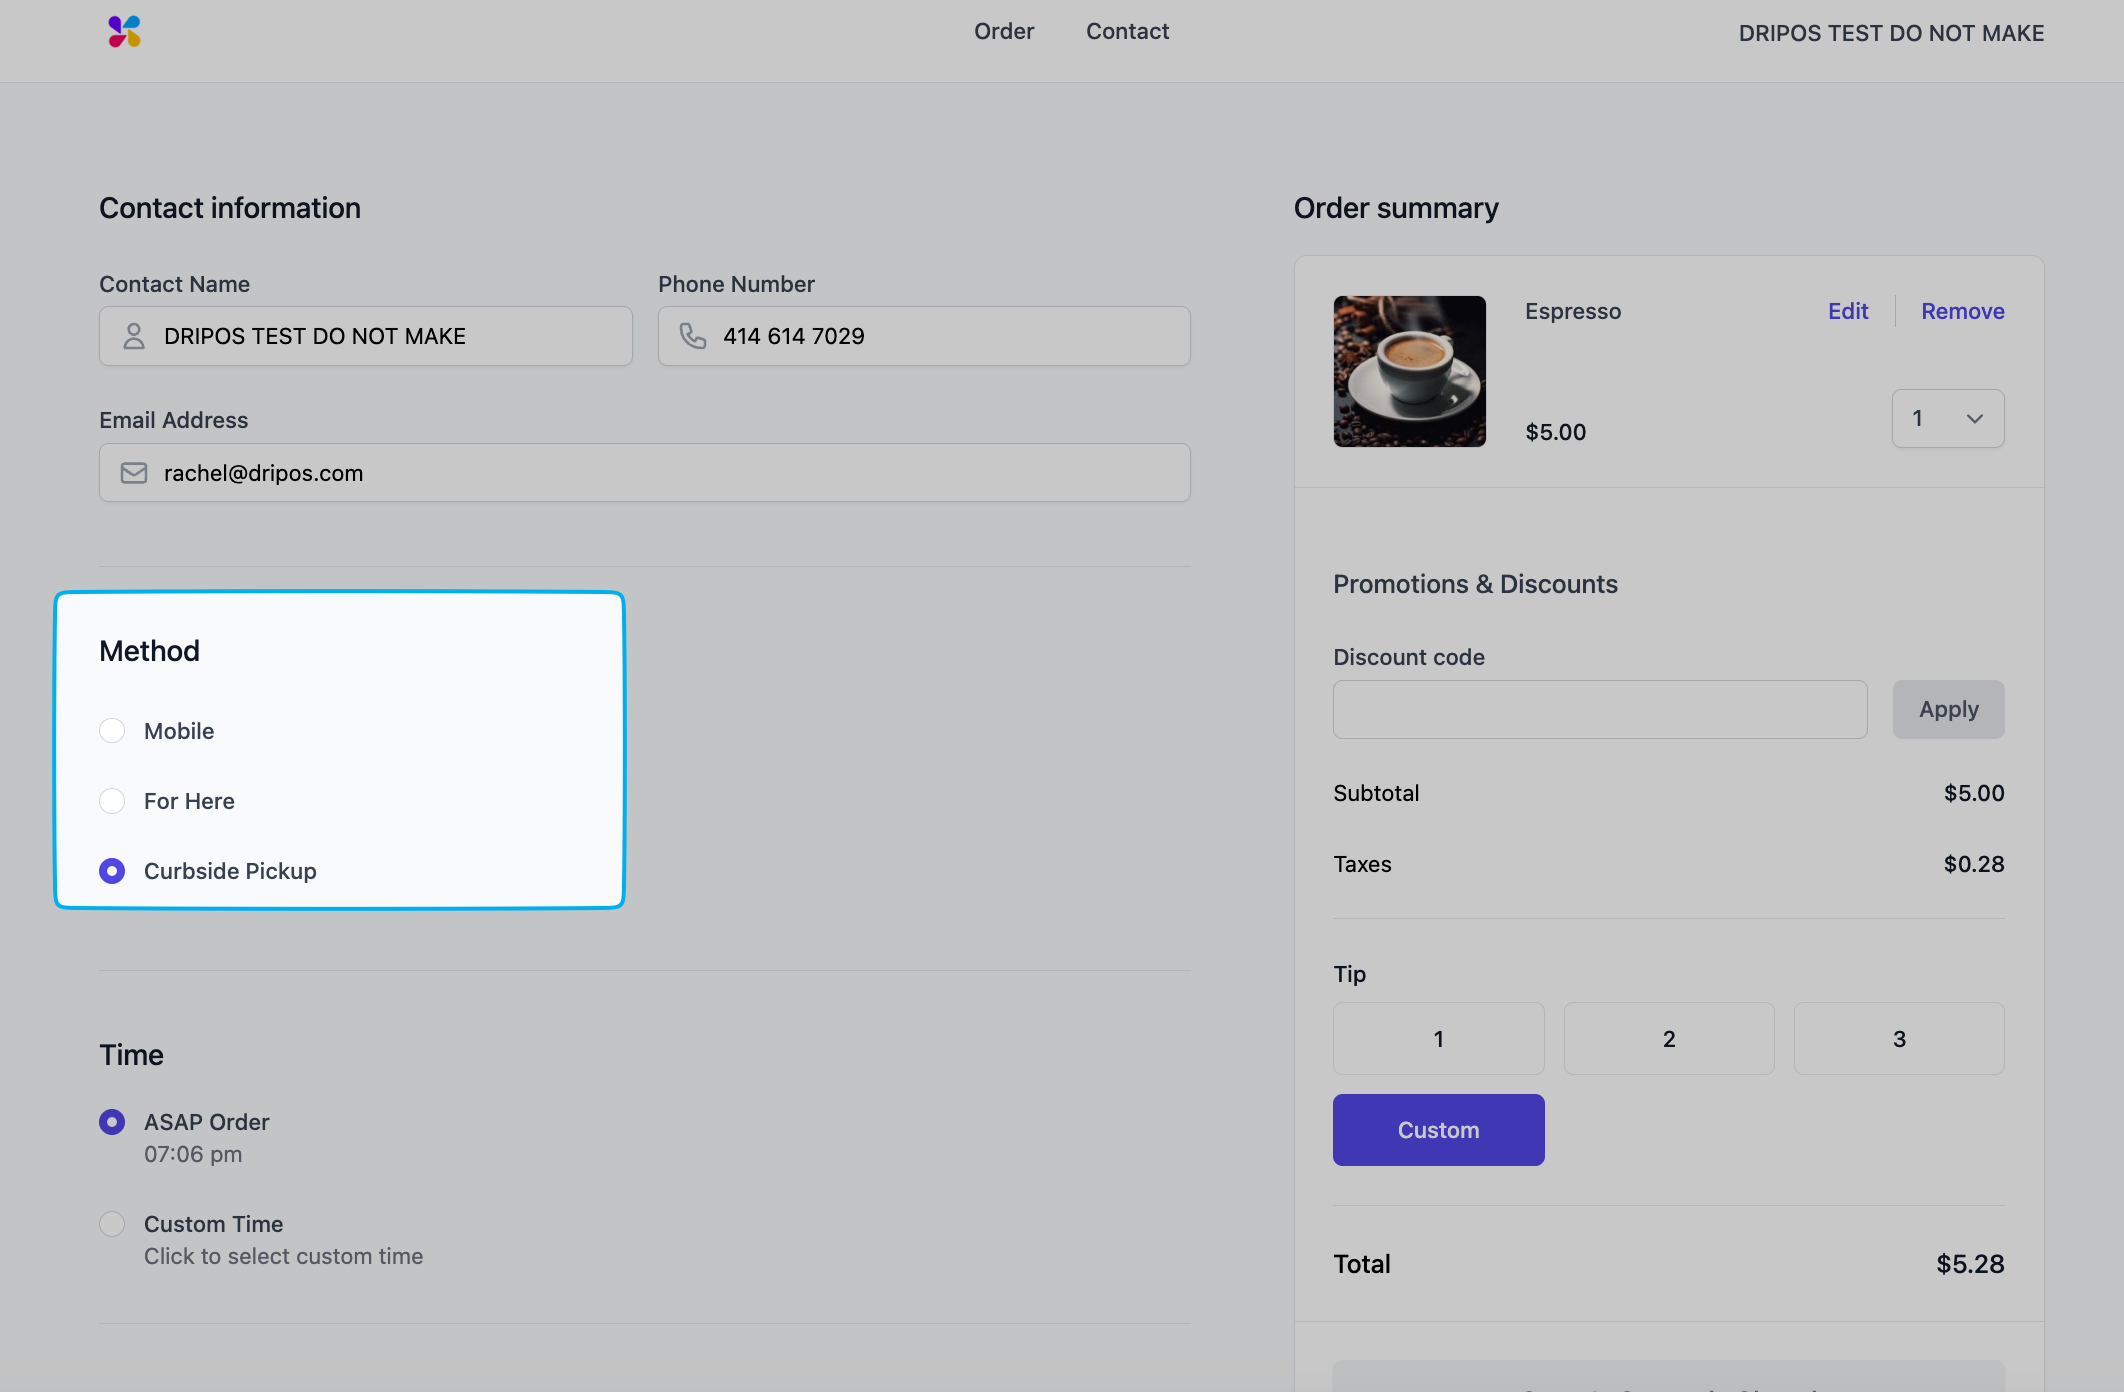
The ticket type will then appear as a Method (ticket type) for customers to select at checkout.
Create New Ticket Types for Mobile Ordering
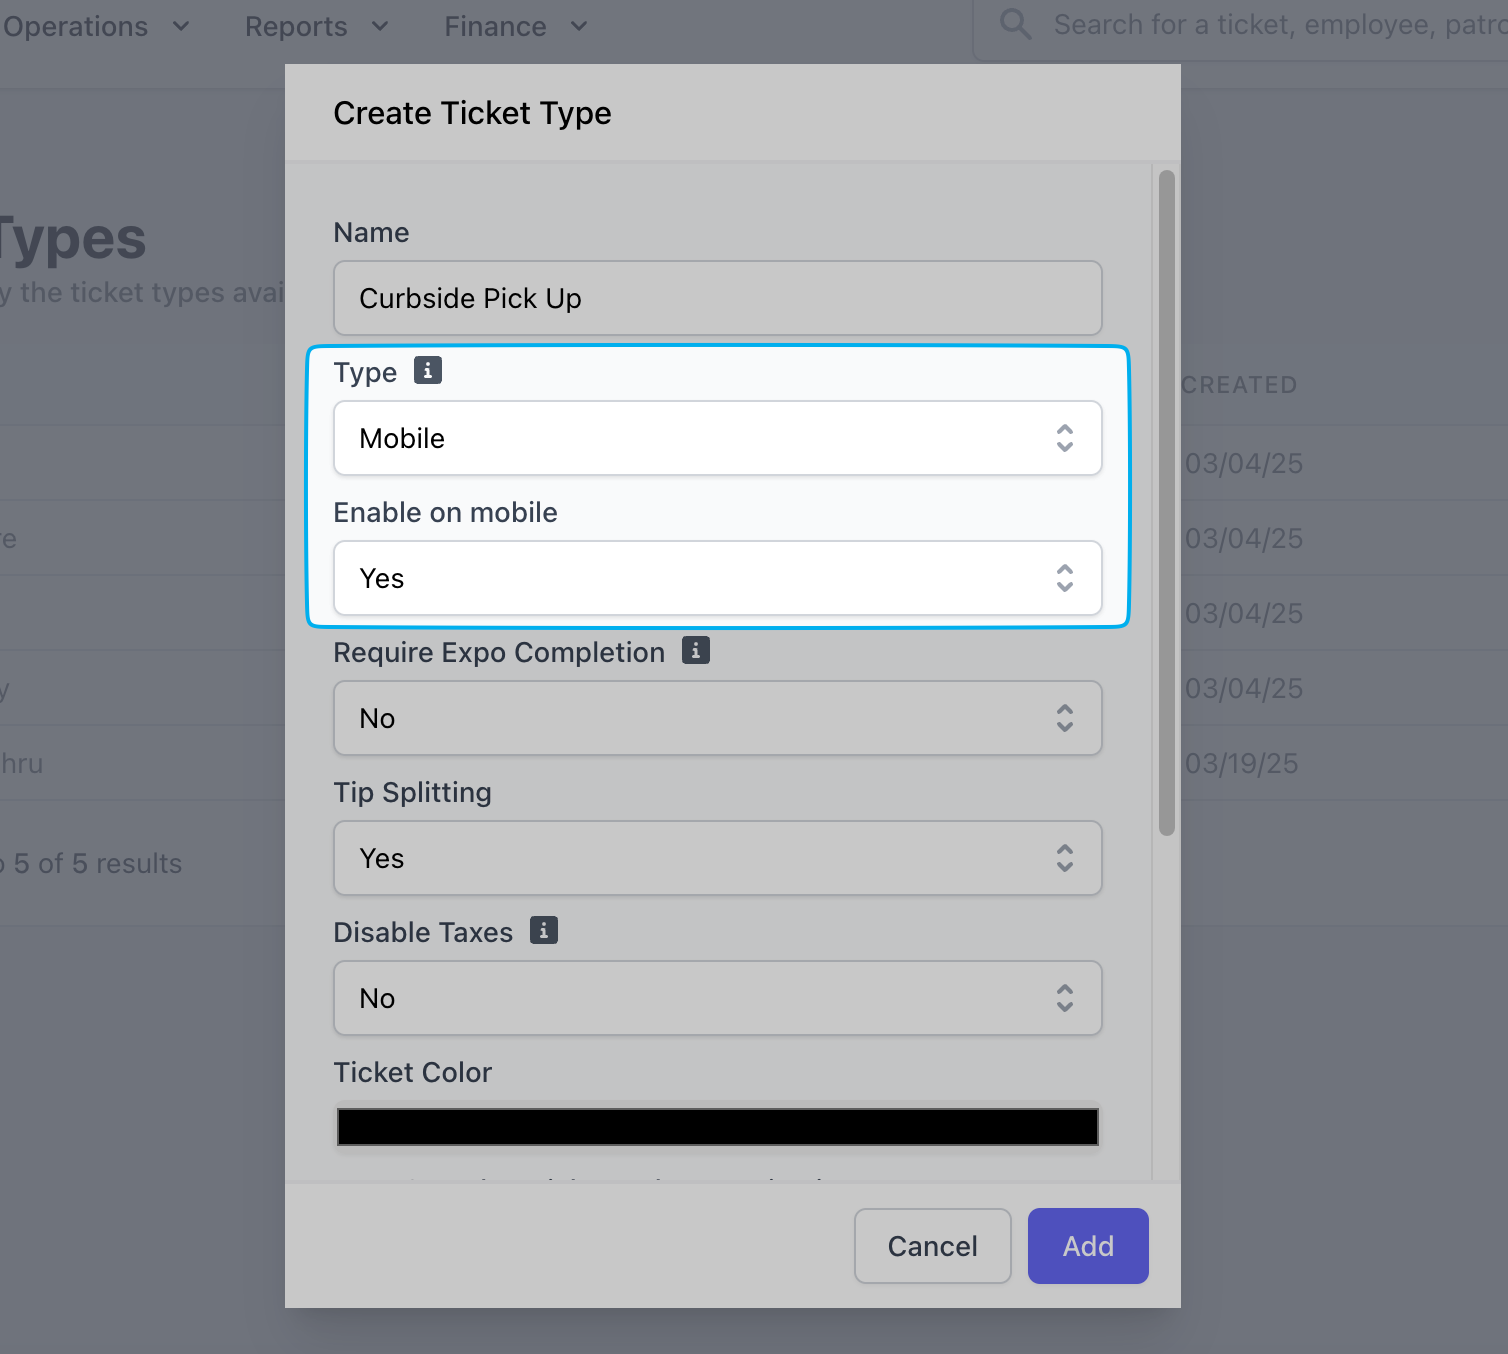
Create new ticket types that are only available for mobile checkout:
1
On the Dashboard, click Orders > Checkout Flow > Ticket Types > Create Ticket Type
2
Select Type
Select one of the two following options for Type:
Mobile
Standard mobile ticket type requiring payment (card, Apple Pay, Google Pay, gift card) before completing mobile checkout
Pay at Store
Allow customers place a mobile order without inputting a payment method at checkout, and instead pay at pickup.
3
Set Enable on mobile to Yes and click Save
4
The ticket type will then appear as a Method (ticket type) for customers to select at checkout.
Create Customer Order Notifications
Enable text notifications for customers to receive when their order is received and when the order is ready for pickup.
Notifications are created per ticket type.
1
Navigate to Ticket Type
On the Dashboard, click Orders > Checkout Flow > Ticket Types > View Ticket Type
2
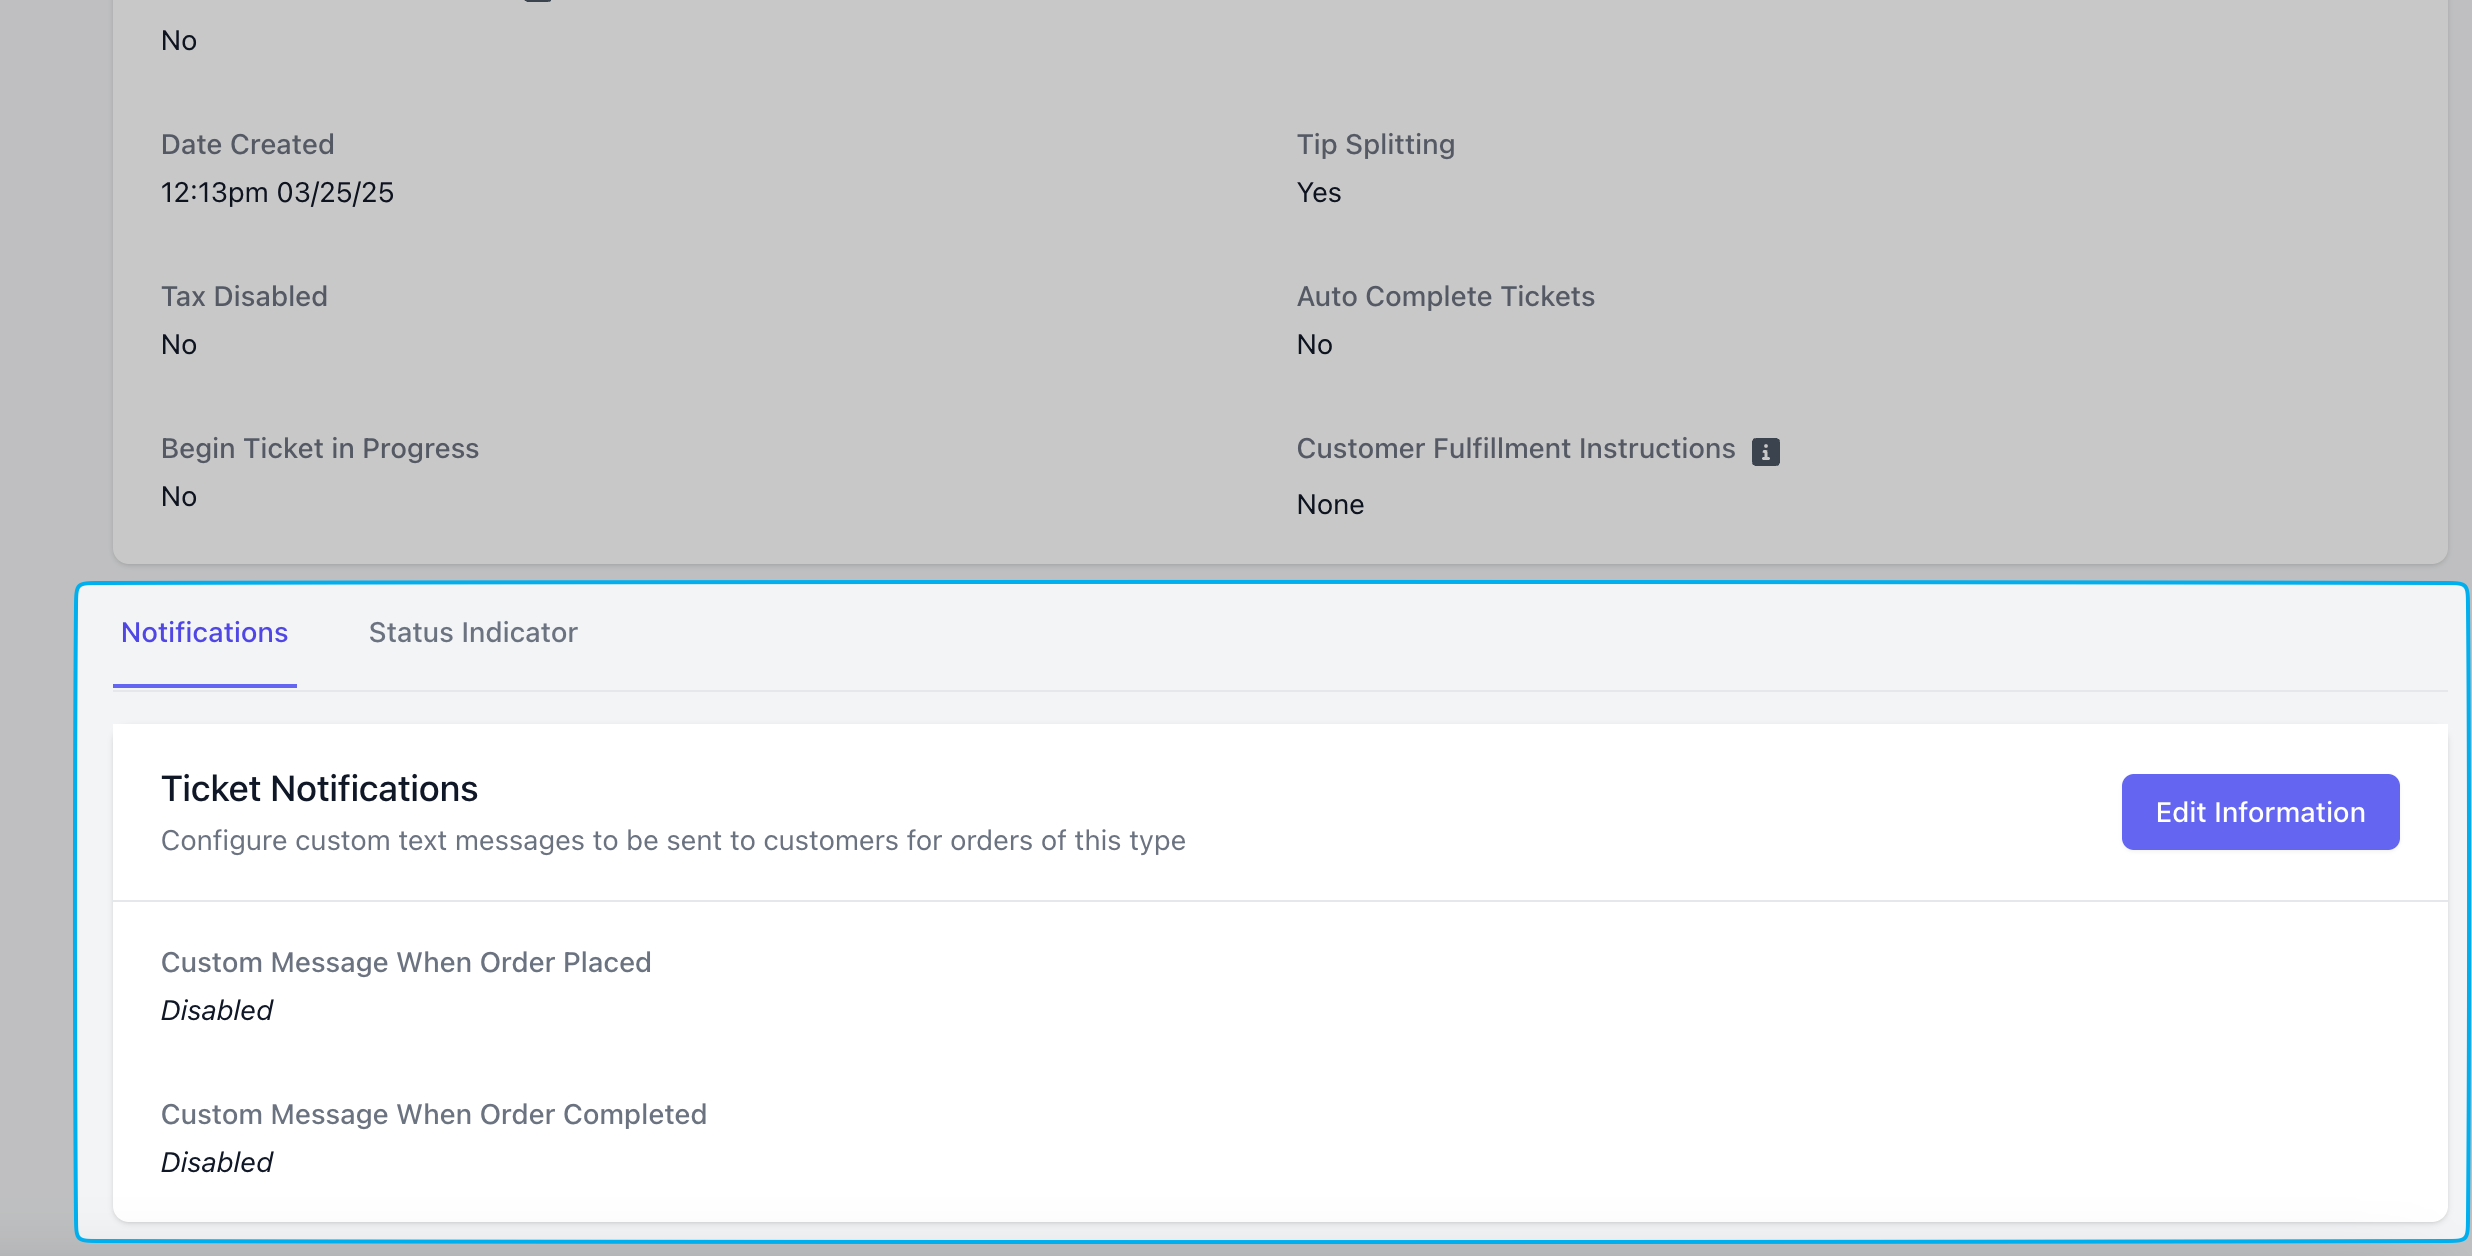
Edit Notifications
Scroll down to see Notifications > Edit Information
3
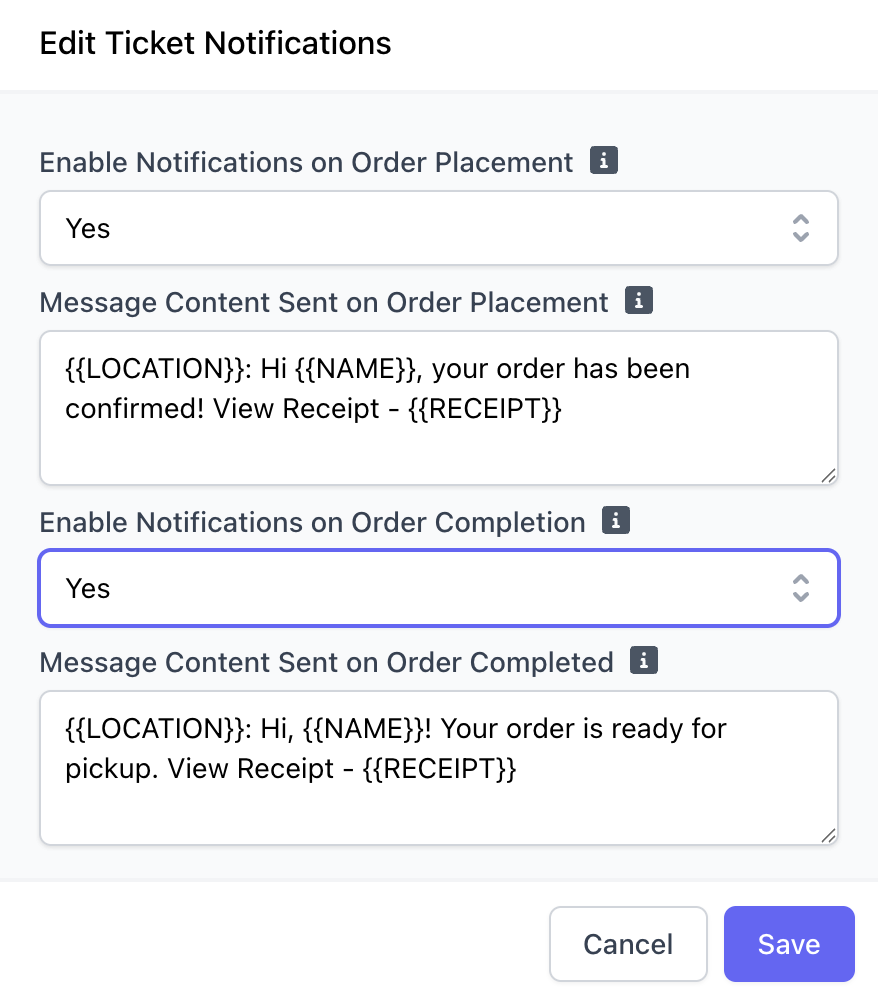
Enable/Disable Notifications
Select Yes or No enable or disable each notification type, respectively.
Writing Custom Messages
Write a custom message to your customers and utilize these variables to tailor the message to each customer automatically.
{{LOCATION}}: Automatically adds the name of the shop location
{{NAME}}: Automatically adds the name attached to the order
{{RECEIPT}}: Automatically adds a link to a digital order receipt
Create Checkout Prompts
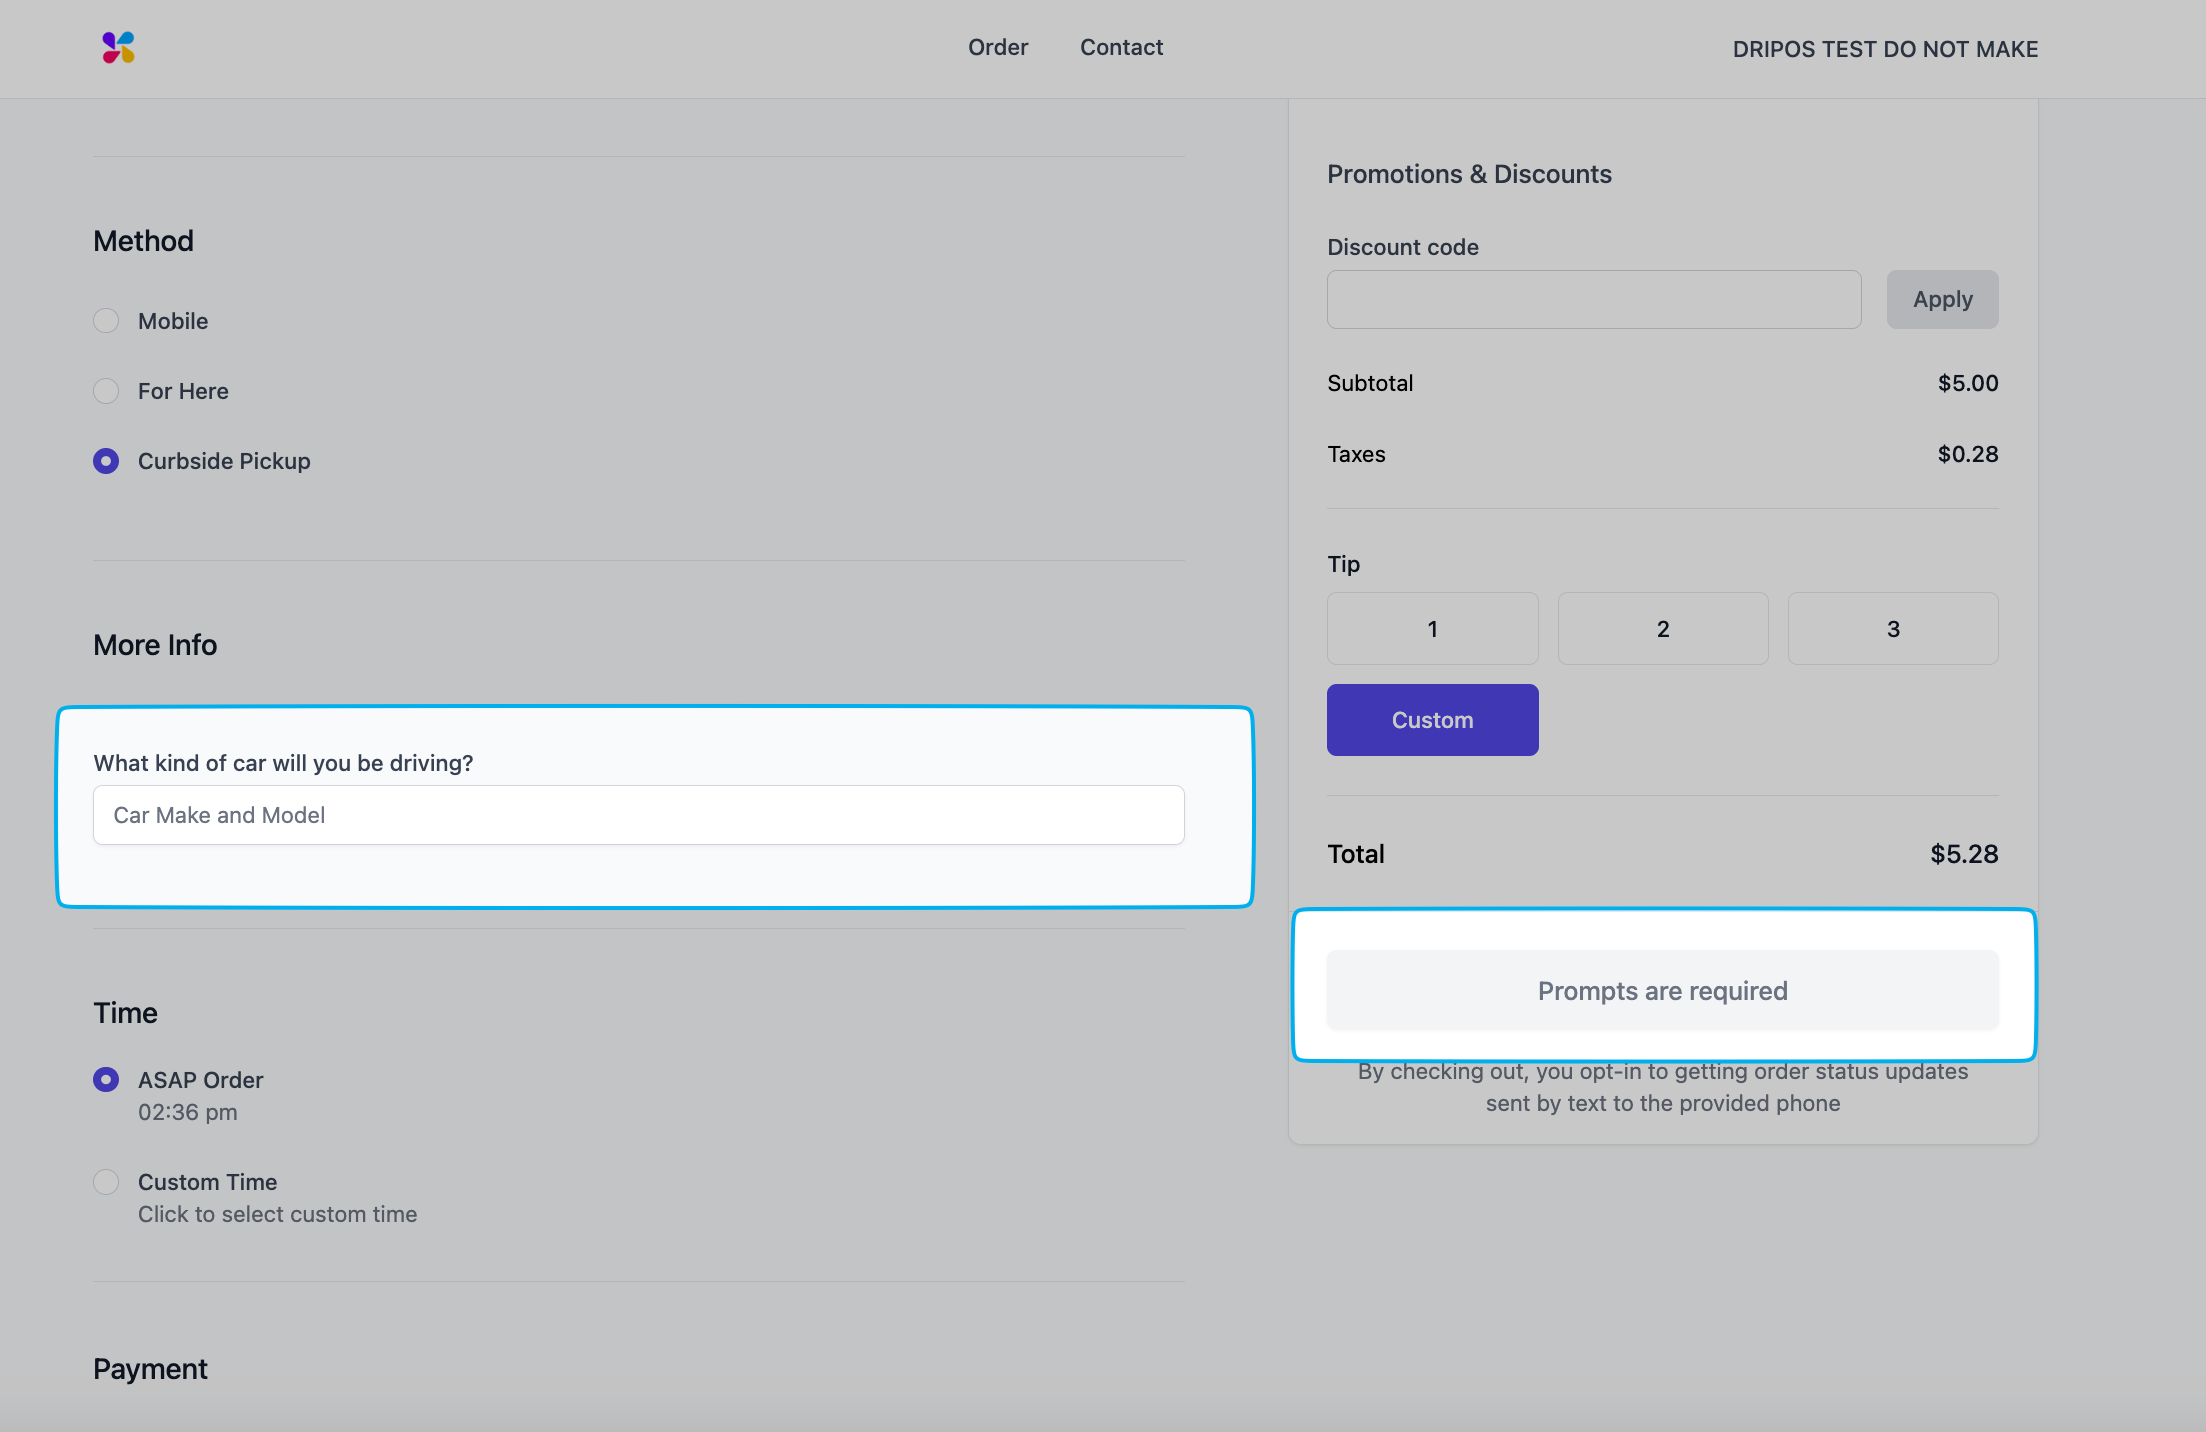
Add optional or required checkout prompts to mobile ticket types
1
Create new Checkout Prompt
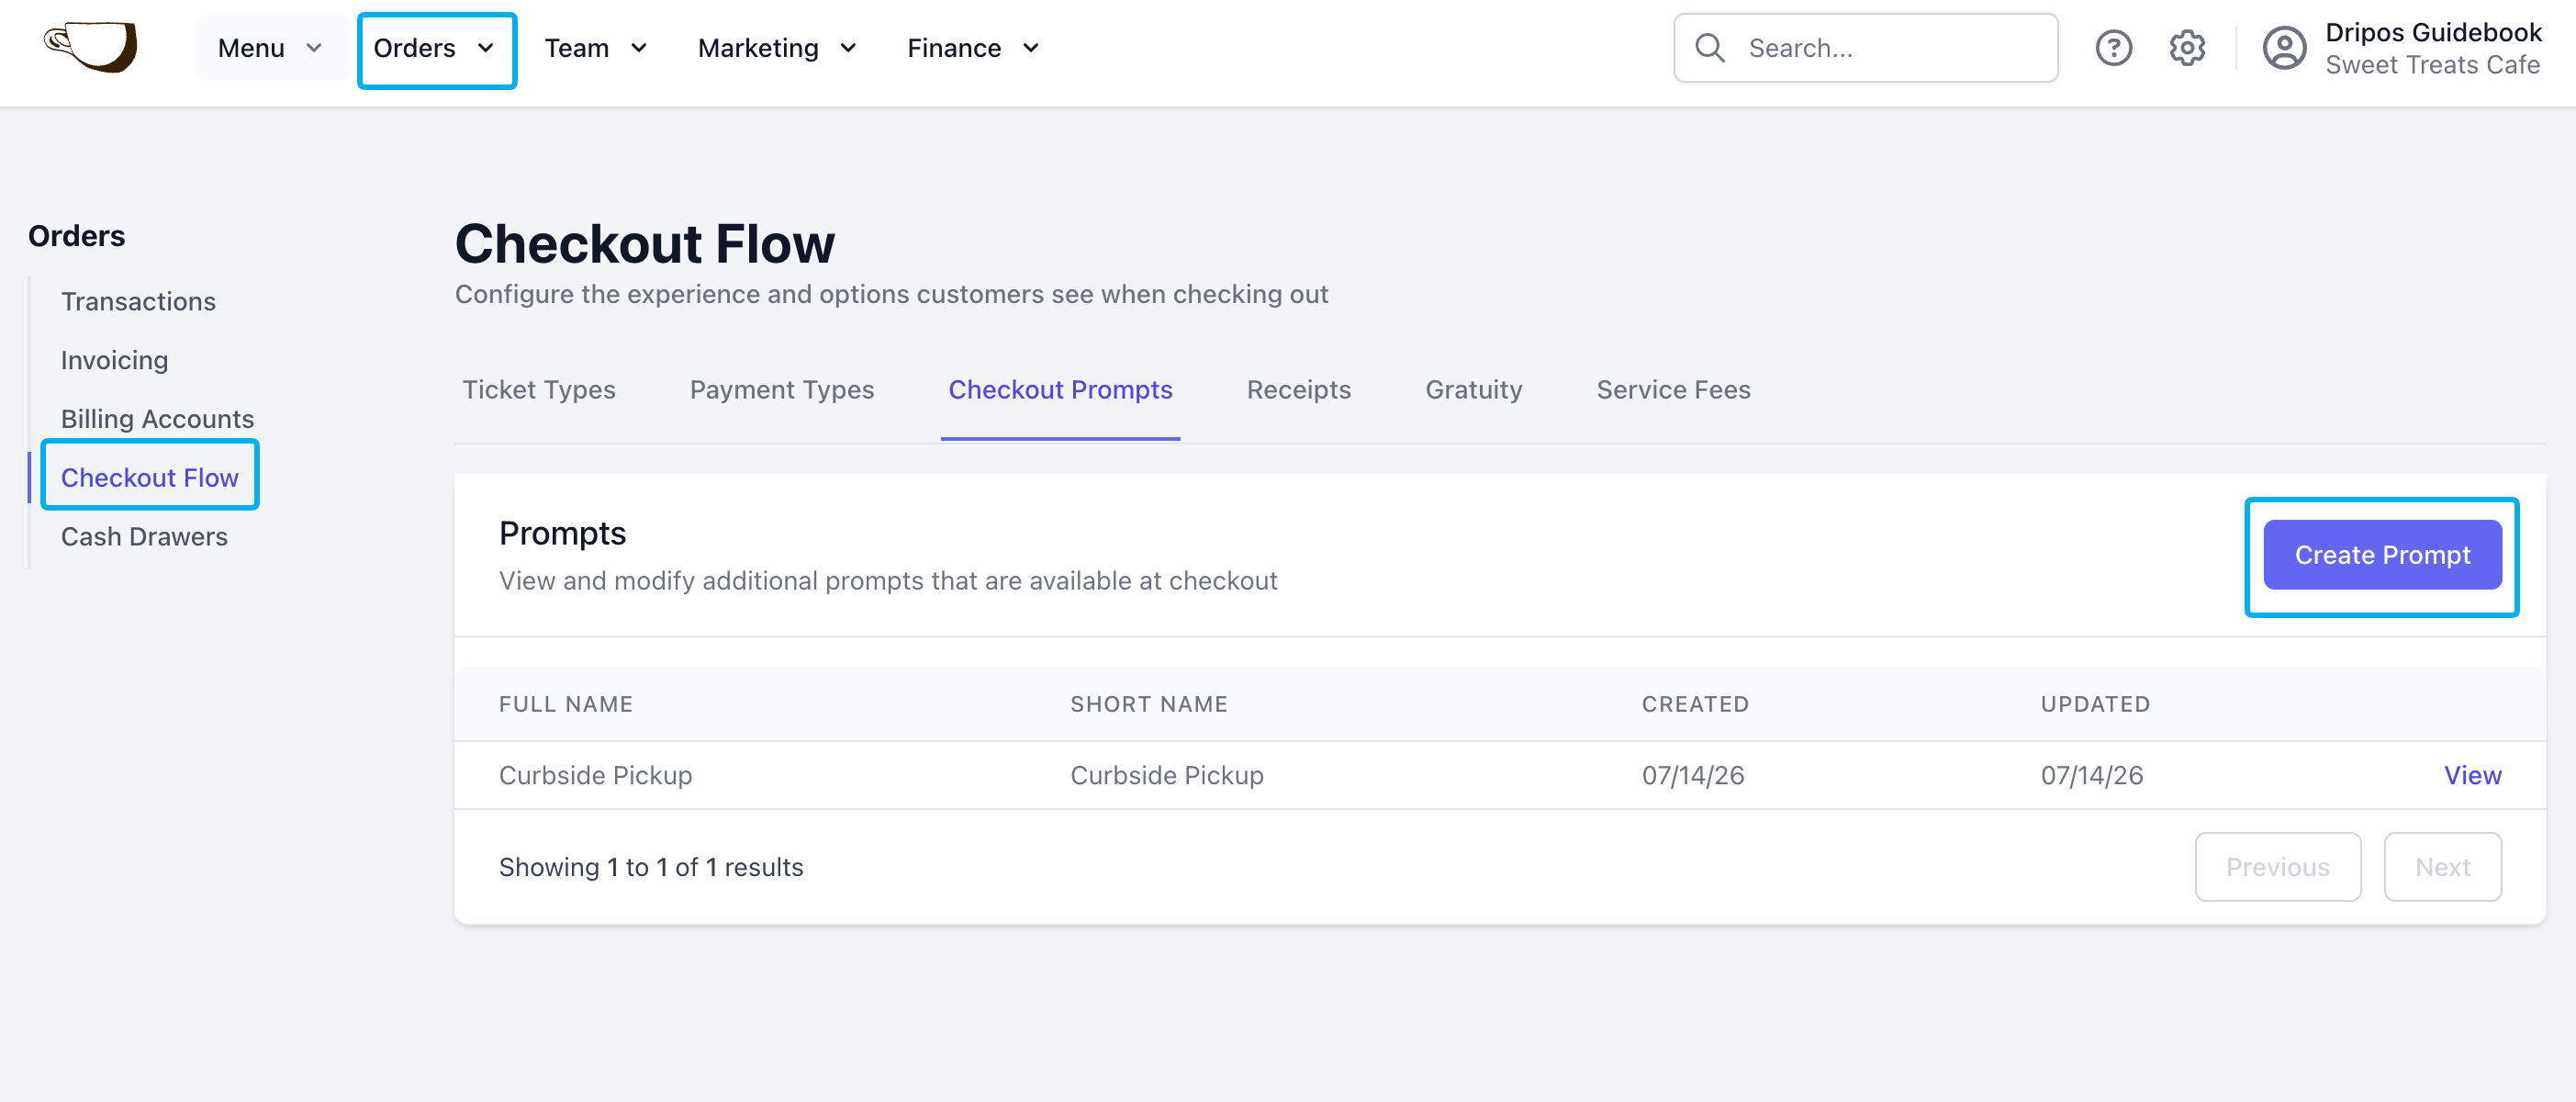
On the Dashboard, click on Orders > Checkout Flow > Checkout Prompts > Create Prompt
2
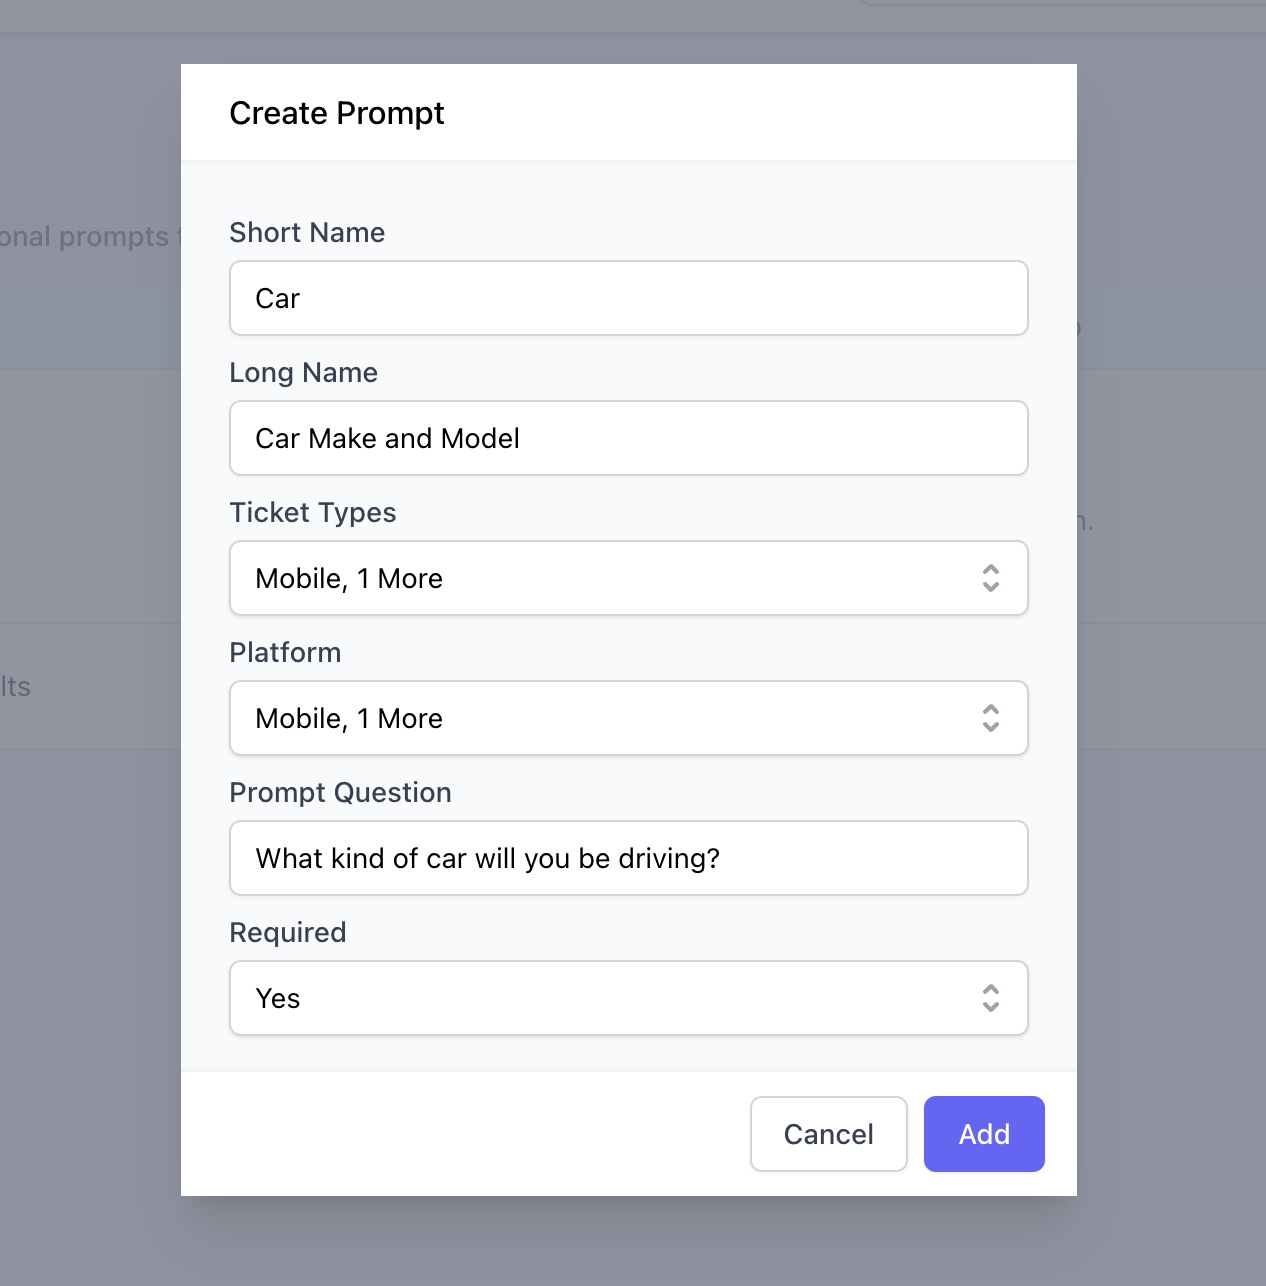
Complete the following fields
Header Name
Internal label for the checkout prompt. Only visible from the Dashboard and Point of Sale
Full Prompt
Customer-facing description of the answer needed for the checkout prompt
Ticket Types
Select a minimum of one ticket type to apply this checkout prompt to
Platform
Select a minimum of one platform for this checkout prompt to be visible on. Select both Mobile and Web to apply this checkout prompt on the Order App and the Order Website, respectively
Example Answer
An example answer to show the patron how to respond to the prompt.
Required
Yes: Customers will not be able to complete checkout without answering the promptNo: The prompt is optional and checkout may be completed without answering the prompt
3
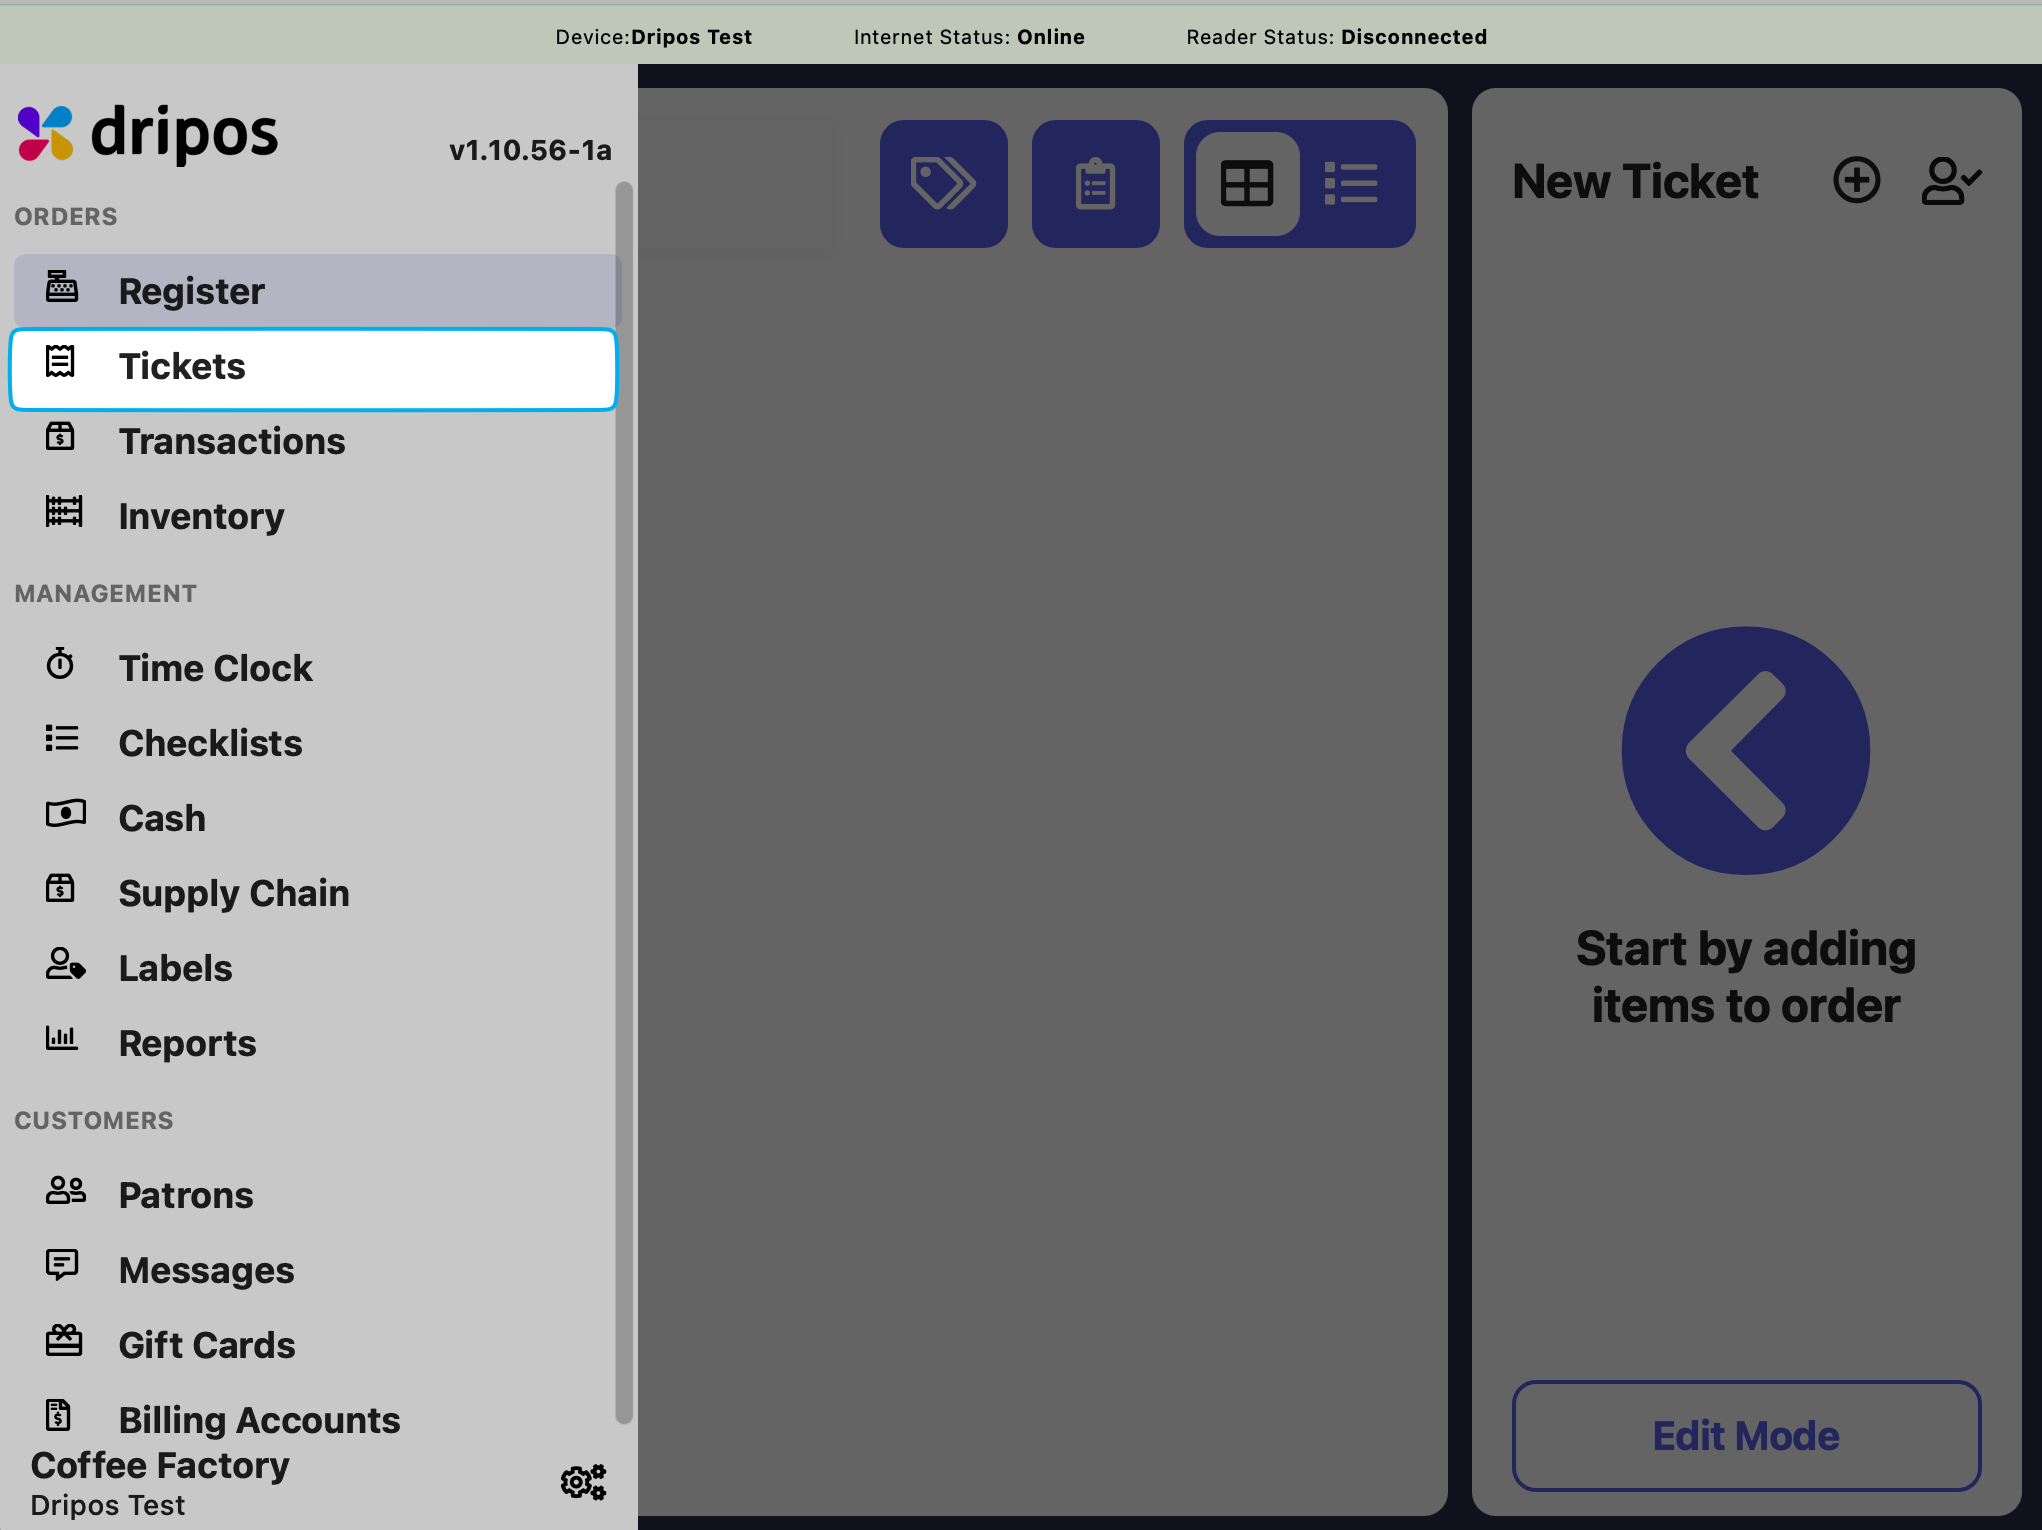
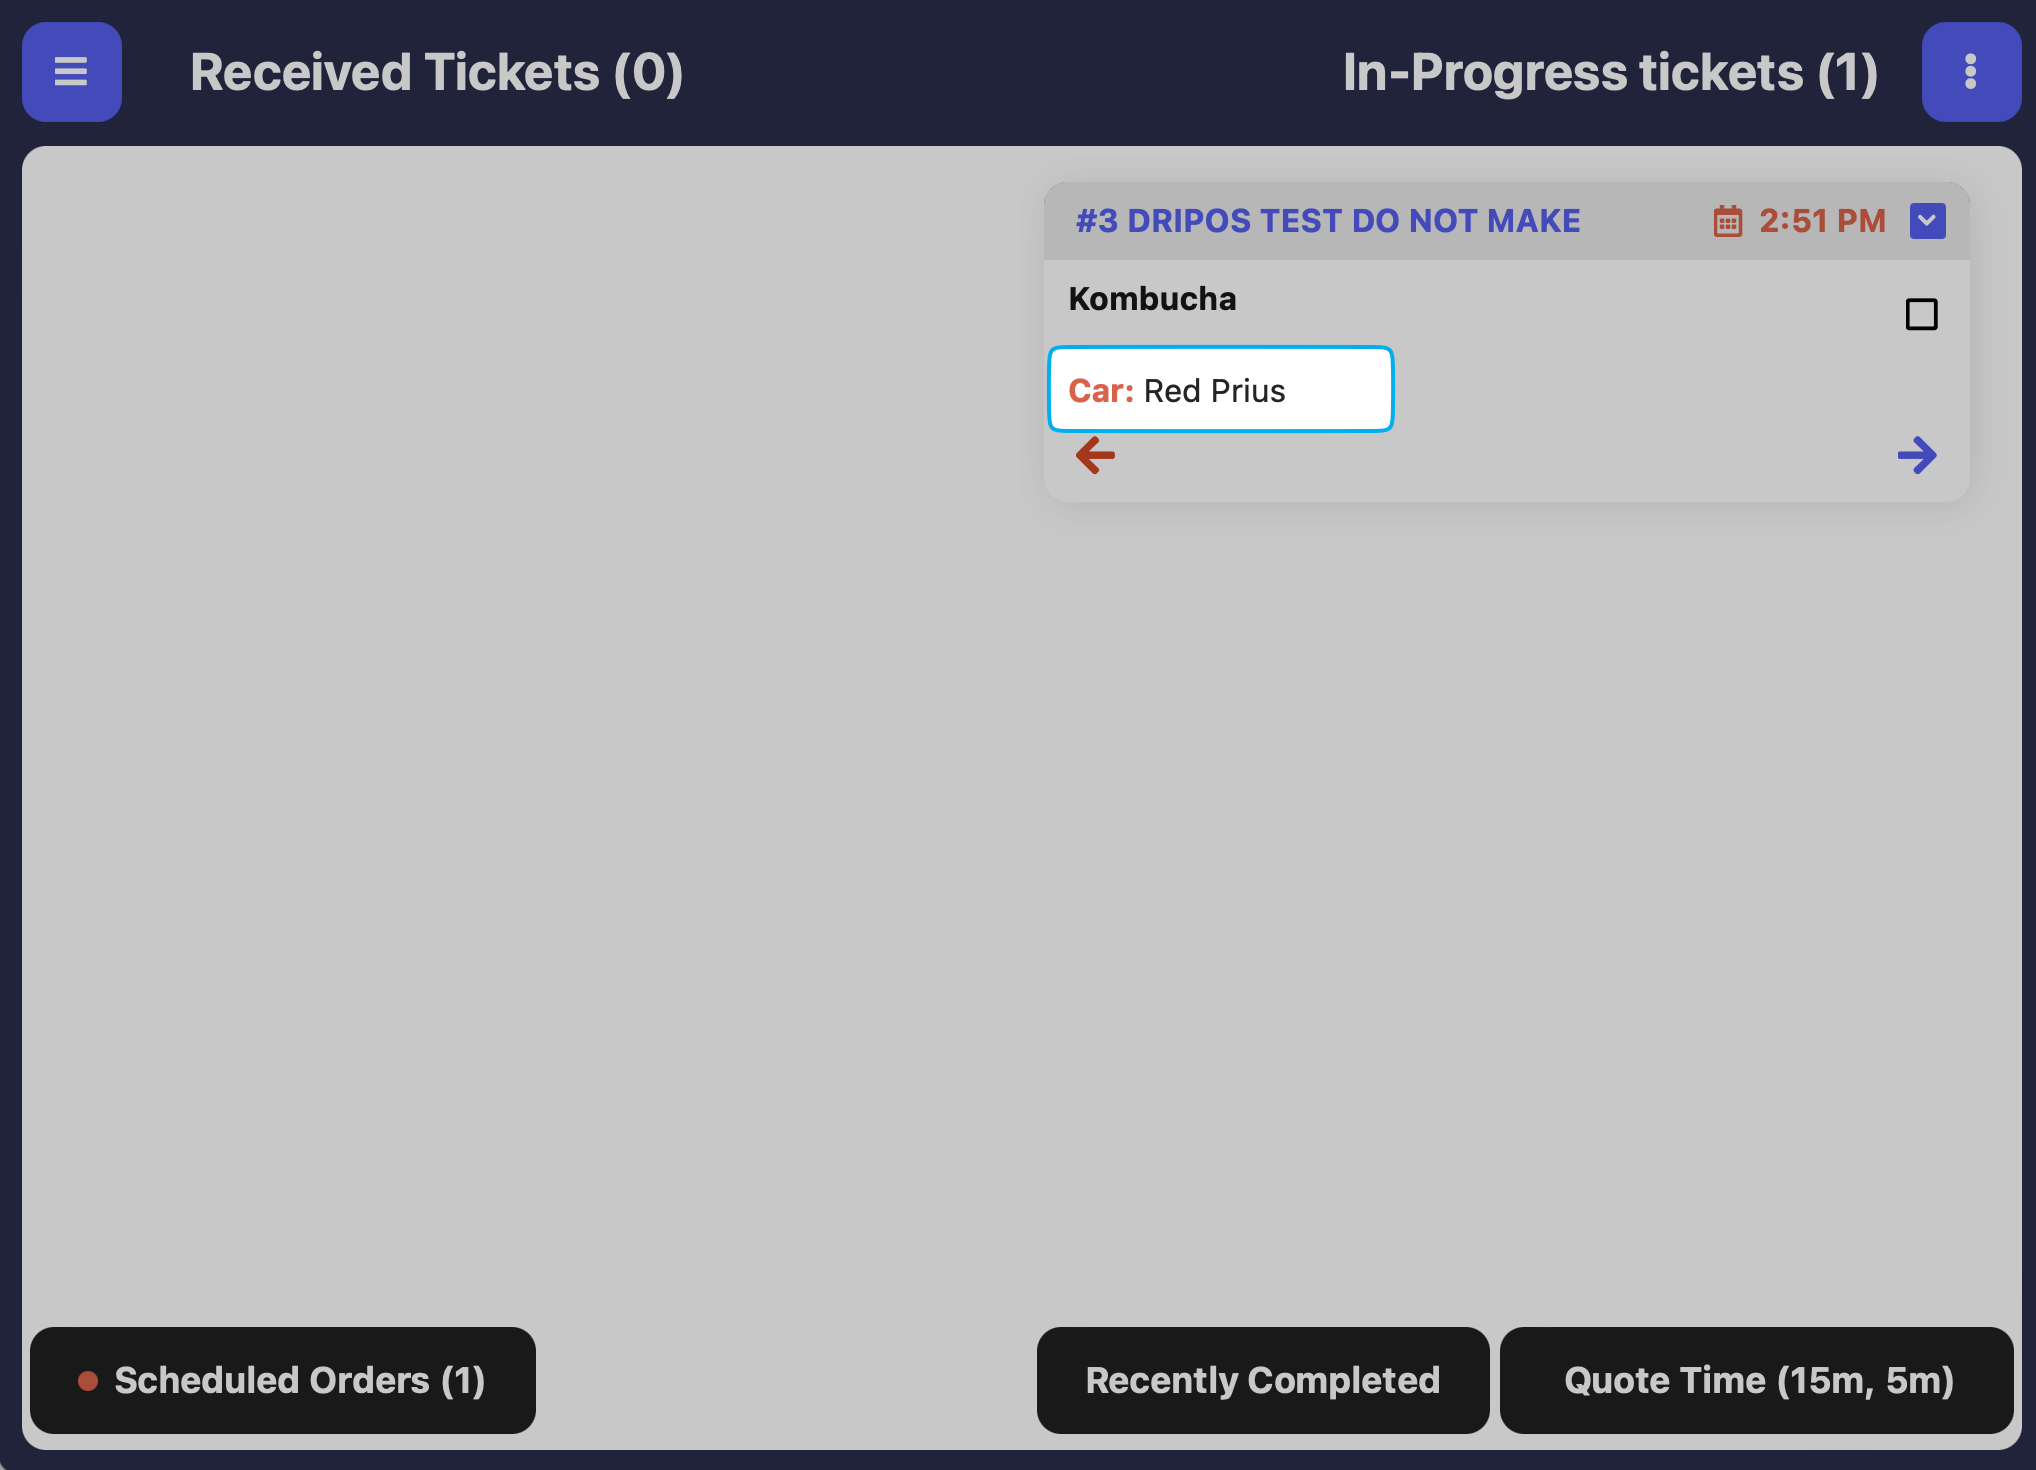
View an order's Checkout Prompt answer from the Tickets screen
4
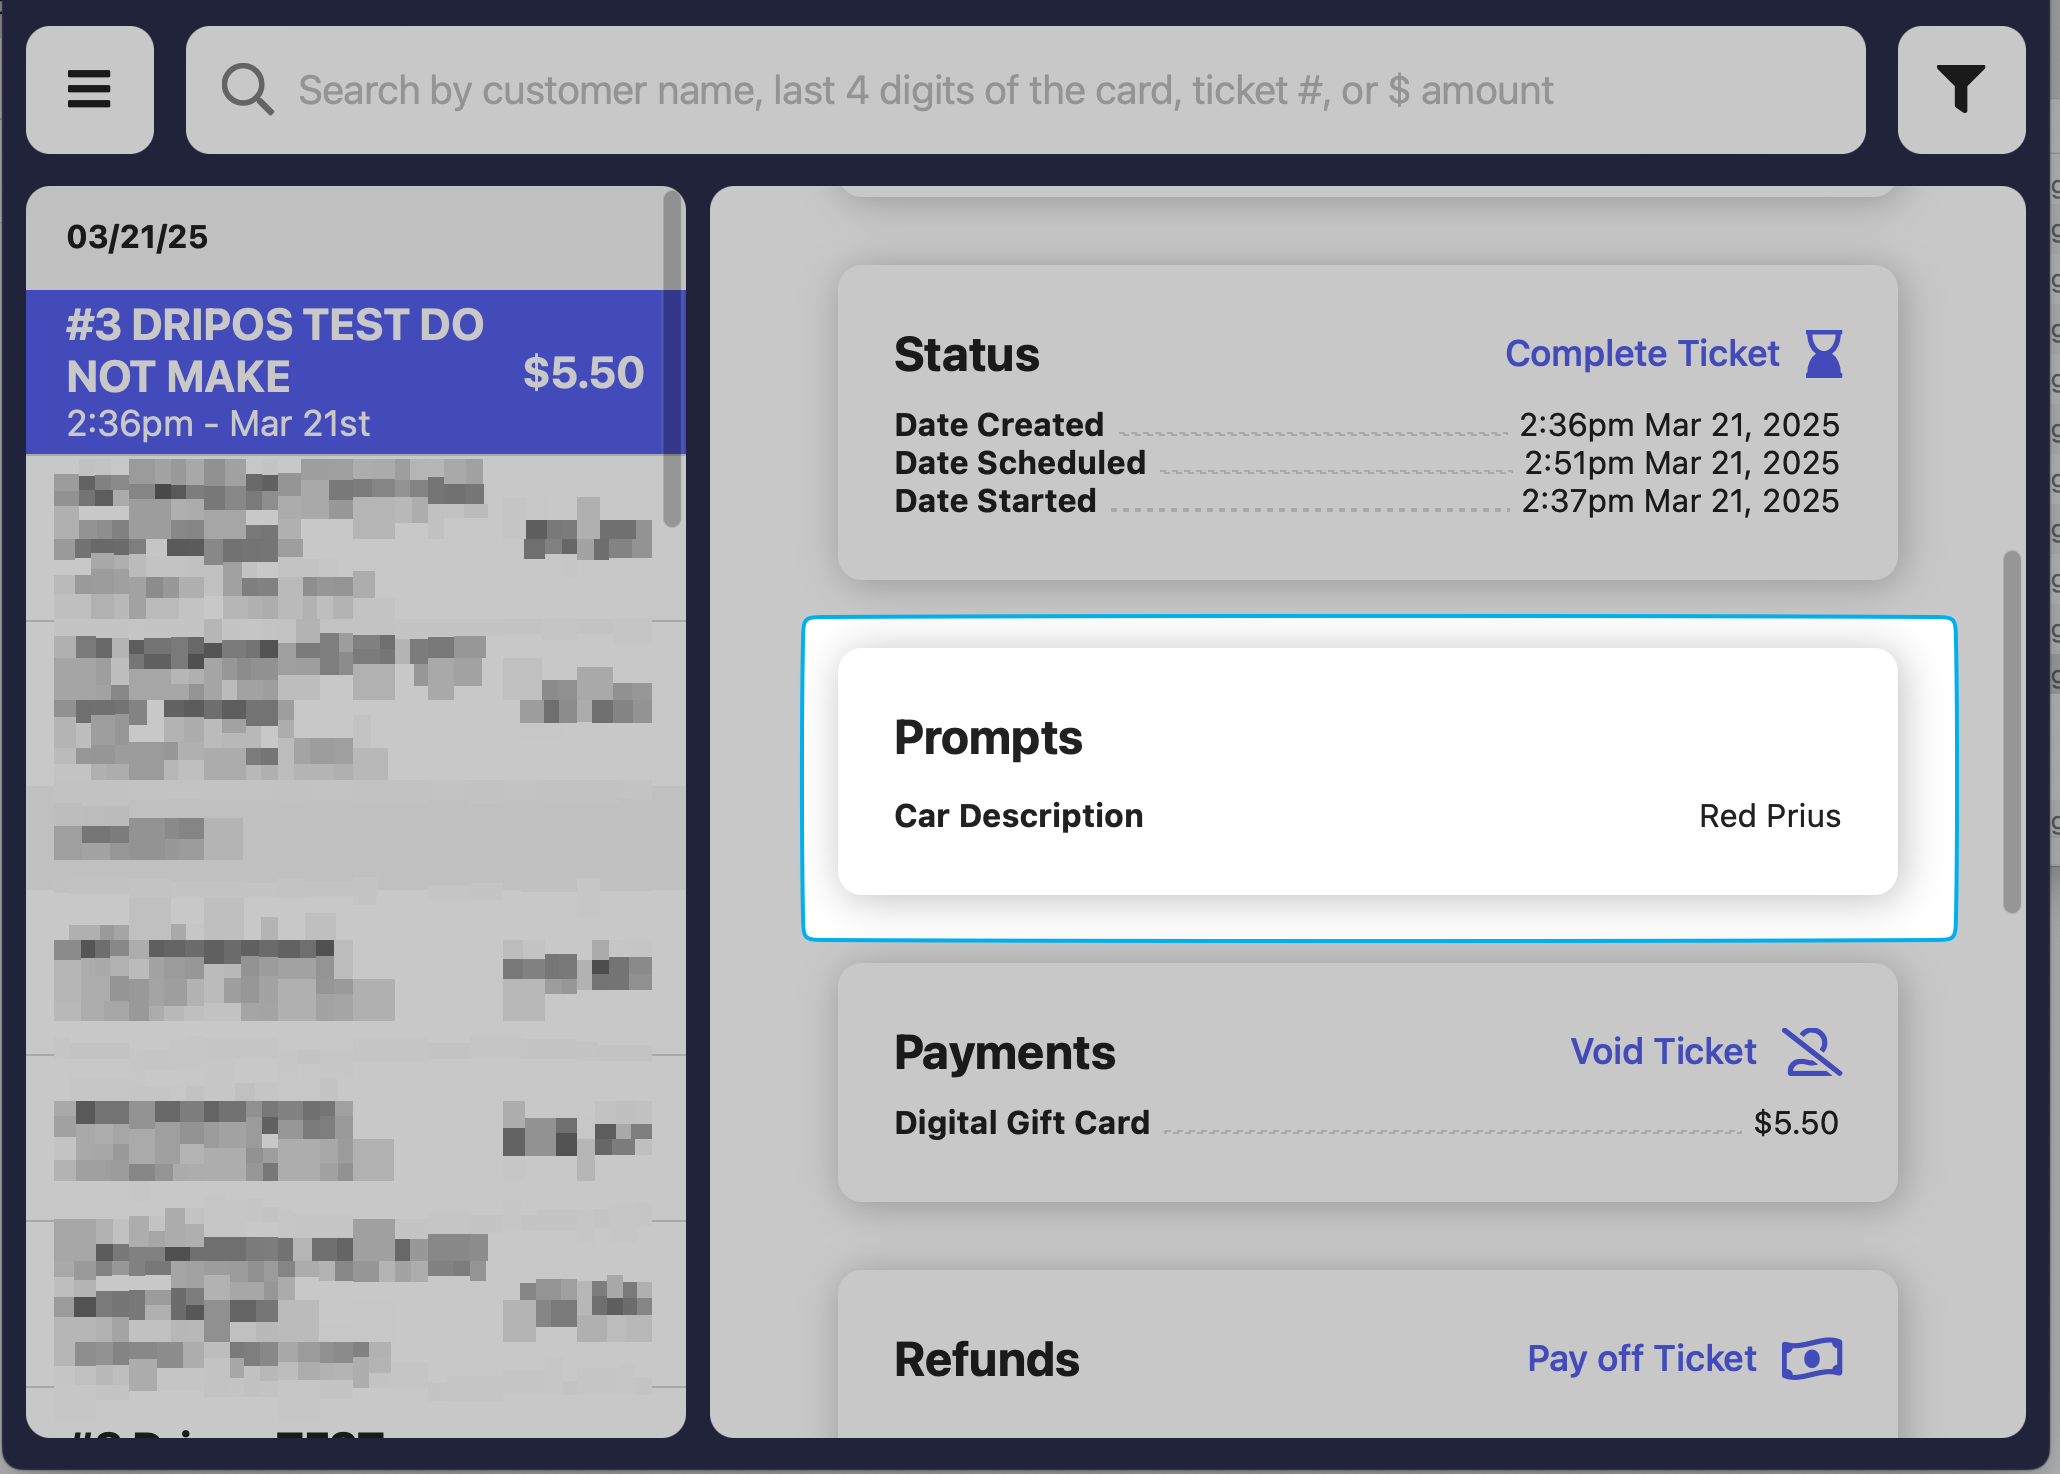
View an order's Checkout Prompt answer from the Transactions page
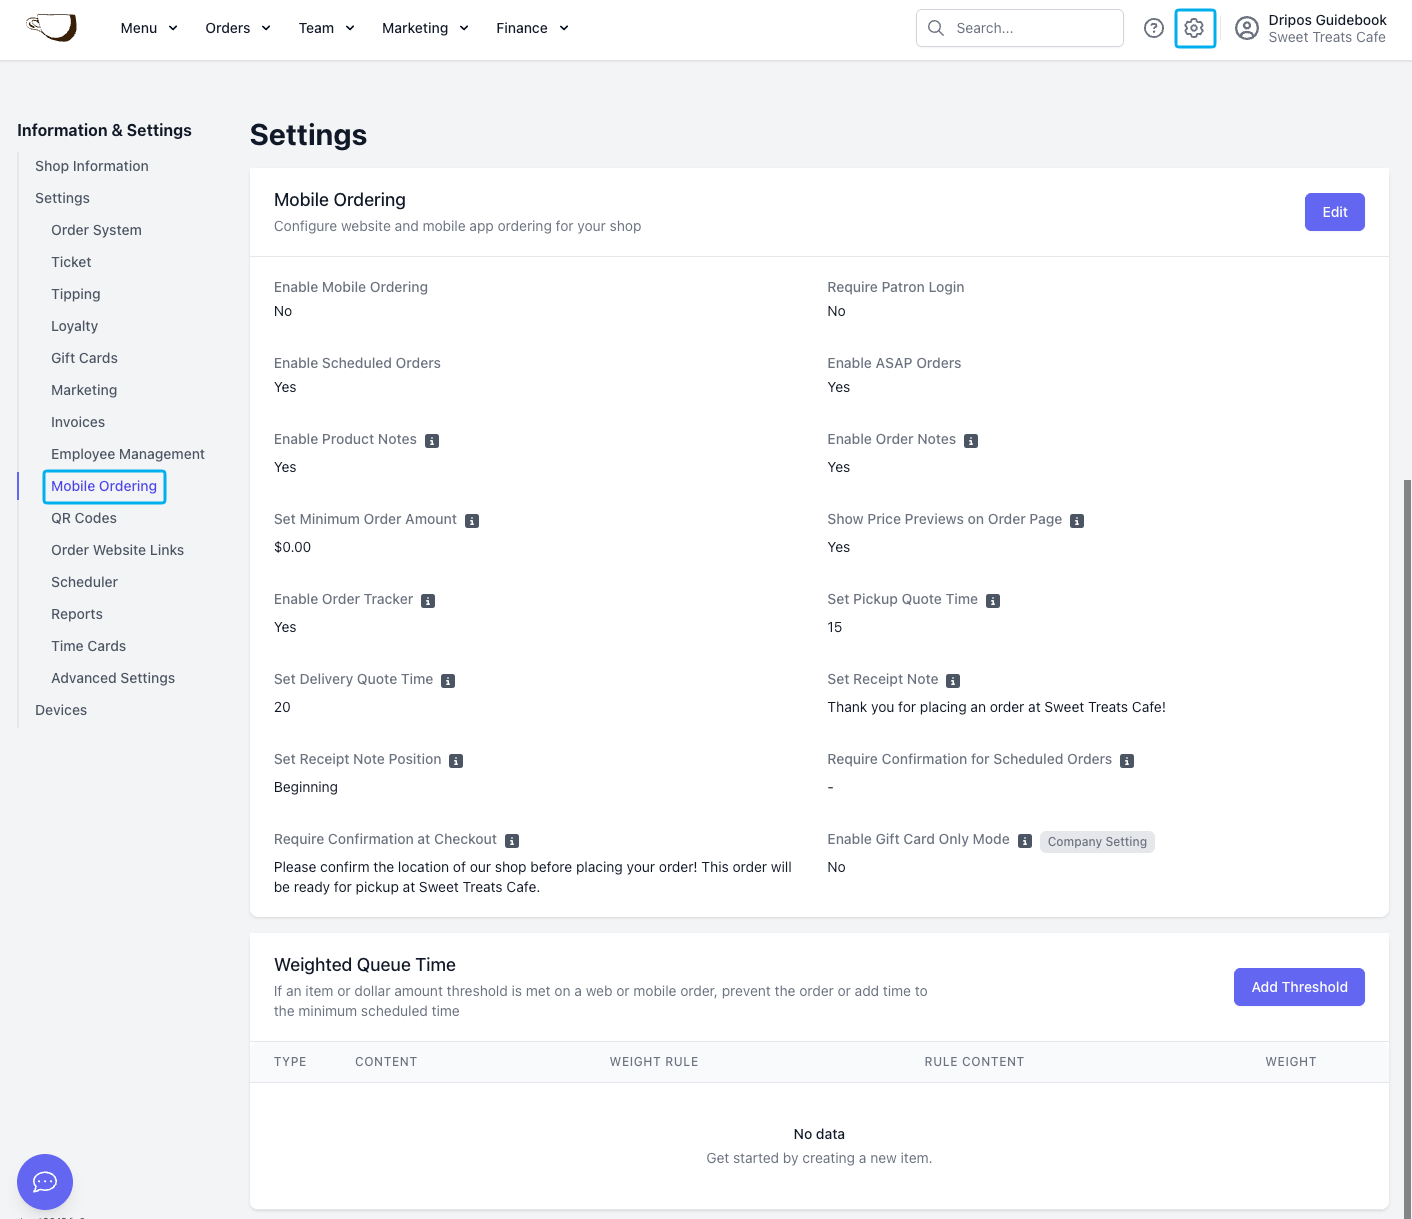
Use Mobile Ordering settings to configure the best workflow for your shop.Navigate to the Dashboard > click on the Settings (⚙️) in the top right corner > Mobile Ordering
Any changes made to these settings will automatically take effect across all mobile ordering platforms.
Enable Mobile Ordering
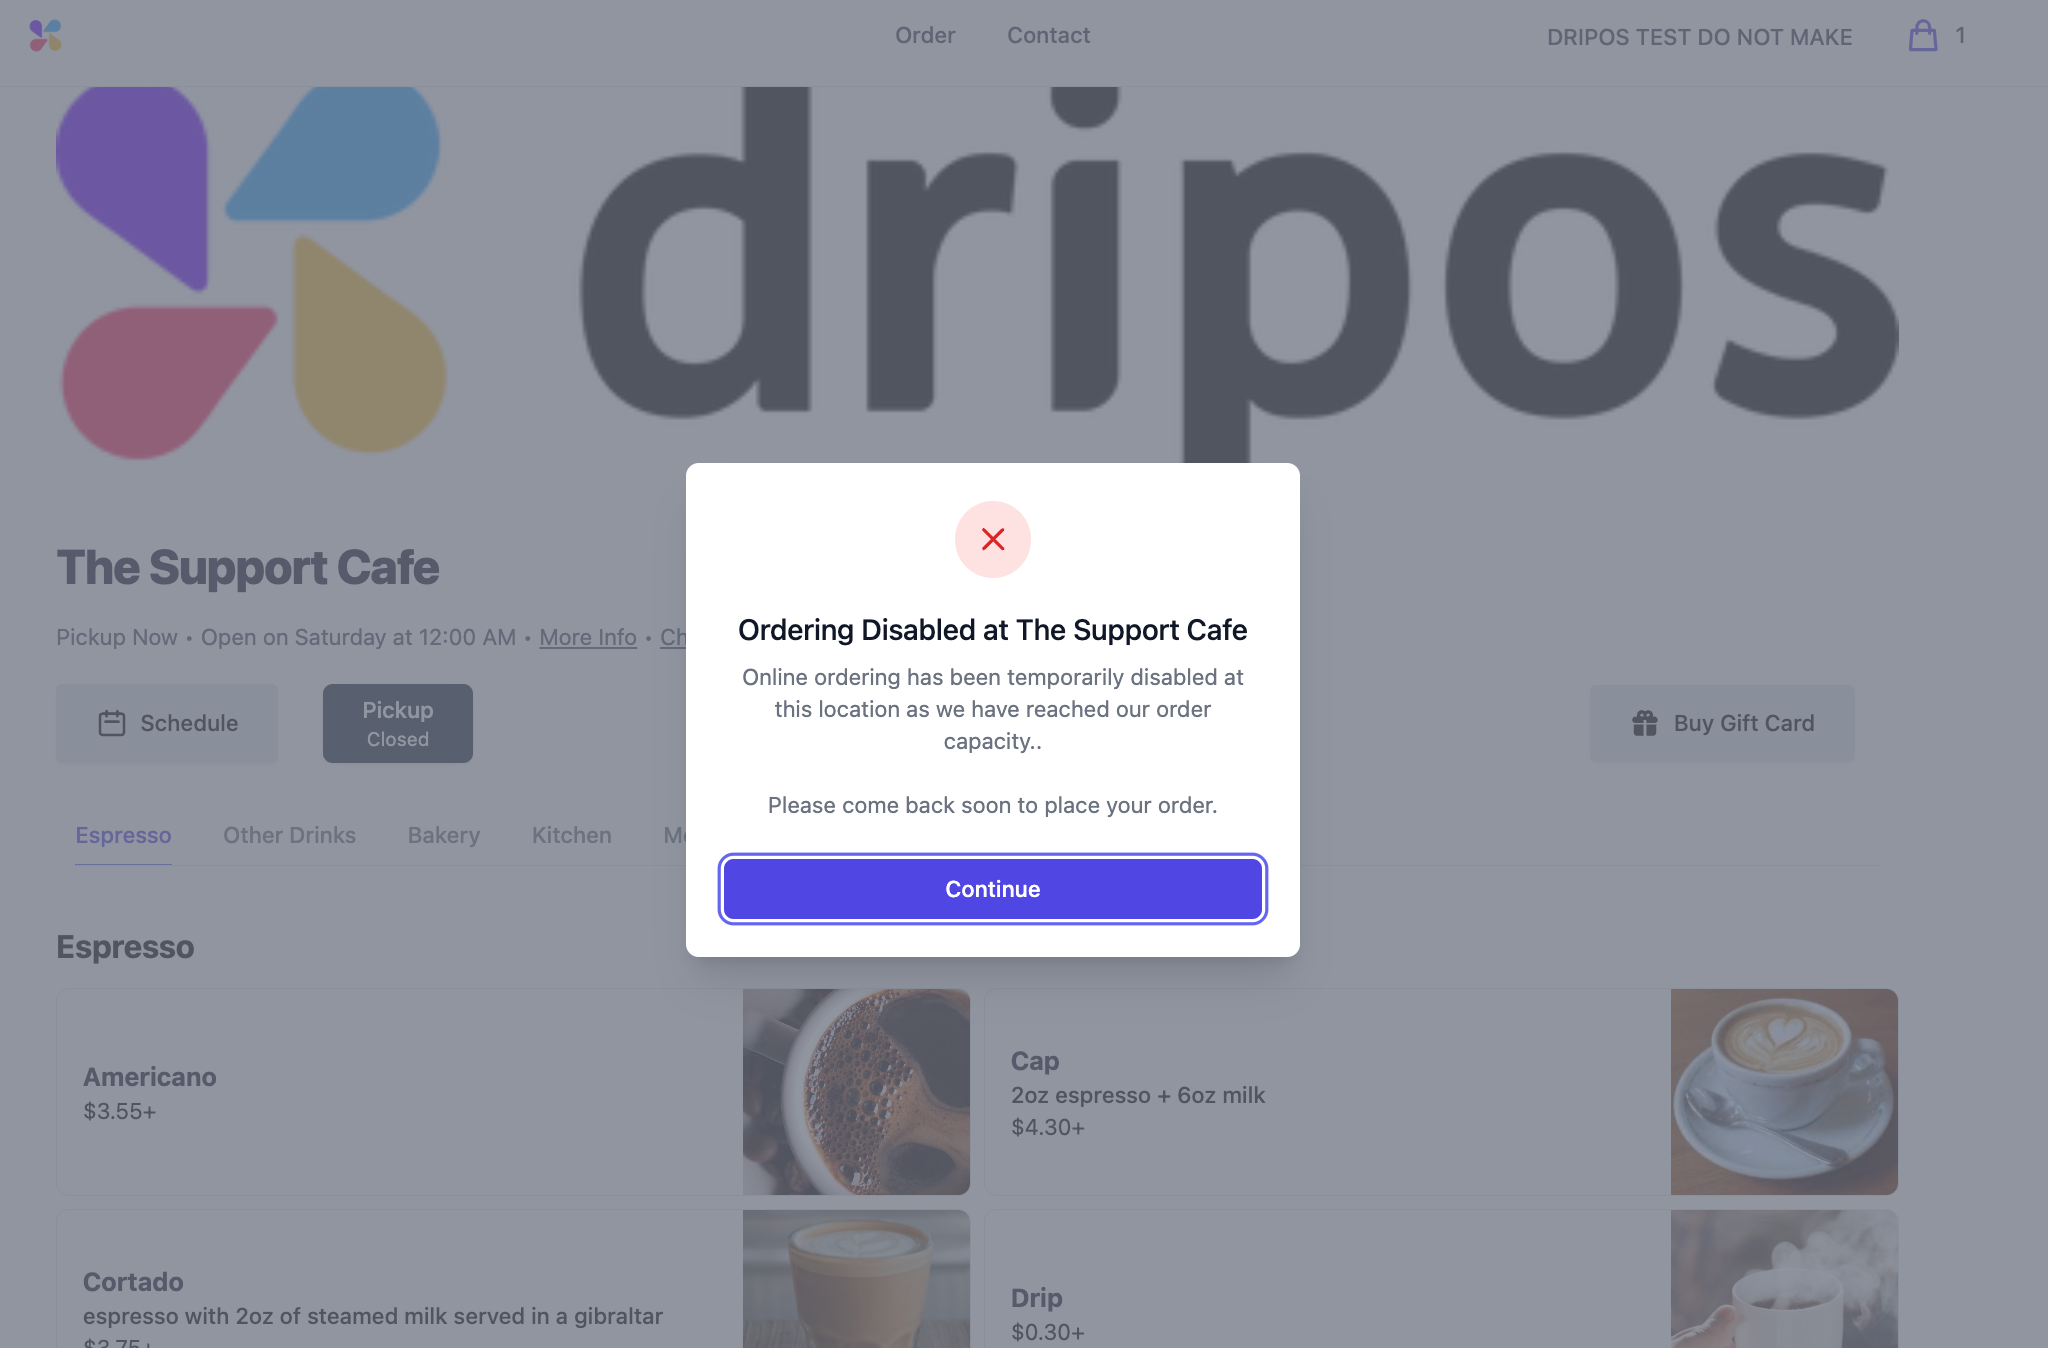
If disabled, Mobile Ordering is immediately disabled from the mobile order website and mobile order app.
Require Patron Login
If enabled, require patrons to login in order to place a mobile order.
Enable Scheduled Orders
If enabled, allow patrons to order ahead and place scheduled orders.
Enable ASAP Orders
If enabled, allow patrons to order ahead and place orders as soon as the Set Pickup Quote Time and Weighted Queue Time thresholds are met.
Enable Product Notes
If enabled, allow customers to add custom notes to ordered products.
Enable Order Notes
If enabled, allow customers to add custom notes to the entire order.
Set Minimum Order Amount
Set the minimum dollar amount required to place a mobile order.
Show Price Previews on Order Page
If enabled, display product prices on the mobile order homepage.
Enable Order Tracker
If enabled, allow customers to track their order status.
Set Pickup Quote Time
Sets the number of minutes added to mobile order estimates to account for preparation time before the order is ready for pickup.
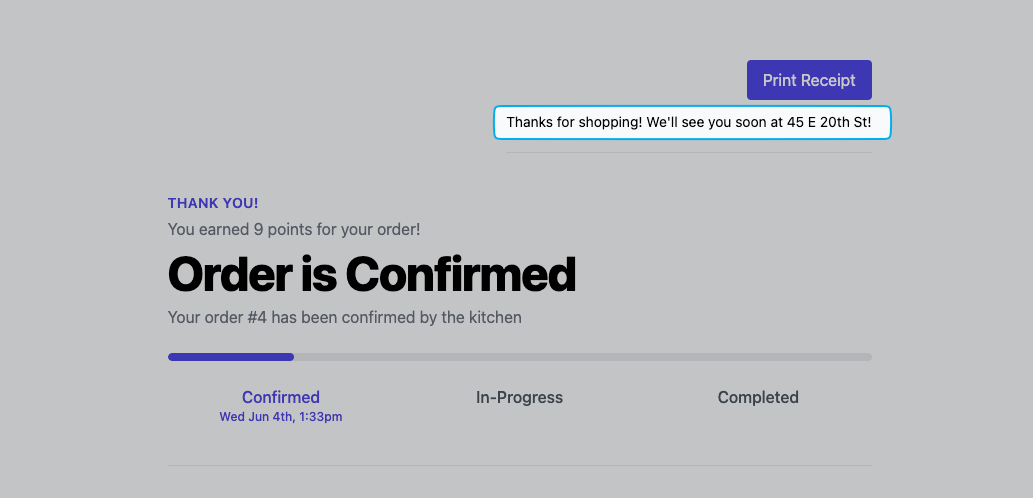
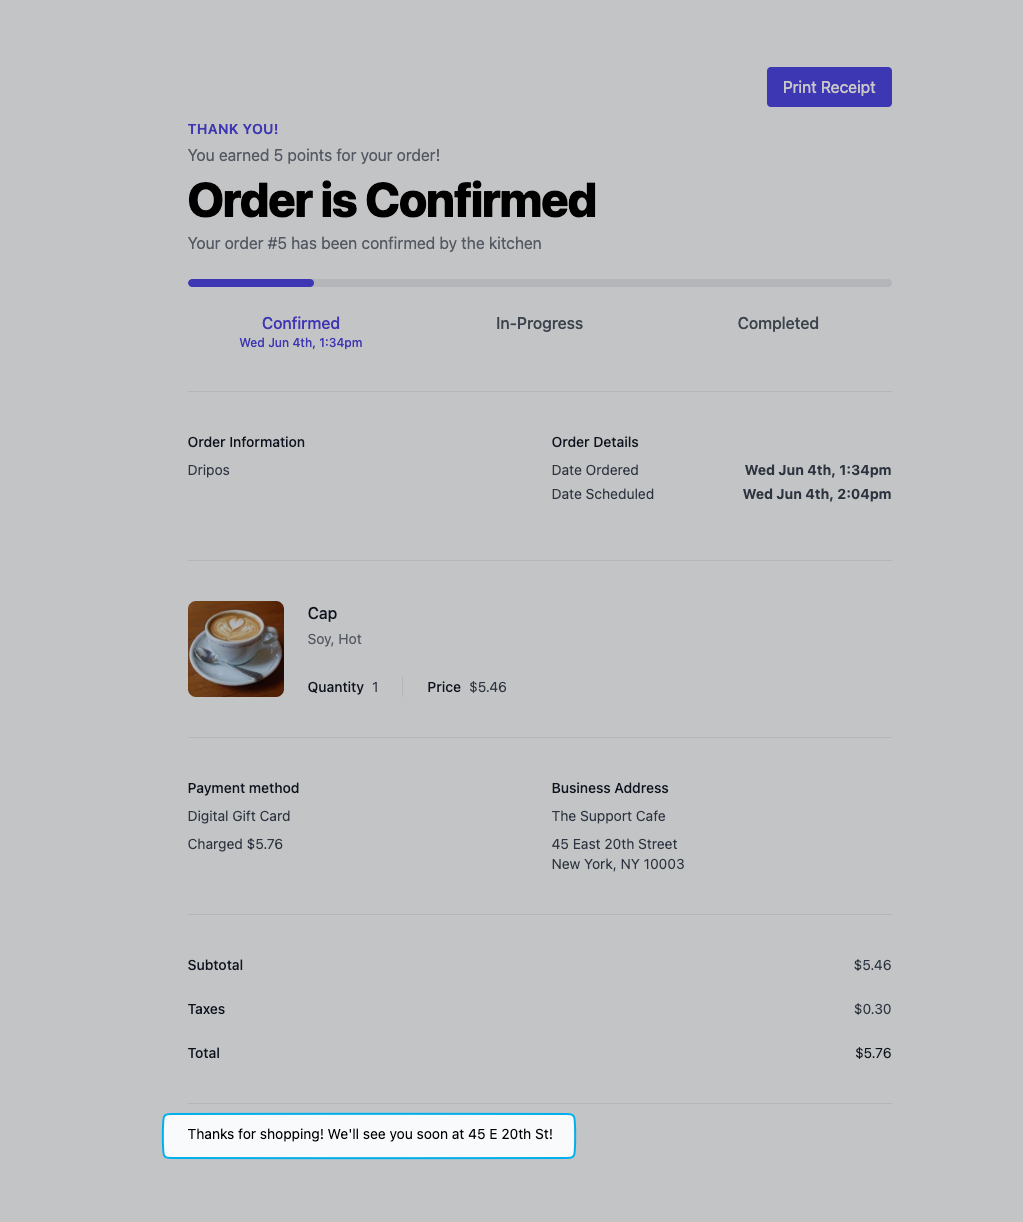
Set Receipt Note
Adds a custom note at the checkout screen.
Set Receipt Note Position
Set the Receipt Note position at the beginning or end of the Checkout page.
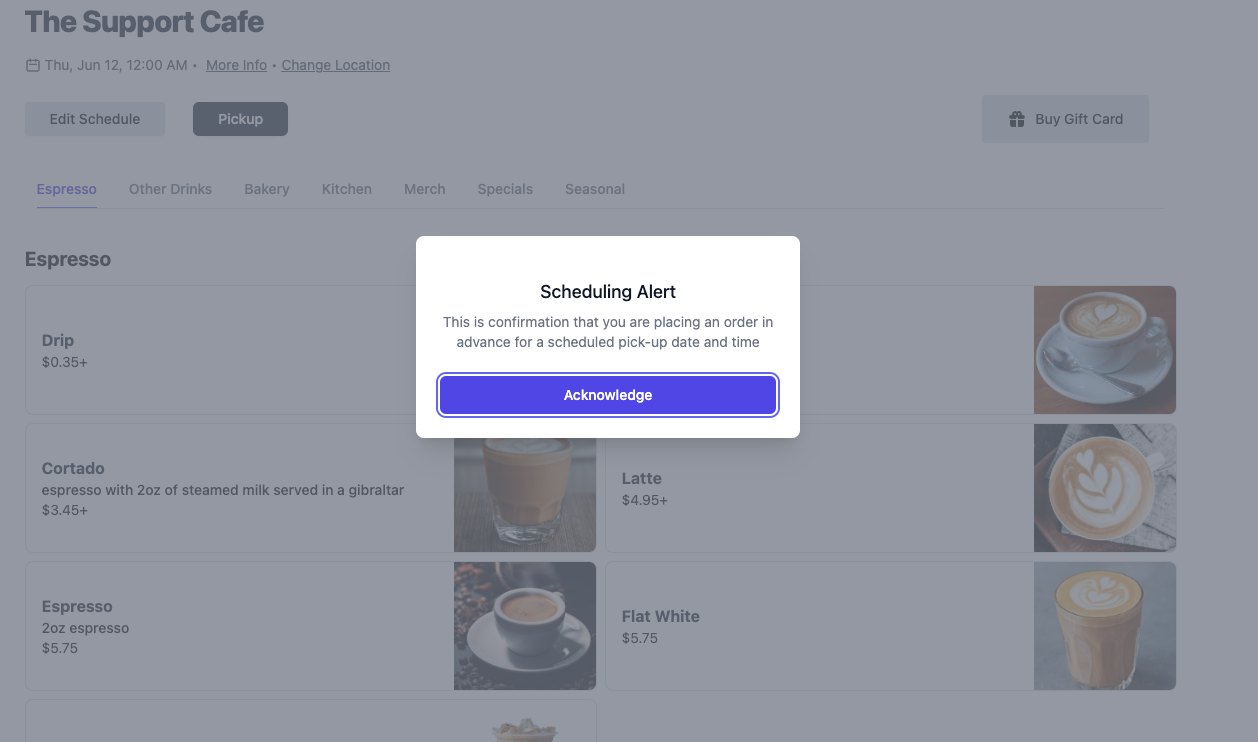
Require Confirmation for Scheduled Orders
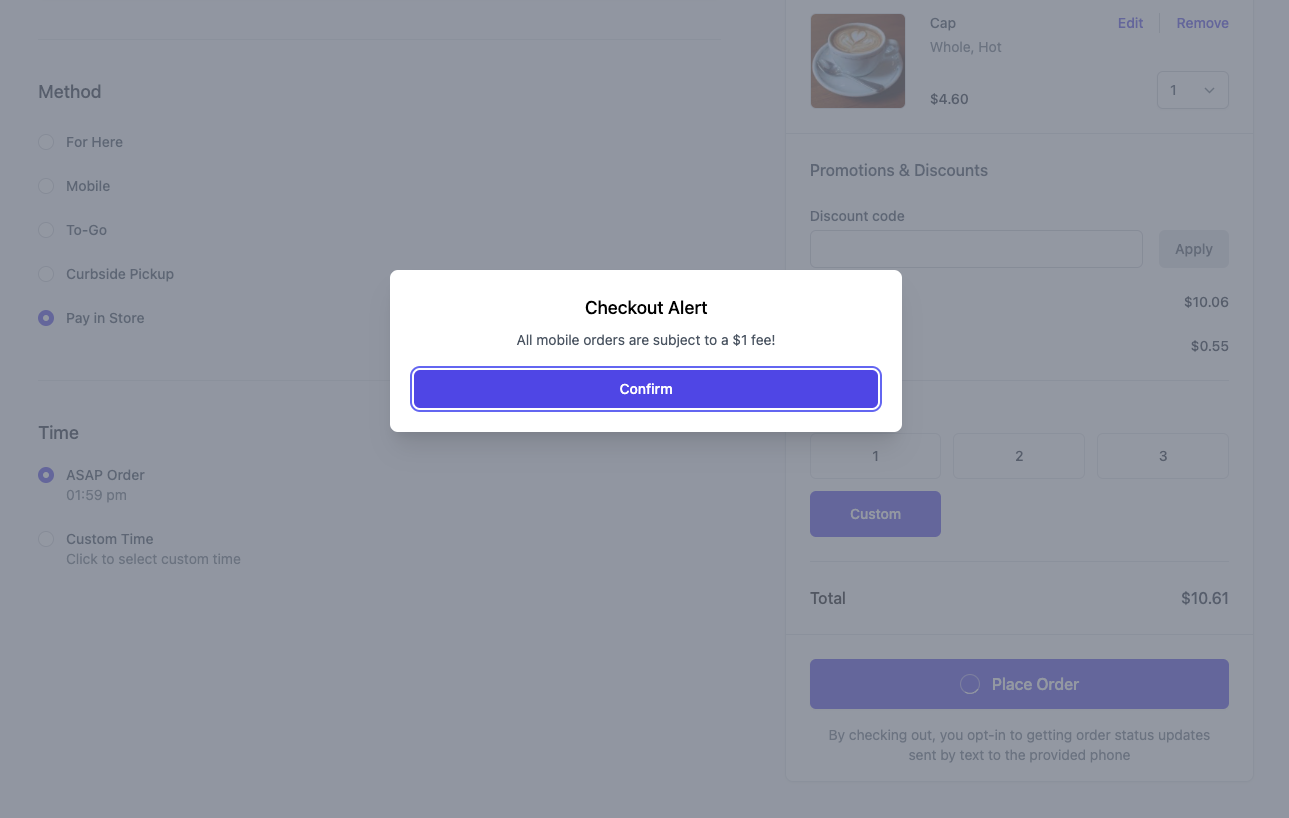
If enabled, displays a pop-up when selecting scheduled requiring customer to Acknowledge before scheduling an order one or more days in advance.
Require Confirmation at Checkout
If enabled, displays a pop-up at Checkout to Confirm before completing an order.
Enable Gift Card Only Mode
If enabled, only digital gift cards are available for purchase (directing customers to the gift card screen by default).
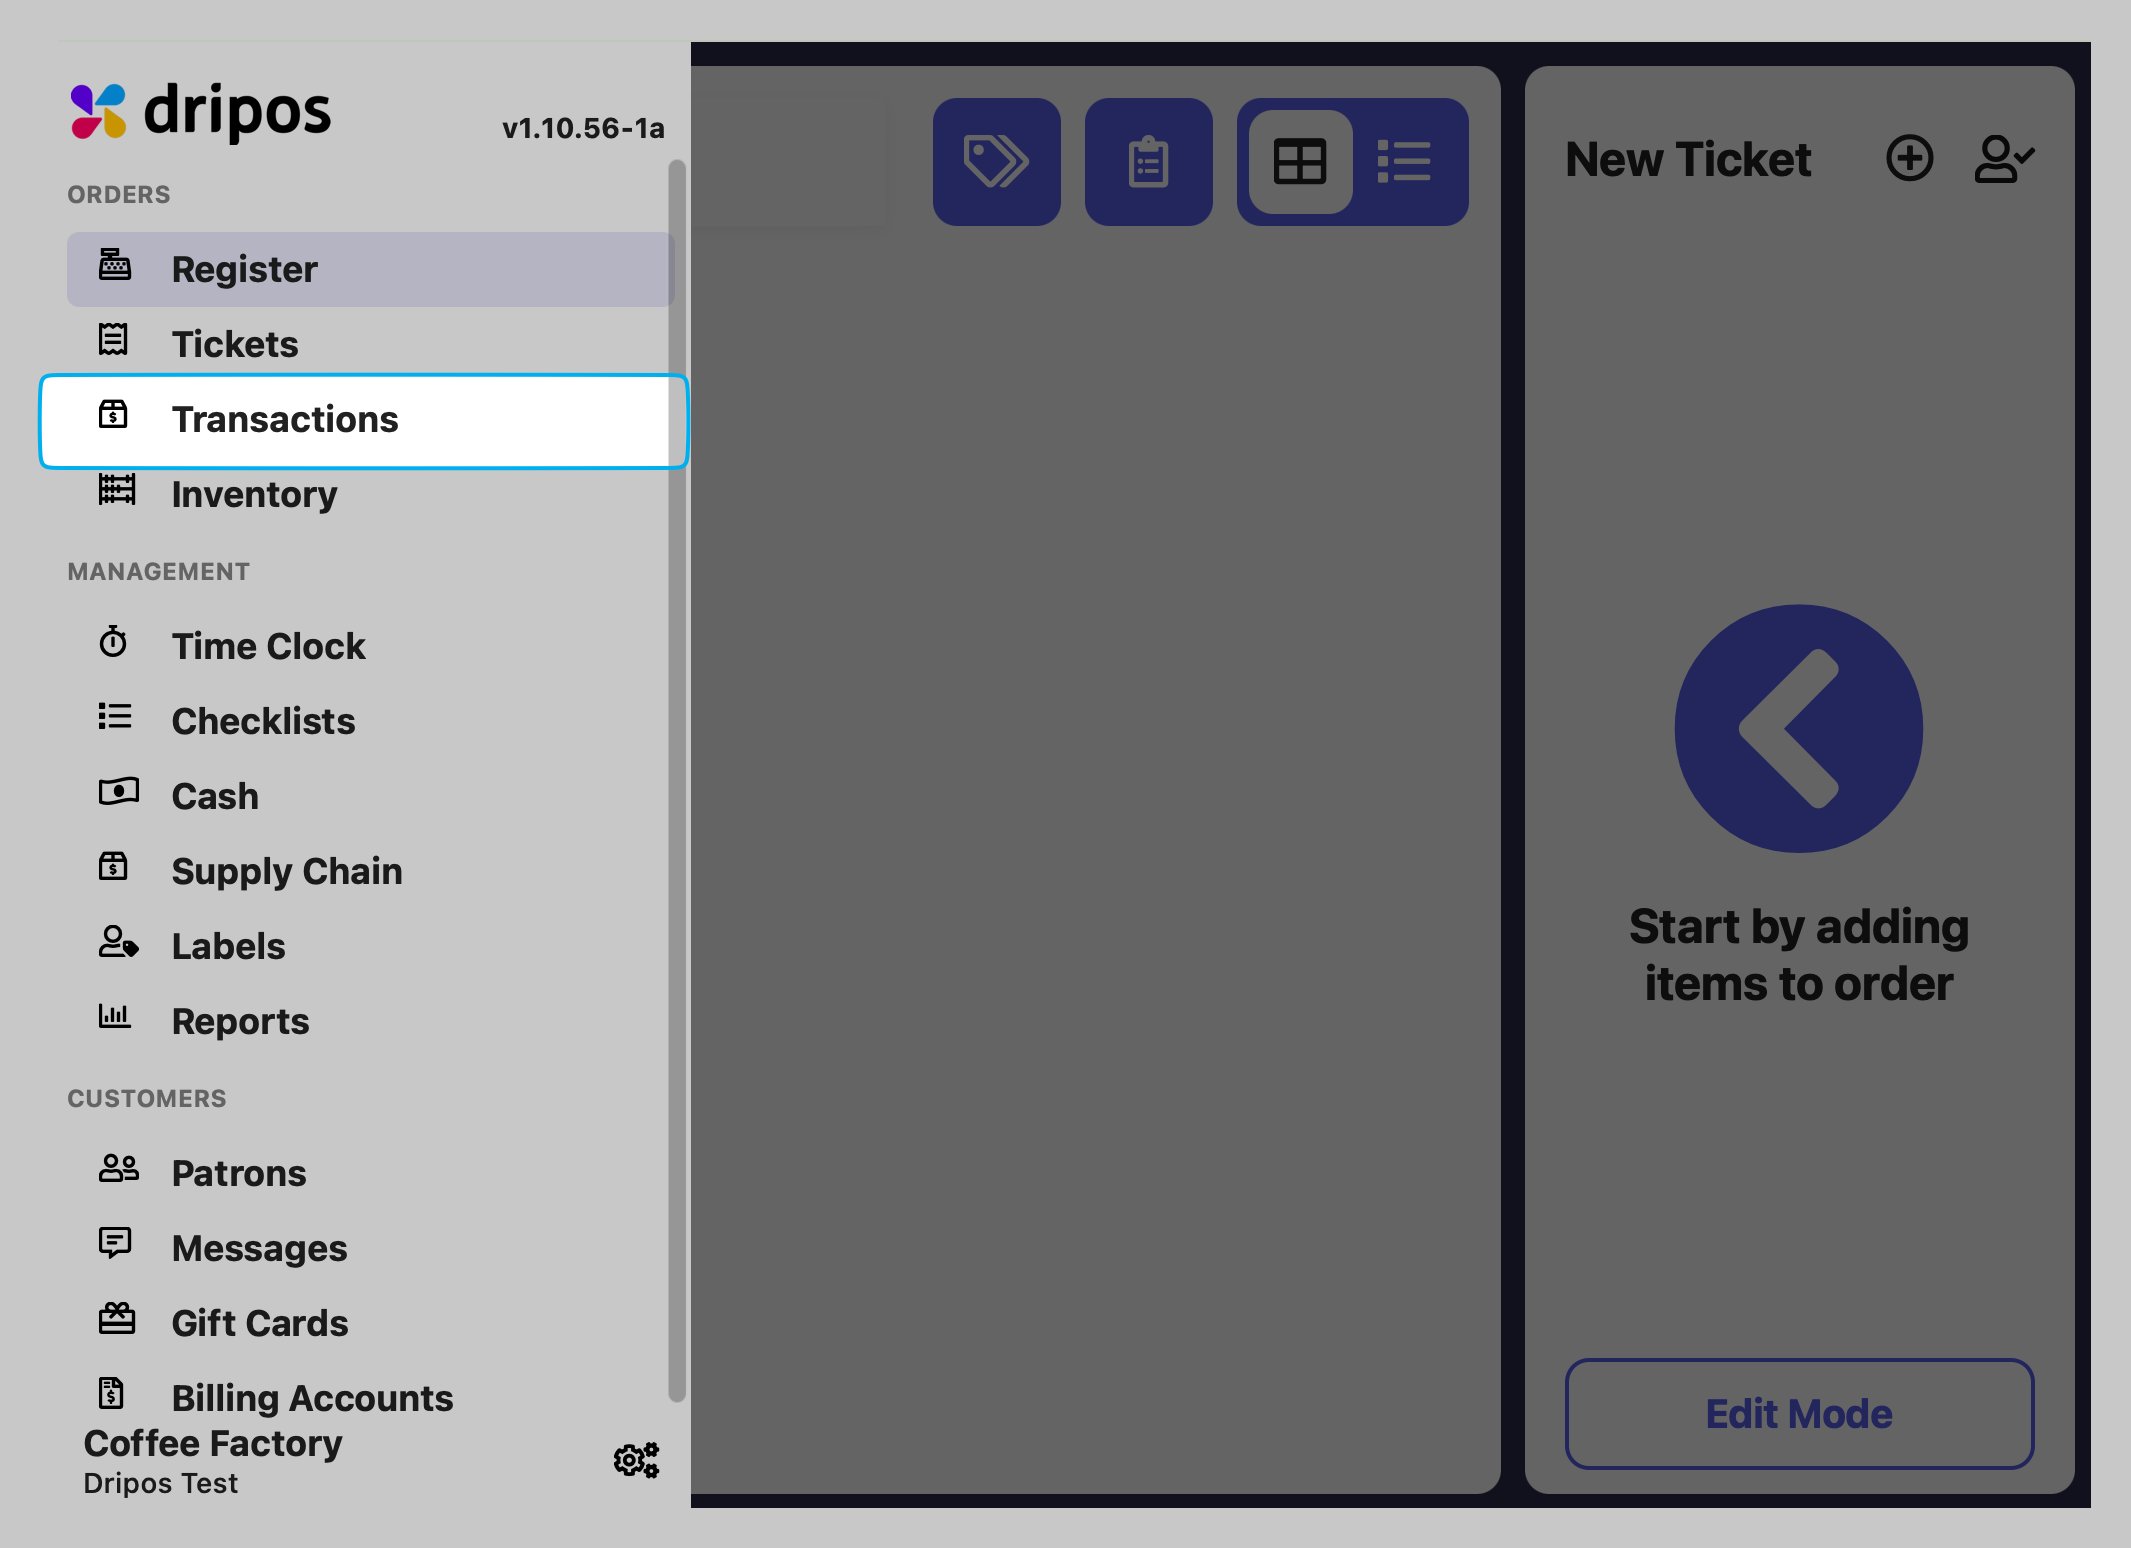
Adjust basic Mobile Order settings from the Point of SaleNavigate to the tribar in the upper left screen corner > press the Settings (⚙️) button > scroll down to Mobile Settings
Any changes made to these settings will automatically take effect across all mobile ordering platforms.
Order Estimate (in Minutes)
Input the estimated amount of time (in minutes) that it will take for a mobile order to be ready for pickup.
Disable Mobile Ordering (Temporarily)
If this toggle is turned ON, orders will not be able to be placed through the order website and mobile app until turned back OFF
Pay at Store
If this toggle is turned ON, customers will be able to place a mobile order without inputting a payment method at checkout, and instead pay at pickup.A Pay at Store Ticket Type will need to be created as well.
Orders will appear within Saved Tickets screen on the POS until paid.
Allow ASAP Orders
If this toggle is turned ON, customers will be able to place orders on the order website and mobile app and be able to pick it up “as soon as possible”.
The soonest pickup time will be based on order estimate and weighted queue times (see more below).
In order for a mobile order to be placed, one of the following must be enabled: ASAP Orders or Scheduled Orders - or both.
Allow Scheduled Orders
If this toggle is turned ON, customers will be able to place a mobile order for pickup at a future time.
In order for a mobile order to be placed, one of the following must be enabled: ASAP Orders or Scheduled Orders - or both.
Add Order Estimate To ASAP Order Time
If this toggle is turned ON, the order estimate time chosen will be added to the current time when an ASAP mobile order is placed, and set that as the scheduled time for the ticket.