Learn how to properly set up sales tax for your products on Dripos
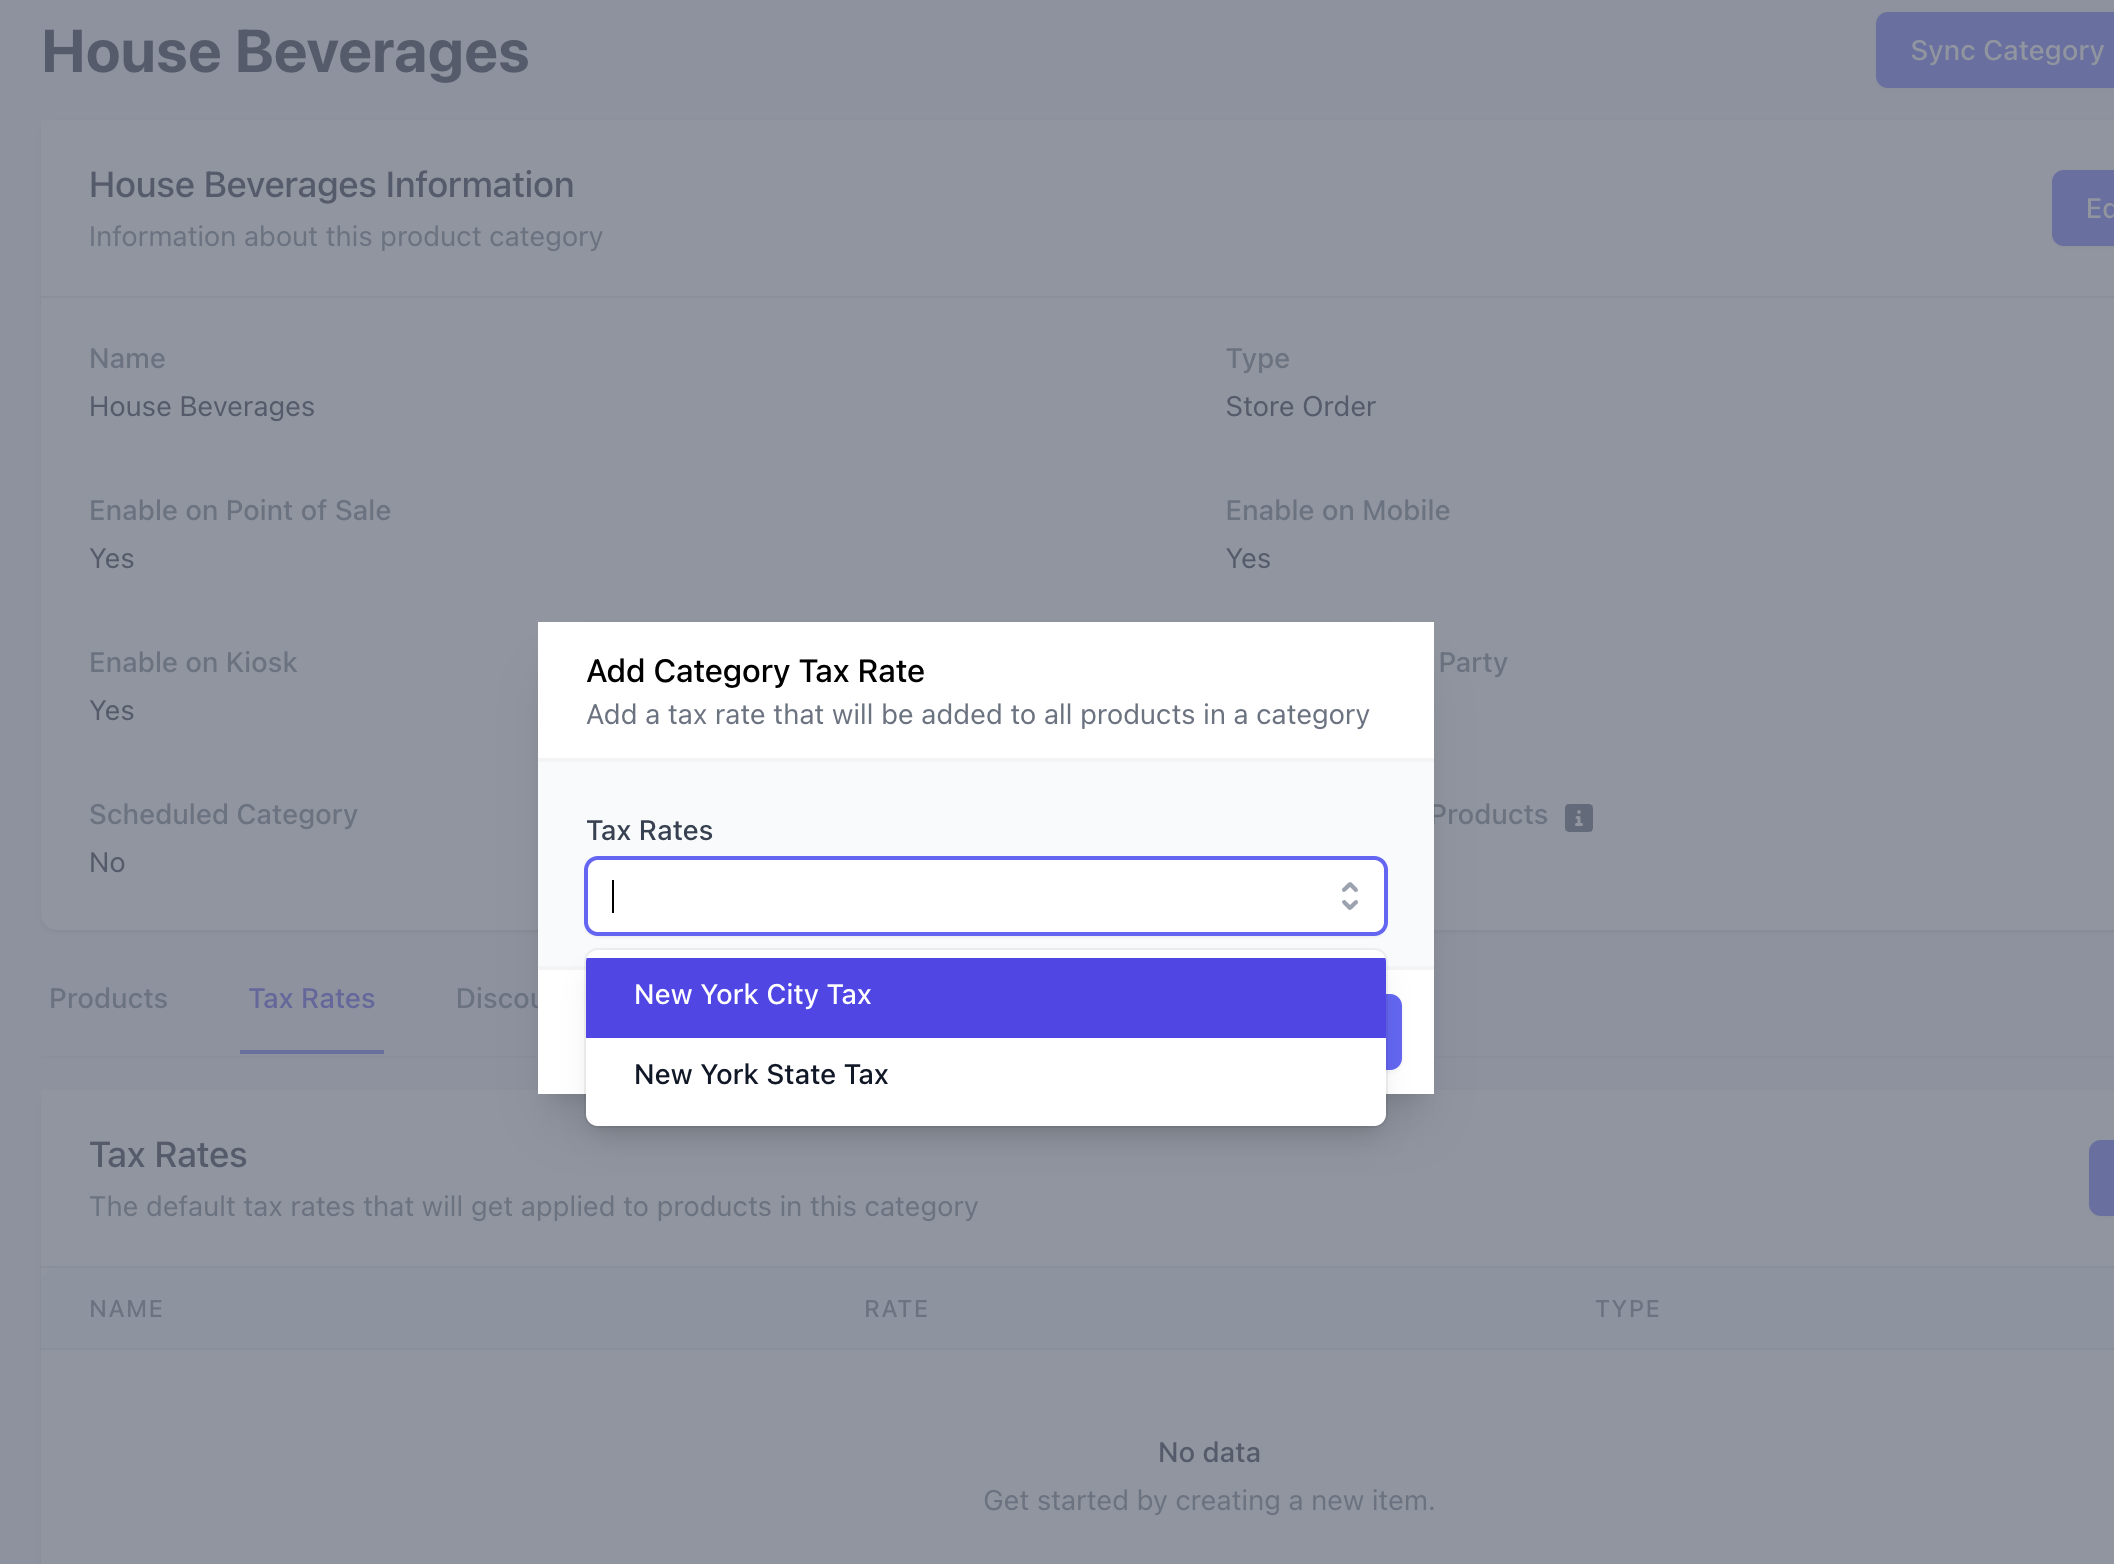
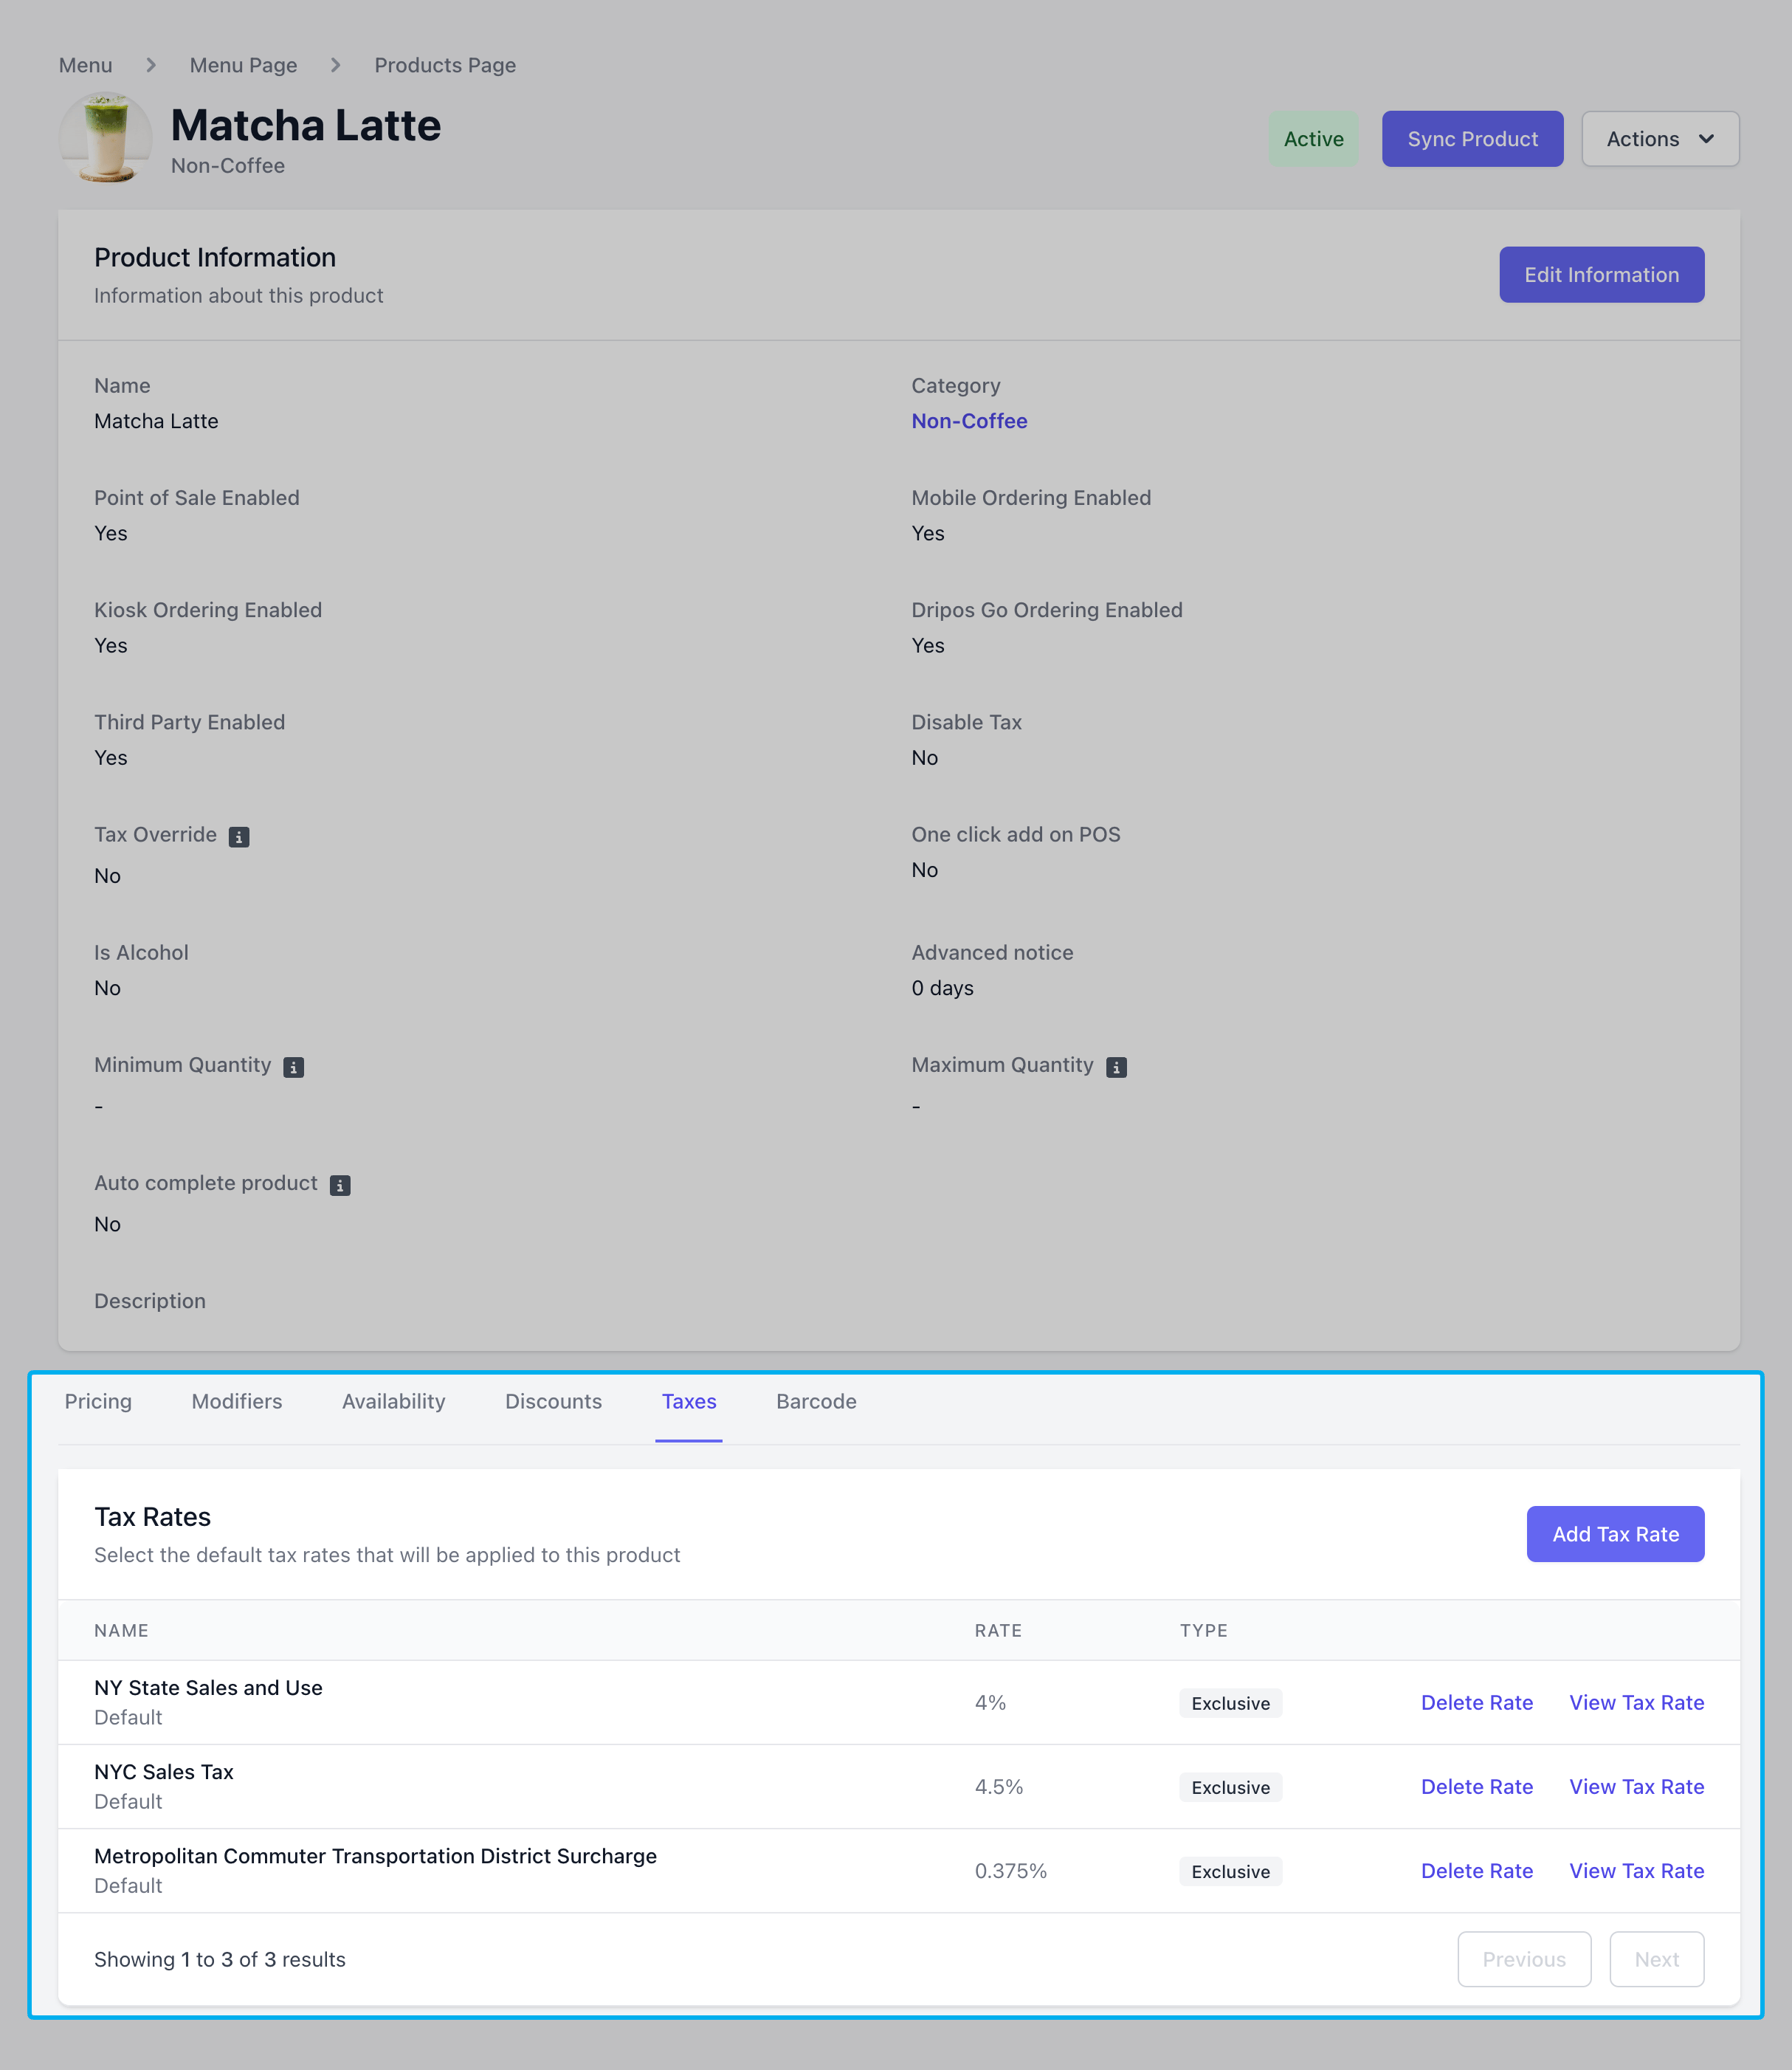
Add local and state sales tax rates to apply to your menu. Taxes may be applied to specific products, categories, and ticket types.
Dripos is not responsible for determining the tax rates applied to products at your shop. Please ensure compliance with local and state regulations when setting tax rates.
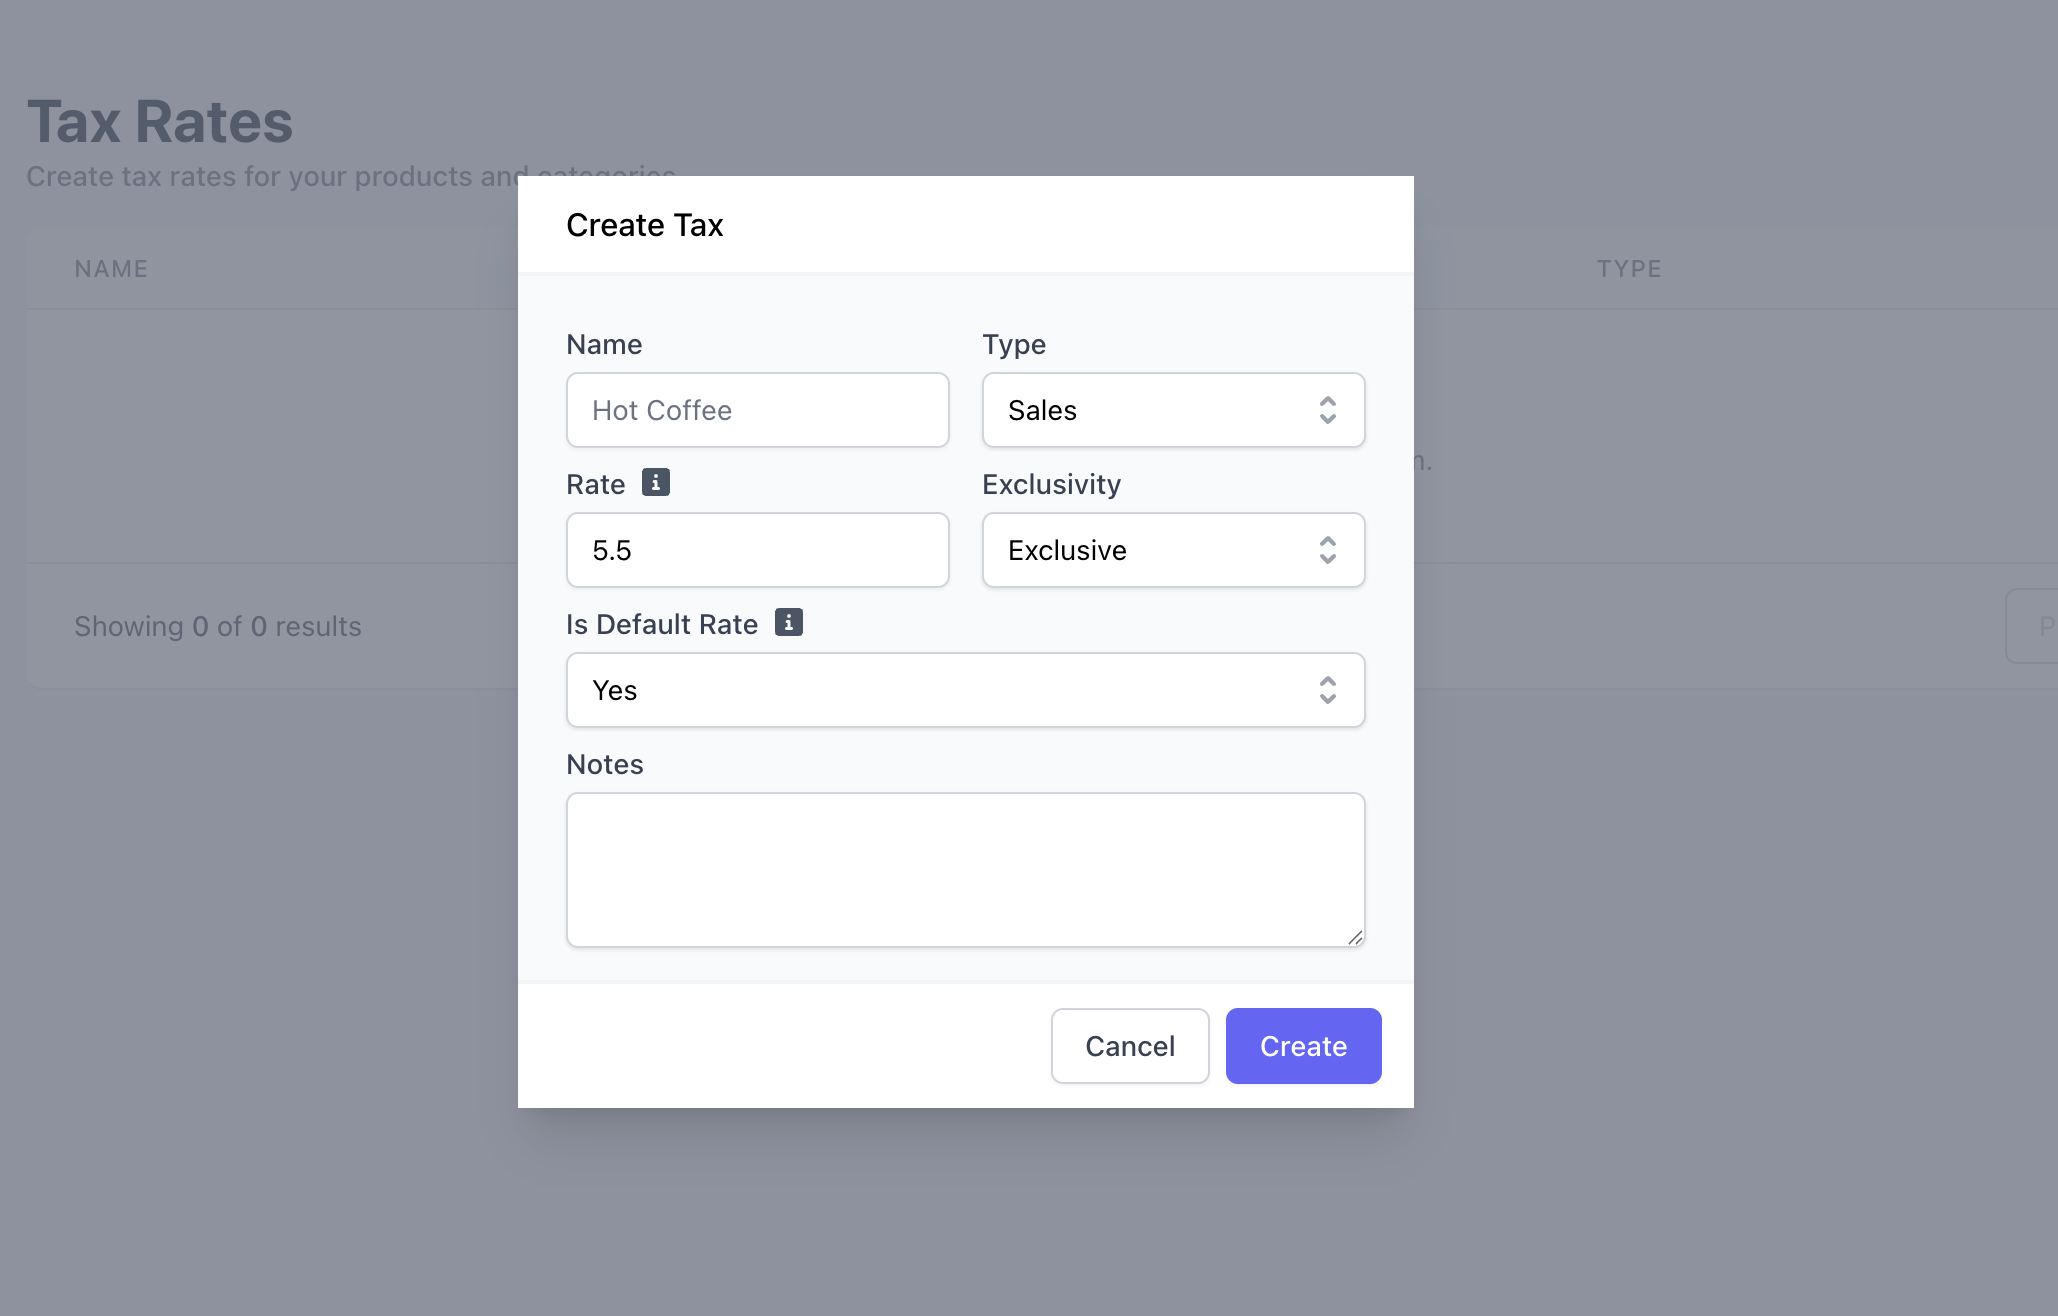
Select a minimum of one tax rate to be the store’s default tax rate. A store can have multiple default tax rates that will be combined when calculating the total tax.
Tax Rate ExclusivityTax rates can either be included in the price of a product or added on top
of a product’s price.Exclusive: Taxes are applied in addition to a
product’s price, i.e. $5 latte with a 5% NY State Tax = $5.25 totalInclusive: Taxes are included in the total price of a product
i.e. $5 latte with a 5% NY State Tax = $4.75 latte and $0.25 NY State Tax = $5 total
3
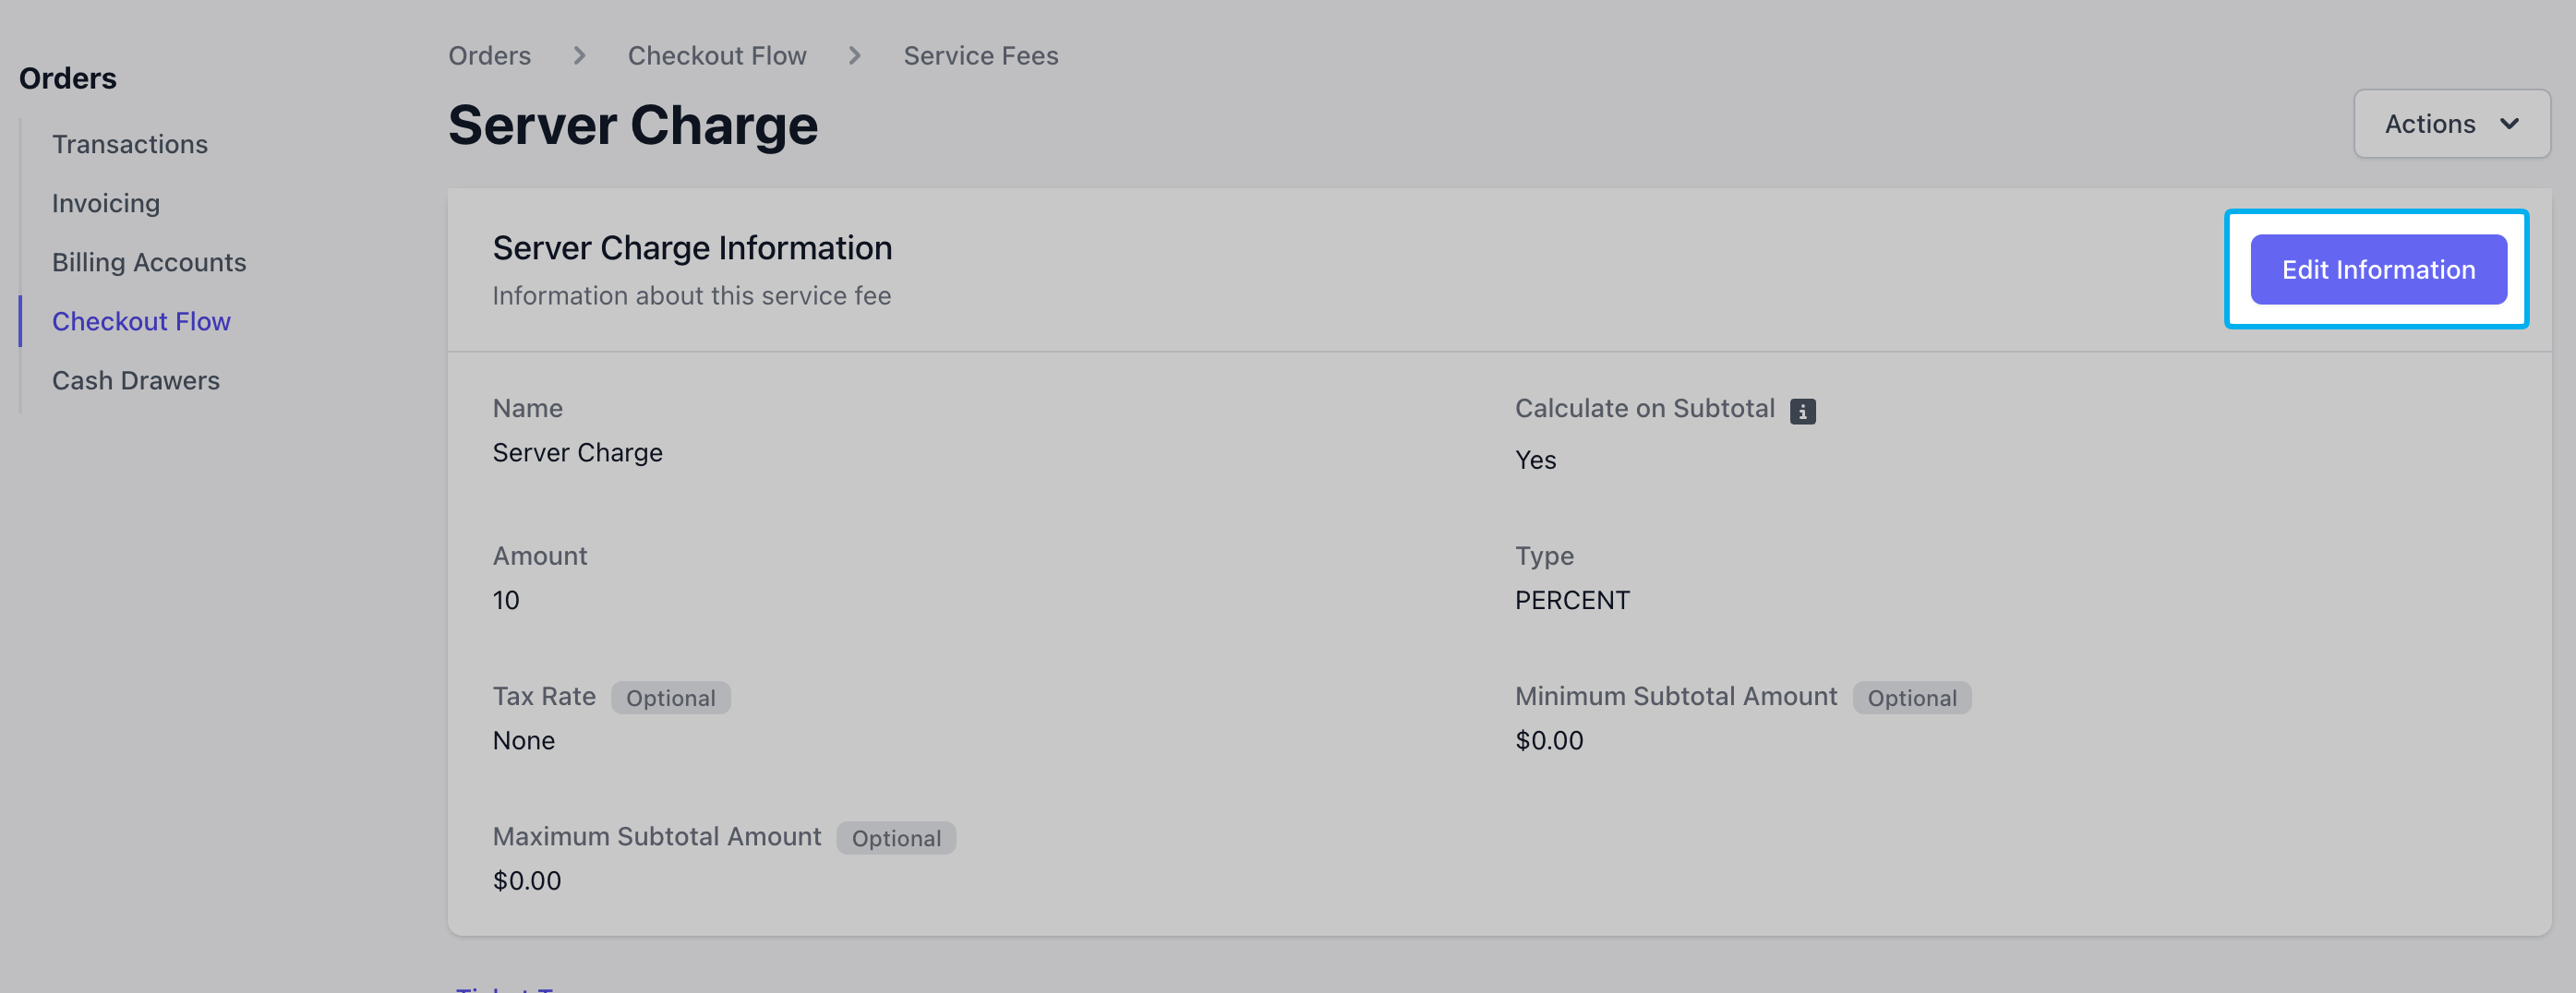
To edit existing tax rates, click View on the existing tax rate > Edit Information
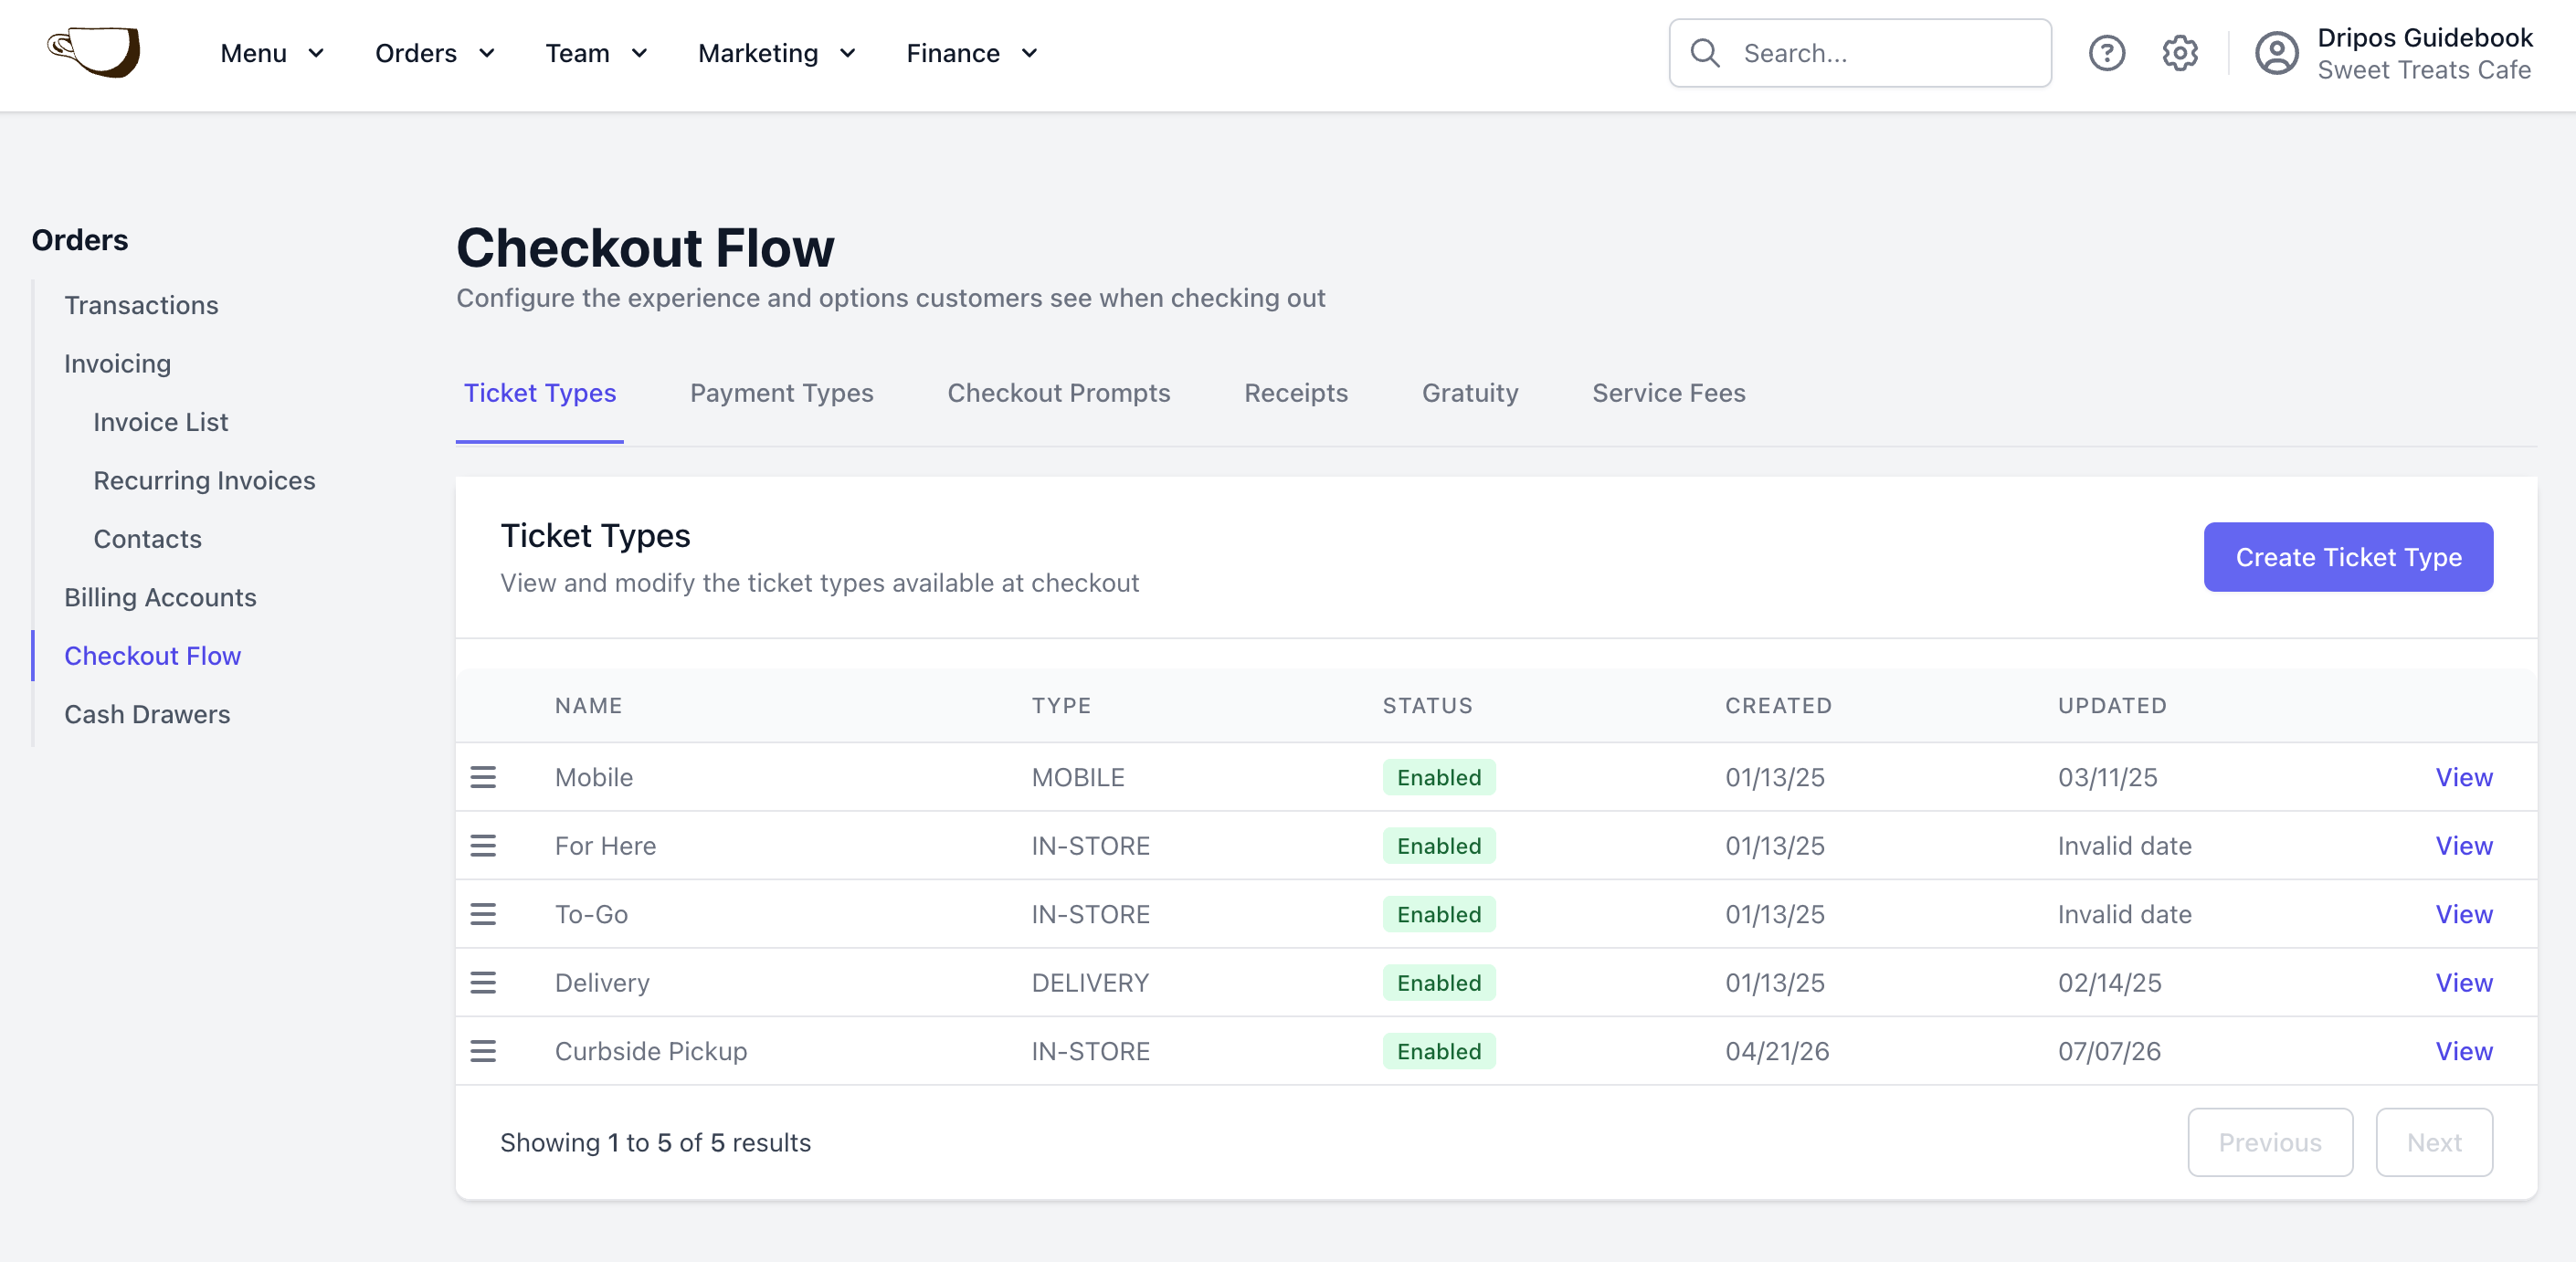
On the Dashboard click Orders > Checkout Flow > Ticket Types > click View on the desired ticket type
2
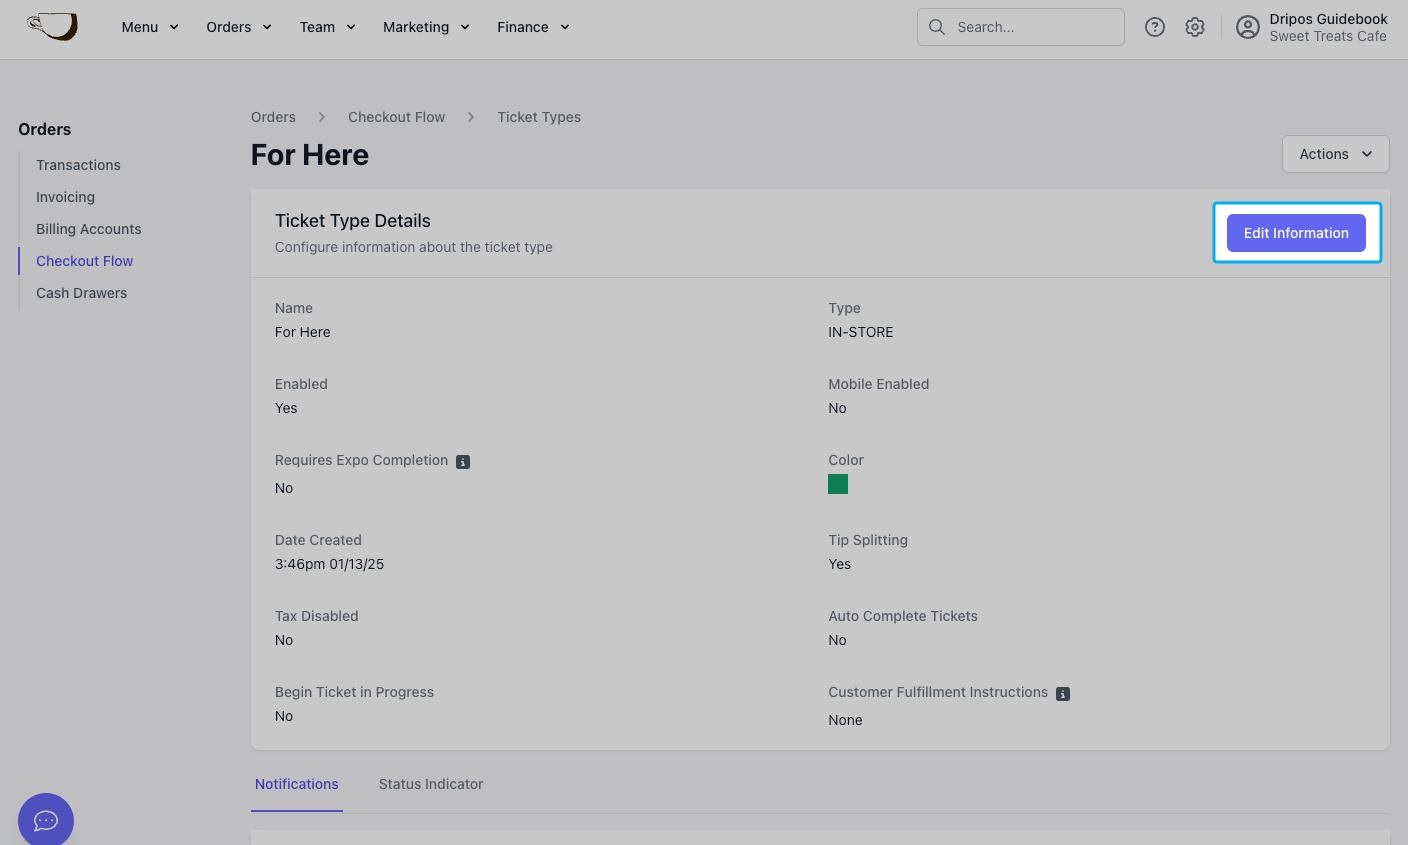
Click Edit Information
3
Select enable or disable to taxes for this ticket type
Disable Taxes = ‘No’ is to enable taxes on thsi ticket type. The default tax rates of products in cart will apply to the ticketDisable Taxes = ‘Yes’ is to disable taxes on this ticket type entirely.