Overview
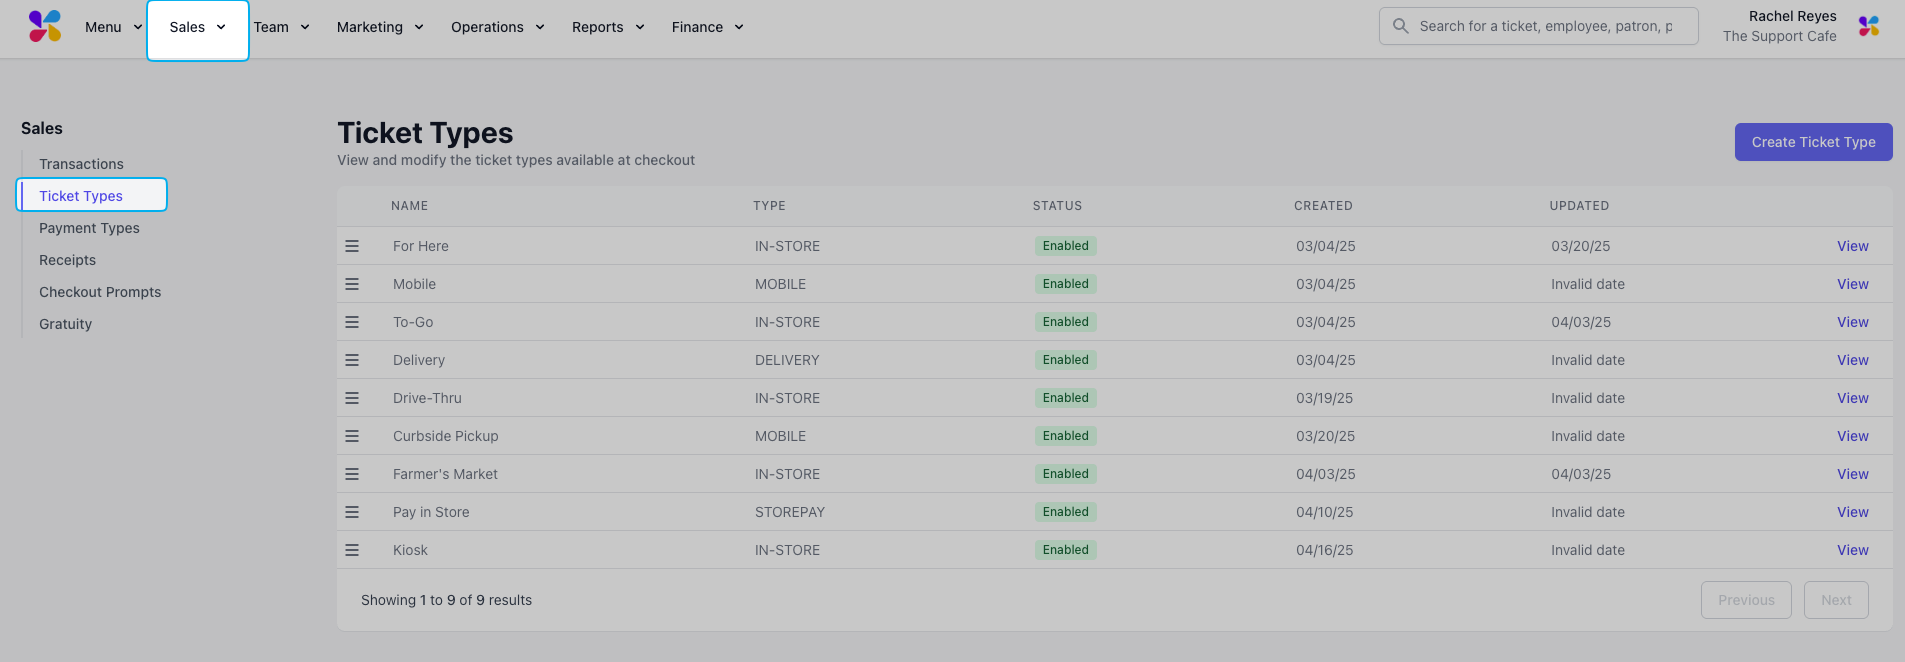
Four ticket types will automatically be set up in your Dripos system: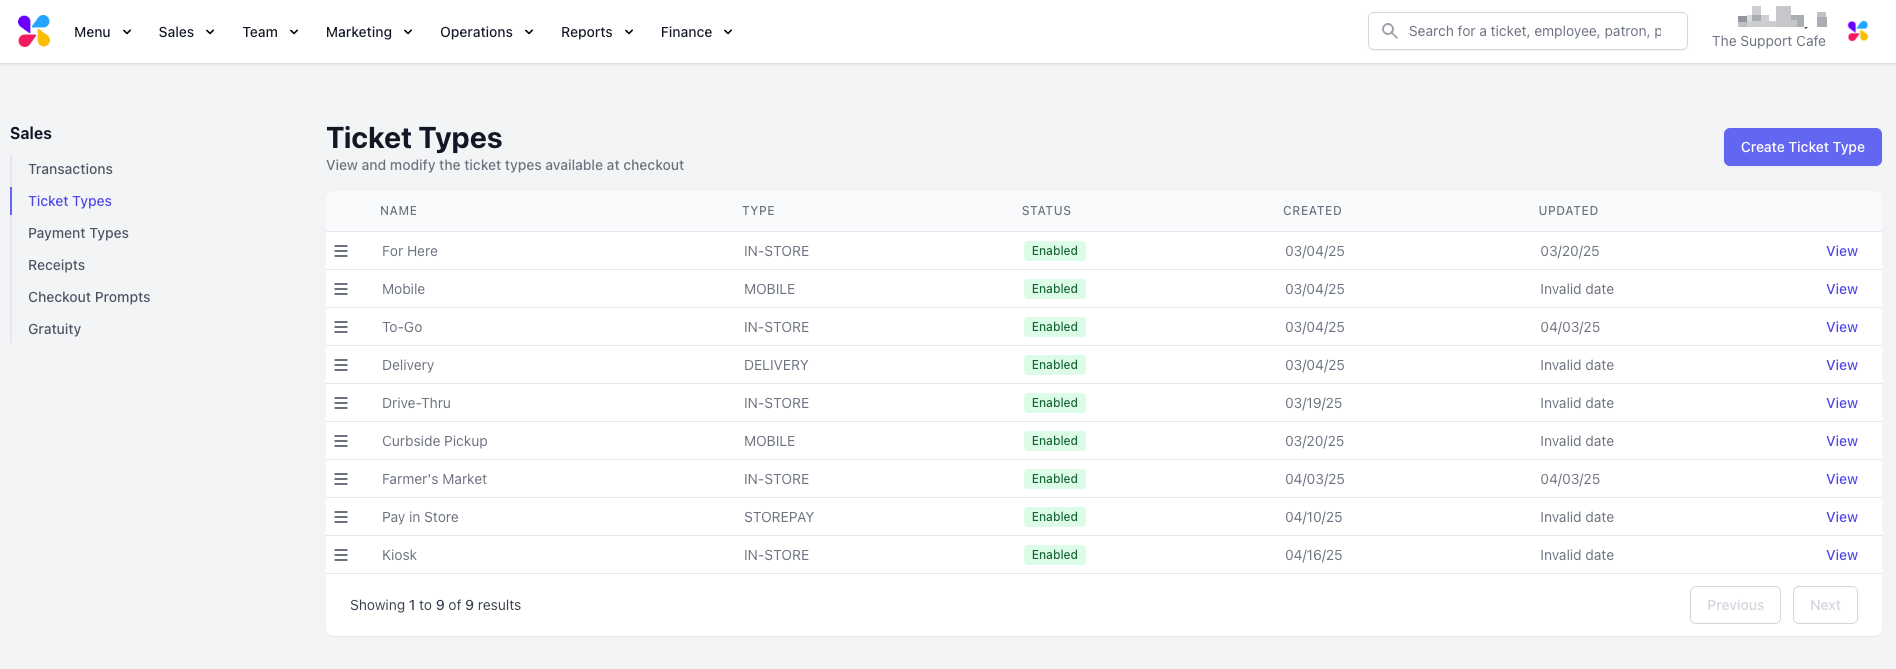
Create Ticket Types
How to Create a New Ticket Type
How to Create a New Ticket Type
Create a New Ticket Type
Create additional ticket types for your shop’s desired workflows.
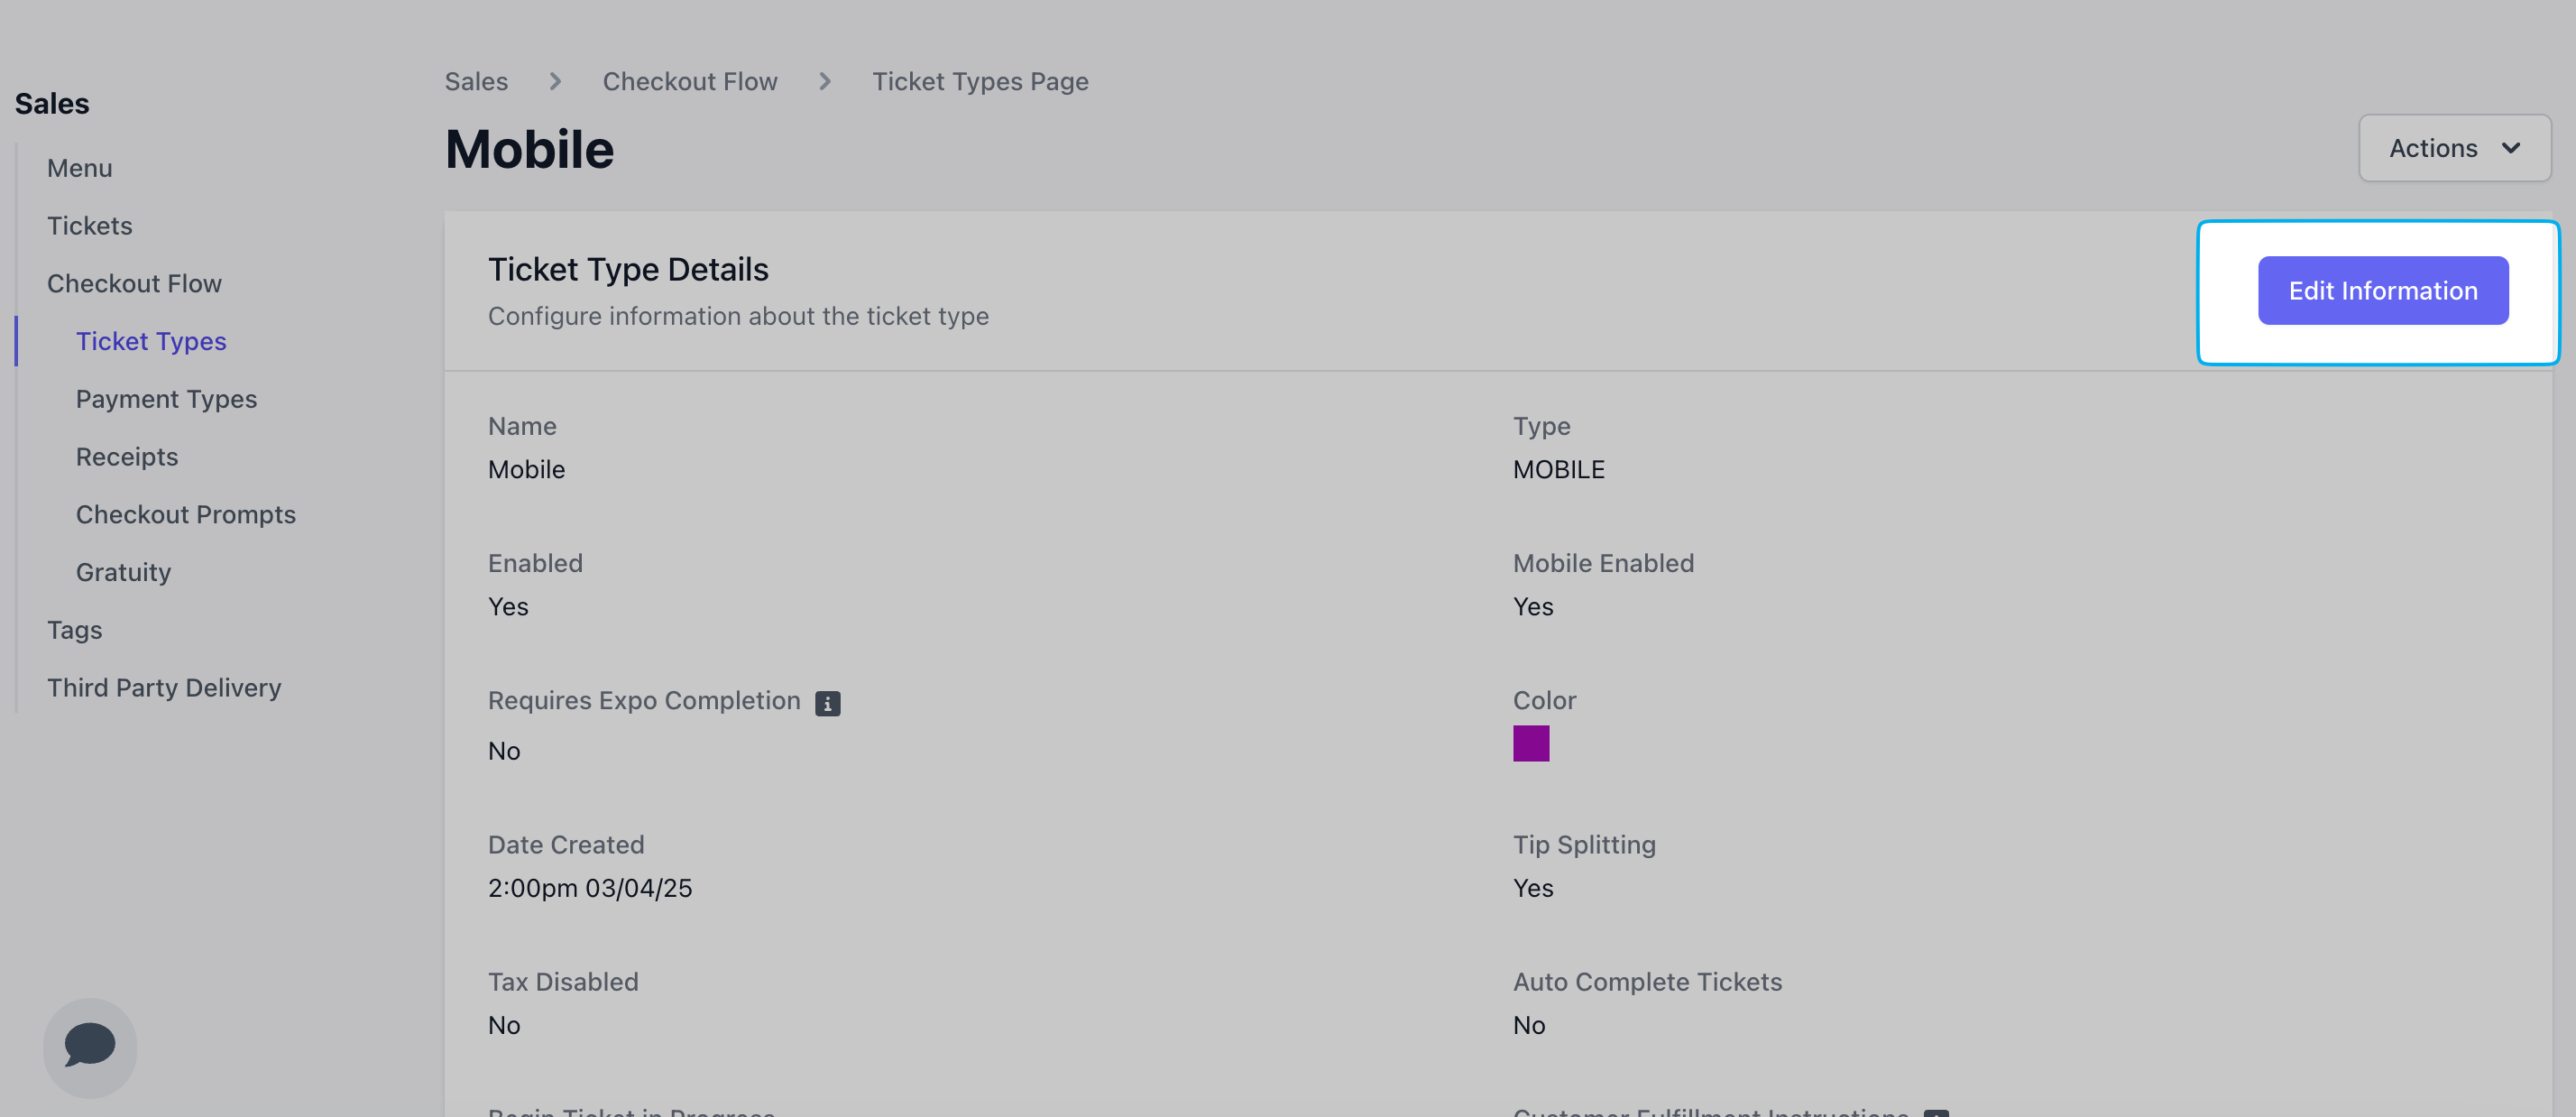
Ticket Type Components
Learn what makes up a Dripos Ticket Type and how to customize them.Edit Ticket Type Components
Edit Ticket Type Components
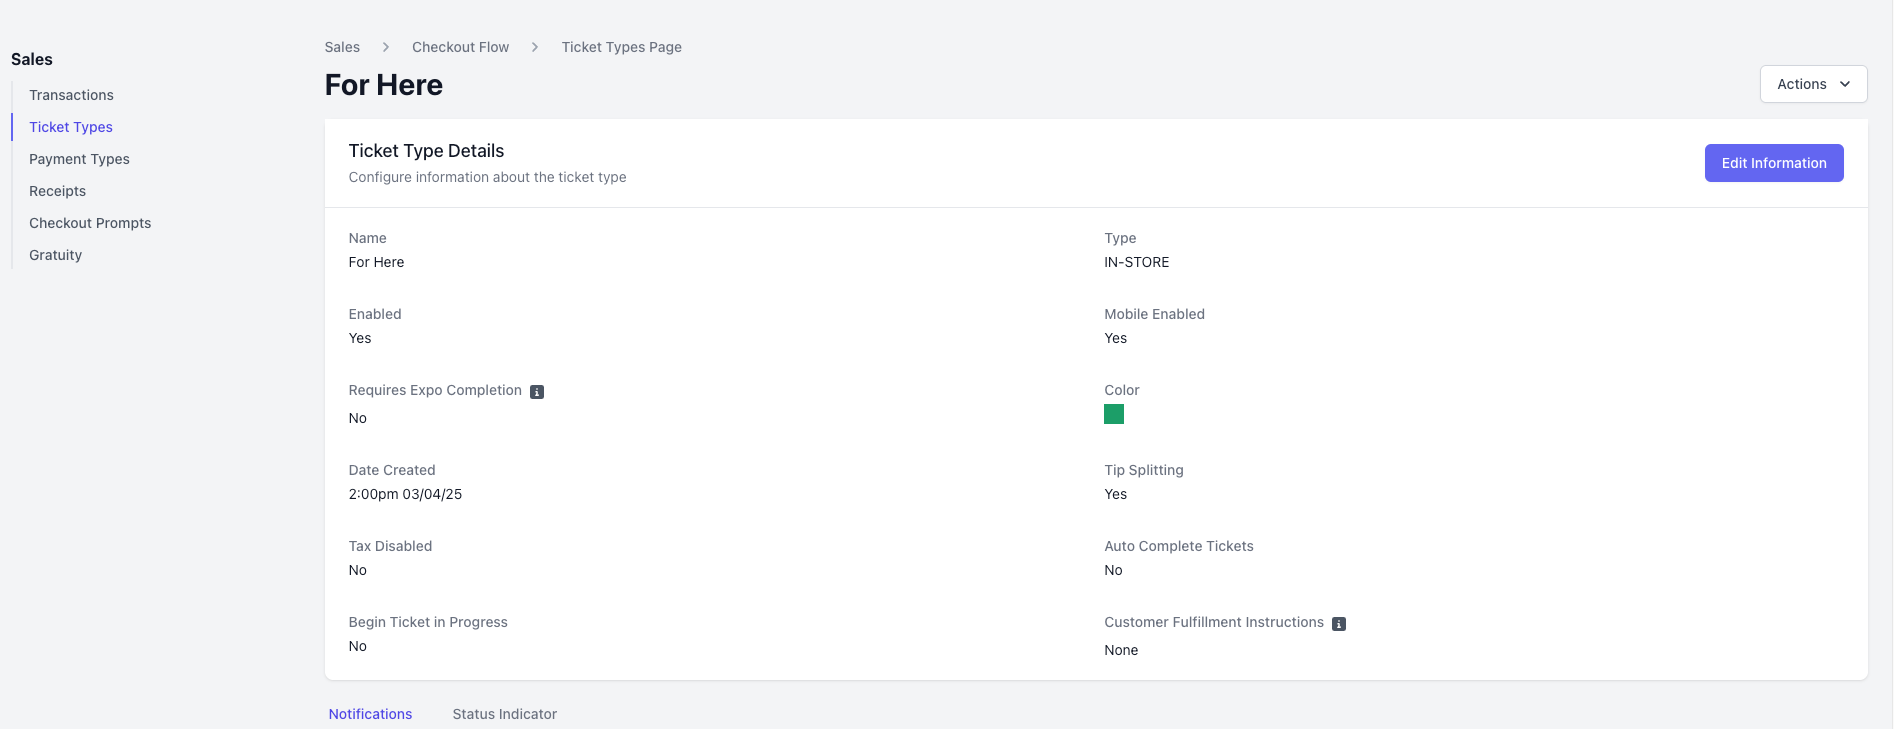
- Type
- Enabled
- Mobile Enabled
- Requires Expo Completion
- Tip Splitting
- Color
- Tax Disabled
- Auto Complete Tickets
- Begin Ticket in Progress
- Customer Fulfillment Instructions
In Store
Available at the POS
Pay at Store
Patron can place an order via the Order App and Order Website and pay upon arrival at the store
Delivery
Patron can place an order via the Order Website for in-house delivery (learn more Here)
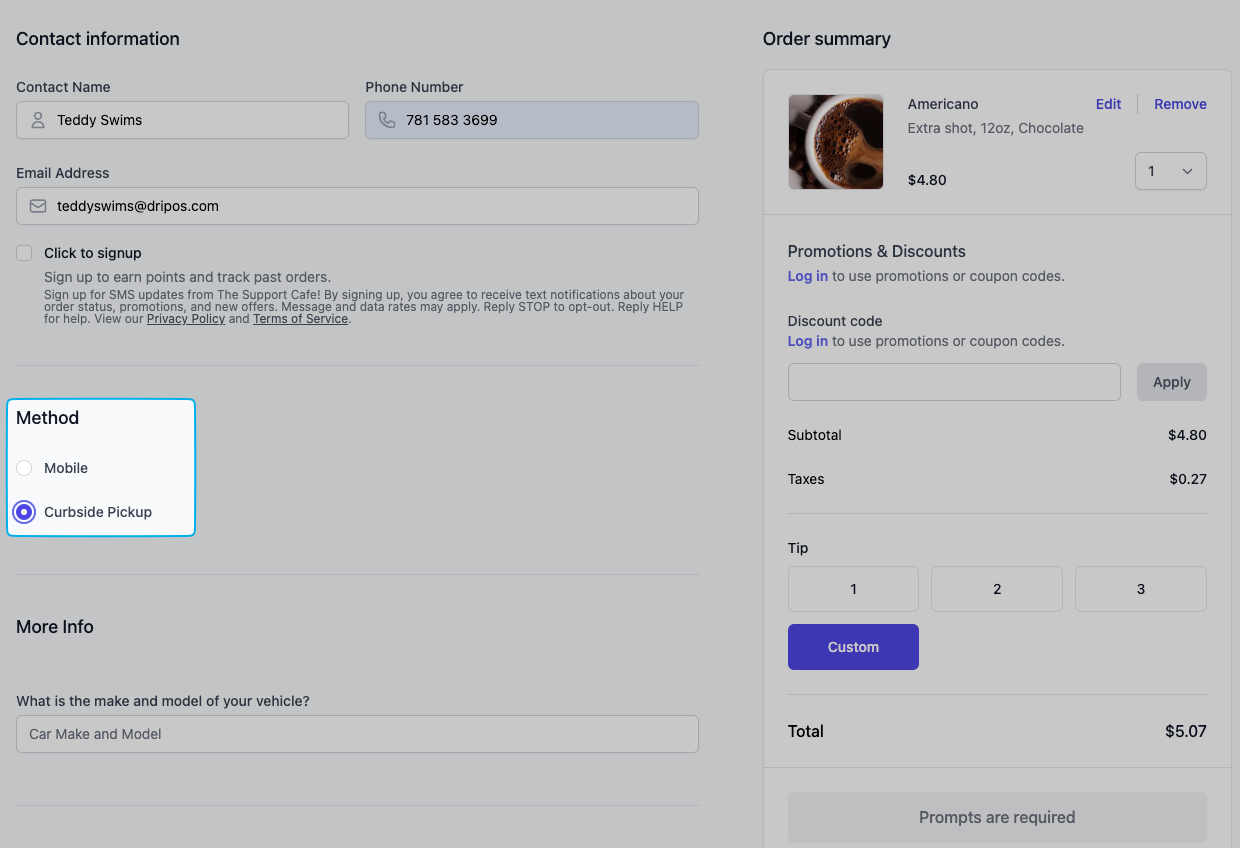
Mobile
Patron can place an order via the Order App and Order Website and pay upon checkout
DoorDash Drive
Patron can place an order via the Order App and Order Website and their order will be delivered by a DoorDash driver *Please reach out to Dripos Support to enable this ticket type
Delayed Tipping
Available at the POS and allows the patron to tip via the printed receipt for tip entry at a later time
Set Default Ticket Type
Ticket Type Alerts
Ticket Type Notifications automatically send patrons a text after placing an order, completing the ticket, or both.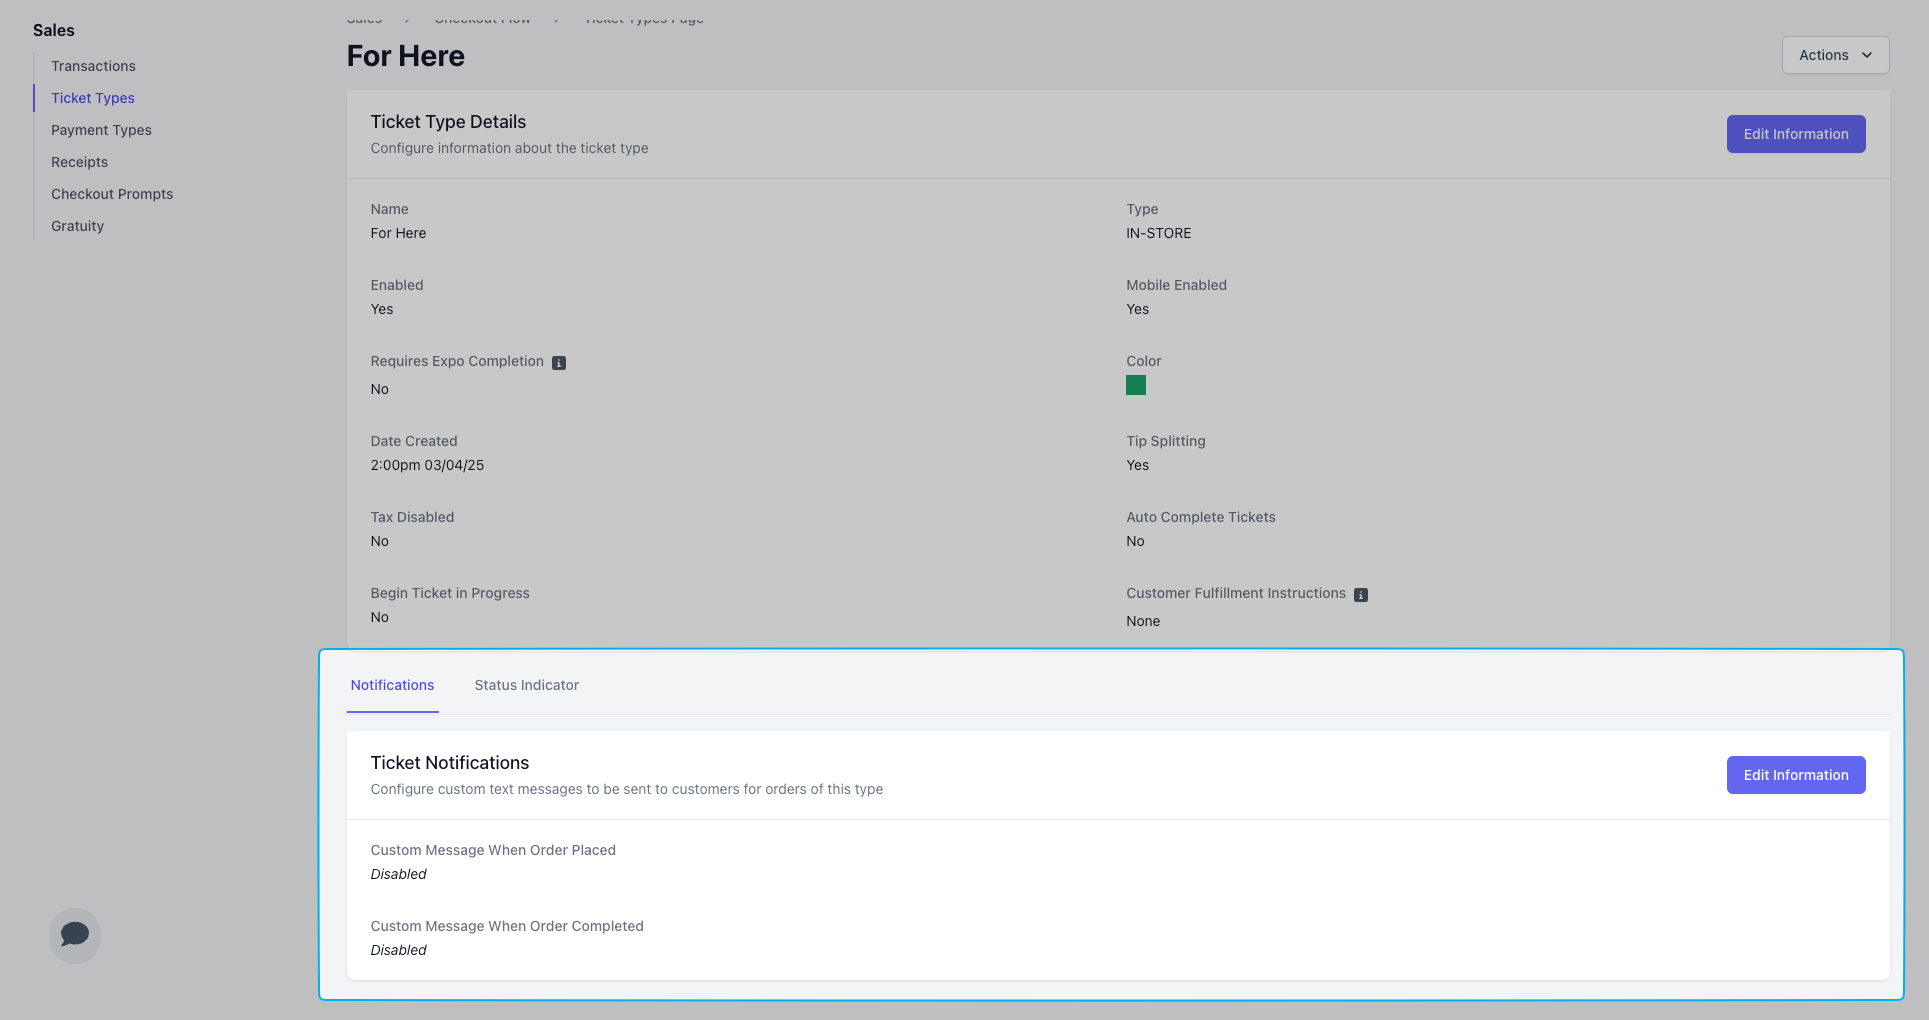
Enable Ticket Type Notifications
Enable Ticket Type Notifications
Notifications
Create messages to send to customers as soon as their order is placed and as soon as the order is ready!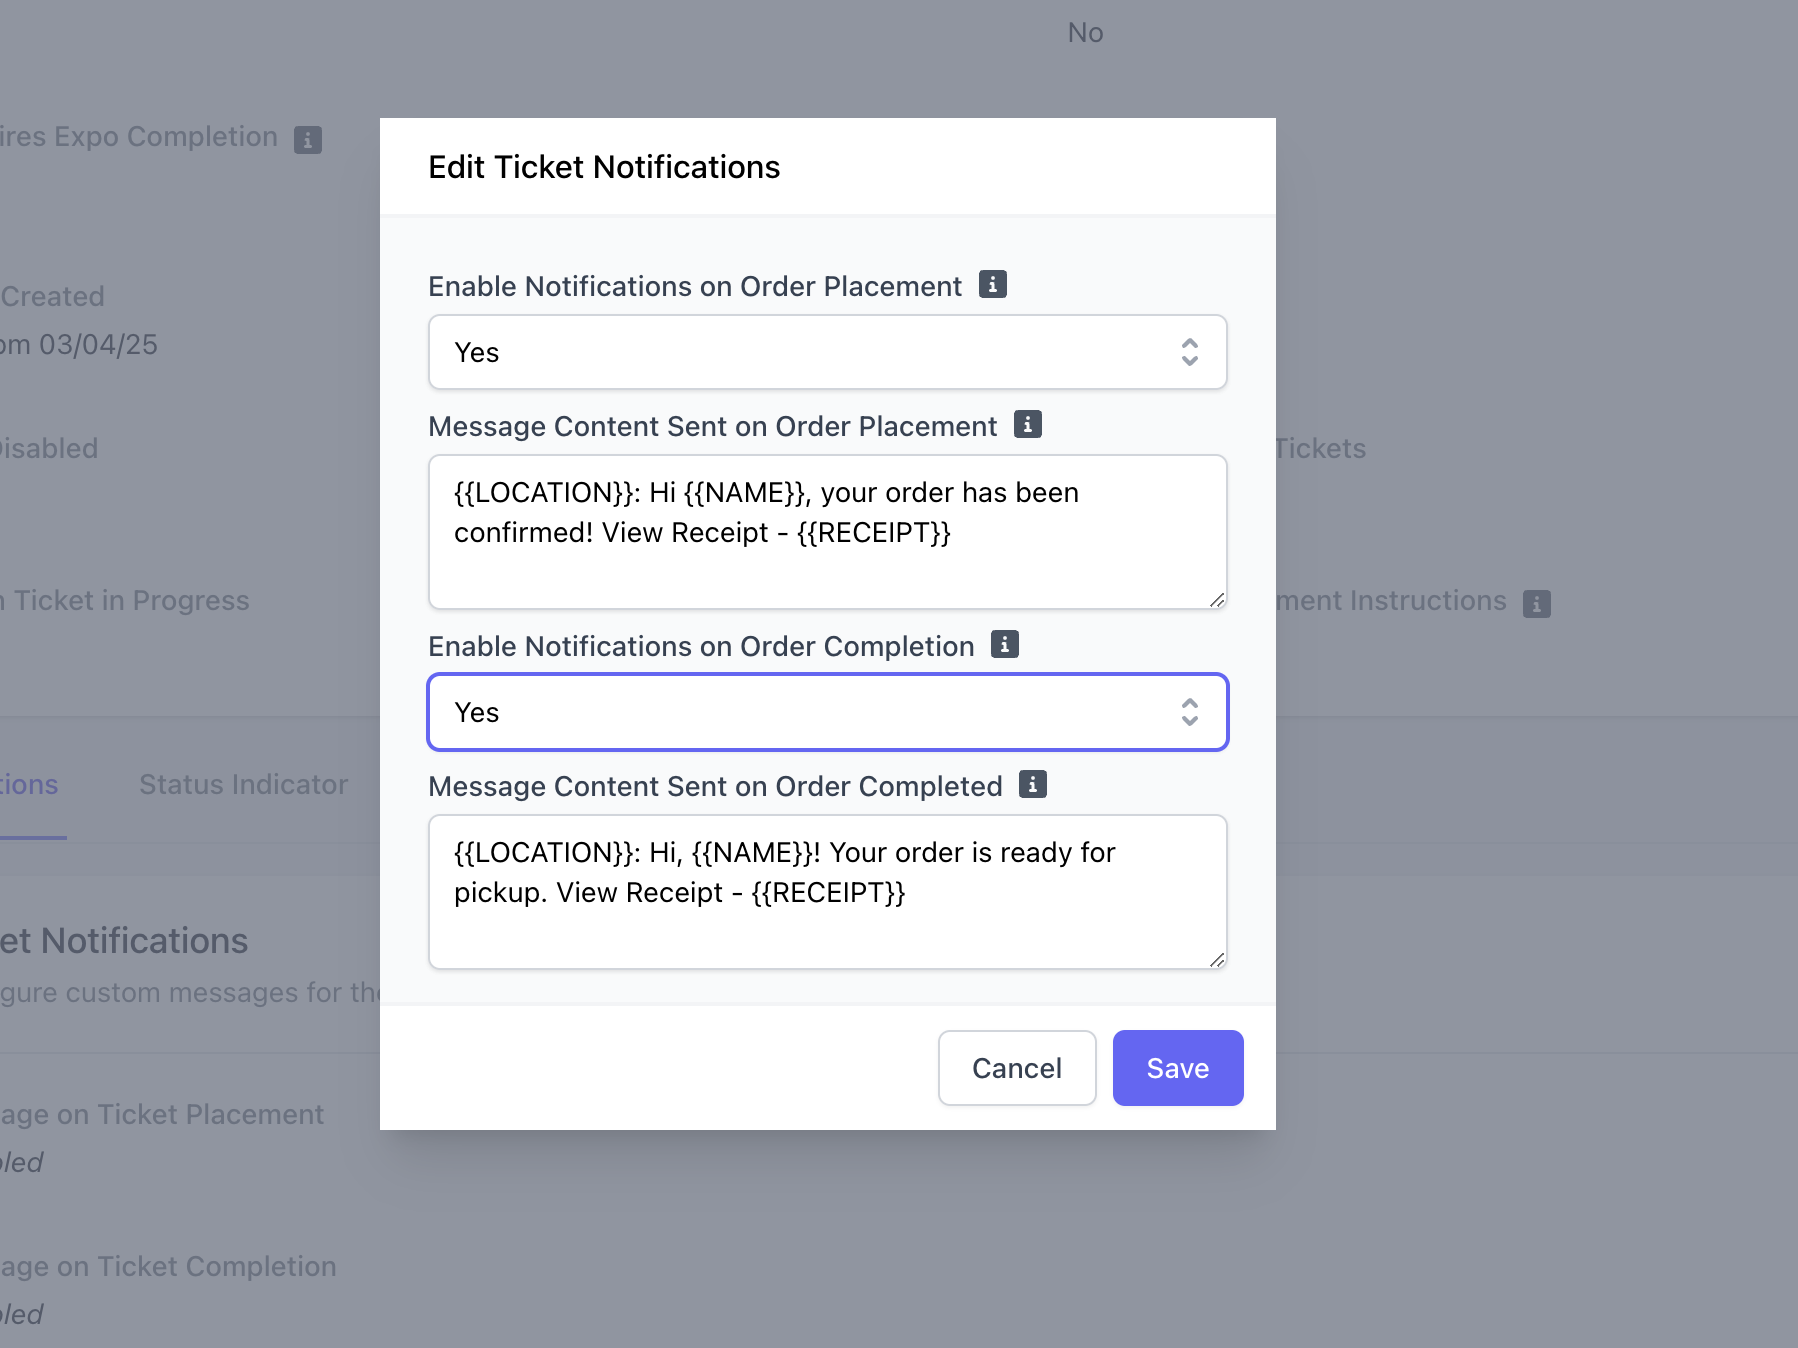
Order Placement
If enabled, as soon as order checkout is completed on any platform, the patron will receive this message.
Order Completed
If enabled, as soon as order is marked as complete on the kitchen display screen, the patron will receive this message.
Enable Ticket Type Status Indicators
Enable Ticket Type Status Indicators
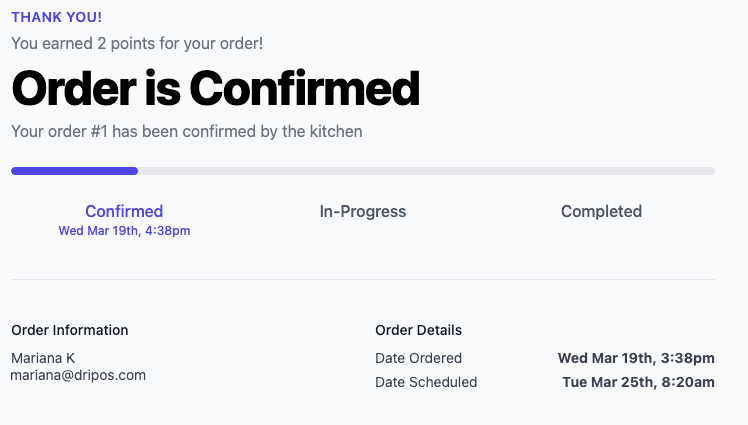
Status Indicators
Create messages to send customers at each stage of the order completion process.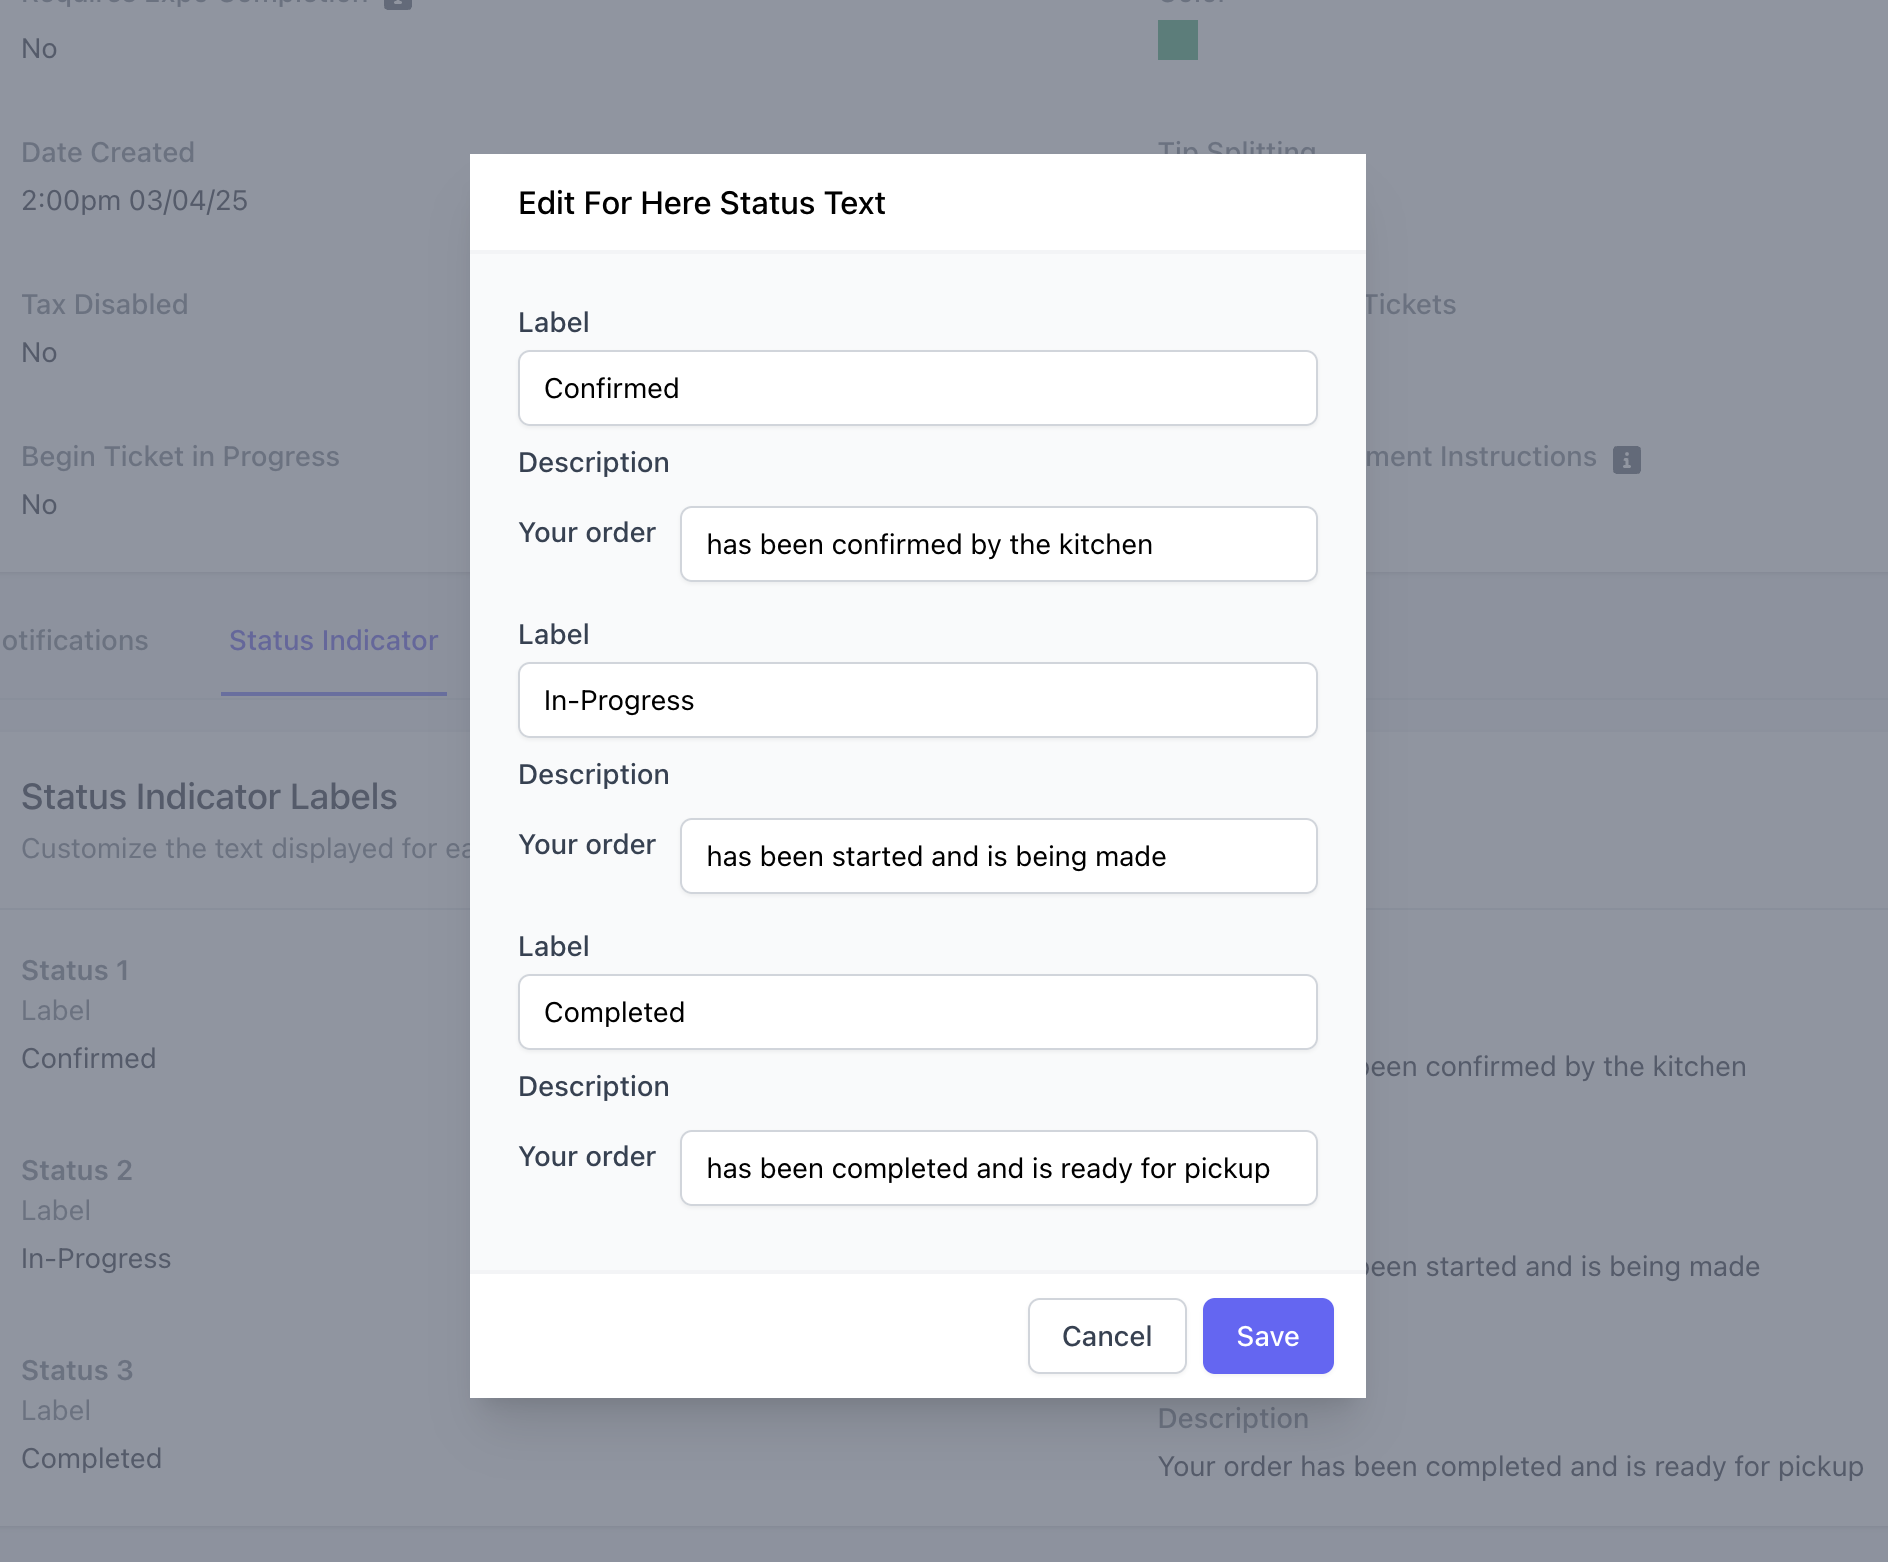
Confirmed
Message to send when an order arrives on the kitchen display screen
In-Progress
Message to send when an order is marked as in-progress on the kitchen display screen
Completed
Message to send when an order is marked as completed from the kitchen display screen
View Status on Order Website
View Status on Order App
View Ticket Types
- Dashboard
- Point of Sale
- Order Website
- Order App
Enable and disable any ticket type on the Dashboard, as well as edit all ticket type components.